Soft Peach Aurora Flower Nail Art — Step-by-Step Tutorial
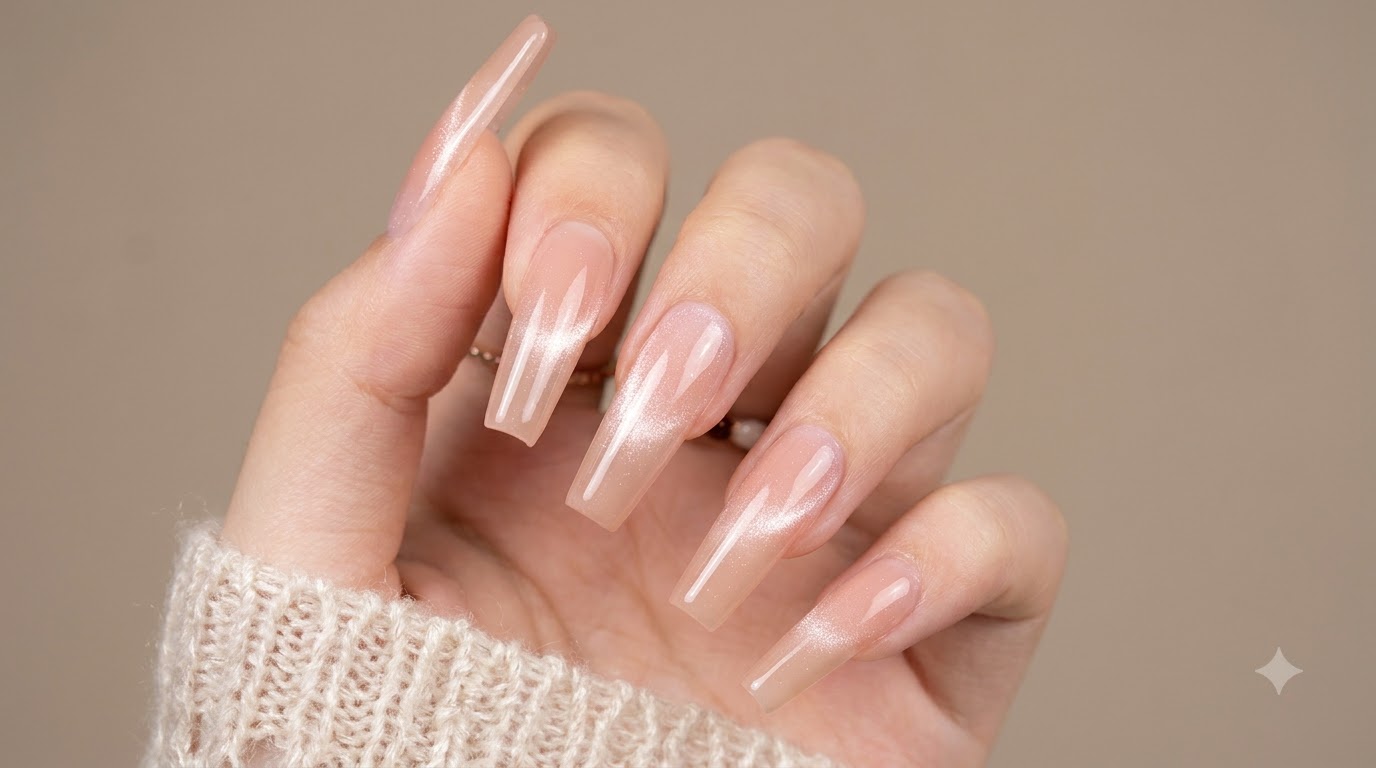
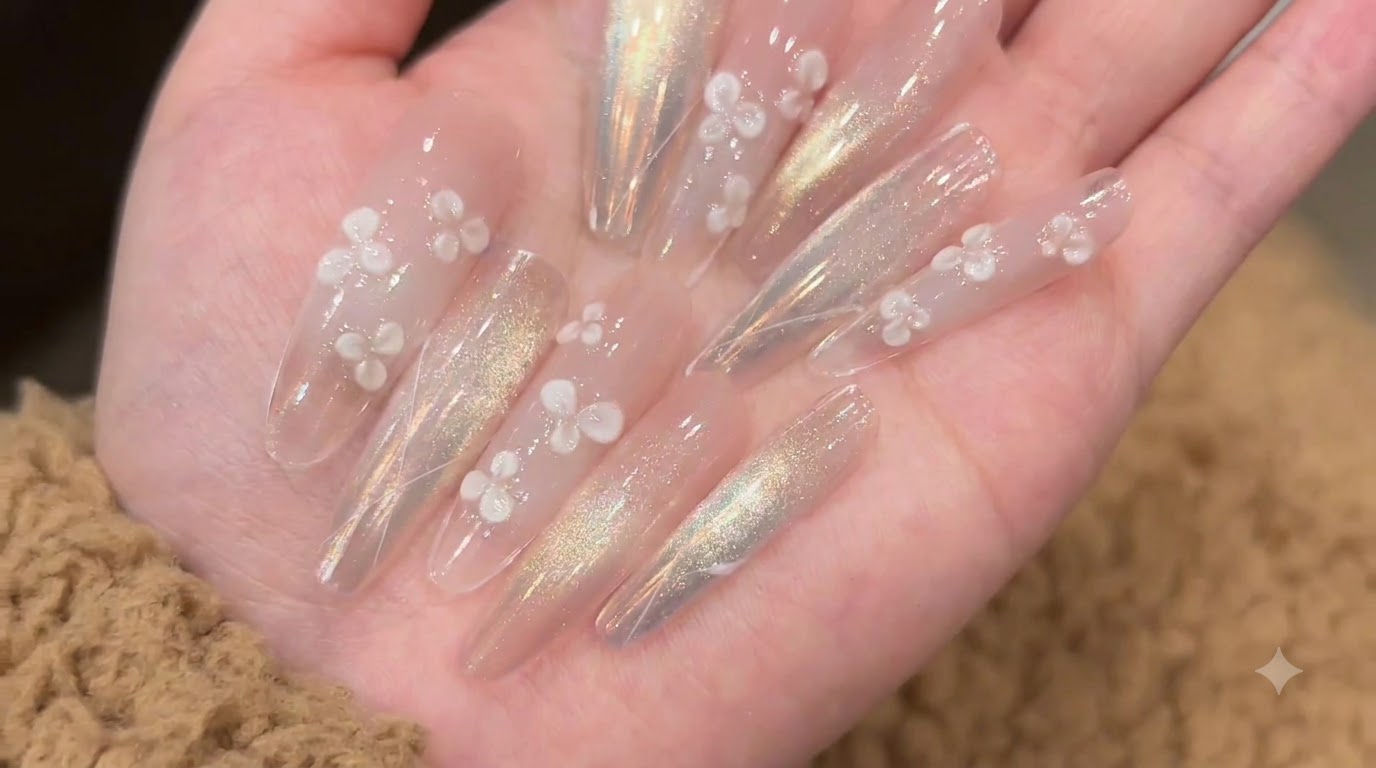
Create a dreamy spring-inspired manicure featuring soft peach aurora gradients, magnetic cat-eye shimmer, and delicate 3D sculpted white flowers.
Aurora nails combined with celestial cat-eye effects and dainty 3D floral accents create an ethereal, high-fashion aesthetic that captures every beam of light. This step-by-step tutorial guides you through layering specialty gel products and precise magnetic techniques to achieve salon-quality results at home.
Steps
- 1Apply Sheer Base Gel
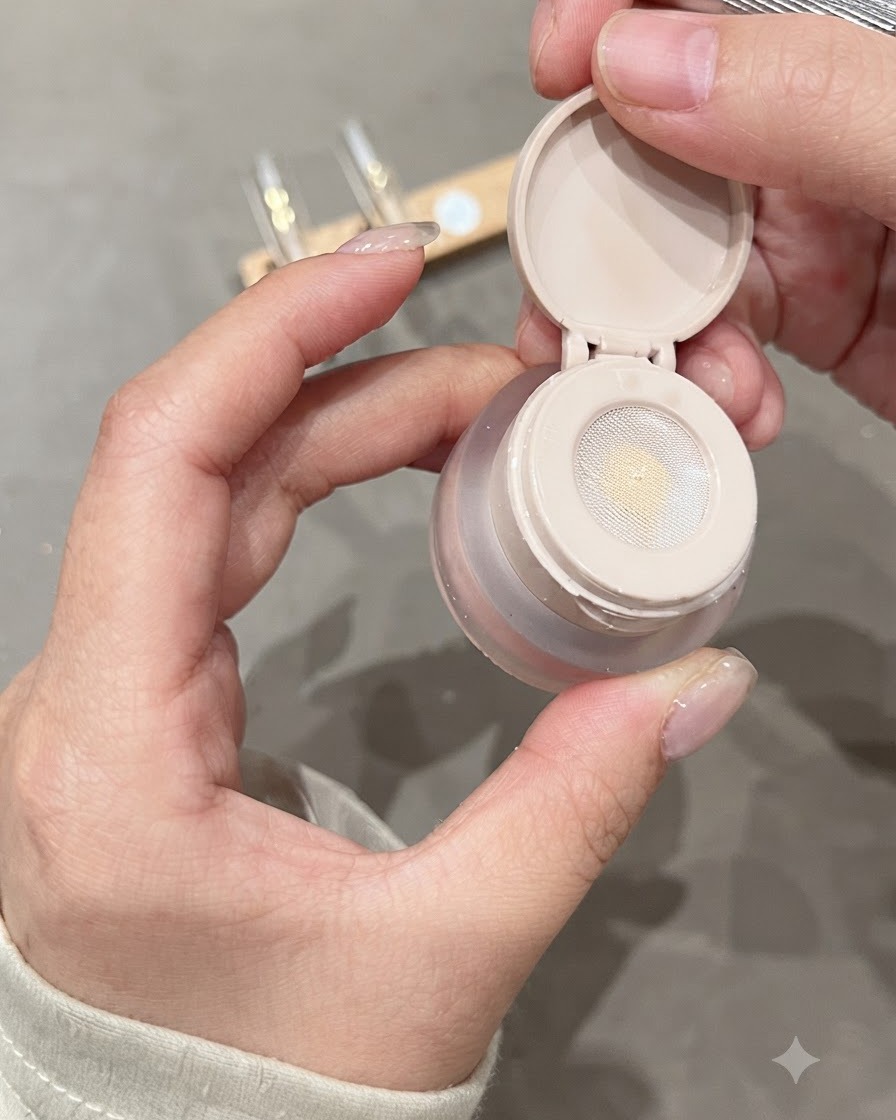
Using a sponge-tipped applicator, dab Doryla P01 Pat Pat gel onto the clear nail tip to establish a smooth and sheer base color.
Tip: Dab lightly to ensure an even distribution without clumping. - 2Cure Base Layer
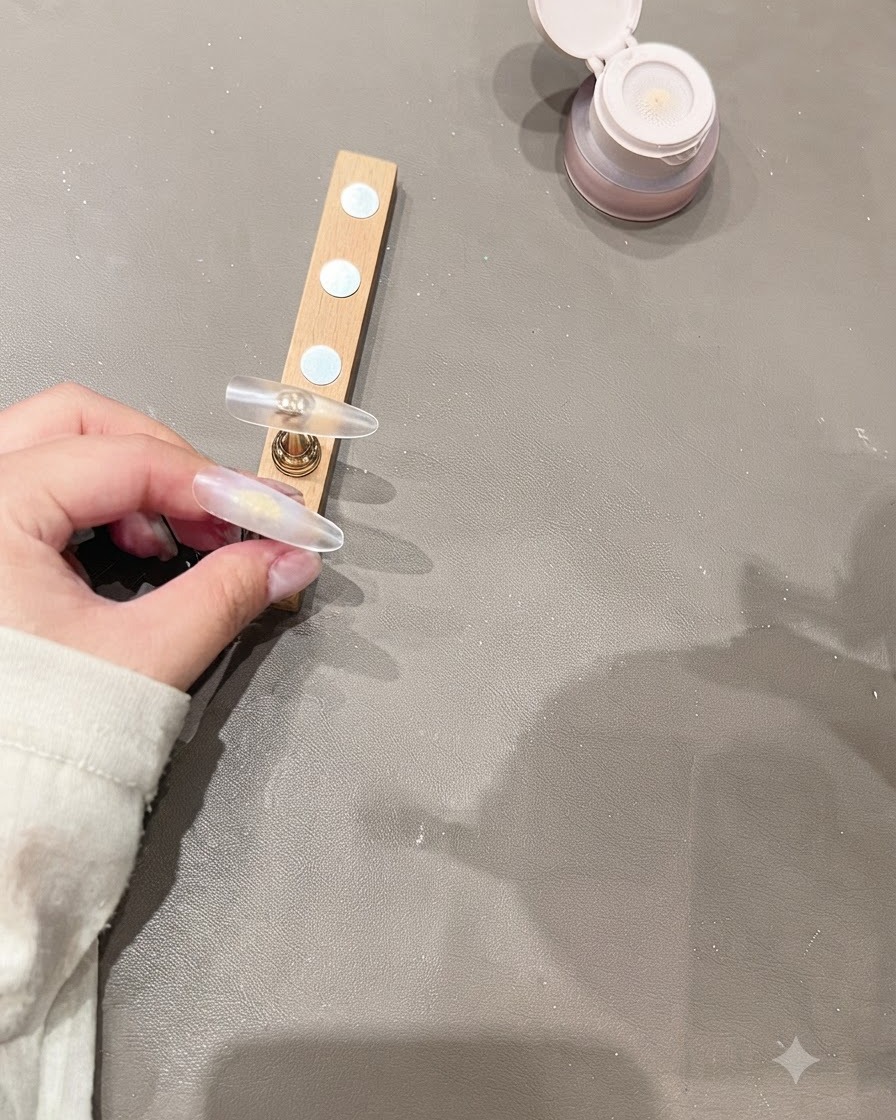
Place the prepared nail tip under a UV/LED lamp to cure the base layer, achieving a matte and frosted finish.
Tip: Ensure proper placement under the lamp for an even cure. - 3Apply Second Base Layer
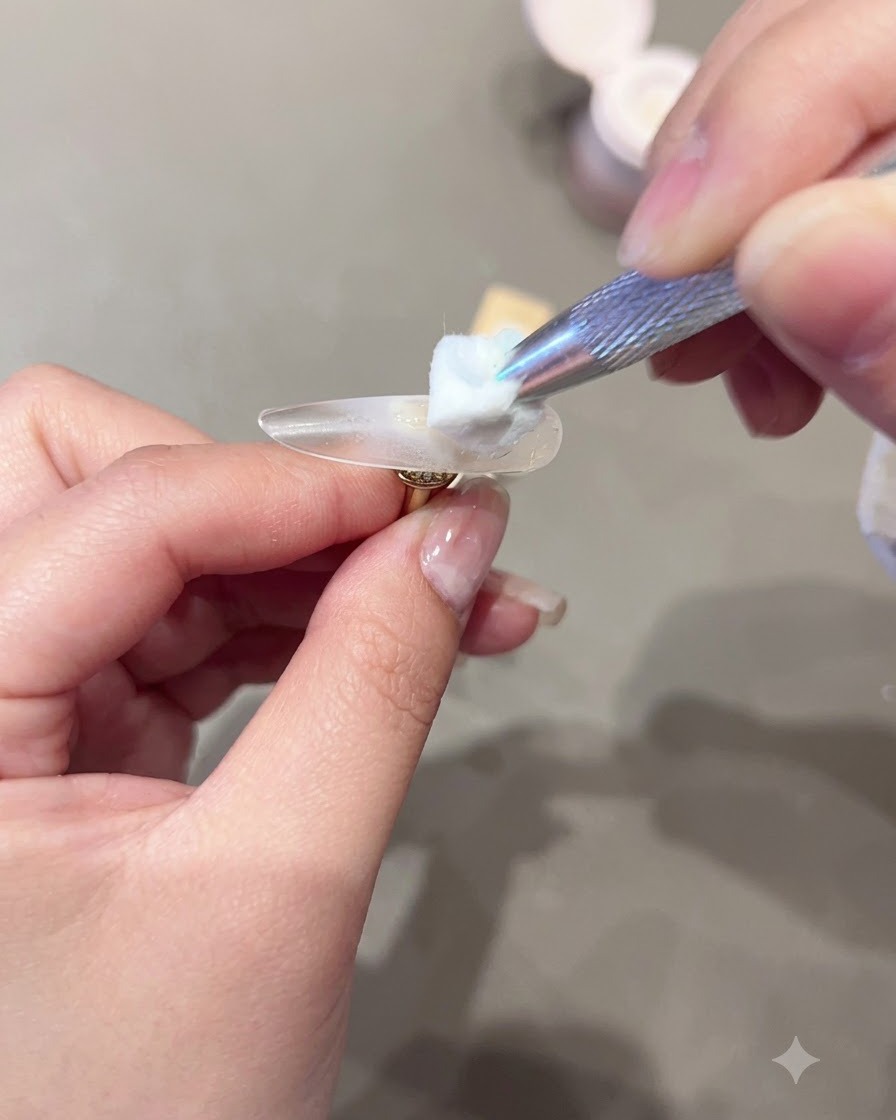
Apply a second layer of Doryla P01 Pat Pat gel to the nail tip to build up the sheer color density.
Tip: Keep the layer thin to maintain the frosted effect after curing. - 4Cure Second Layer
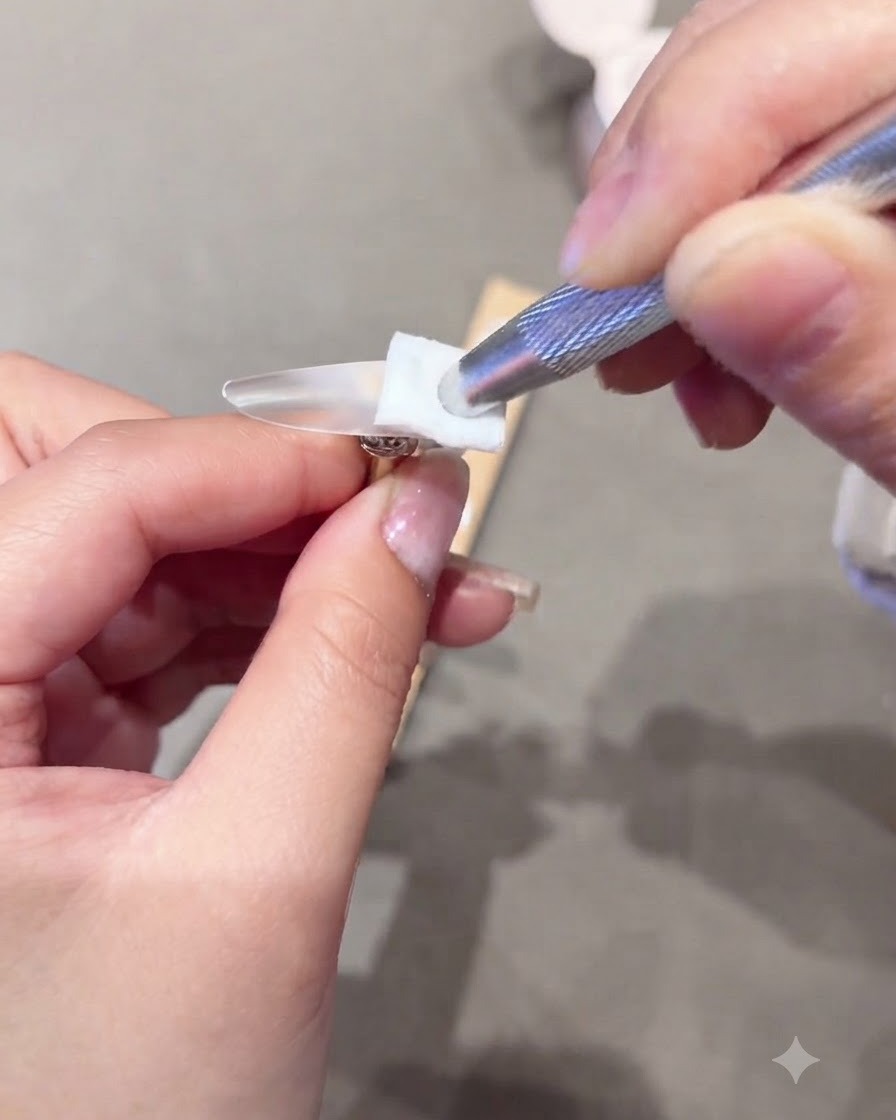
Place the nail tip back under the UV/LED lamp to cure the second layer of base gel completely.
Tip: Double-curing ensures the base layers are fully set before proceeding to nail art. - 5Apply Cat-Eye Gel
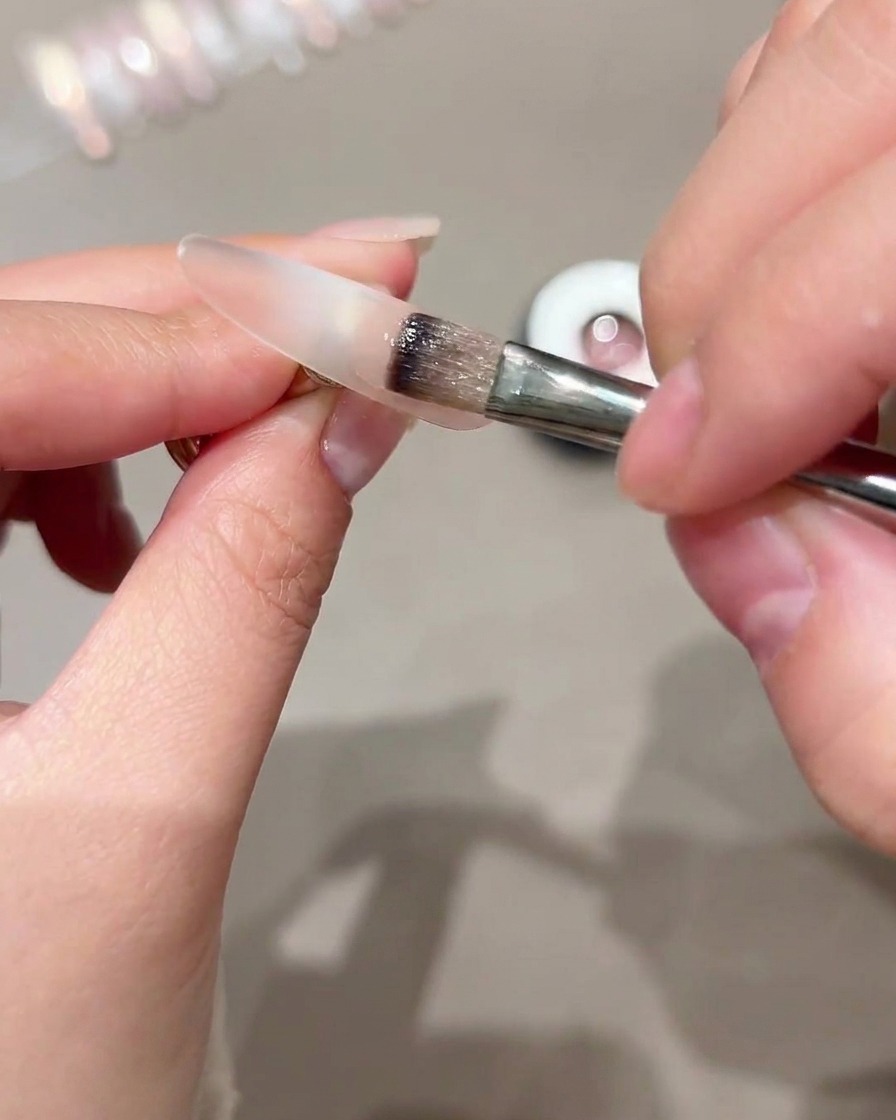
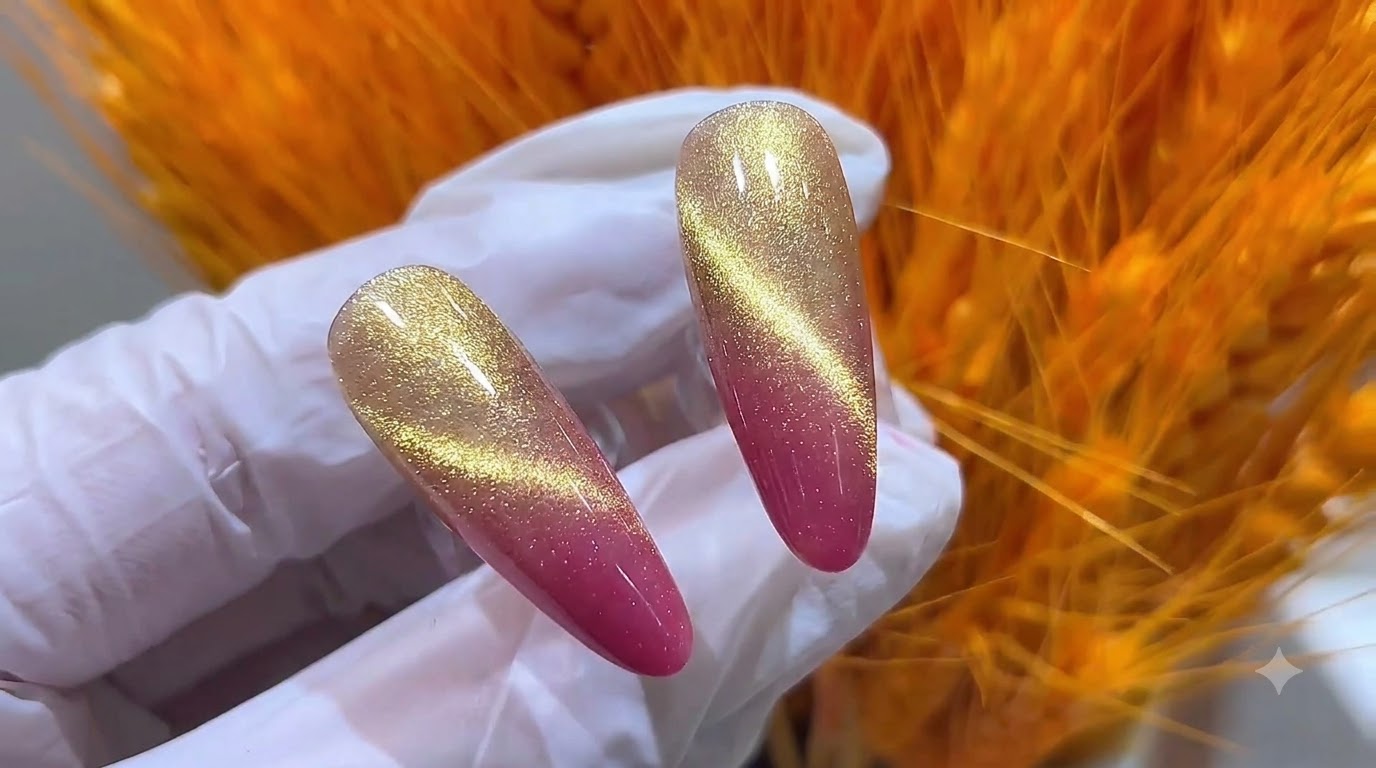
Using a brush, apply Huaxiaochang color #10 cat-eye gel to the outer half of the nail to begin the gradient effect.
Tip: Apply gently to keep the placement clean on the designated half of the nail. - 6Create Gradient Cat-Eye Effect
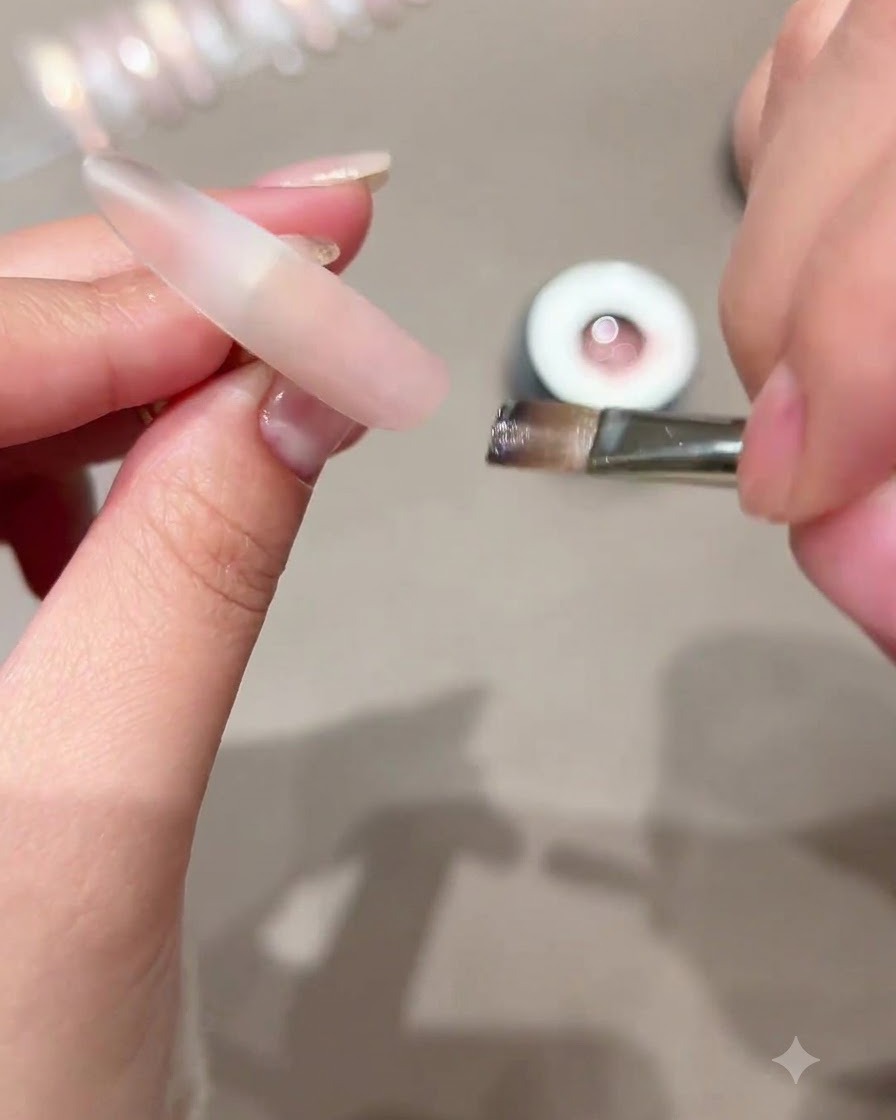
Use a magnetic tool to swipe across the nail, activating the magnetic particles to create a soft gradient cat-eye effect.
Tip: Hold the magnet at a consistent distance to form a smooth transition. - 7Cure the cat-eye gradient
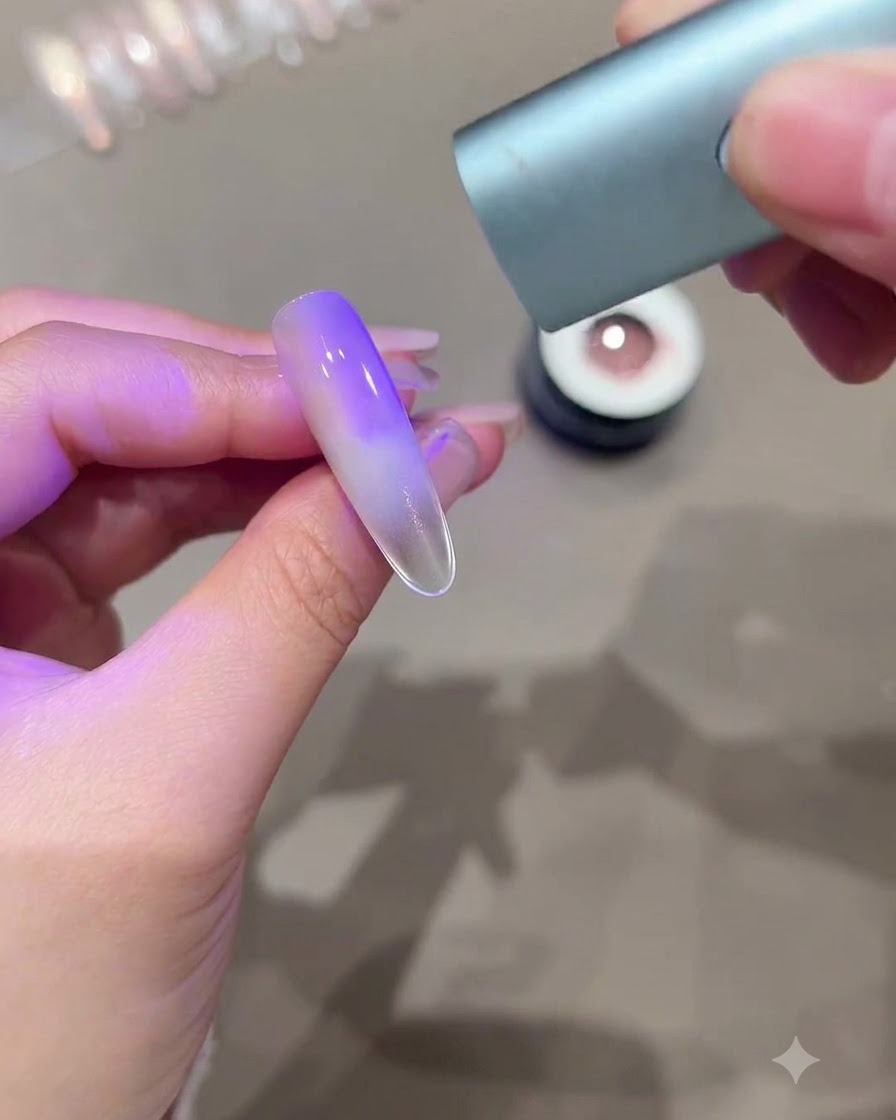
Place the nail under the UV or LED lamp to cure the newly shaped cat-eye gradient effect. Ensure the lamp light fully covers the nail surface so the magnetic particles lock securely in place without shifting before the next coat is applied.
Tip: Keep your finger steady inside the lamp to avoid any accidental smudging of the uncured magnetic shimmer. - 8Apply Qijimiaomiao gel E27
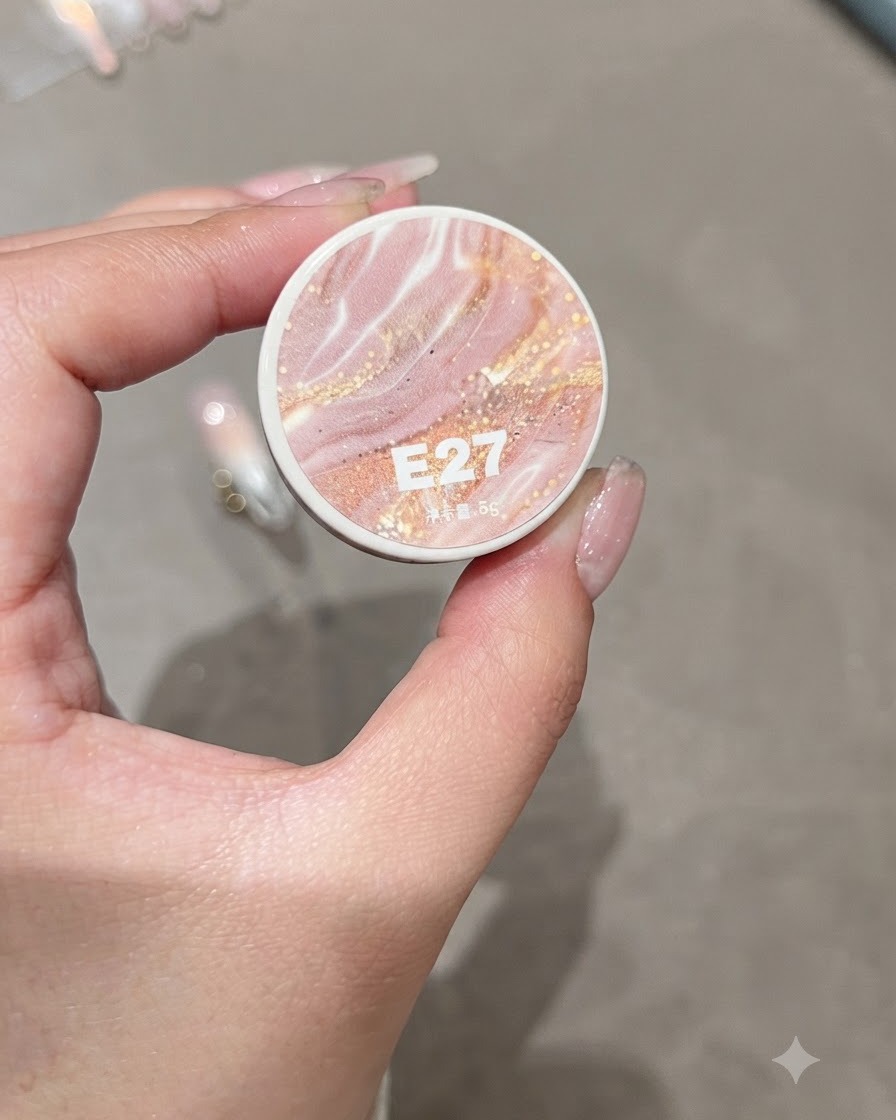
Apply a coat of Qijimiaomiao gel E27 evenly over the entire nail surface, preparing the base for the wide cat-eye effect.
Tip: Ensure smooth and even coverage across the nail bed. - 9Create a wide cat-eye band
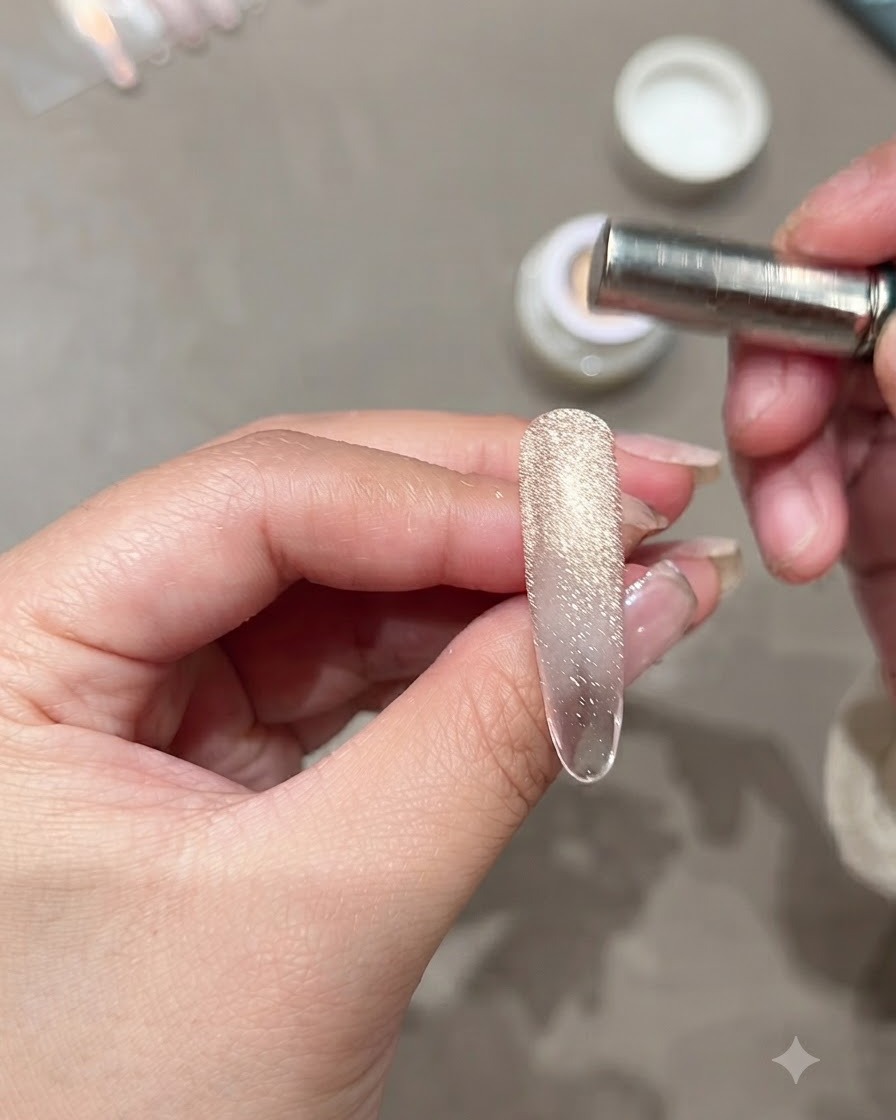
Hold a magnetic tool close to the nail surface without touching the wet gel to draw the magnetic shimmer particles into a wide, luminous band running along the length of the nail.
Tip: Hover the magnet steadily and watch the particles align closely before moving on to the next shaping step. - 10Concentrate shimmer to the center
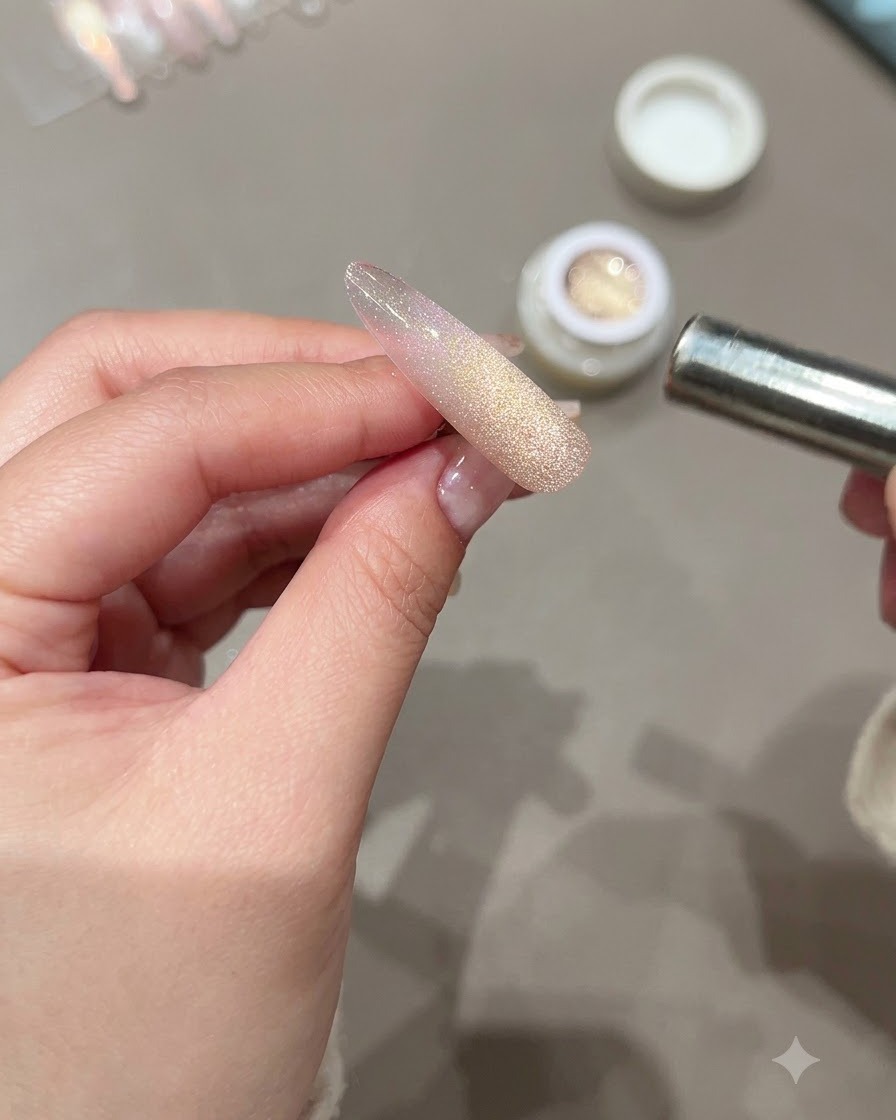
Position the magnetic tool to gently push the cat-eye shimmer particles inward toward the center of the nail, creating a focused, glowing highlight line down the middle.
Tip: Control the distance of the magnet carefully to shape the shimmer precisely where desired. - 11Cure the nail
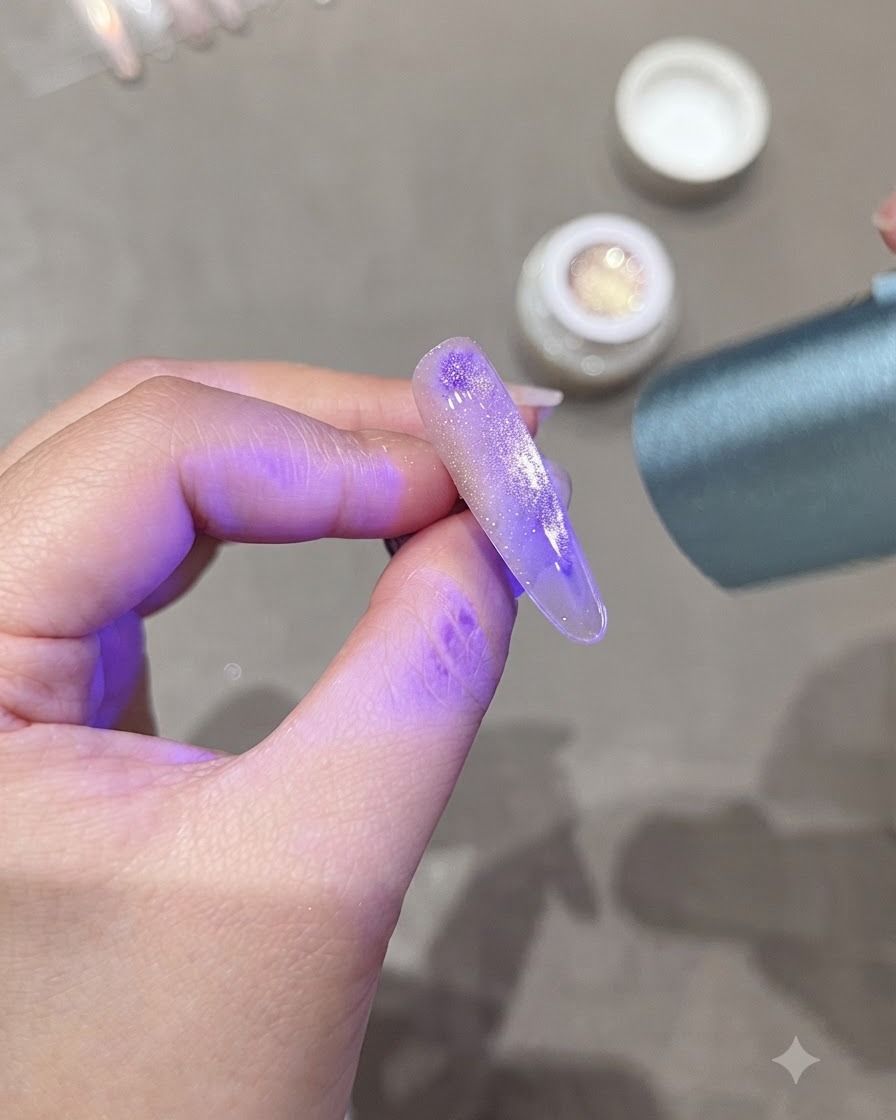
Place the nail under the UV or LED lamp to fully cure and set the centralized cat-eye design. This locks in the magnetic shimmer pattern permanently.
Tip: Check that the lamp is properly aligned over the nail to achieve a complete and even cure. - 12Apply mirror top coat
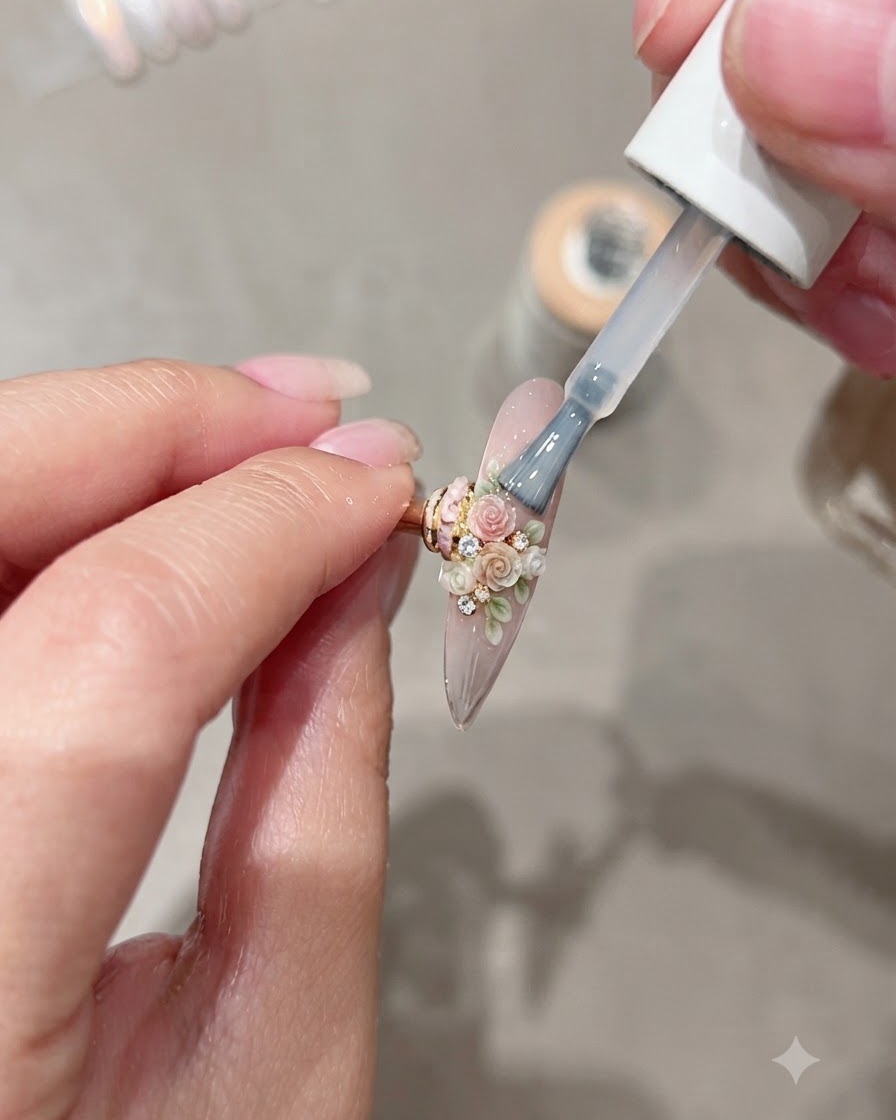
Apply a generous layer of Moding C8 mirror top coat over the entire nail surface. This seals in all the underlying layers, provides long-lasting protection, and gives a brilliant glossy shine.
Tip: Cap the free edge carefully with the top coat to prevent chipping and extend the lifespan of your manicure. - 13Cure the top coat
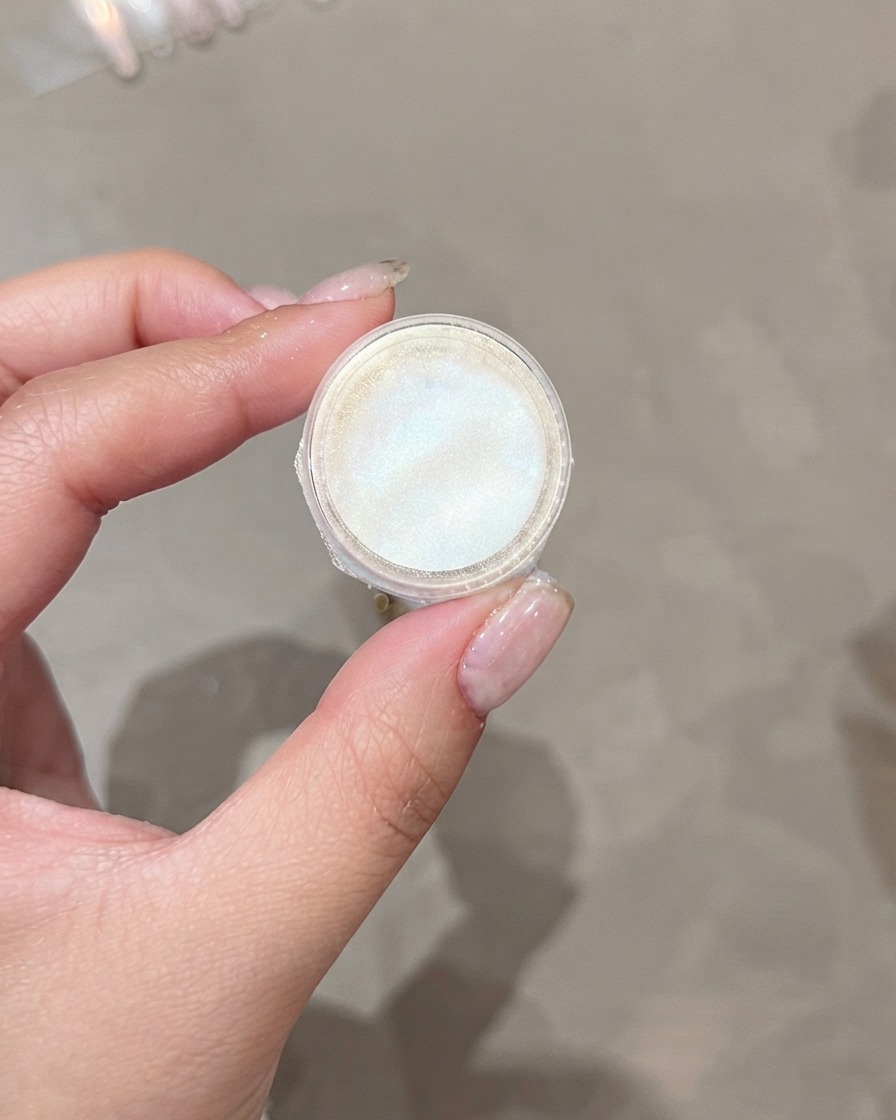
Place the hand under the UV or LED lamp to fully cure the seal top coat and lock in the manicure.
Tip: Follow the recommended curing time for the specific top coat used. - 14Rub peach aurora powder onto the nail tip
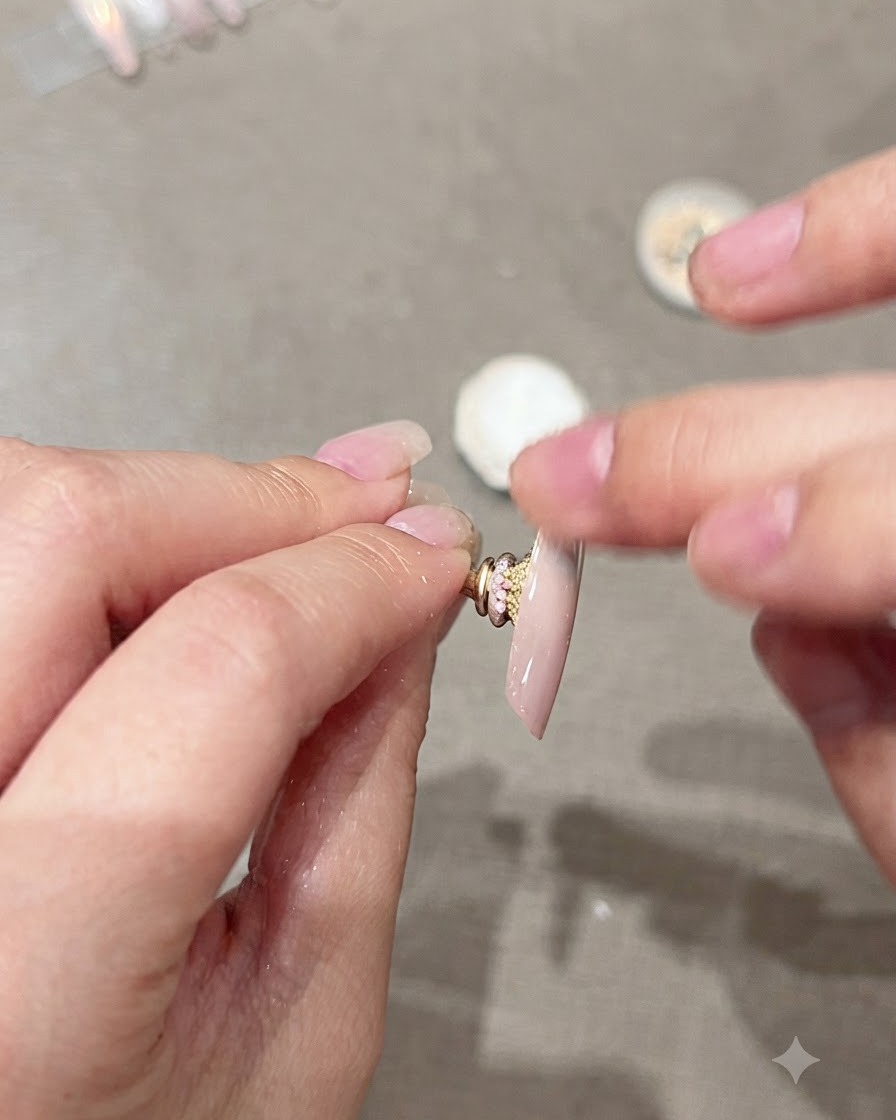
Take a small makeup sponge and dab it into the peach aurora powder. Gently rub and press the powder onto the tip of the nail to create a luminous, gradient shimmer effect.
Tip: Apply the powder while the tacky layer is fresh to ensure it adheres smoothly and evenly without clumping. - 15Sweep away excess aurora powder
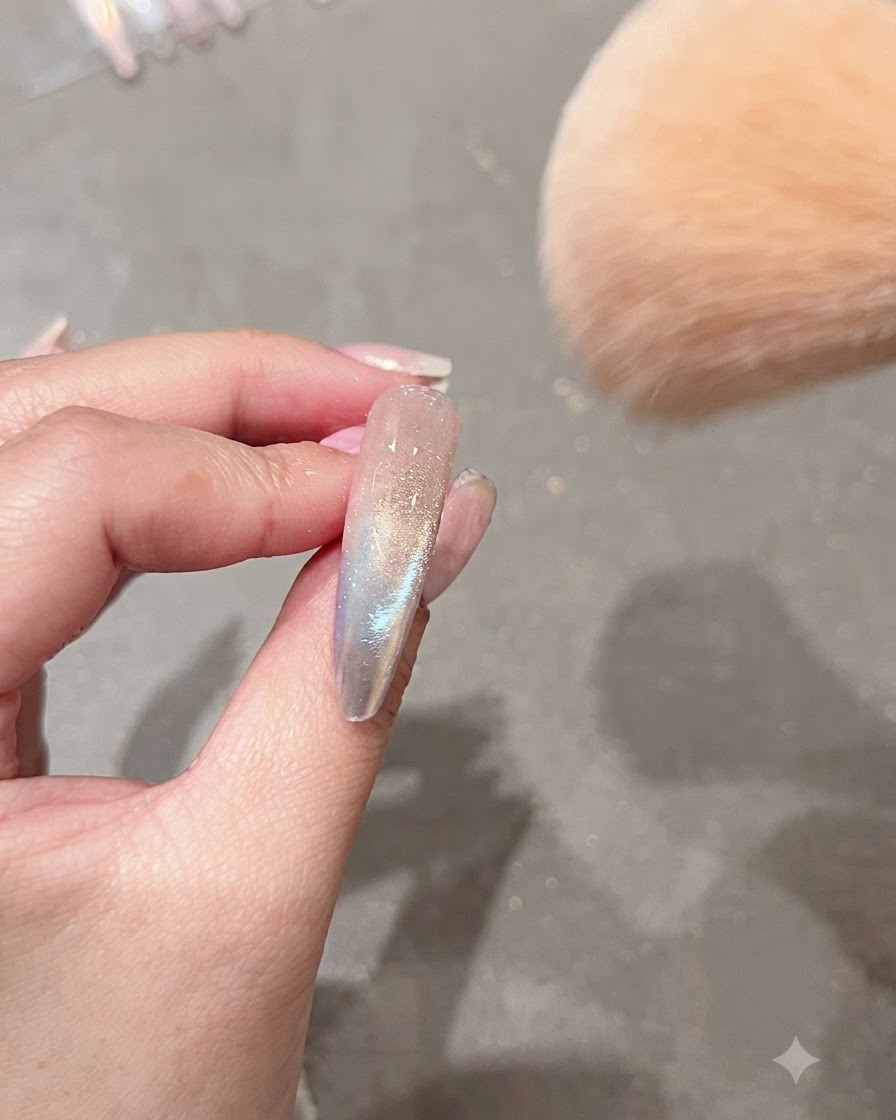
Take a large fluffy dusting brush and gently sweep across the nail surface to remove any loose or excess aurora powder, leaving only the smooth, shimmering finish on the nail tip.
Tip: Use a very soft brush to avoid scratching or dulling the iridescent pigment powder. - 16Apply Doryla strengthening gel sealer
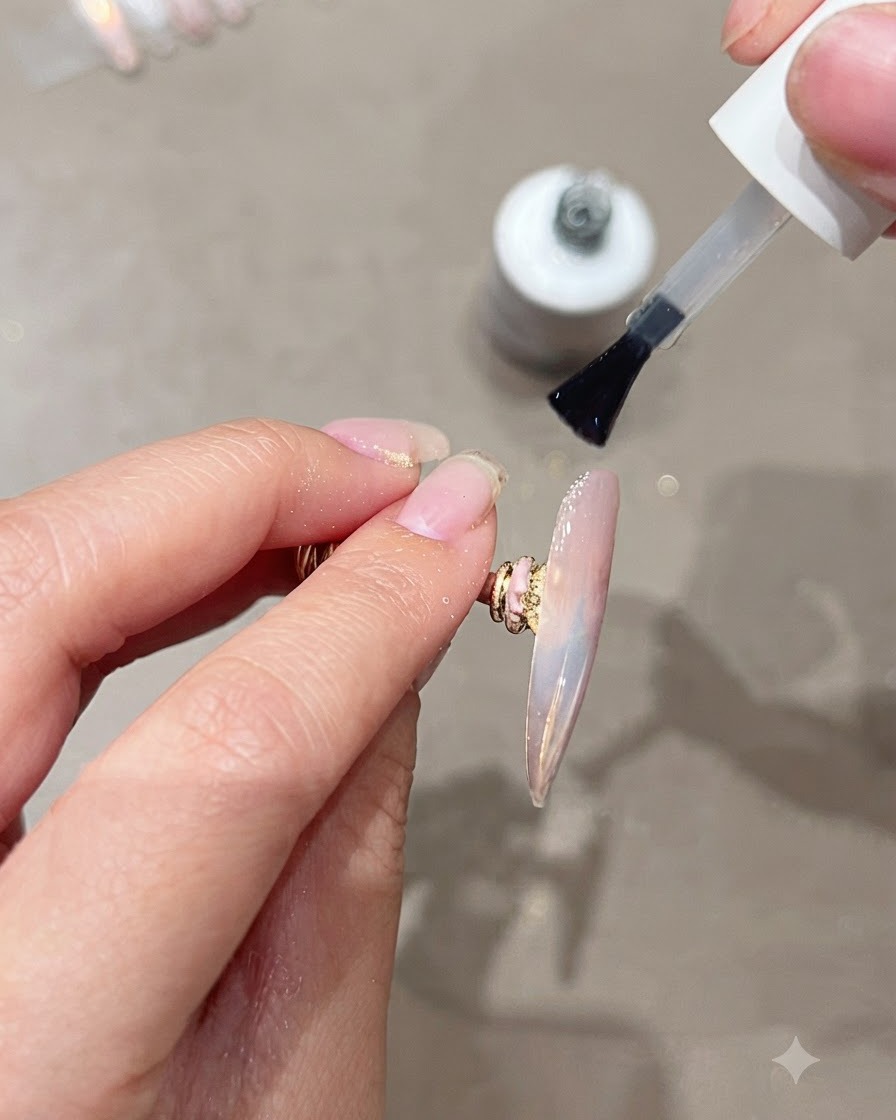
Apply an even layer of Doryla press-on strengthening gel over the entire nail surface to lock in the aurora powder and seal the nail design securely.
Tip: Cap the free edge completely with the strengthening gel to prevent chipping and lifting at the tips. - 17Cure the strengthening gel
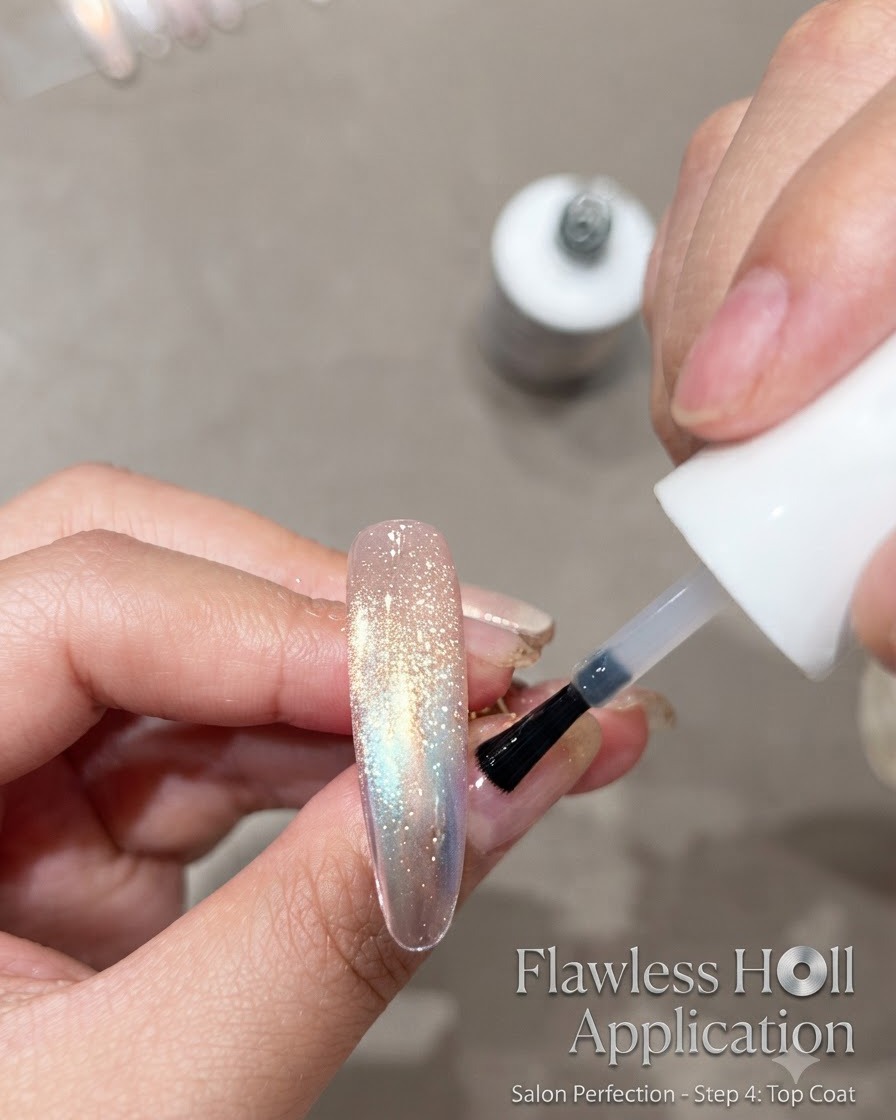
Place the nail under the UV or LED curing lamp and cure the strengthening gel layer thoroughly according to the product guidelines to harden the protective finish.
Tip: Ensure your hand is positioned directly under the light source for an even and complete cure across the entire nail. - 18Draw thin lines
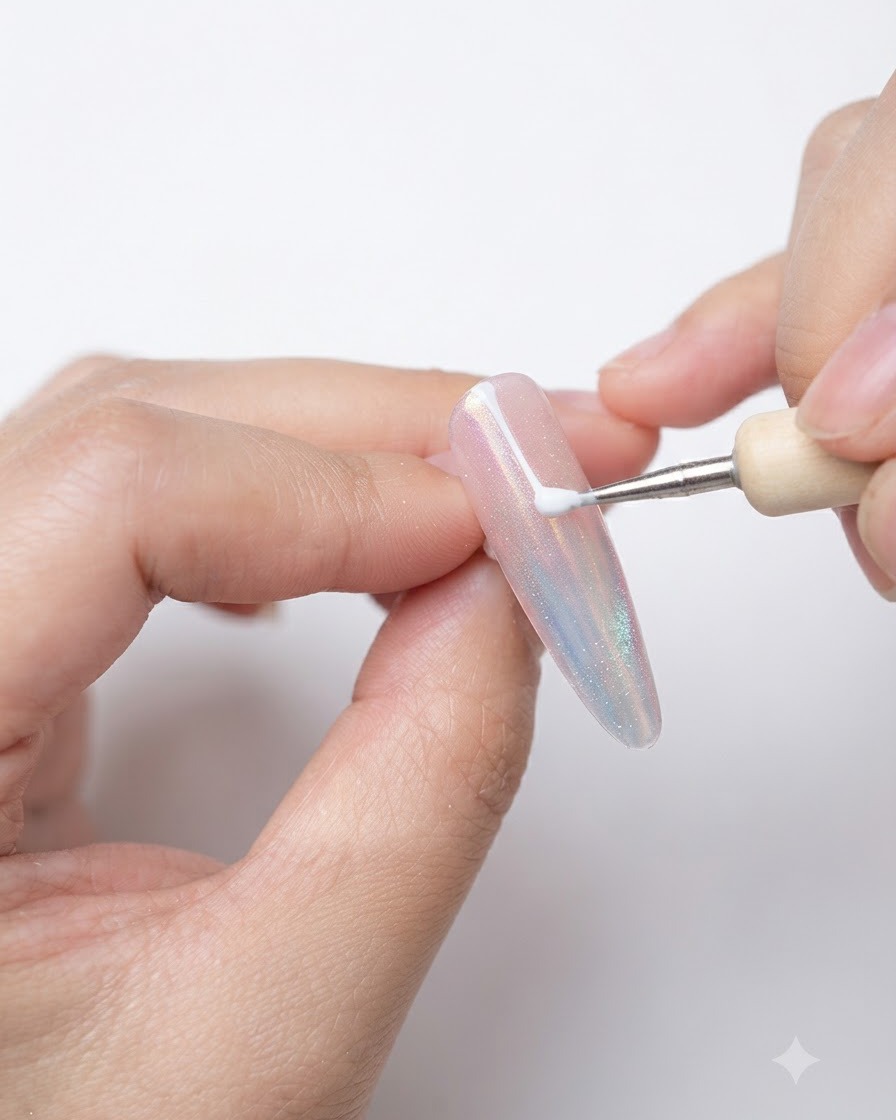
Using a fine liner brush and Jesen white gel, carefully draw thin, delicate lines across the nail to create geometric art.
Tip: Keep your hand steady and use light pressure for crisp, thin lines. - 19Cure the line art
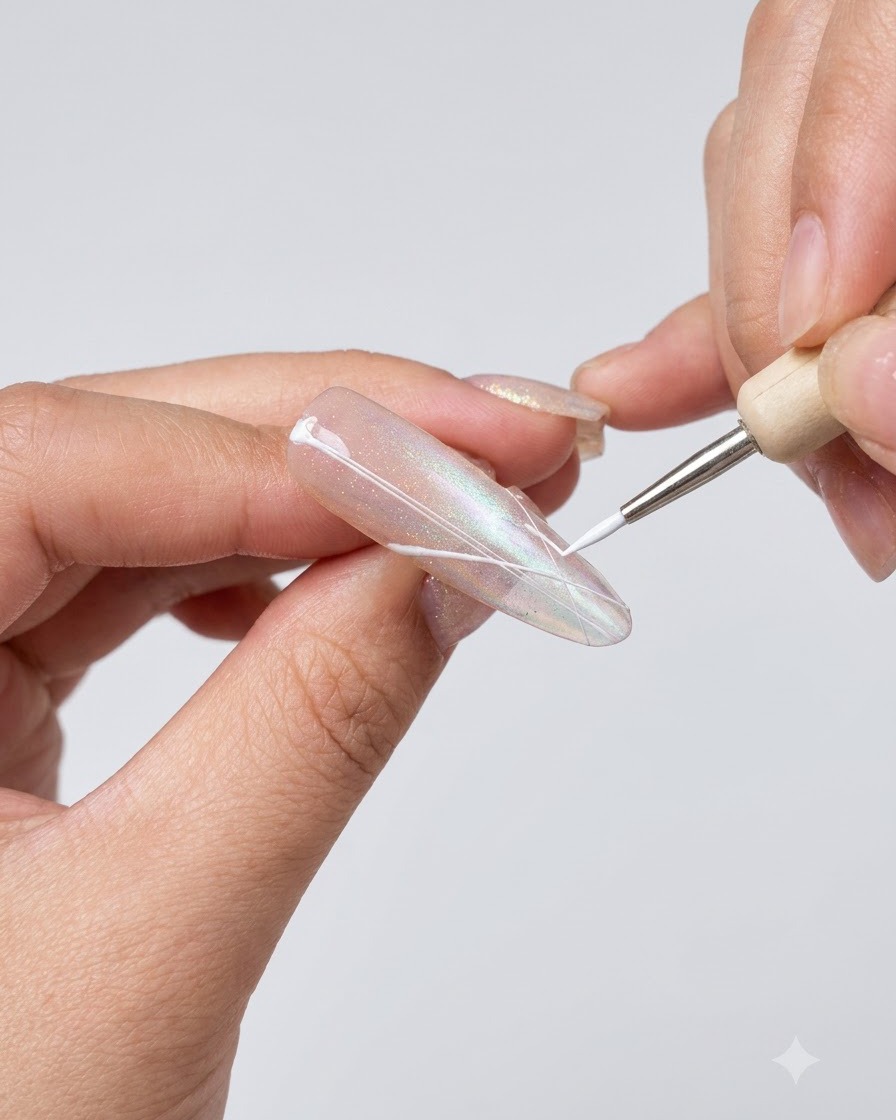
Place the hand under the lamp to cure the freshly drawn white line art, preventing any smudging before the final steps.
Tip: Make sure the gel lines are fully cured before proceeding. - 20Apply sheer nude base
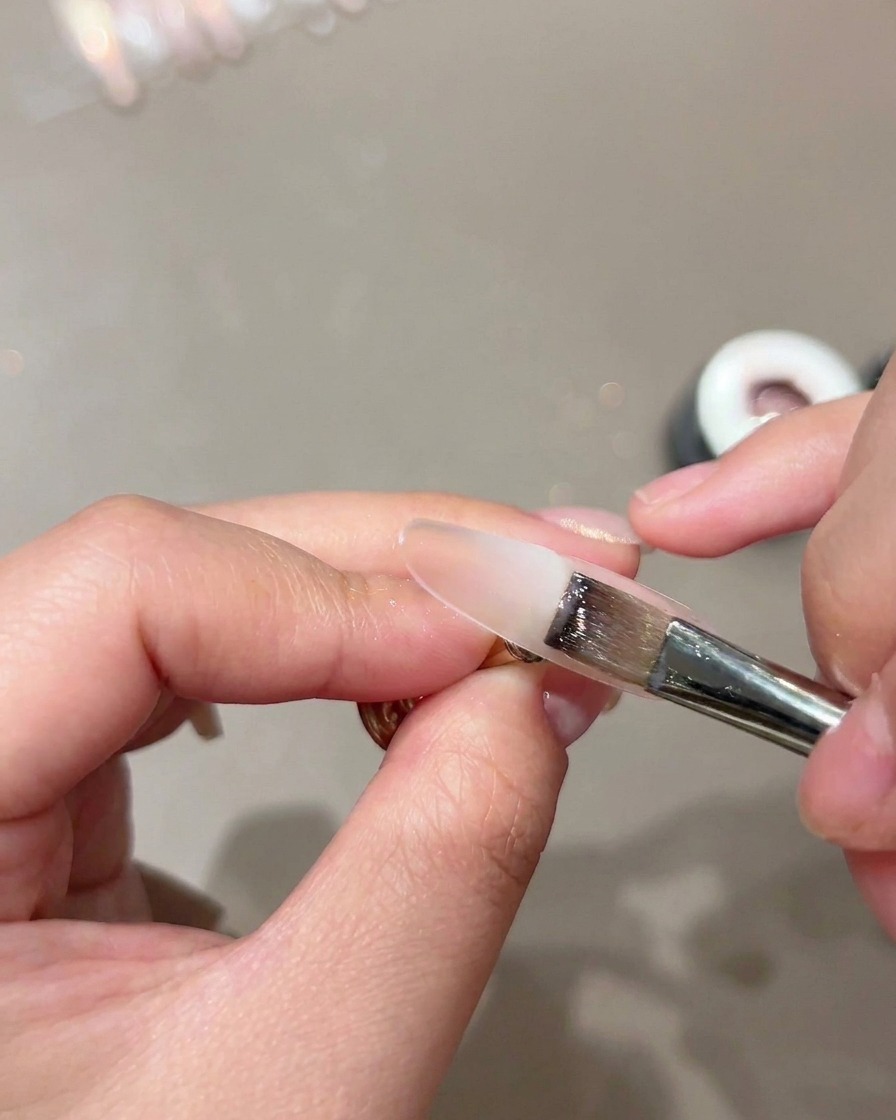
Begin working on the second nail by applying a sheer nude base layer with a flat brush to build a smooth foundation.
Tip: Apply in thin, controlled strokes to avoid pooling at the edges. - 21Blend base layer for gradient
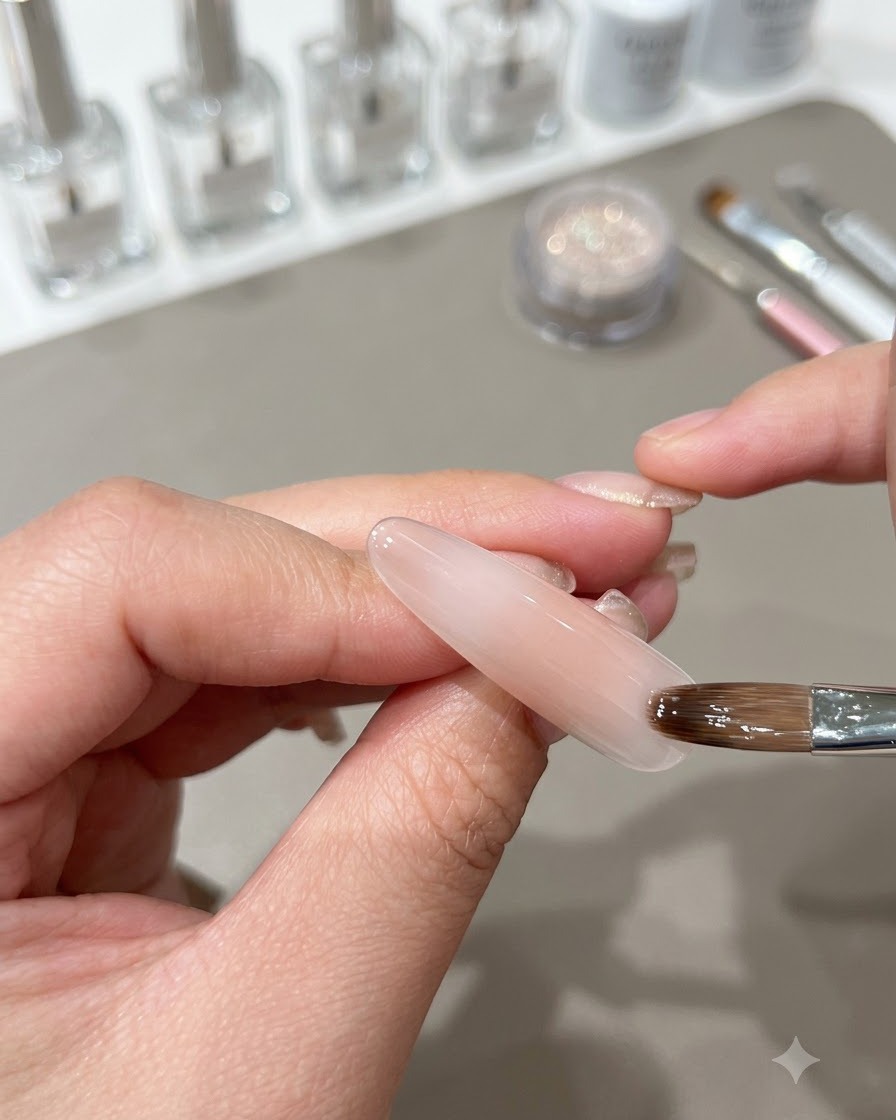
Gently blend the base layer on the second nail to create a smooth, soft gradient effect across the nail surface.
Tip: Work lightly with the brush to achieve an even and seamless fade. - 22Place the flower center dot
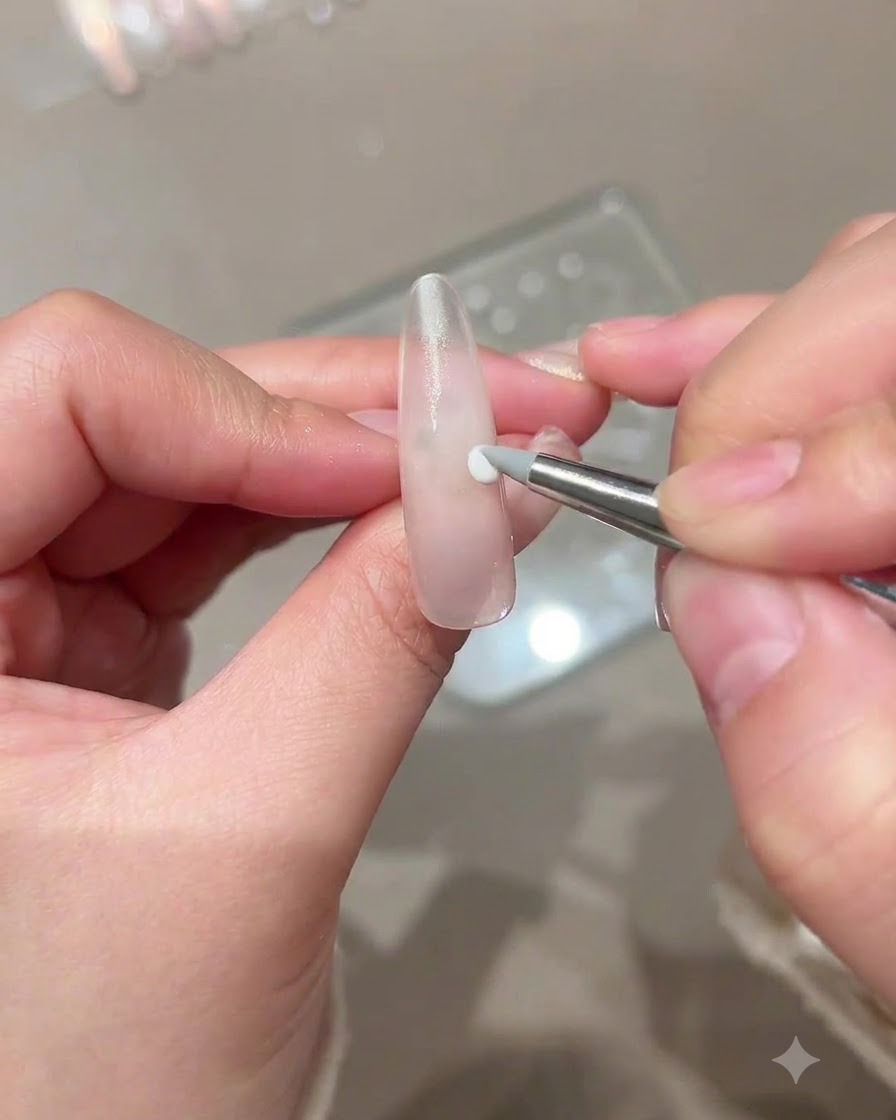
Using a fine detail brush or dotting tool with white sculpting gel, place a small dot directly on the nail surface where you want the center of the flower to be. This dot serves as the anchor point for building your 3D sculpted floral design.
Tip: Keep the dot compact and raised slightly so the surrounding petal layers can tuck neatly against it. - 23Place gel spheres for petals
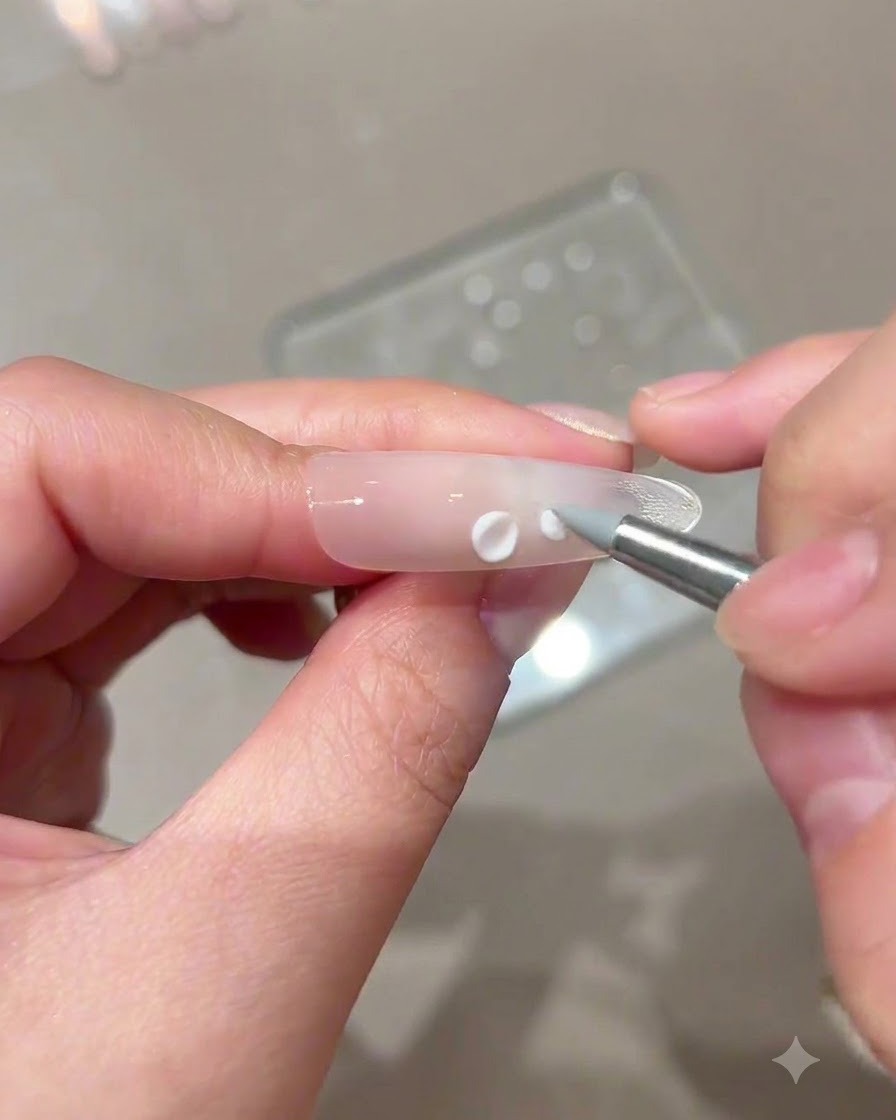
Take small, evenly sized spheres of white sculpting gel and place them in a circle around the central dot you just created. These will be pressed and shaped into individual petals to form the flower.
Tip: Consistency is key — ensure each sphere is roughly the same size so your finished petals look balanced. - 24Shape the floral petals
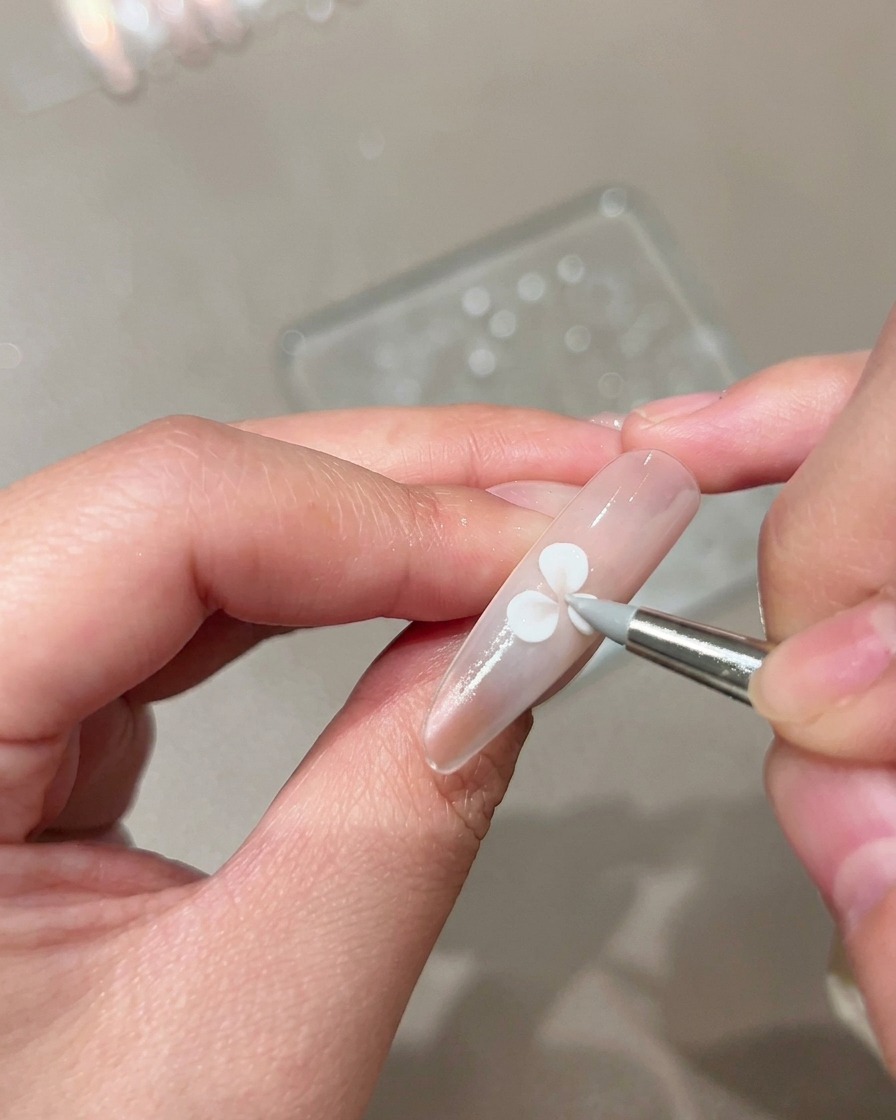
Using a silicone flower brush or detail tool, gently press and pull outward from each gel sphere toward the outer edge to flatten and shape them into distinct, delicate petals. Cure the completed design under your UV or LED lamp.
Tip: Lightly mist your brush with alcohol or slip solution if the sculpting gel is sticking to the tool bristles.