Monet Garden Rose Nail Art — New Year Watercolor Floral Tutorial
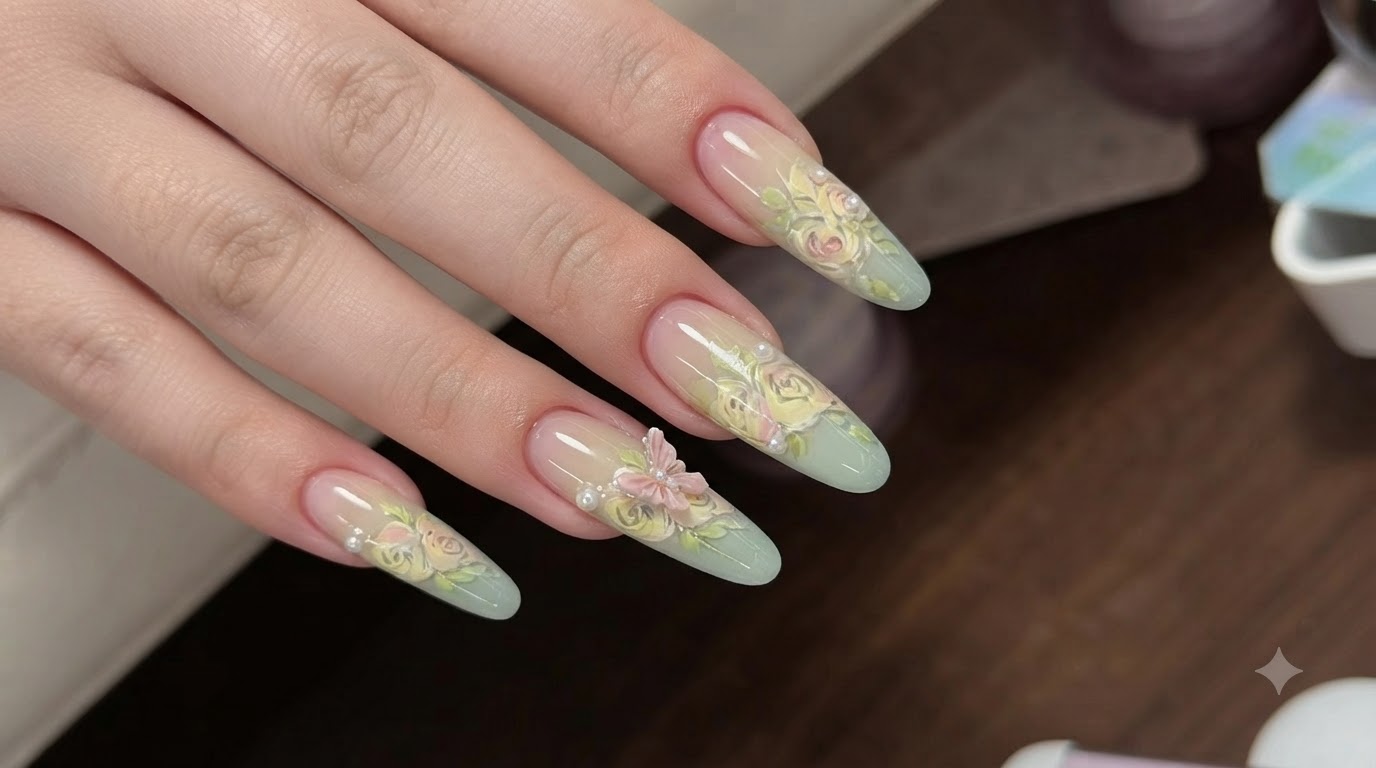
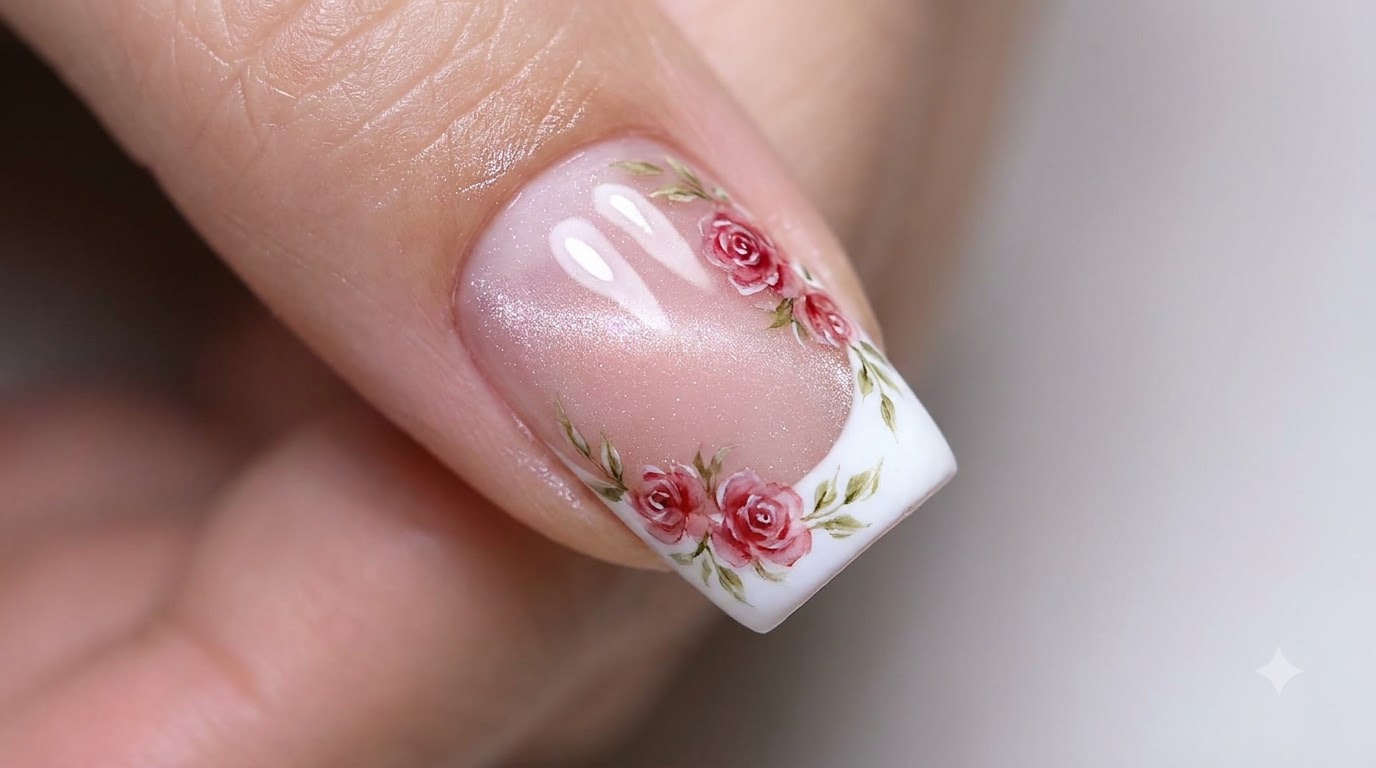
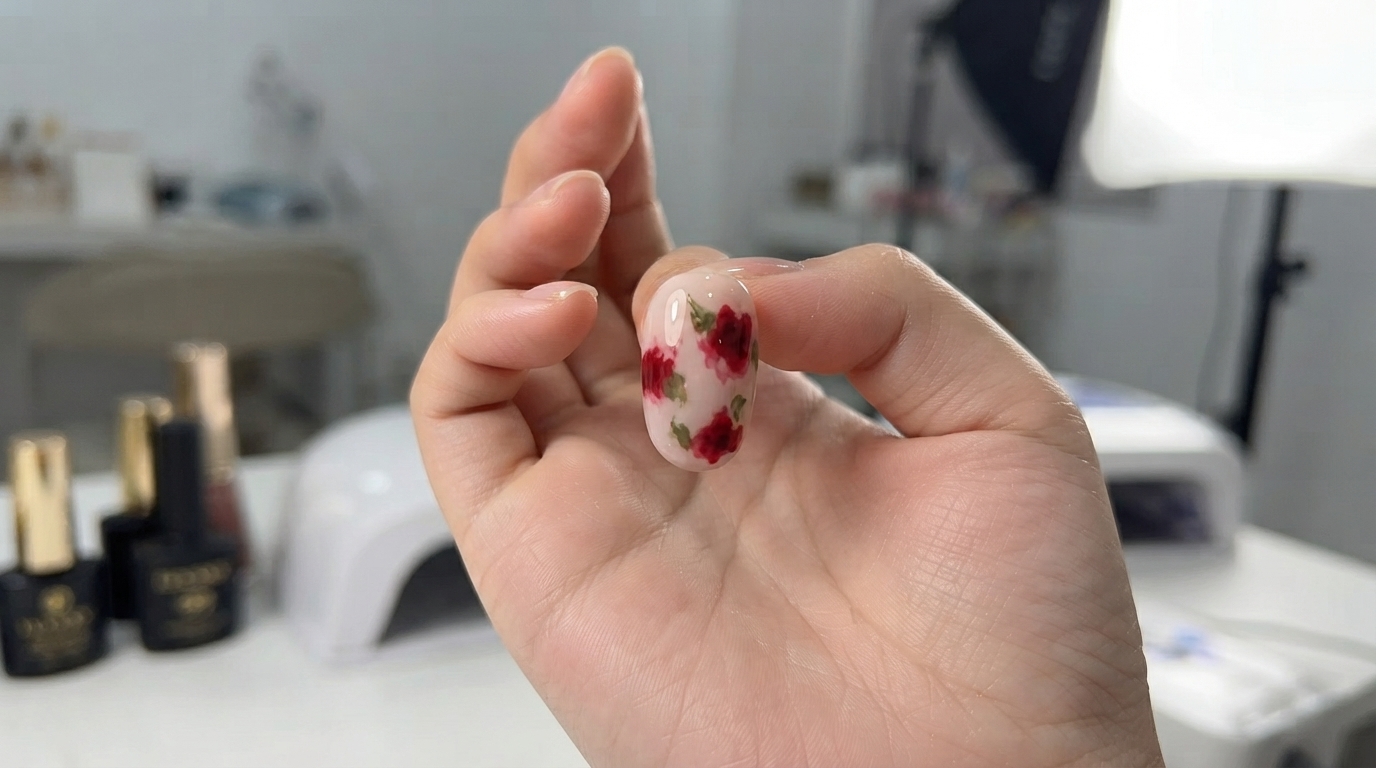
Create a stunning Monet garden aesthetic on your nails with translucent watercolor red roses, delicate green leaves, and gold flakes for a New Year look.
Looking for the ultimate New Year manicure style that feels artistic and romantic? This Monet garden rose tutorial brings a touch of fine art to your fingertips using potted gels and a soft blooming technique. With translucent layers and delicate watercolor petals, this atmospheric look is surprisingly simple to recreate at home.
Steps
- 1Apply nude milky base color
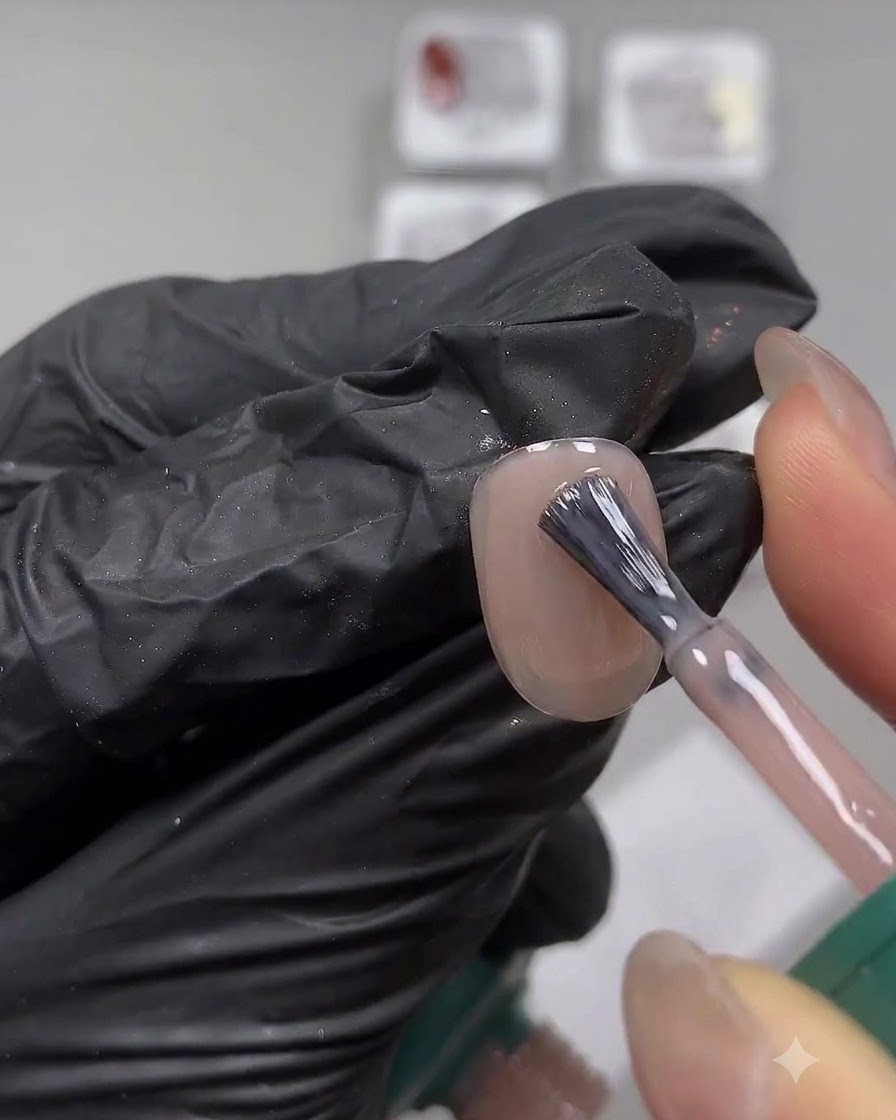
Apply a nude milky base color evenly across the entire nail surface using a brush. Ensure smooth and even coverage, and apply two coats for the desired translucent milky effect as shown. Cure under the UV/LED lamp after application.
Tip: Applying two thin coats prevents pooling at the edges and gives a more uniform, soft translucent color. - 2Scoop red potted gel
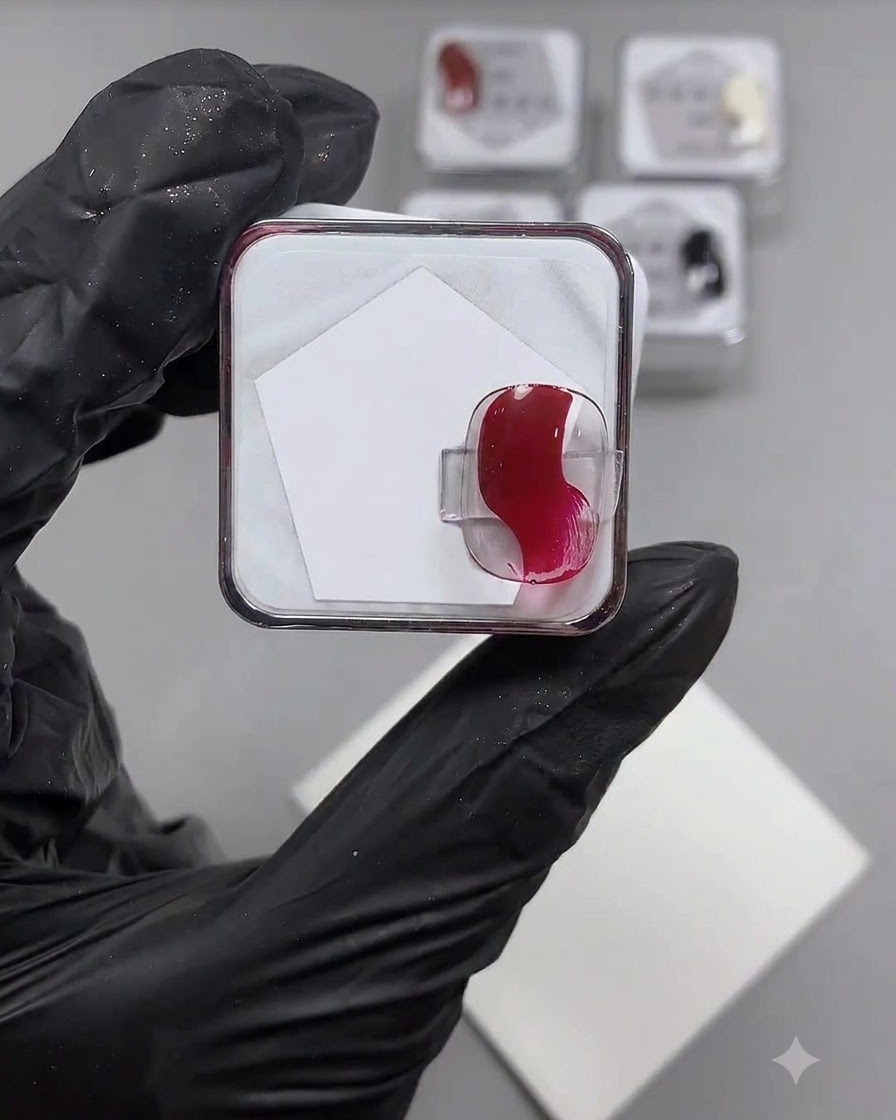
Take a quantity of red potted gel, which offers higher pigmentation and consistency, and scoop dollops onto your mixing palette. This prepares the highly pigmented gel for custom dilution and mixing.
Tip: Potted gels provide better control and pigmentation for detailed nail art compared to bottled gel polishes. - 3Dilute red gel with base gel
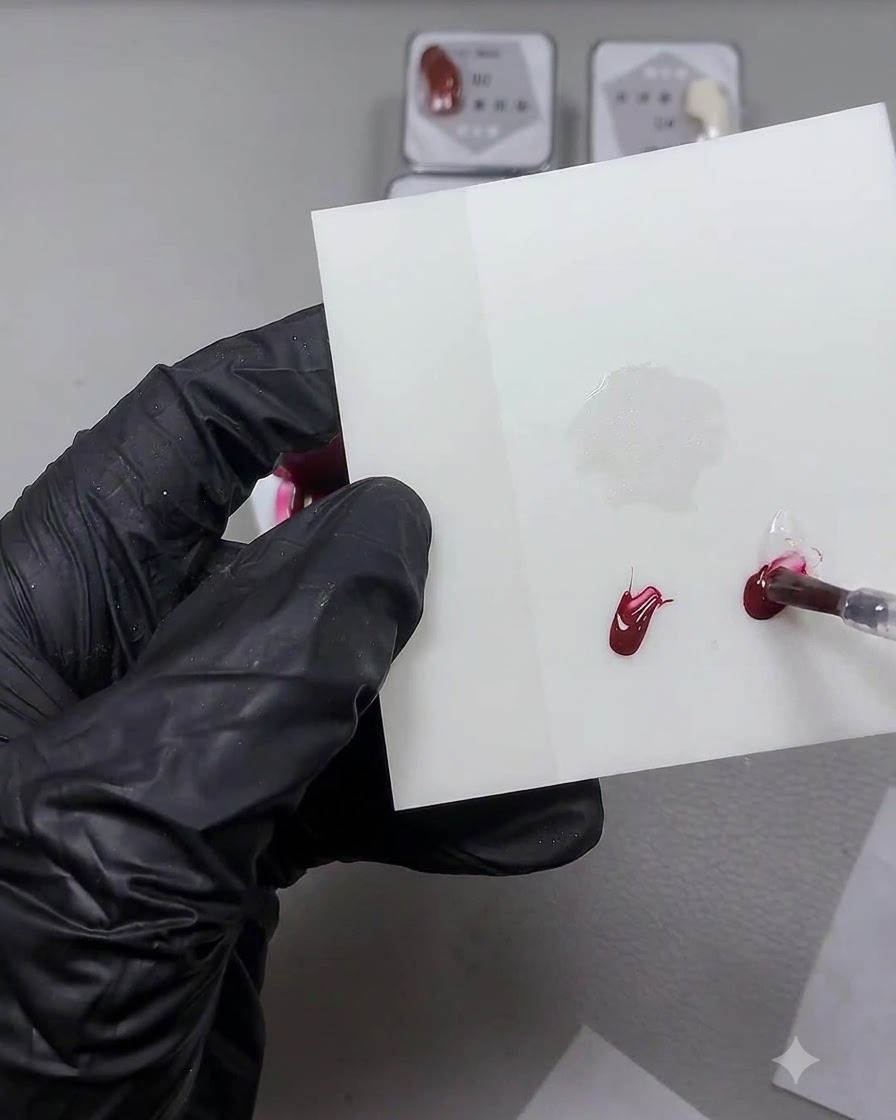
Take a portion of the red gel from your palette and mix it with base gel to dilute its consistency and opacity. This freshly mixed, translucent shade will be used to paint soft, watercolor-style rose petals.
Tip: Diluting the potted gel with base gel gives it a syrup-like consistency ideal for blooming nail art techniques. - 4Paint the first layer of roses
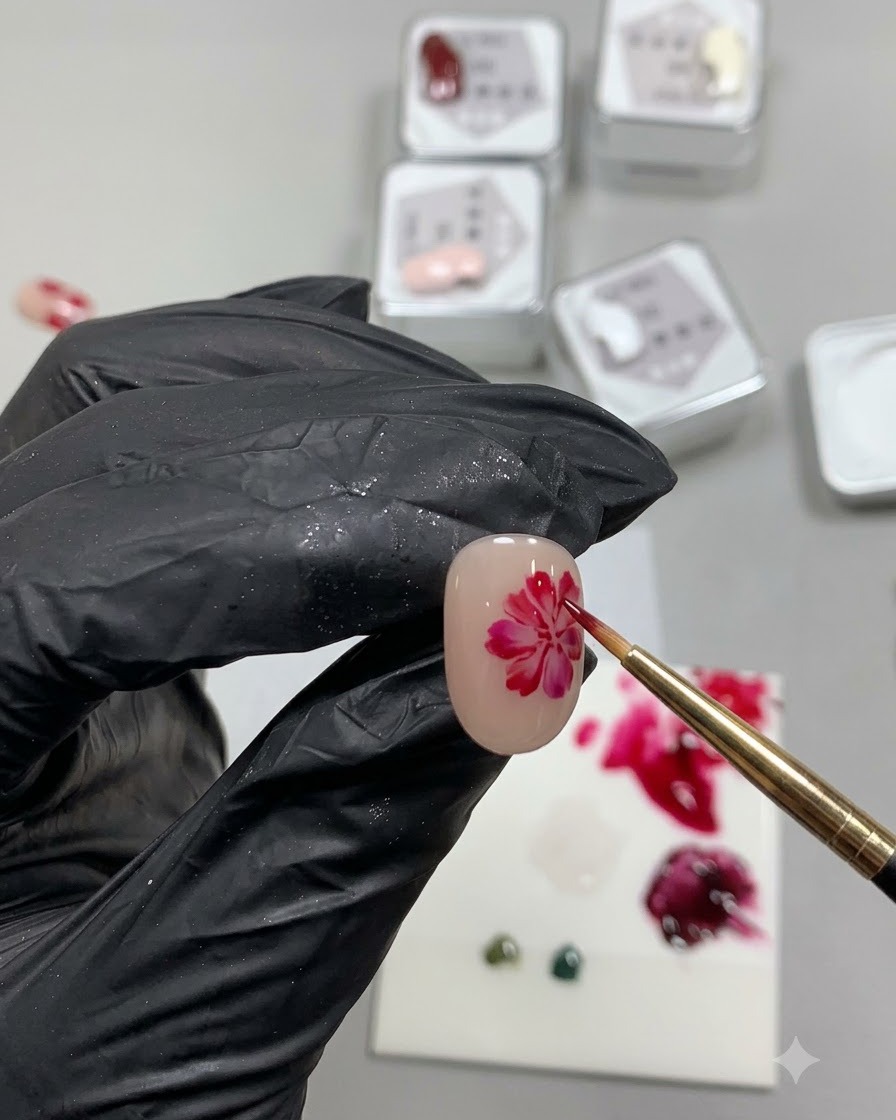
Using the freshly mixed diluted red color, paint the first layer of the roses in the shape of an irregular, soft circle. Keep the application translucent and gentle so it appears soft without being overly dark or heavy.
Tip: Think of the first layer as an organic, irregular outline to keep the rose petals looking soft and natural. - 5Blend petal edges with base gel
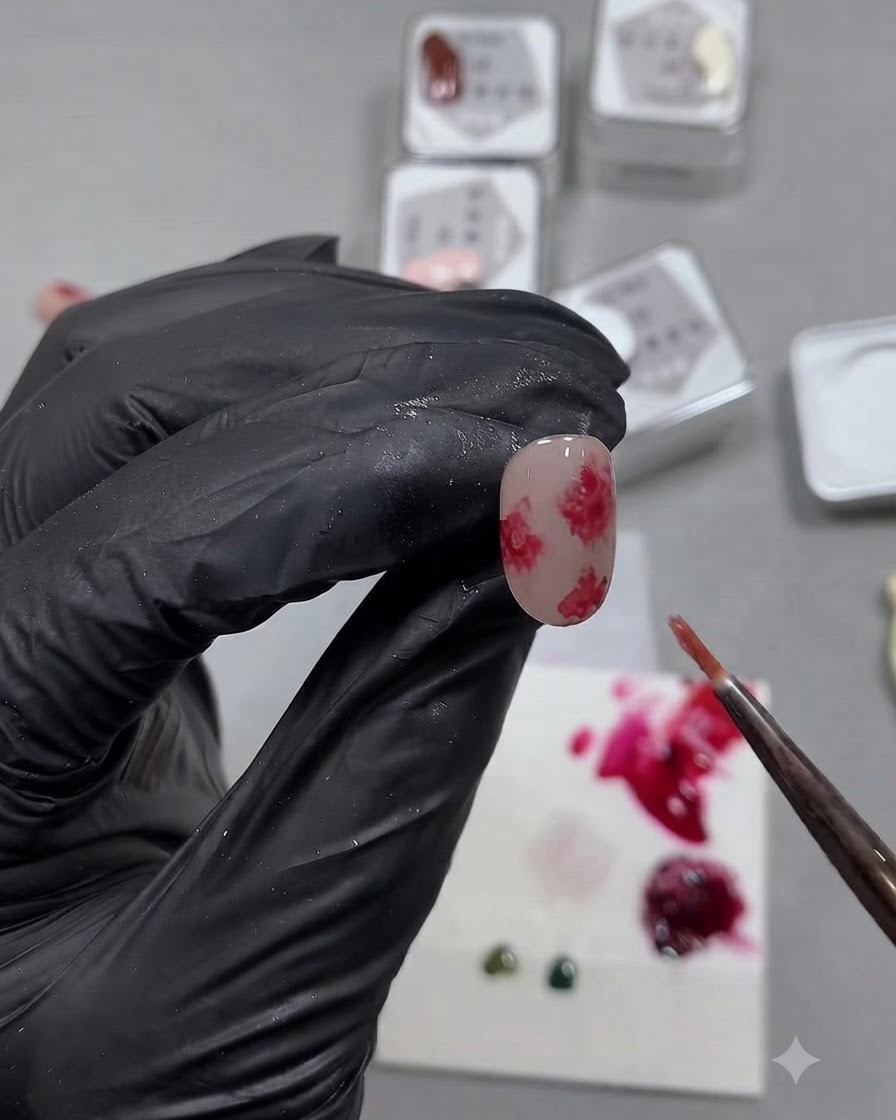
Take clear base gel and apply it around the four surrounding edges of the painted rose shape to blend the boundaries naturally. This creates a soft, blooming halo effect around the flower.
Tip: Working quickly with base gel around the wet color helps achieve a seamless, natural watercolor gradient bleed. - 6Paint the rose center layer
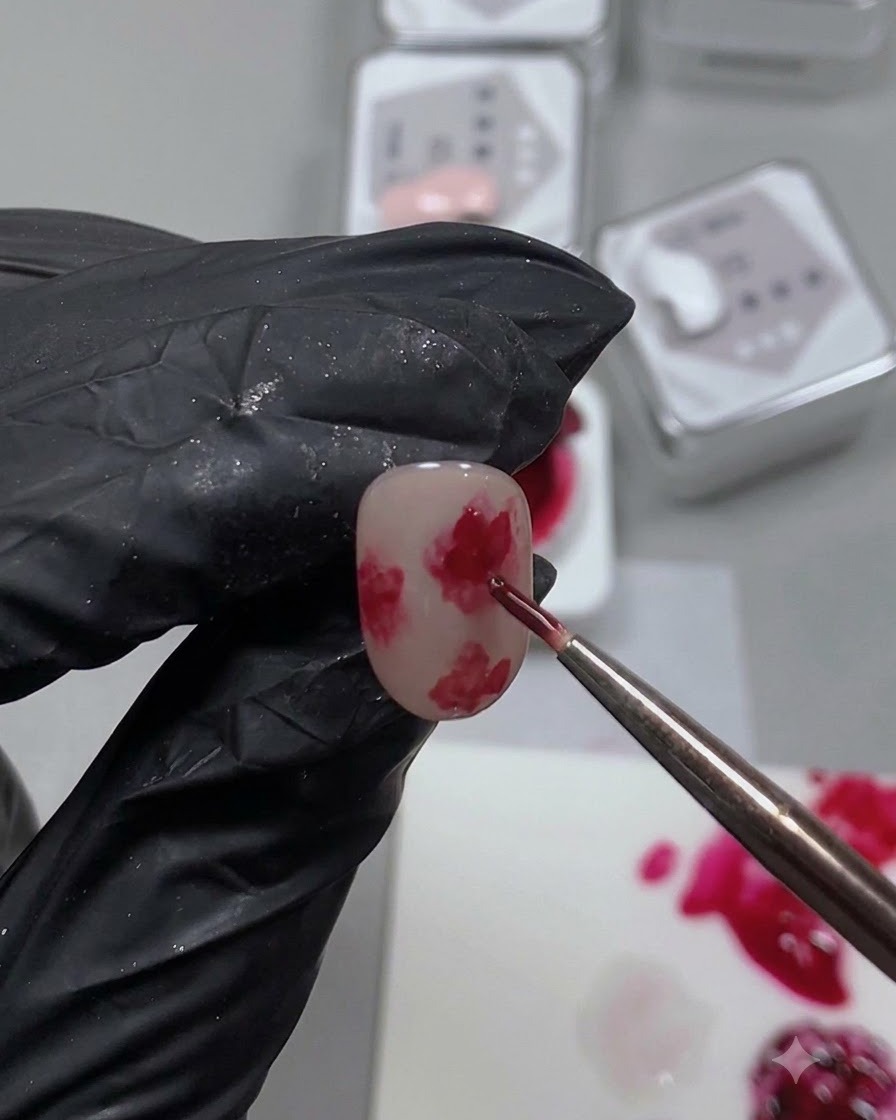
Paint the second layer right at the center of the rose flower, ensuring it stays well within the boundaries of the first layer. This adds depth and creates a natural bleeding and blooming texture.
Tip: Keeping the second layer inside the first prevents muddying and maintains a crisp dimensional center. - 7Darken the red gel
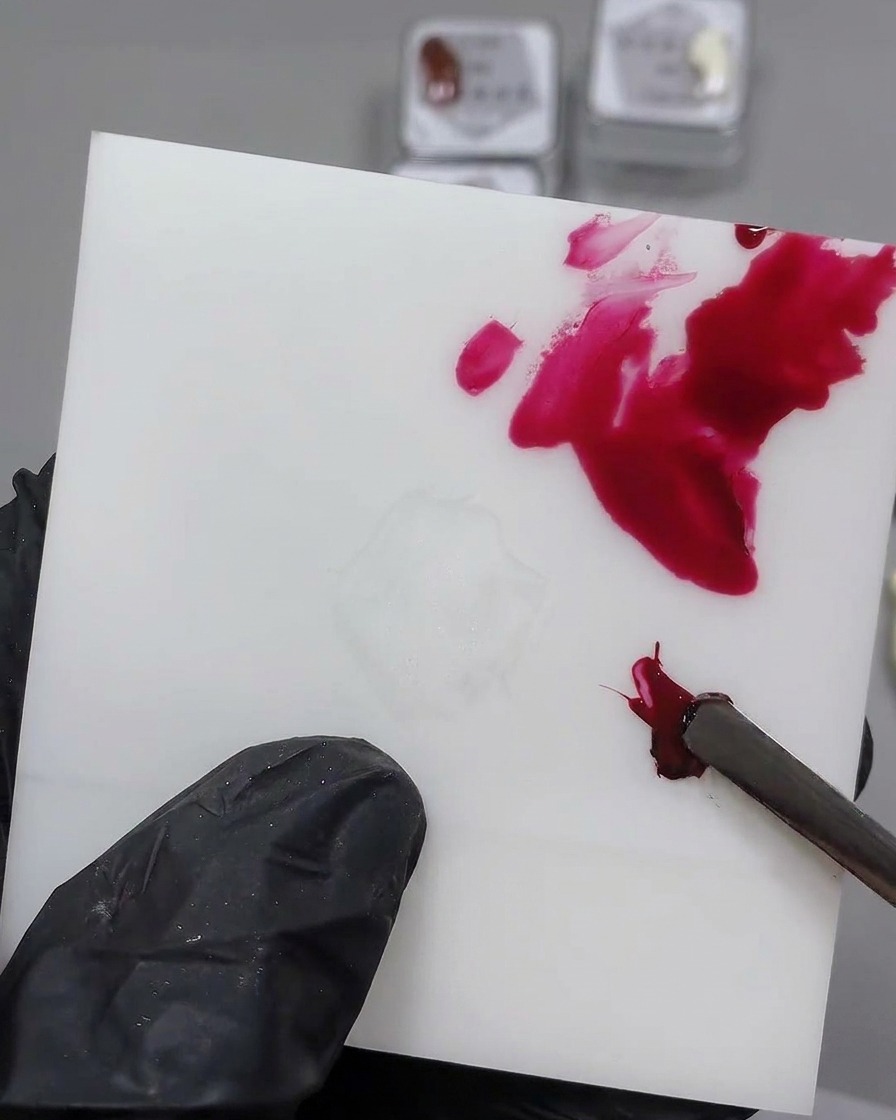
Take a small amount of black gel and thoroughly mix it into the red potted gel on your palette to achieve a deeper, richer shade.
Tip: Add the black gel in very small increments so you dont make the red too dark. - 8Apply dark centers to the roses
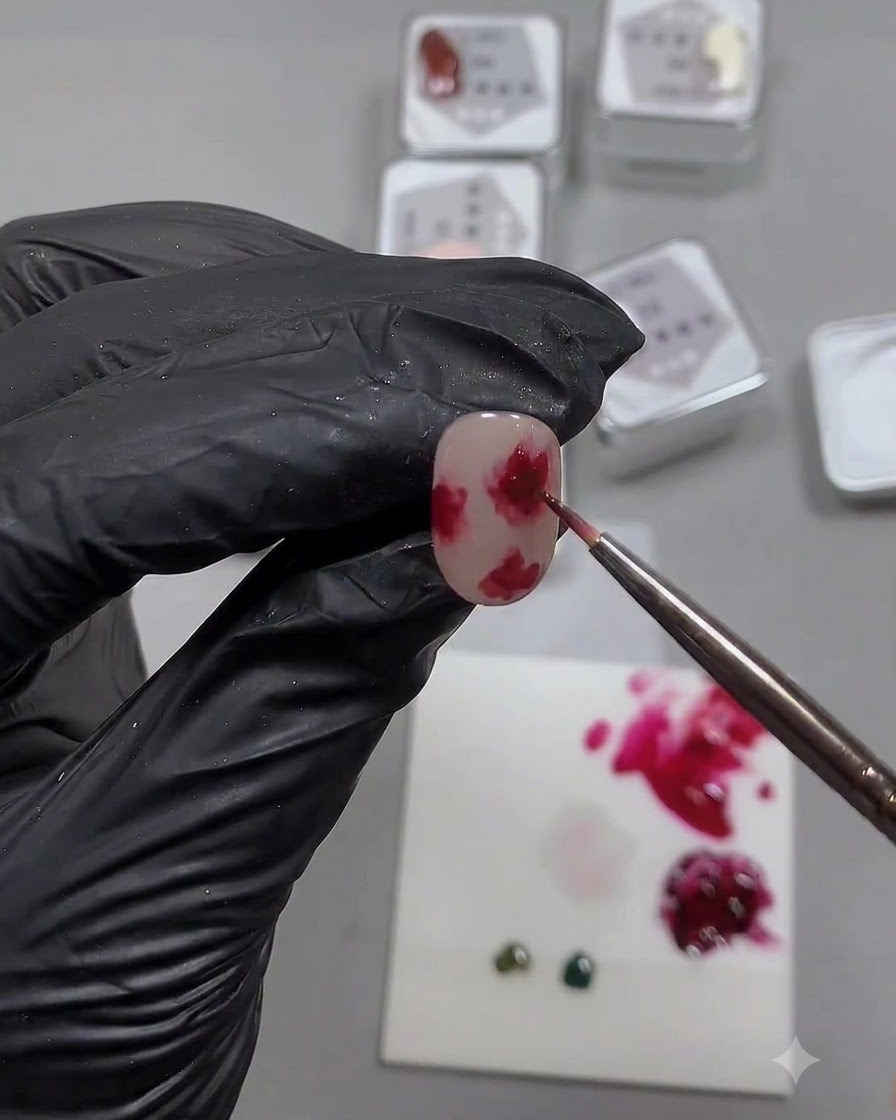
Using a fine nail art brush, apply the newly darkened red mixture directly onto the centers of the painted roses to create depth and dimension.
Tip: Keep the application concentrated in the center to maintain a natural bleeding effect. - 9Paint irregular leaves
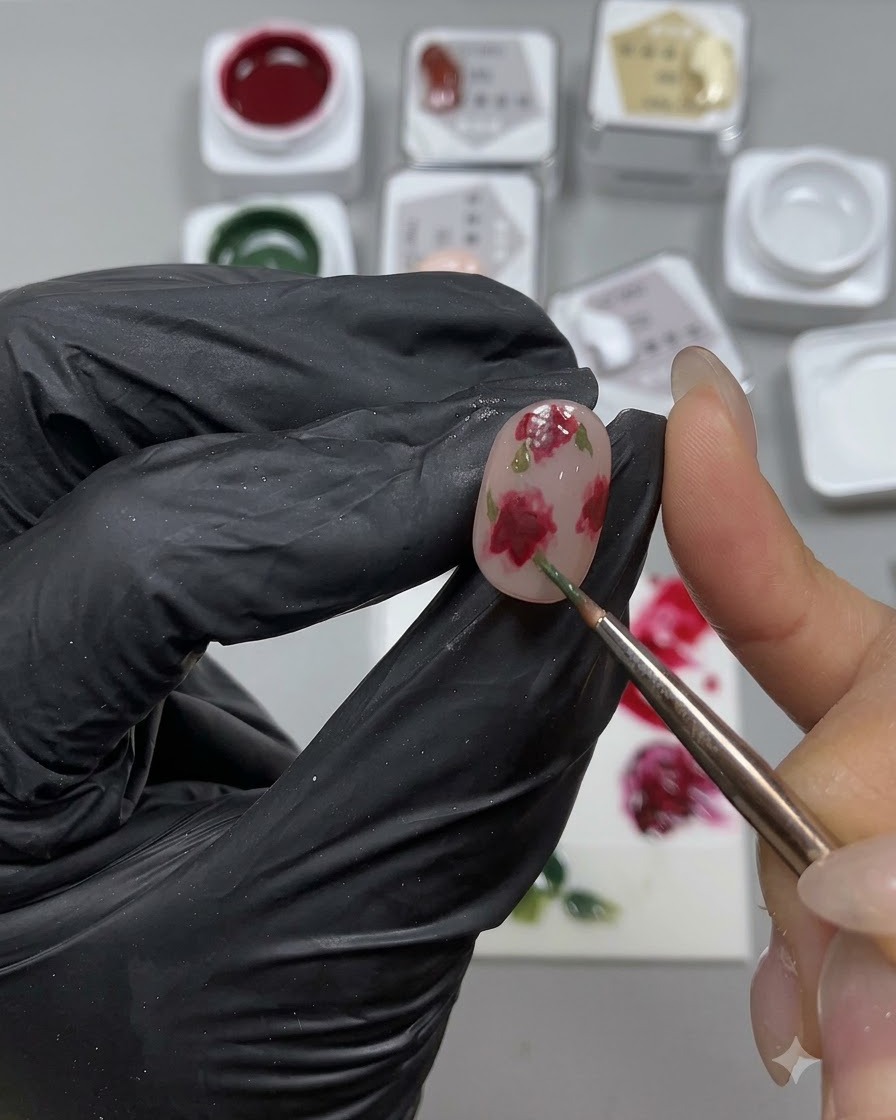
Using green gel, paint small, irregular leaves around the four sides of the roses to frame the floral design.
Tip: Keep leaf shapes varied and natural rather than perfectly symmetrical. - 10Apply top coat and check reflection
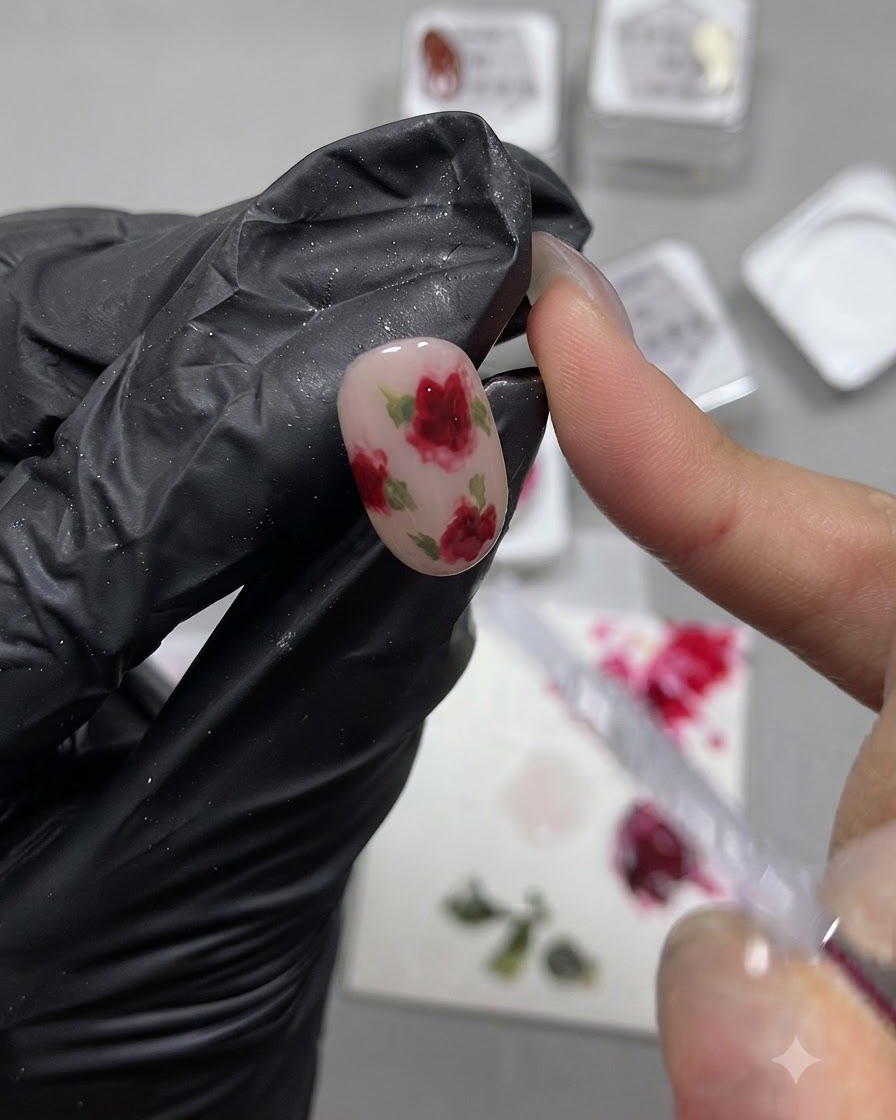
Apply a final layer of top coat over the entire nail design to seal it, and check the surface for a smooth halo light ring reflection.
Tip: Ensure the top coat covers all painted edges to prevent chipping. - 11Cure under UV/LED lamp
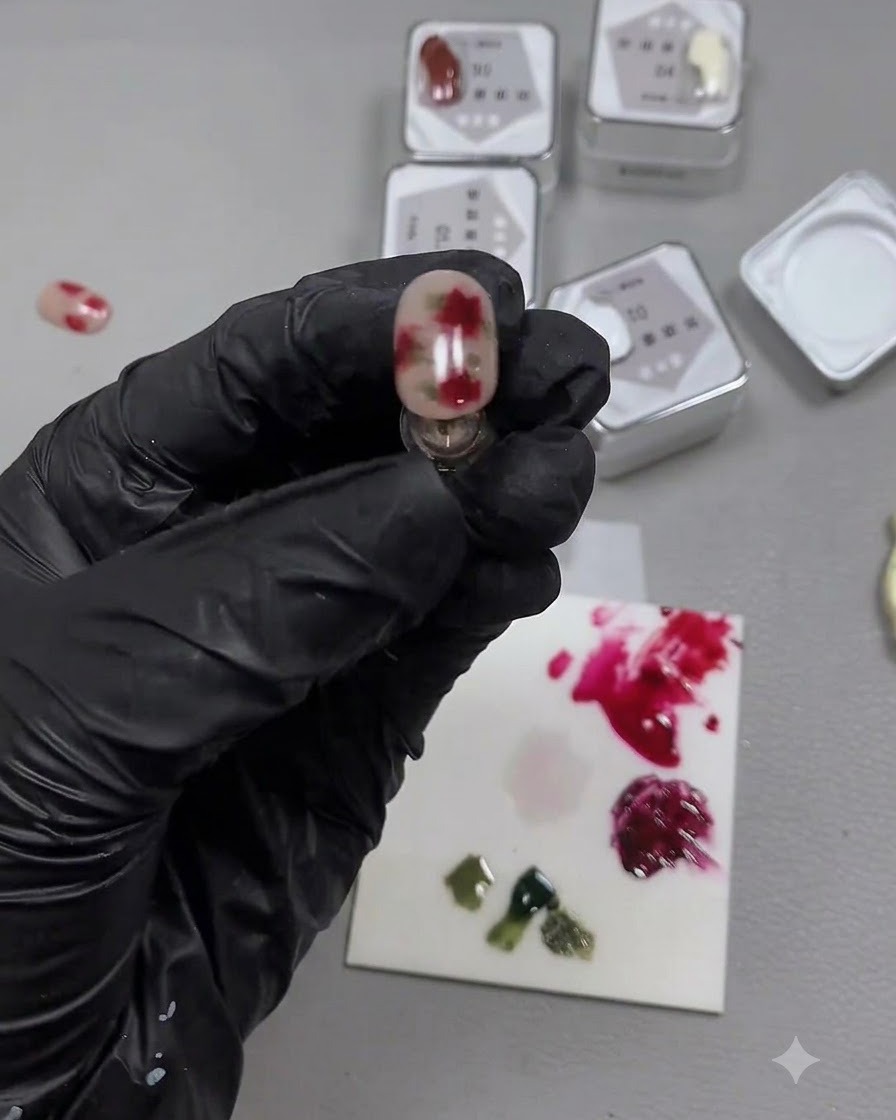
Place the finished nail under the UV or LED lamp to fully cure the top coat and lock in the design.
Tip: Cure for the full recommended time specified by your gel product manufacturer.