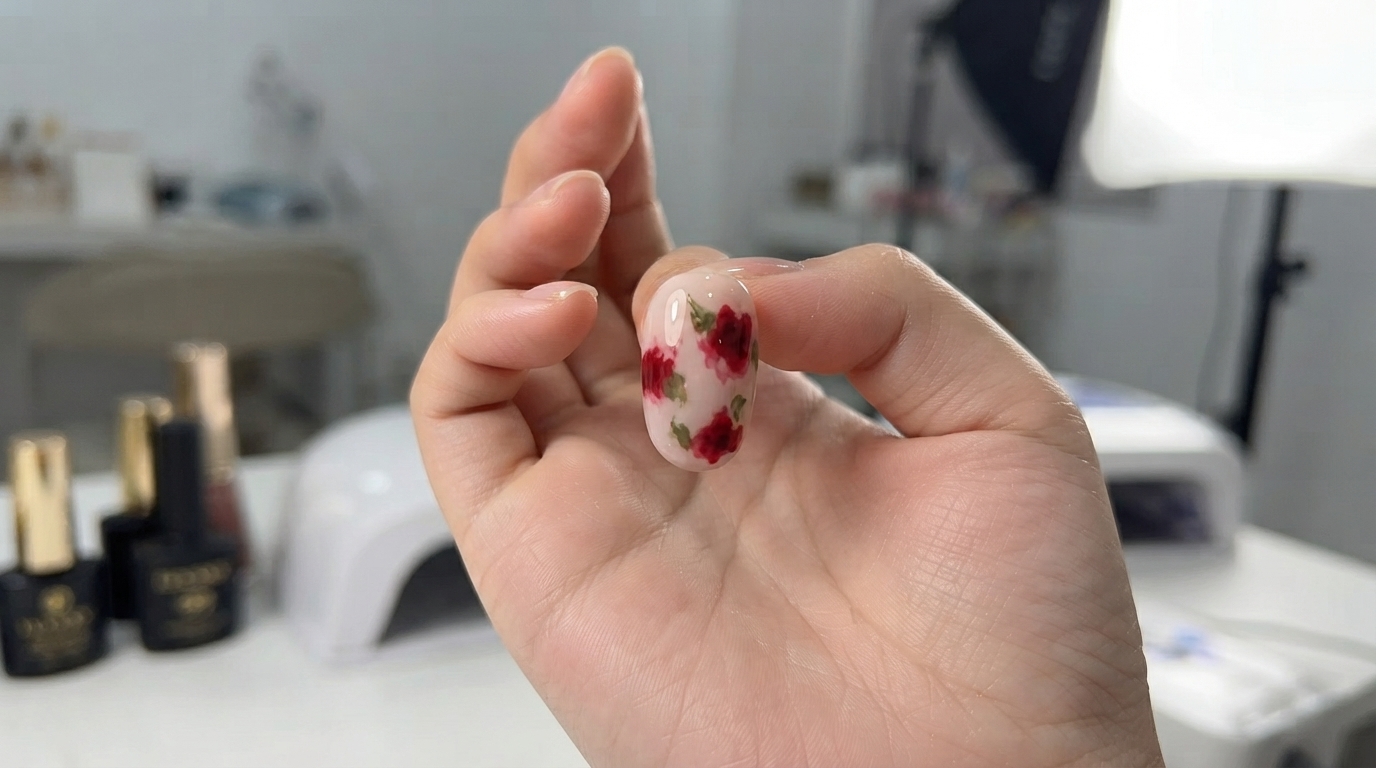
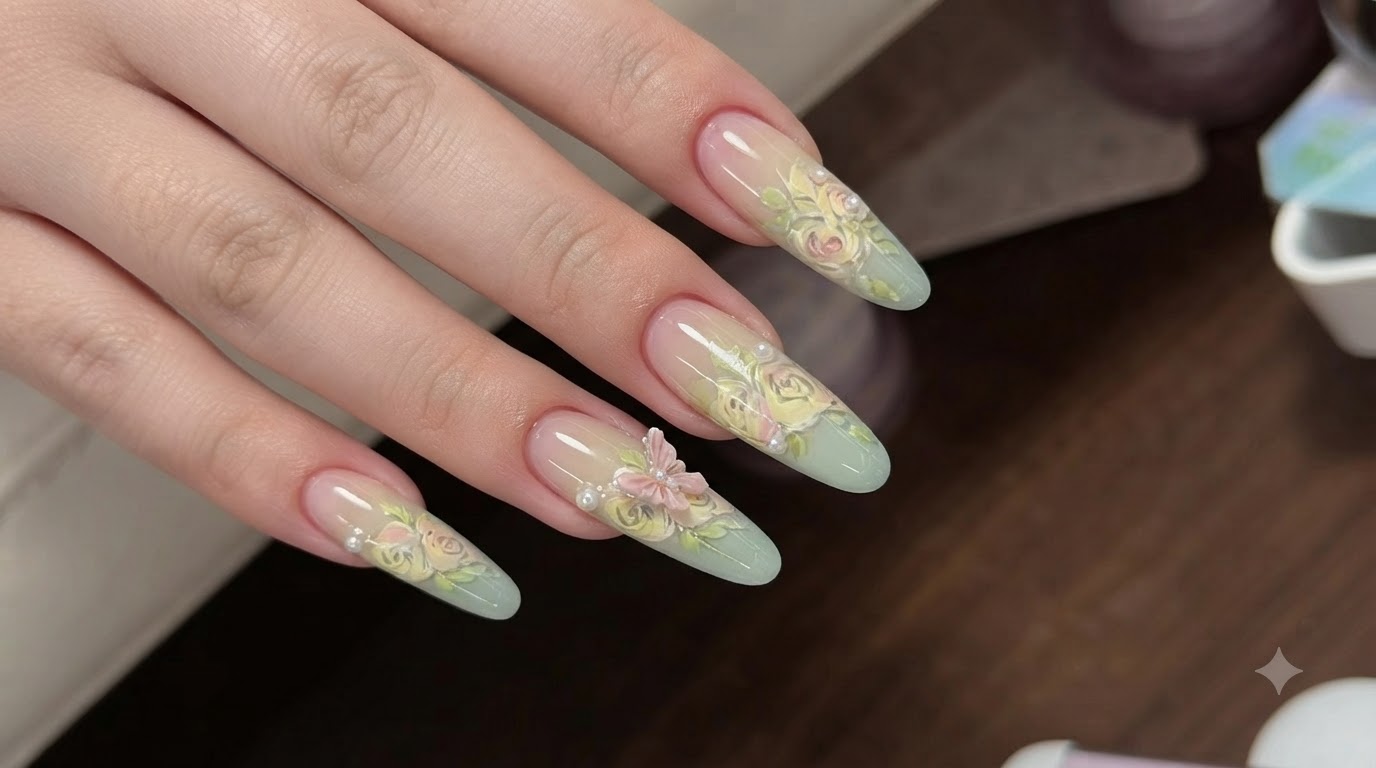
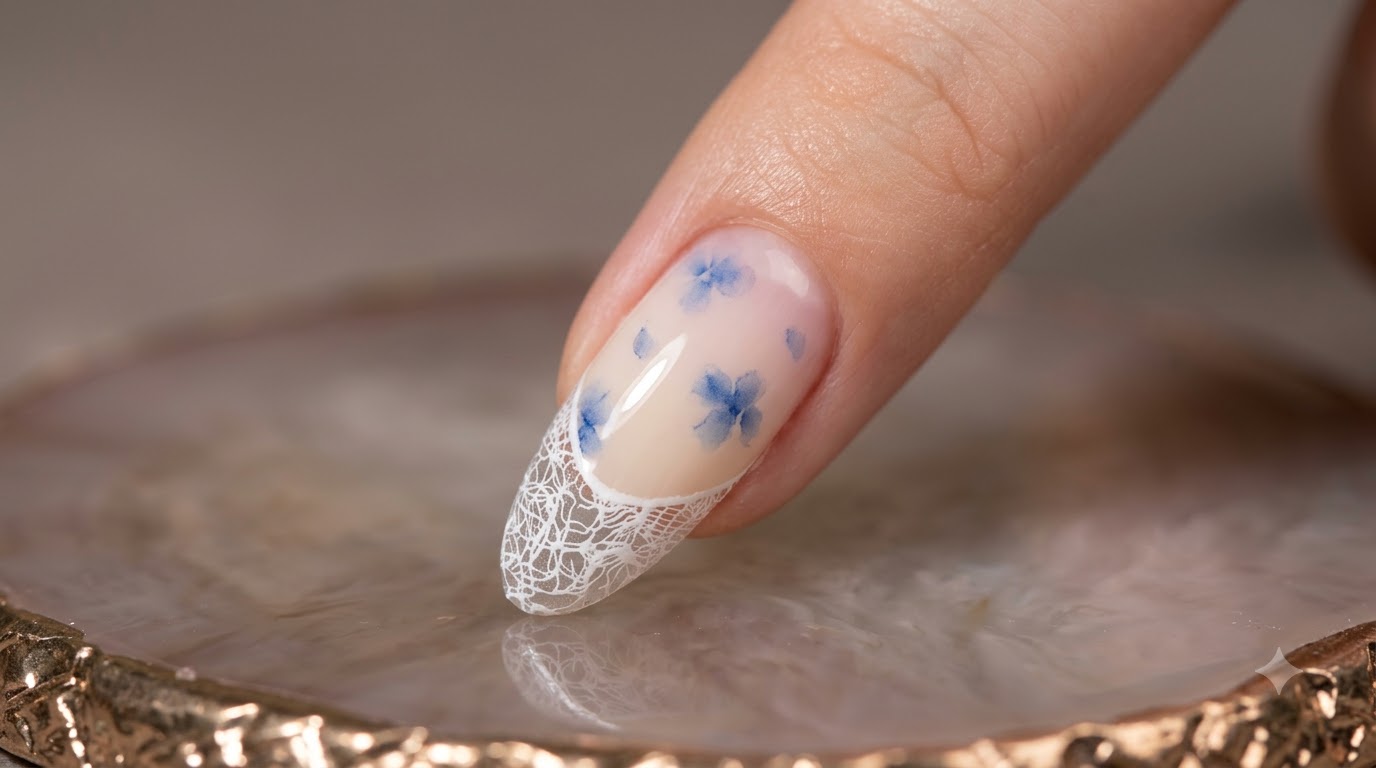
Watercolor Rose French Manicure
Cat Eye Effect — Step-by-Step Nail Tutorial
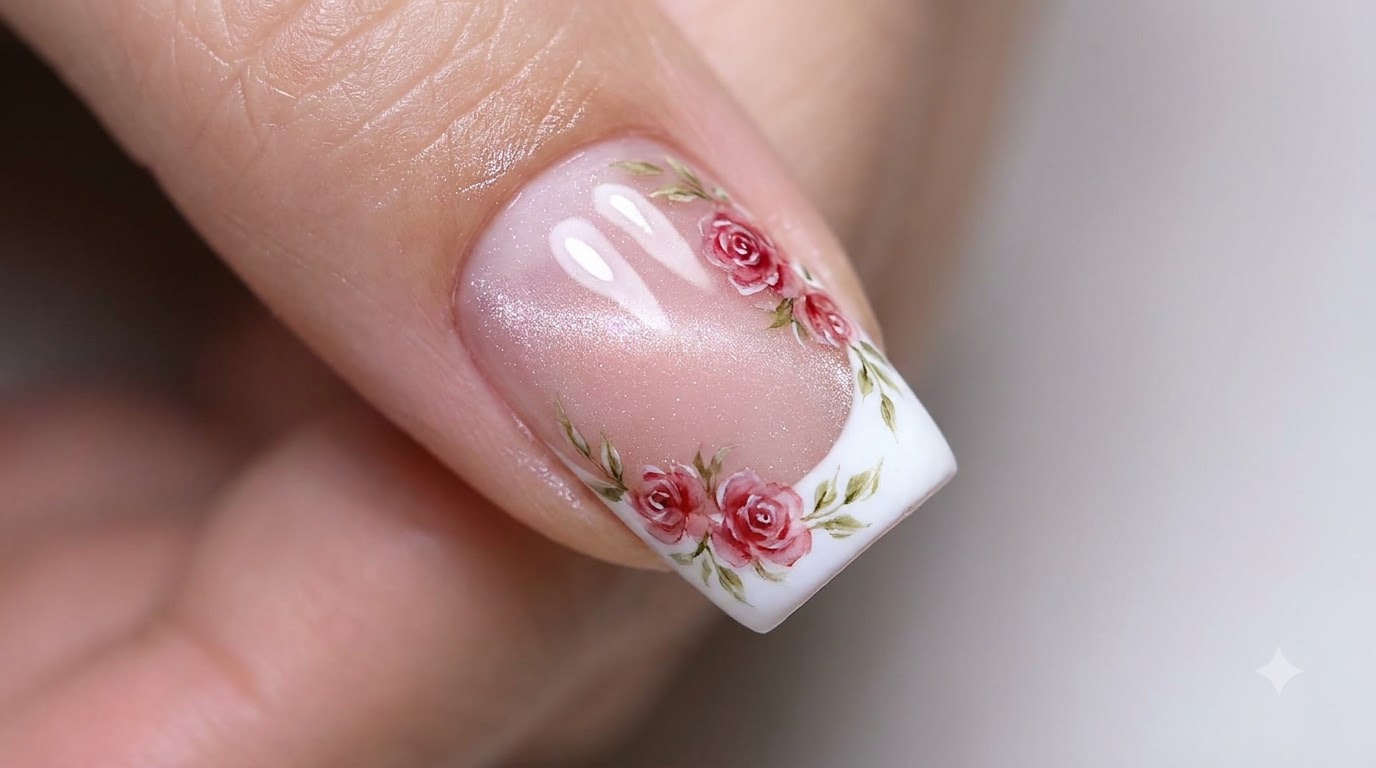
Create breathtaking watercolor rose nail art featuring a shimmering cat eye base and elegant white side-French tips for a sophisticated floral look.
Floral nail designs continue to be a timeless favorite, and this tutorial combines delicate hand-painted watercolor roses with the modern depth of a magnetic cat-eye background. Set against a chic side-French tip, this look offers an artistic yet accessible way to elevate your manicure skills.
Steps
- 1Apply base gel to the thumbnail
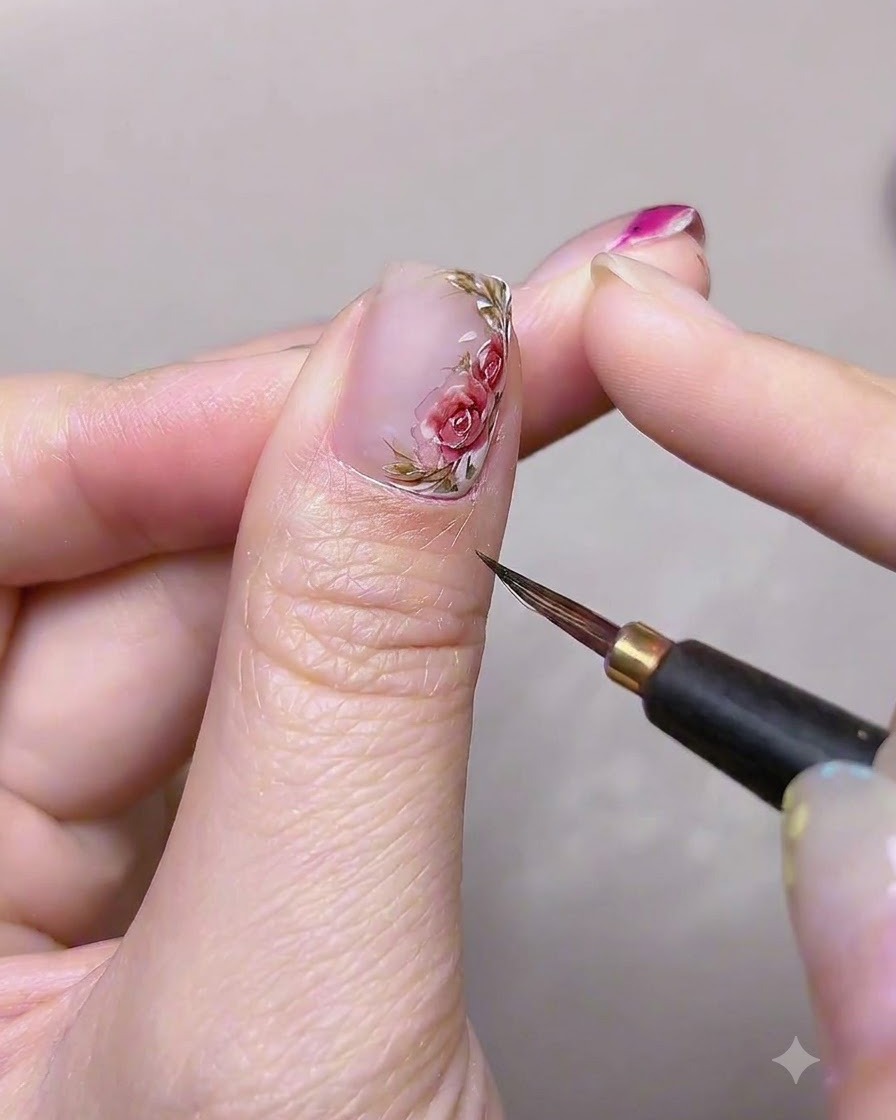
Using a flat gel brush, pick up a controlled amount of clear base gel and apply it evenly across the entire surface of the thumbnail plate. Ensure the product covers the nail smoothly from the cuticle area to the free edge without pooling near the skin.
Tip: Apply a thin and even layer to prevent bubbling and ensure proper adhesion during the curing process. - 2Create glass bead cat-eye effect
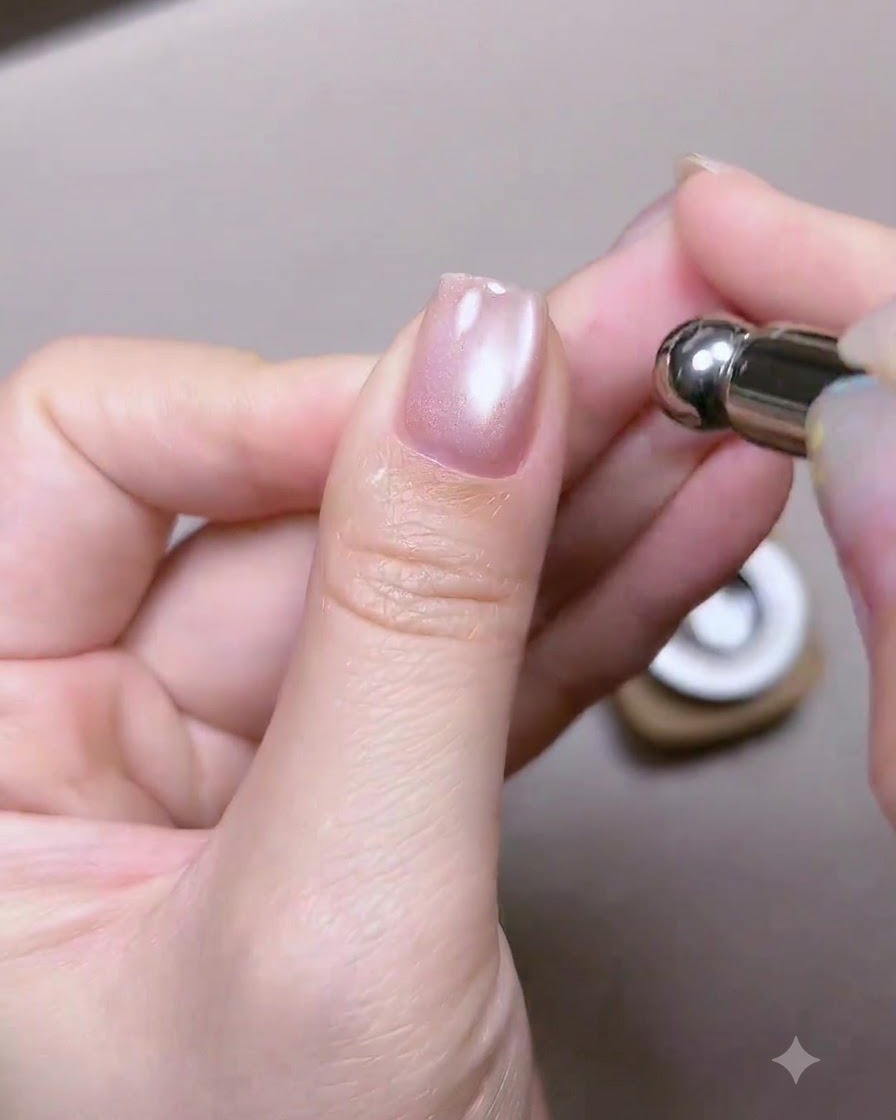
Hold a magnetic stick close to the uncured, wet base gel layer containing magnetic particles. Hover the tool to pull the shimmer particles into a concentrated glass bead or cat-eye highlight effect before curing.
Tip: Keep the magnet steady and close to the nail for a few seconds until the desired reflection line sharply forms. - 3Cure base and cat-eye layer
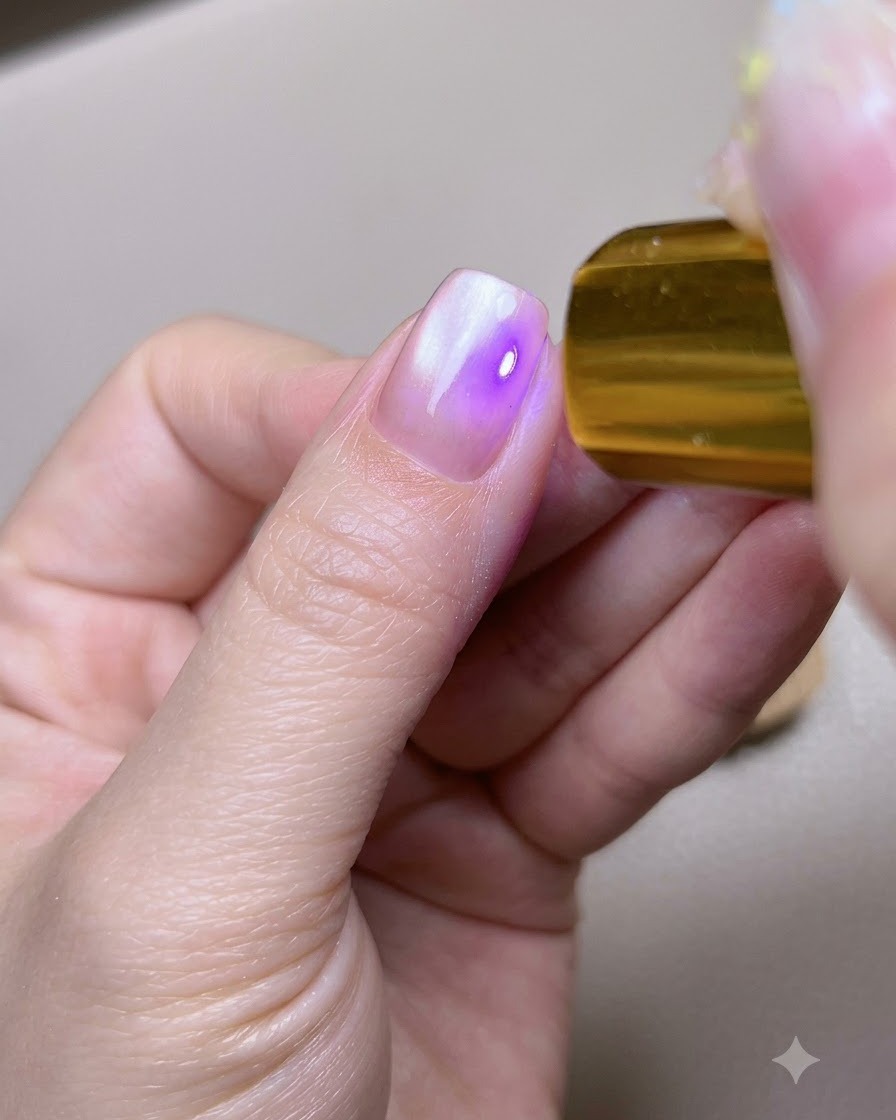
Position the thumb under a portable UV or LED lamp to freeze and cure the magnetic cat-eye layer in place. Ensure the light illuminates the entire nail evenly so the shimmer effect remains locked.
Tip: Flash cure for a few seconds if needed to prevent the magnetic effect from shifting before the full cure. - 4Draw side-French tip with white gel
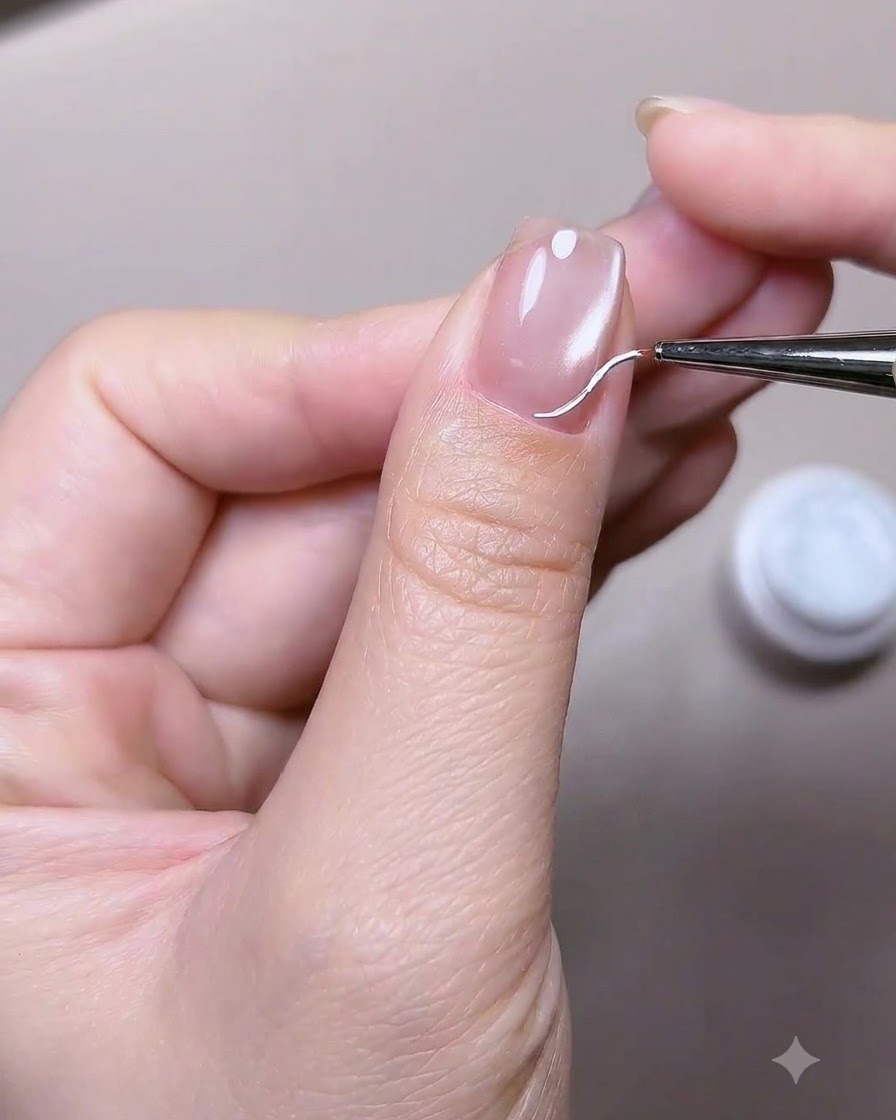
Dip a fine liner brush into white color gel and carefully trace a curved, elegant side-French tip line along the edge of the thumbnail. Keep the stroke smooth and consistent to frame the nail nicely.
Tip: Wipe excess gel off the liner brush to maintain a sharp, thin tip for precise line work. - 5Cure the white side-French tip
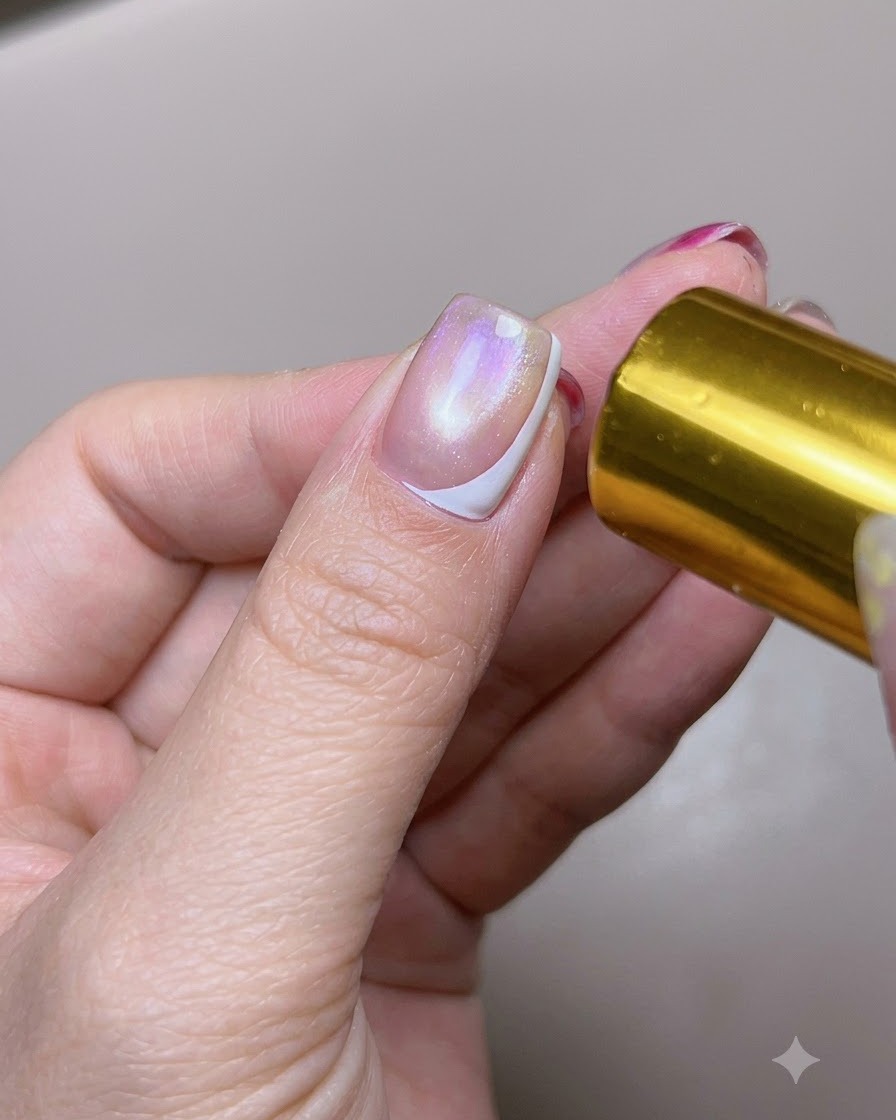
Place the nail under the UV or LED lamp to cure the newly painted white side-French line. Because white pigmented gels contain high amounts of pigment, ensure you allow a slightly longer cure time to prevent wrinkling.
Tip: Do not rush the curing of white gel; fully curing prevents the design from smudging in later steps. - 6Sketch rose petal base with white gel
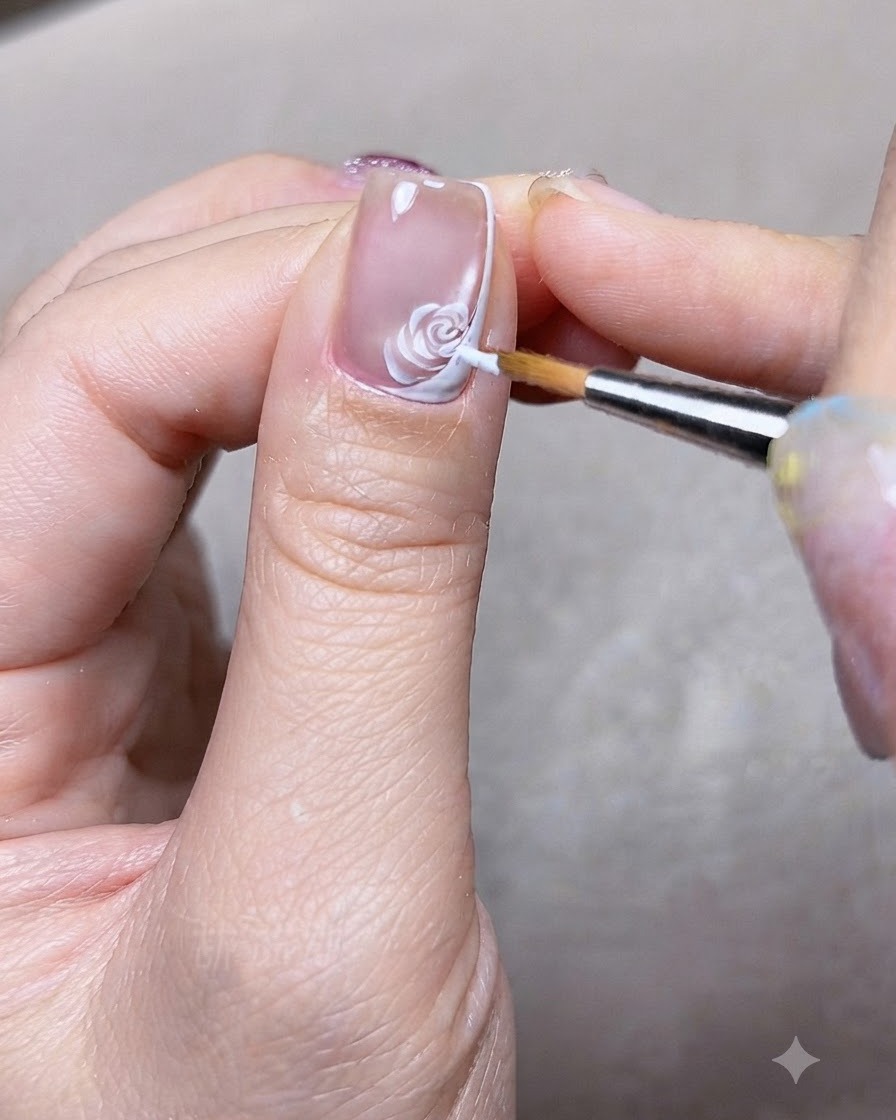
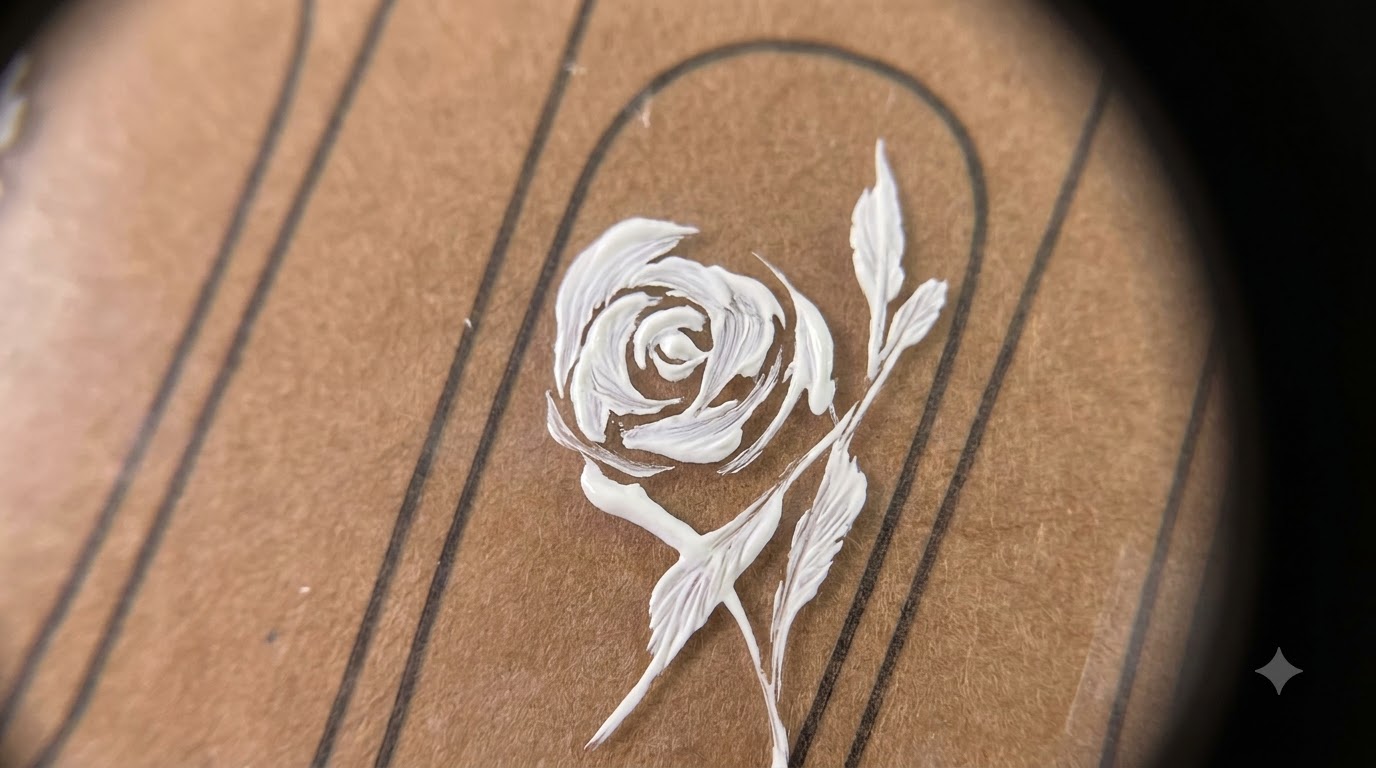
Take a versatile fine brush loaded with white color gel and begin outlining the rose flowers. Apply varying pressure to your strokes to form the delicate, organic shapes of each petal. Remember that this is just a base step and doesnt need to be completely flawless.
Tip: Varying hand pressure allows you to create thick and thin line transitions that give the rose petals a natural look. - 7Complete the white petal underpainting base
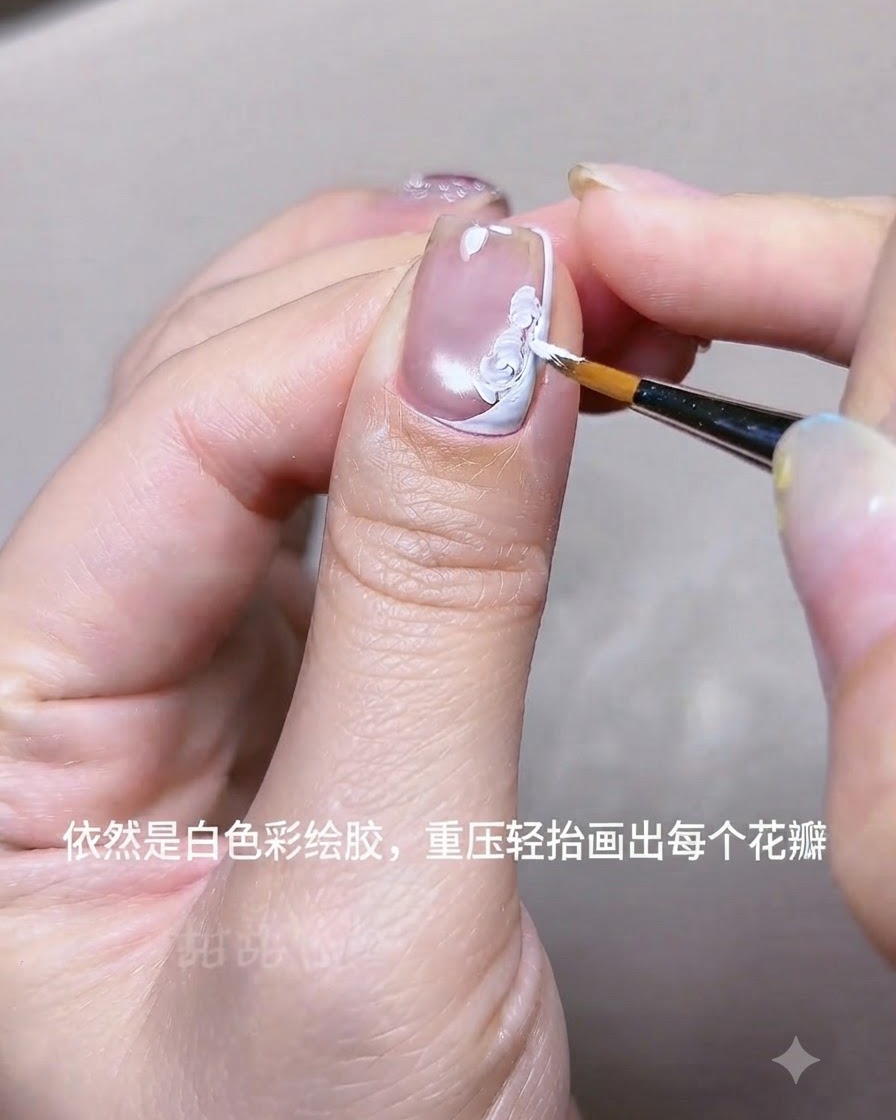
Using white color gel, continue drawing individual petals using varying pressure to build the rose underpainting near the side French line. This initial base layer doesnt need to be overly detailed because the watercolor effect will be layered directly on top of it.
Tip: Varying your brush pressure from light to heavy helps create naturally shaped, delicate petal outlines. - 8Apply matte top coat
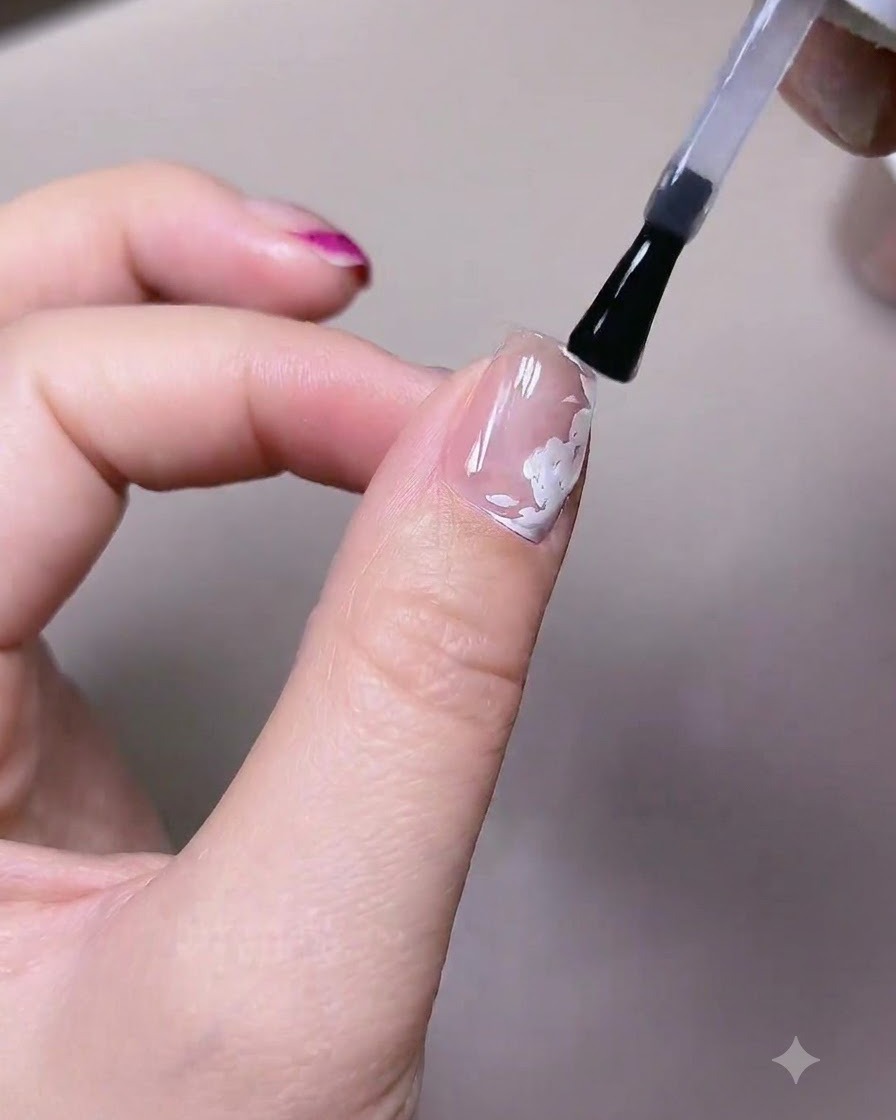
Apply an even coat of matte top coat over the entire nail surface. The matte texture provides the ideal porous grip for watercolor paints to adhere and blend smoothly without pooling or sliding off.
Tip: Ensure the matte top coat covers the entire nail uniformly so the watercolor spreads predictably. - 9Cure the matte top coat
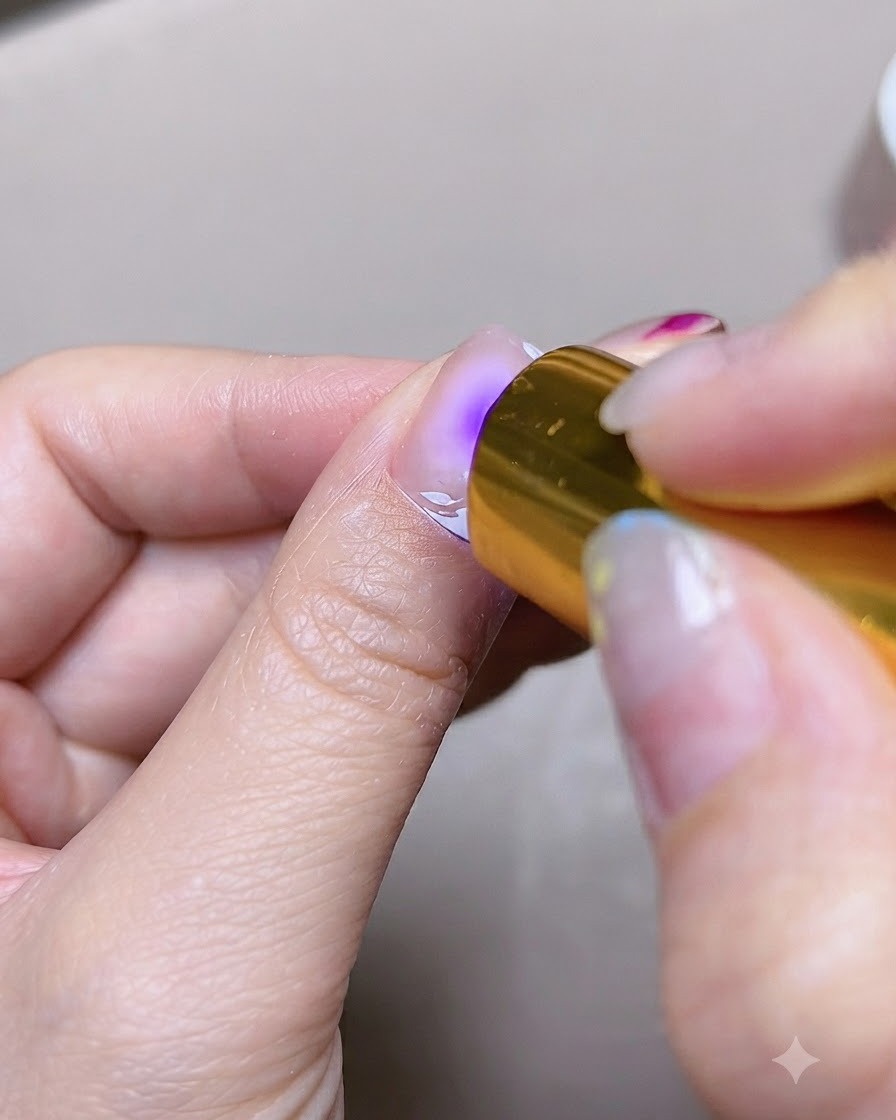
Place the nail under a UV or LED lamp to cure the matte top coat layer completely. Curing locks in the matte finish and creates the proper canvas for the watercolor application.
Tip: Always follow the manufacturers recommended curing time for your specific top coat brand. - 10Begin filling in rose petals with red watercolor
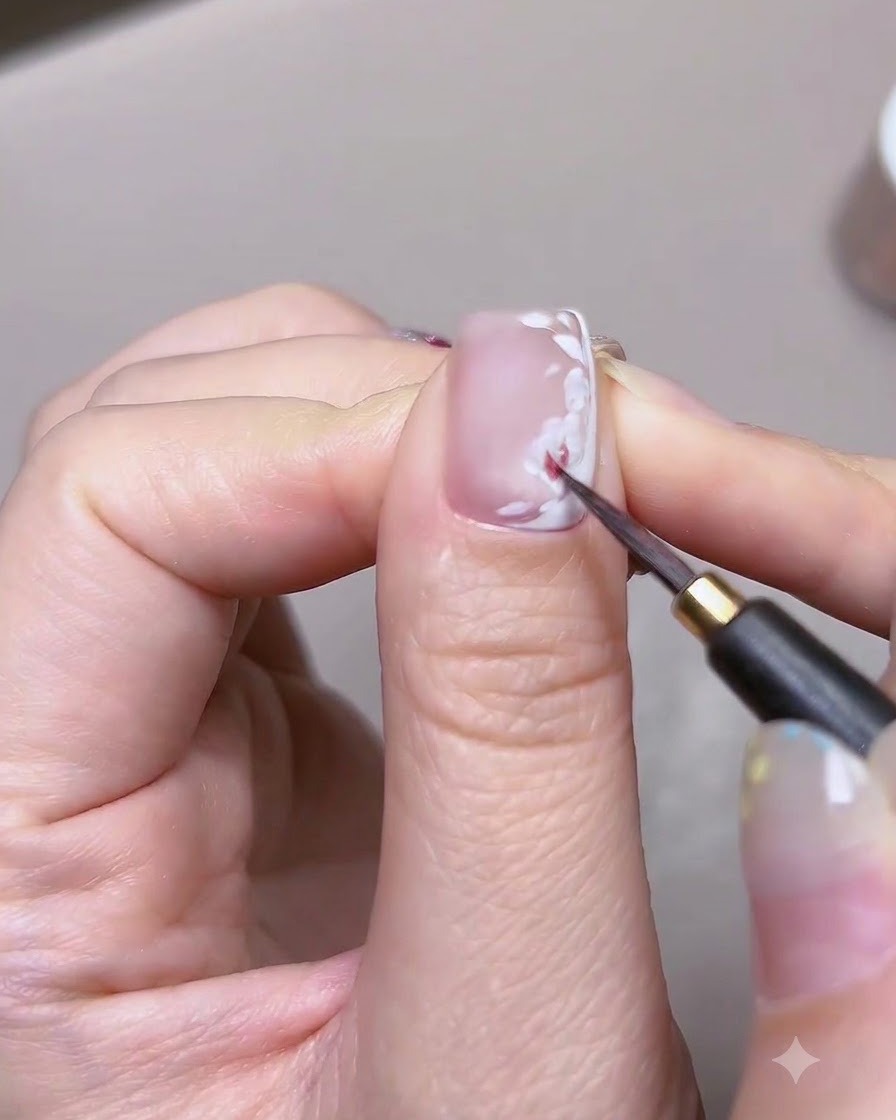
Dip a fine brush into your custom-mixed red watercolor paint and gently begin filling in the rose petals directly over the cured white base layer. Control the water and ink ratio to achieve a smooth, semi-transparent wash.
Tip: Keep your brush relatively dry with controlled water to avoid bleeding outside the white petal guidelines. - 11Paint and layer petals and leaves
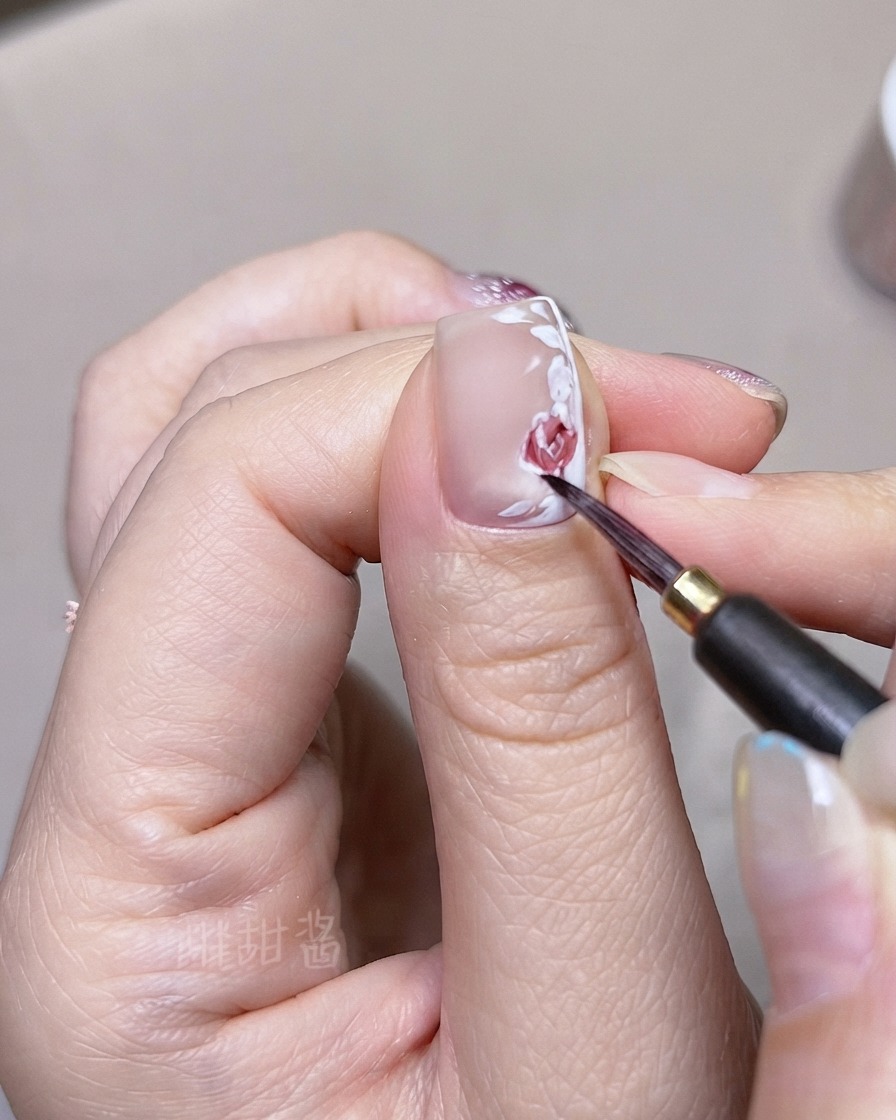
Sequentially paint each individual petal and leaf using watercolor. Apply lighter shades first as a foundation, then layer darker tones on top for added depth and dimension, working methodically across the design.
Tip: Avoid continuously tracing over the same wet spot to prevent the colors from turning muddy. - 12Refine watercolor details
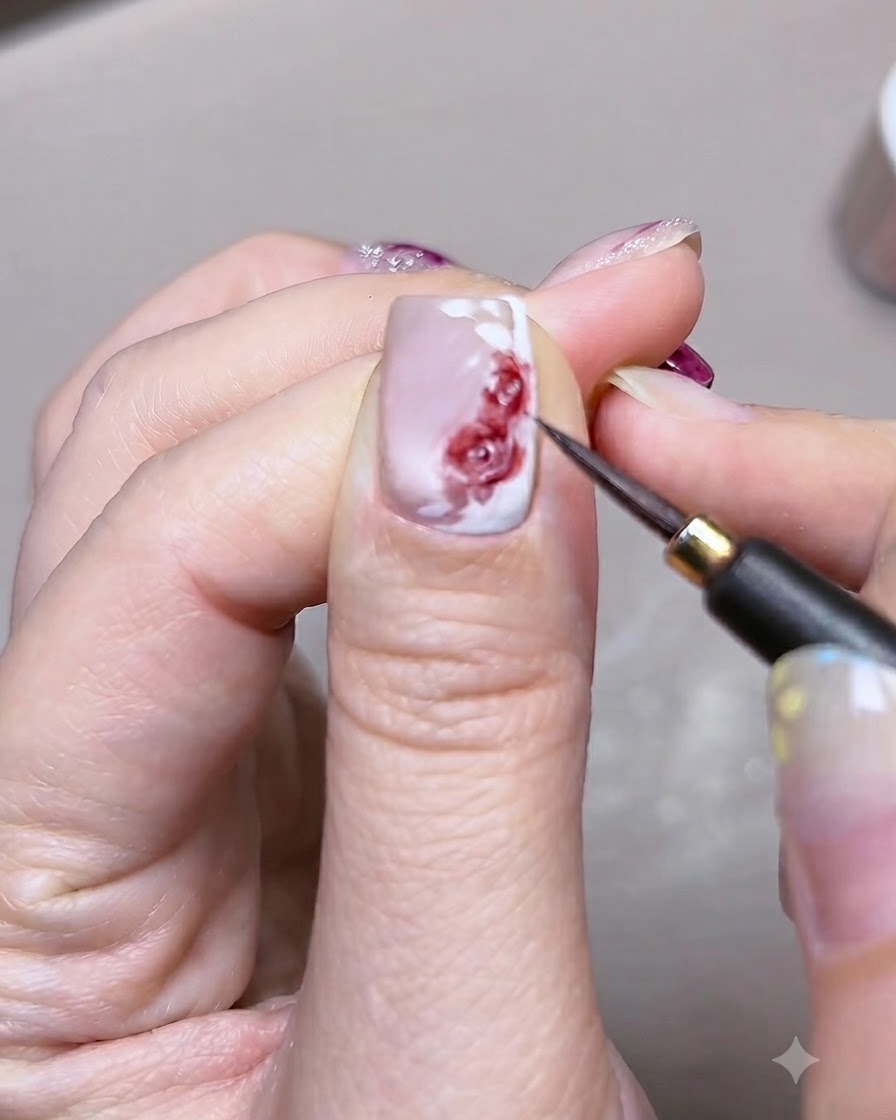
Refine the fine details of the watercolor roses and leaves using precise, controlled brushstrokes. Maintain a light touch to achieve a clean one-stroke finish without over-blending the ink layers.
Tip: Let layers dry slightly between applications if you want distinct, sharp petal edges.