Hand-Painted White Gel Rose Nail Art — Step-by-Step Tutorial
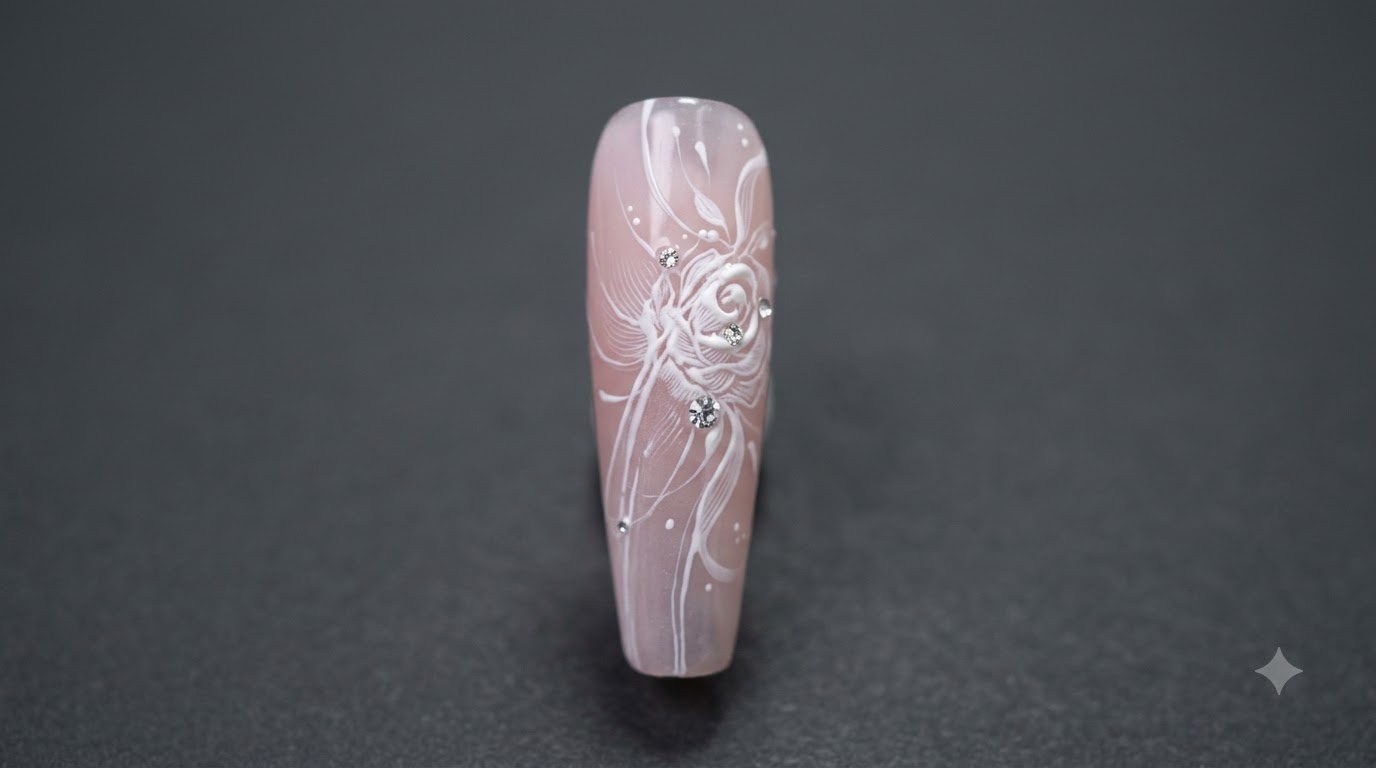
Create stunning, dimensional white gel roses on a translucent pink jelly base with delicate wispy edges and fine stamen details.
Hand-painted floral nail art adds an elegant, romantic touch to any manicure. This detailed tutorial guides you through creating multi-layered white gel roses using precision brush techniques, smooth petal transitions, and delicate wispy highlights for a truly refined finish.
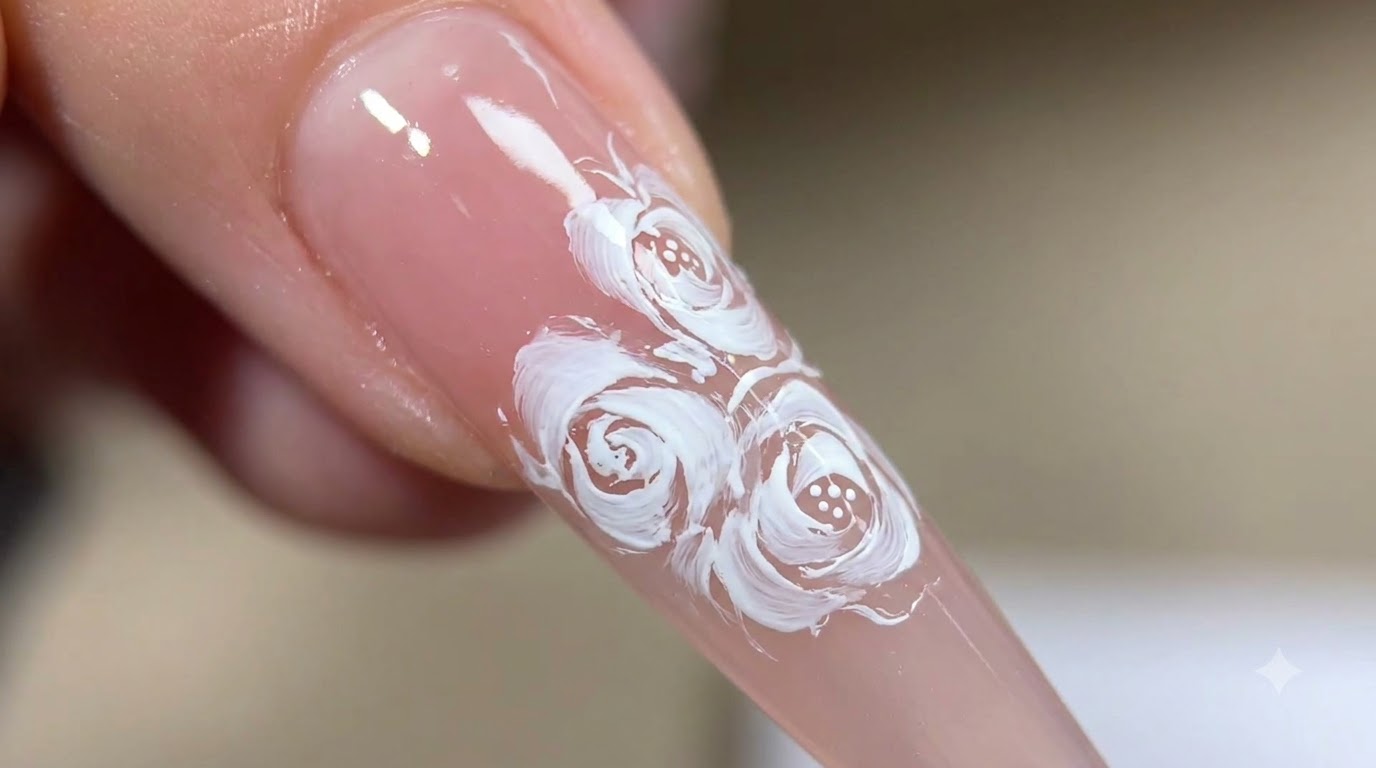
Steps
- 1Load White Gel Paint
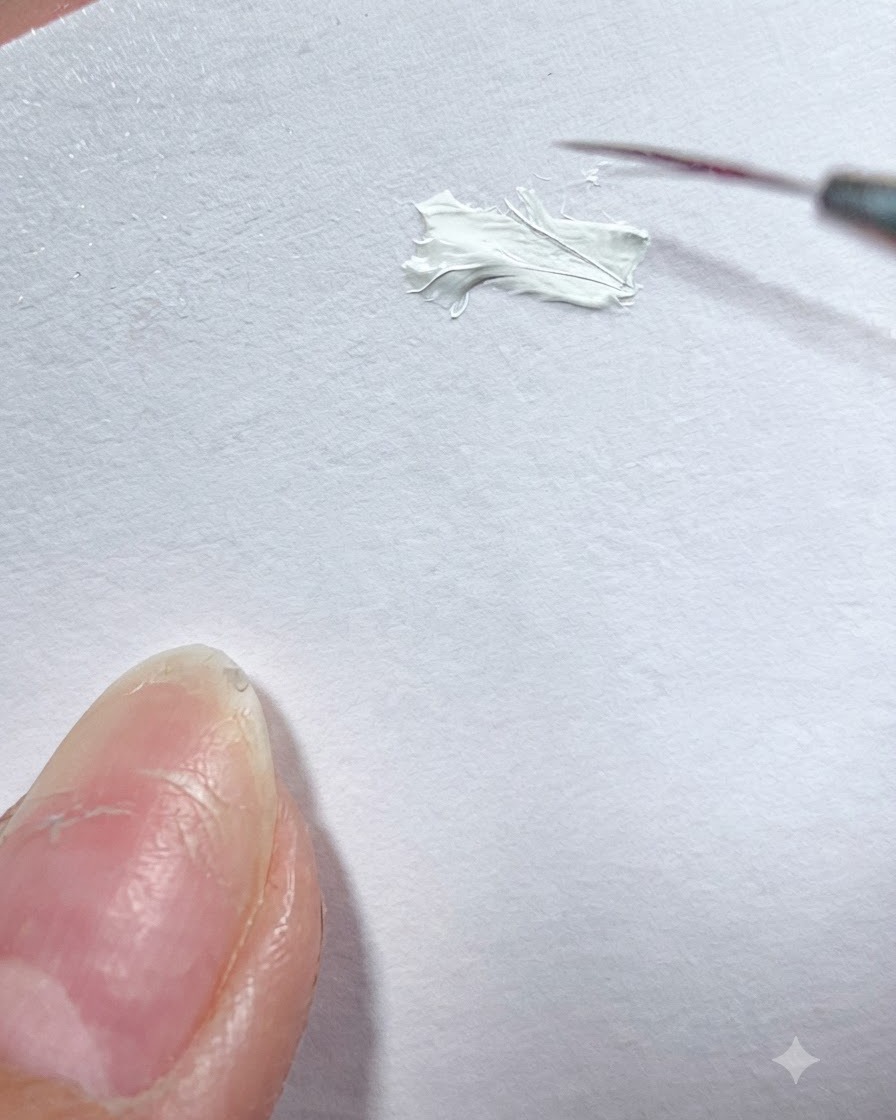
Dip your fine liner brush into the white gel paint on your palette, ensuring both the front and back of the brush tip are evenly coated. This prepares you for precise detailing.
Tip: Make sure the gel is evenly distributed on the brush tip to prevent clumping. - 2Draw Initial Parenthesis Shape
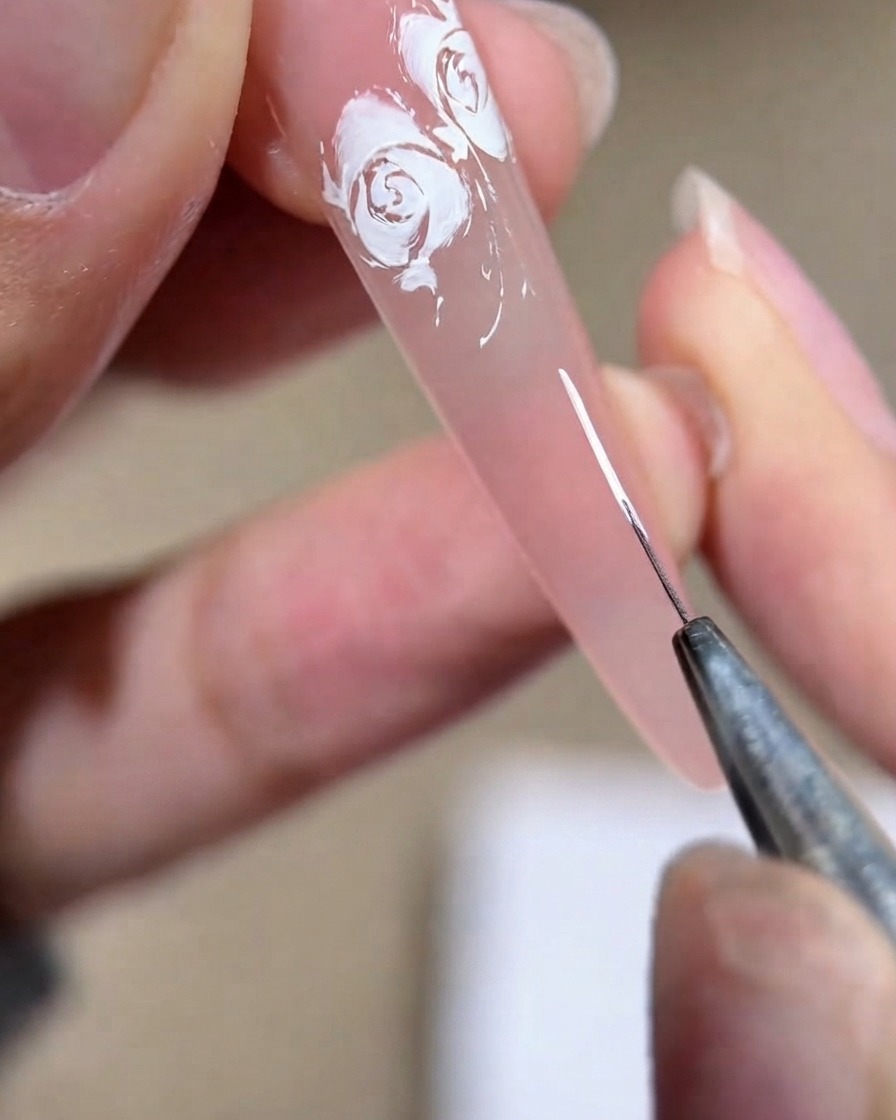
On the translucent pink nail plate, use the loaded brush to draw a small parenthesis shape to act as the foundation for the petal.
Tip: Keep your hand steady when drawing the curved parenthesis shape for a clean outline. - 3Form the First Thick Petal
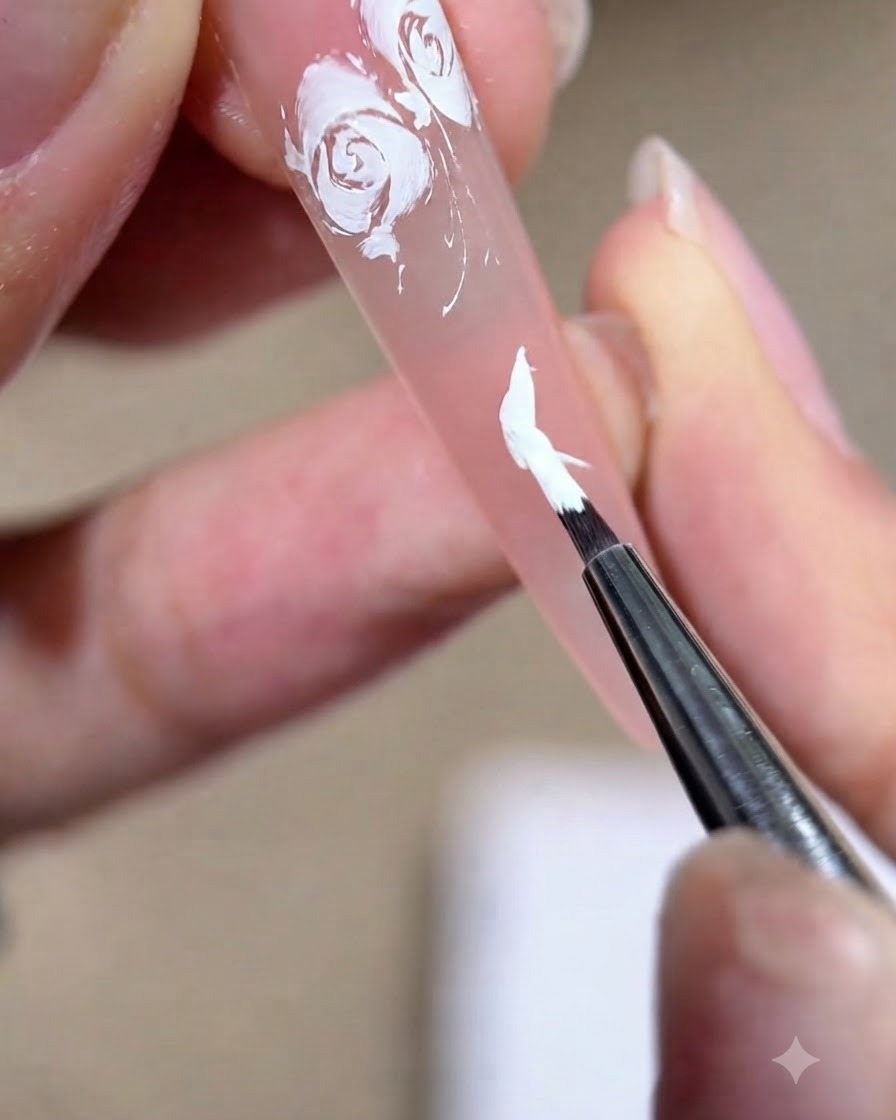
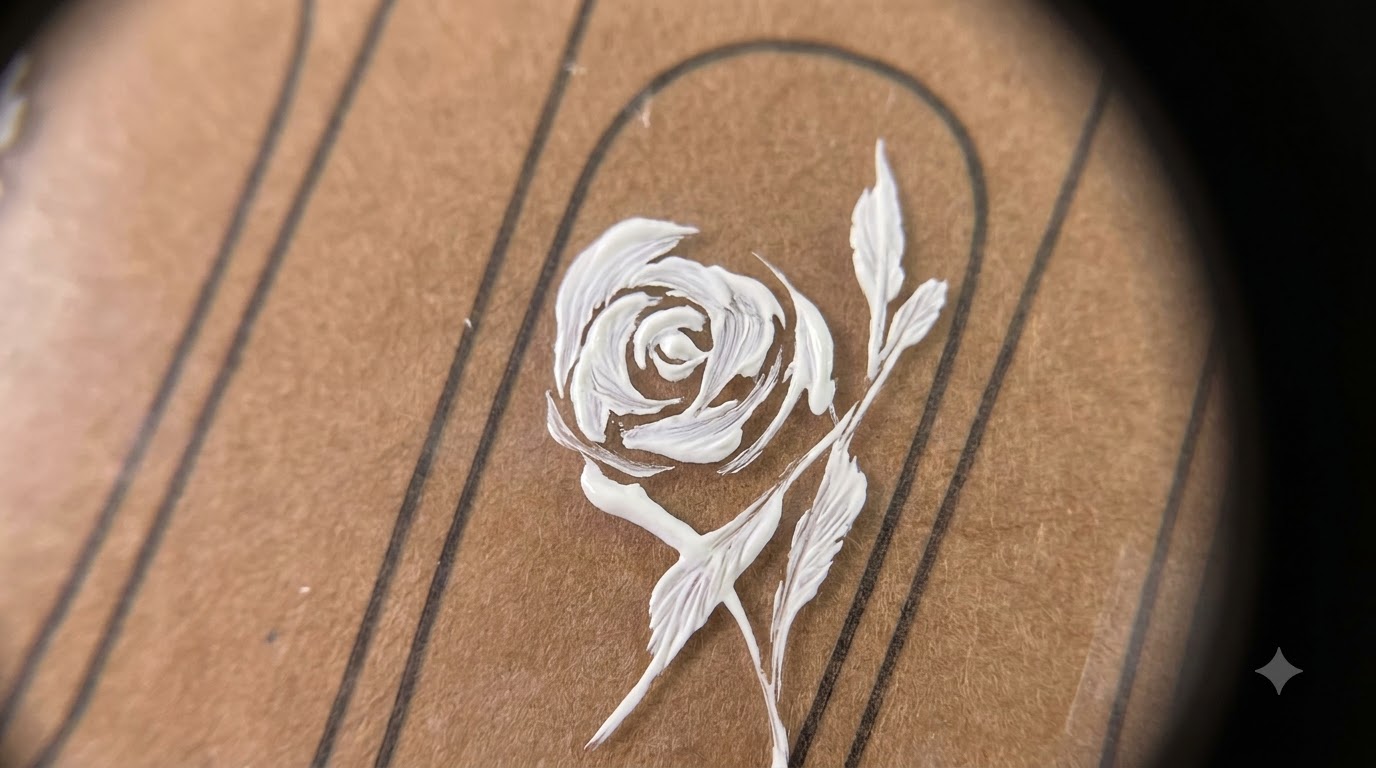
Using a small universal brush loaded with white gel, press down and drag the brush to shape the first thick petal of the rose. Ensure the texture remains consistent and smooth.
Tip: Control the pressure on the brush tip to maintain the desired thickness of the petal. - 4Extend Wispy Corners
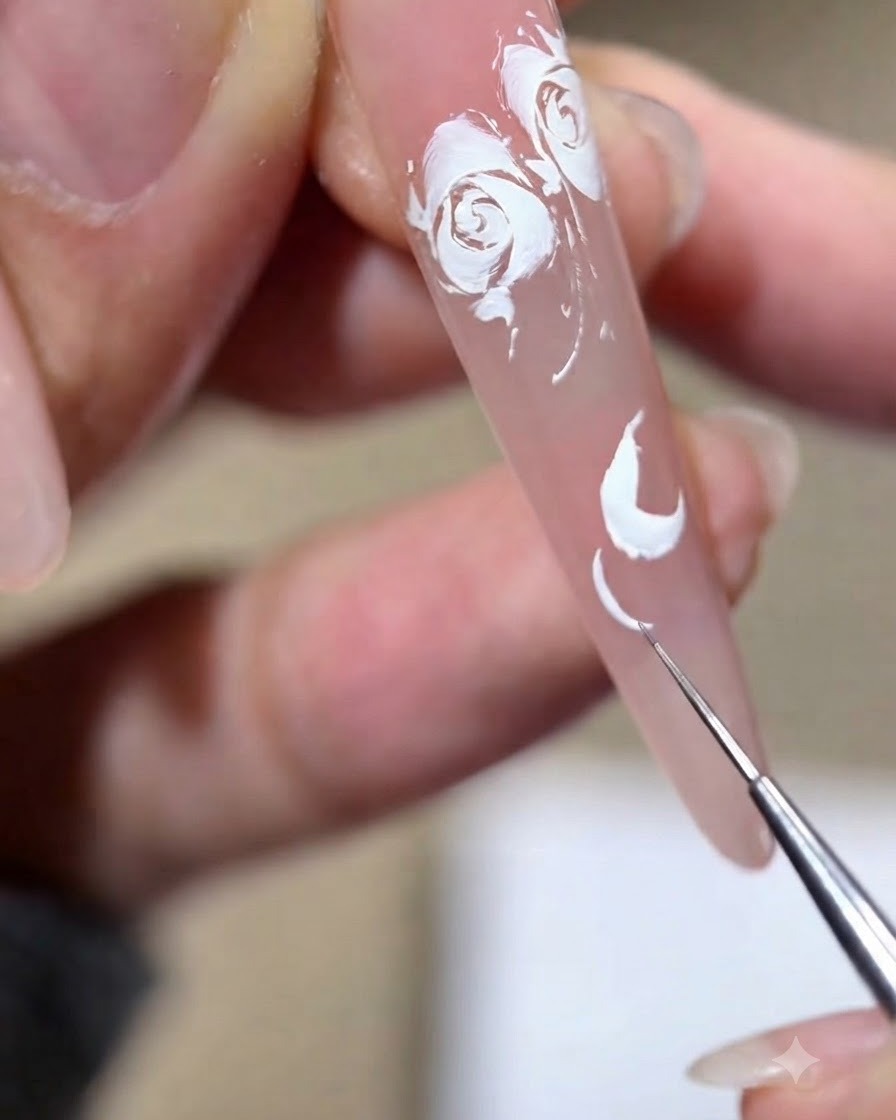
Take a fine liner brush to slowly drag out the wispy ends of the two corners, making them longer so the overall petal looks more refined and aesthetic.
Tip: Pull lightly with the tip of the liner brush to create ultra-thin, delicate lines. - 5Paint the Flower Core
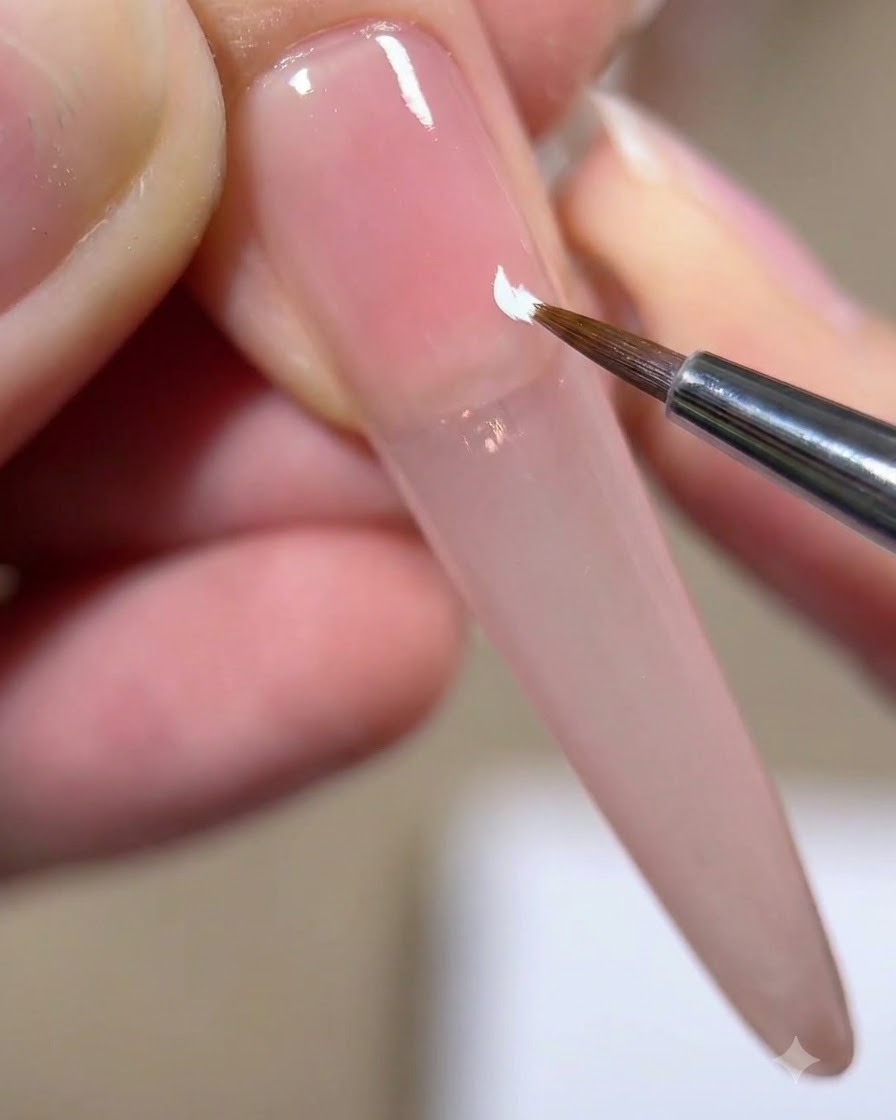
Paint the flower core a bit smaller by using just the very tip of the multi-purpose brush, employing a lifting, pressing, and gathering technique.
Tip: Keep the core compact and small to maintain proper proportions for the rose design. - 6Pull Wisps from the Core
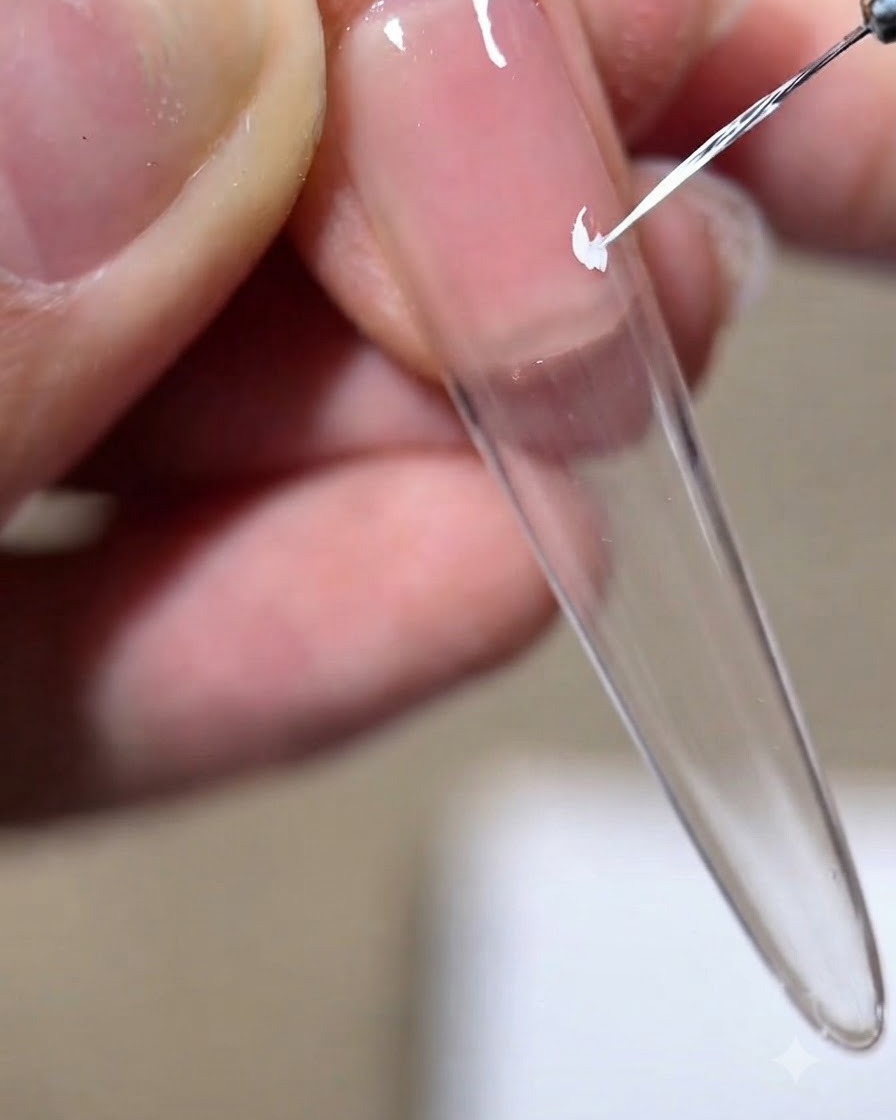
Use the liner brush to pull out small wisps from the newly painted flower core, enhancing the intricate layered appearance of the design.
Tip: Use a light touch with the liner brush to keep the wisps looking sharp and natural. - 7Start the Second Petal Layer
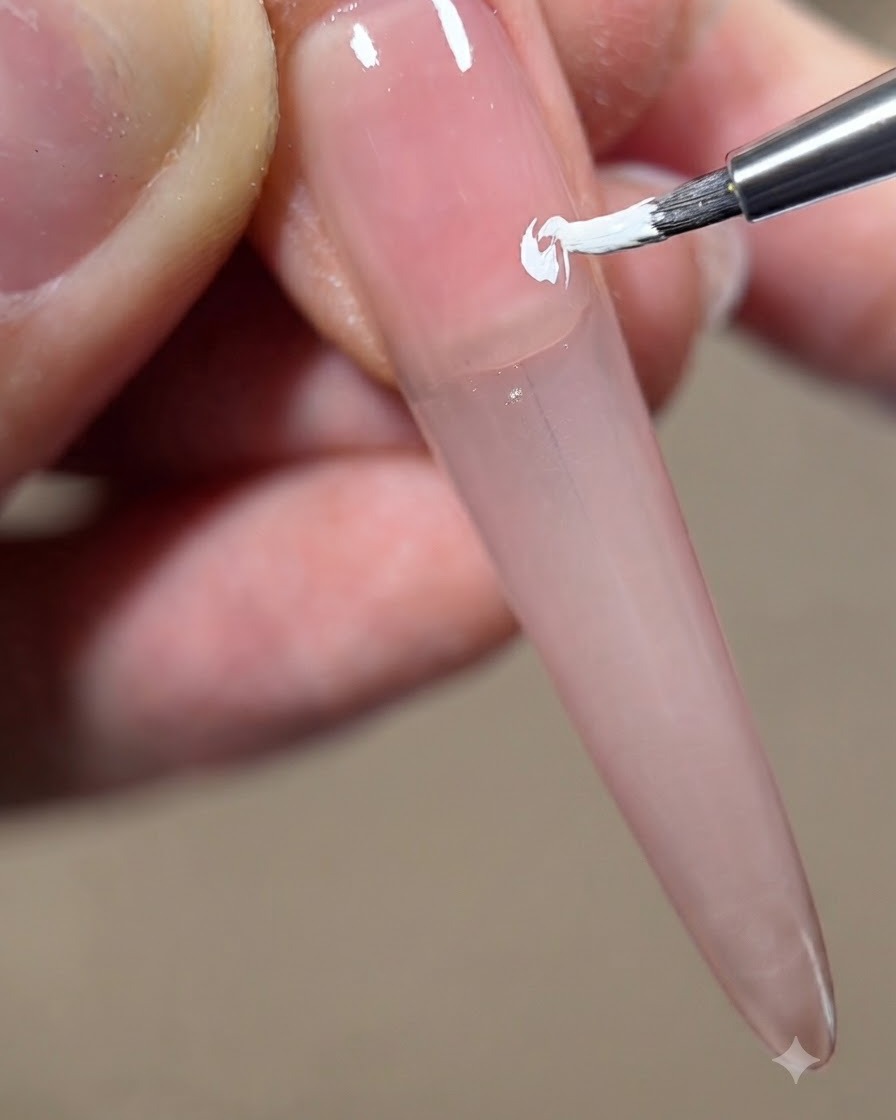
Apply a small amount of white gel right in the center of the first layer, forming a small parenthesis shape to begin the second petal.
Tip: Keep this inner core slightly smaller using just the very tip of the brush for a refined transition. - 8Refine the Second Petal
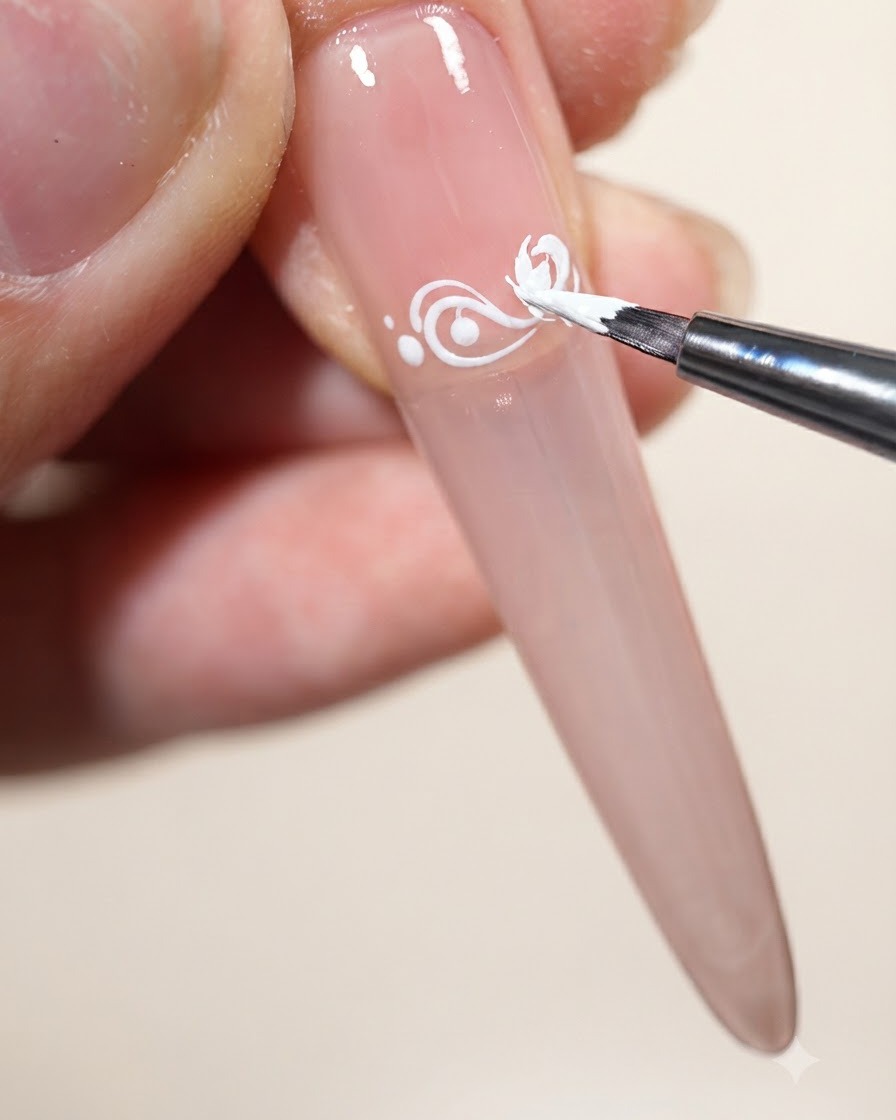
Position the second layer in the middle of the first layer to form a small parenthesis. Refine the second petal with the brush to create a smooth transition from thin to thick to thin, making it look more refined.
Tip: Use the small multi-purpose brush to gently pull the paint toward the tip if it looks unnatural. - 9Paint the Third Petal
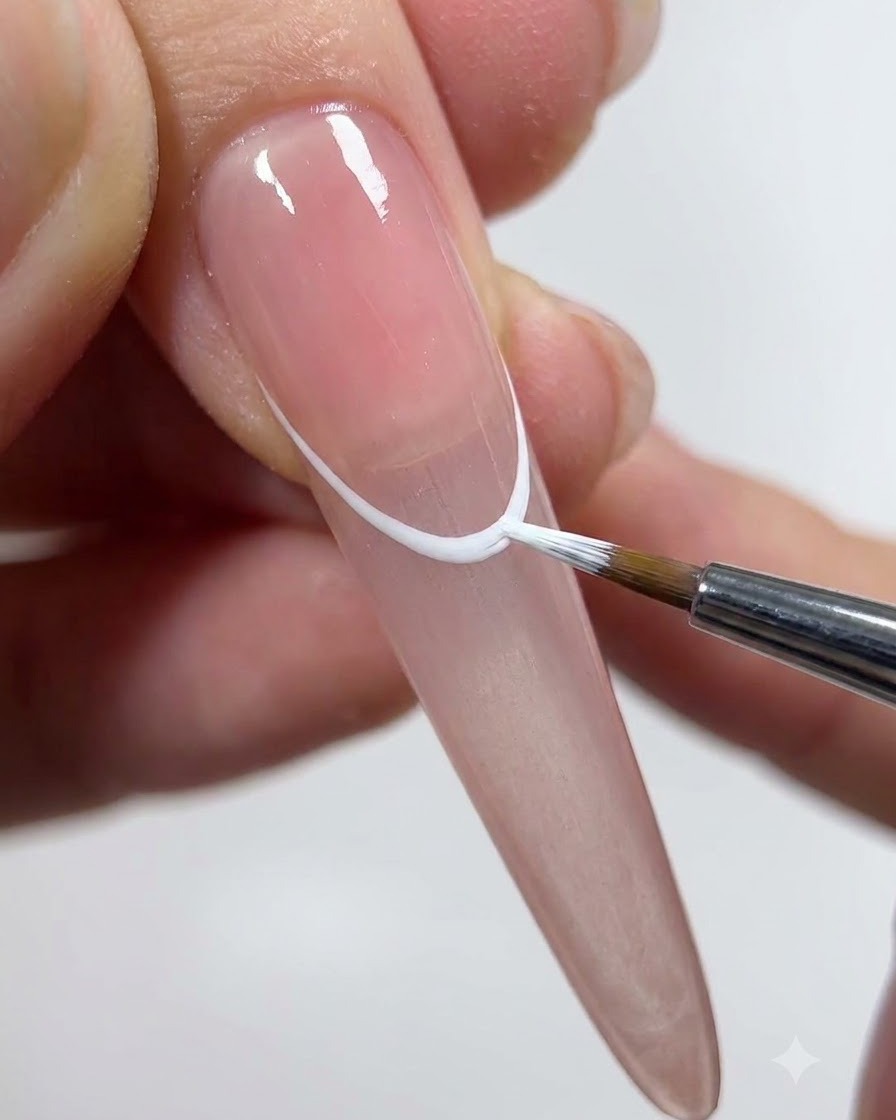
Paint a third petal using a half-wrapping style around the center design. Follow the core painting technique of pressing the brush, dragging horizontally while curving, and gathering with the liner brush.
Tip: Keep the half-wrapping curve smooth to maintain the rose shape structure. - 10Set the Fourth Petal Position
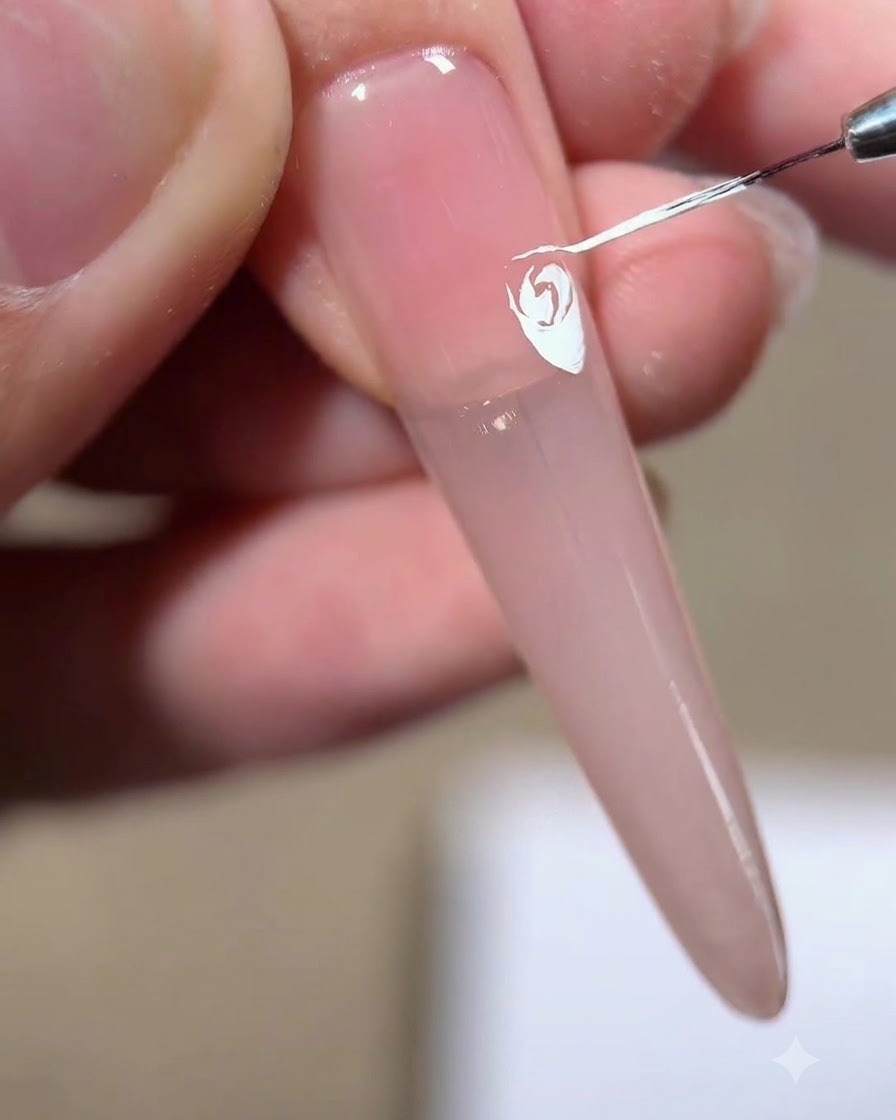
Draw an inverted white triangle to set the position and shape for the fourth petal. Painting it this way creates a half-wrapped effect that enhances the rose appearance.
Tip: Use light pressure when marking the inverted triangle to keep lines delicate. - 11Form the fourth petal
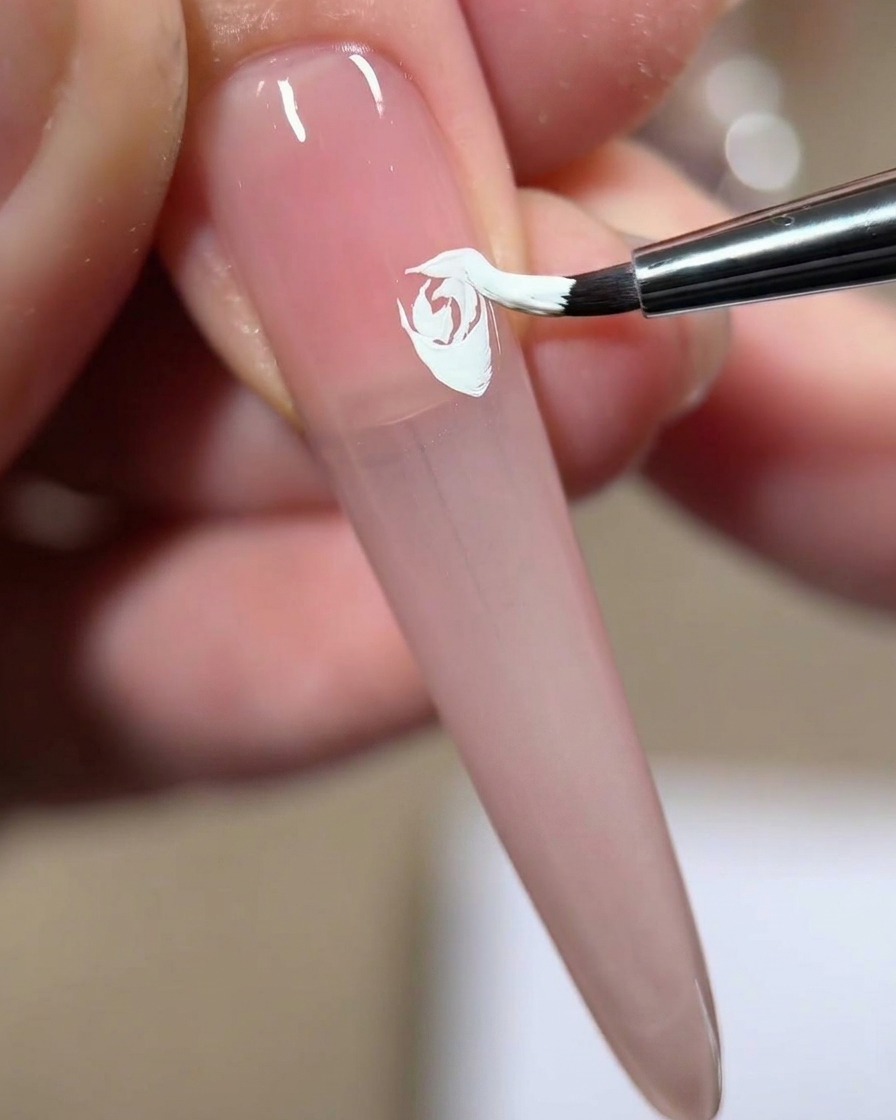
Using the same pressing and curving method, drag the white gel outward to form the fourth petal. This half-wrapped effect builds volume and makes the rose look beautifully layered and dimensional.
Tip: Use a liner brush to slowly gather and extend the wispy ends of the petal corners to enhance the floral shape. - 12Shape the Fifth Petal
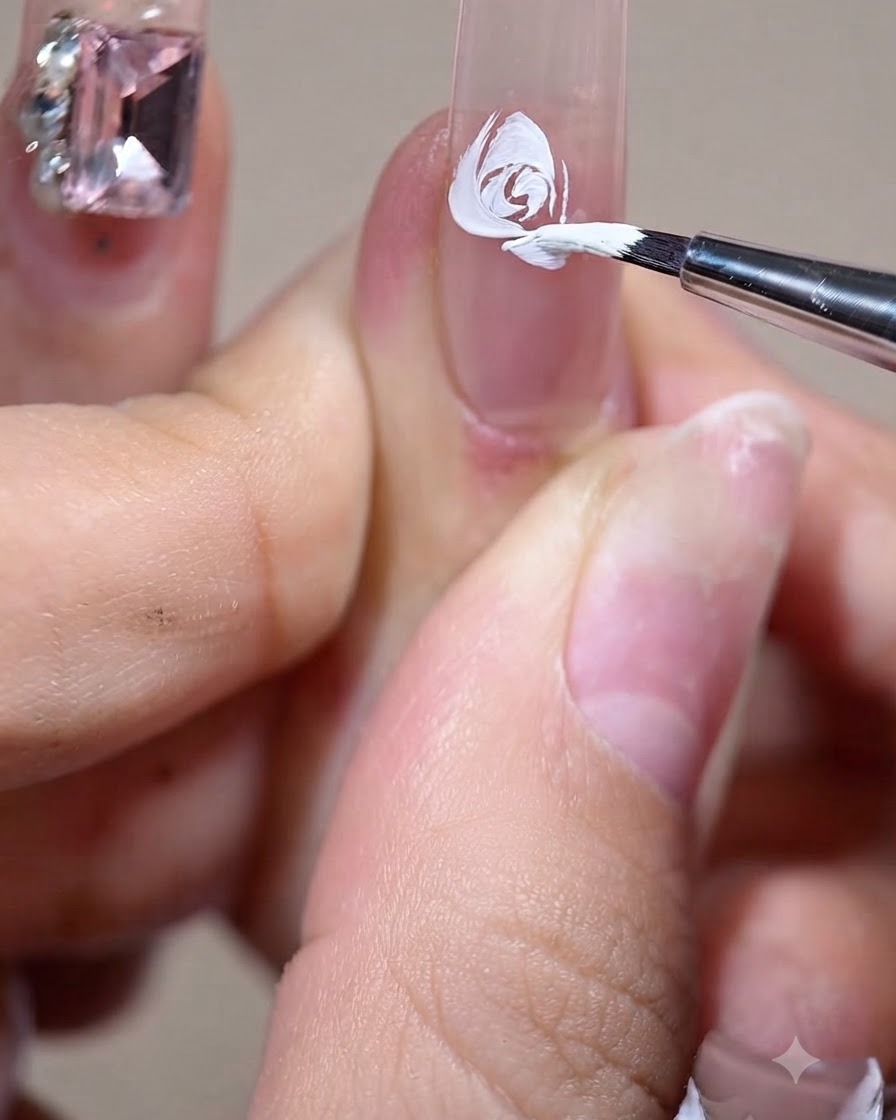
Turn the customers hand around to paint from a backhand angle for the fifth petal. Use the liner brush to slowly pull and shape the tips to complete the main structure.
Tip: Adjust hand positioning comfortably to maintain control during backhand strokes. - 13Paint an Outward-Flipped Petal
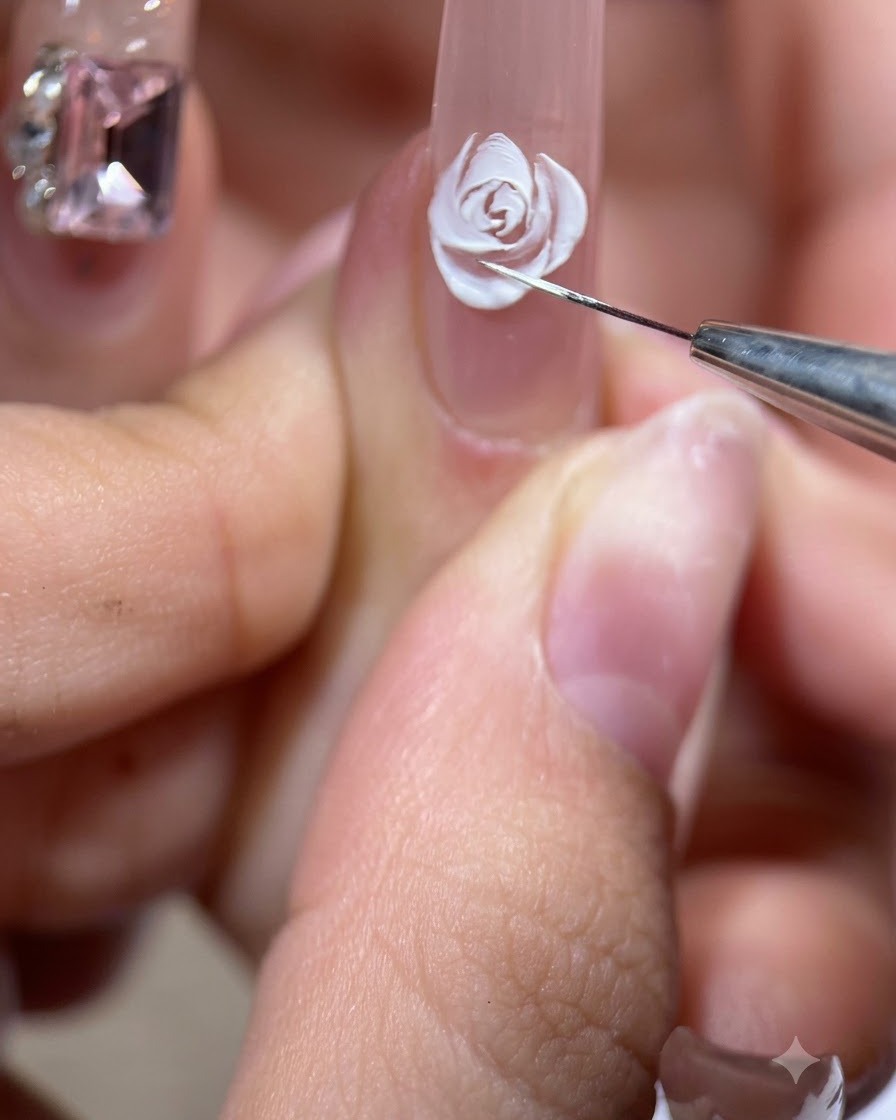
If the design has empty spaces, use a petal-painting technique to flip a small petal outwards, balancing the layout and completing the side structure.
Tip: Make sure the flipped stroke transitions cleanly from thin to thick and back to thin. - 14Dot Small Stamens
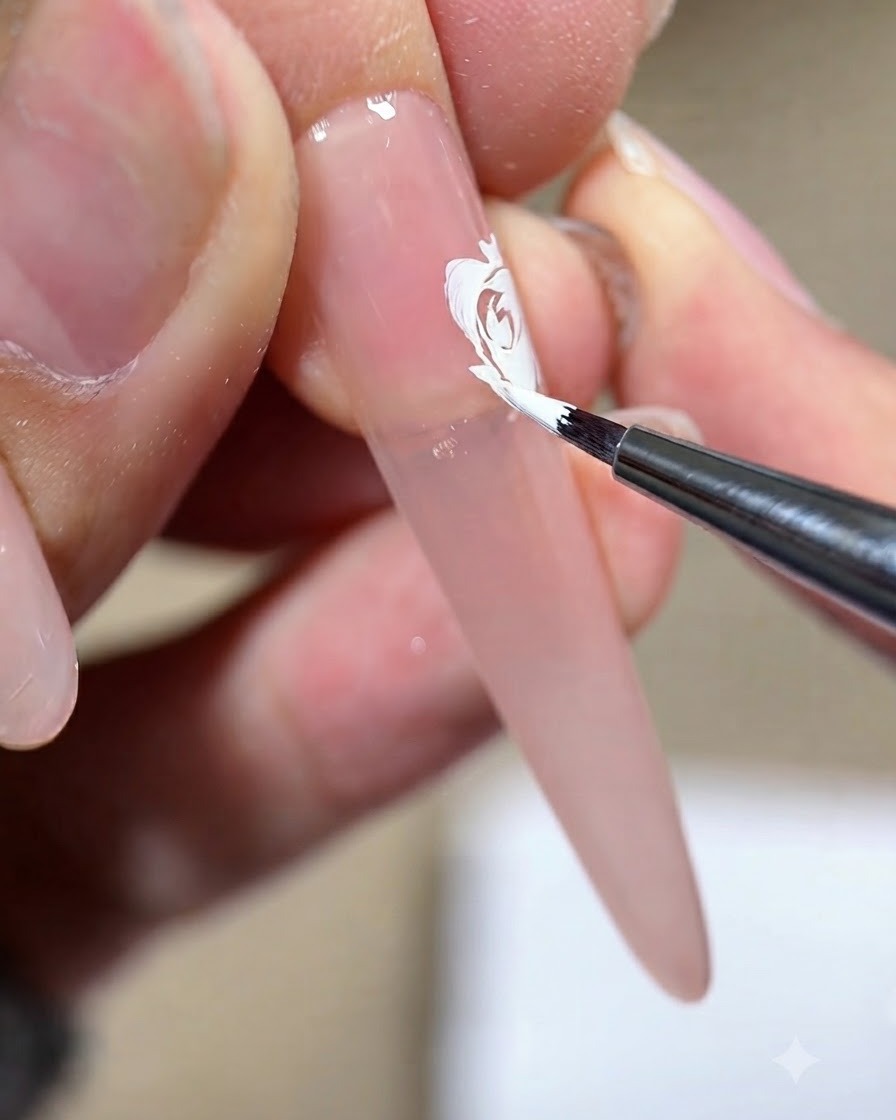
Using the tip of a liner brush with a slightly shaking hand, dot small stamens into the center of the rose to bring more life and detail to the artwork.
Tip: Keep your hand light and controlled to prevent the dots from becoming too heavy or uniform. - 15Add Fragmented Edges
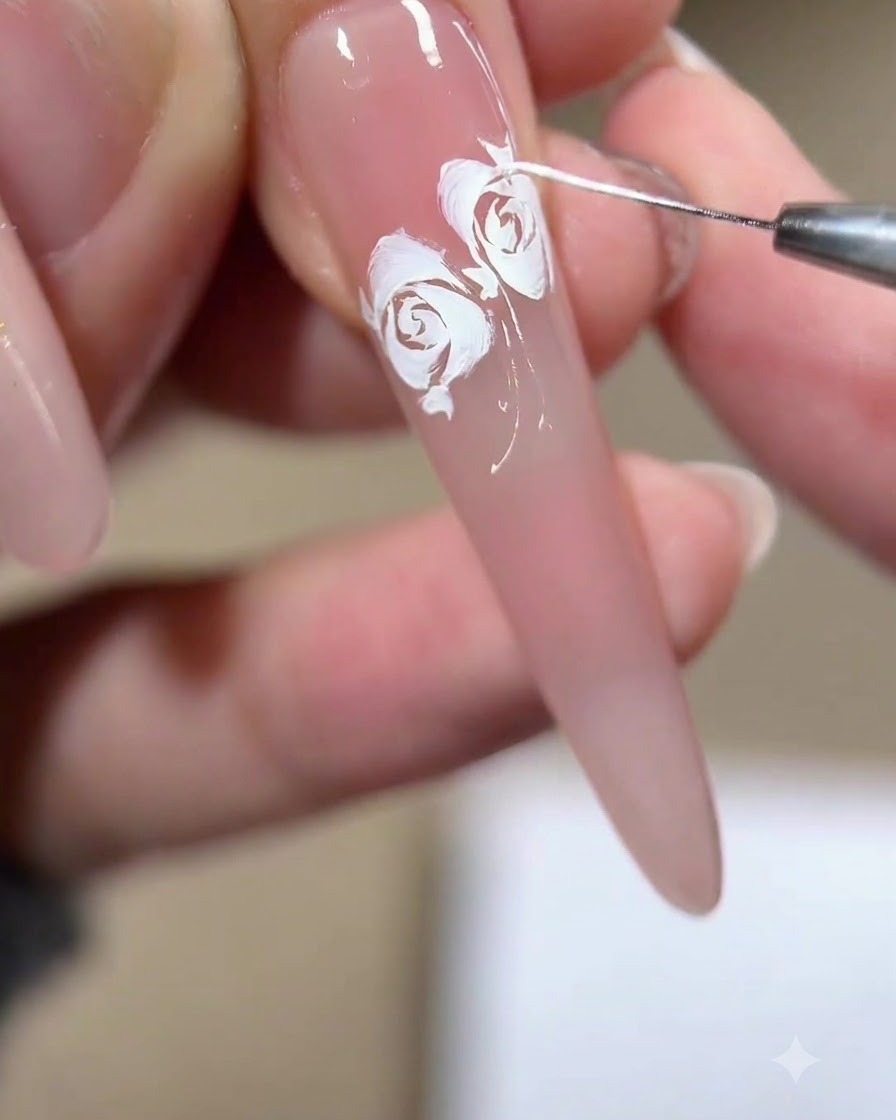
Around the outer edges of each petal, drag out small, fragmented white gel specks to give the rose added texture and a more lively, organic appearance.
Tip: Use a very light touch with the liner brush to create wispy, delicate fragments.