Purple Rose Nail Art Tutorial — Step-by-Step 3D Gel Design
Learn how to paint stunning 3D purple rose nail art decals with detailed petaling, shading, and sharp dimensional outlines.
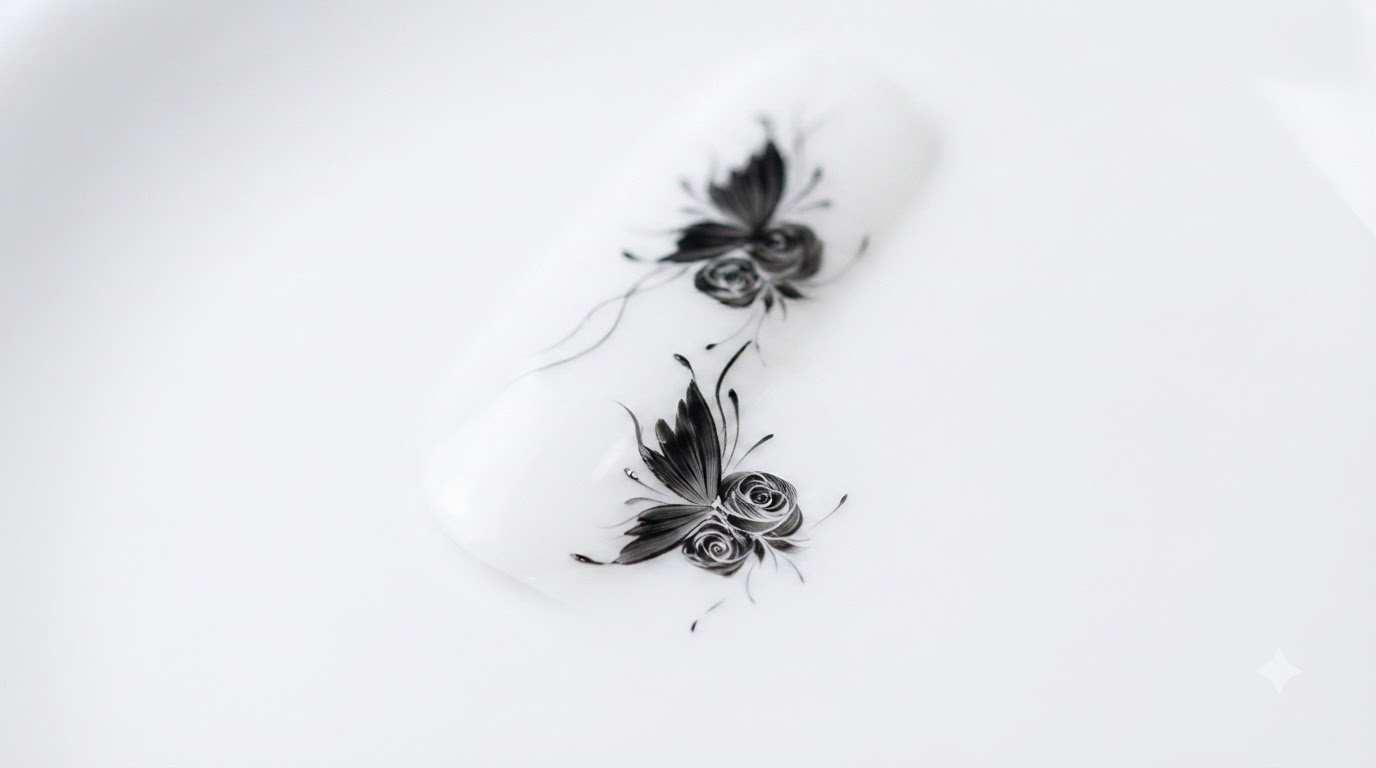
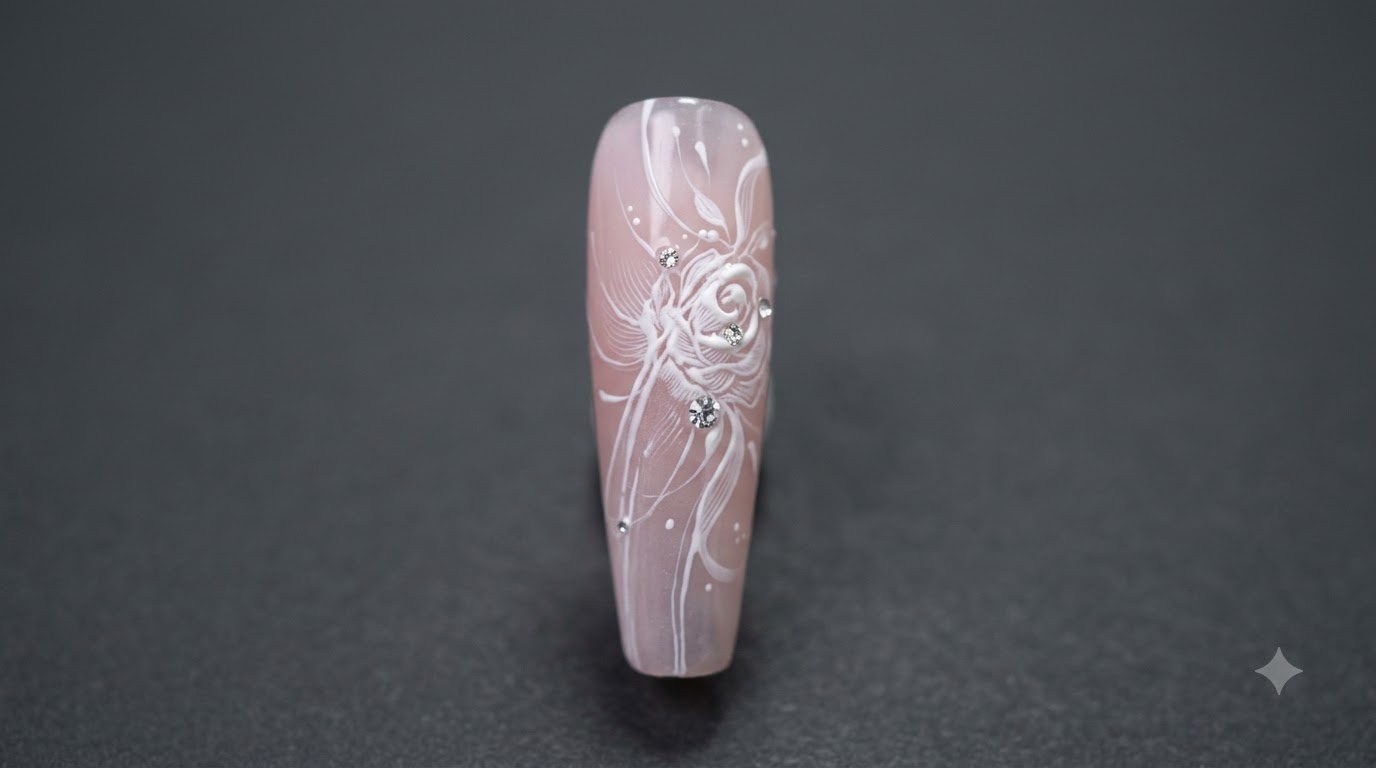
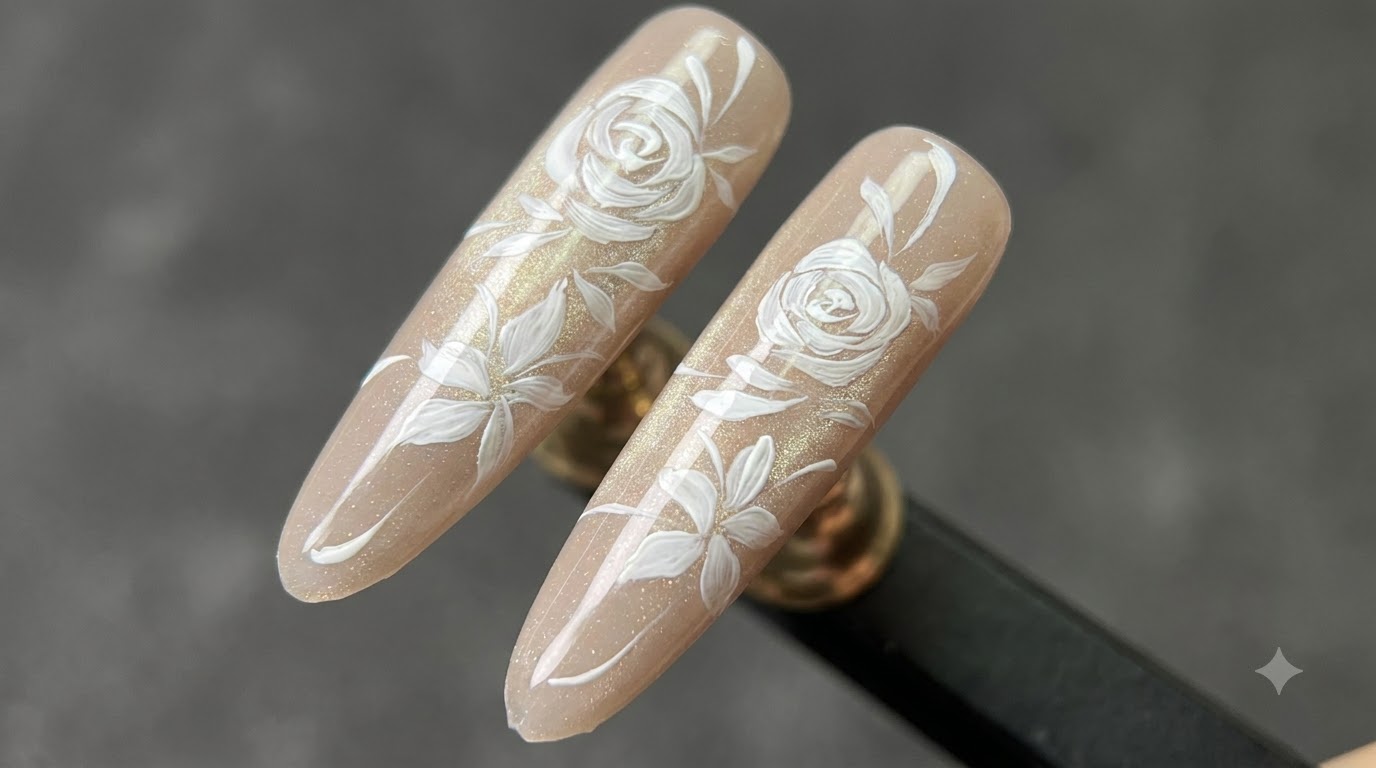
Creating realistic 3D floral nail art adds an elegant, boutique touch to any manicure. This tutorial guides you through sculpting rich purple roses petal by petal using gel liner techniques on a silicone palette before transferring them to your nails.
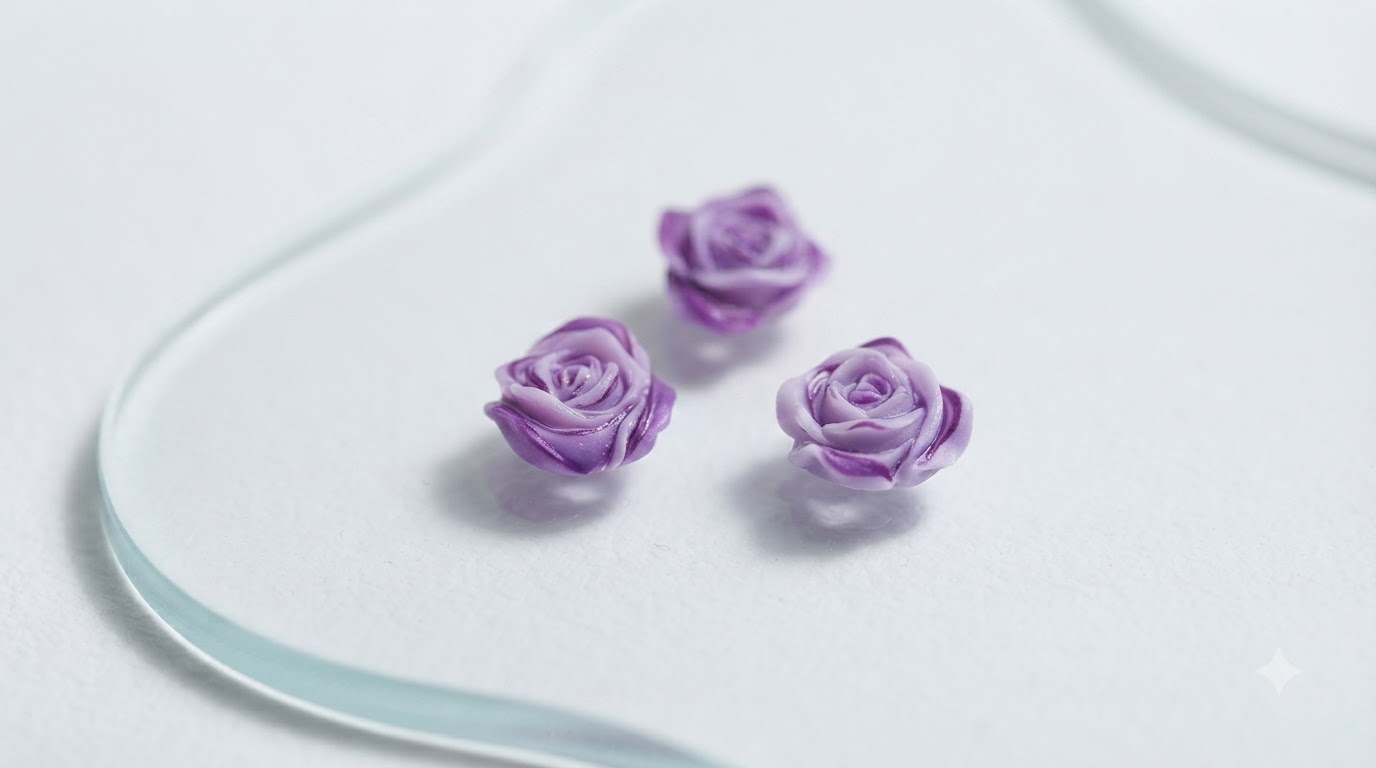
Steps
- 1Draw the Rose Center Petal
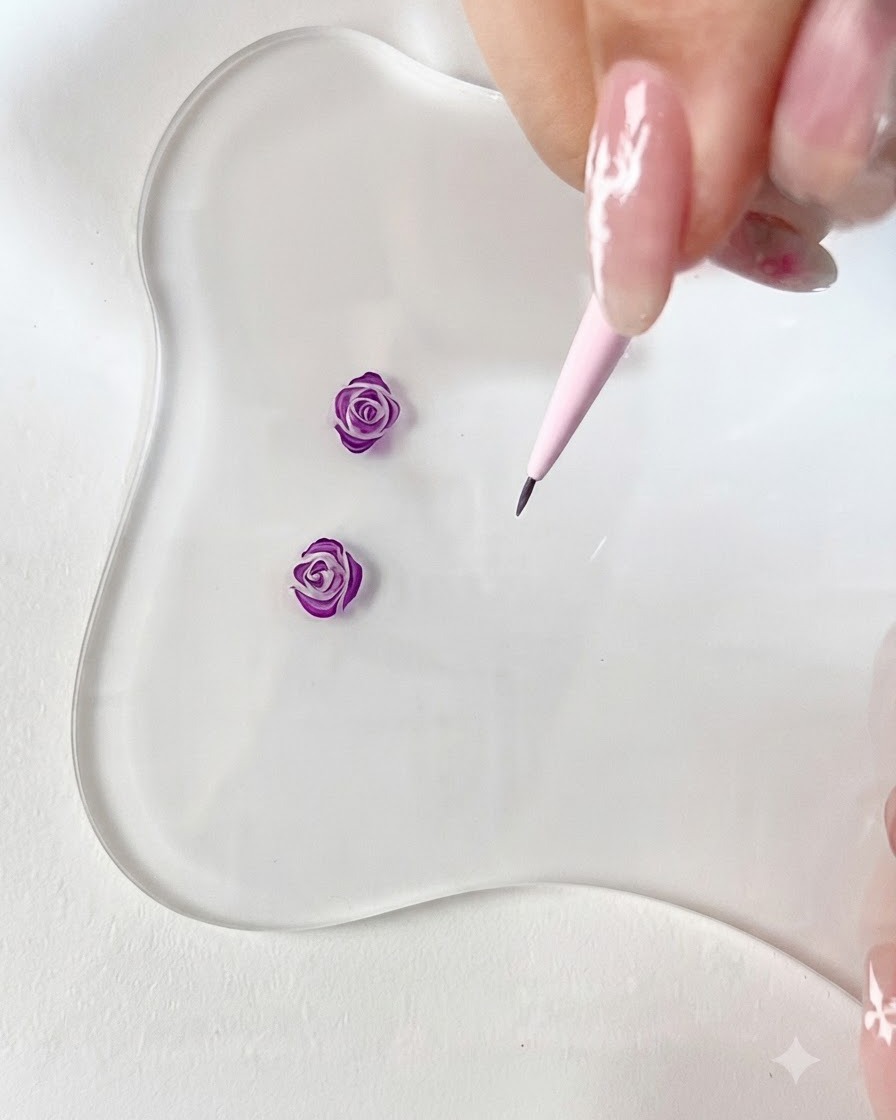
Dip your fine liner brush into dark purple gel. Begin by drawing a small, curved petal hook at the center of your design area. This forms the foundational core of your 3D purple rose.
Tip: Keep your brush strokes light and controlled to maintain sharp, clean lines for the rose center. - 2Form the Rose Bud Center
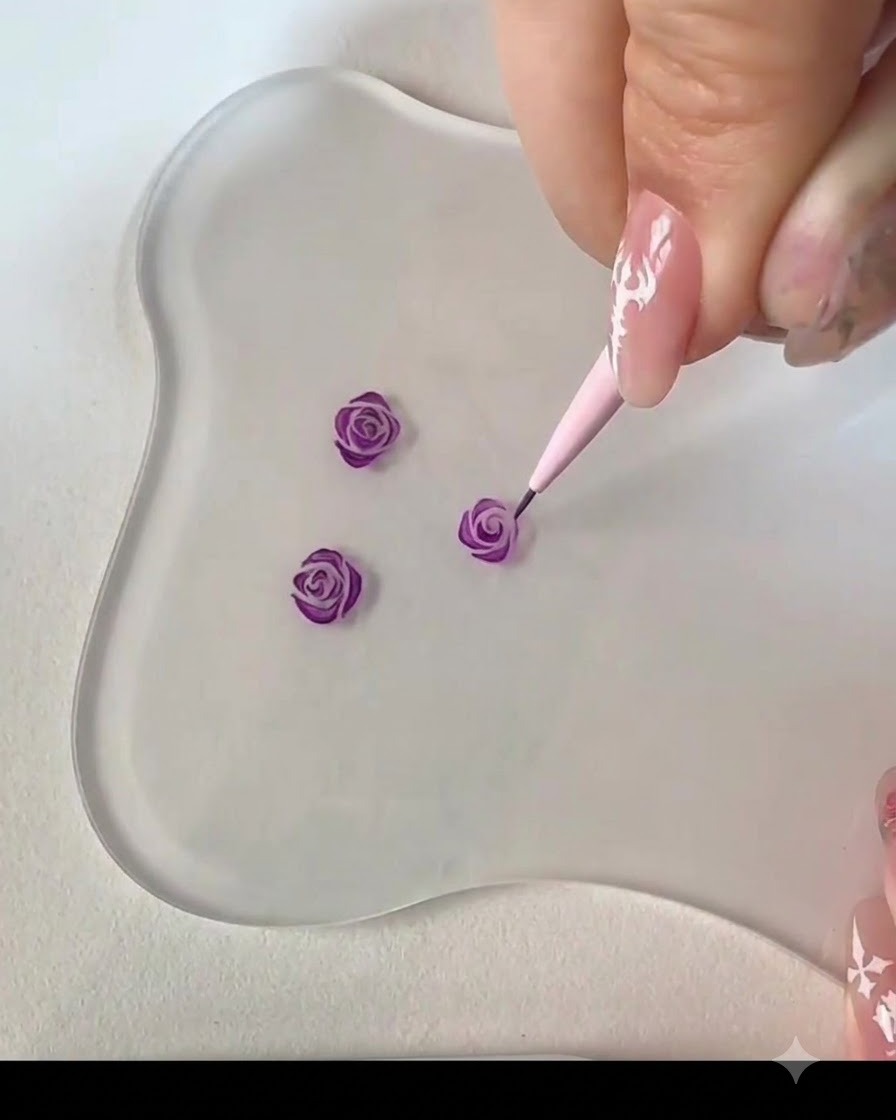
Draw another short curved stroke right next to the first center stroke. This pairs with the initial hook to complete the core bud shape of the rose.
Tip: Ensure the gel is not too runny so the strokes retain their dimensional shape. - 3Add an Inner Petal Detail
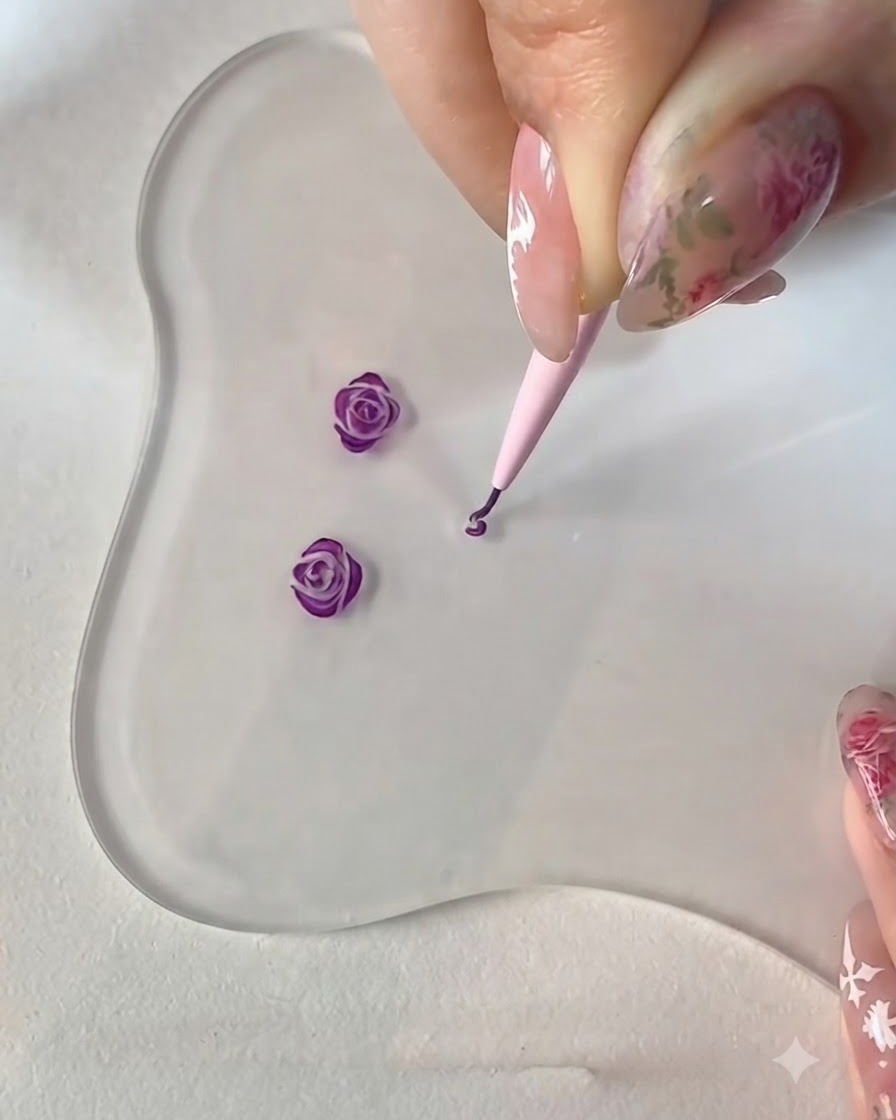
Place a small separate dot or a loose petal stroke right beside the developing rose center. This adds depth and organic asymmetry to the inner petals.
Tip: Use a minimal amount of gel on the tip of your brush to prevent the dot from spreading too large. - 4Extend Outer Petal Loop
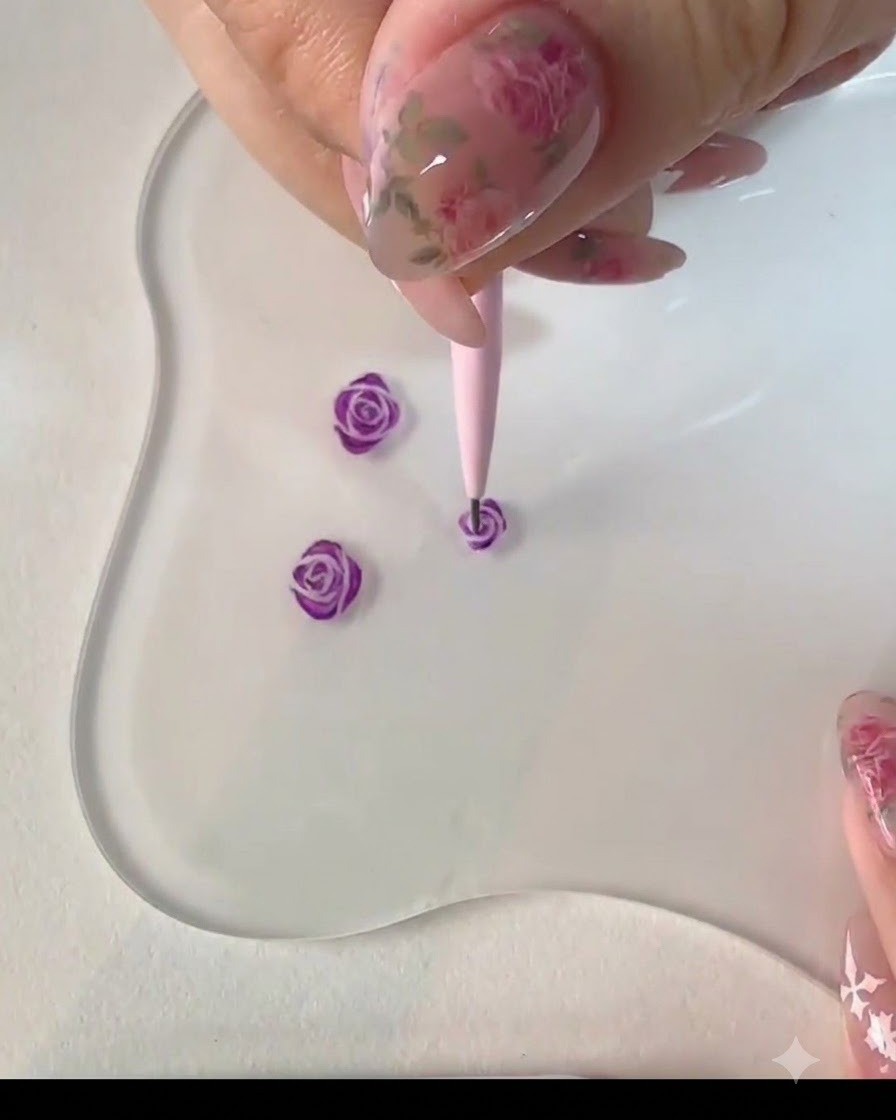
Extend outward from the center by drawing a slightly longer curved stroke that loops around the core elements. This begins expanding the structure into a blooming flower shape.
Tip: Sweep the brush gracefully to create a natural, flowing curve instead of a rigid line. - 5Build Outer Petals
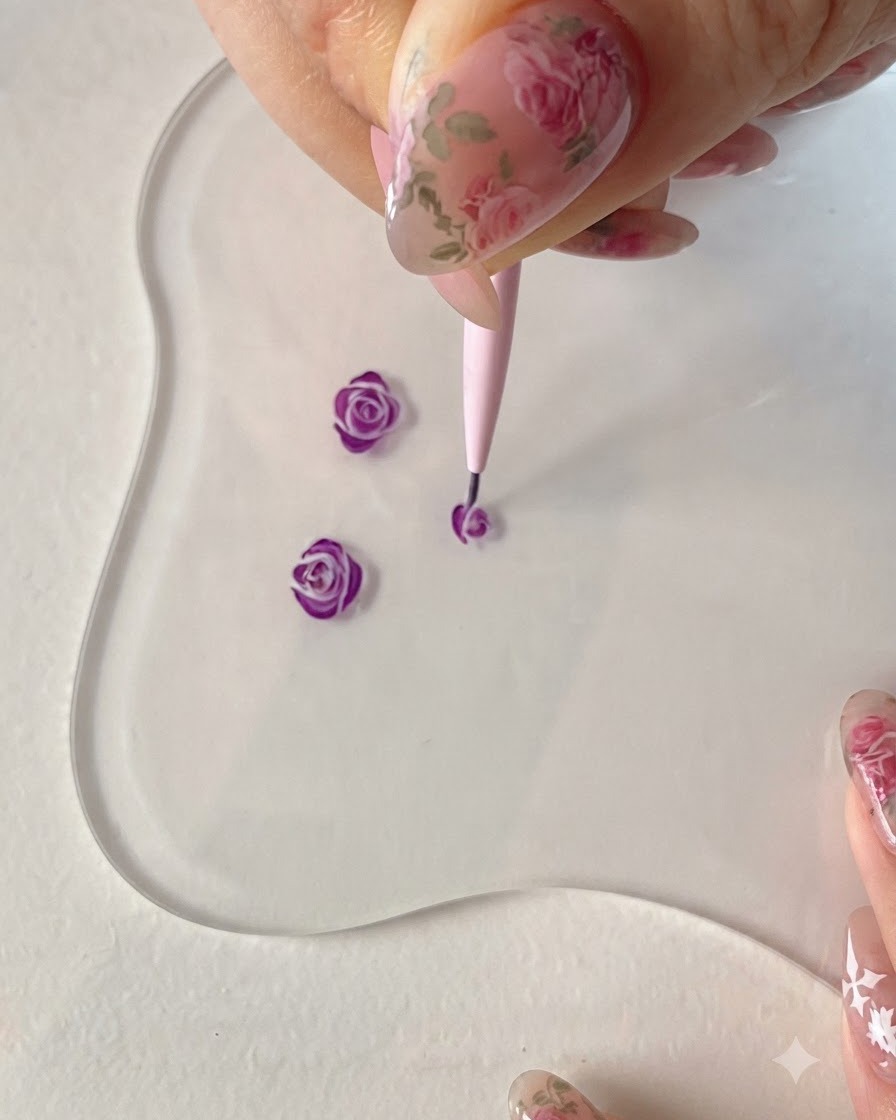
Continue outlining additional outer petals using sweeping, delicate lines that wrap around the previous layers. Build up the contours systematically to achieve a fully formed rose structure.
Tip: Vary the curvature slightly on each new layer to give the rose a realistic, multi-dimensional look. - 6Add Lower Surrounding Petals
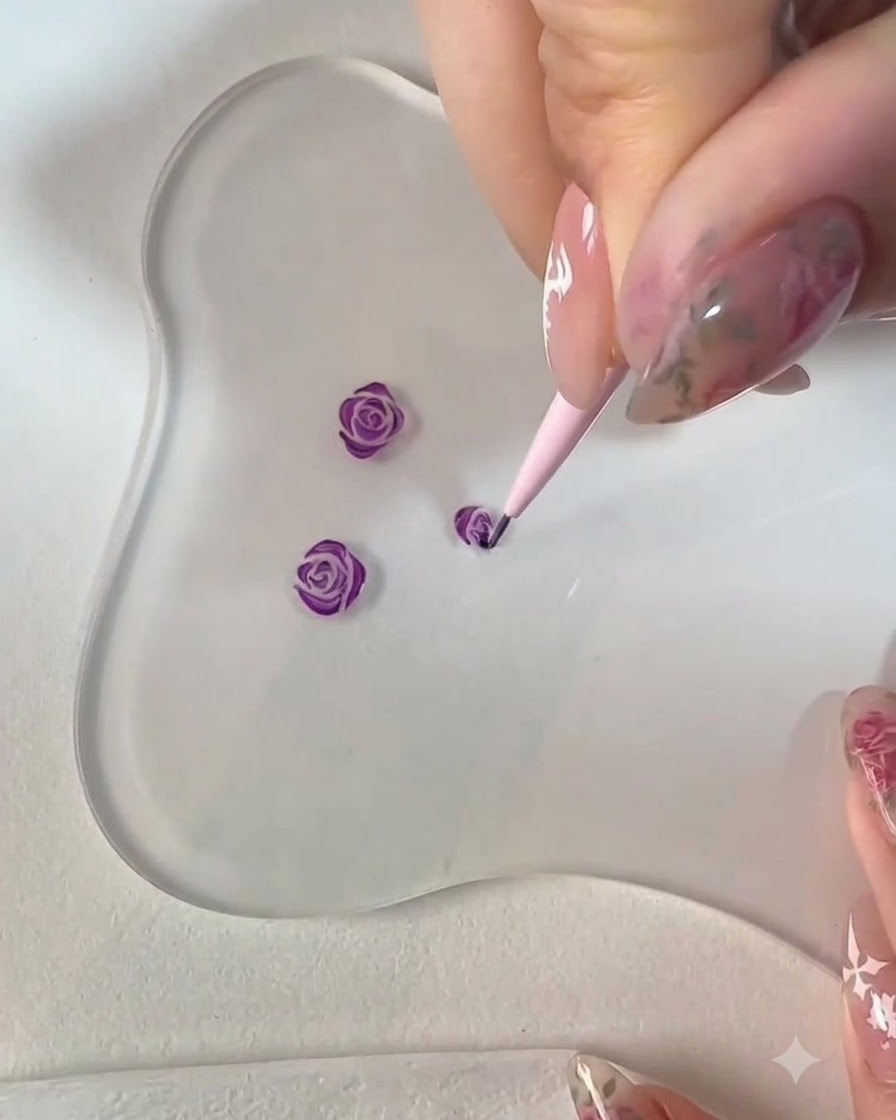
Add more surrounding petals on the lower side of the rose using your fine liner brush. This balances the composition and rounds out the base of the flower.
Tip: Check the symmetry of your flower before curing to ensure the petal distribution looks natural. - 7Refine Petal Edges
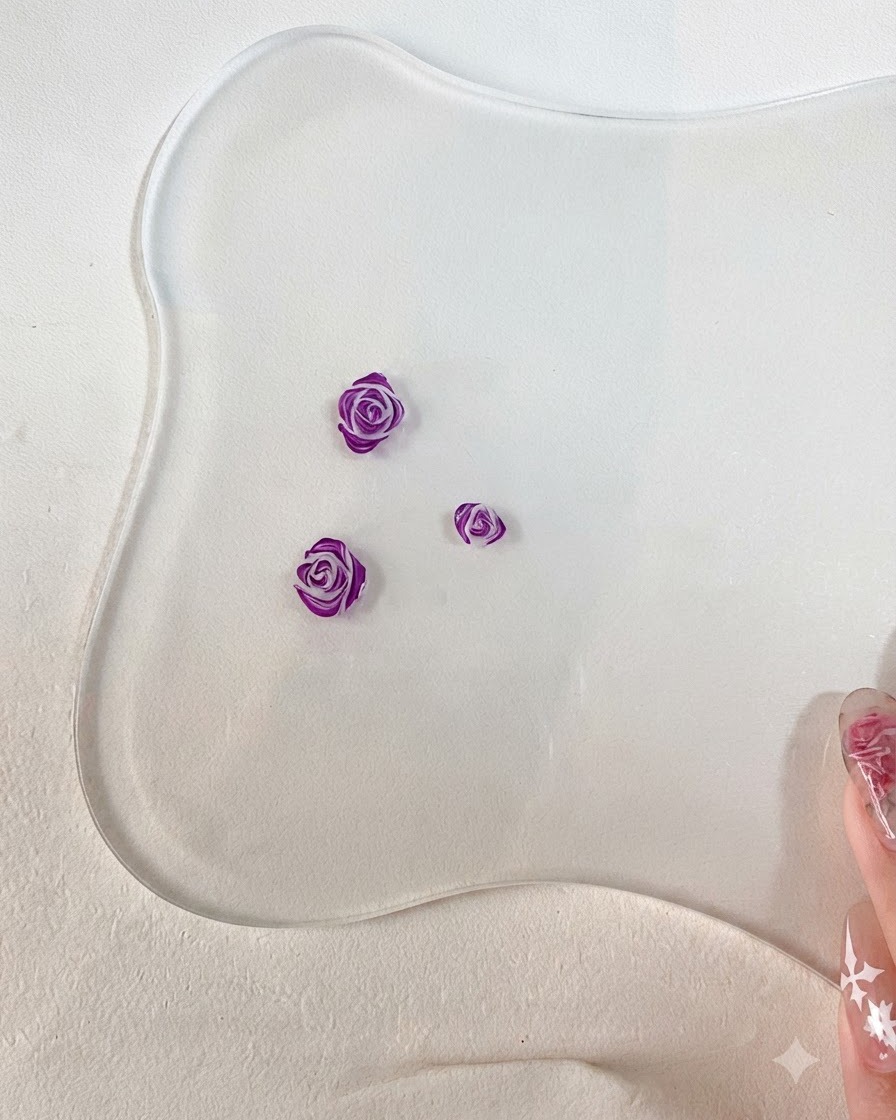
Using fine purple strokes, carefully trace and define the outer edges of the rose petals. This extra detailing enhances the overall shape, bringing out a rich 3D effect that makes the roses pop against the background.
Tip: Keep your liner brush extremely clean and use very little product to ensure the strokes remain razor-sharp and precise. - 8Add final accent details
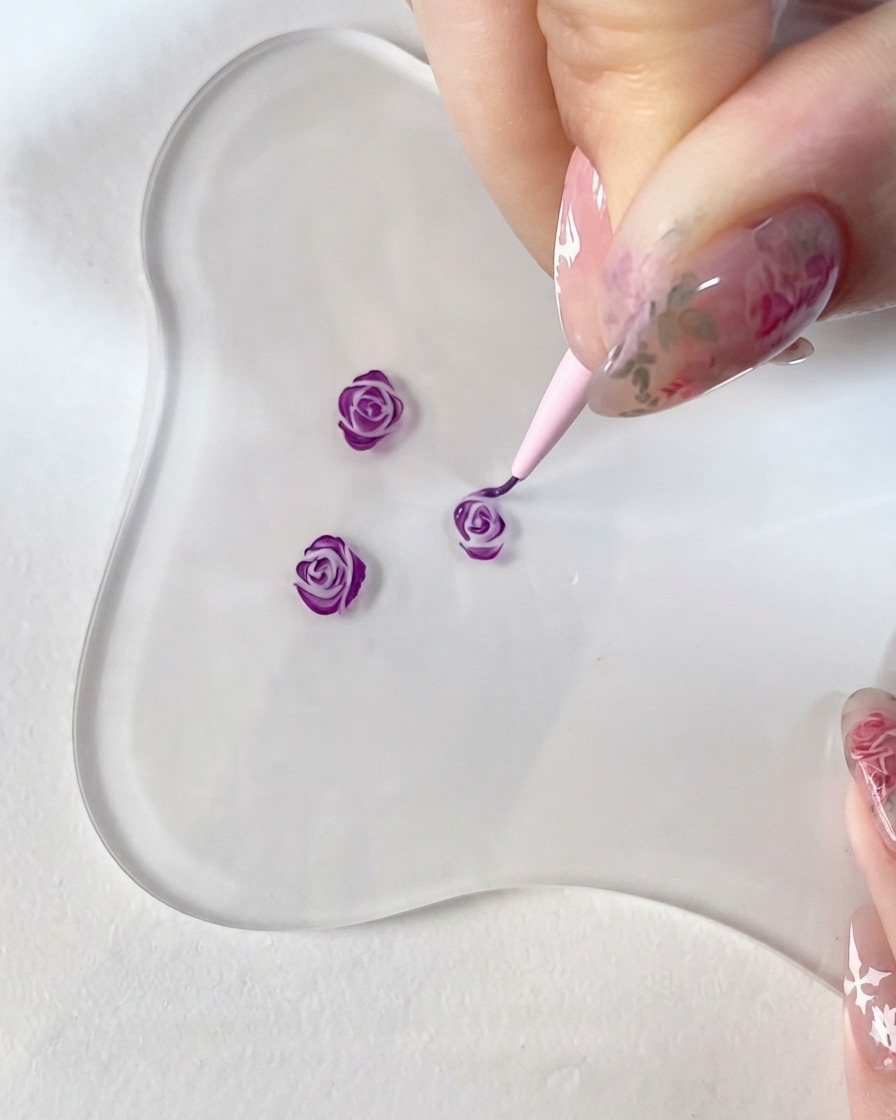
Using a fine liner brush, carefully apply the final accent details and fill in any minor gaps within the rose design. Concentrate on enhancing the structure and creating depth by refining the small, delicate lines. Work with a steady hand to preserve the crisp, dimensional 3D look of the petals.
Tip: Keep your detail brush lightly loaded with product to prevent thick, uneven lines while adding fine accents. - 9Clean up and finalize structure
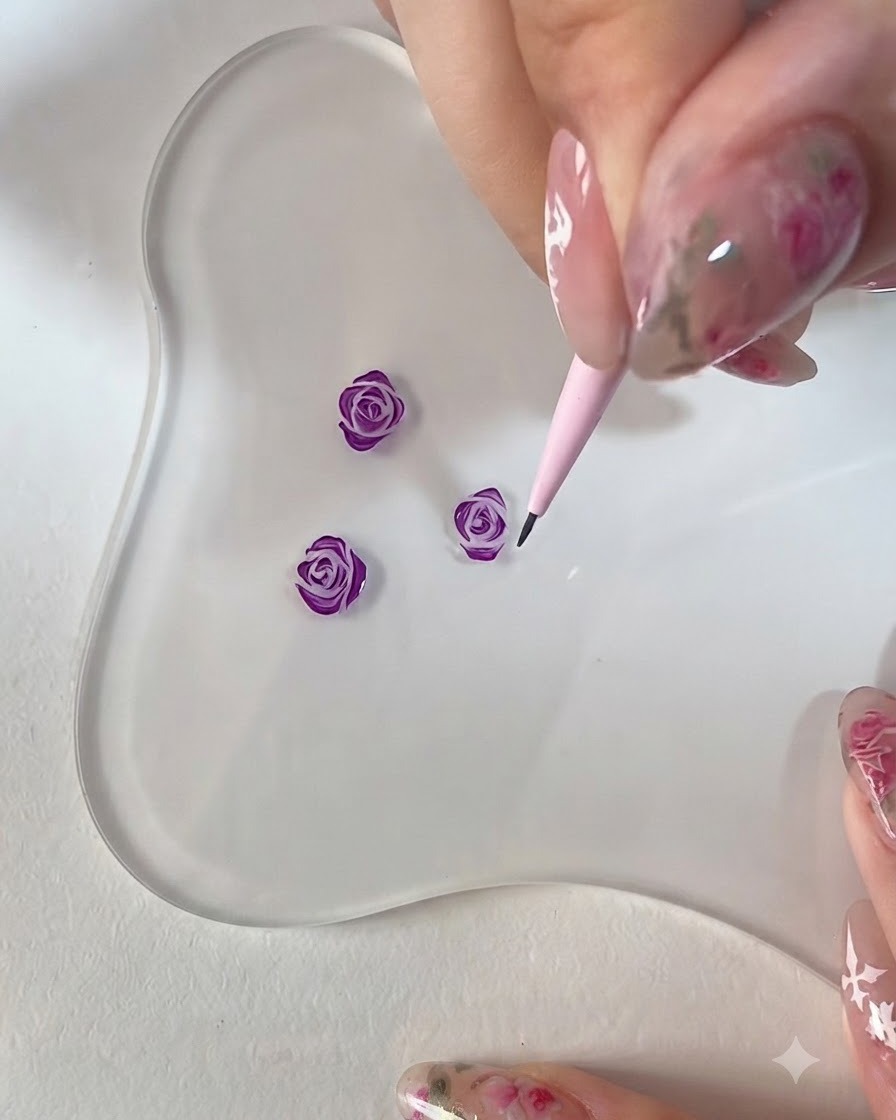
Using a fine detail brush, carefully go over the edges of the purple rose to clean up any uneven lines. This finalization step ensures the 3D structure and petal layers are sharp and clearly defined.
Tip: Work with a very light touch and a steady hand to maintain the delicate appearance of the petals.