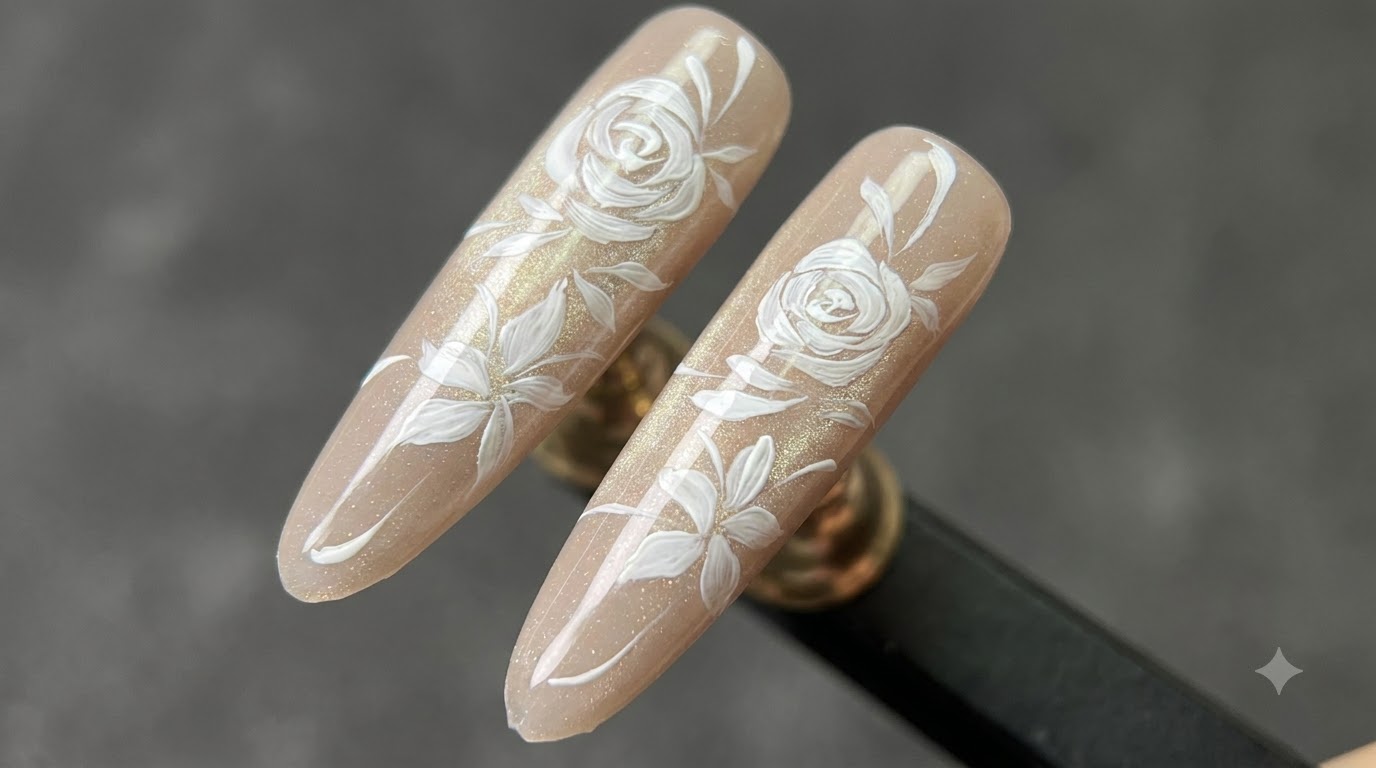
White Hand-Painted Rose Nail Art
Cat Eye Base — Step-by-Step Tutorial
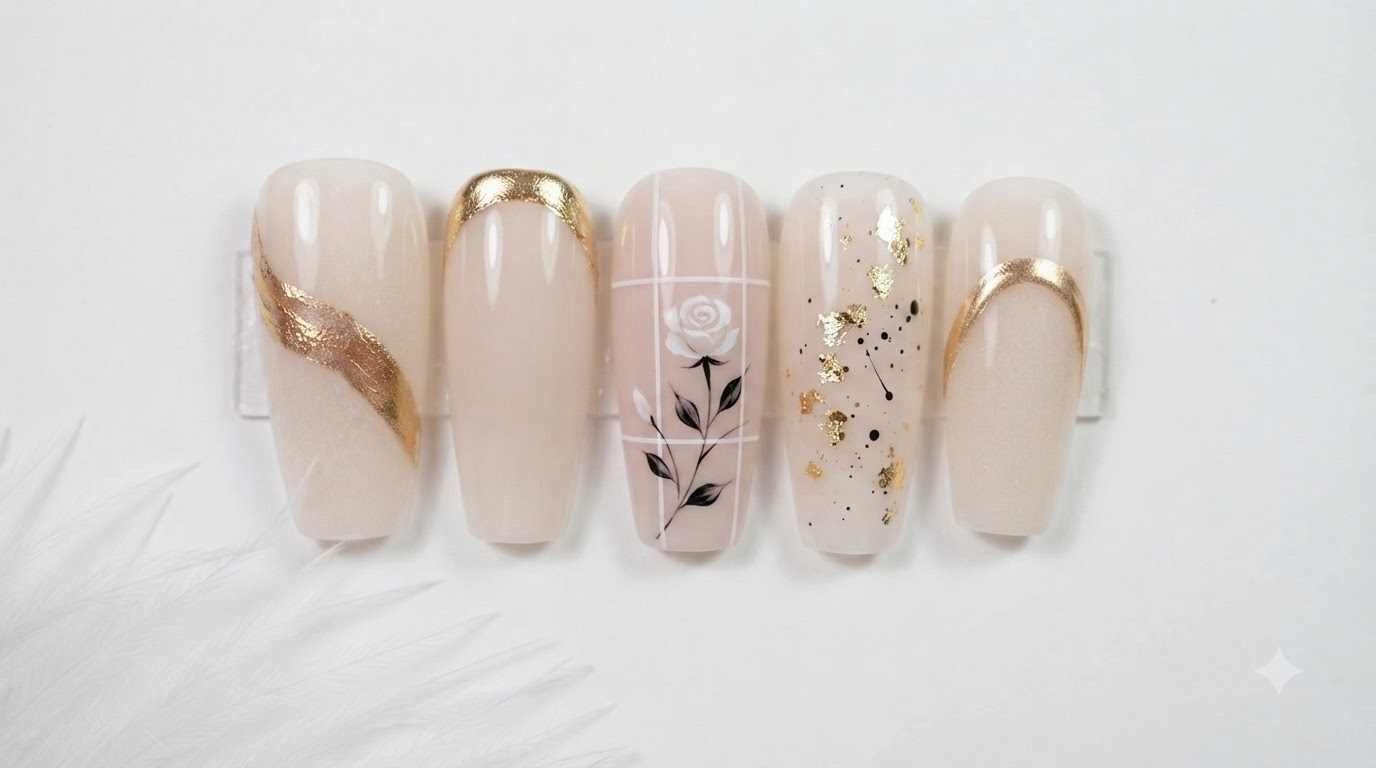
Create elegant white hand-painted roses and delicate floral vines over a shimmering nude cat-eye gel base with this detailed tutorial.
Hand-painted floral nail art combined with a dimensional cat-eye base creates a sophisticated, elegant look that stands out. By mastering simple dabbing and pressing techniques with a detail brush, you can achieve professional, multi-layered rose designs right at home.
Steps
- 1Apply Second Coat of Nude Base Color
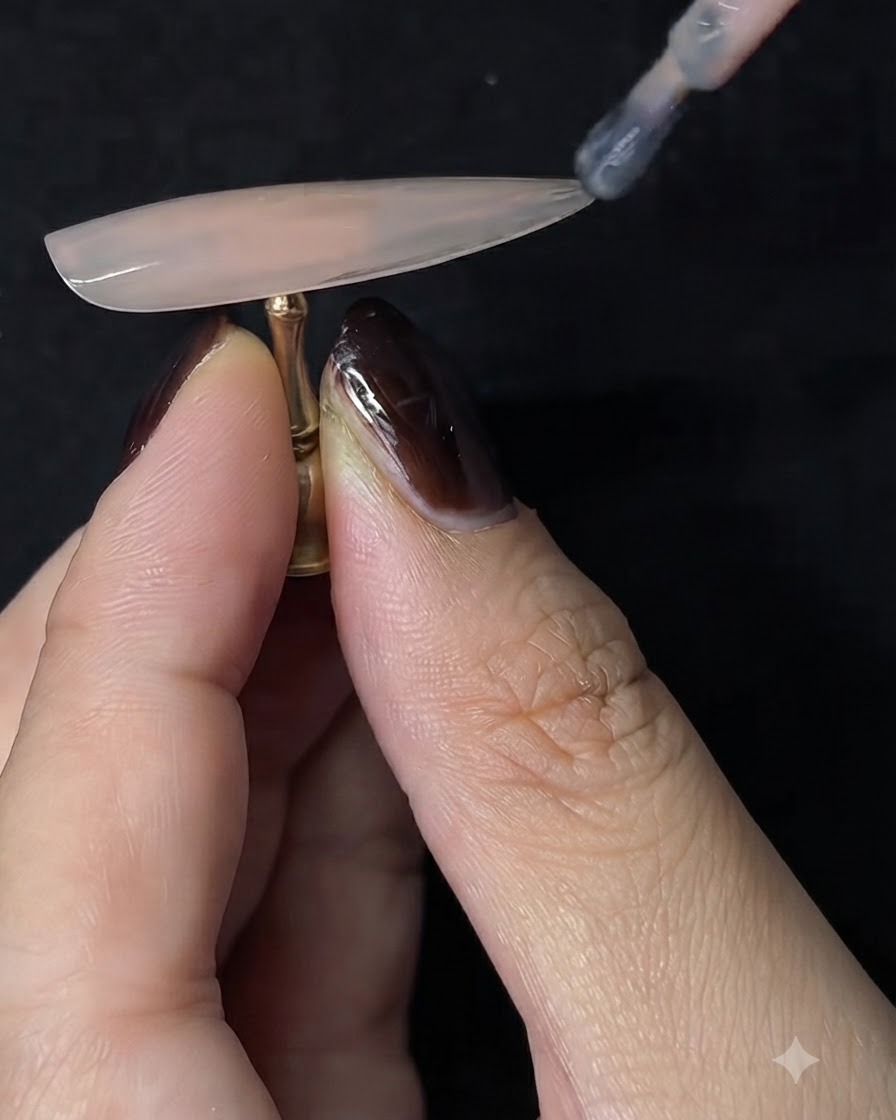
Apply a second even coat of nude base color gel over the nail extension to ensure solid and smooth coverage. Make sure to coat evenly across the entire surface before moving on to curing.
Tip: Apply thin, even strokes to prevent pooling around the edges and cuticle area. - 2Cure Base Color
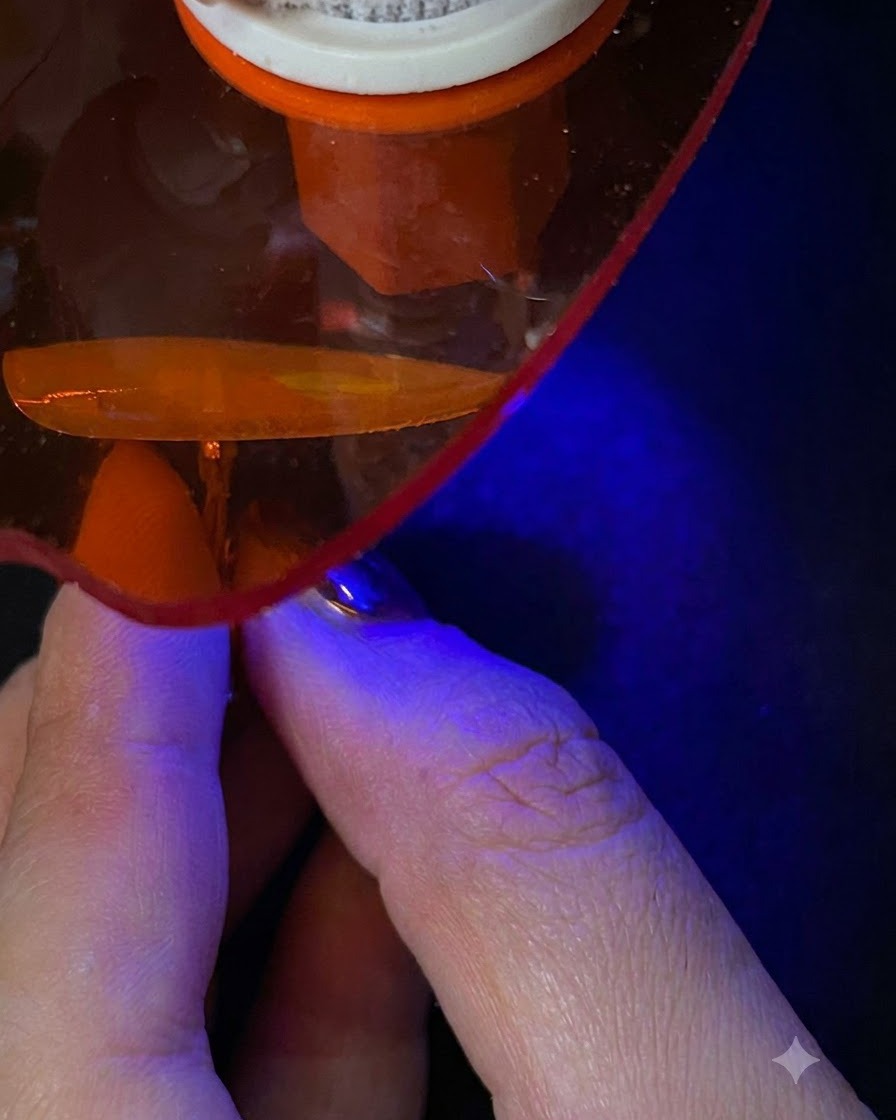
Place the nail under a UV/LED lamp to fully cure the applied layers of nude base color gel. Ensure proper curing time according to your gel product instructions.
Tip: Keep the hand steady under the lamp to prevent any shifting or contamination before the gel cures. - 3Apply clear cat-eye gel polish
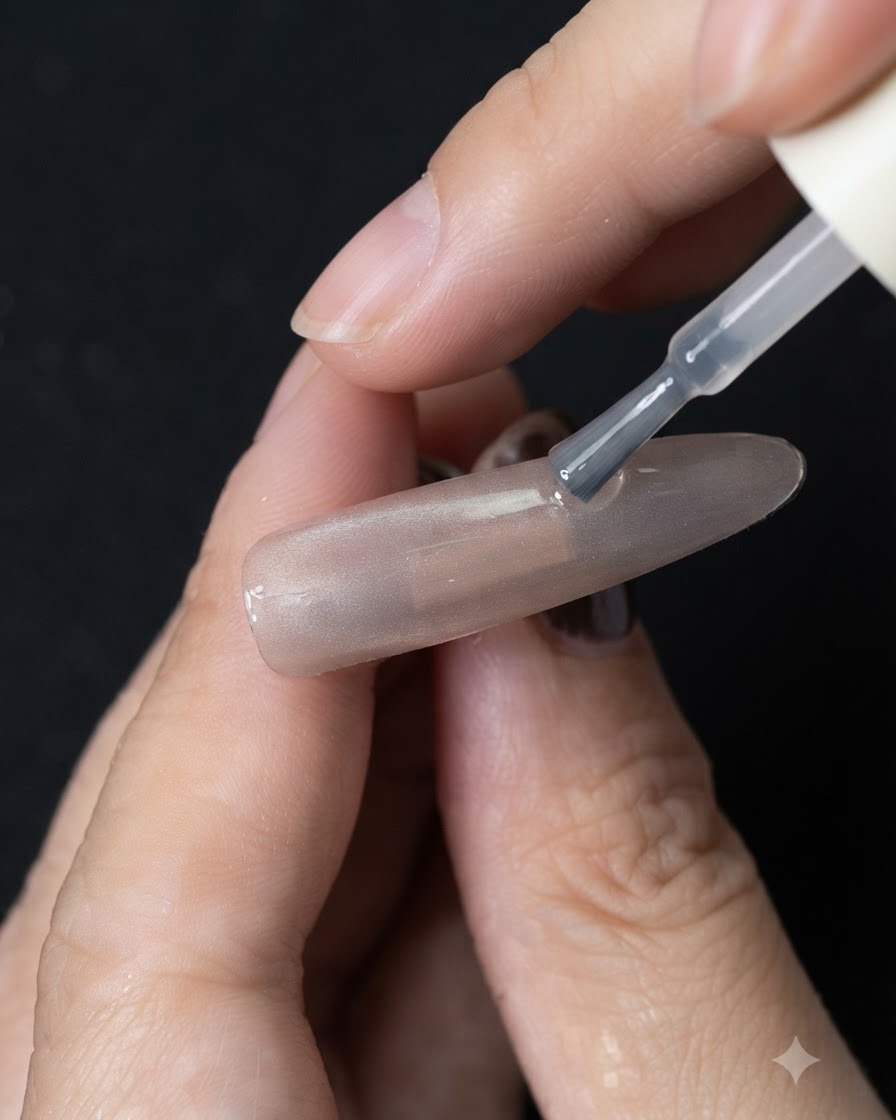
Apply a layer of clear cat-eye gel polish over the cured base color, ensuring an even distribution across the entire nail surface. Do not cure this layer yet, as you will need the wet consistency to create the special magnetic effect.
Tip: Keep the layer smooth and consistent to allow the magnetic particles to shift freely and evenly. - 4Create Glass Bead Cat-Eye Effect
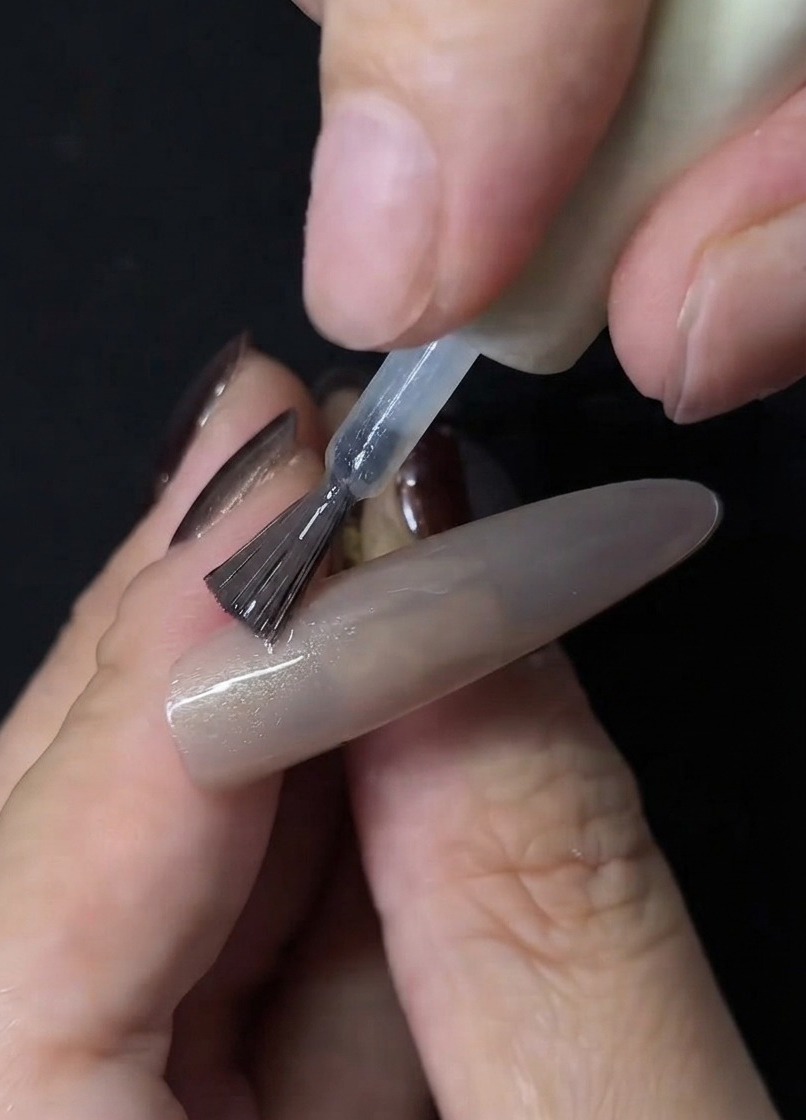
Apply a layer of clear cat-eye gel polish over the base, then use a magnetic wand closely around the nail to gather the magnetic pigment into a concentrated glass bead effect. This creates a dimensional, reflective shimmer within the nude base.
Tip: Hold the magnet steady and close to the nail for a few seconds to lock the pigment into place before curing. - 5Cure Cat-Eye Effect
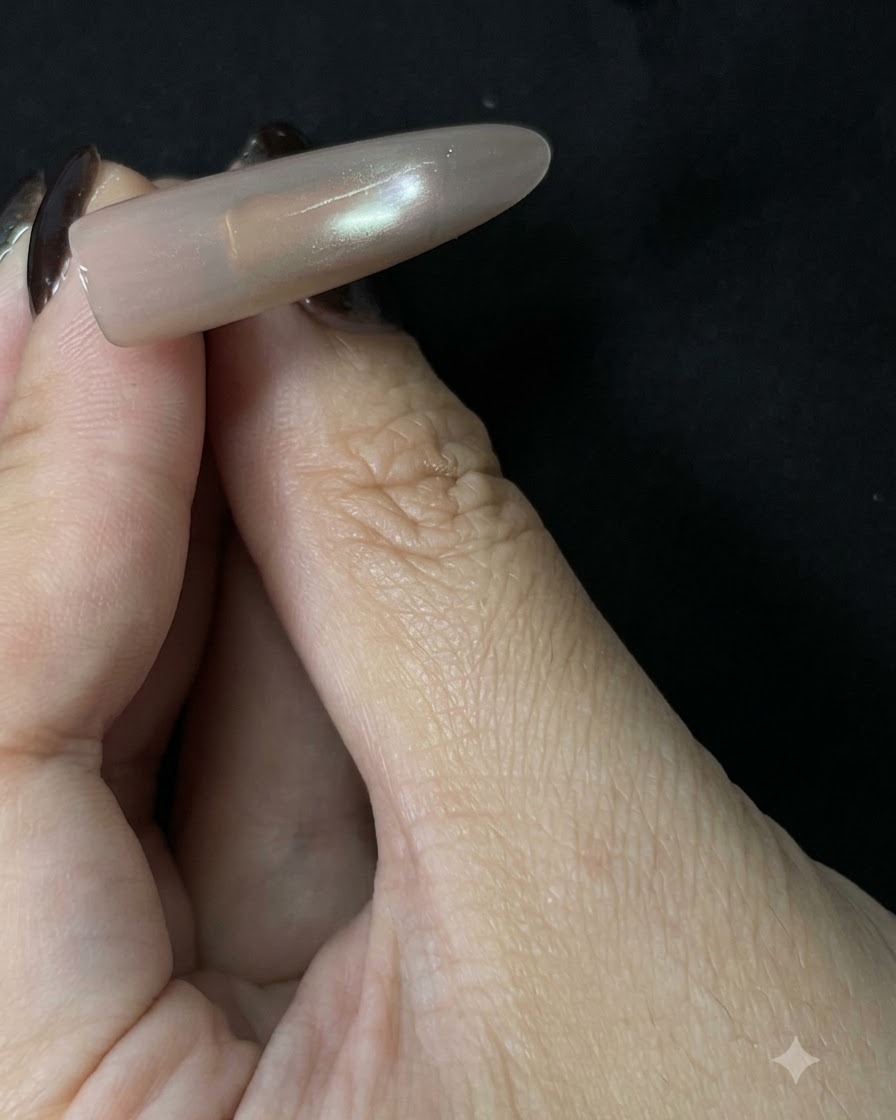
Place the nail under the UV/LED lamp to cure the cat-eye gel polish and lock in the glass bead dimensional effect. Ensure it is completely cured before proceeding to the next phase.
Tip: Double-check that the cat-eye reflection hasnt shifted before inserting your hand into the lamp. - 6Apply top coat gel
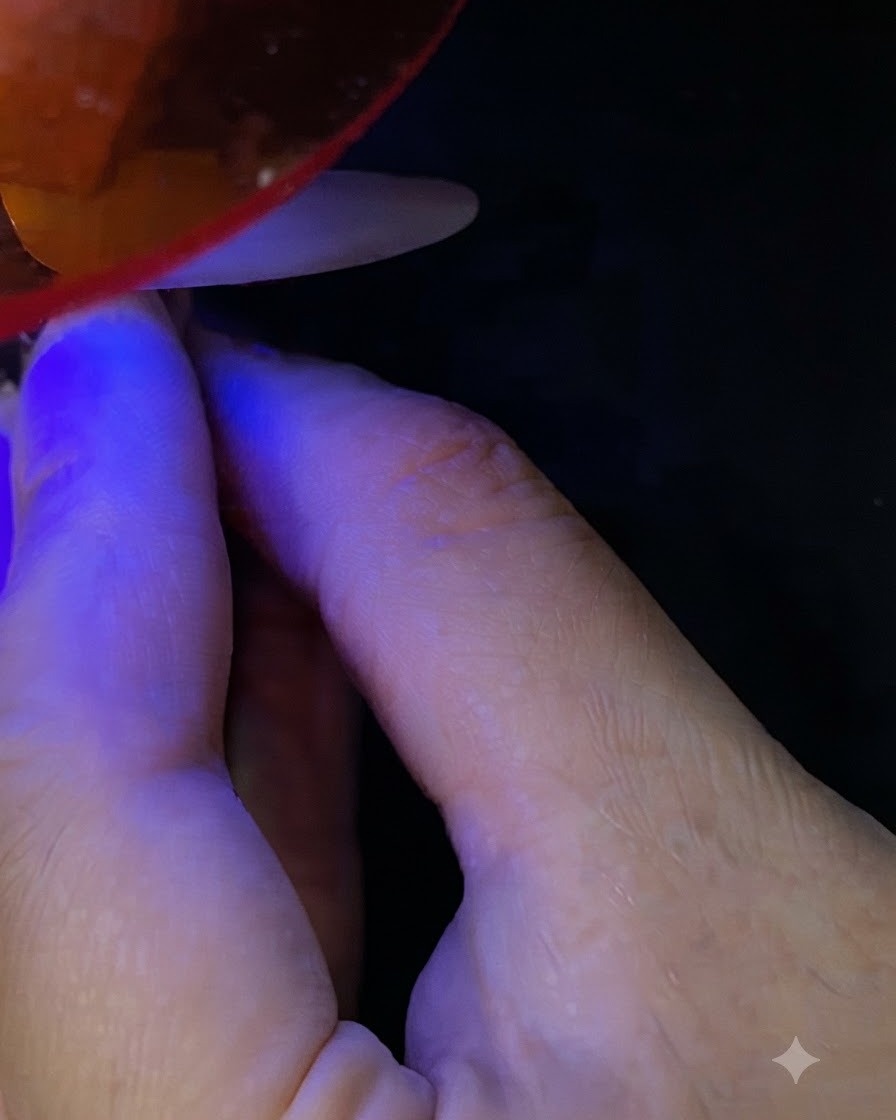
Apply a layer of top coat gel to seal the nail surface and protect your design. Ensure complete coverage over the entire nail and cap the free edge to guarantee longevity. Carefully check for any missed spots before moving on to curing.
Tip: Capping the free edge with top coat prevents chipping and peeling along the tip. - 7Cure top coat under lamp
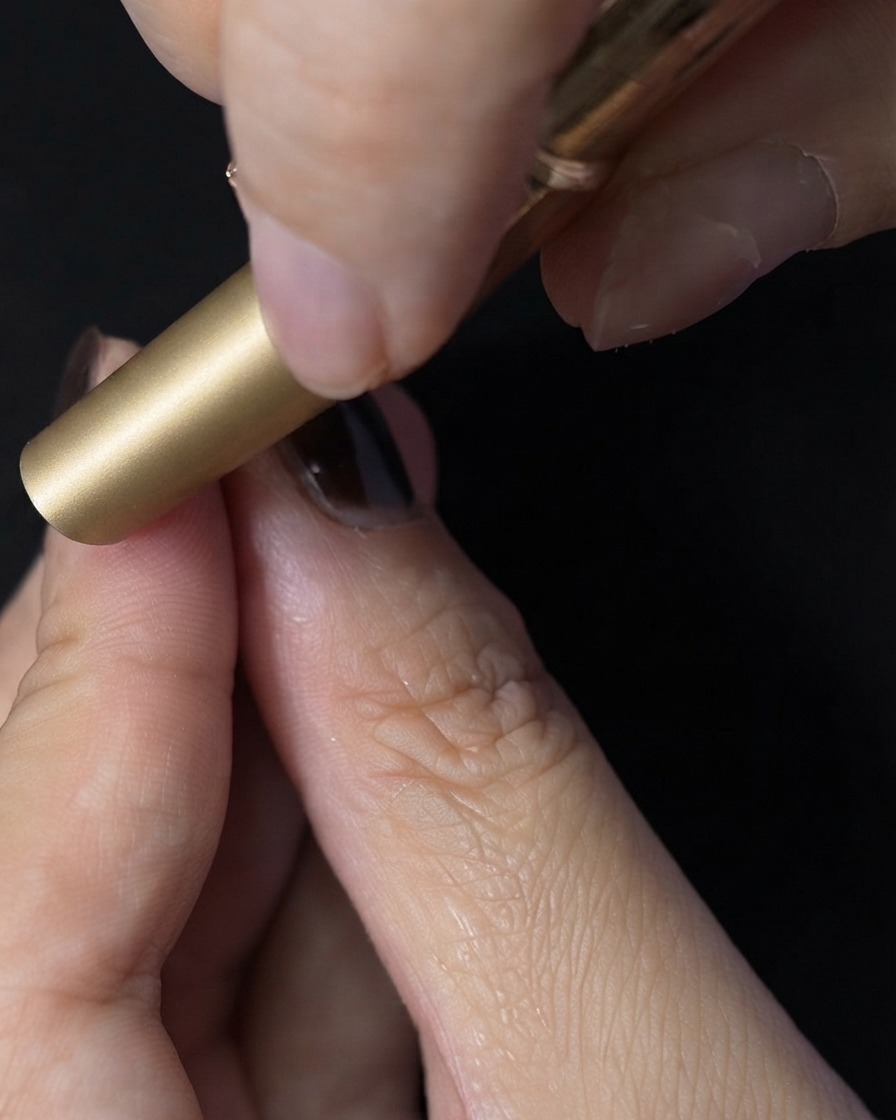
Place the nail under your UV or LED lamp and cure for the full recommended time specified by your top coat manufacturer. This ensures a durable, high-gloss finish that is completely dry and secure.
Tip: Do not remove your hand early, as an incomplete cure can result in a dull finish or sticky residue. - 8Paint the rose center spiral
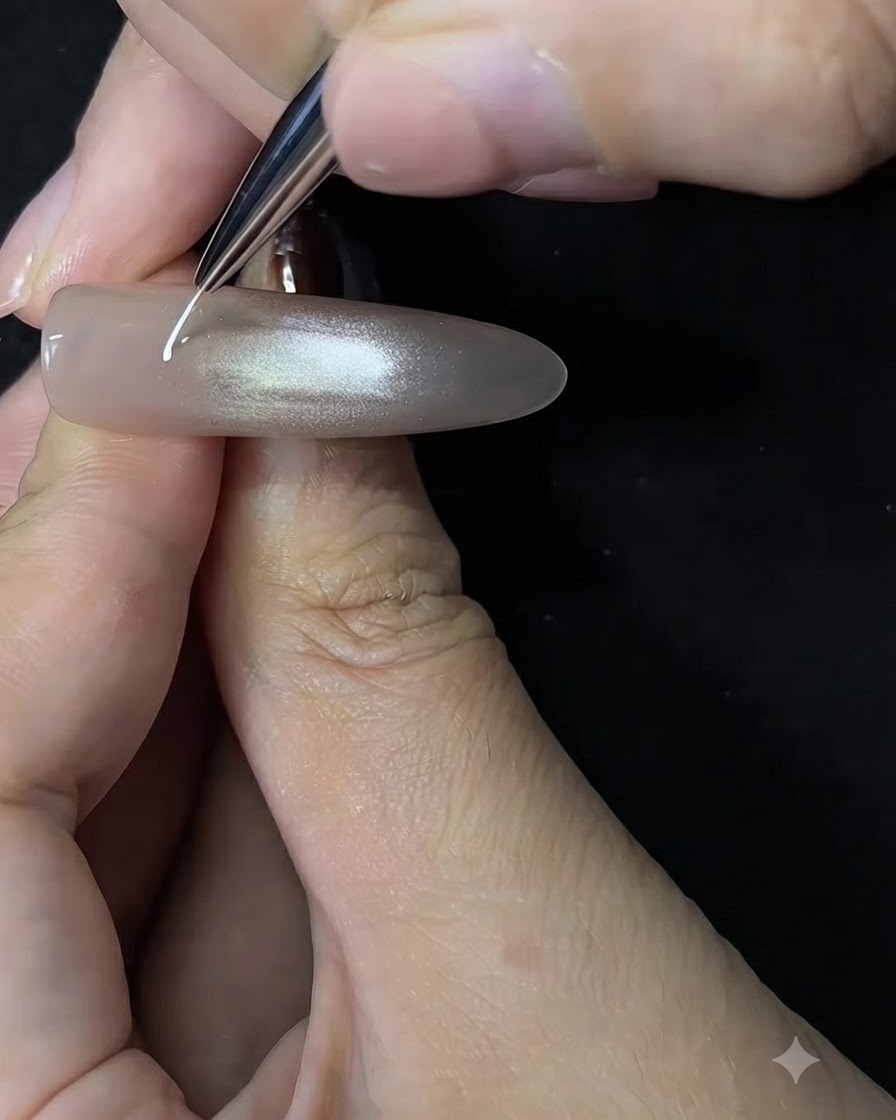
Take a fine detail liner brush loaded with white gel and paint a delicate, tight spiral near the upper area of the nail to form the center of the rose. Keep your hand steady to draw smooth, fine lines.
Tip: Wipe your detail brush clean if the gel starts to clump, ensuring the lines stay crisp and sharp. - 9Draw inner rose petals
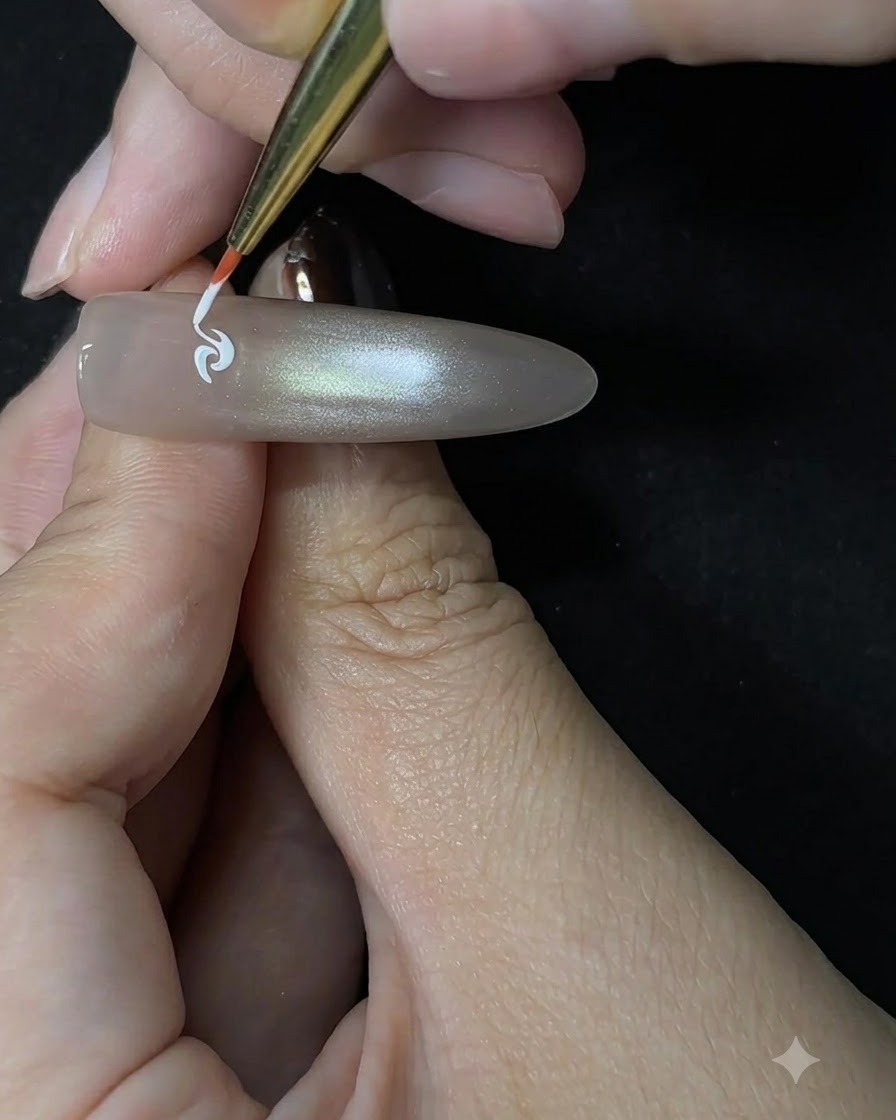
Switch to a white painting brush to draw the first layer of inner petals around the center spiral. Carefully outline and build up the shape of the petals to give the flower depth right from the start.
Tip: Use light pressure on your brush to keep the petal outlines thin and delicate. - 10Build rose petals with dabbing technique
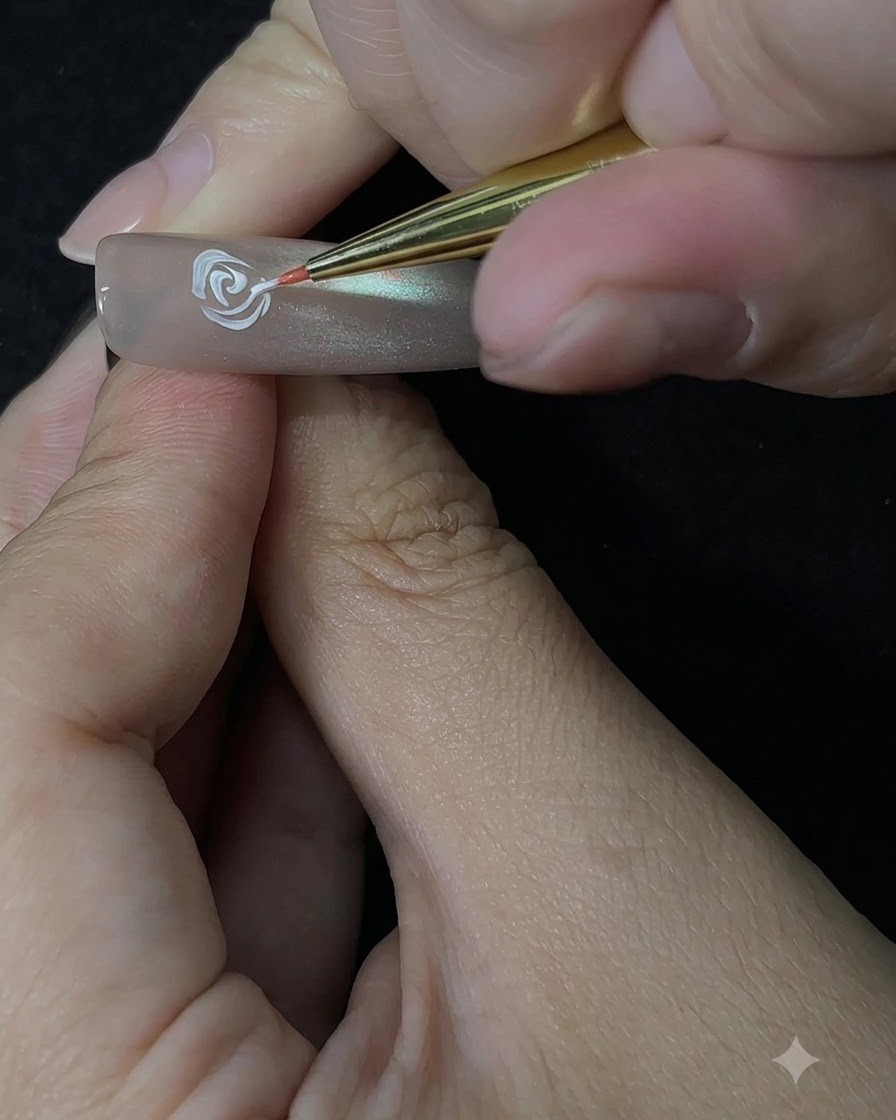
Continue building out the rose petals layer by layer using a dabbing and pressing technique with your brush. This method creates soft, organic petal textures rather than flat, solid lines.
Tip: Vary the pressure slightly as you dab to create natural variations in petal thickness. - 11Build outer rose petals
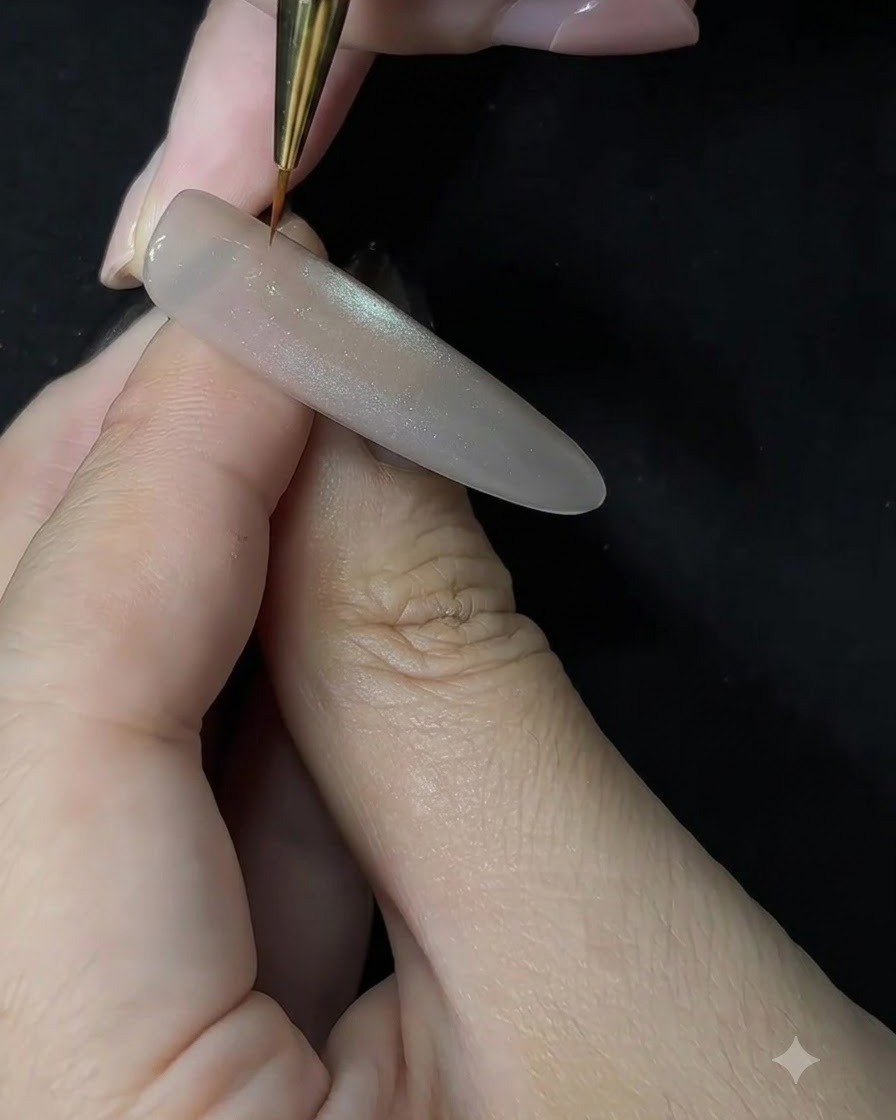
Using a detail brush and white gel, continue adding outer layers to the rose by using a light dabbing and pressing technique. Build the flower layer by layer to create depth and dimension.
Tip: Keep the dabbing motions light so the petals look soft and natural. - 12Draw vines and leaves
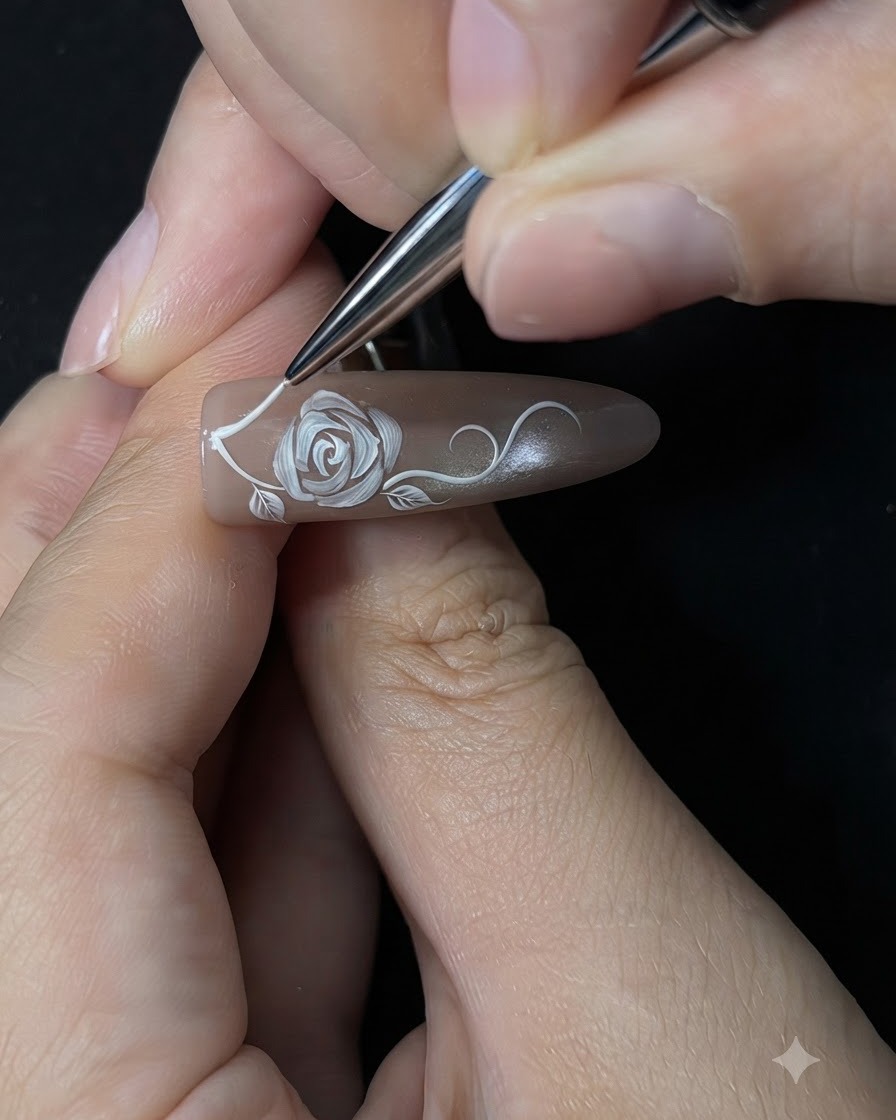
Use a fine liner brush to paint delicate, curved vines and small leaves extending outward from the main rose. Fill any empty spaces around the design to balance the overall layout.
Tip: Wipe your brush clean between strokes to keep the lines crisp and thin. - 13Start secondary flower
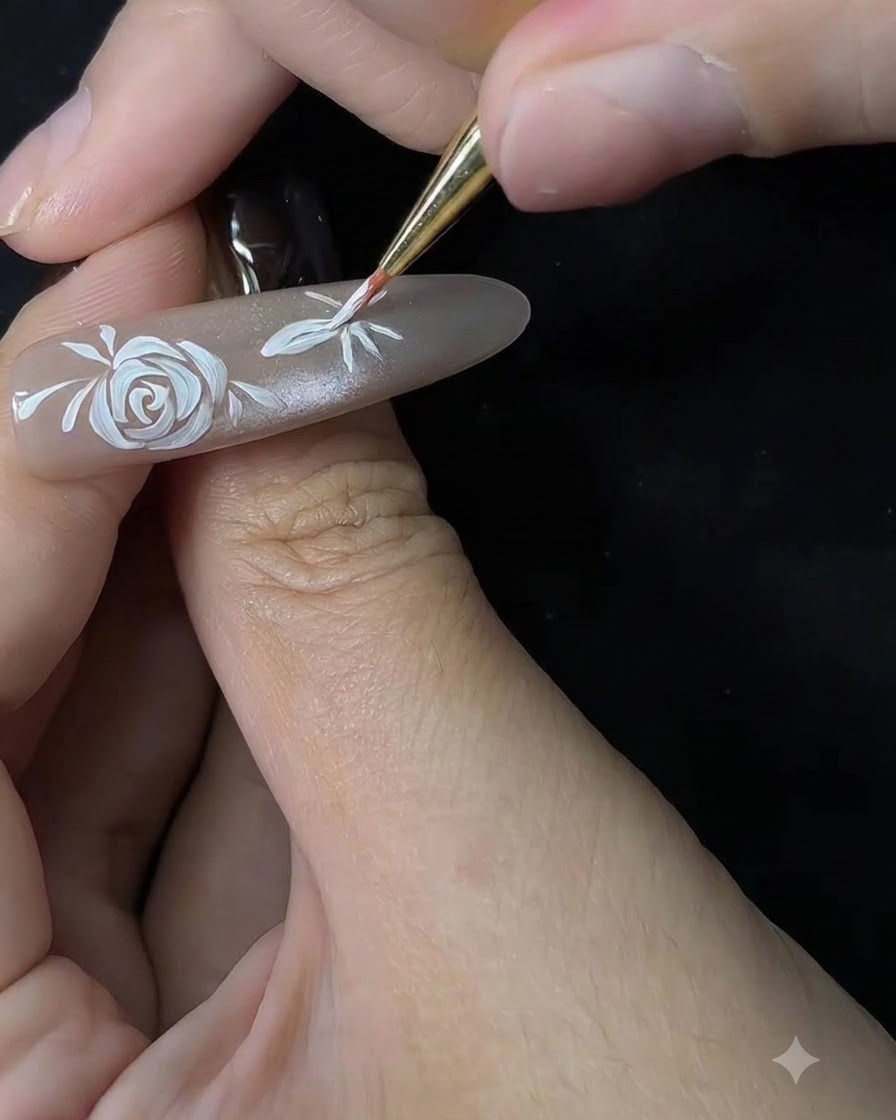
Begin drawing a secondary five-petal flower in the remaining negative space on the nail. Use the same dabbing technique to outline the petals.
Tip: Position the second flower so it complements the flow of the primary rose rather than competing with it. - 14Define secondary flower petals
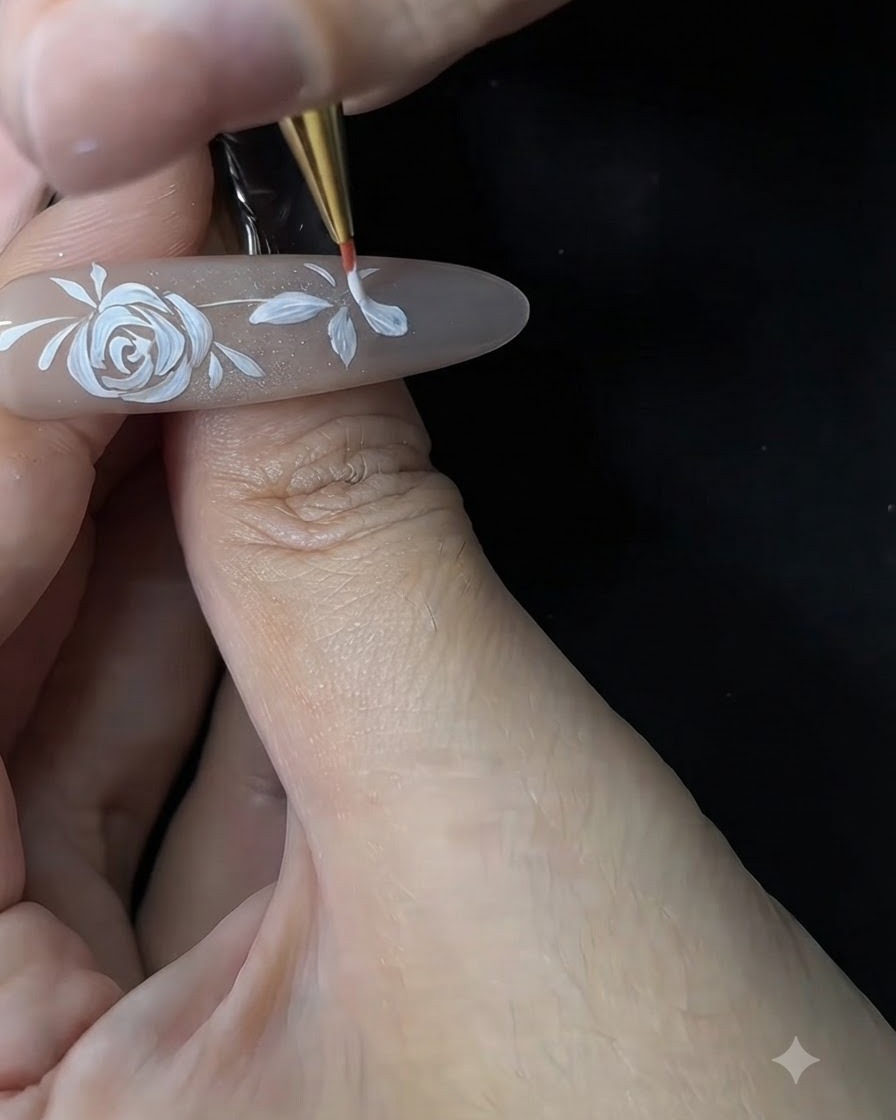
Continue defining and thickening the petals of the secondary five-petal flower using the dabbing and pressing technique. Ensure the thickness matches the stylistic weight of the main rose design.
Tip: Slightly vary the thickness of each petal edge to add organic texture. - 15Add white accent vines
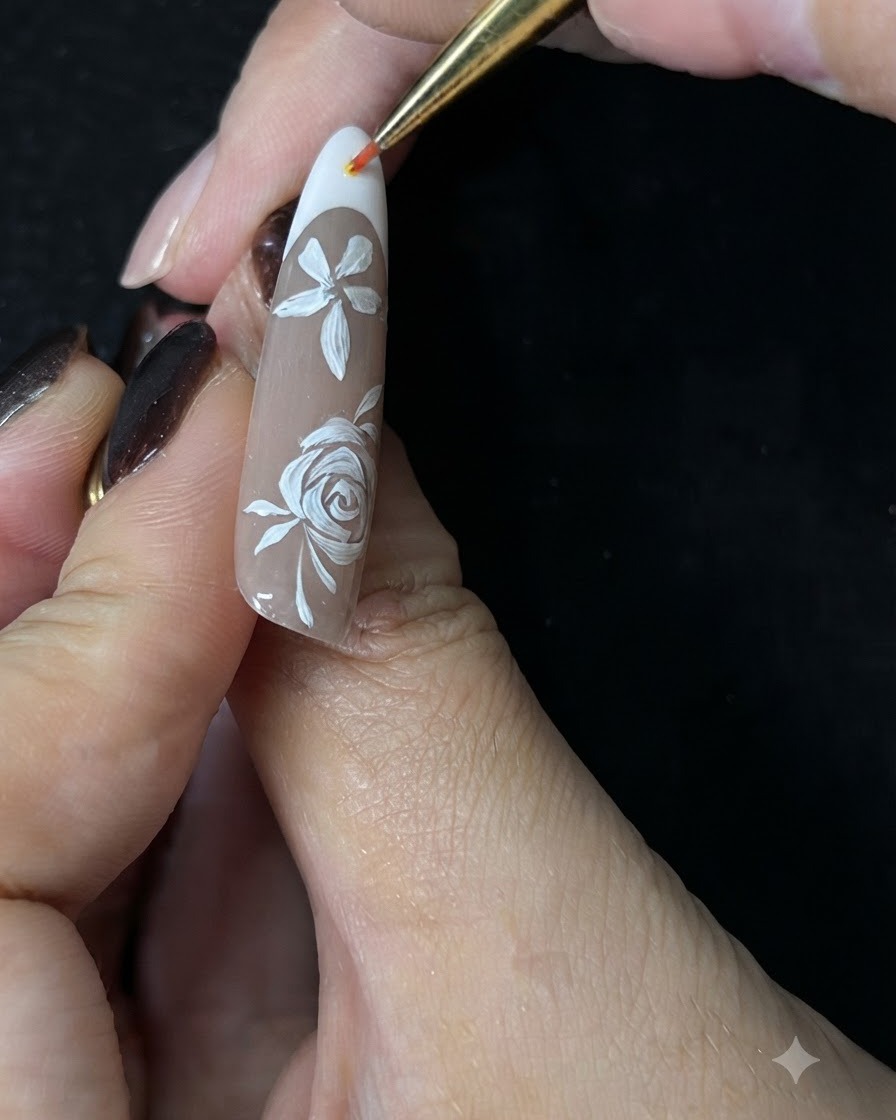
Using a fine detail liner brush, carefully draw delicate white vines and thin accent lines in the negative space around the flowers. This helps connect the design elements and fills out the nail art, giving it a complete and balanced appearance.
Tip: Keep your hand steady and use only the very tip of the brush to achieve the thinnest, most delicate lines. - 16Paint final leaf details
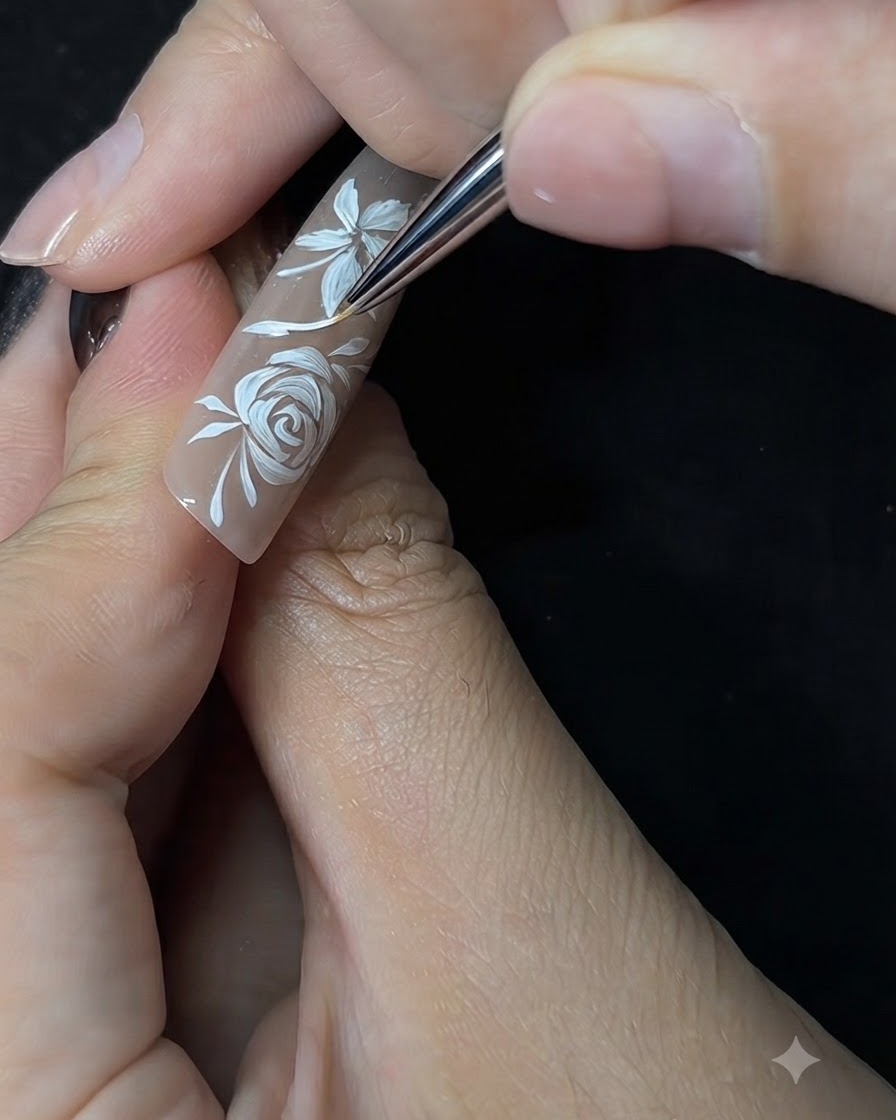
Continue using the detail brush to add small leaf details attached to the vines you just created. These final touches complete the floral arrangement and bring the hand-painted rose design to life. Ensure the leaves vary slightly in size for a more natural look.
Tip: Apply slightly more pressure at the base of the leaf and release as you pull toward the tip to create a natural, tapered point. - 17Final cure under the lamp
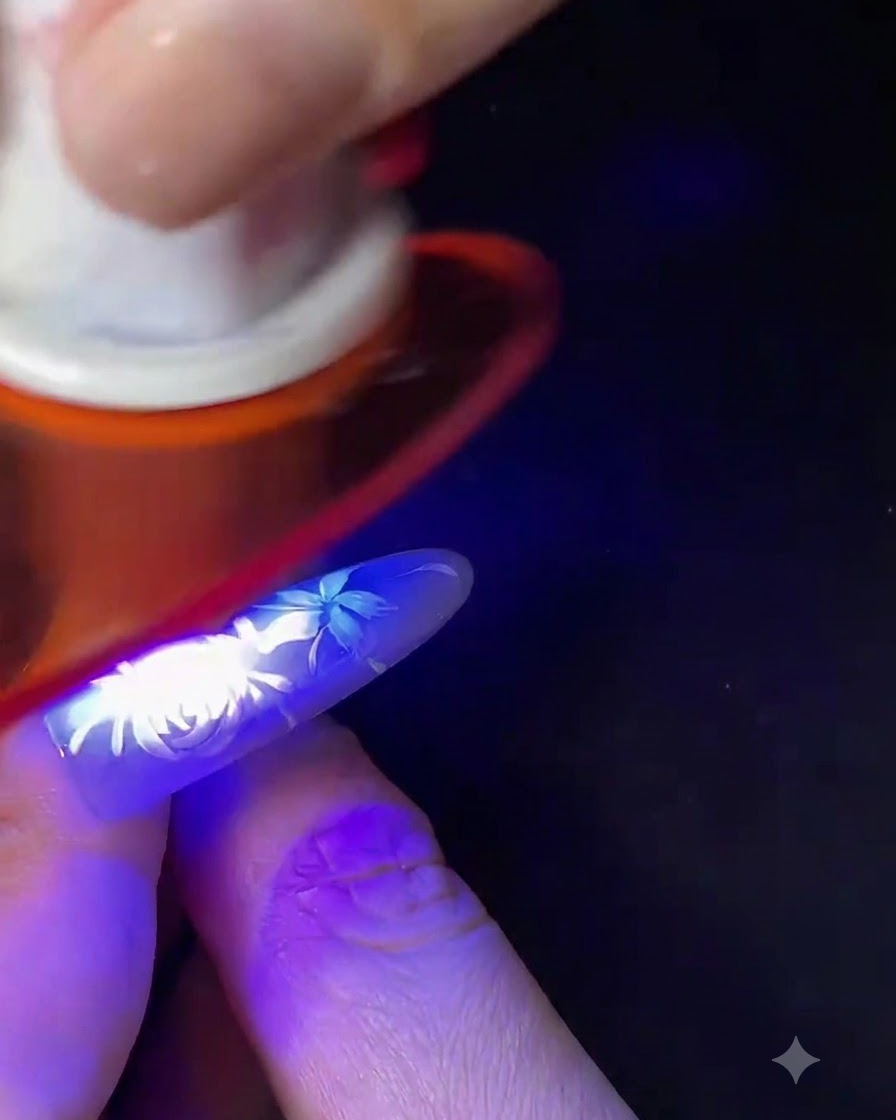
Once you are happy with all the floral details, vines, and leaves, place the nail under your LED or UV lamp for a final cure. Follow your gel manufacturers instructions for the full curing time to ensure the nail art is completely set and durable.
Tip: A full 60-second cure is typically recommended for intricate, layered gel art to prevent smudging or peeling.