3D Sculpted Gradient Blue Rose Nail Art — Step-by-Step Tutorial
Learn how to sculpt a delicate, 3D gradient blue acrylic rose using a simple layering technique. Perfect for adding a realistic, ruffled floral charm to your next nail set.
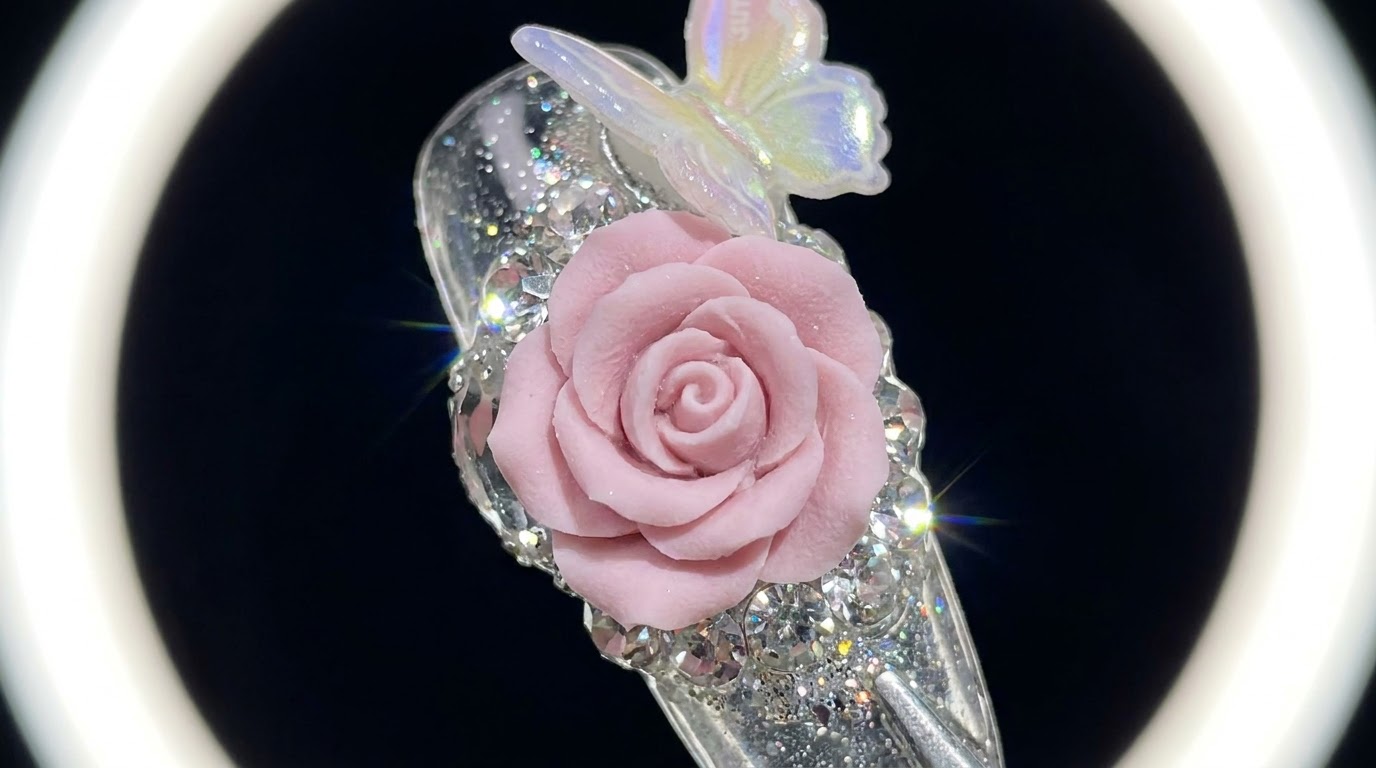
3D floral nail art adds an incredibly elegant and tactile dimension to any manicure. This gradient blue rose technique breaks down the intimidating sculpting process into manageable, bite-sized steps. By building the bloom layer by layer from a tight center bud to ruffled outer petals, you can create a highly realistic, customized charm right on a toothpick before applying it to the nail.
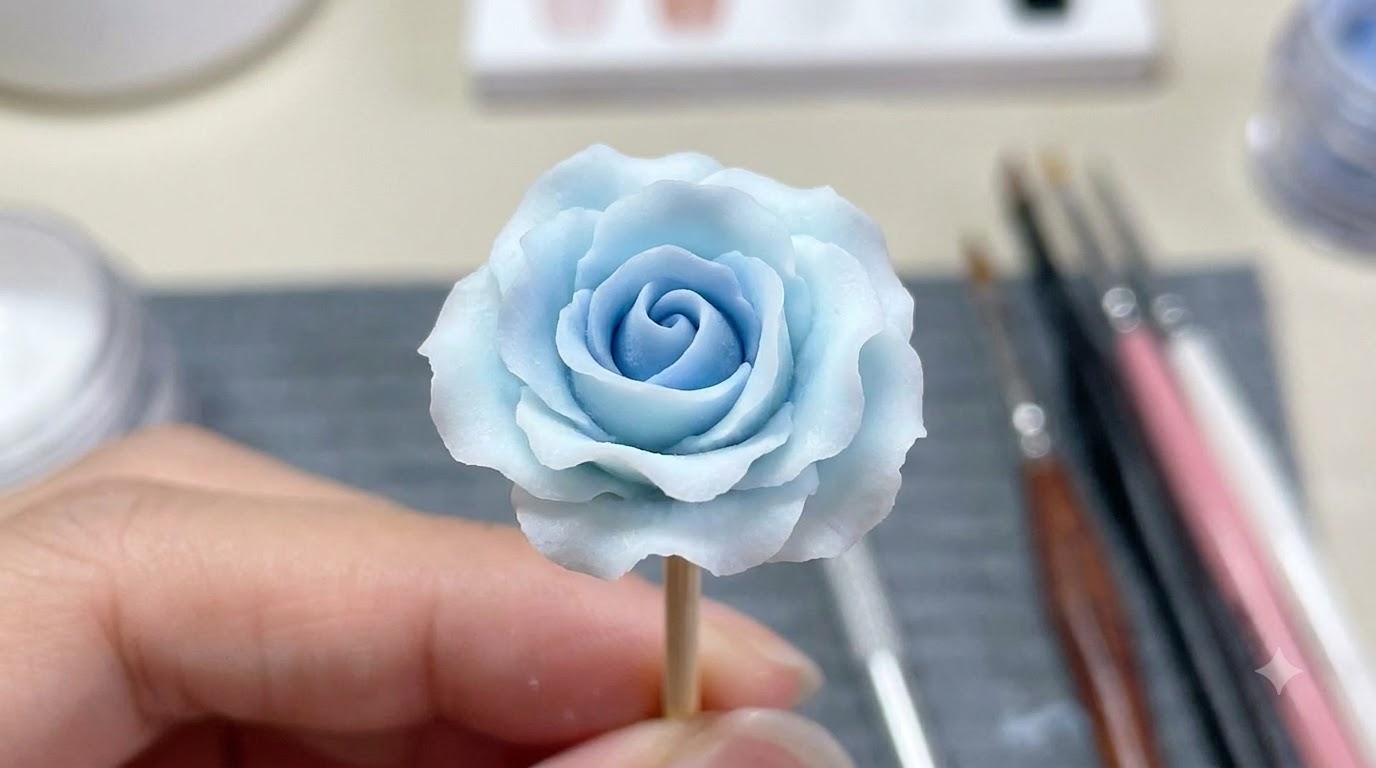
Steps
- 1Place the structural base
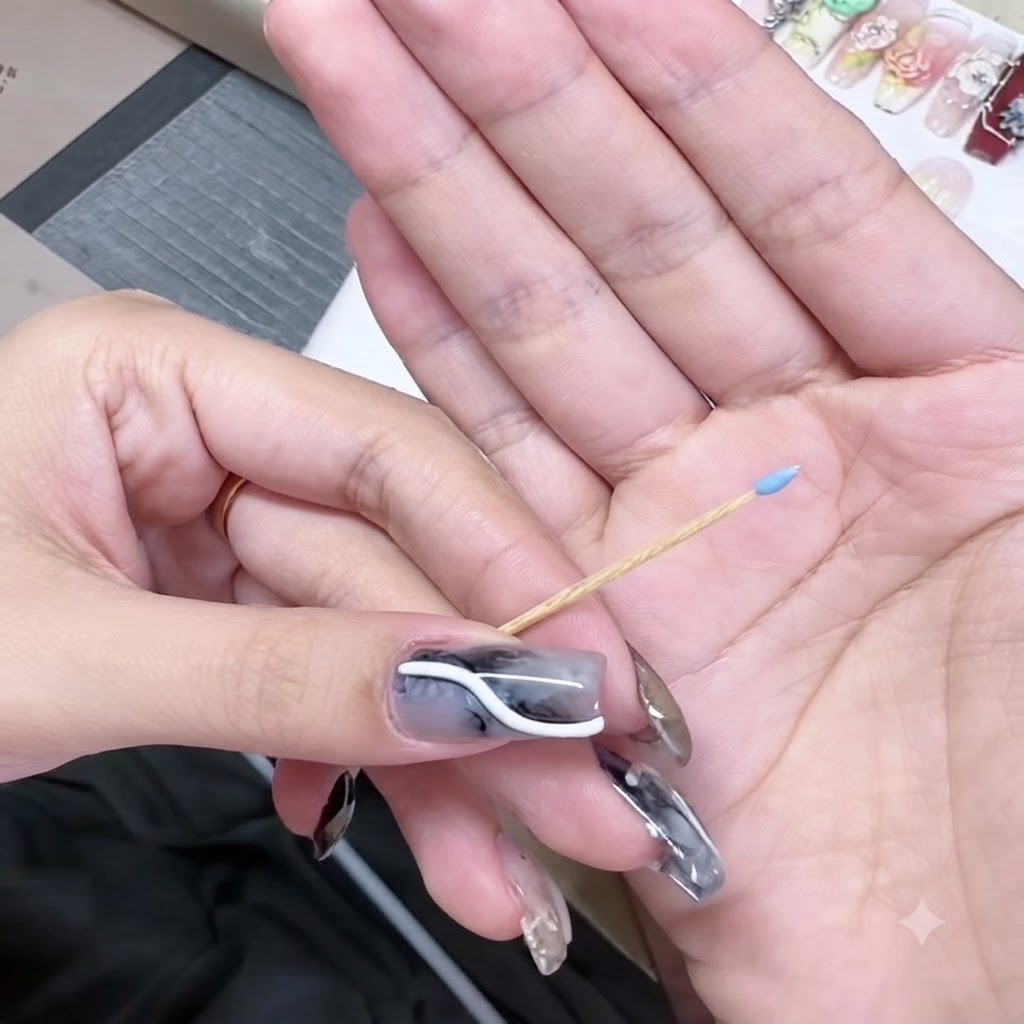
Place a small bead of blue sculpting gel onto the tip of a wooden toothpick. This acts as the secure foundation and holder for building the 3D rose sculpture.
Tip: Keep the base small and firmly attached to the toothpick so it doesnt wobble during sculpting. - 2Shape the core petals
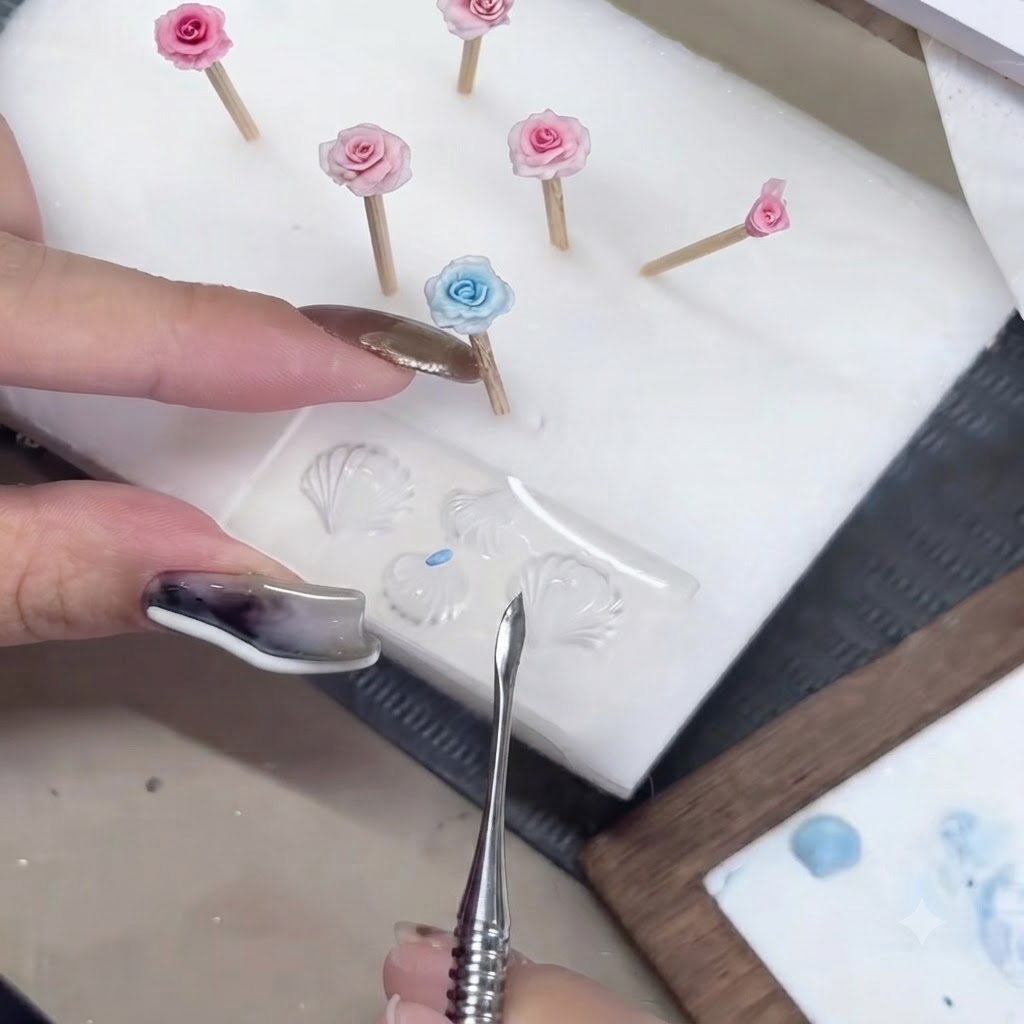
Using a sharp metal tool, press two tiny blue beads of sculpting gel flat against a clear silicone mold. Form them into small, thin oval shapes to create the innermost petals of the flower.
Tip: Keep these initial petals extra small and thin to ensure the center of the bud doesnt become too bulky. - 3Attach the first petal
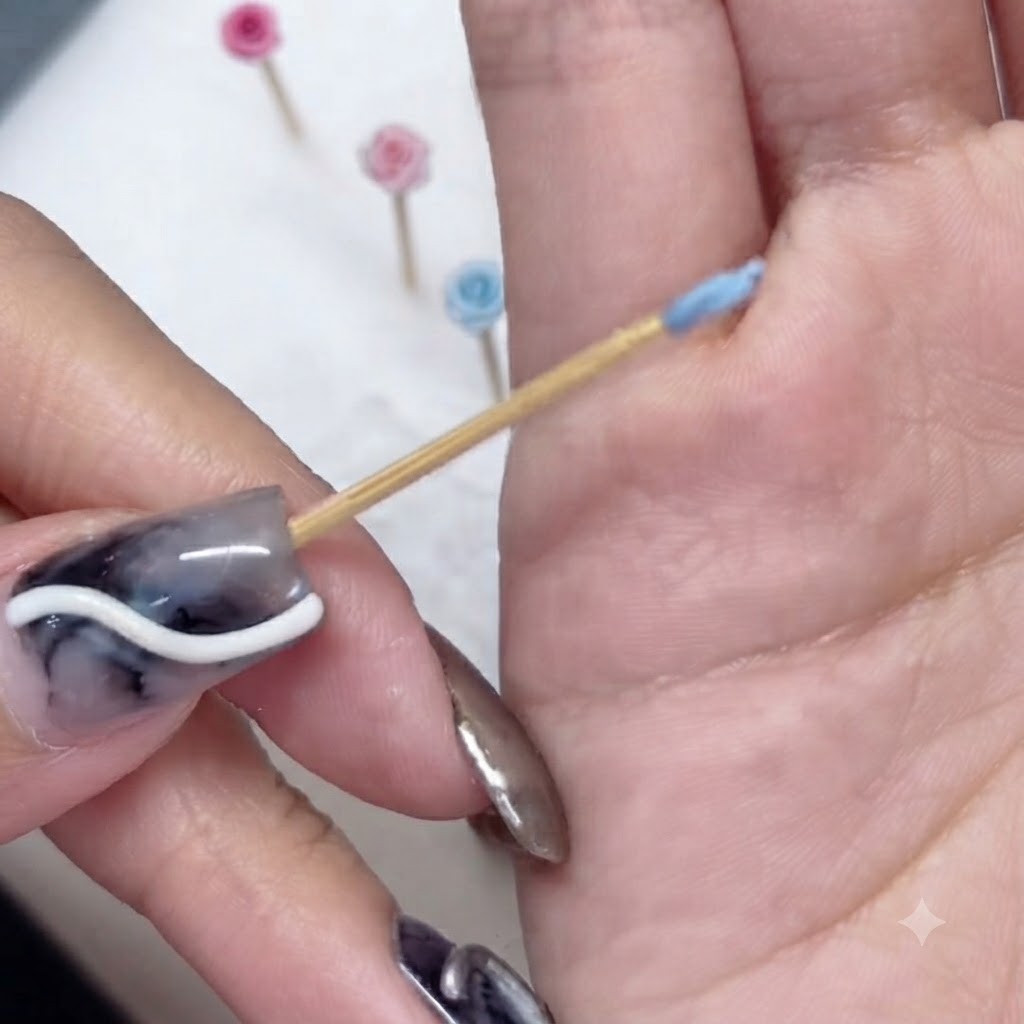
Carefully lift one of the flattened oval petals and wrap it snugly around the blue structural base bead on your toothpick. This forms the tight inner core of the rose.
Tip: You can use a fine detailing tool to help gently wrap the petal edges without distorting the shape. - 4Complete the inner bud
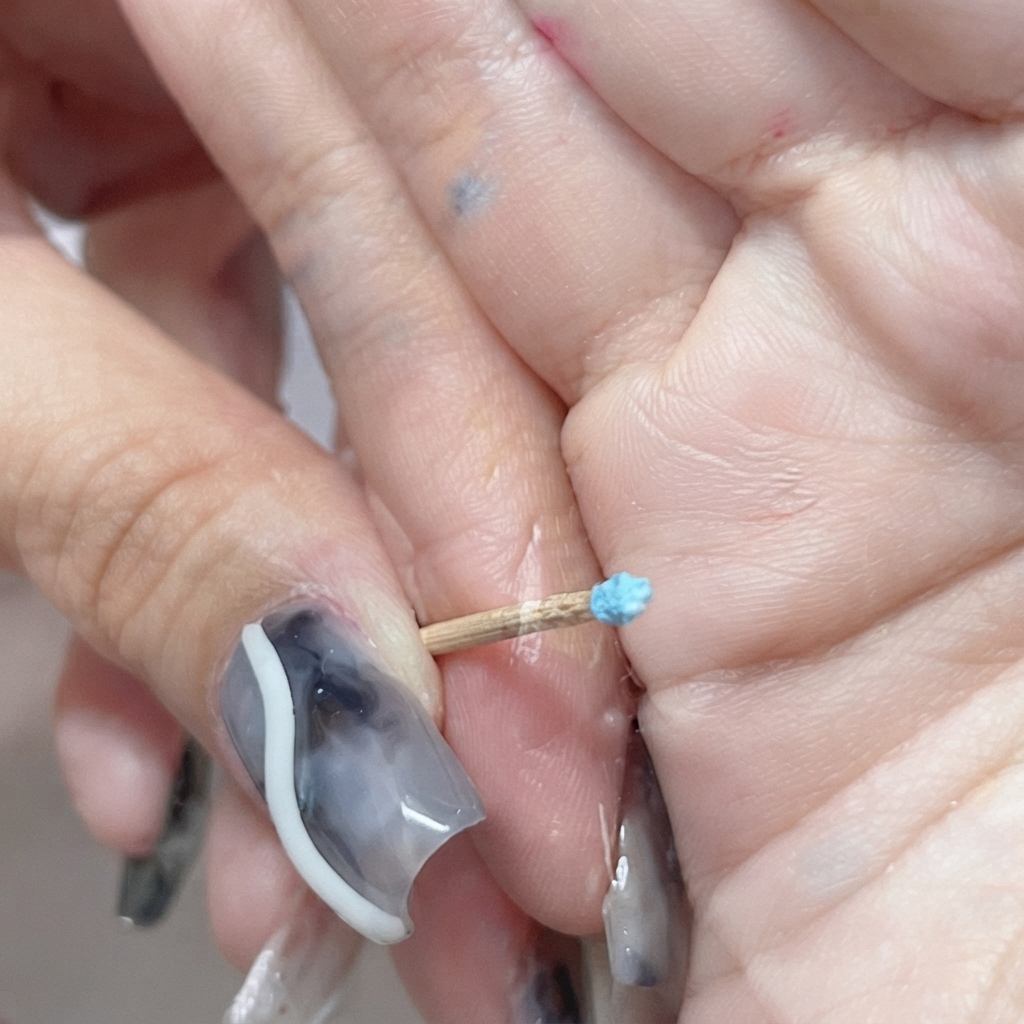
Take the second tiny petal and wrap it around the opposite side of the first one. Gently press the edges together to form a tightly closed bud at the center.
Tip: Make sure the top edges of these two petals overlap slightly to conceal the base bead completely. - 5Shape the second layer petals
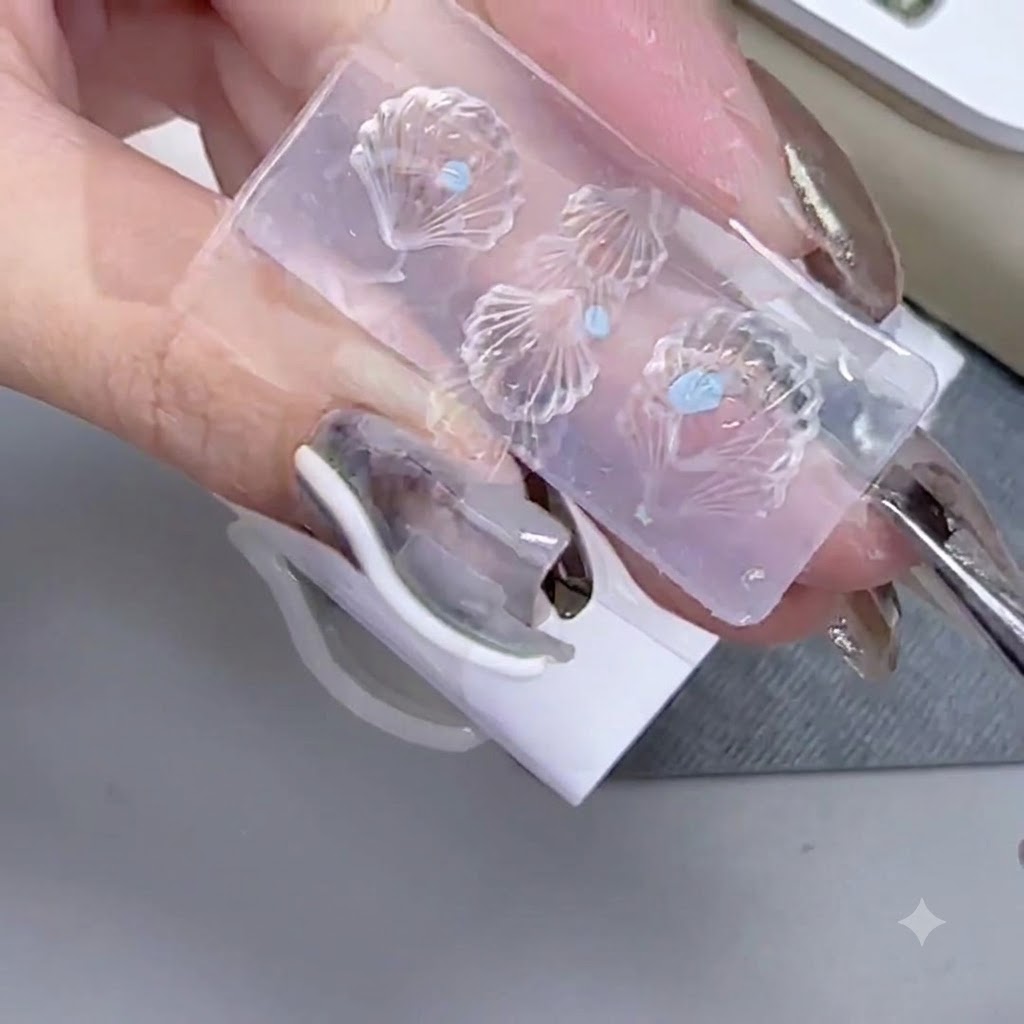
Place three slightly larger, millet-sized beads of blue sculpting gel onto the silicone mold. Flatten each one into a rough shell shape, making them wider than the core petals.
Tip: Creating these slightly wider shell shapes allows the petals to naturally curve and layer around the center bud. - 6Attach second layer petals
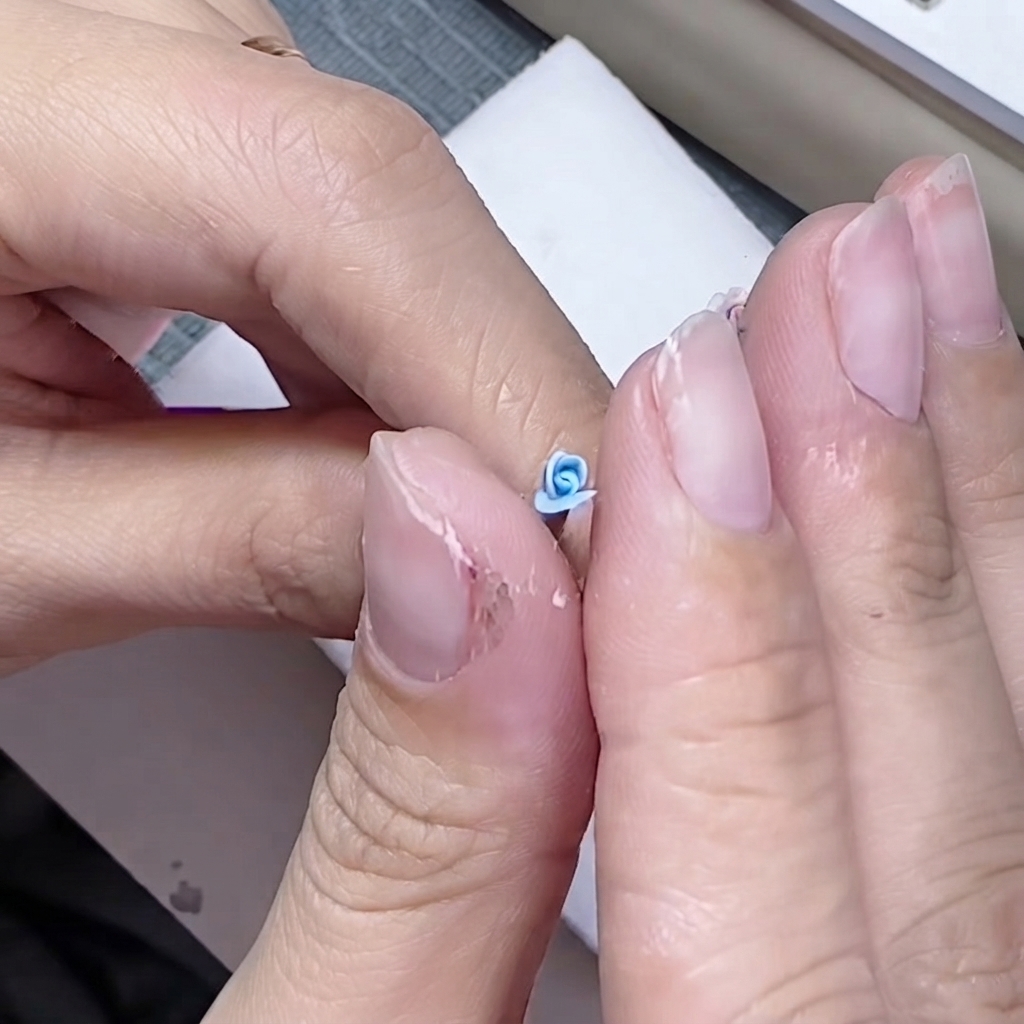
Lift one of the new shell-shaped petals and wrap it around the center bud. Use your fingers to pinch the bottom edge securely against the base, keeping the top edge slightly open.
Tip: Pinch only the base tightly; leaving the top edges slightly flared creates a realistic, blooming look. - 7Prepare third layer petals
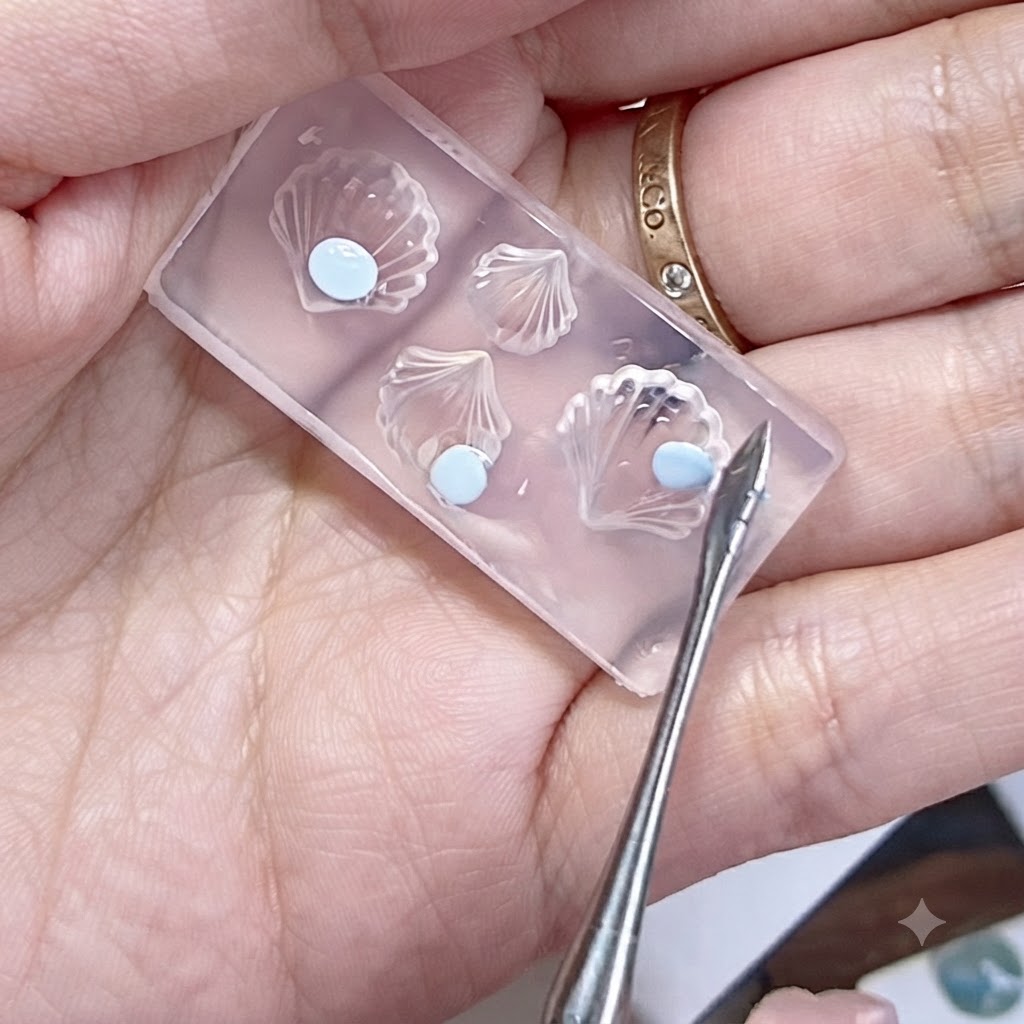
Take three slightly larger blue beads and press them flat on a silicone mold or pad to create the third layer of petals. Making them uniform helps achieve a balanced rose shape.
Tip: Pat them thin enough so they are flexible when wrapping around the bud. - 8Add overlapping petals
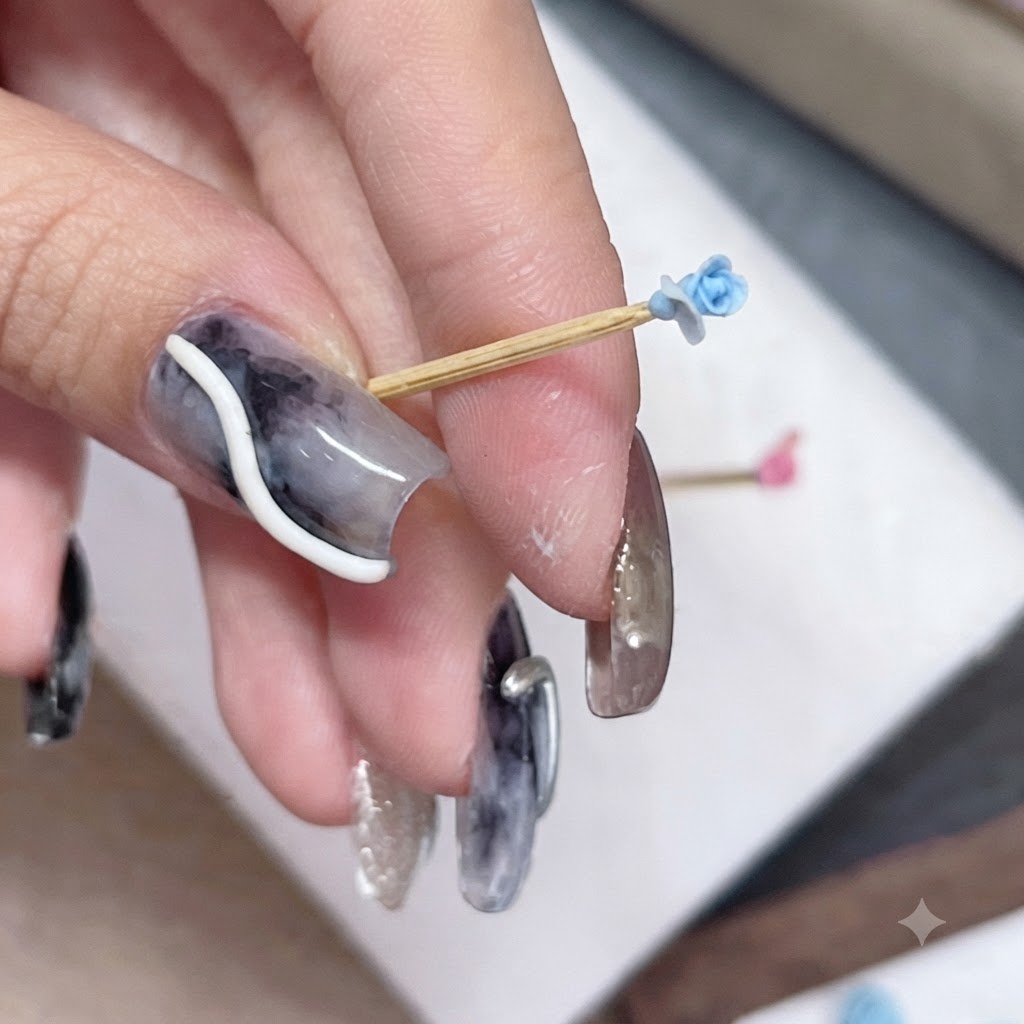
Place the newly prepared petal onto the growing bud, making sure it overlaps the seams of the previous layer. This staggered placement creates a realistic flower structure.
Tip: Always position new petals between the gaps of the inner layer. - 9Flare petal edges outward
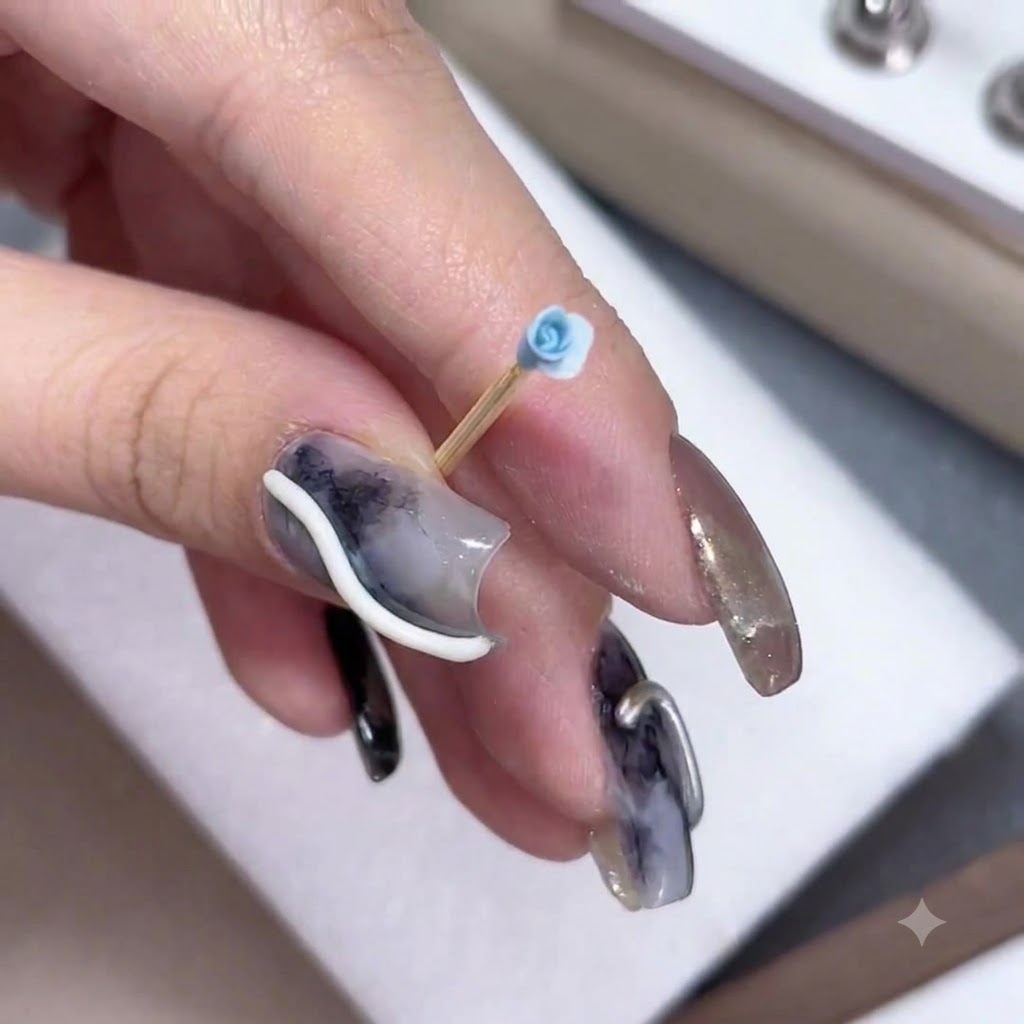
Using a pointed silicone sculpting tool, gently peel and curve the top edge of the newly attached petal outward. This gives the rose a blossoming, organic appearance.
Tip: Be patient and gentle when adjusting the edges to avoid tearing or distorting the gel. - 10Attach the second petal
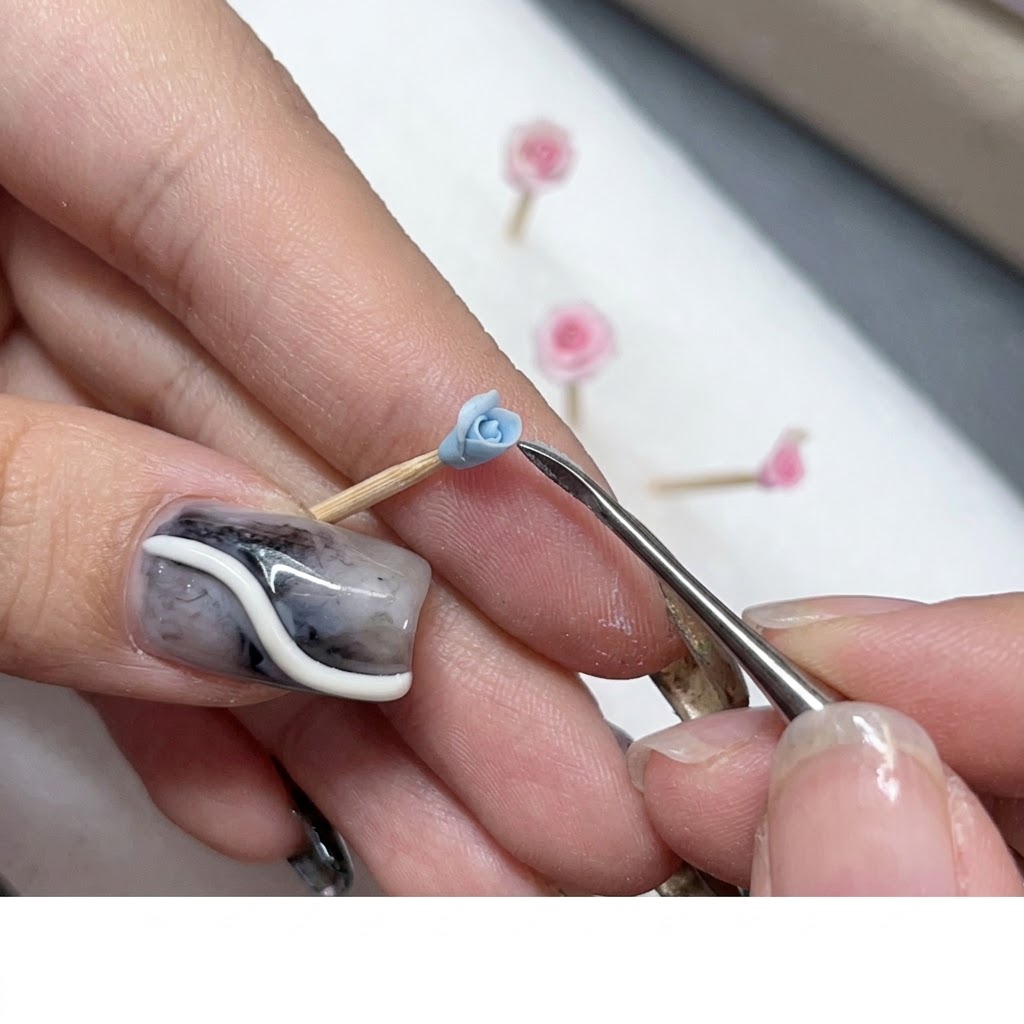
Pick up and attach the second petal of the current layer using fine tweezers for high placement accuracy. Position it neatly beside the first petal.
Tip: Tweezers give you precise control over placement angles for delicate 3D nail art. - 11Shape the second petal
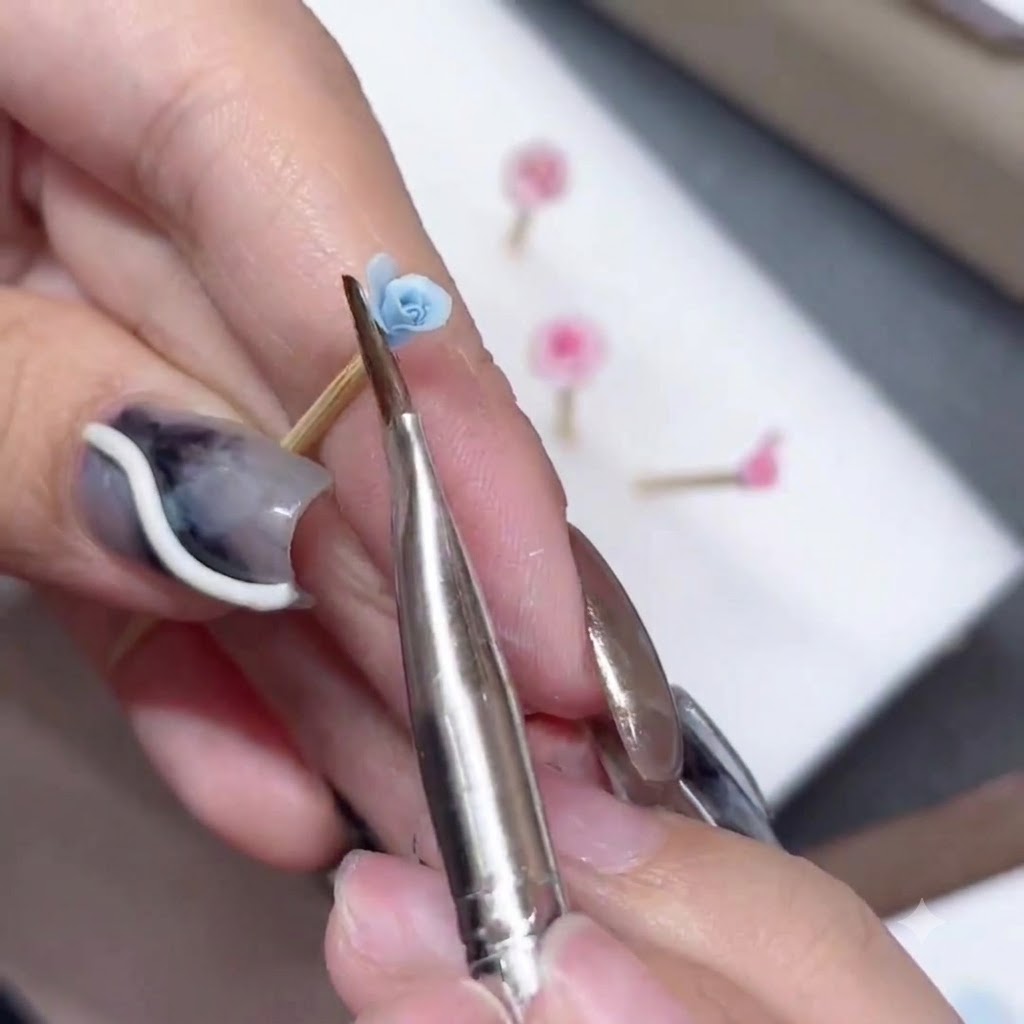
Take a pointed silicone brush and carefully flare the upper edge of the second petal outward. Match its curve and angle to the first petal for symmetry.
Tip: Work slowly and check the overall symmetry from different angles. - 12Attach the third petal
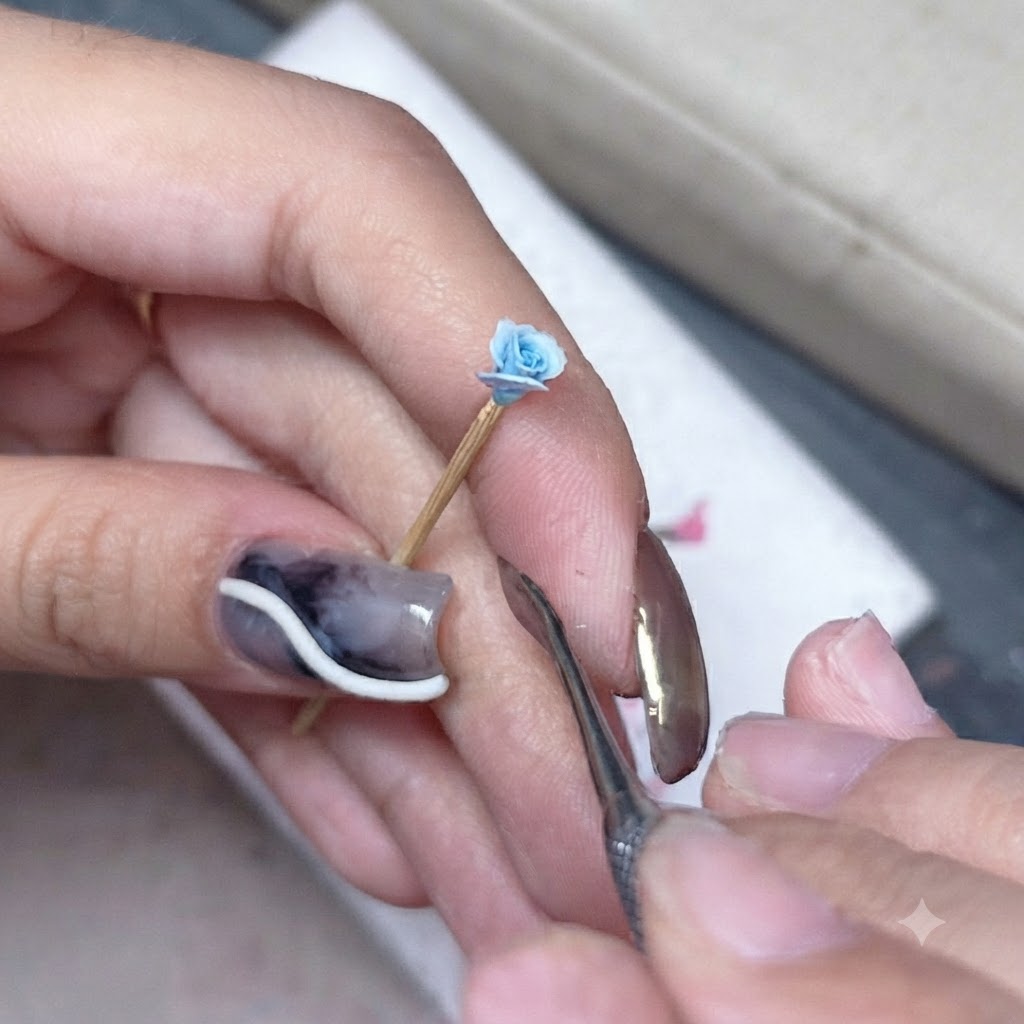
Place the final petal of this layer to complete the full circle around the core. Gently flare and adjust the outer edge using your sculpting tool so it matches the style and angle of the preceding petals.
Tip: Keep checking the symmetry from an overhead view as you close the circle. - 13Apply the final lighter outer petal
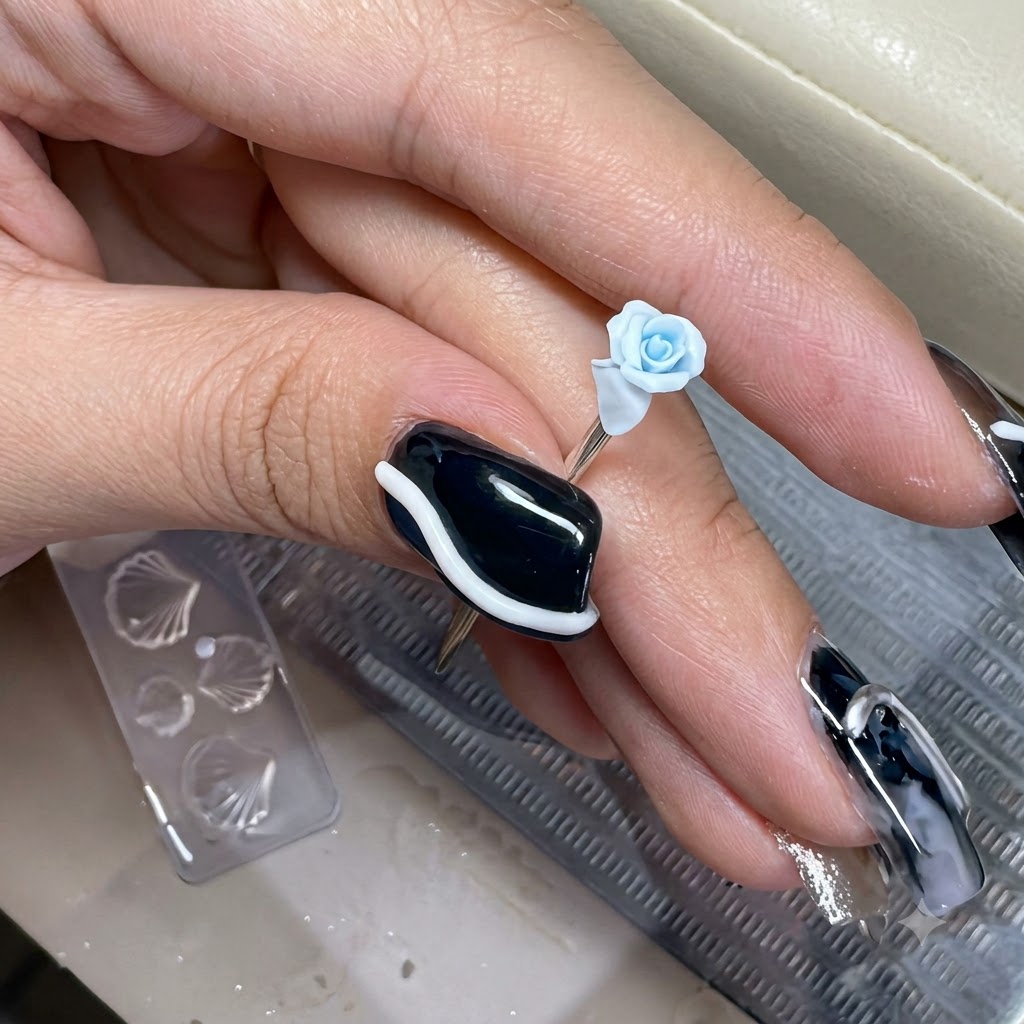
Select a slightly lighter pastel blue petal for the outermost layer. Position and press this larger petal directly into the gap between the previous layers petals to build out the final dimensions of the rose.
Tip: The outer petals should be slightly larger to properly frame and control the final silhouette of the flower. - 14Shape the outermost petal
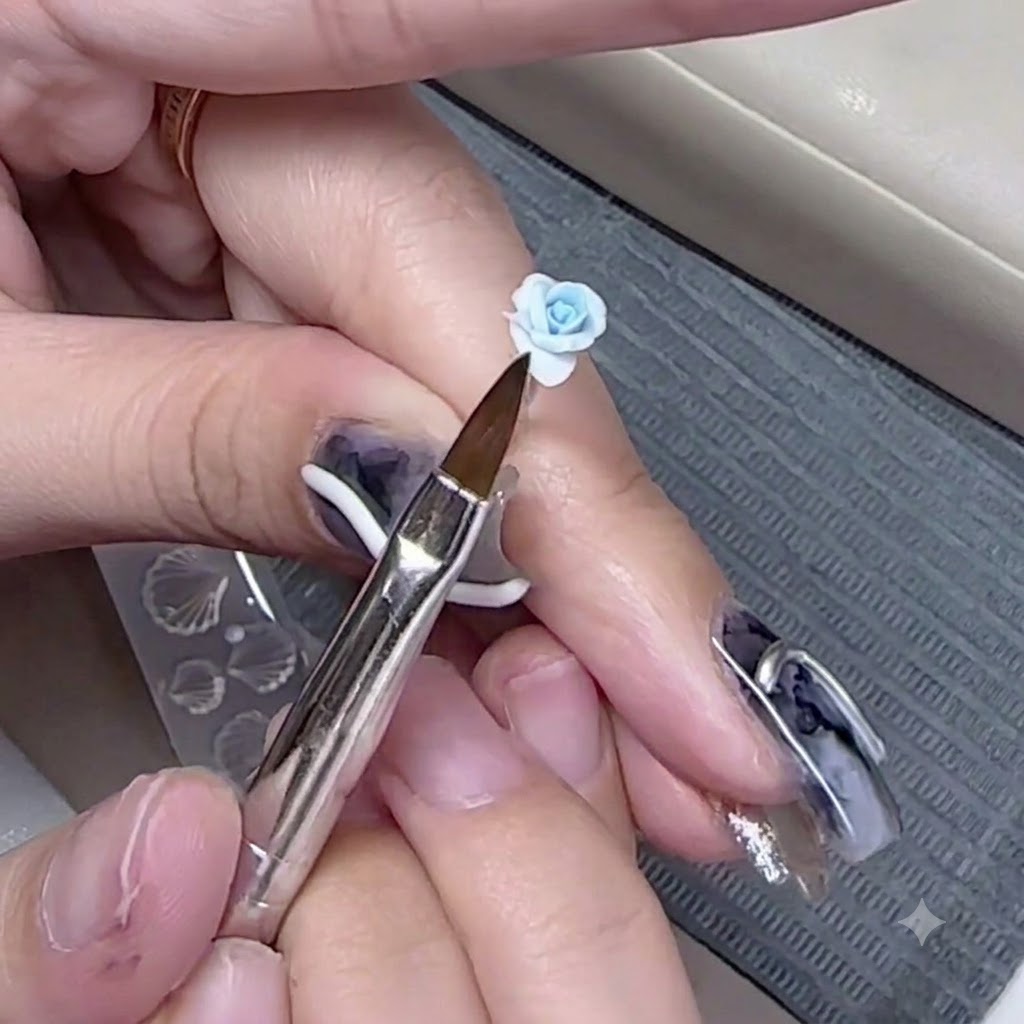
Take a clean silicone brush or sculpting tool to delicately shape and flare the edge of the newly added outermost petal. Maintain a controlled movement so you do not overextend or distort the rose shape.
Tip: Minimal adjustment is key here; the outermost layer is meant to frame rather than curl aggressively. - 15Attach the second outer petal
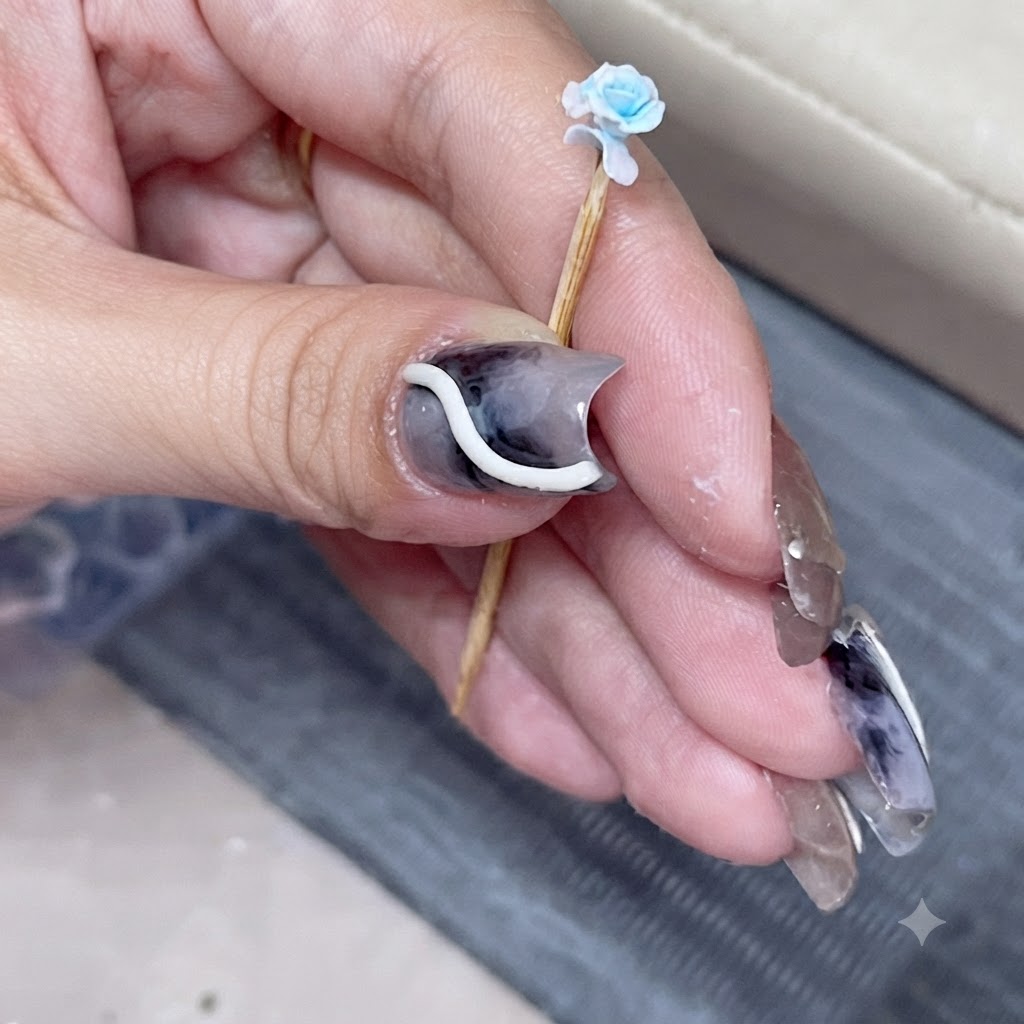
Pick up the second light blue petal for the outer circle and attach it adjacent to the first, carefully overlapping its edge to maintain a natural, seamless transition around the bloom.
Tip: Overlap each sequential petal neatly to create a cohesive, flowing skirt-like outer layer. - 16Create ruffled folds
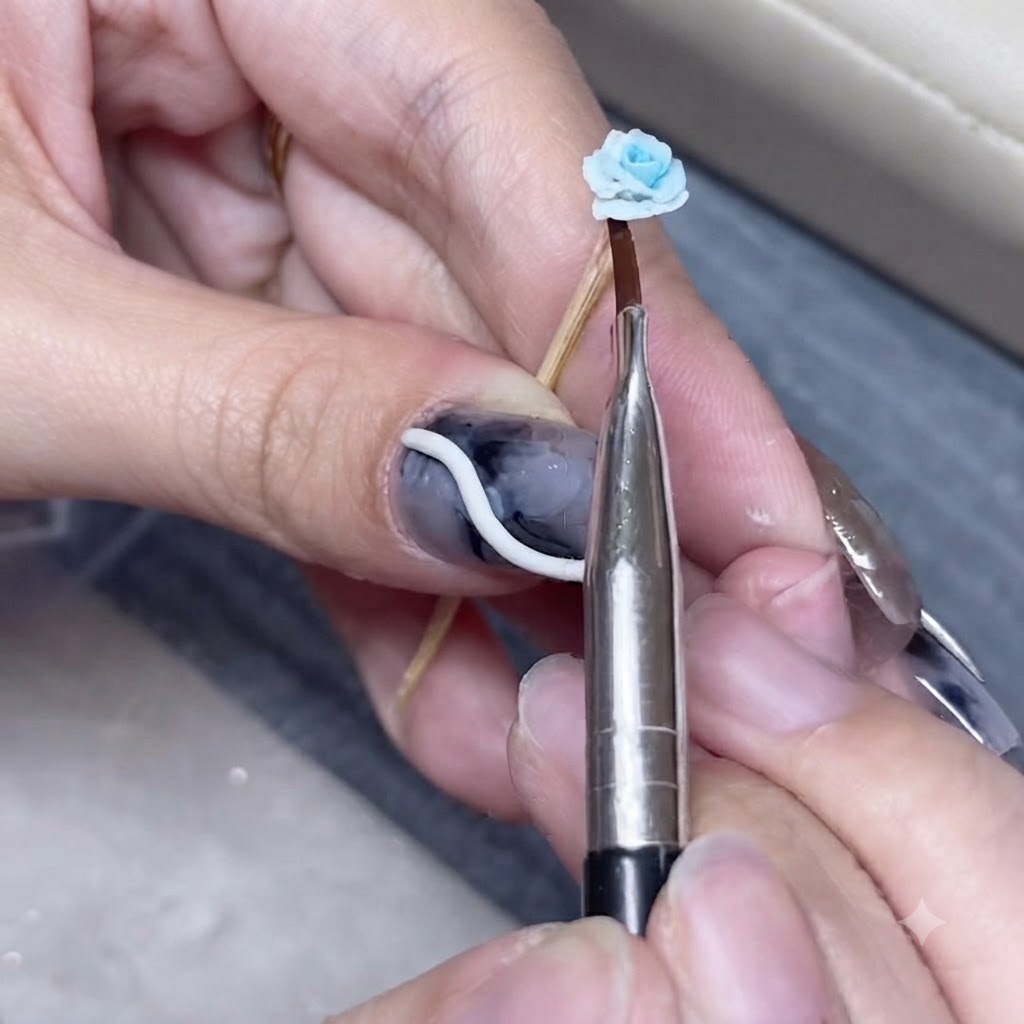
Using a fine pointed tool, gently press and manipulate the edge of the outer petal to introduce delicate, slightly irregular skirt-like ruffled folds for an organic rose texture.
Tip: Vary the folds slightly so the outer ring looks natural rather than perfectly uniform. - 17Attach and adjust the final petal
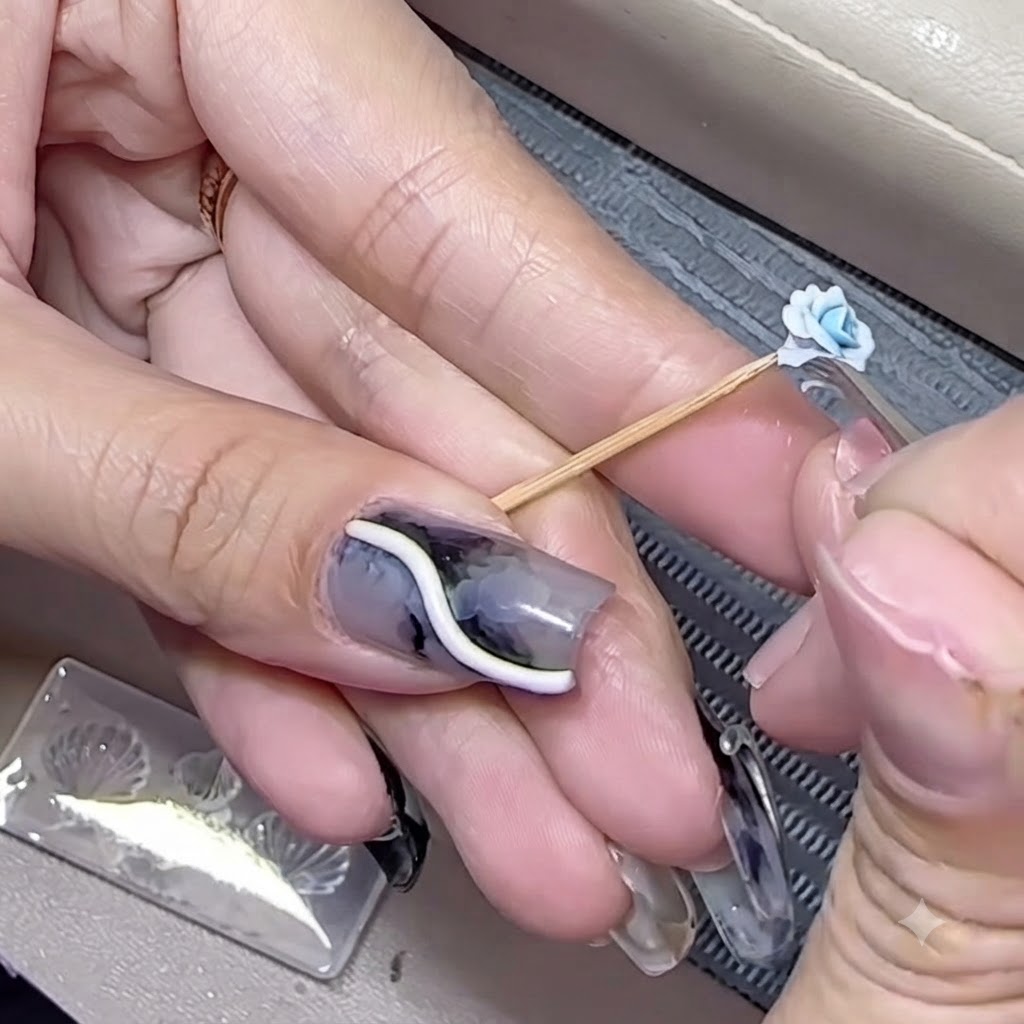
Position and secure the final light blue petal to close the outermost layer. Inspect the piece from all angles and make final gentle adjustments to refine the balanced, rounded circular shape of the finished rose.
Tip: Take your time with final adjustments; patience ensures a neat, high-quality 3D nail charm.