Soft Misty Rose New Year Red Cat Eye Nails — Stamped Floral Tutorial
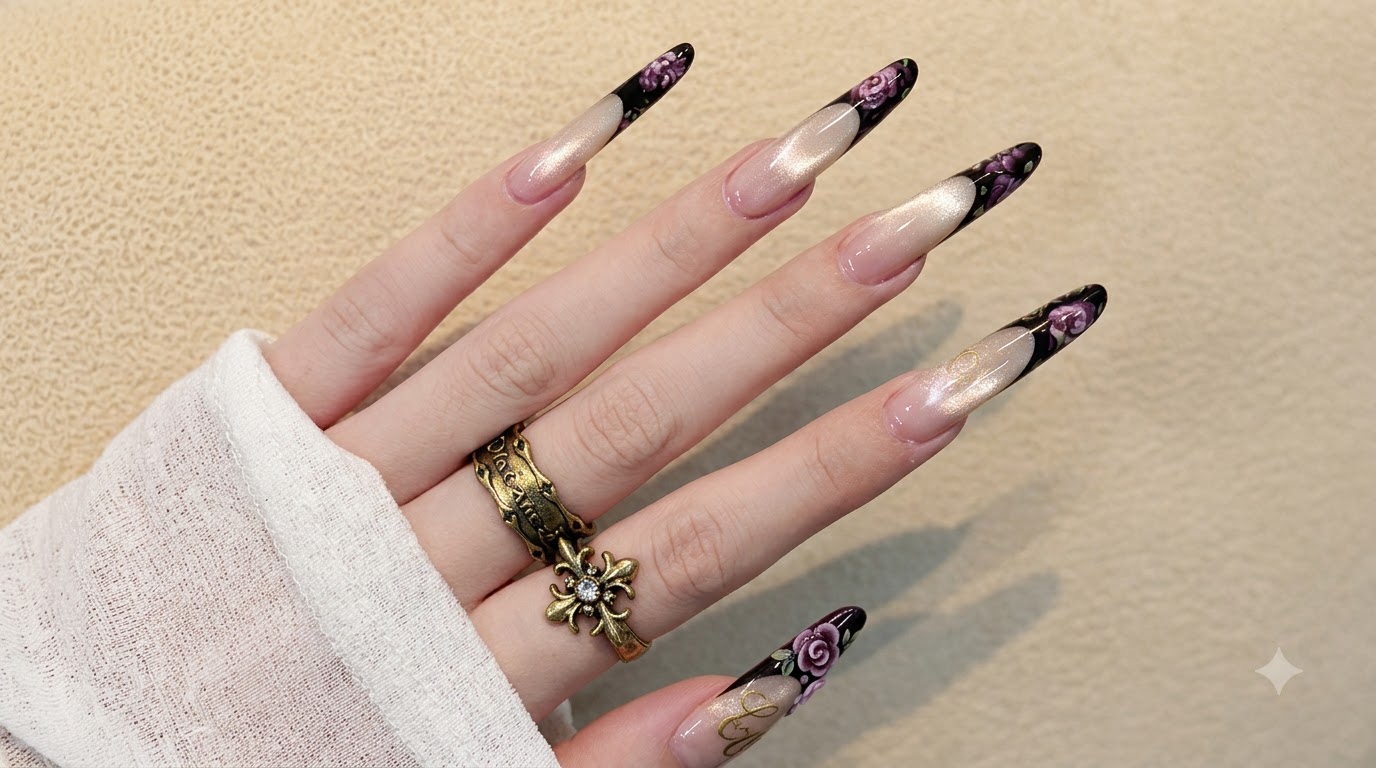
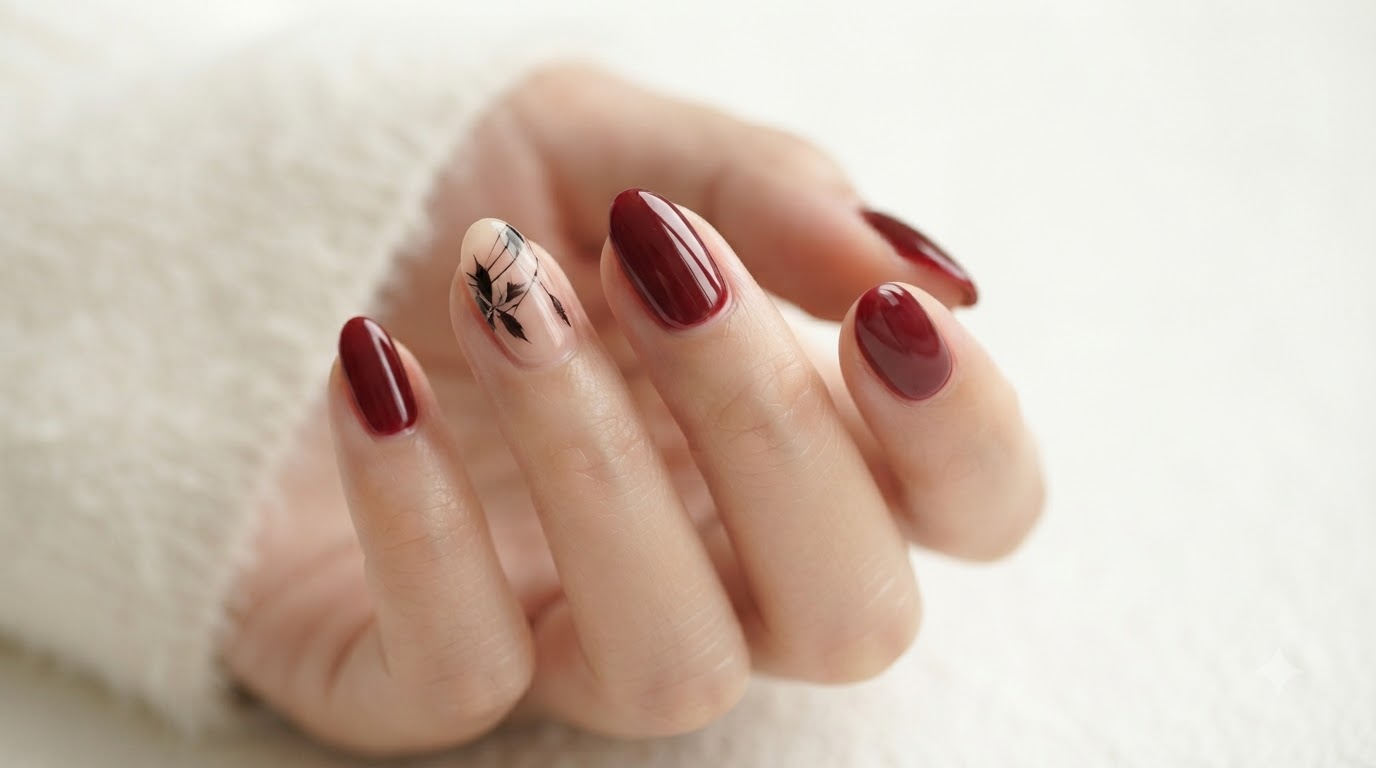
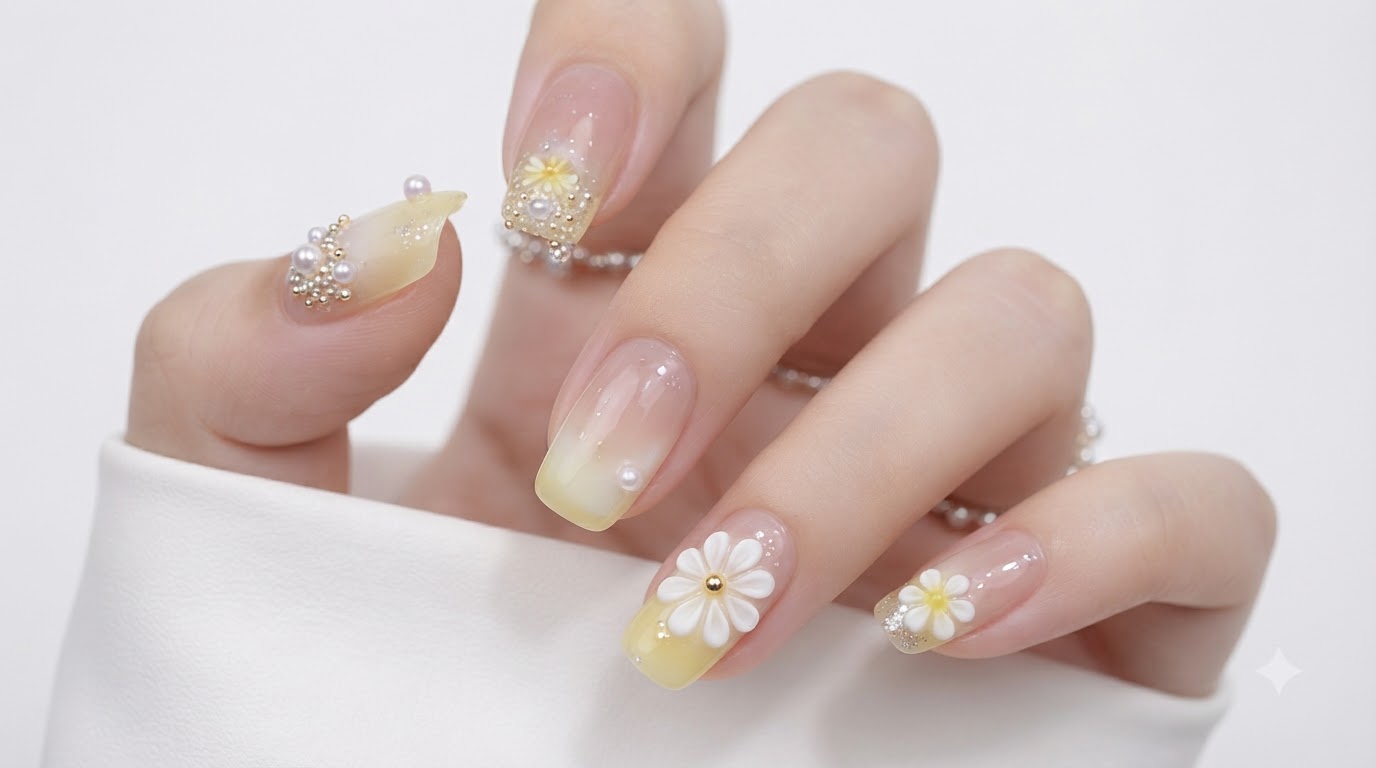
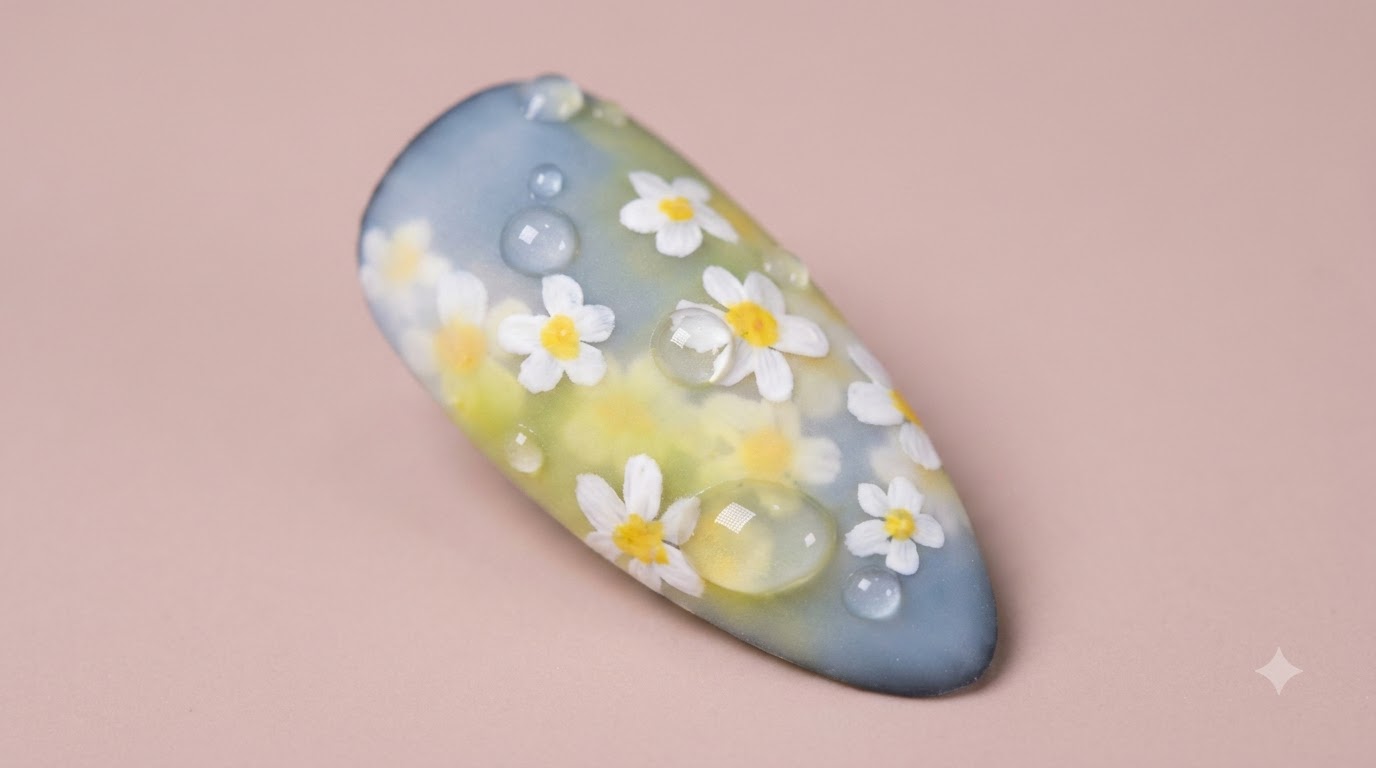
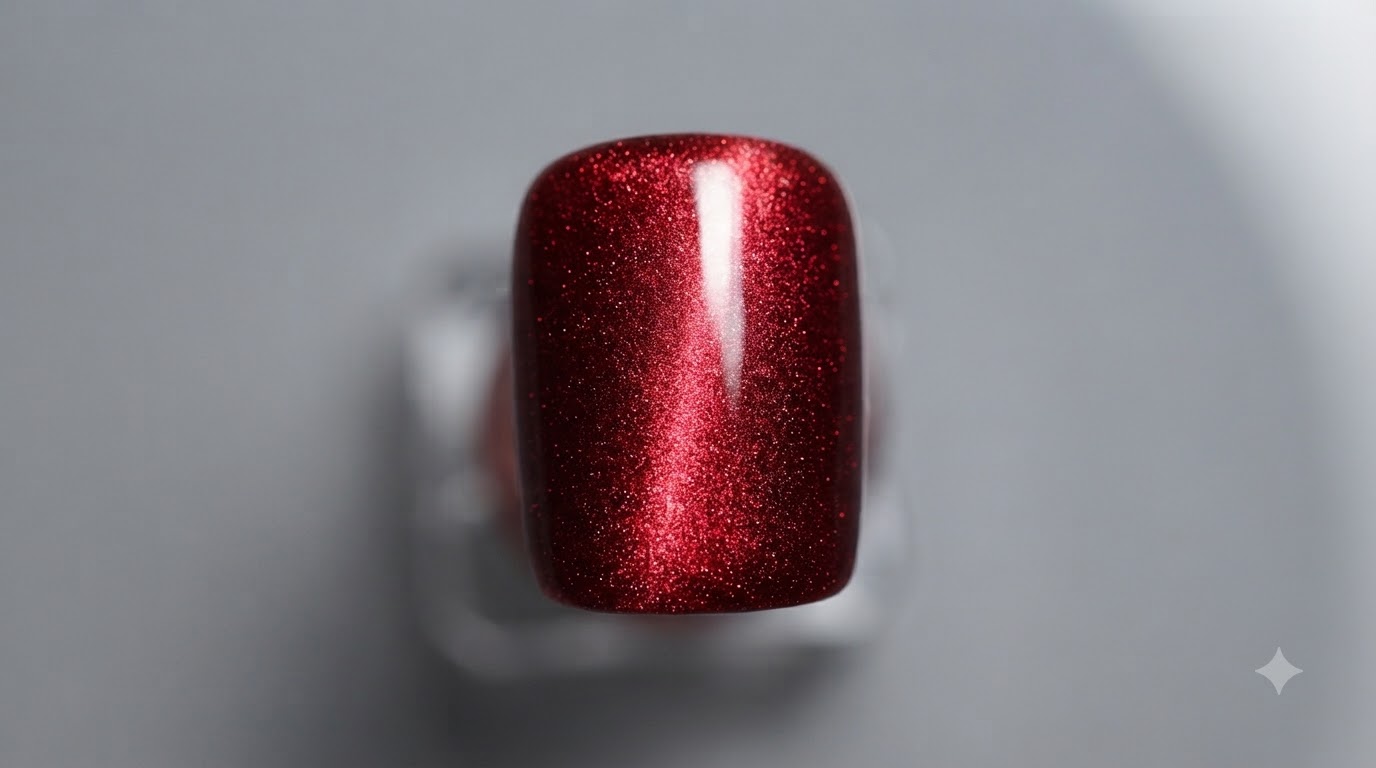
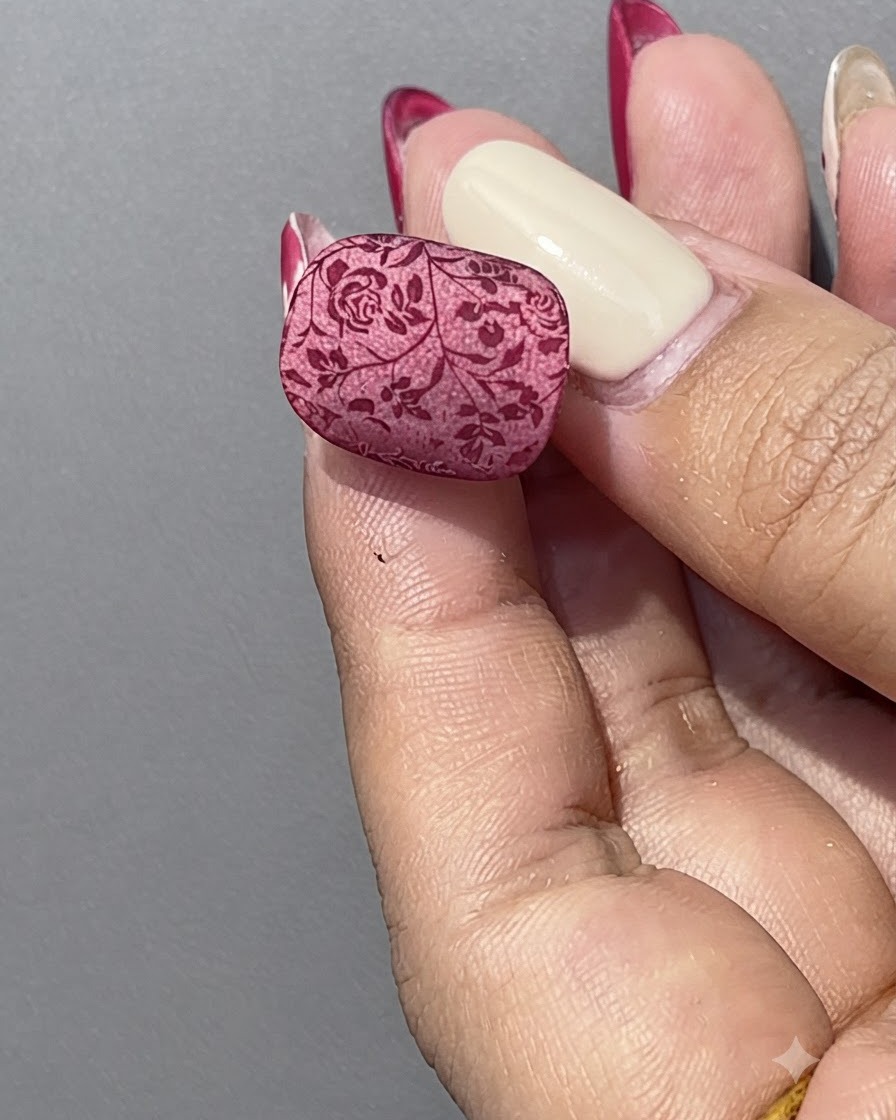
Create festive red New Year nails featuring a shimmering magnetic cat eye base and delicate misty rose floral stamping with a frosted crystal finish.
New Year manicures call for rich, luxurious reds with a unique twist that catches every light. This design blends a deep crimson magnetic cat eye base with a soft, misty frosted floral pattern created using a clever transfer stamping and crystal powder technique. It is a stunning way to bring depth and texture together for the holiday season.
Steps
- 1Prepare and Select Red Cat Eye Gel
Select the red cat eye gel bottle and prepare the clear display stand holding the pre-prepared nail base. Ensure the nail surface is properly prepped and clean before starting the color application process.
Tip: Always double-check that your products and display stands are clean and dust-free before application. - 2Apply first layer of cat eye gel
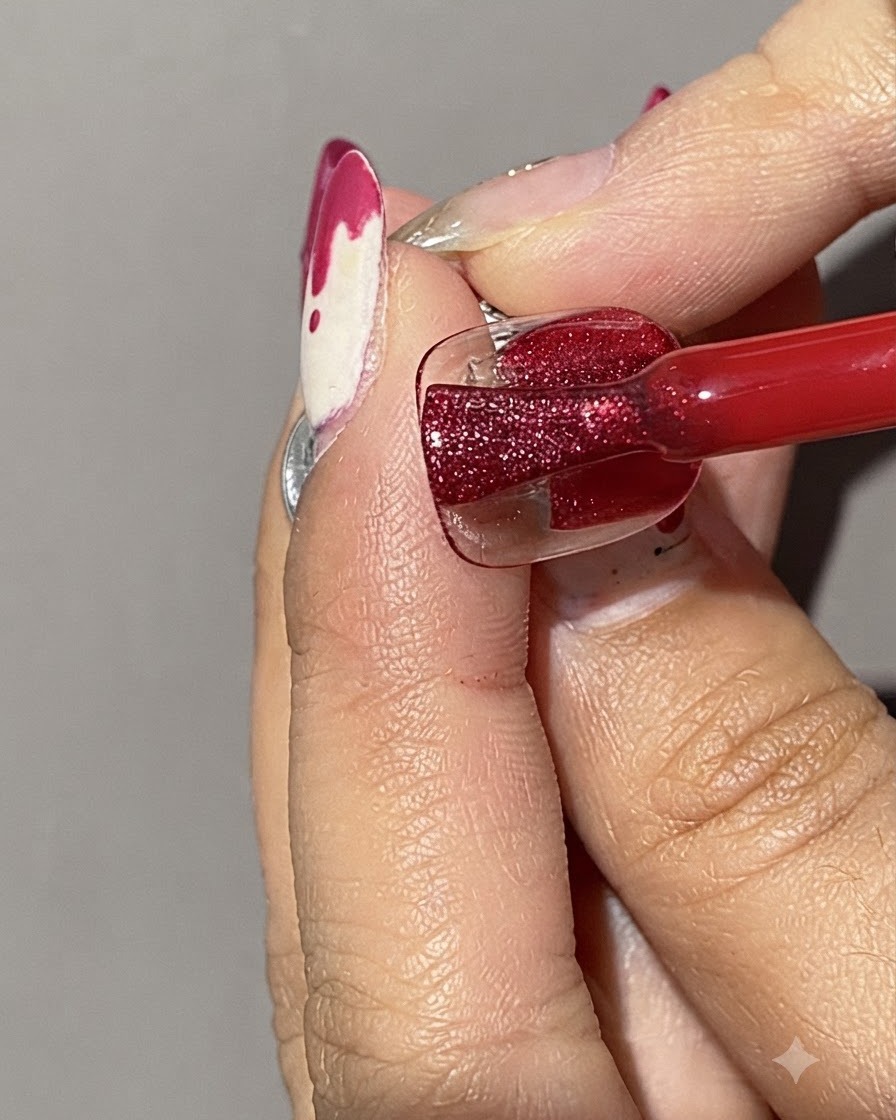
Using the brush applicator, apply a smooth and even first layer of red cat eye gel over the entire surface of the prepped nail. Ensure full coverage without flooding the cuticles, creating a rich base for the magnetic effect.
Tip: Keep this first layer slightly thin to ensure it cures thoroughly under the lamp. - 3Concentrate cat eye particles with a magnet
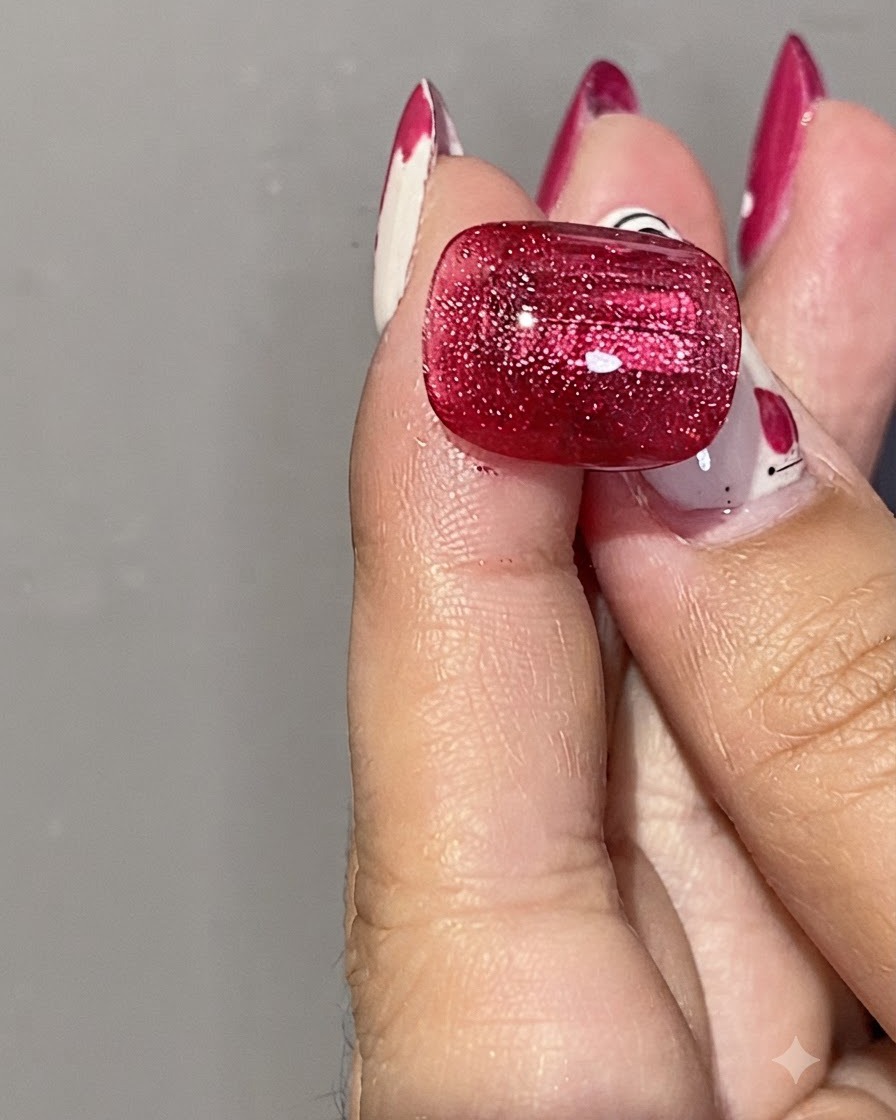
Hold a cylindrical magnet close to the freshly applied red cat eye gel surface to pull and concentrate the magnetic particles into a distinct, centralized stripe. Control the distance carefully to achieve the desired width and sharpness of the light reflection beam before curing.
Tip: Keep the magnet steady and close without touching the wet gel surface to prevent smudging. - 4Inspect the deepened base color
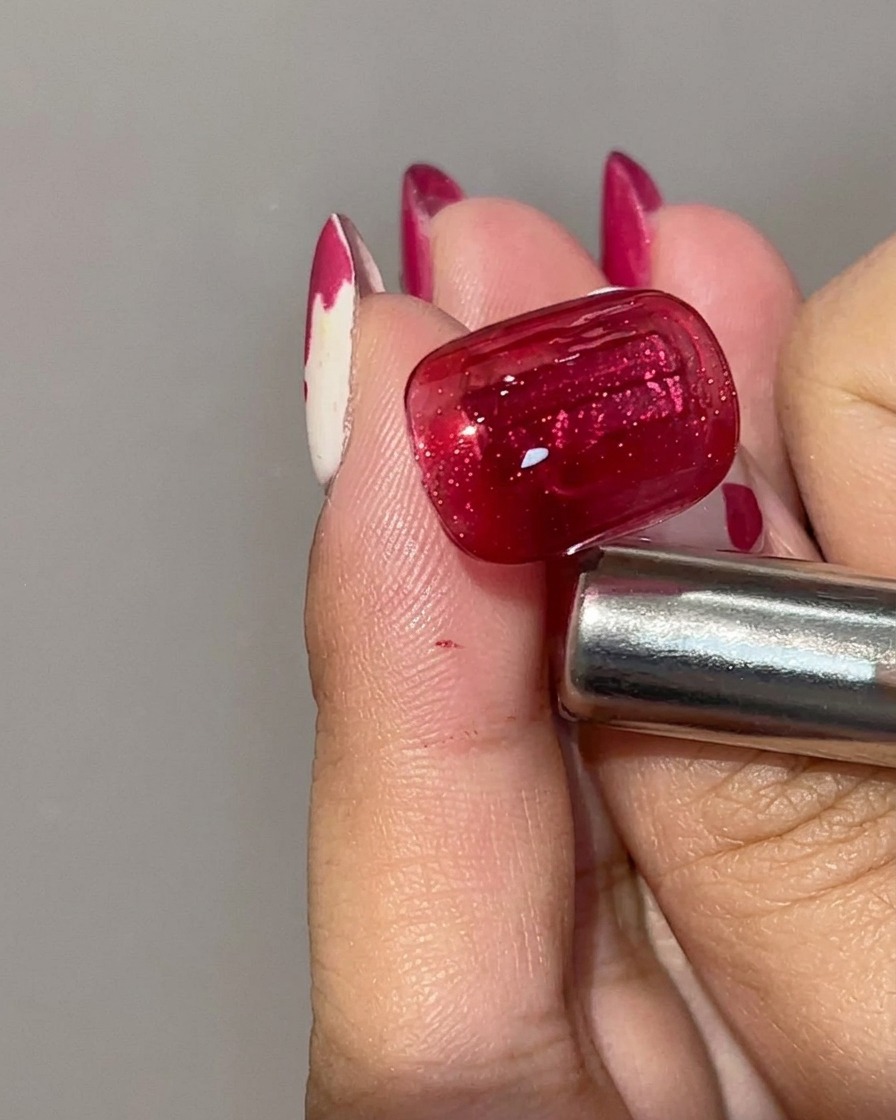
Examine the red cat eye gel after applying the magnetic effect and curing it under the lamp. The magnetic concentration deepens the rich base tone while creating a luminous central light beam that enhances the overall dimension of the manicure.
Tip: Check that the light reflection is even and sharp across the nail surface before moving to the next styling layer. - 5Apply second layer of cat eye gel
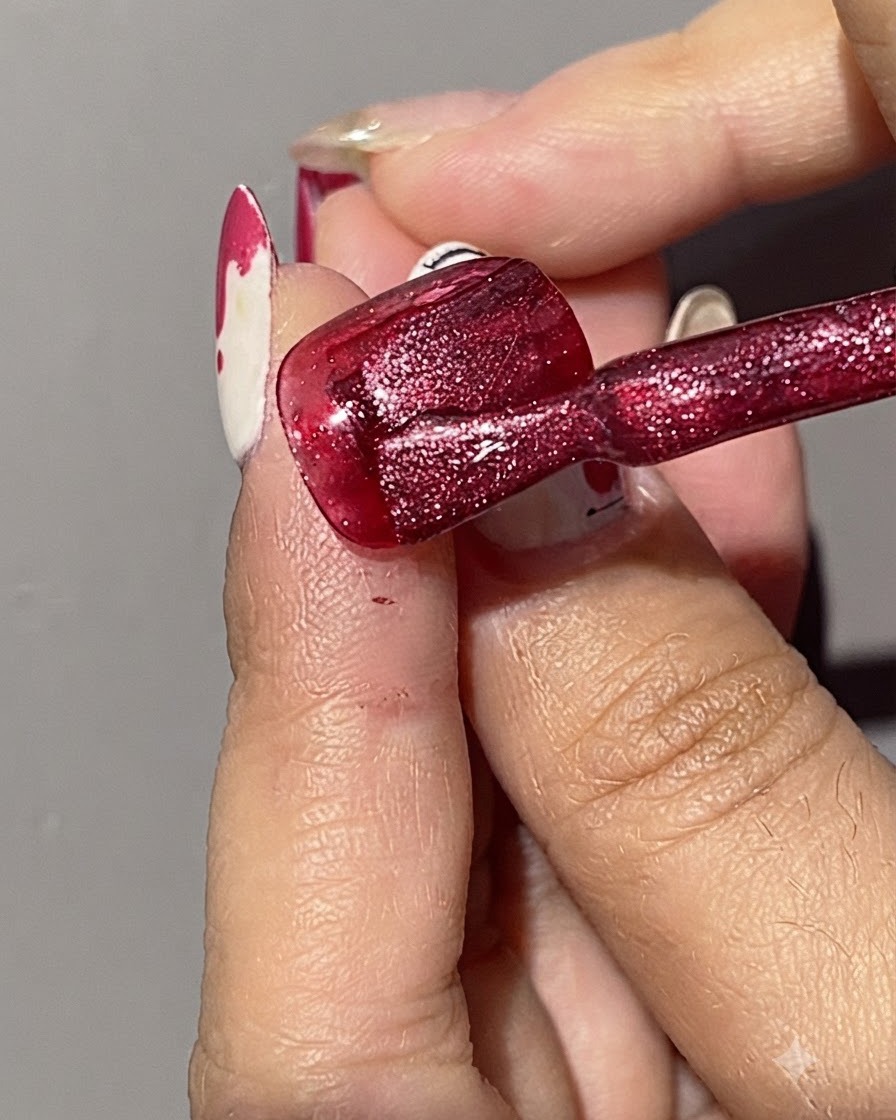
Brush on a second layer of the red cat eye gel over the cured base. This second coat builds the intensity of the red color and provides fresh magnetic particles to create the wide light beam effect.
Tip: Do not cure this layer yet; the gel must remain wet to manipulate the magnetic particles. - 6Shape the cat eye light beam
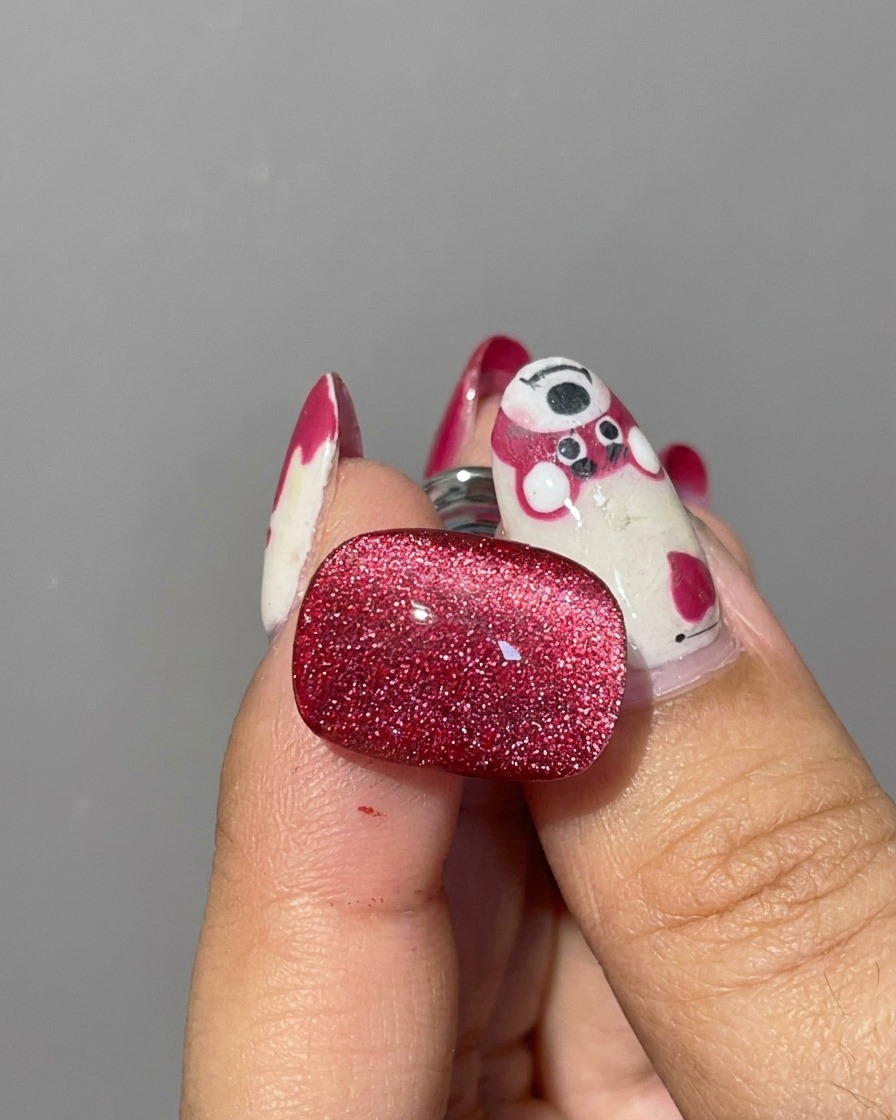
Hold the cylindrical magnet close to the uncured second layer of gel. Pull the magnetic particles from the edges to gather the light into a wide, bright, and characteristic beam across the nail.
Tip: Keep the magnet steady and close to the nail without touching the wet gel to achieve the sharpest cat eye effect. - 7Pull the bottom edge for a stylized reflection
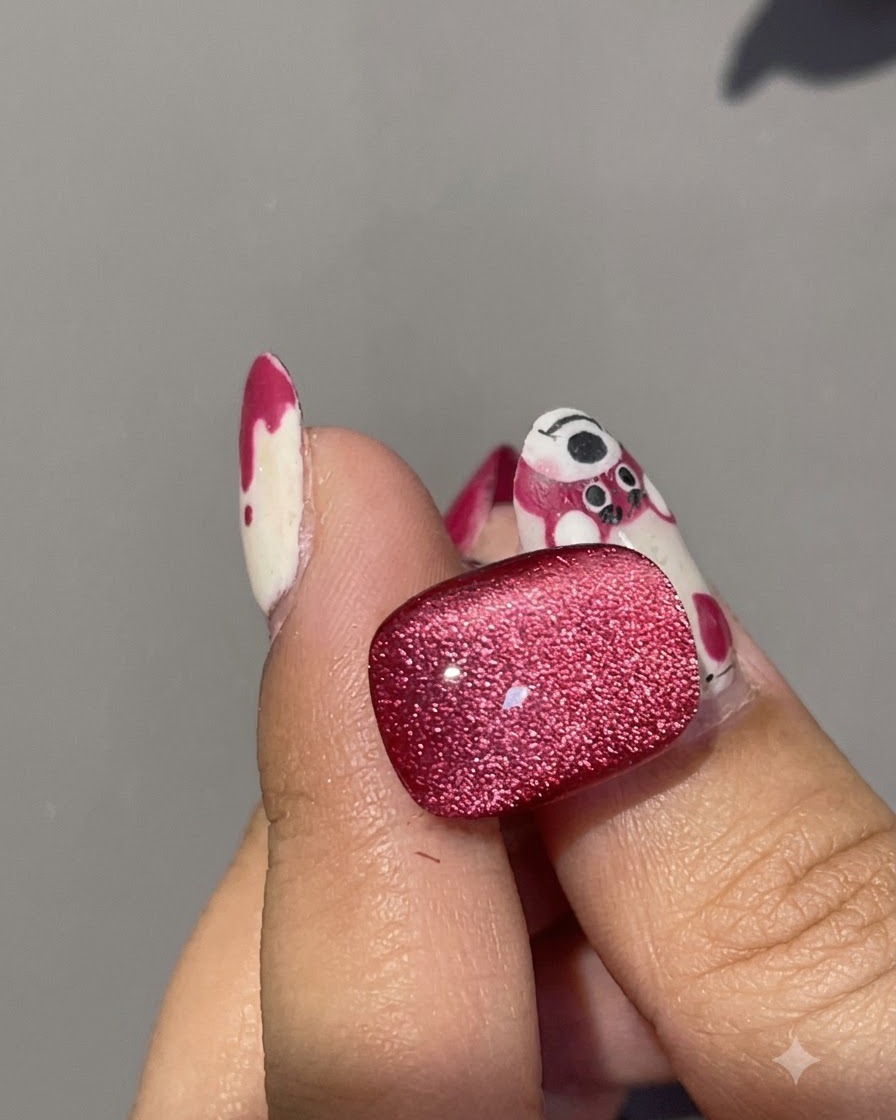
Use the magnet to lightly pull and adjust the bottom edge of the cat eye layer to create a distinct and characteristic stylized reflection. Ensuring the lower section catches the light adds unique dimension and brightness to the overall design.
Tip: Make subtle adjustments with the magnet to avoid distorting the main vertical light beam. - 8Cure under the UV/LED lamp
Place the nail under the UV or LED lamp to fully cure and set the styled red cat eye gel layer. Proper curing ensures the magnetic particles remain locked in place and provides a durable foundation for the subsequent matte top coat.
Tip: Ensure your hand is positioned correctly inside the lamp for uniform light exposure. - 9Apply a matte top coat
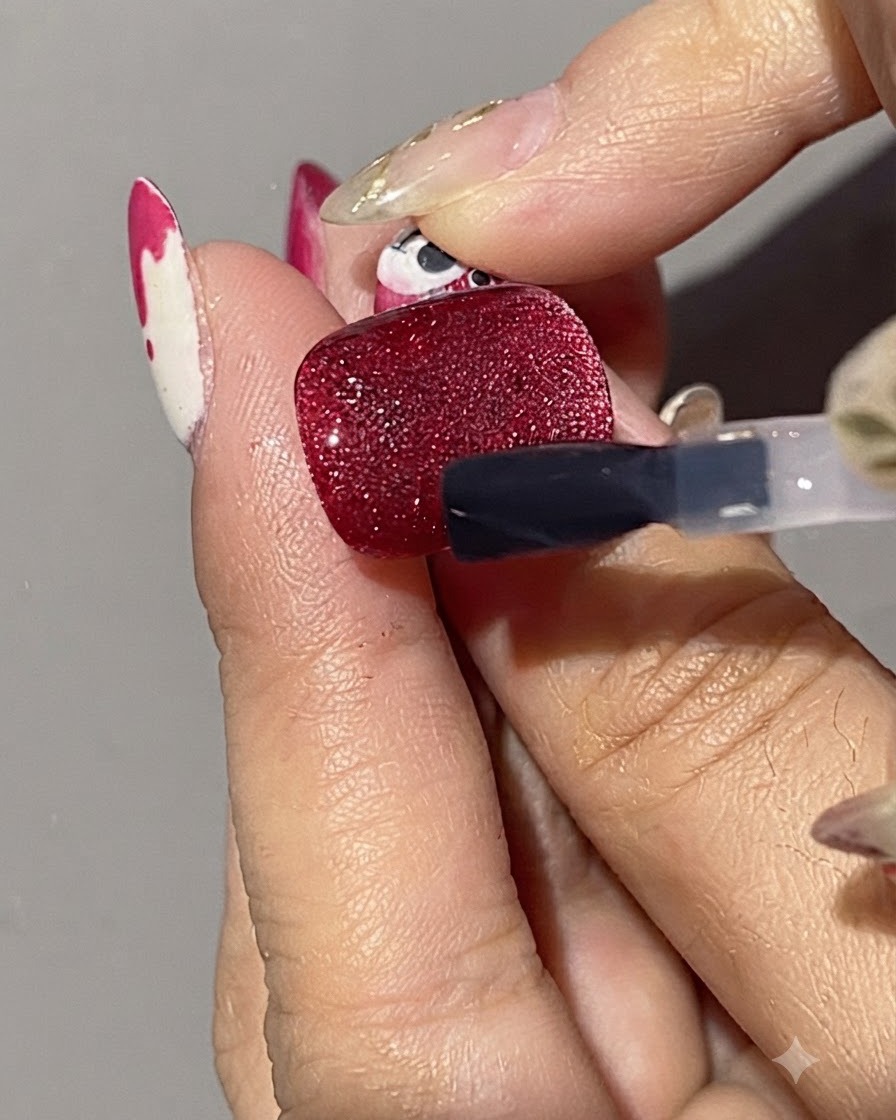
Apply an even layer of matte top coat over the fully cured red cat eye gel surface to transform the finish into a soft, velvety texture. This layer mutes the high gloss while preserving the underlying depth of the magnetic shimmer.
Tip: Apply smooth, thin strokes to cover the entire nail evenly without pooling at the edges. - 10Cure the Matte Top Coat
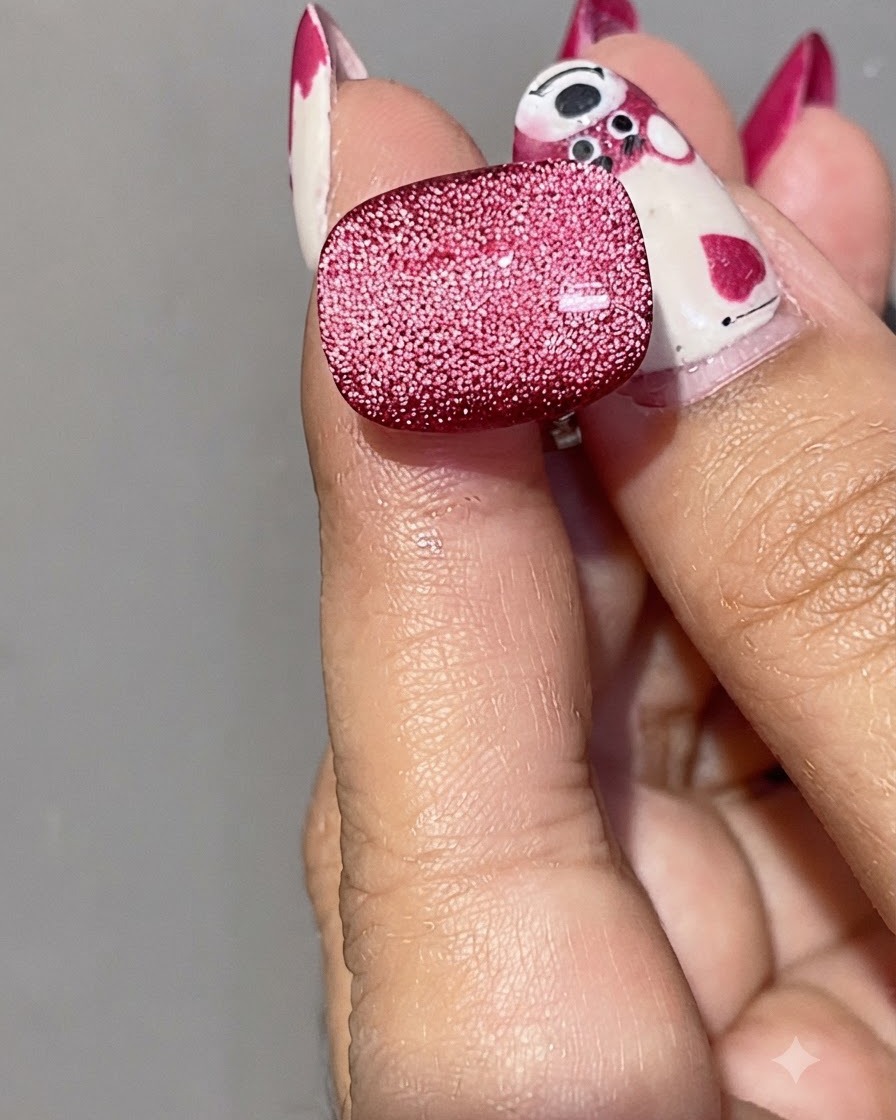
Place the nail under the UV/LED lamp to cure the freshly applied matte top coat layer completely. Ensure the hand is positioned correctly inside the lamp for an even cure.
Tip: Follow the specific curing time recommended by your gel manufacturer to avoid under-curing. - 11Display the Floral Stamping Plate
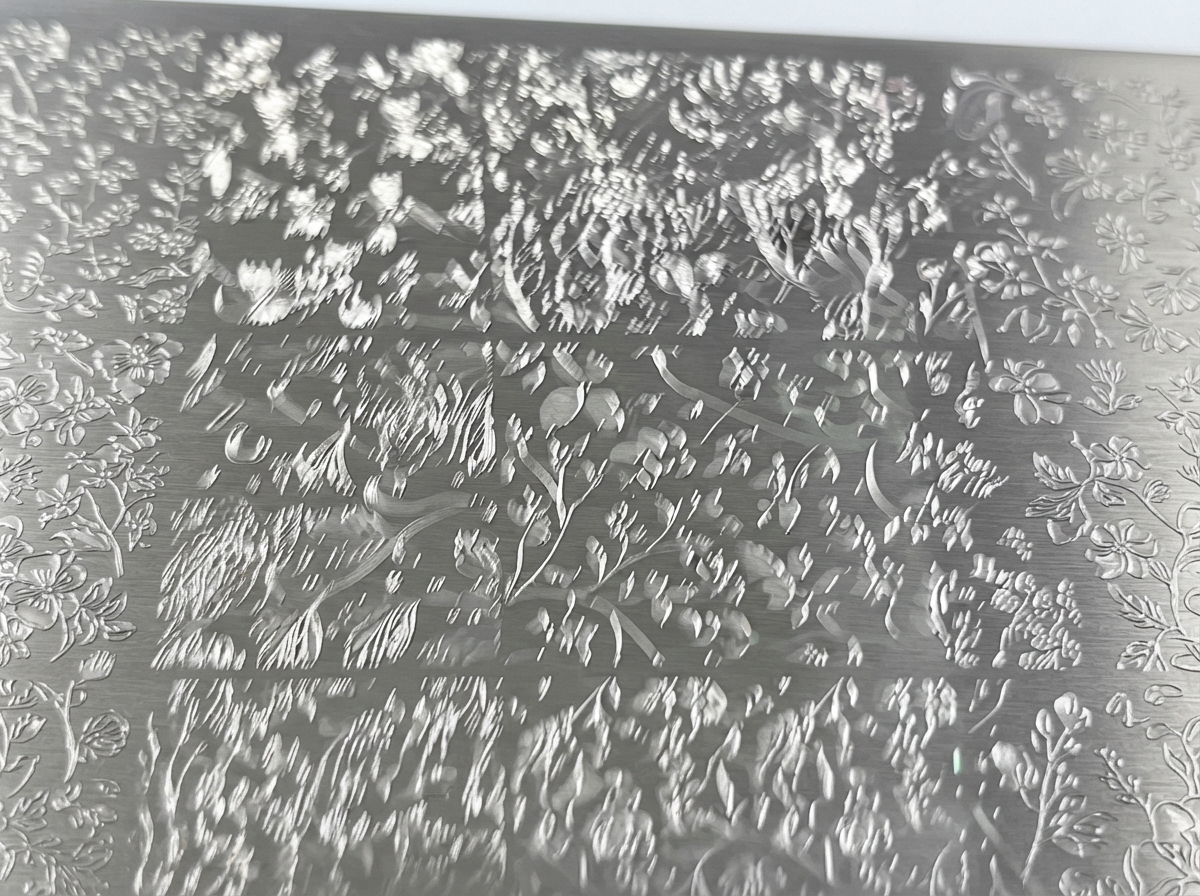
Take out the metal stamping plate engraved with various floral and botanical patterns and display it on your workspace. Inspect the engravings to ensure they are clean and clear of any debris.
Tip: Wipe the stamping plate with acetone before use to remove any factory residue. - 12Open Red Stamping Gel Palette
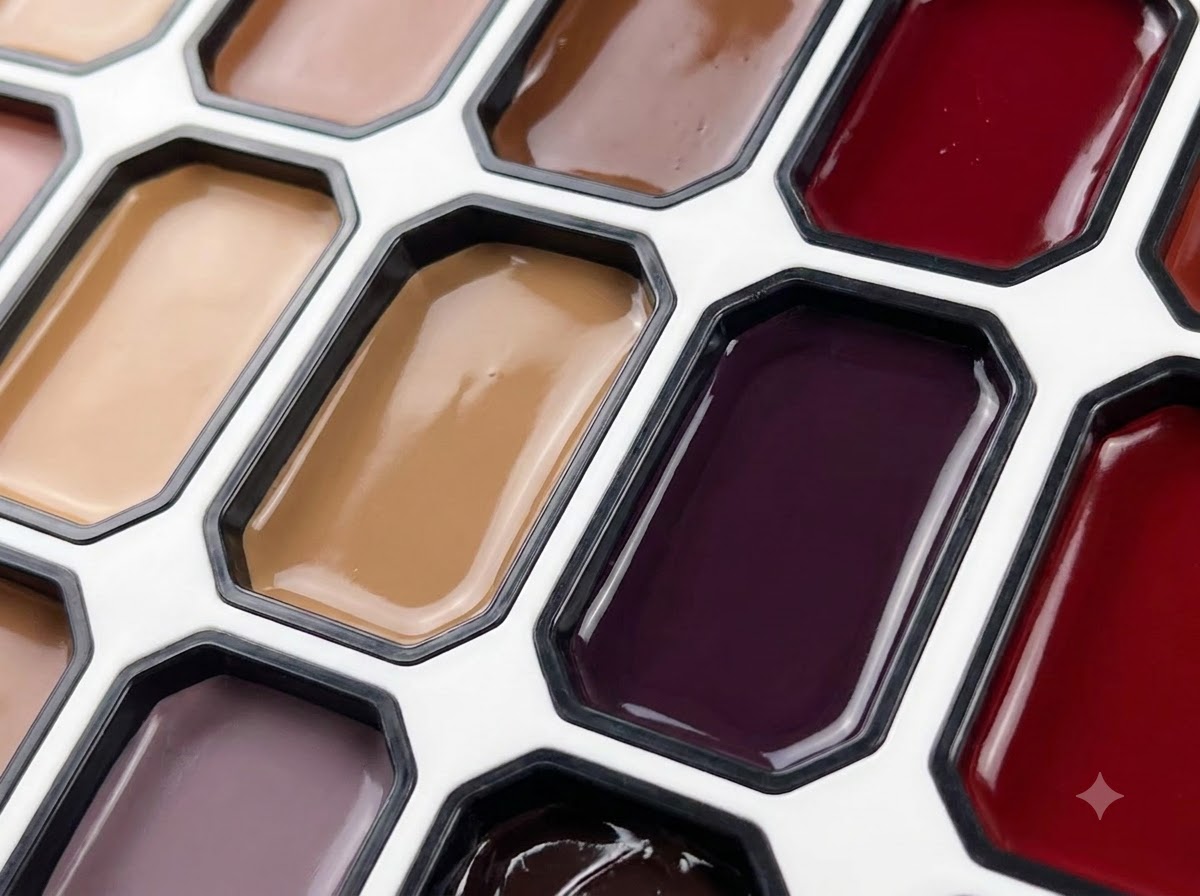
Open the color palette and locate the section containing the red stamping gel. Ensure the gel consistency is smooth and ready for pickup.
Tip: Keep your palettes covered when not in use to prevent dust from settling into the gel. - 13Apply Red Stamping Gel to Plate
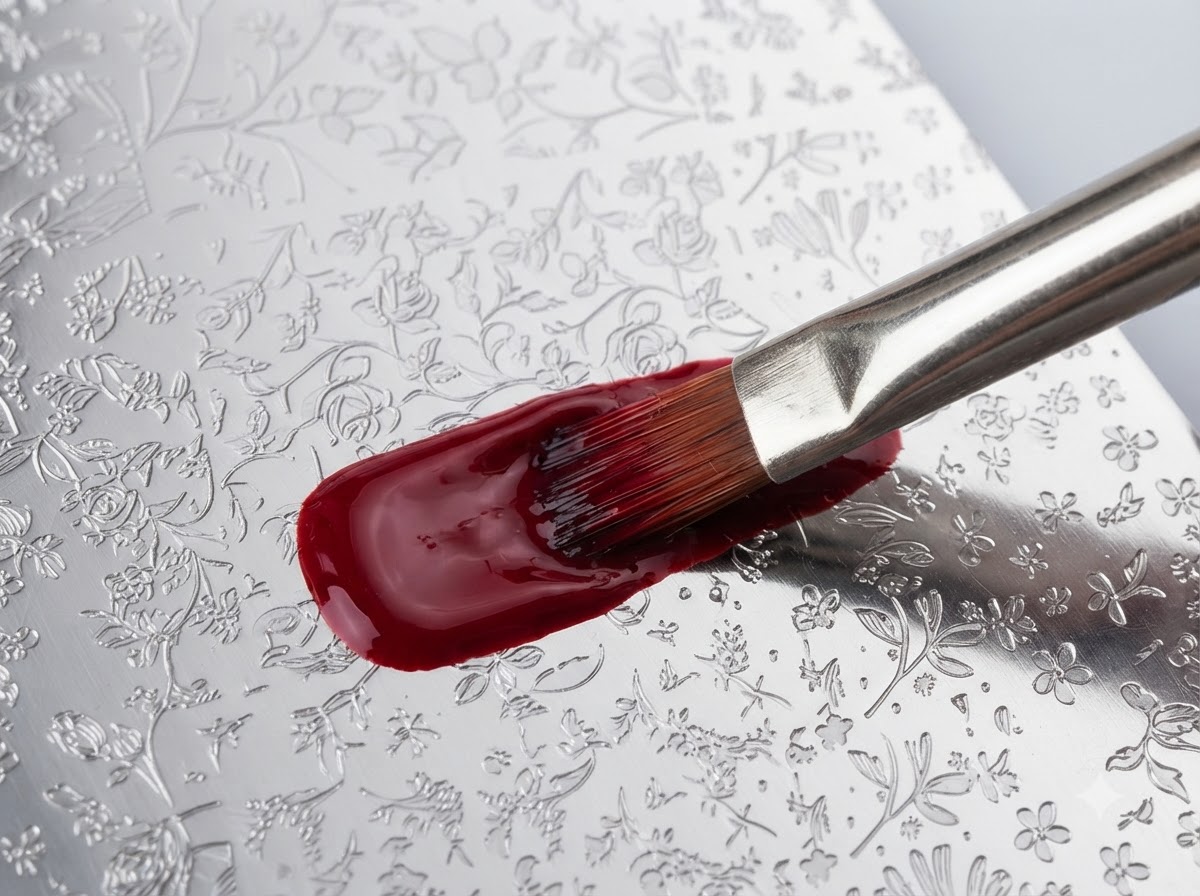
Use a nail art brush to pick up a generous amount of red stamping gel and apply it across the floral engravings on the metal plate. Make sure the gel is spread evenly so that all tiny gaps and recesses are completely filled.
Tip: Apply enough gel so that every part of the etched design is fully saturated. - 14Scrape Excess Stamping Gel
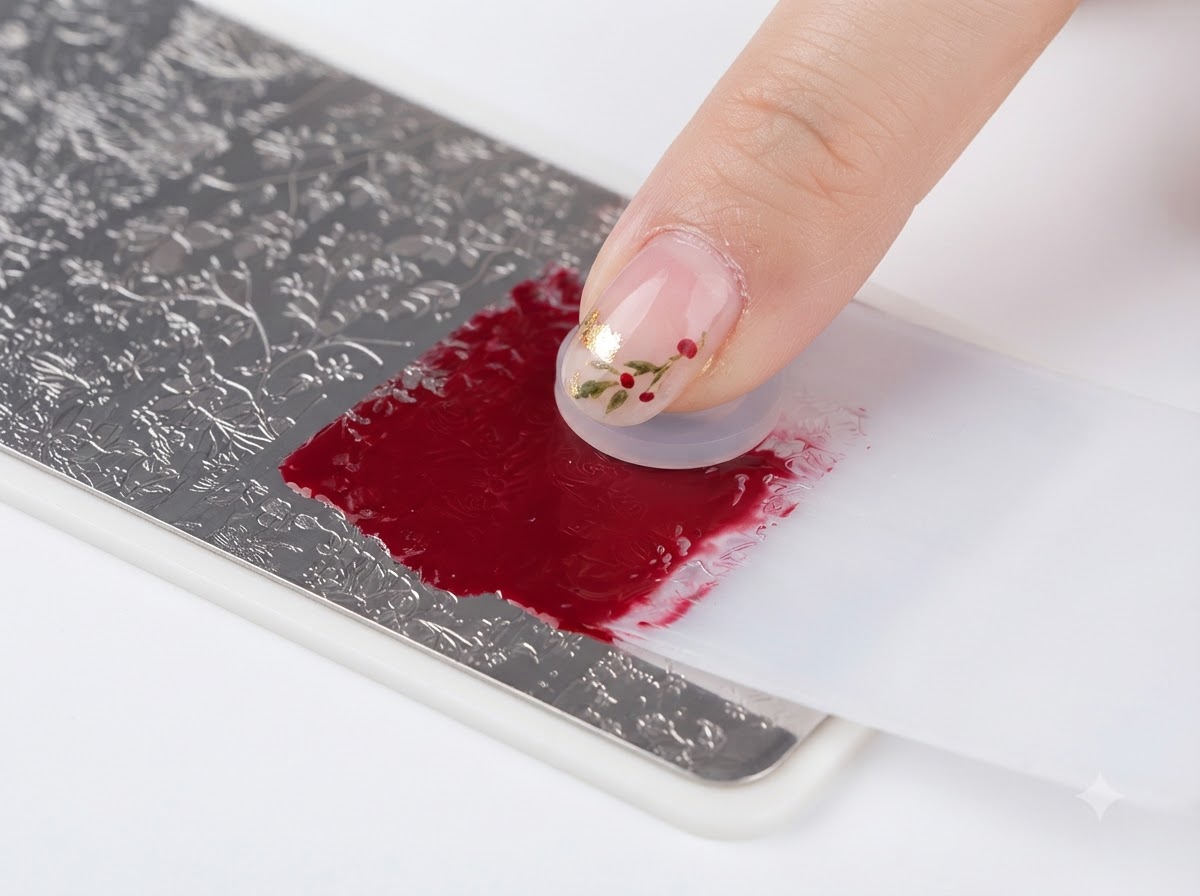
Take a clear plastic scraper card and hold it at a slight angle against the metal plate. Scrape firmly across the surface in one fluid motion to remove excess gel while leaving the product securely inside the engraved gaps.
Tip: Do not press too hard with the scraper, or you might scoop the gel out of the shallow engravings. - 15Pick up the floral stamping pattern
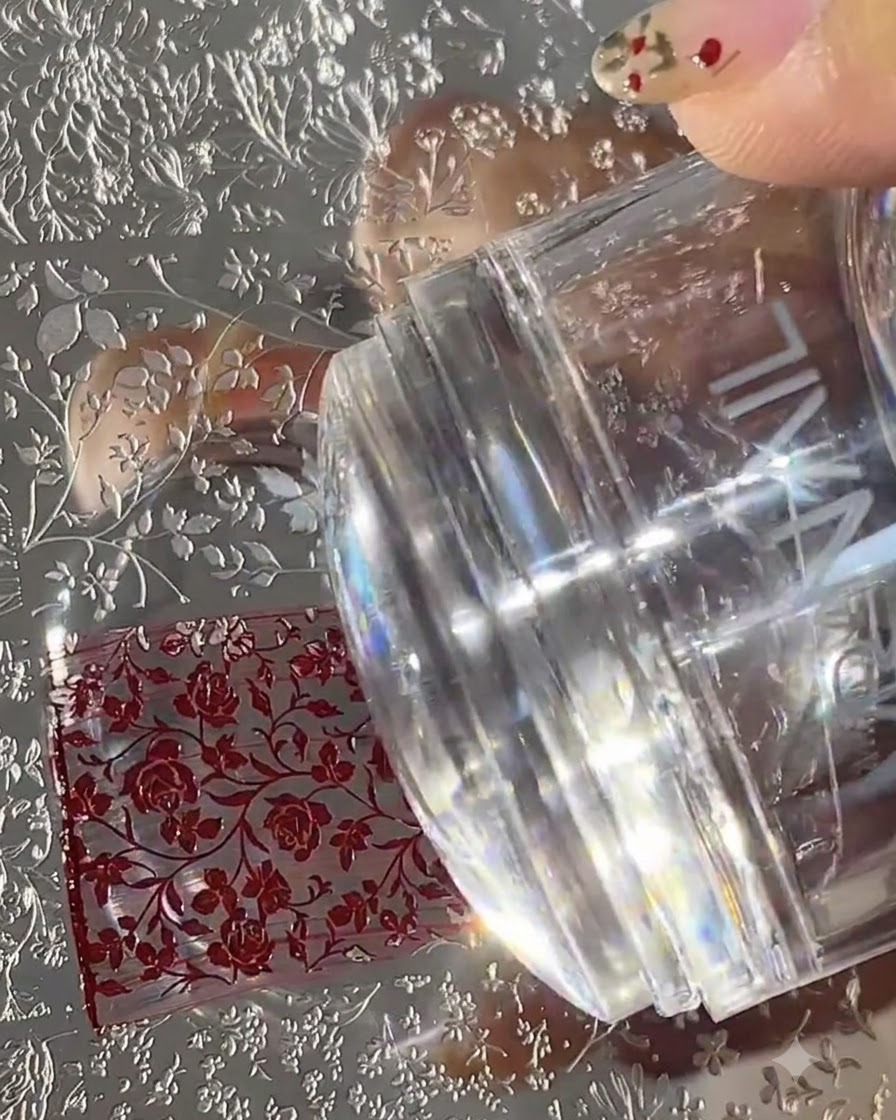
Press the clear silicone nail stamper firmly down onto the red stamping gel pattern on the metal transfer plate to lift the design. Ensure steady and even downward pressure so the entire floral pattern is successfully transferred onto the stamper head without smudging.
Tip: Roll the stamper gently across the plate from one side to the other rather than pressing straight down to prevent air bubbles from forming under the silicone. - 16Stamp the floral design onto the nail
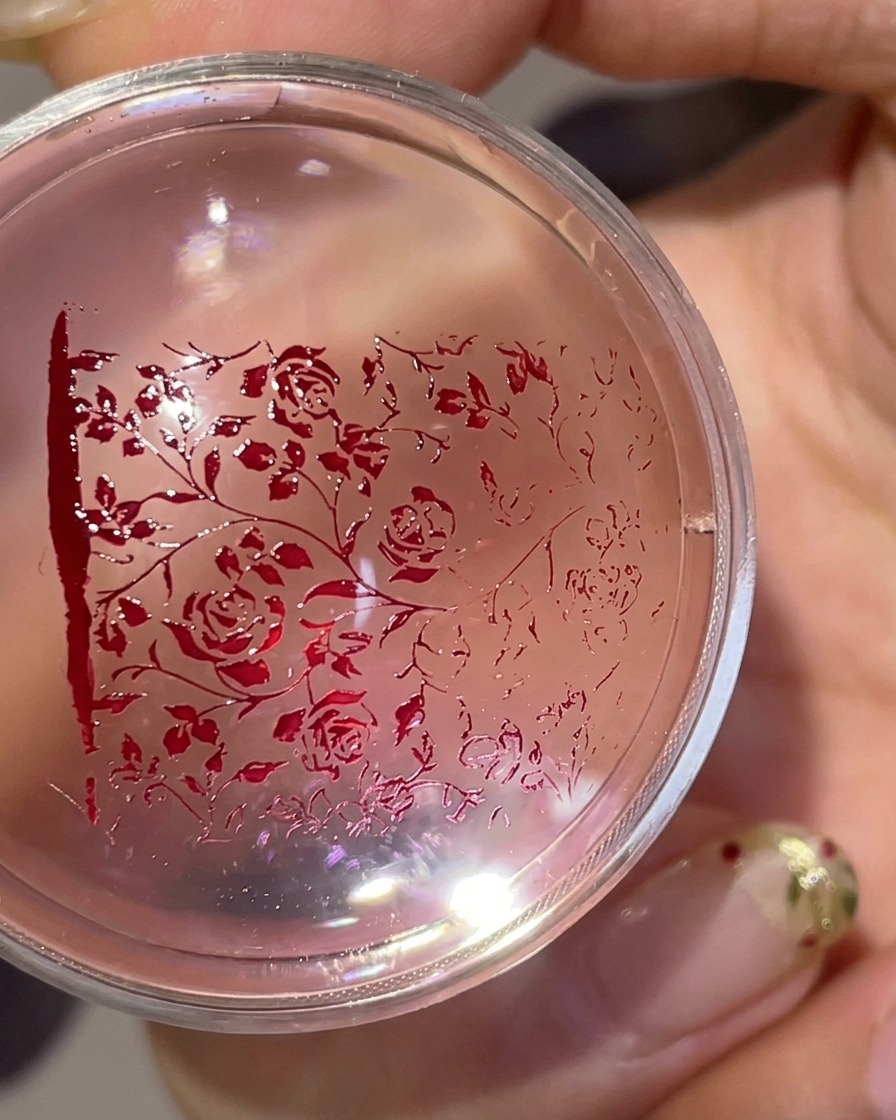
Carefully align the red floral pattern on the clear silicone stamper with the prepared nail surface. Press down firmly to transfer the delicate design onto the nail, double-checking the placement before committing to ensure proper positioning.
Tip: Because the stamper is transparent, look through the back of it to achieve precise alignment over the center of the nail. - 17Inspect the transferred pattern
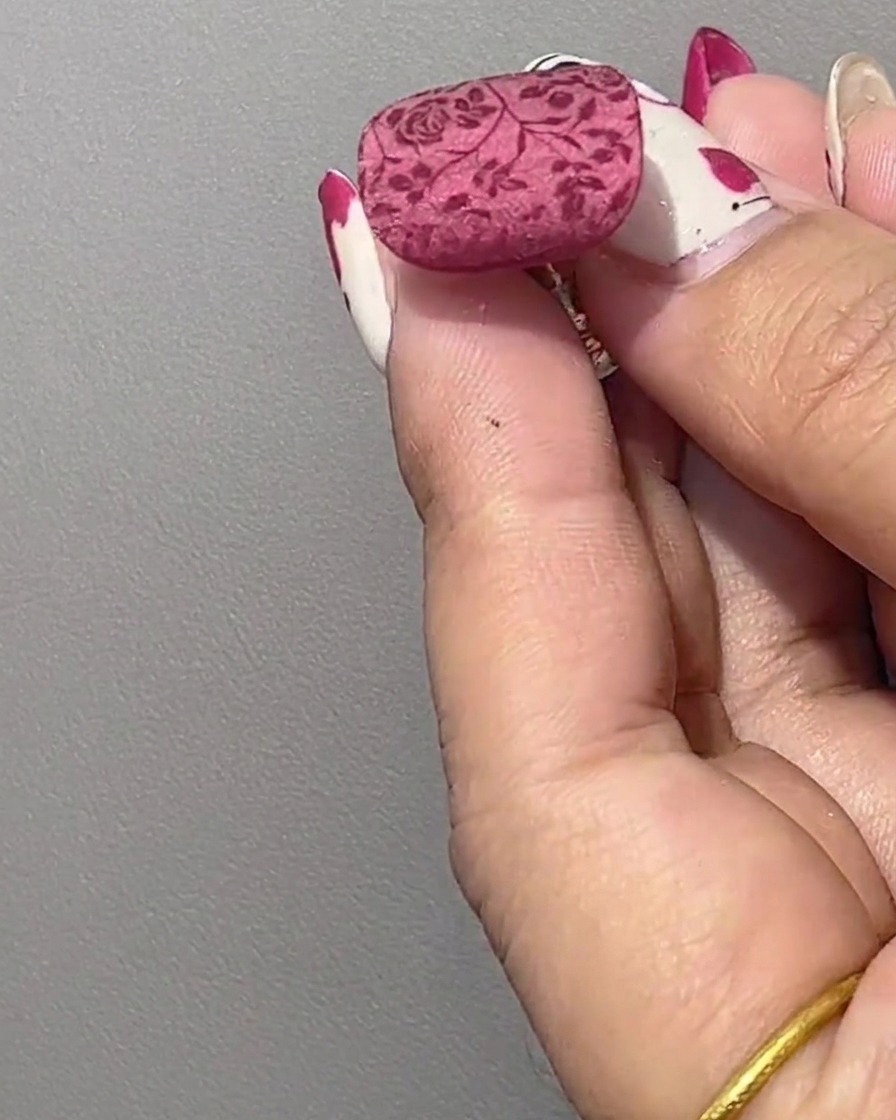
Carefully inspect the freshly transferred red floral design on the nail surface to ensure complete coverage and clean edges. Keep the gel uncured at this stage so that it remains receptive to the next texturizing step.
Tip: Do not place the hand under the UV or LED lamp yet, as the wet surface is needed for the subsequent powder application technique. - 18Apply crystal powder over the design
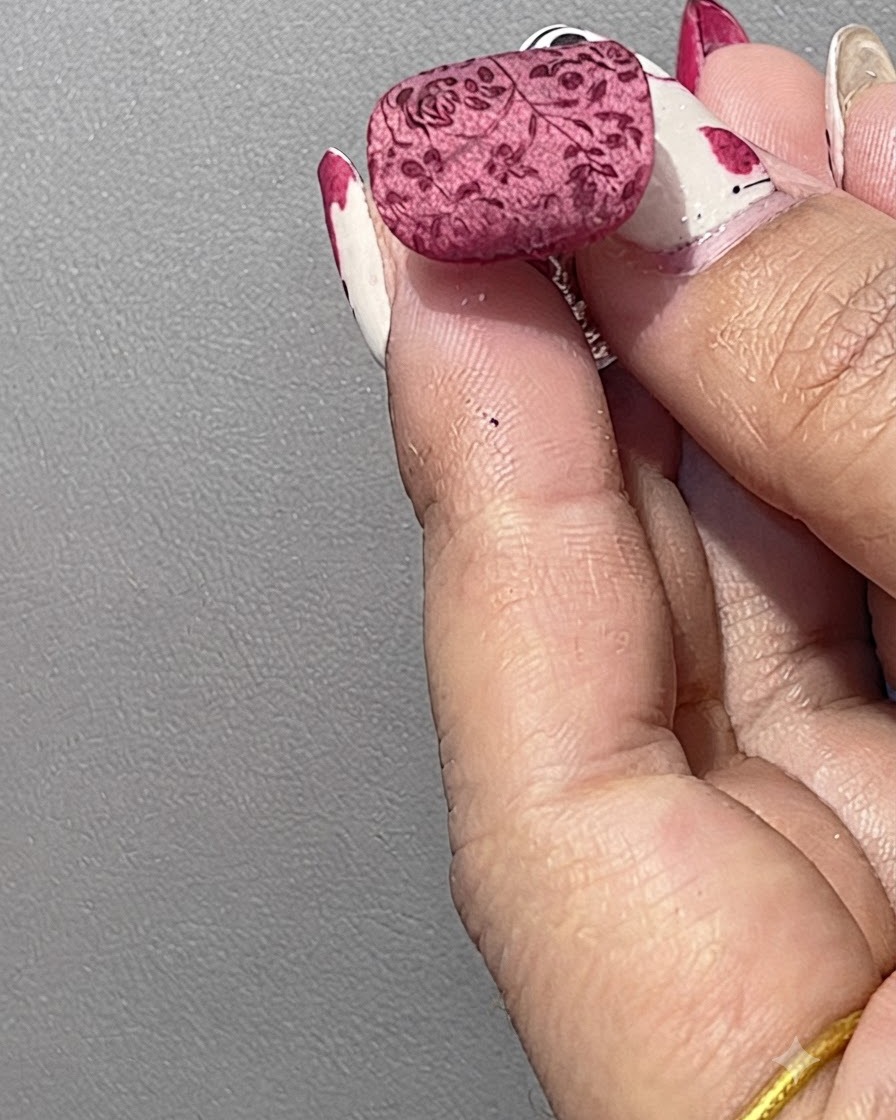
Directly sprinkle white acrylic crystal powder generously over the wet stamped pattern on the nail surface using a small spatula or spoon. Ensure the powder covers all parts of the wet red gel design to create the signature soft, misty frosted texture.
Tip: Sprinkle the powder evenly from a short distance above the nail to avoid clumping in specific areas. - 19Cure the powder and gel design
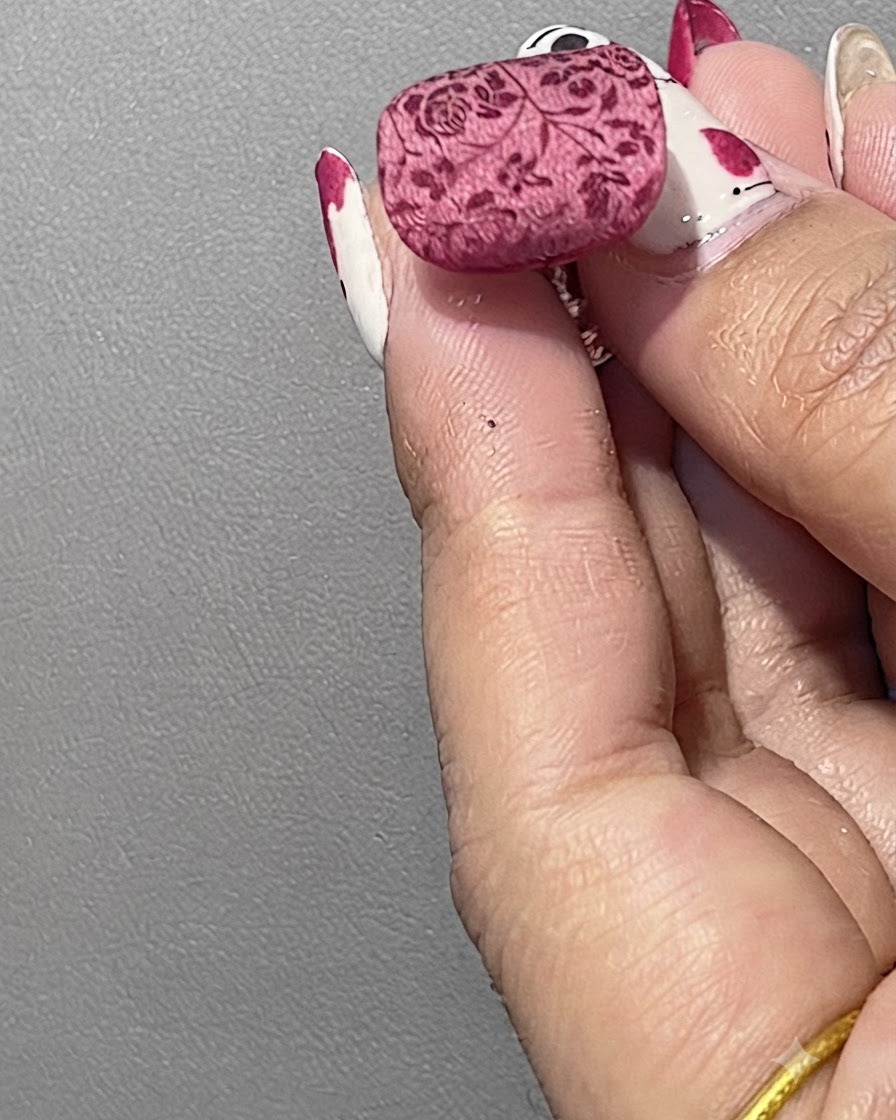
Place the hand into the UV or LED lamp to cure the crystal powder and stamped gel design completely. This step hardens the gel and locks the textured crystal powder securely into place over the floral pattern.
Tip: Ensure the hand is placed evenly under the light sources to guarantee a uniform cure across the textured surface. - 20Brush away excess powder
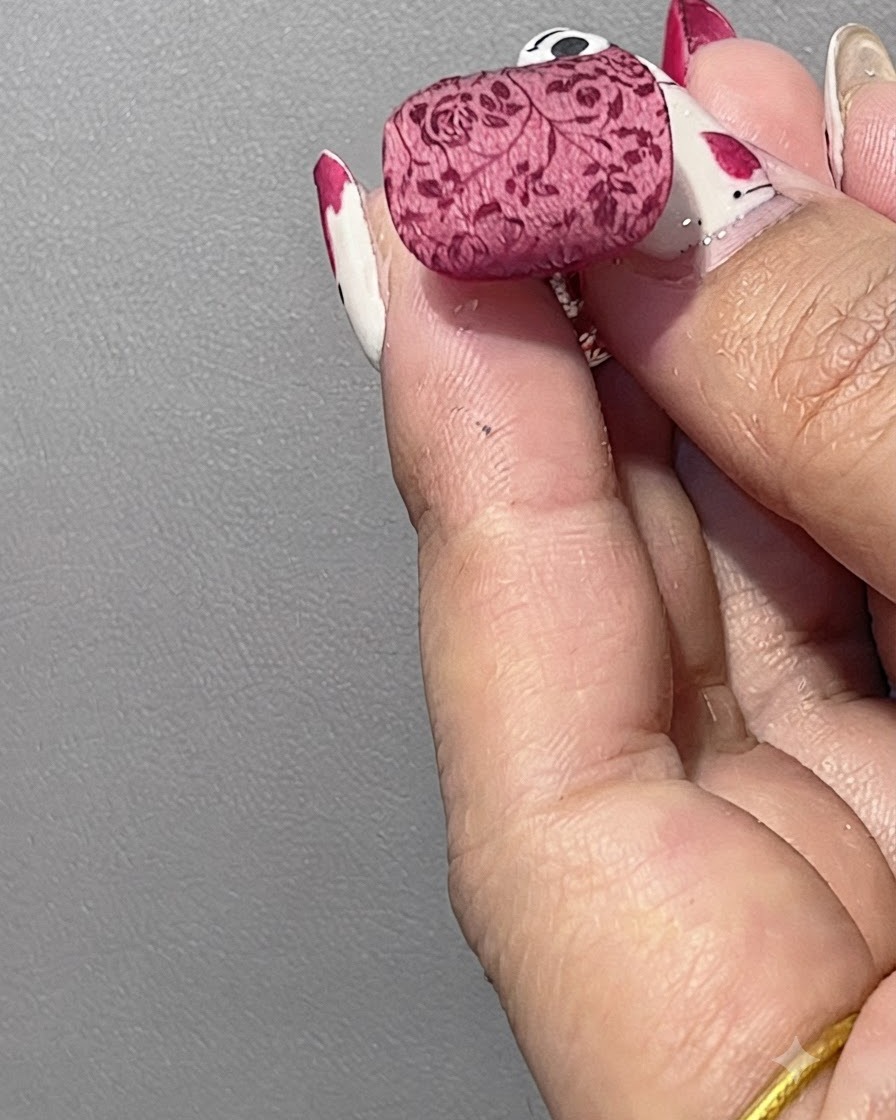
Take a fluffy dust brush and gently sweep away all excess loose crystal powder from the nail surface. This reveals the soft, misty, matte floral effect underneath while cleaning up any stray particles around the finger.
Tip: Use light, sweeping motions so you do not disturb the cured textured pattern embedded on the nail.