Peace Minus One Daisy Nail Art — Step-by-Step G-Dragon Inspired Tutorial
Create the iconic G-Dragon Peace Minus One flawed daisy nail art with this step-by-step tutorial featuring matte black and vibrant yellow gel designs.
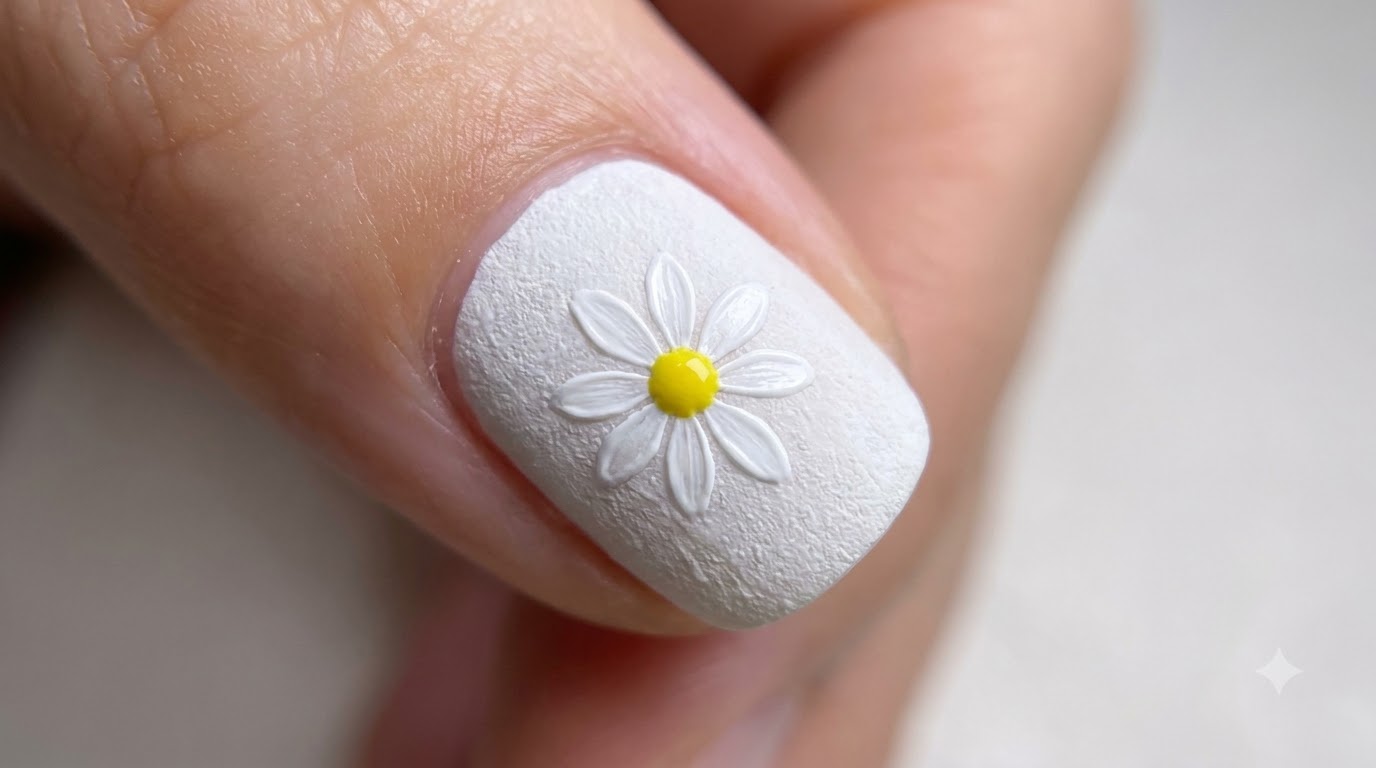
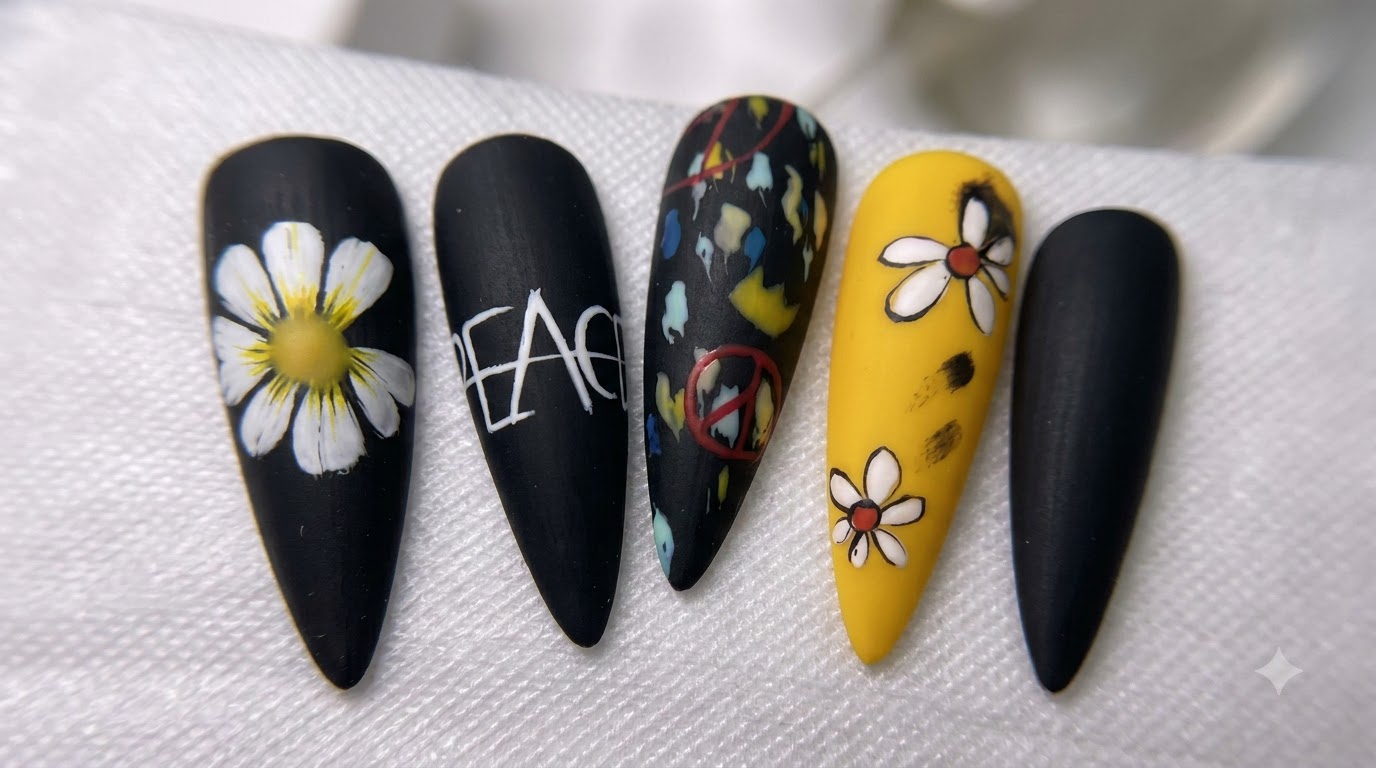
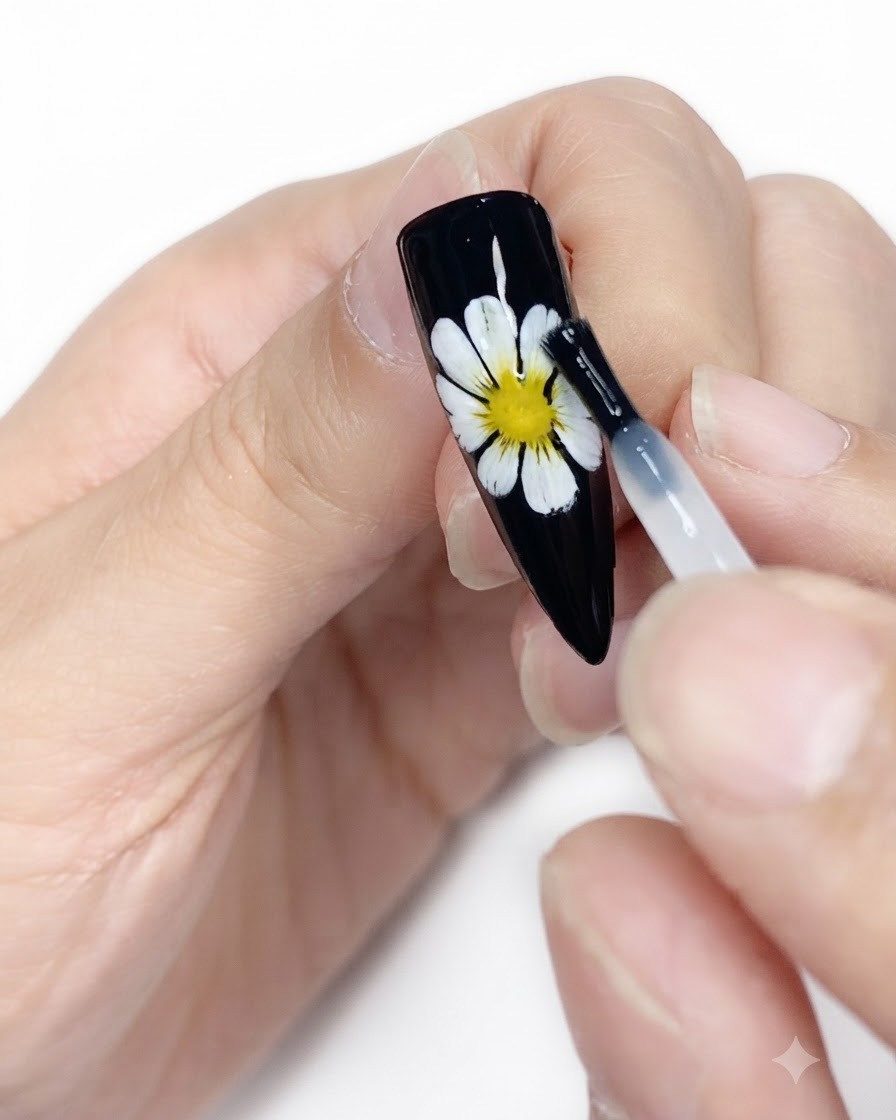
Inspired by the signature Peace Minus One aesthetic, this avant-garde nail design combines matte black bases with striking white daisies and rebellious artistic details. The concept represents an imperfect flower in an ideal utopian world, bringing a high-fashion, symbolic edge straight to your fingertips. Whether you are recreating the iconic G-Dragon motif or exploring bold streetwear nail art, this look makes a powerful statement.
Steps
- 1Apply first coat of black gel polish
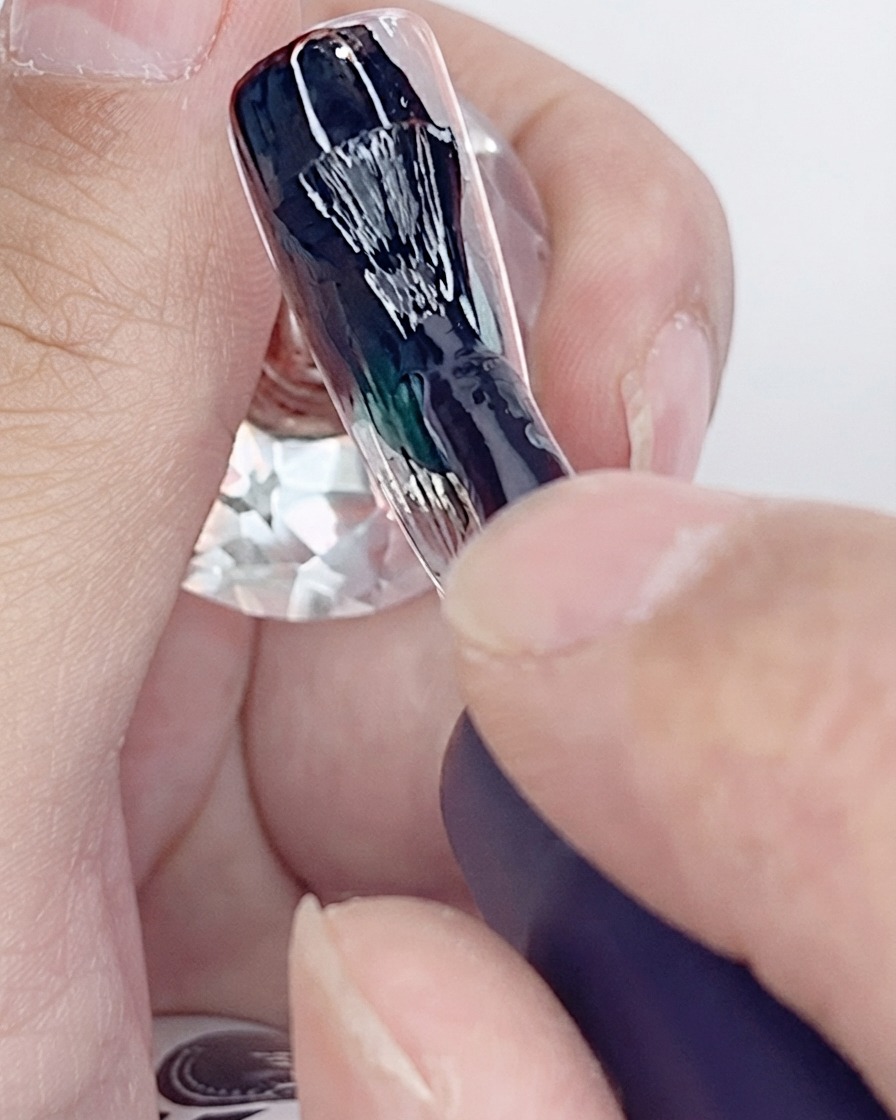
Apply the first coat of black gel polish evenly across the nail surface using the application brush. Ensure smooth coverage from the cuticle down to the free edge, and cure under a UV or LED lamp.
Tip: Apply in thin, even strokes to prevent pooling and ensure proper curing. - 2Apply second coat of black gel polish
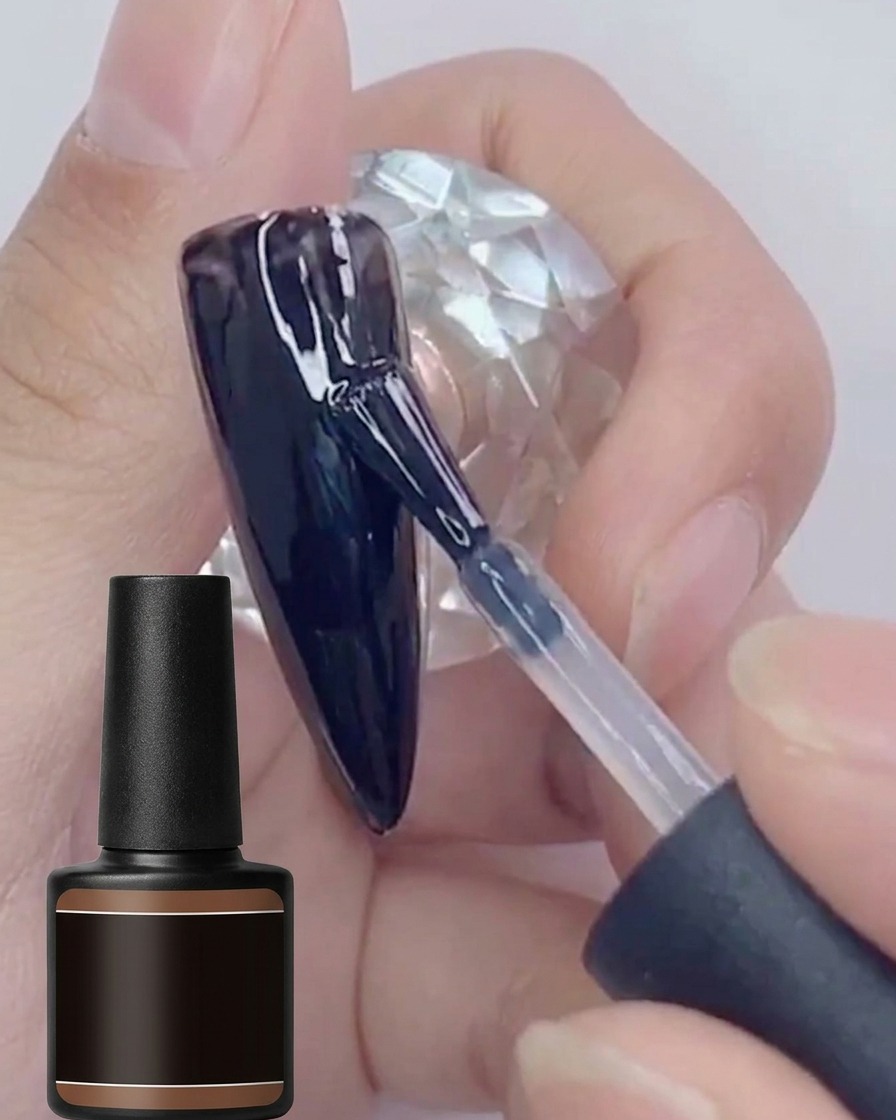
Apply a second even coat of black gel polish over the first layer to ensure complete, streak-free opaque coverage across the entire nail surface. Cap the free edge to seal the polish and cure under the UV or LED lamp as directed.
Tip: Applying two thin coats is always better than one thick coat to prevent wrinkling and ensure proper curing. - 3Apply matte top coat
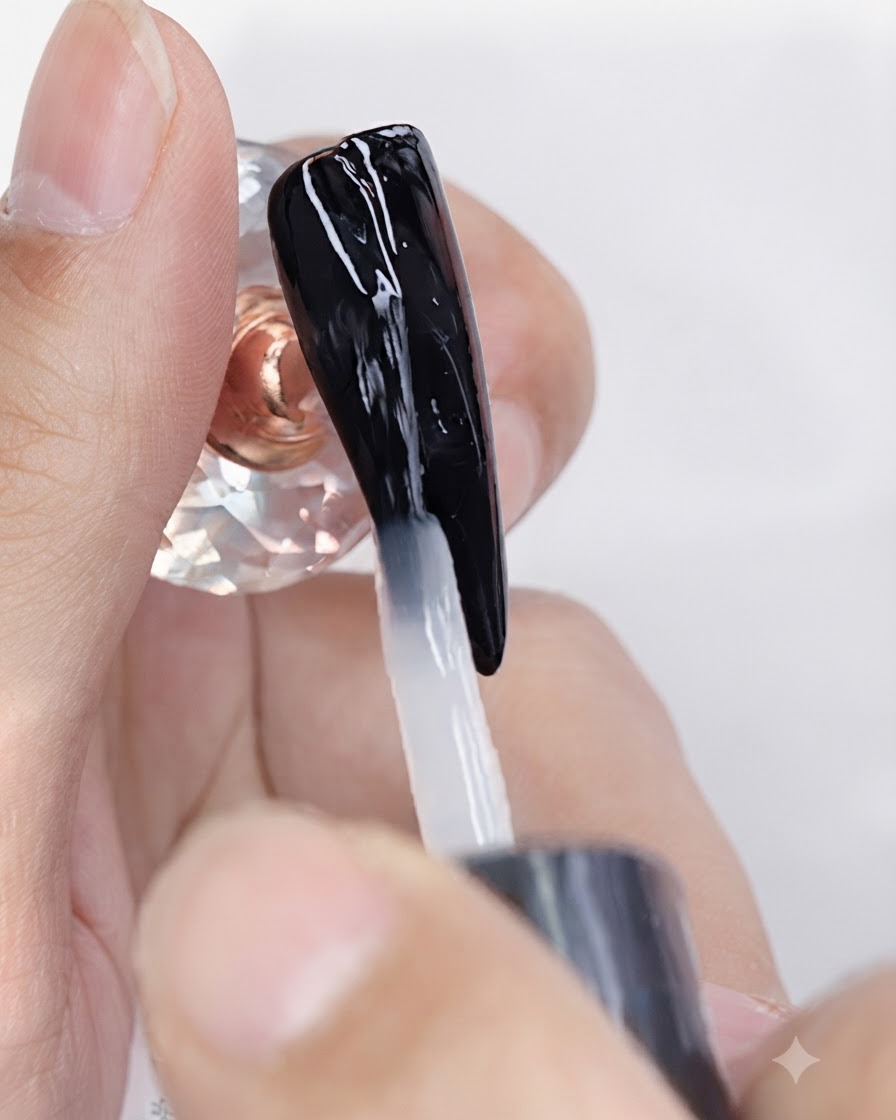
Apply a layer of matte top coat gel evenly over the fully cured black base polish. Ensure the entire surface is covered before placing the nail under the UV or LED lamp to cure, creating a smooth velvety finish.
Tip: Make sure the matte top coat is applied smoothly without pooling around the cuticles to maintain an even texture. - 4Paint flower petals with white gel
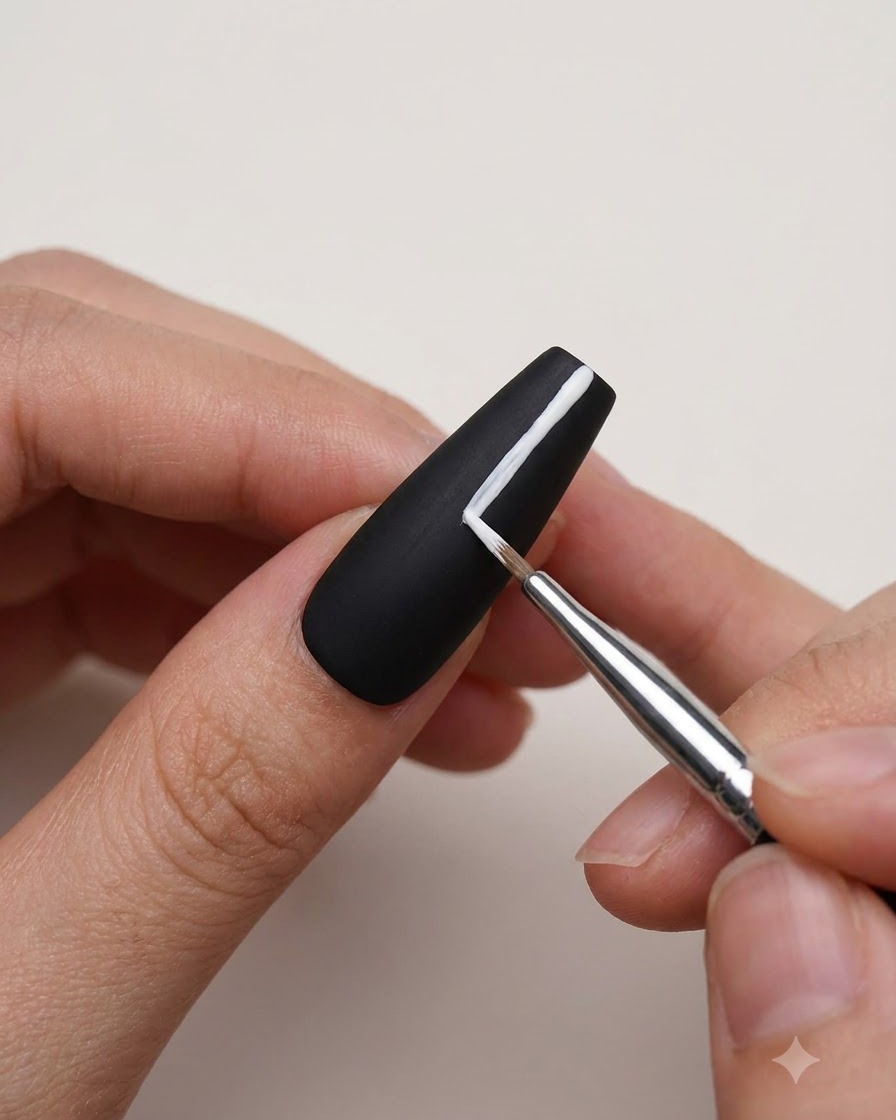
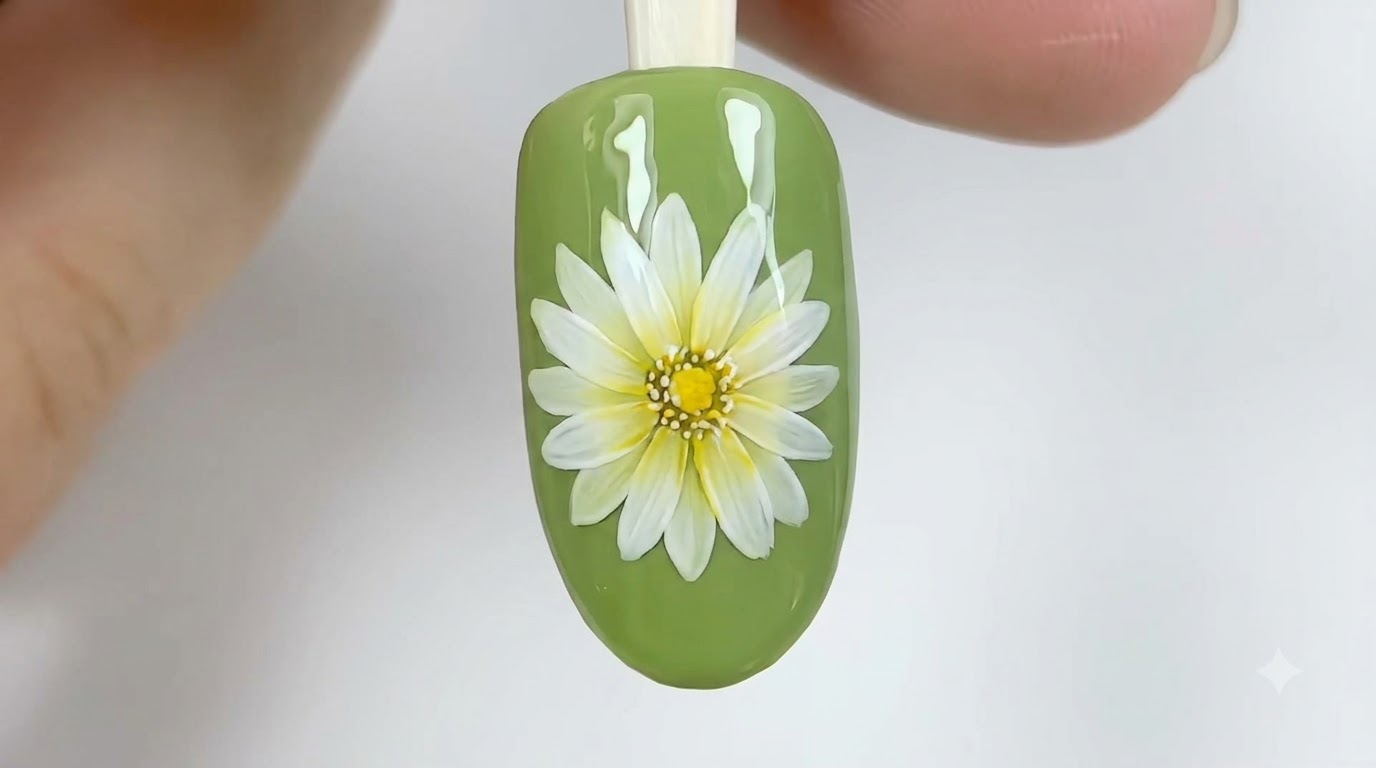
Using a fine detail brush loaded with white gel, carefully paint individual petal strokes radiating outward to form the daisy flower shape on top of the matte black surface. Keep strokes light and precise to define each petal clearly.
Tip: Wipe your detail brush clean between strokes if needed to keep the white lines sharp and distinct. - 5Outline petal contours
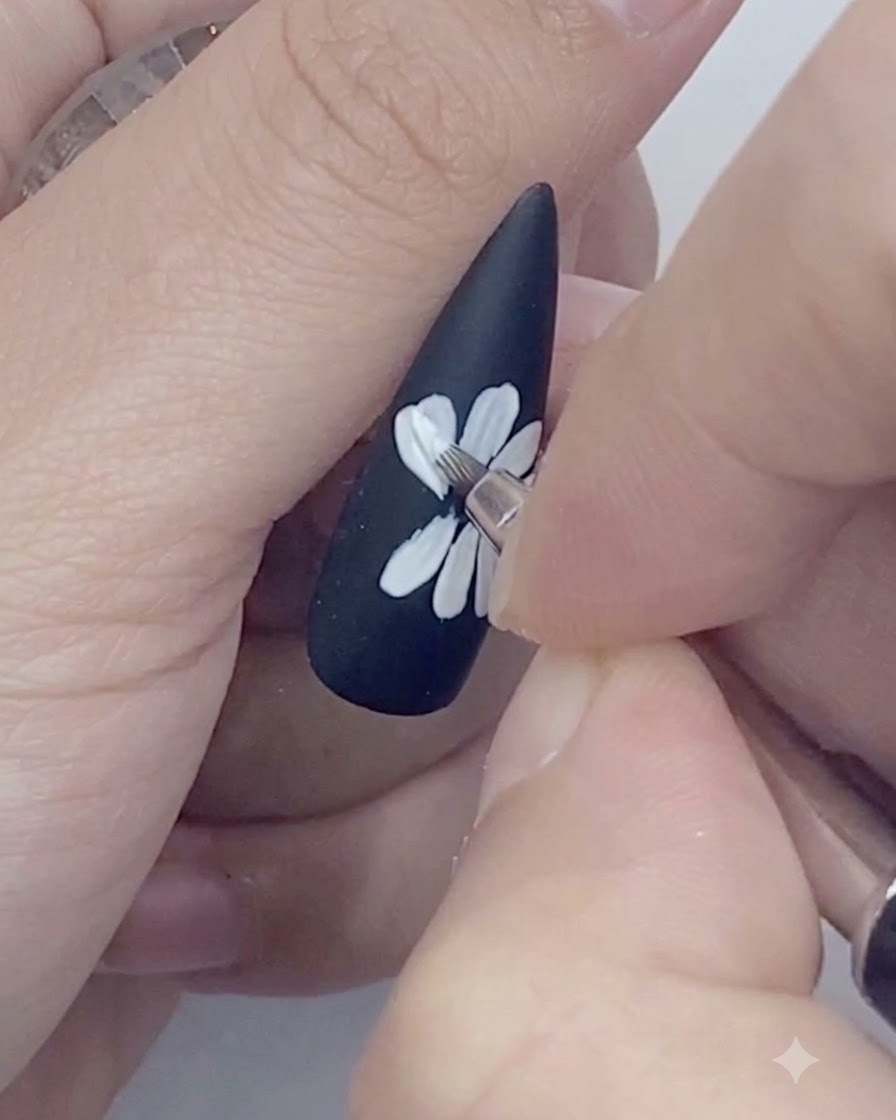
Take a fine liner brush and carefully outline the contours of the painted white petals to sharpen their shapes and add clean definition to the floral design.
Tip: Hold the liner brush lightly and use just the tip for ultra-thin, controlled lines. - 6Paint the yellow flower center
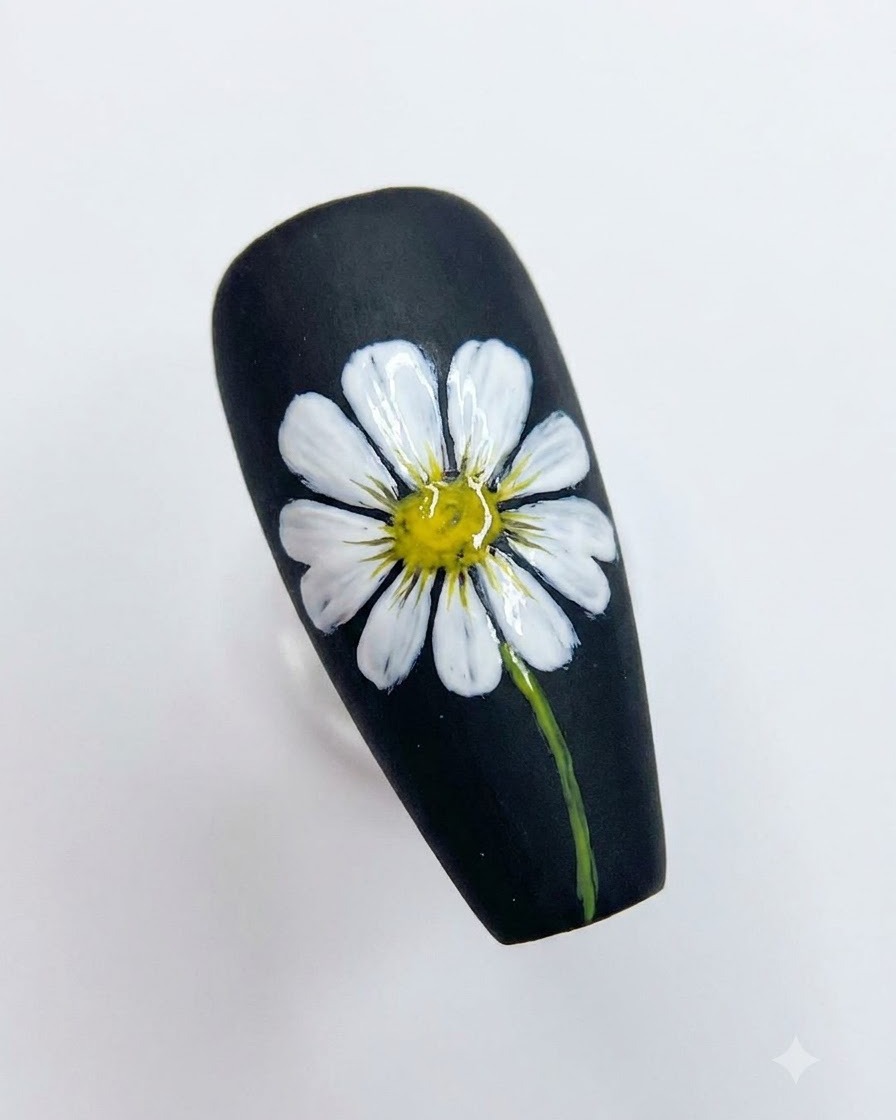
Apply yellow gel to the center of the daisy flower, letting it overlap where the petals meet to create a vibrant focal point. Finish with any additional details like a stem if desired, then cure.
Tip: A small dotting tool or fine brush can help you place the yellow center precisely in the middle of the petals. - 7Apply a matte top coat
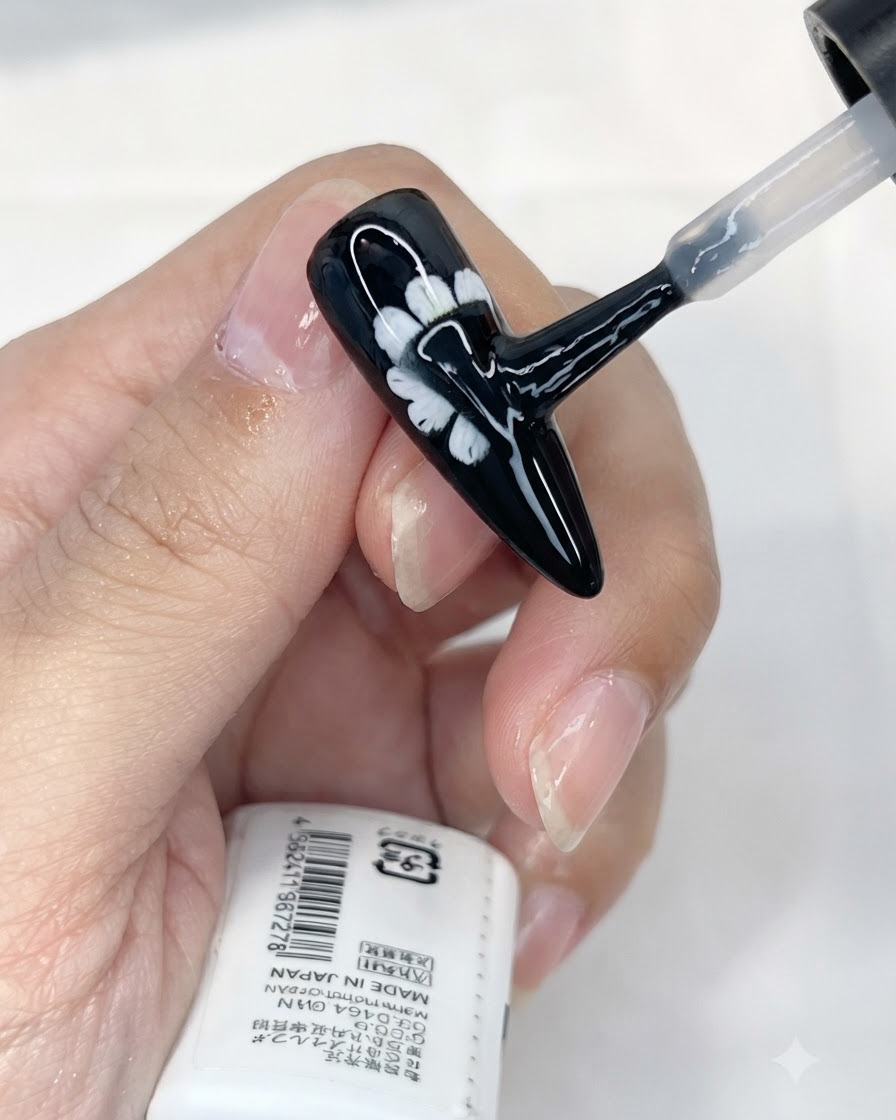
Apply a layer of matte top coat over the completed nail art design to give it a smooth, velvety finish. Make sure to cover all painted areas evenly and cure completely under the lamp.
Tip: Ensure the matte top coat is applied smoothly to give the nail art a flawless flat finish. - 8Wipe the inhibition layer
Using a lint-free cleansing wipe moistened with alcohol, gently wipe the surface of the nail to remove the sticky inhibition layer left behind after curing the top coat.
Tip: Wipe firmly in one direction to ensure all residual tackiness is removed for a clean finish.