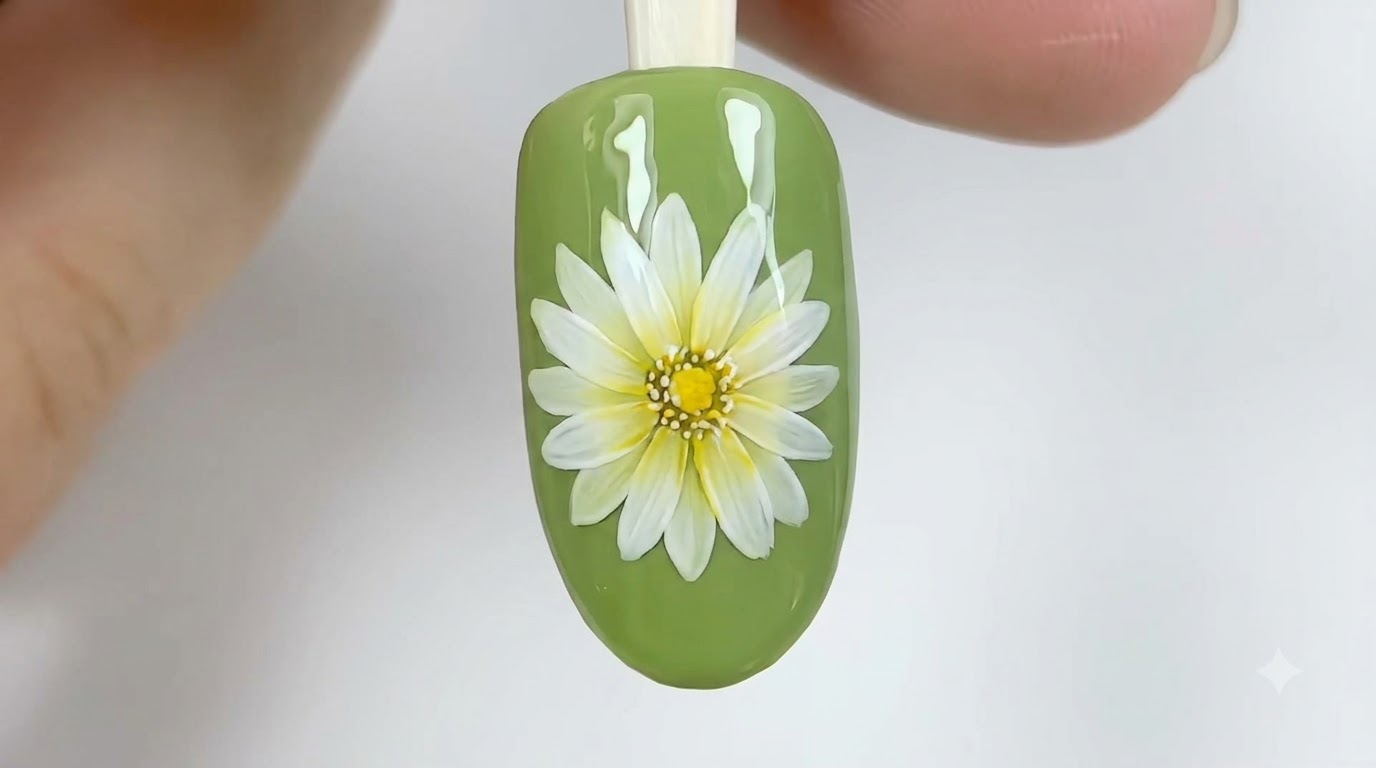
Textured White Daisy Nail Art — Beginner Step-by-Step Tutorial
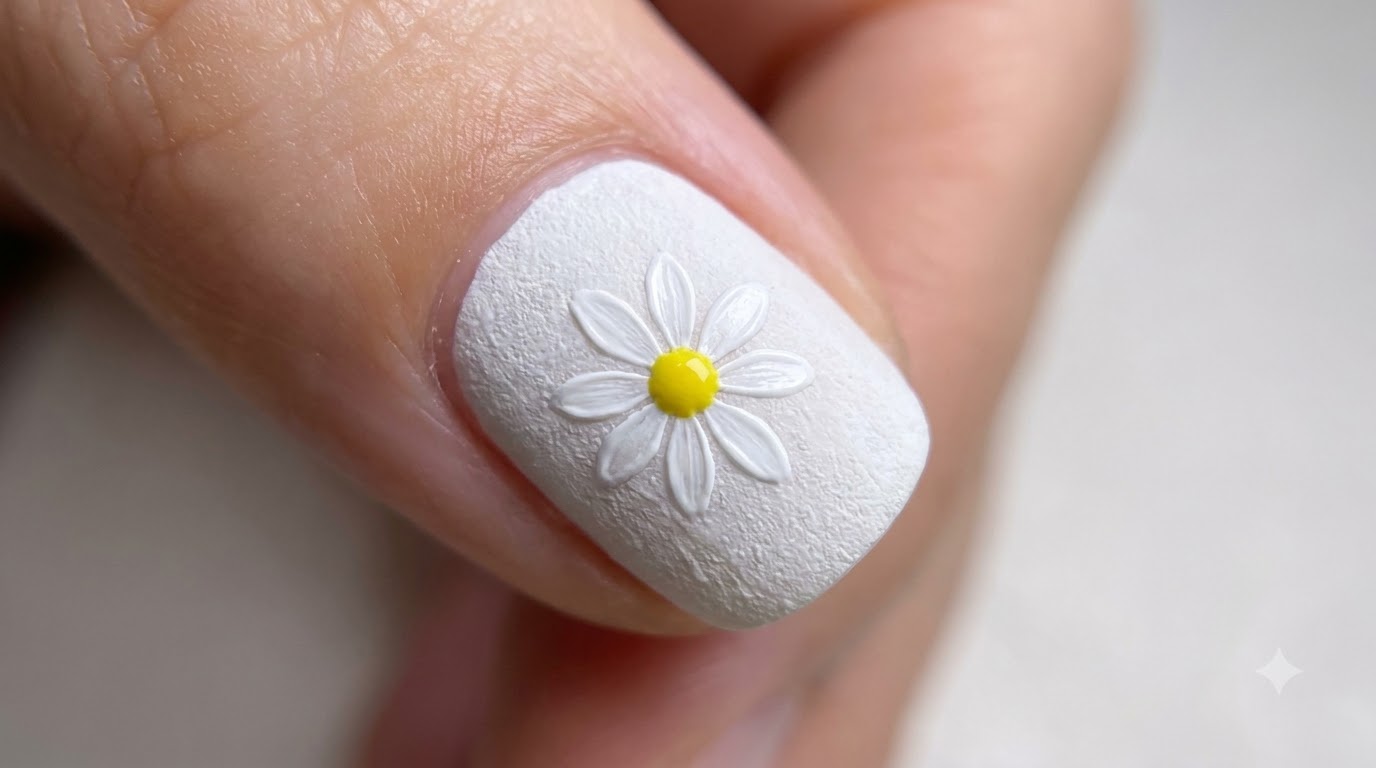
Create charming 3D-effect white daisy nail art featuring a vibrant yellow center using simple dot-and-press painting techniques.
Floral nail designs are timeless classics that add a touch of elegance and whimsy to any manicure. This tutorial guides you through creating a detailed white daisy complete with a textured finish and a bright yellow center, perfect for spring and summer styles.
Steps
- 1Draw an intersecting star grid
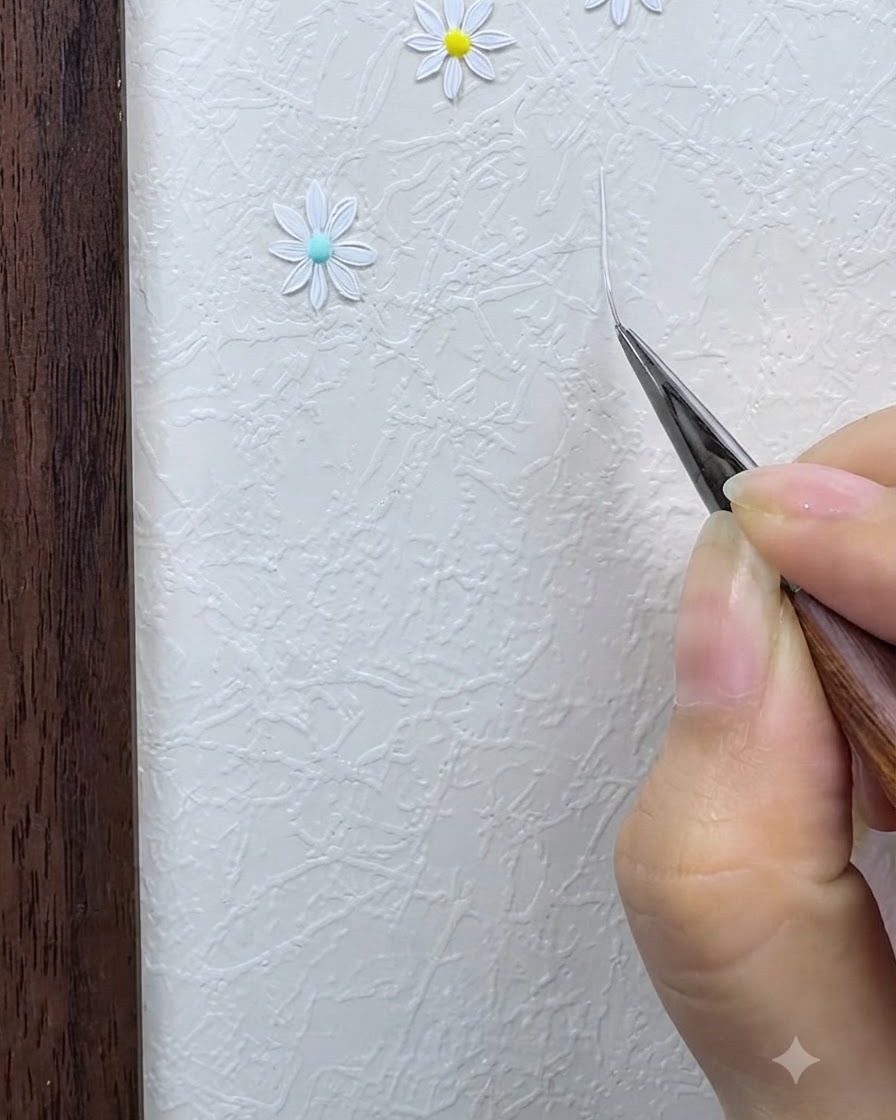
Using a fine liner brush and white paint, carefully draw a small intersecting star grid on the textured surface. This grid serves as a precise structural guide for positioning the daisy petals accurately around the center point.
Tip: Keep the guide lines thin and light so they are easy to cover up or blend into the final nail art design. - 2Extend the grid guide lines
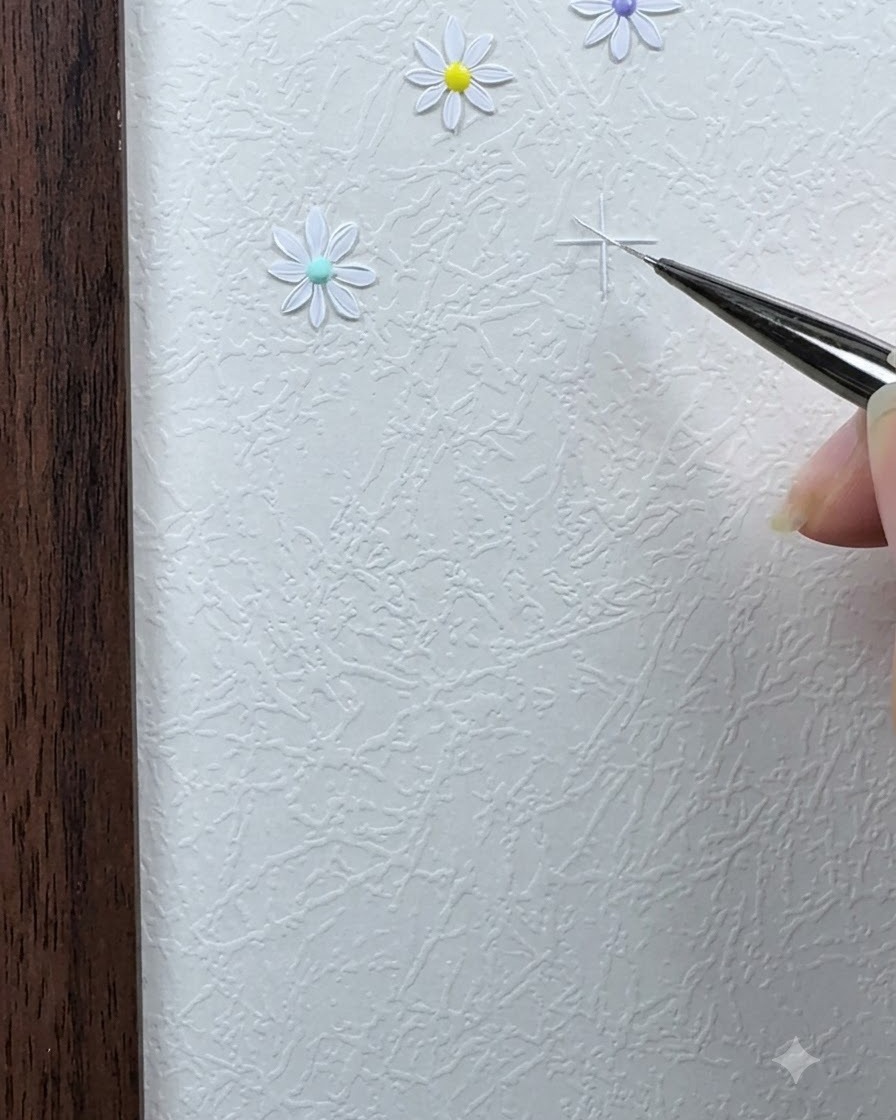
Extend the intersecting lines of your star grid slightly outward to clearly mark where each individual daisy petal should be placed. This ensures symmetry and even spacing around the flower center.
Tip: Check the spacing from all angles before proceeding to painting to ensure a balanced flower shape. - 3Load white painting gel
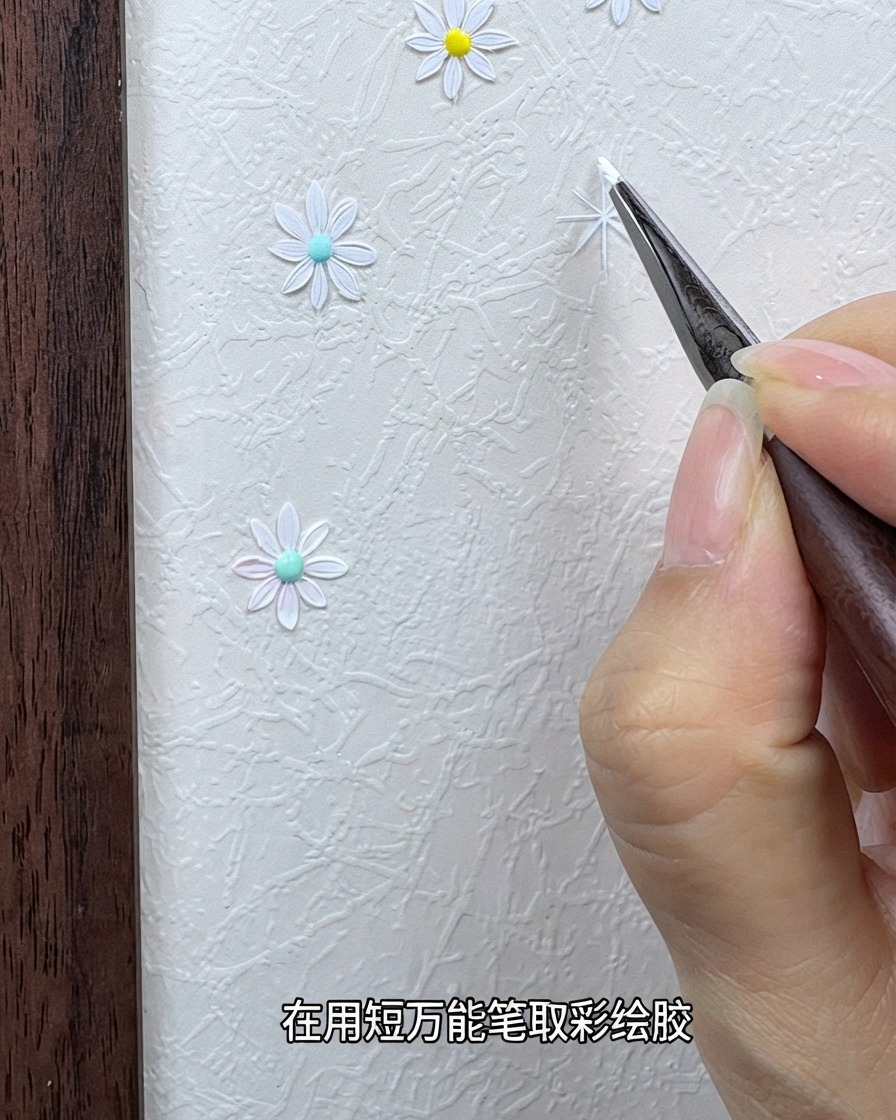
Pick up a small amount of white colored painting gel using a fine detail brush. Make sure the product is evenly distributed on the tip of the brush to achieve crisp, clean petal strokes.
Tip: Load just enough gel on the brush tip to form a neat petal without creating bulky blobs. - 4Paint the first petal
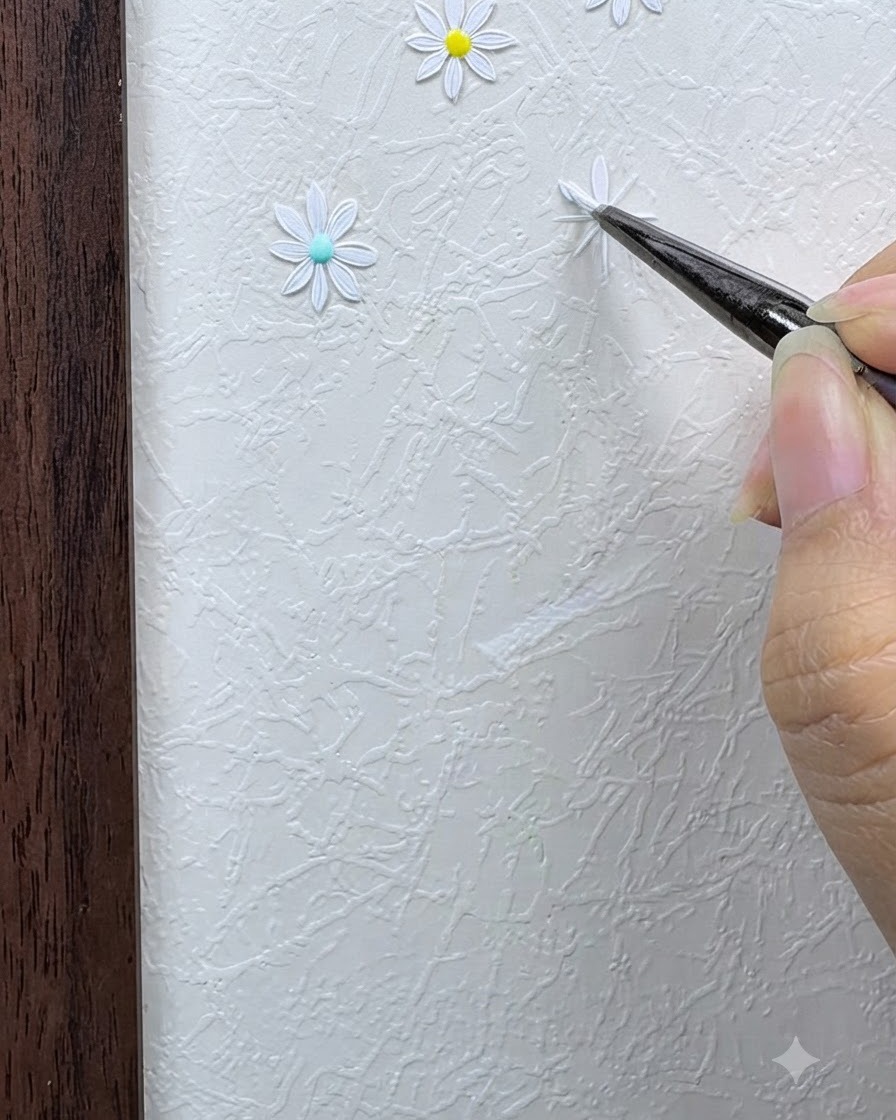
Apply the first petal using a dot-and-press technique, starting near the center and pointing outward along one of the guide lines. Gently press and pull the brush to shape the individual petal tip.
Tip: Use a light tapping motion when pressing down to get a clean, rounded petal edge. - 5Paint the opposite petal
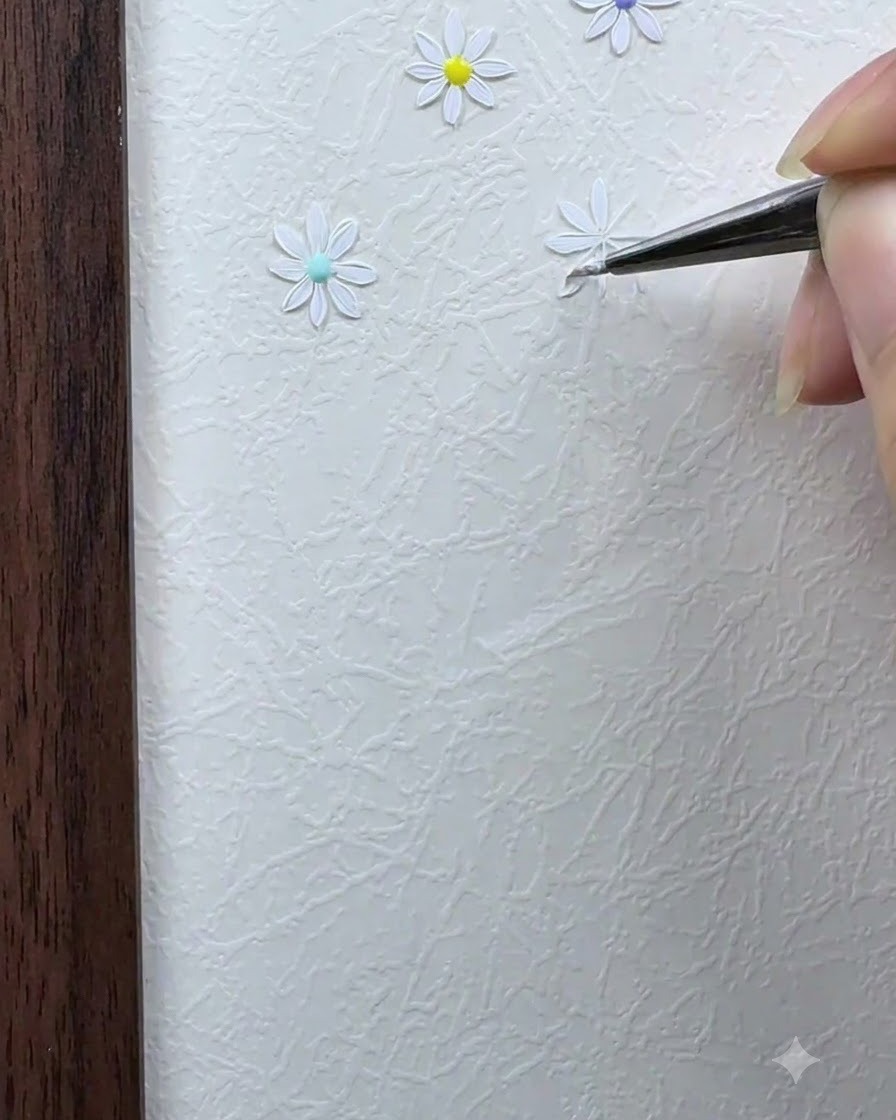
Paint the second petal directly opposite the first one using the exact same dot-and-press technique. Working in opposite pairs helps maintain balance and symmetry across the daisy design.
Tip: Matching opposite petals first keeps the overall flower proportions uniform. - 6Complete the remaining petals
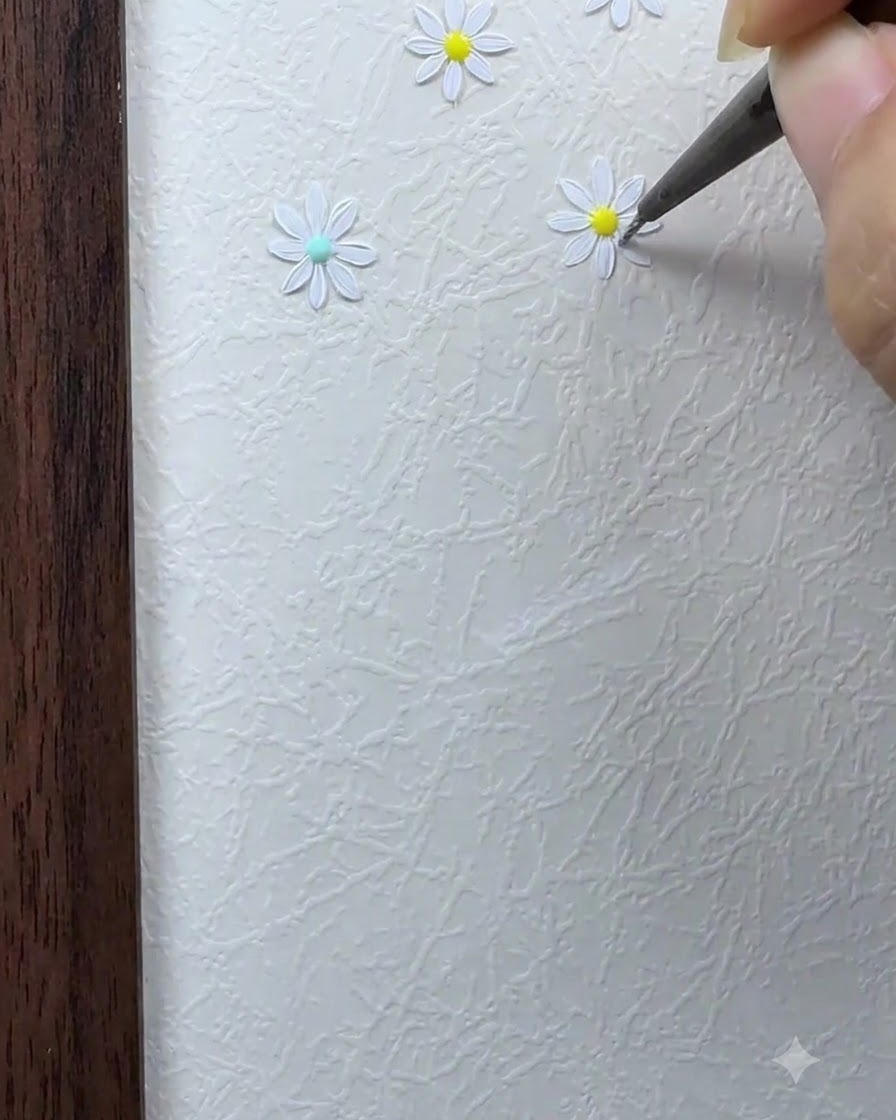
Continue applying the remaining petals around the center guide following the same dot-and-press stroke method for each individual petal until the daisy circle is fully formed.
Tip: Keep consistent pressure across all petals so they look uniform in size and thickness. - 7Refine white daisy petals
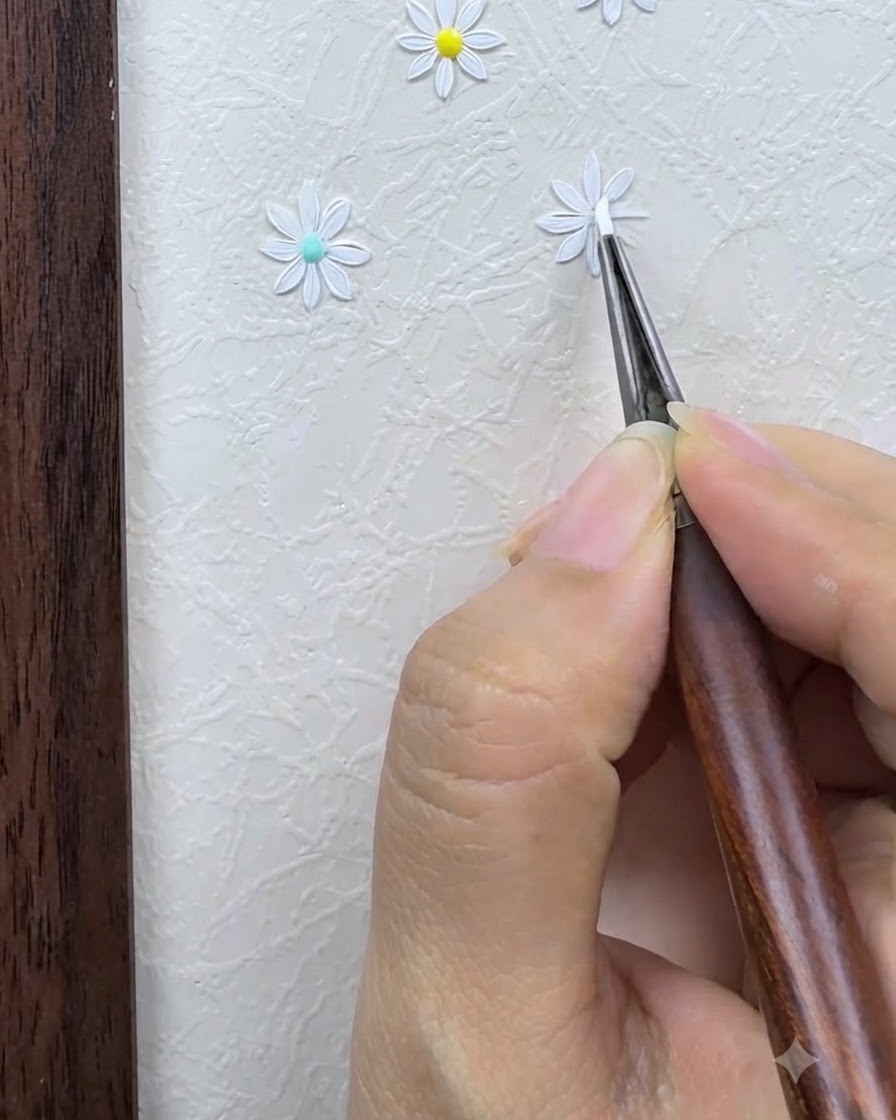
Carefully refine the shape of each surrounding petal to ensure a well-defined and complete white daisy outline. Keep your strokes steady and precise to maintain uniform petal length and symmetry around the center.
Tip: Work in small, controlled dabs with the detail brush to prevent the gel from pooling or losing its sharp edge. - 8Add the Daisy Flower Core
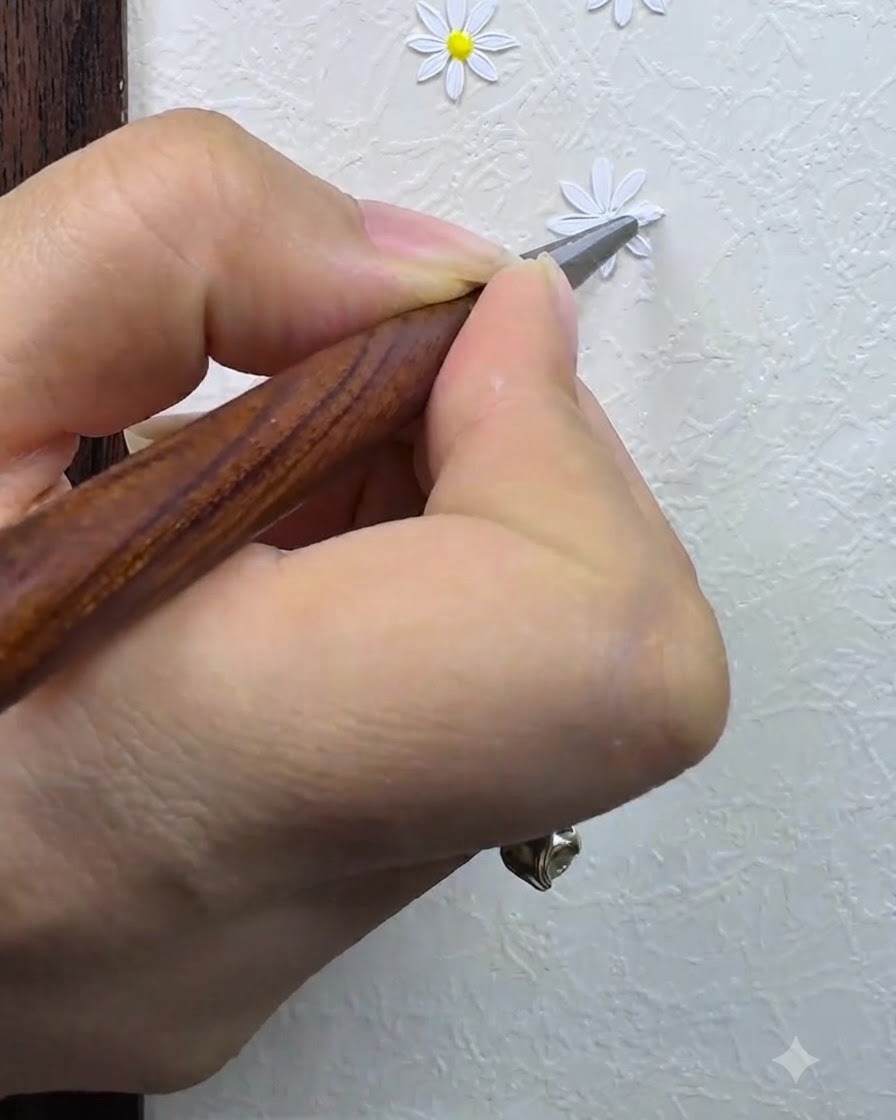
Using a fine detail brush and a vibrant yellow painting gel, carefully dot a small circle right in the center of the white daisy petals to form the flower core. Ensure the placement is centered so the blossom looks balanced and well-defined.
Tip: Use a light touch with the tip of your brush to keep the yellow dot neat and circular without bleeding into the white petals.