Aurora Butterfly Cat-Eye Nails — Step-by-Step Tutorial
Create an ethereal aurora butterfly cat-eye nail look featuring shimmering pink gel, chrome powder accents, and delicate winged line work.
Butterfly wing nail art combined with mesmerizing cat-eye effects creates a stunning, multi-dimensional look that captures every light. This detailed tutorial guides you through layering jelly gels, shaping magnetic reflections, and applying intricate line work and crystal embellishments for a breathtaking finish.
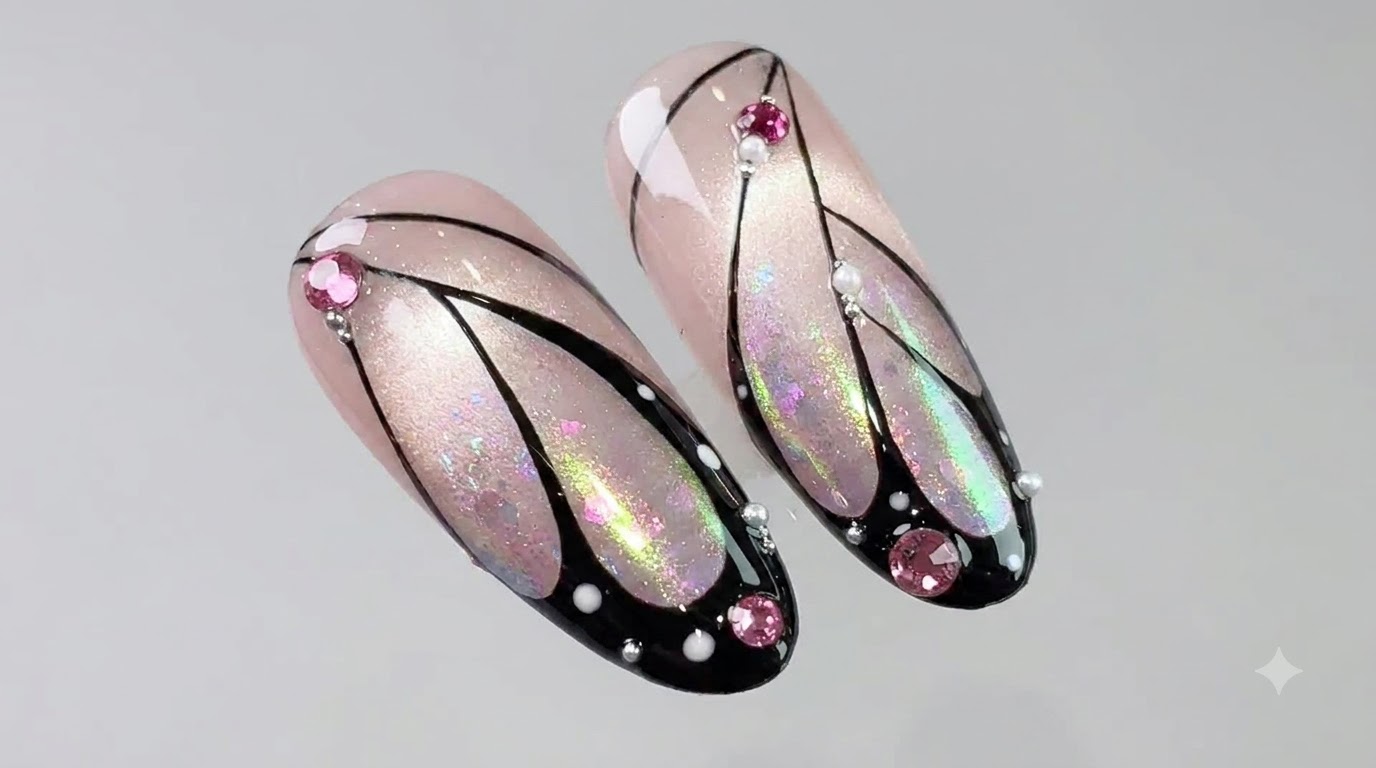
Steps
- 1Apply number 1 patting gel
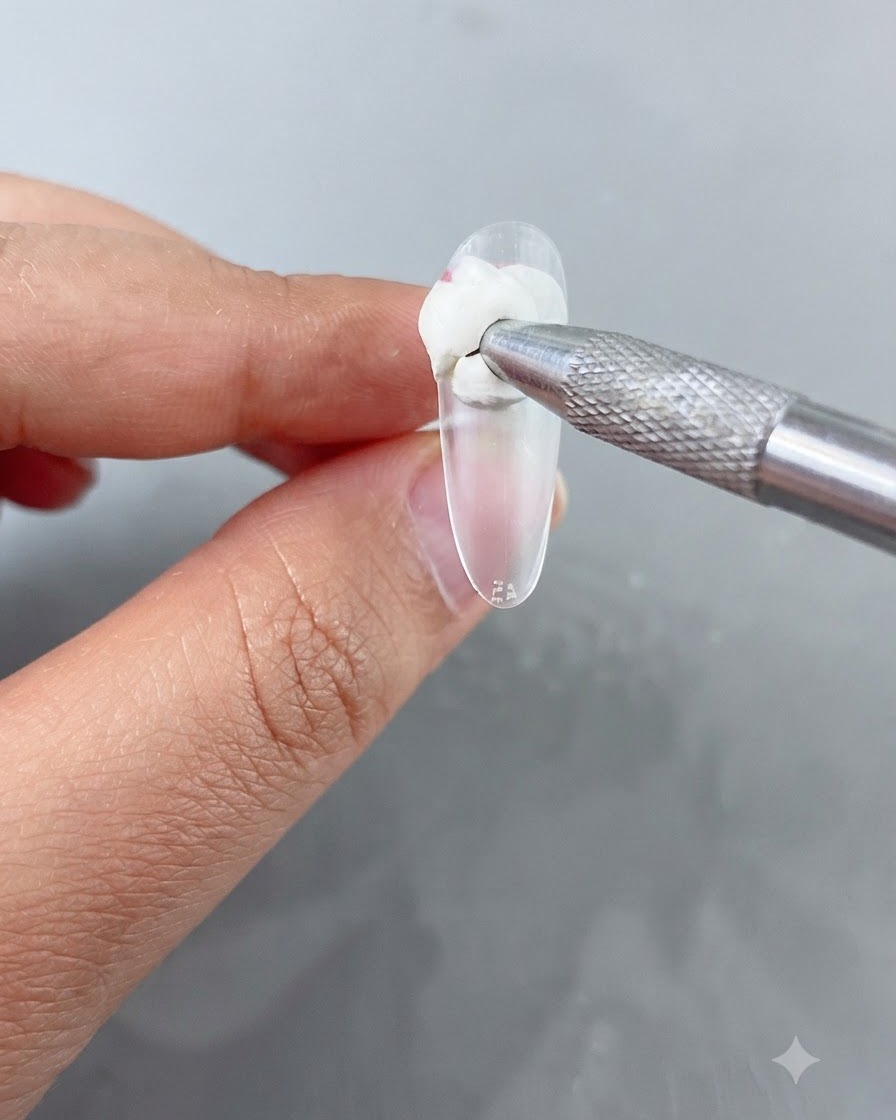
Using a metal tool, apply a small amount of gentle number 1 patting gel onto the clear nail tip. Carefully pat and smooth the product to cover and blend the free edge line, creating a uniform base for the subsequent gel layers.
Tip: Keep the patting pressure even to prevent air pockets or uneven thickness in the gel layer. - 2Apply Nude Pink Jelly Gel D01
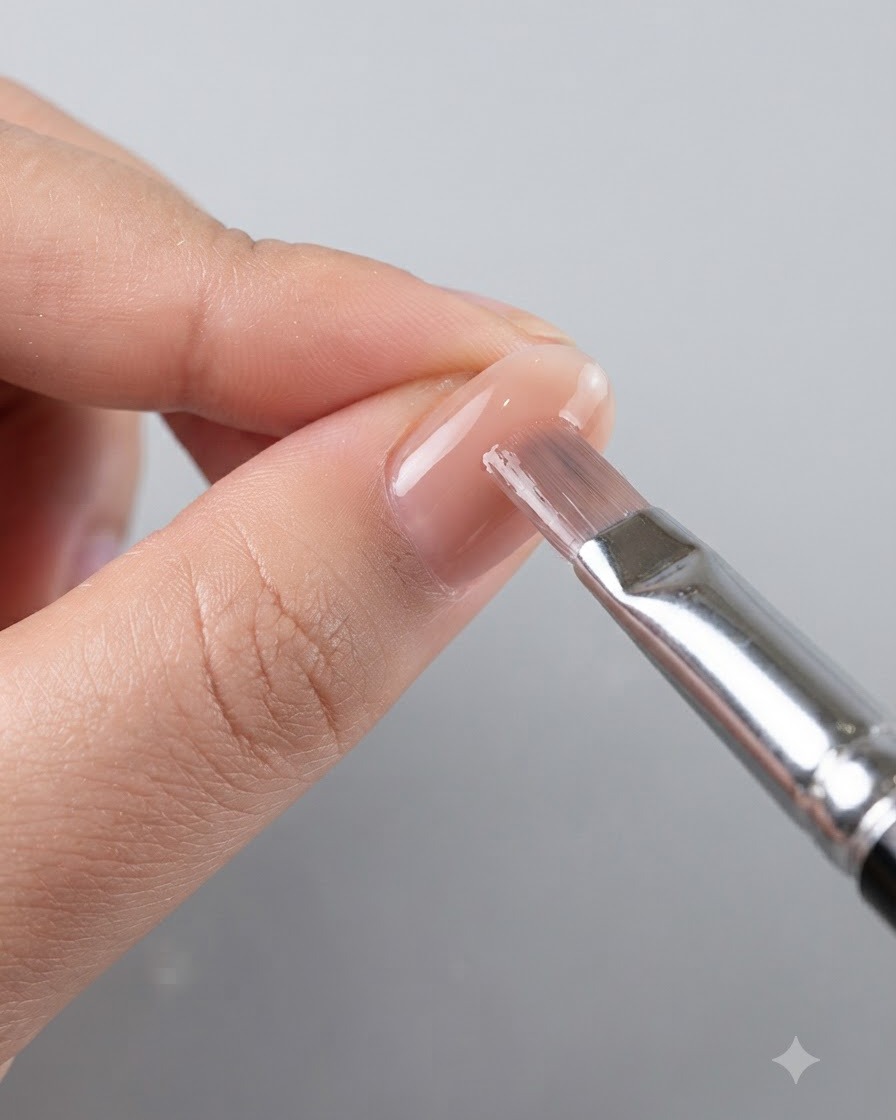
Dip your brush into the nude pink jelly gel D01 and apply a smooth, even layer across the entire nail plate. Work carefully from the cuticle area down to the free edge to achieve a translucent, uniform base color without streaks or pooling.
Tip: Apply in thin strokes to ensure the jelly gel self-levels evenly across the nail surface. - 3Apply Water-Gloss Translucent Cat-Eye Gel
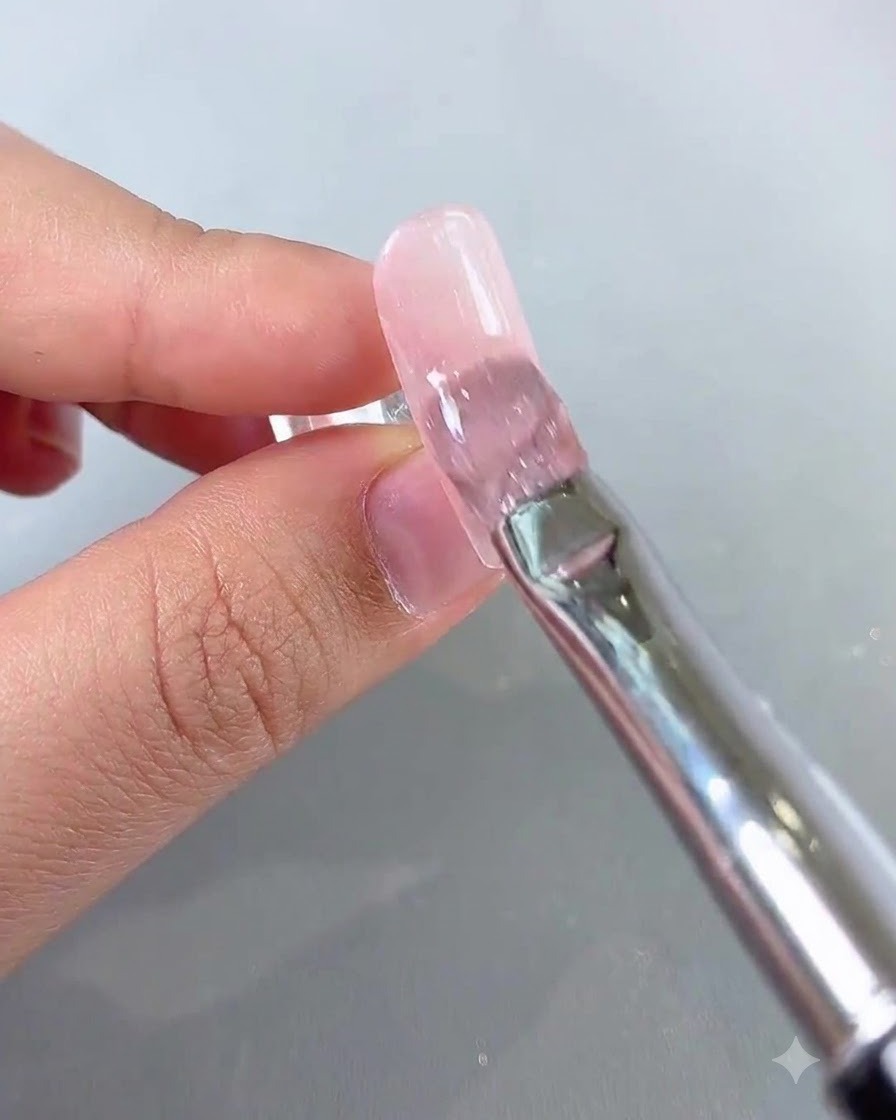
Apply a layer of water-gloss translucent number 2 cat-eye gel directly over the cured nude pink base. Ensure the gel coats the entire nail evenly to prepare for the magnetic light effect.
Tip: Do not cure the cat-eye gel yet, as you need the magnetic particles to remain mobile for the next step. - 4Create the Glass Bead Cat-Eye Effect
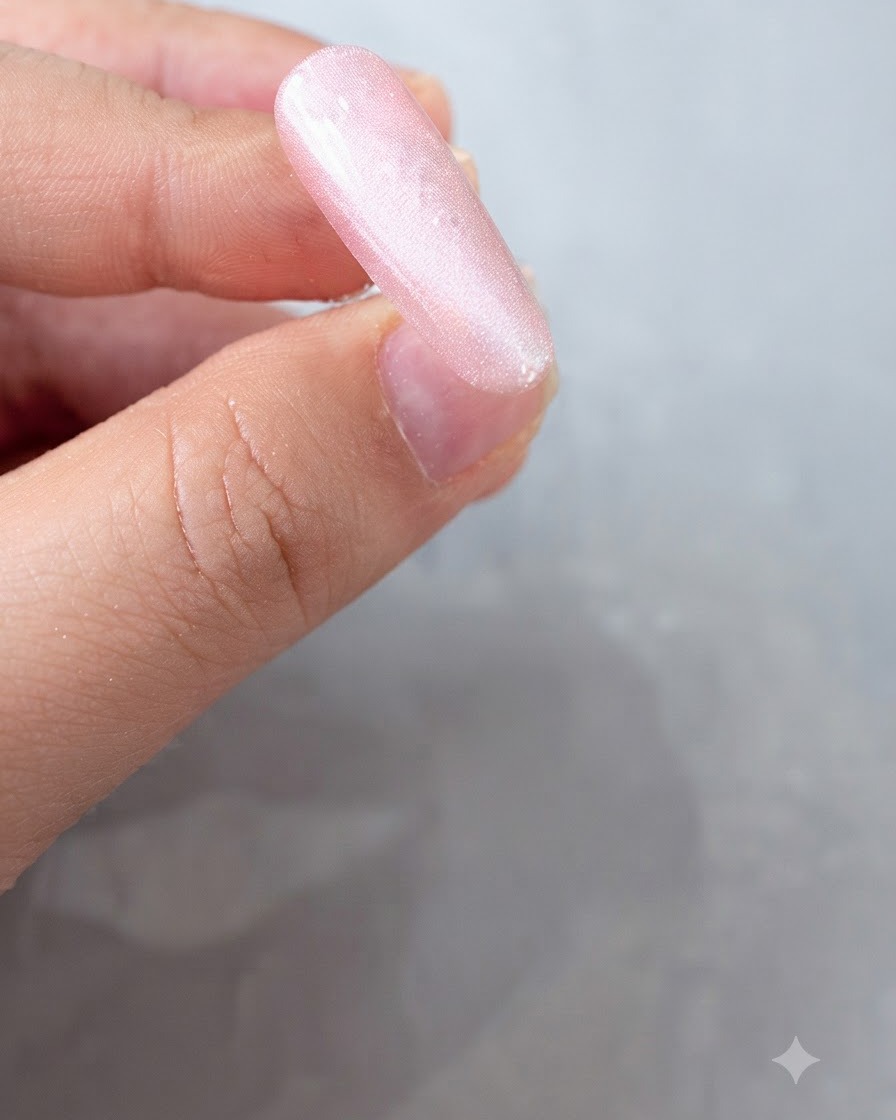
Hold a magnet wand close to the nail to first draw out a wide light band from the magnetic particles. Then, loop the magnet around the edges to concentrate the shimmer into a glowing, high-gloss glass bead reflection in the center.
Tip: Keep the magnet steady and close to the nail surface without touching the wet gel to get the sharpest reflection ring. - 5Spread Cloud-Powder Sequins at the Front Edge
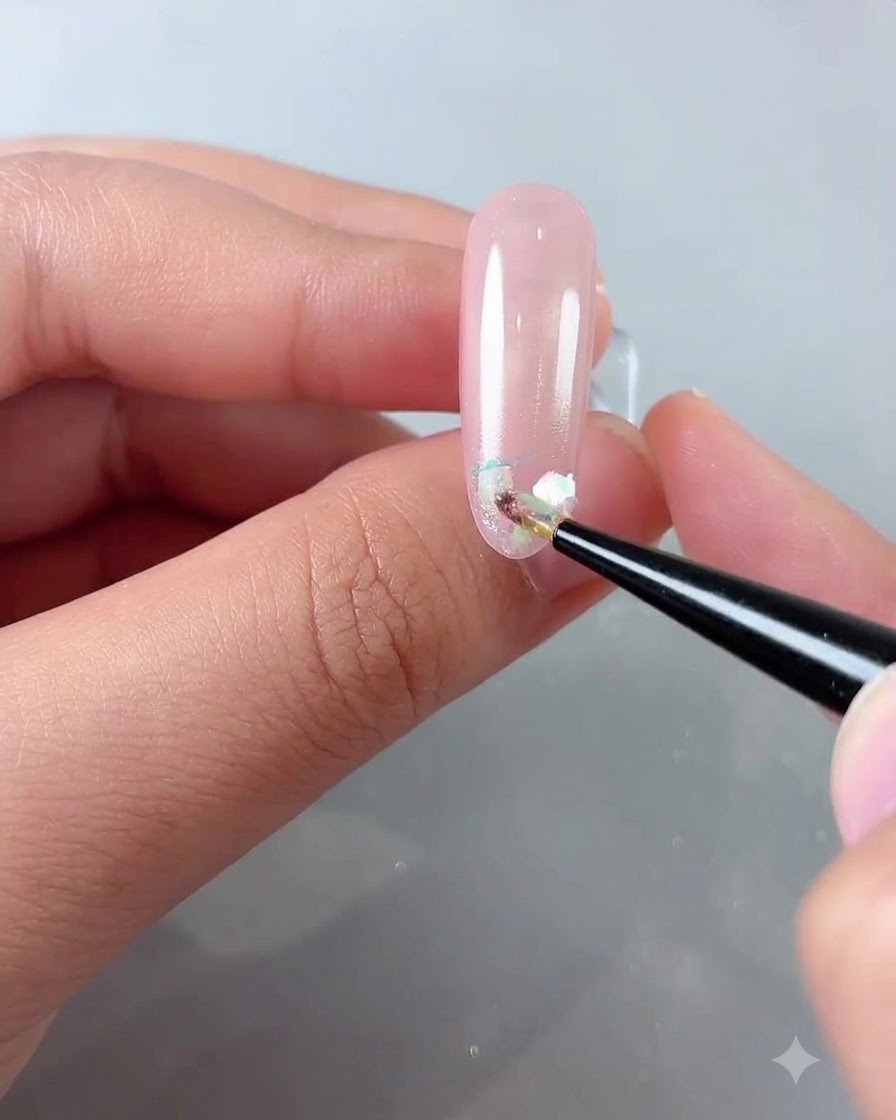
Using a fine detail brush, pick up and distribute some cloud-powder sequins along the front edge of the nail. Arrange them delicately to create a scattered, shimmering aurora texture near the tip.
Tip: Pick up only a few flakes at a time to maintain precise placement and avoid overcrowding the nail tip. - 6Press and Flatten the Sequins
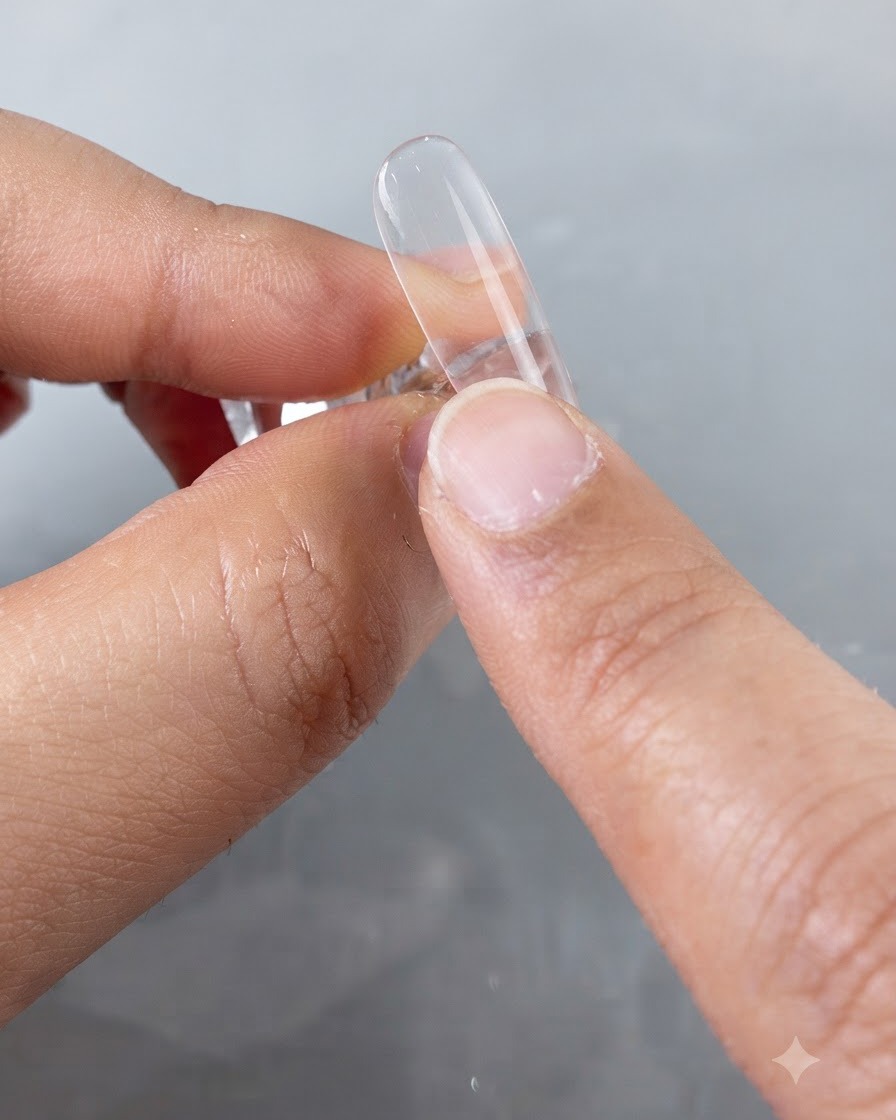
Gently press the scattered cloud-powder flakes flat against the nail surface to secure them in place. Inspect the nail from the side angle to ensure there are no raised edges or bumps that could disrupt the top coat smoothness.
Tip: Checking from the side profile is essential to catch any lifted sequin edges before sealing them with top coat. - 7Apply and cure buffing top coat
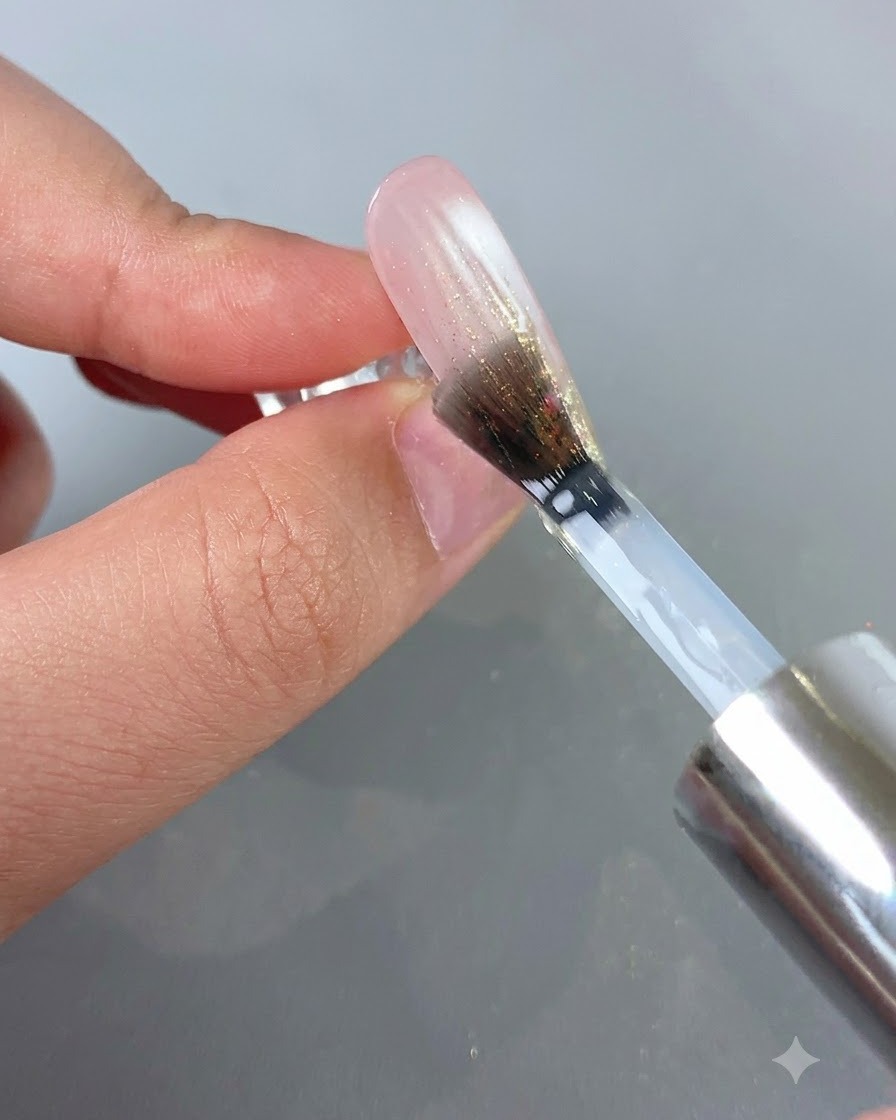
Brush an even layer of buffing top coat over the entire nail surface to seal and protect the design. Place the nail under a UV or LED lamp and cure for approximately 45 seconds until fully set.
Tip: Ensure complete coverage up to the edges to prevent peeling or lifting of the underlying layers. - 8Rub aurora magic mirror powder
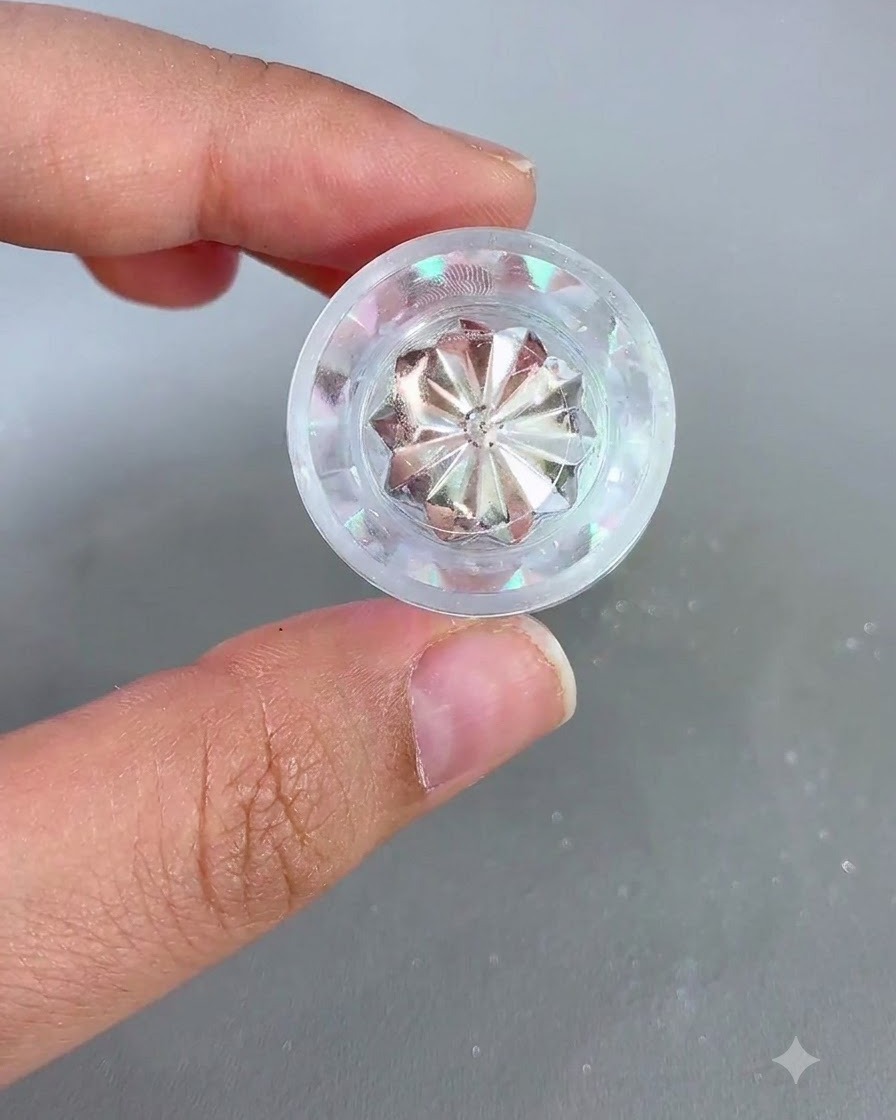
Take lovers magic mirror powder using a silicone sponge applicator and gently rub it onto the nail surface, working outward from the fingertip to create a radiant aurora gradient effect.
Tip: Buff the powder gently into the cured top coat layer for a smooth, mirror-like finish. - 9Clean up excess powder
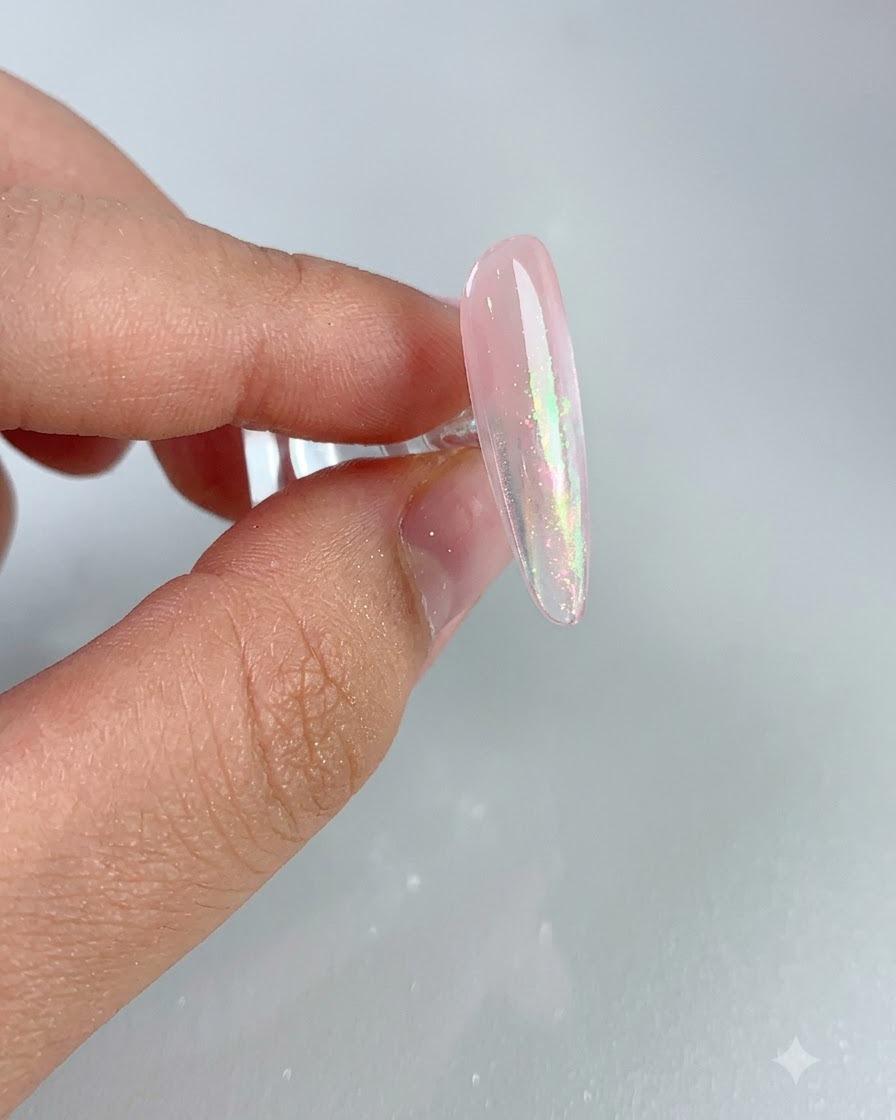
Take a soft cleanup brush and gently sweep away any loose or excess floating chrome powder from the nail surface. This reveals the smooth, glossy aurora gradient effect underneath.
Tip: Use a very soft brush to avoid scratching or dulling the mirror powder finish. - 10Encapsulate chrome powder
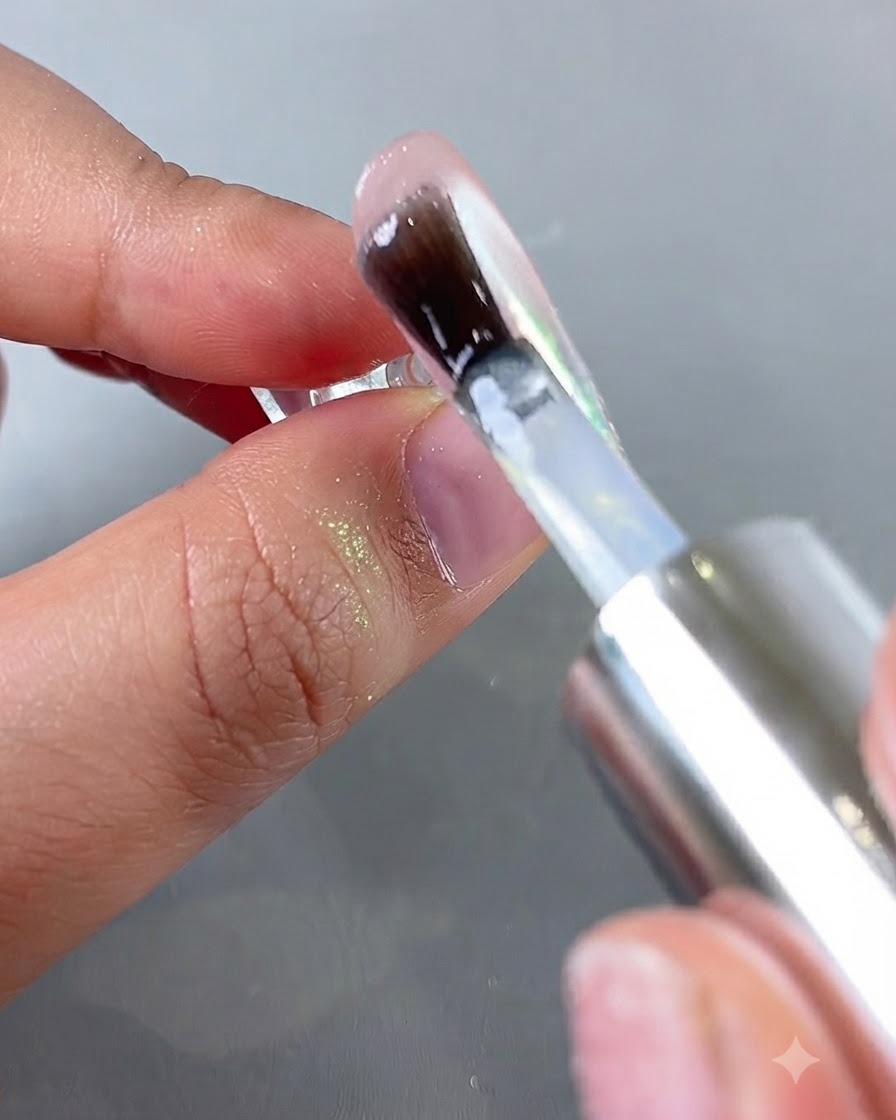
Apply a fresh layer of buffing top coat directly over the chrome powder layer. This encapsulates the powder and seals the surface, ensuring the effect remains durable and does not chip off.
Tip: Cap the free edge carefully with top coat to lock in the chrome finish. - 11Draw butterfly wing outlines
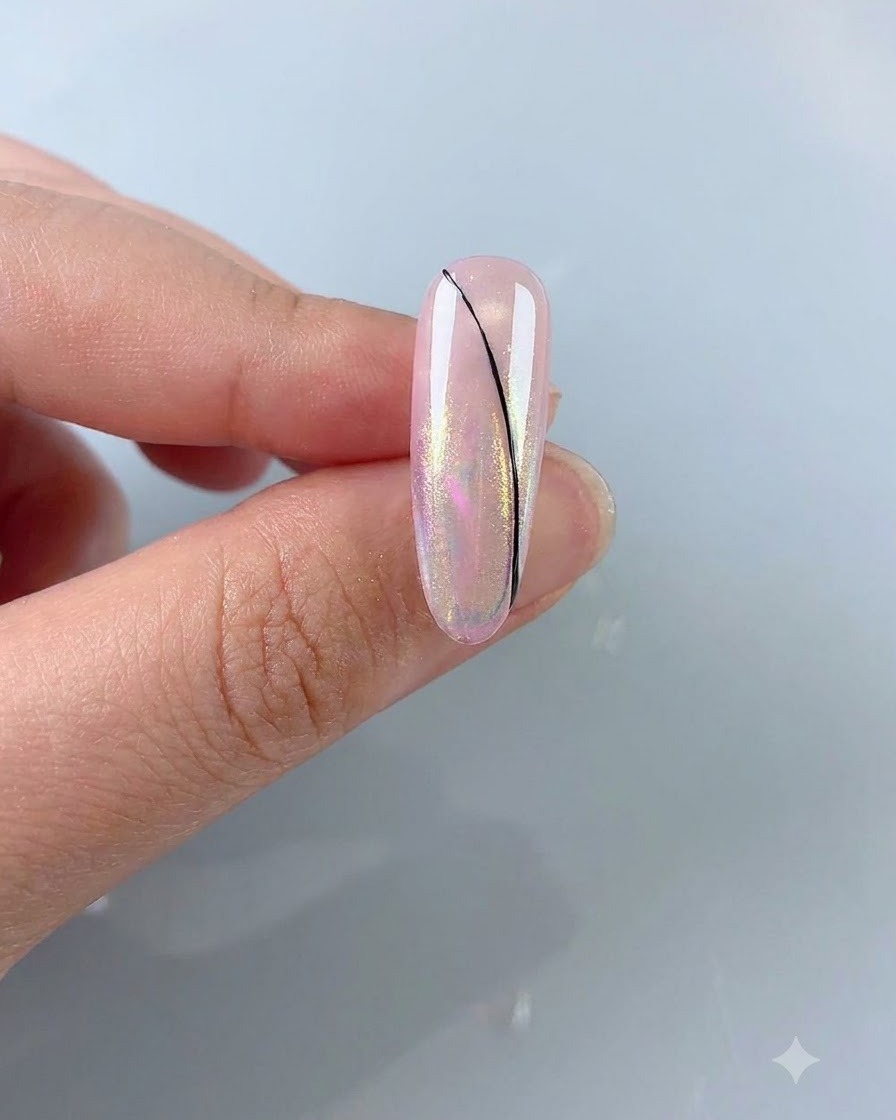
Dip a fine liner brush into black patting gel and carefully draw the fine outer outlines of the butterfly wings on the nail surface. Keep your strokes steady and precise to achieve an exquisite design.
Tip: Wipe the liner brush clean between strokes to maintain sharp, thin lines. - 12Fill in the butterfly wing interior
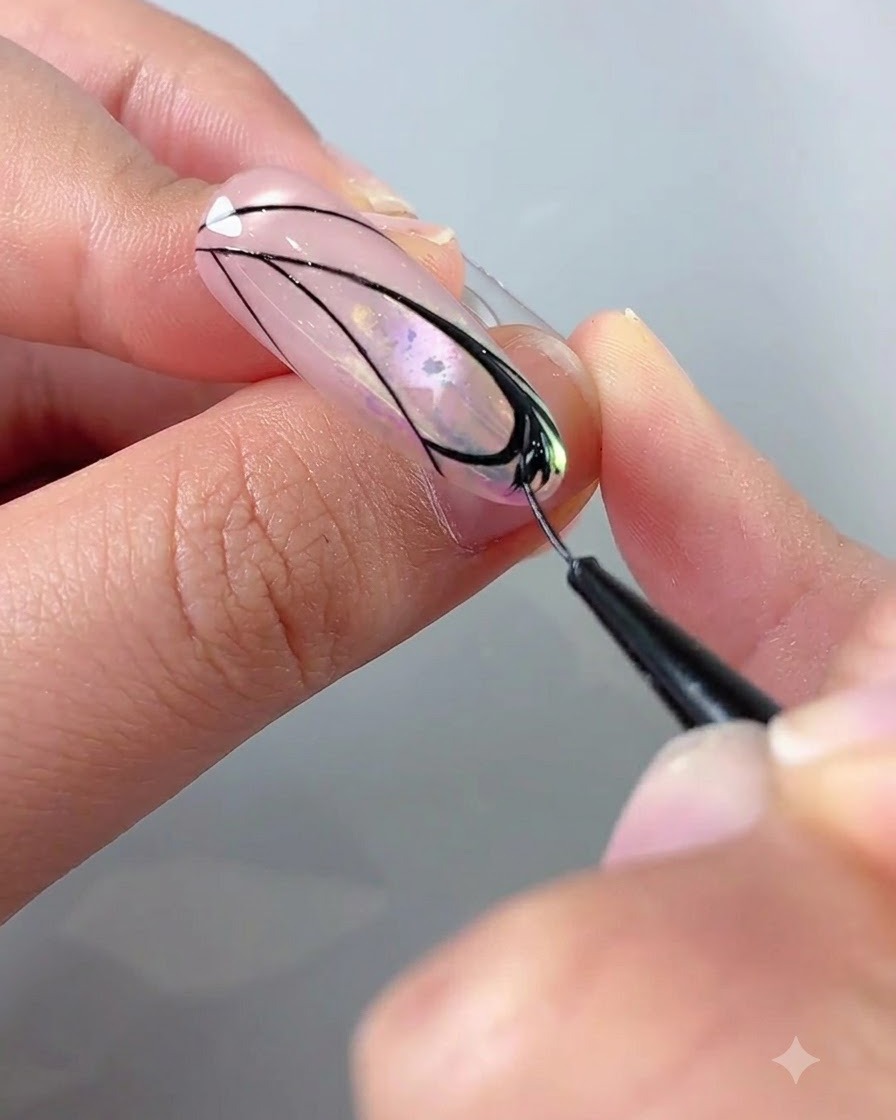
Using a fine liner brush and black gel, carefully fill in the interior spaces of the butterfly wing outlines to define the pattern. Keep your strokes smooth and precise to maintain clean boundaries against the nude pink and aurora background.
Tip: Work in light, steady strokes with minimal gel on your brush to prevent pooling or bleeding outside the lines. - 13Add delicate white accent dots
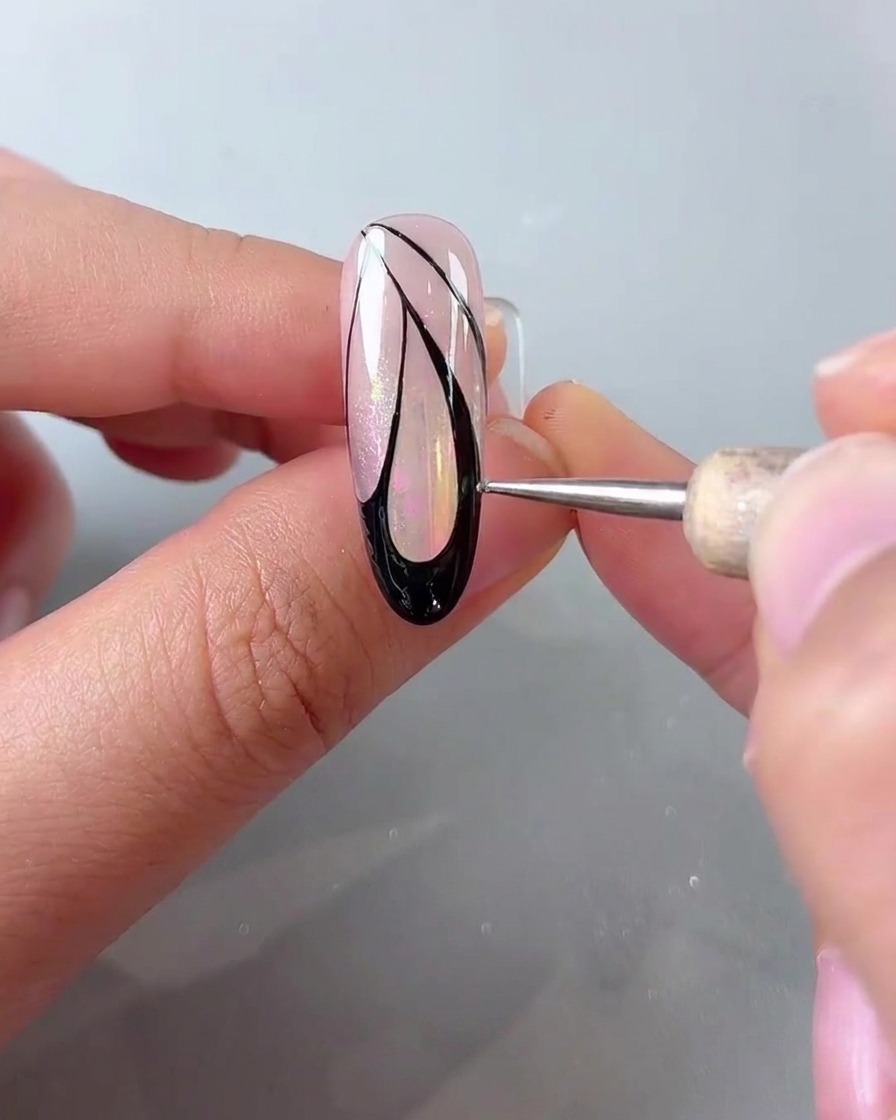
Dip a dotting pen into fluid white paint and carefully place tiny, precise white dots along the edges of the black butterfly wing borders. This adds dimension and contrast to the dark outlines, enhancing the intricate wing details.
Tip: Keep the dotting pen perpendicular to the nail surface for uniform, perfectly round dots. - 14Cure details and apply smooth top coat base
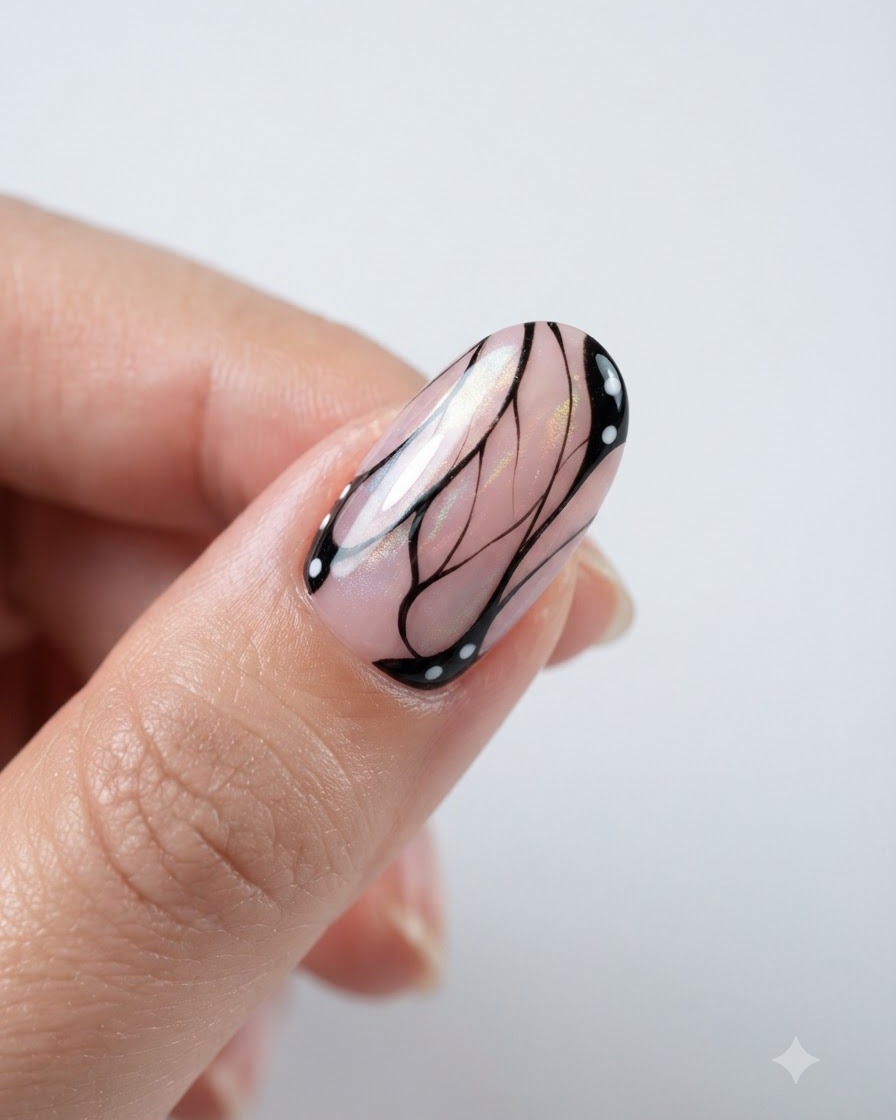
Place the nail under the UV or LED lamp to fully cure the painted black and white details. Afterward, apply a thin, even layer of smooth top coat across the nail surface to act as a sticky base for the upcoming crystal and pearl embellishments.
Tip: Do not fully cure this top coat layer if you are using it to anchor gems; cure only after placement if using a non-wipe glue gel, or cure fully if applying over a tacky layer according to your gem adhesive instructions. - 15Embellish with crystals and pearls
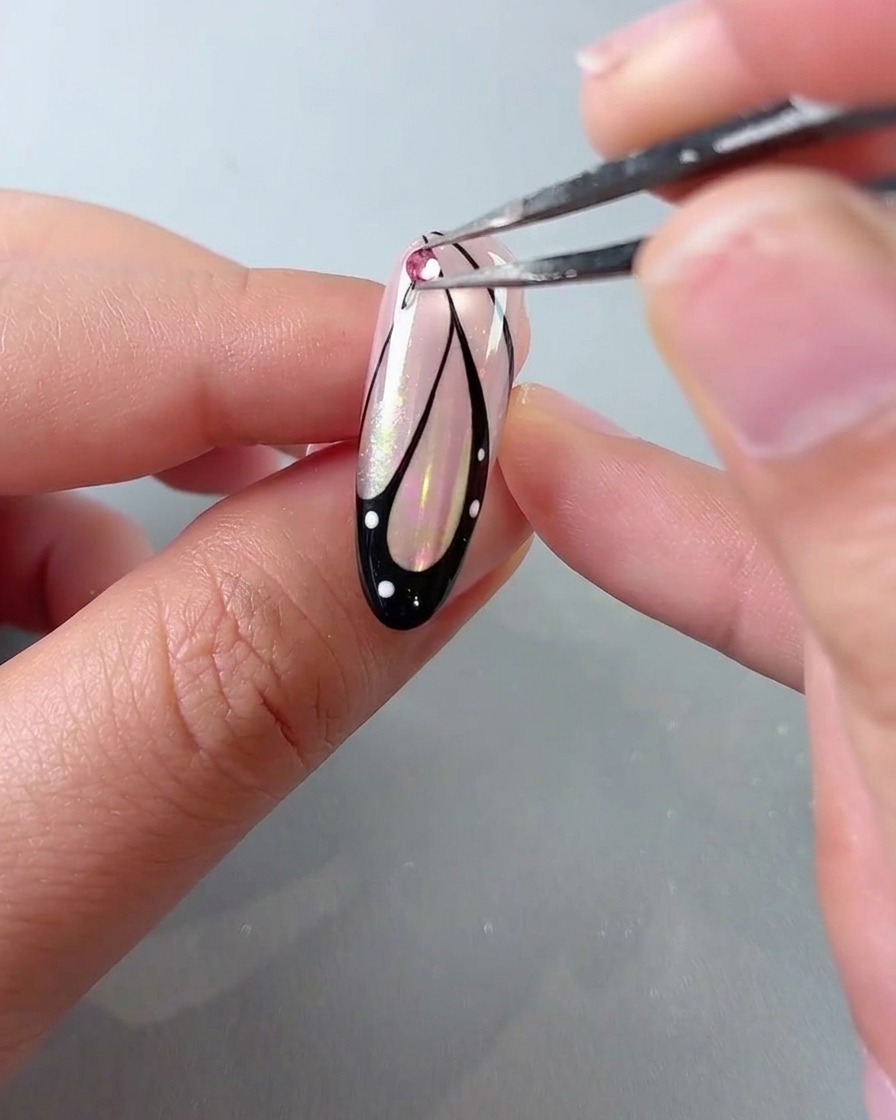
Using precision tweezers, pick up small pink crushed diamond rhinestones and tiny pearls, then carefully place them onto the designated spots on the butterfly wings. Press them gently into the top coat layer to secure them in place before final curing.
Tip: Use a wax picker pencil or fine tweezers dipped slightly in top coat to easily pick up and position micro-pearls and rhinestones without dropping them.