Butterfly Mirror Powder Nail Art — Intricate Red Gel Tutorial
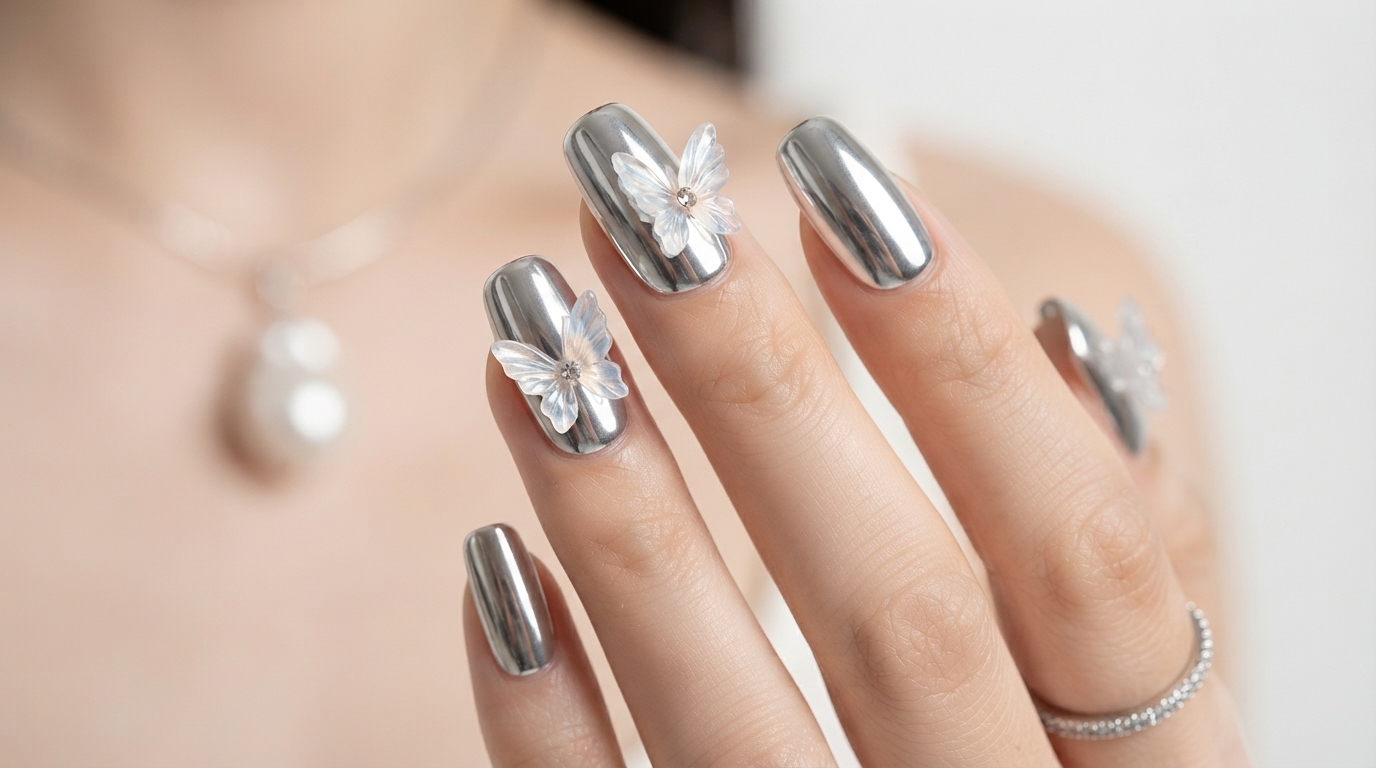
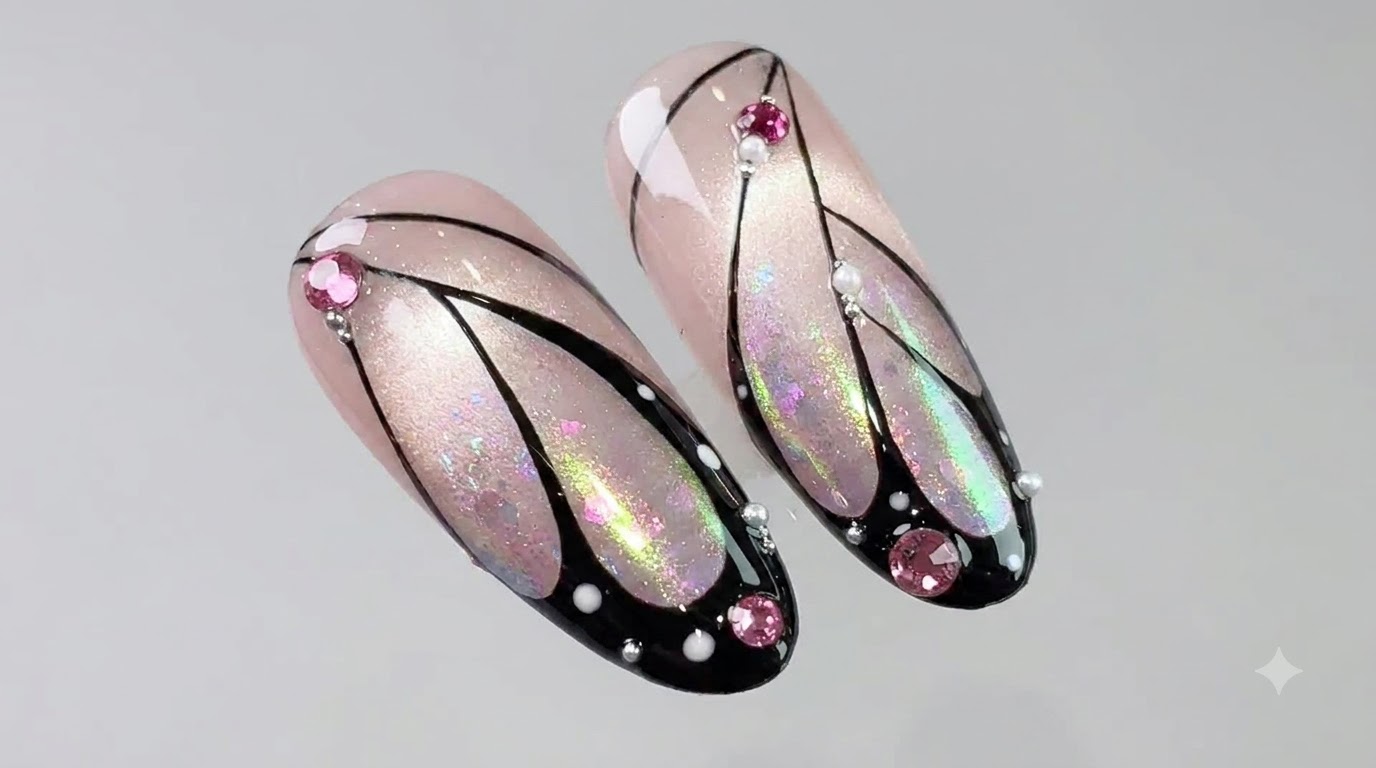
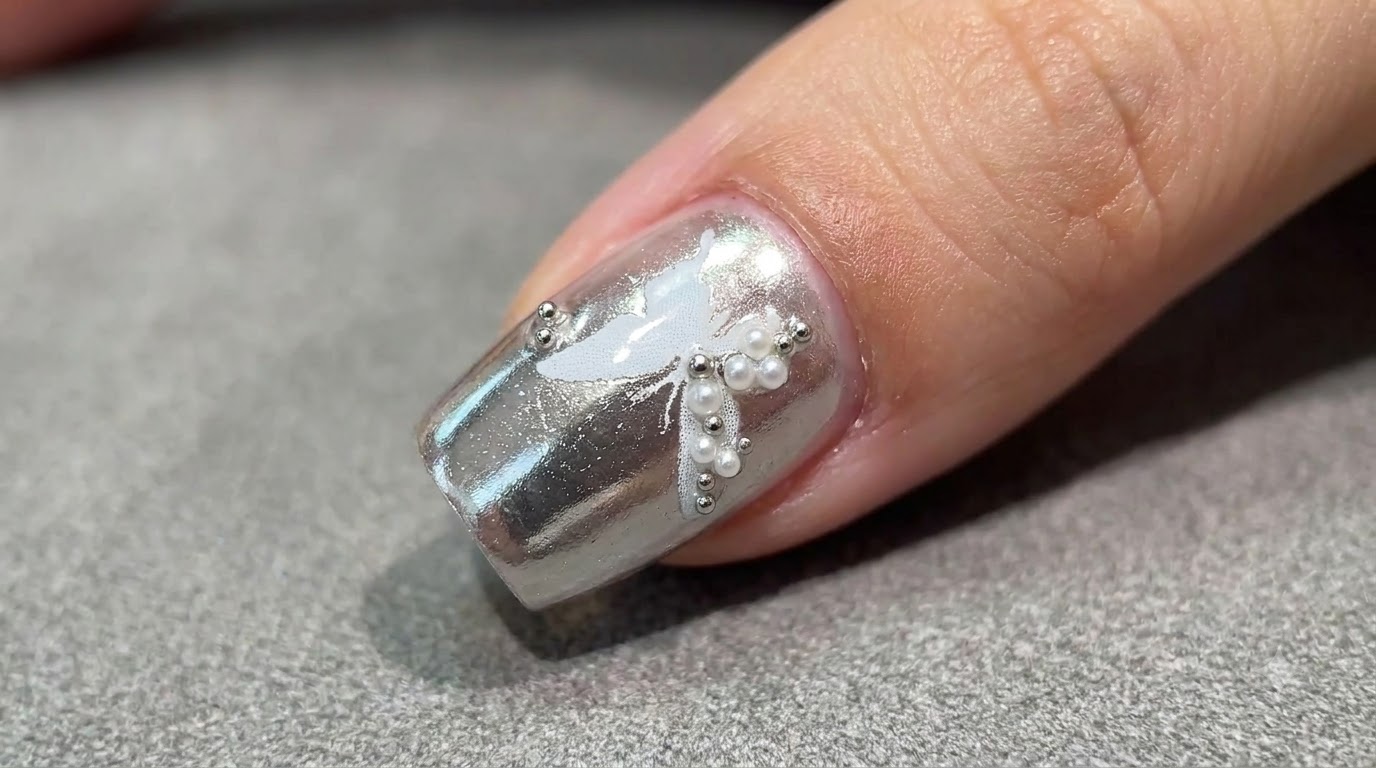
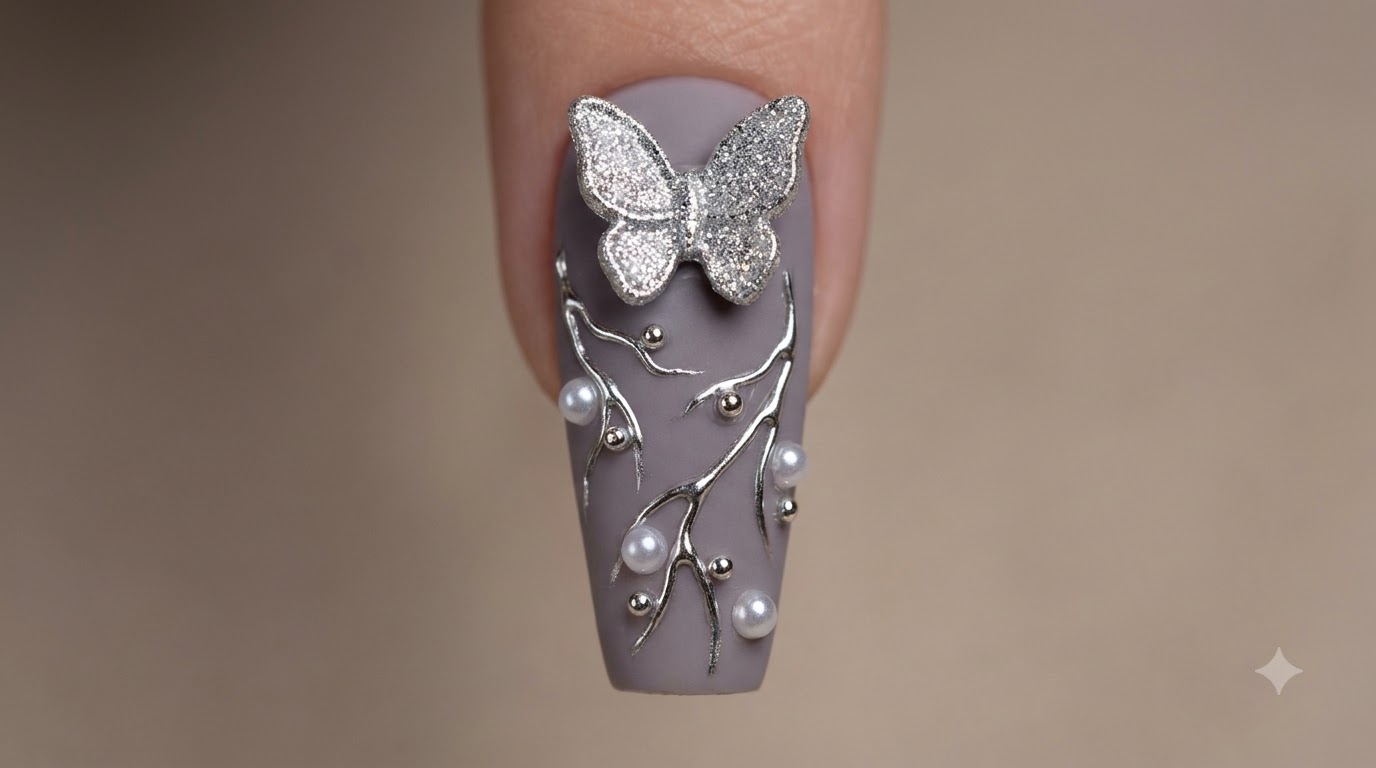
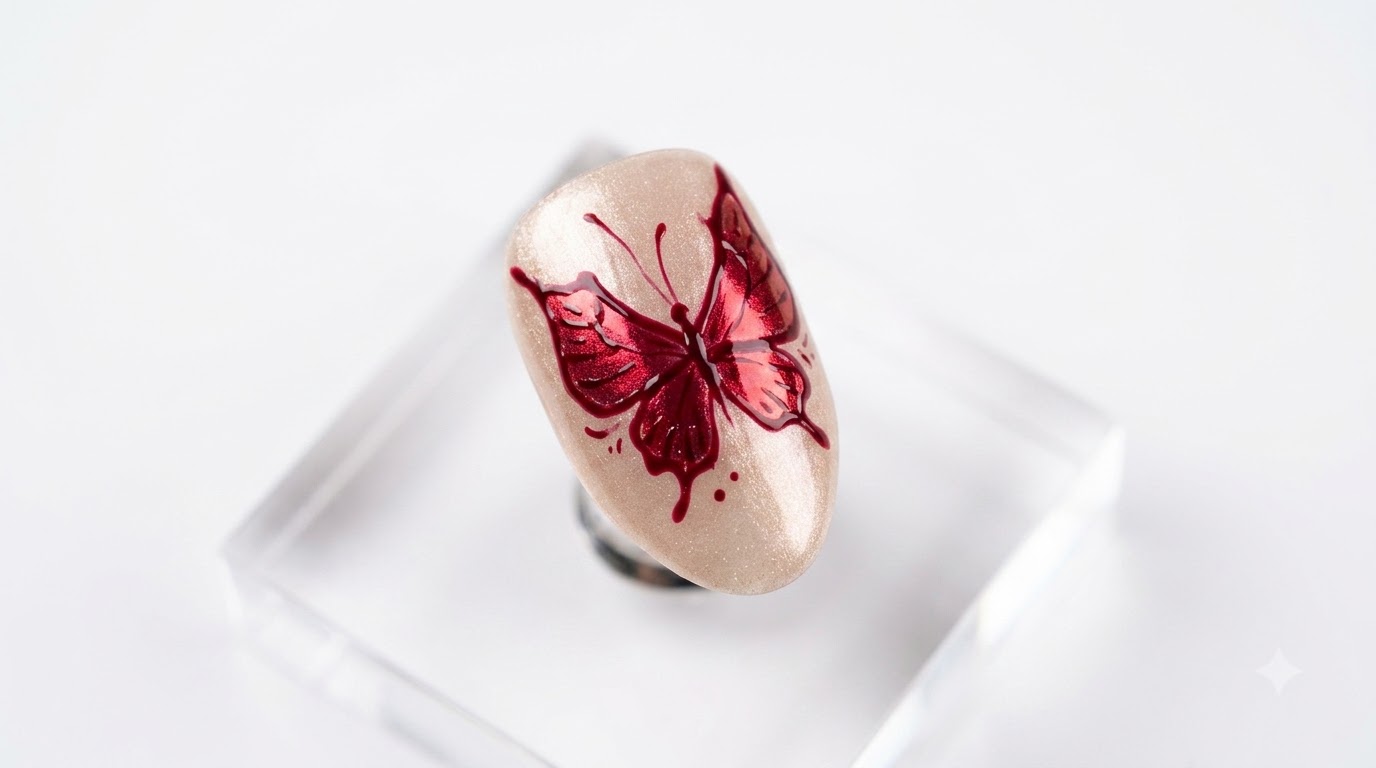
Create stunning butterfly mirror powder nail art featuring delicate red gel details and shimmering cat-eye effects on a neutral base.
Butterfly nail designs combined with mirror powder accents offer an ethereal yet striking look that captures attention. This tutorial guides you through drawing graceful wings, filling them with dimensional cat-eye gel, and sealing them for a flawless finish.
Steps
- 1Outline the butterfly shape
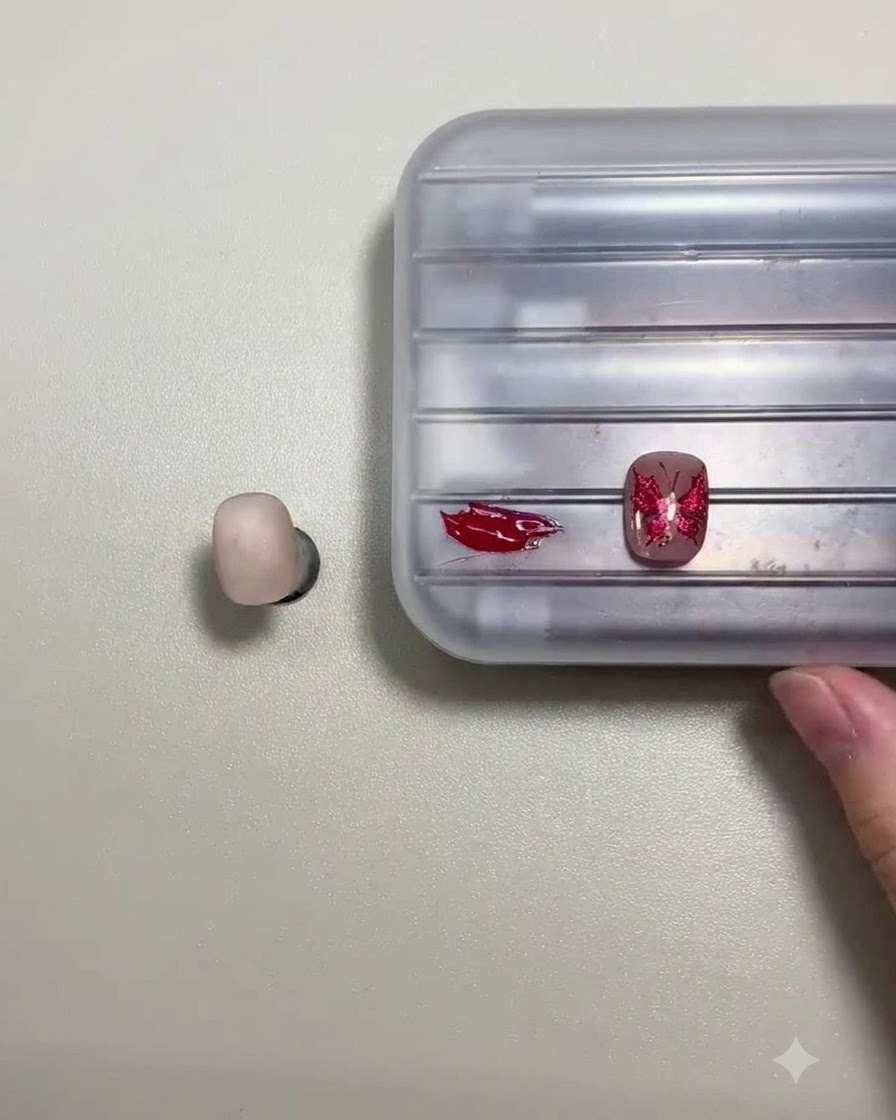
Load a long liner brush with deep red gel and begin carefully outlining the butterfly shape on the prepped nail surface. Control your direction to achieve the desired arc for the wings, keeping in mind that perfection is not required.
Tip: Using a mix of slap-on gel and hard gel in red prevents the powder from looking too heavy and makes any errors clearer. - 2Outline the butterfly wings
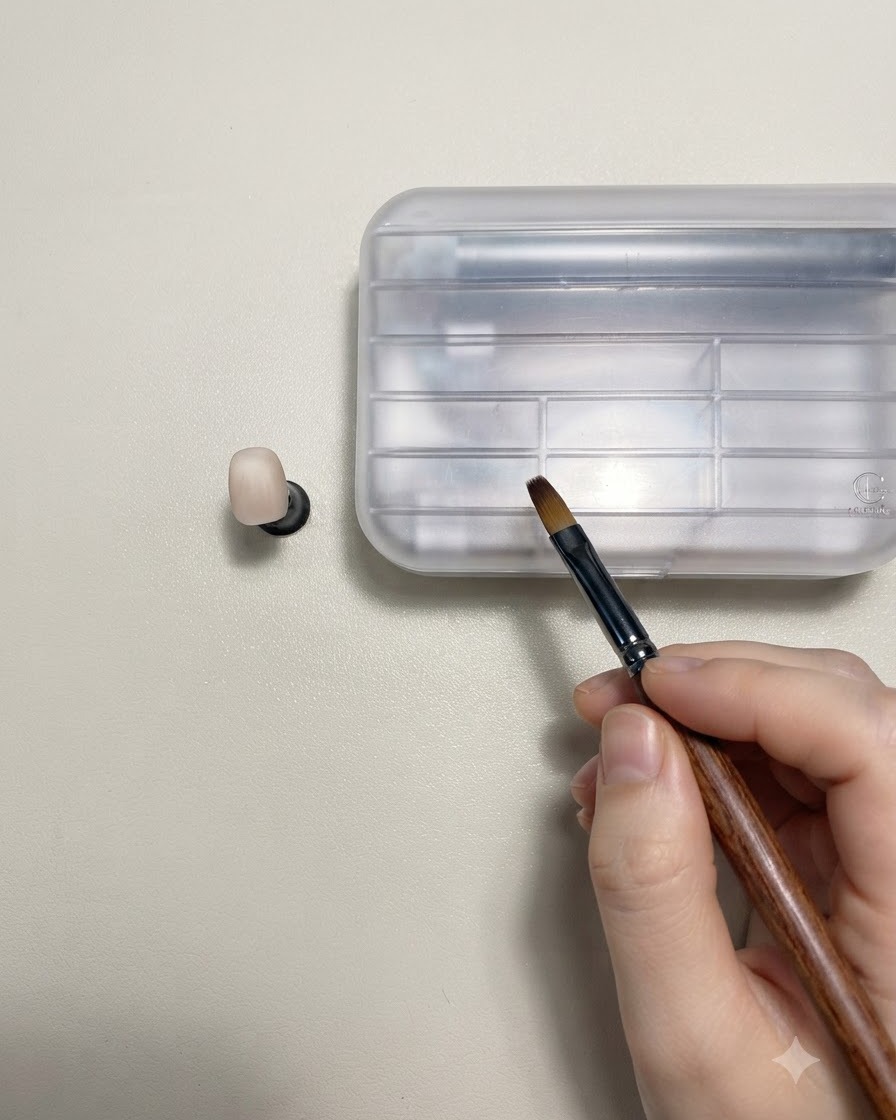
Using a long liner brush loaded with deep red gel, draw the initial outline of the butterfly wings on the center of the prepped nail. The shape does not need to be completely perfect, but carefully control your brush direction to achieve the desired graceful arc and wing symmetry.
Tip: Keep a light hand and use fluid strokes with your liner brush to easily shape the delicate wing curves. - 3Add red gel wing details
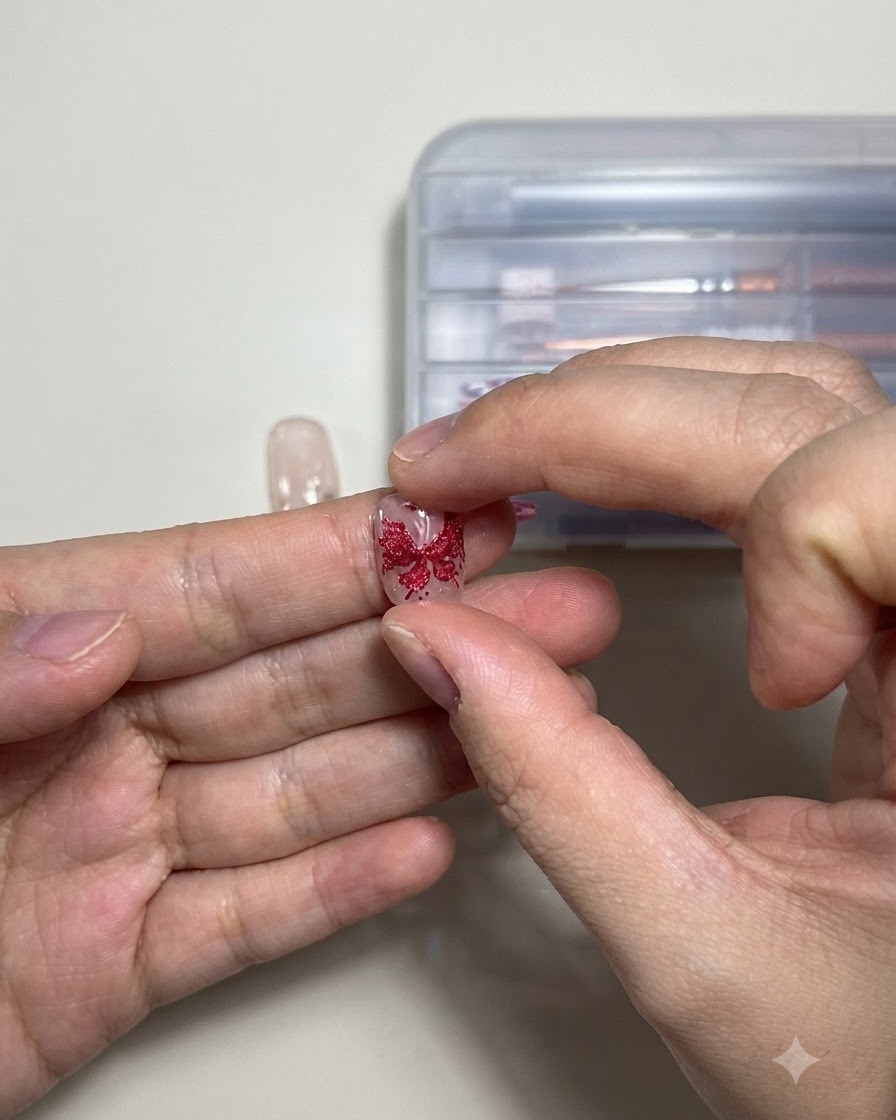
Continue adding more red gel details to further define the intricate wing structure and inner patterns of the butterfly. Use a mix of slap-on gel and hard gel in red to ensure the texture stays light and the lines remain clean and sharp.
Tip: Using a lighter red or mixed gel consistency prevents the powder from looking too heavy and makes any minor drawing errors much easier to spot and correct. - 4Complete the butterfly body and segments
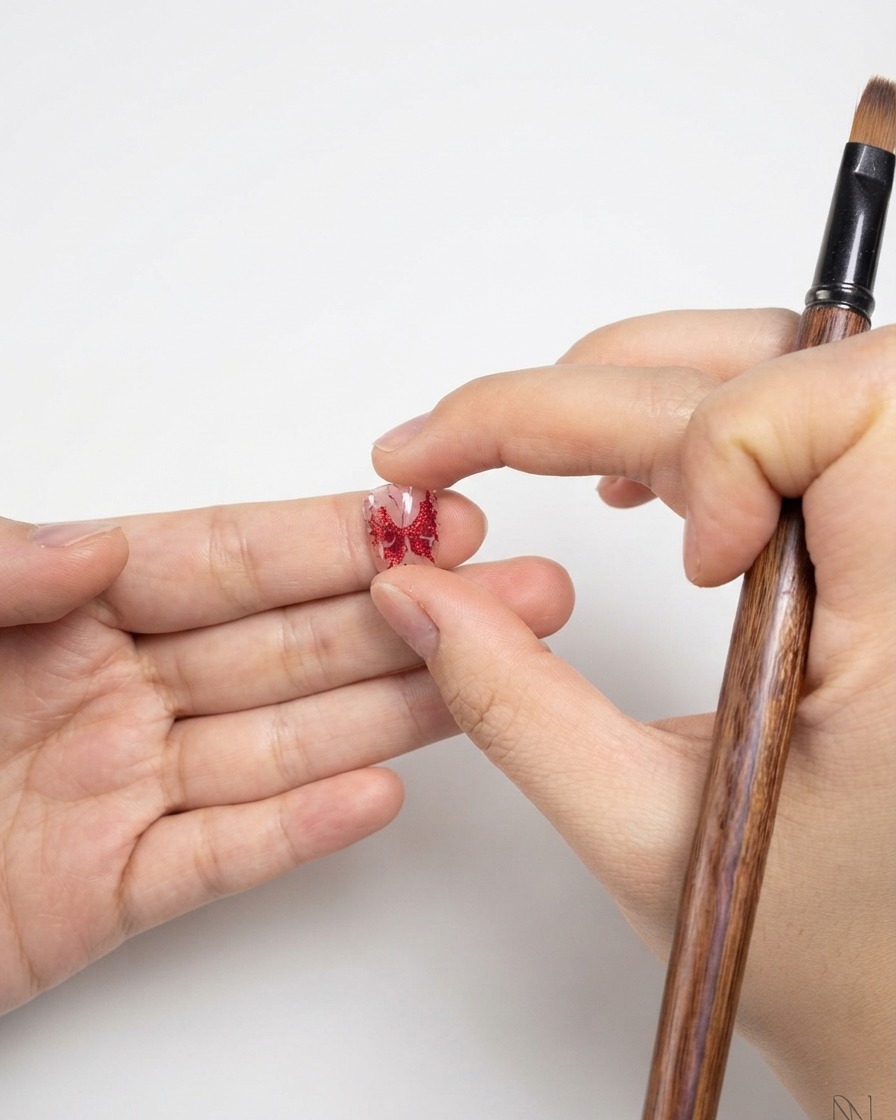
Complete the drawing by filling in the butterflys central body and finalizing all the surrounding wing segments. Take your time to refine the proportions so that the butterfly looks balanced and centered on the nail surface before curing.
Tip: Ensure the gel is applied evenly so it cures properly without shifting or running outside your drawn lines. - 5Cure and brush off excess powder
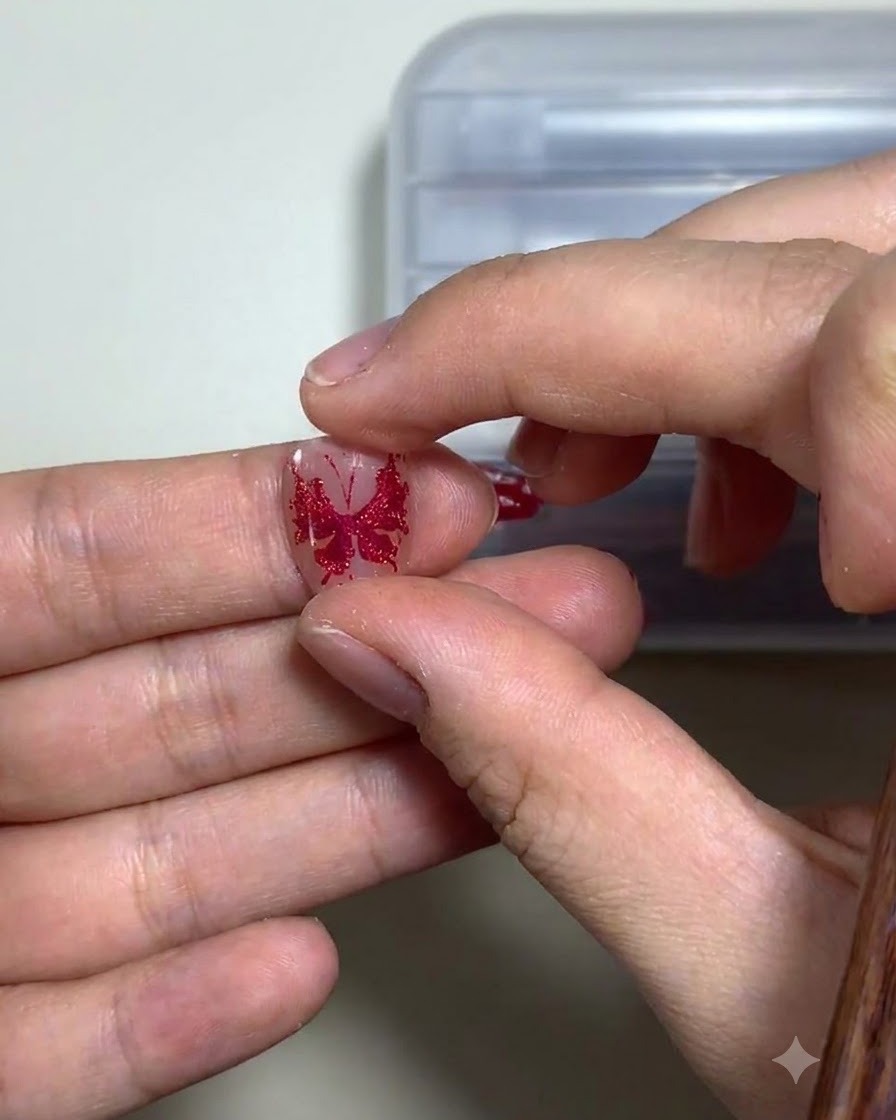
After drawing the butterfly design, cure it completely under your UV or LED lamp, then use a soft brush to gently remove any excess powder or debris from the nail surface. Next, apply a clear base coat over the design to seal it and cure it again.
Tip: Always ensure the previous layer is fully cured before dusting or applying top layers to prevent smudging. - 6Seal the outline with a base coat
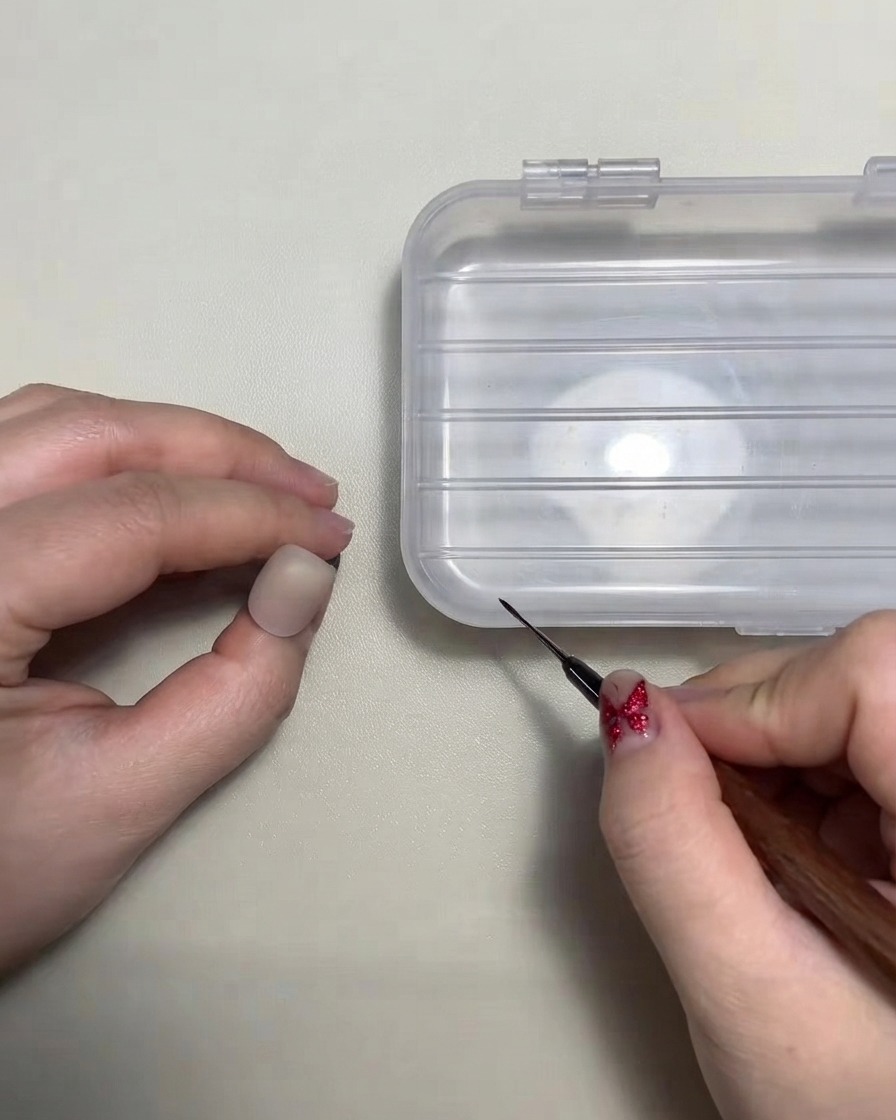
After drawing the butterfly outline, cure it in the lamp and brush away any excess powder. Then, apply a clear base coat over the drawn butterfly design to properly seal it before moving on to the details.
Tip: Ensure the outline is fully cured and cleaned before applying the base coat to prevent smudging. - 7Cure the nail under UV lamp
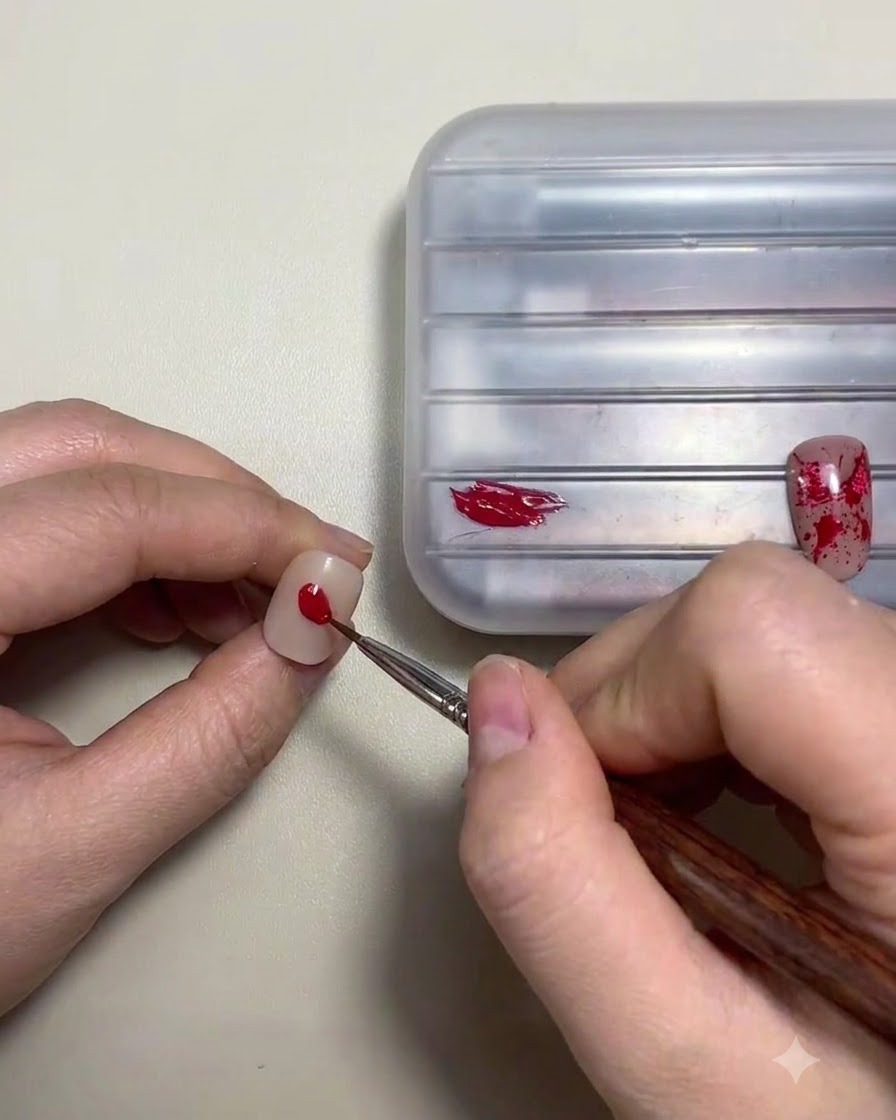
Place the nail under the UV or LED lamp and cure for the recommended time to fully set the gel application. Ensure your hand is positioned correctly inside the lamp for an even cure.
Tip: Do not rush curing times, as partially cured gel can lead to lifting or wrinkling. - 8Pick up red gel for filling
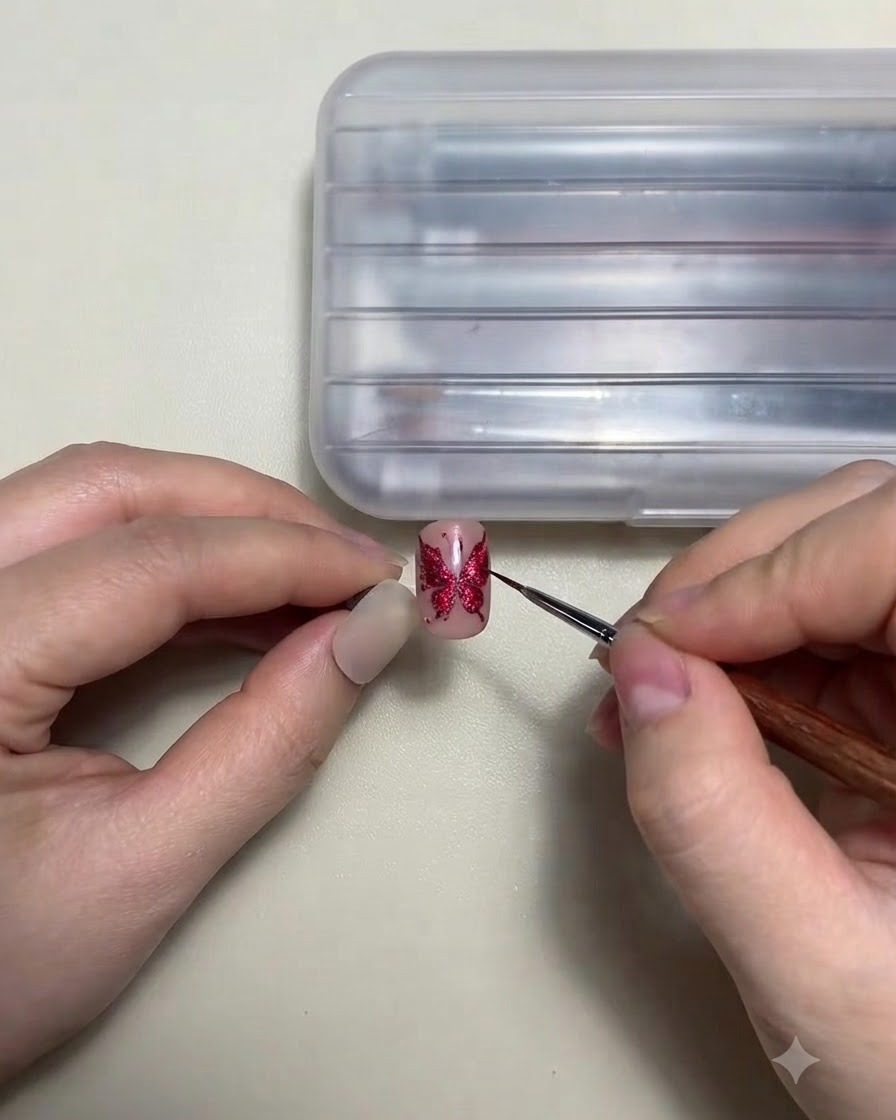
Use a fine liner brush to pick up red gel, preparing to fill in the butterfly wings. You do not have to fill the butterfly completely, as it looks great either way depending on your preferred style.
Tip: Take a small amount of gel on the tip of your brush to maintain precise control over the filled areas. - 9Fill the top wings
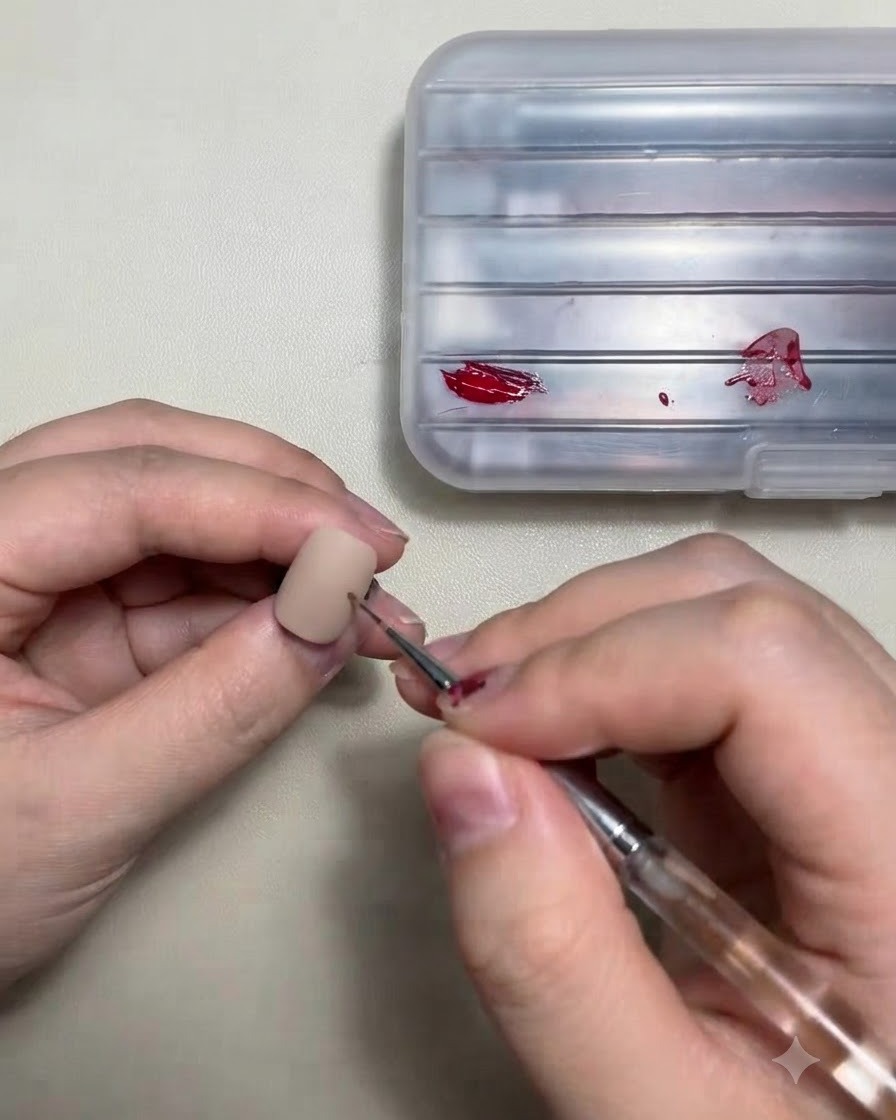
Use the liner brush to apply the red gel to the empty spaces of the butterfly. First, carefully fill the top two butterfly wings with a cat-eye effect to add dimension.
Tip: Work steadily to keep the gel neatly within the outlined borders of the top wings. - 10Cure the top wings
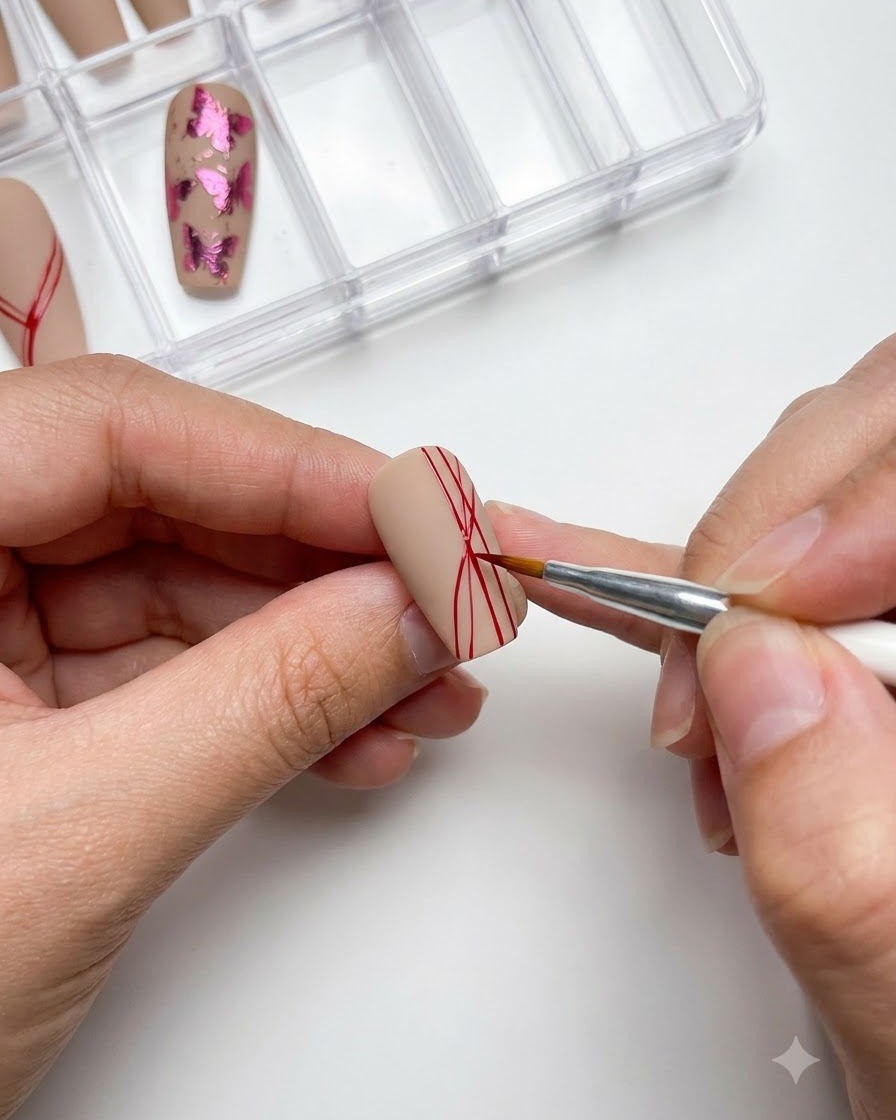
Place the nail into the UV or LED lamp to cure the red gel applied to the top wings. This sets the product firmly before you proceed to work on the remaining lower sections.
Tip: Ensure the top wings are fully cured so the gel doesnt shift when you apply product to the bottom wings. - 11Fill the bottom wings
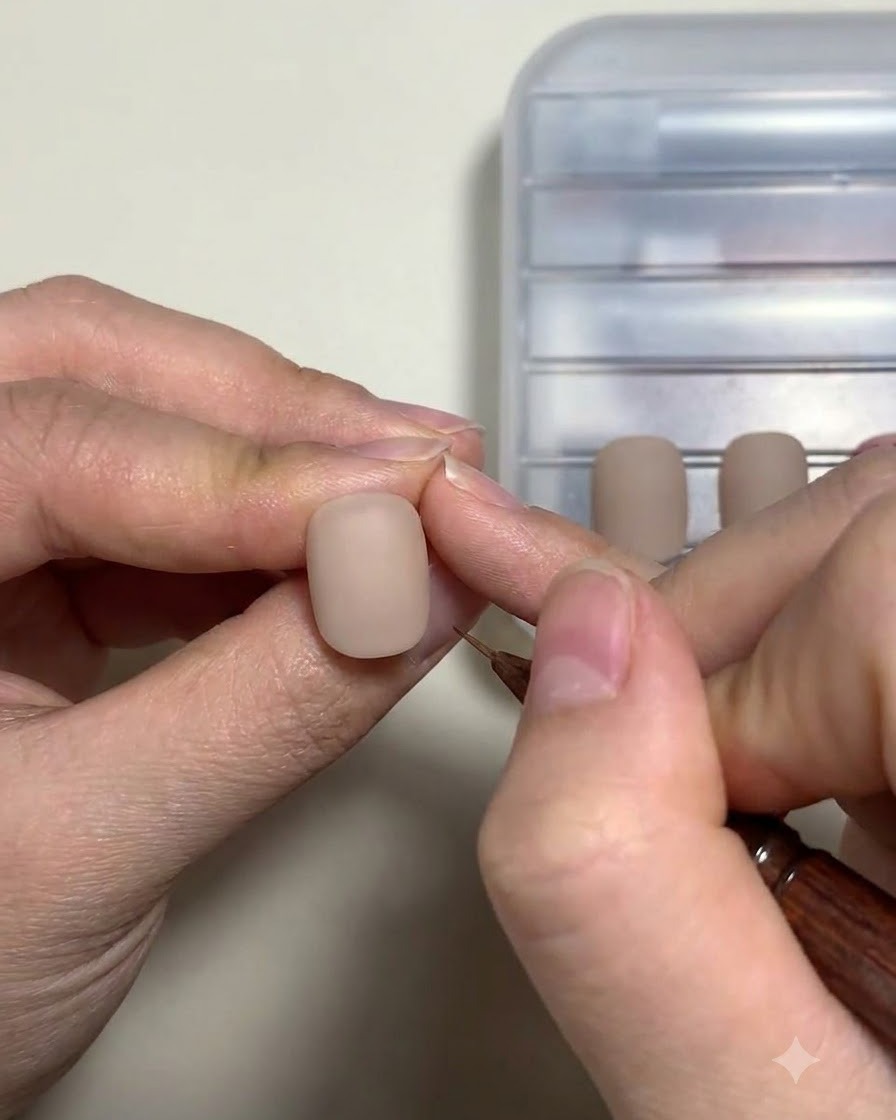
Continue the process by filling the bottom two butterfly wings with red gel using your liner brush. Take your time to match the symmetry and style of the top wings.
Tip: After completing all the wing details, apply a final top coat to finish the look. - 12Refine the butterfly wing edges
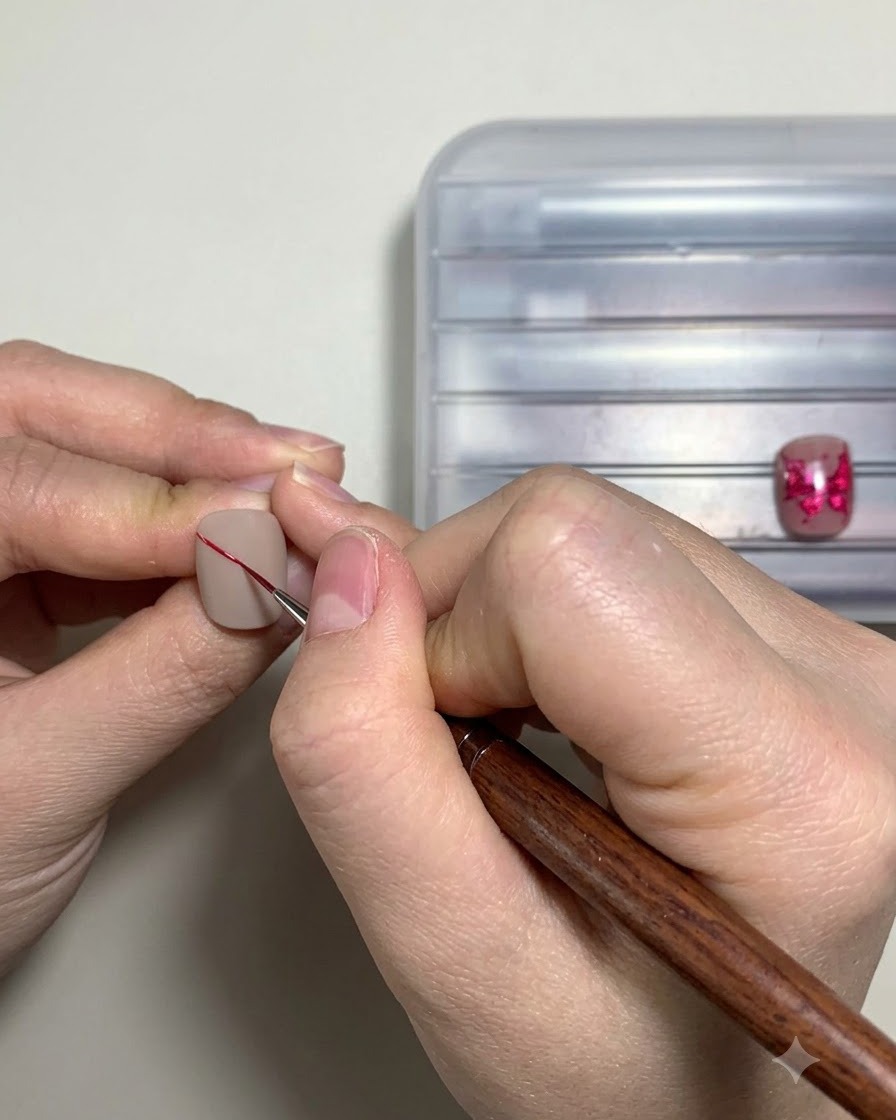
Take your fine liner brush and carefully trace along the outer boundaries of the butterfly wings to clean up the lines and sharpen the shape. Take your time to ensure the curves and tips of the wings look crisp, well-defined, and symmetrical before curing.
Tip: A steady hand and a tiny amount of product on the very tip of your liner brush will give you maximum control over fine details. - 13Cure the nail design
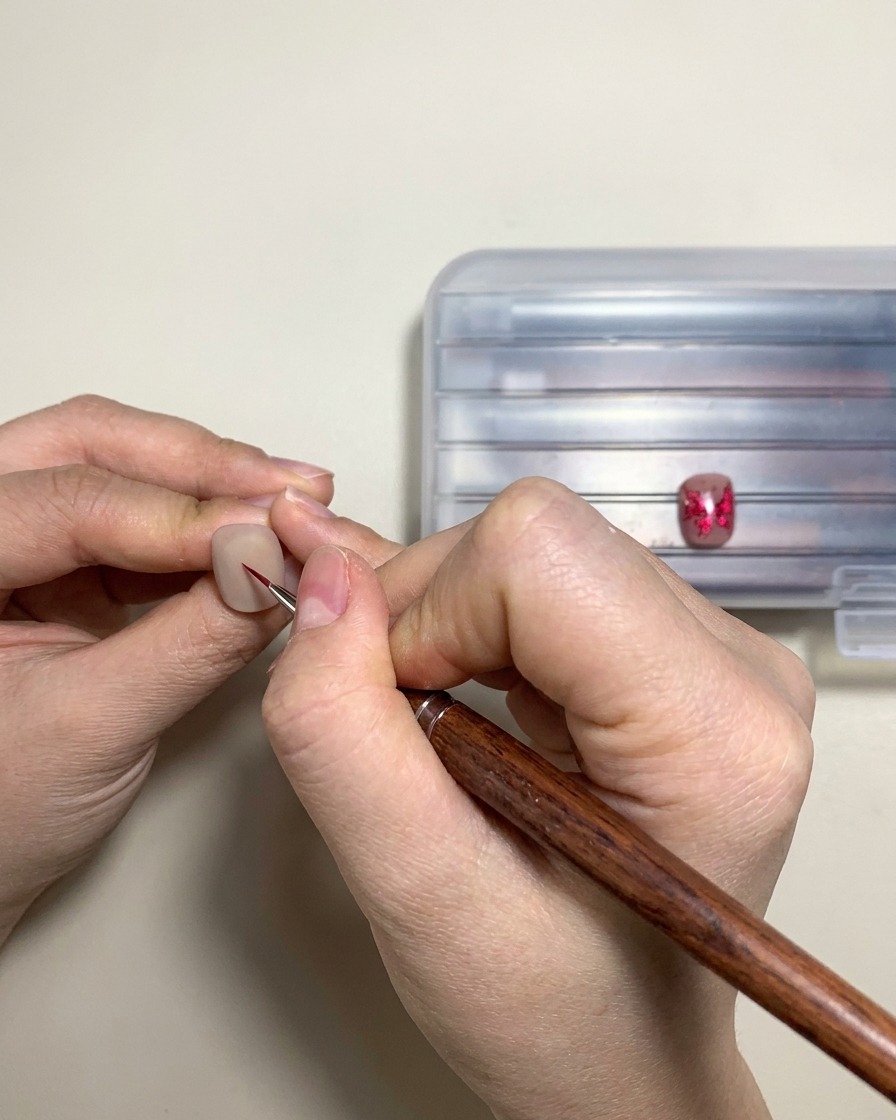
Place your hand inside the UV or LED lamp to fully cure the painted butterfly design and secure all the details in place. Make sure your hand is positioned correctly inside the light so that every part of the nail receives even exposure.
Tip: Follow your gel product manufacturers recommended curing time to prevent under-curing or wrinkling. - 14Apply top coat
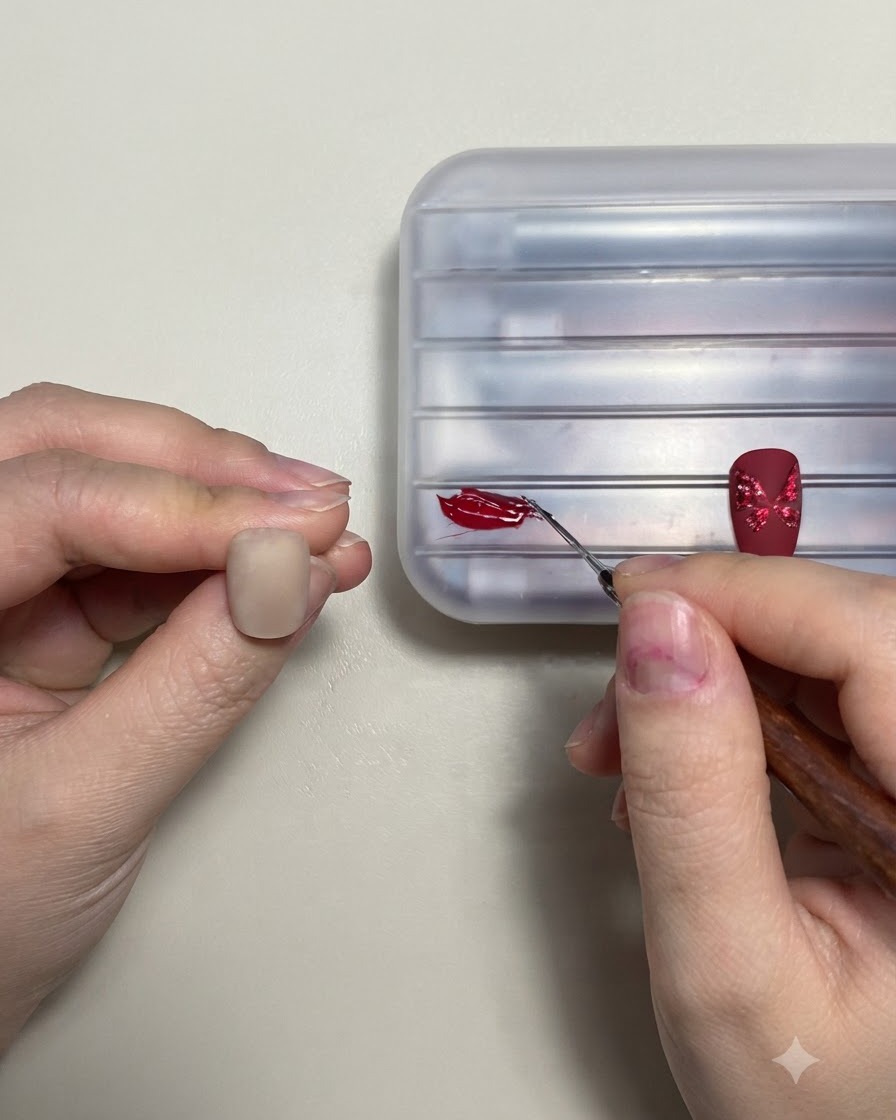
Finish the entire manicure by applying a smooth, even layer of top coat over the entire nail surface. Seal the free edge to protect your nail art from chipping and wear, then cure under the lamp according to your top coats instructions.
Tip: Always cap the free edge with top coat to prevent premature peeling and ensure a long-lasting glossy or matte finish.