Silver Starry River Butterfly Nail Art — Elegant 3D Rhinestone Tutorial
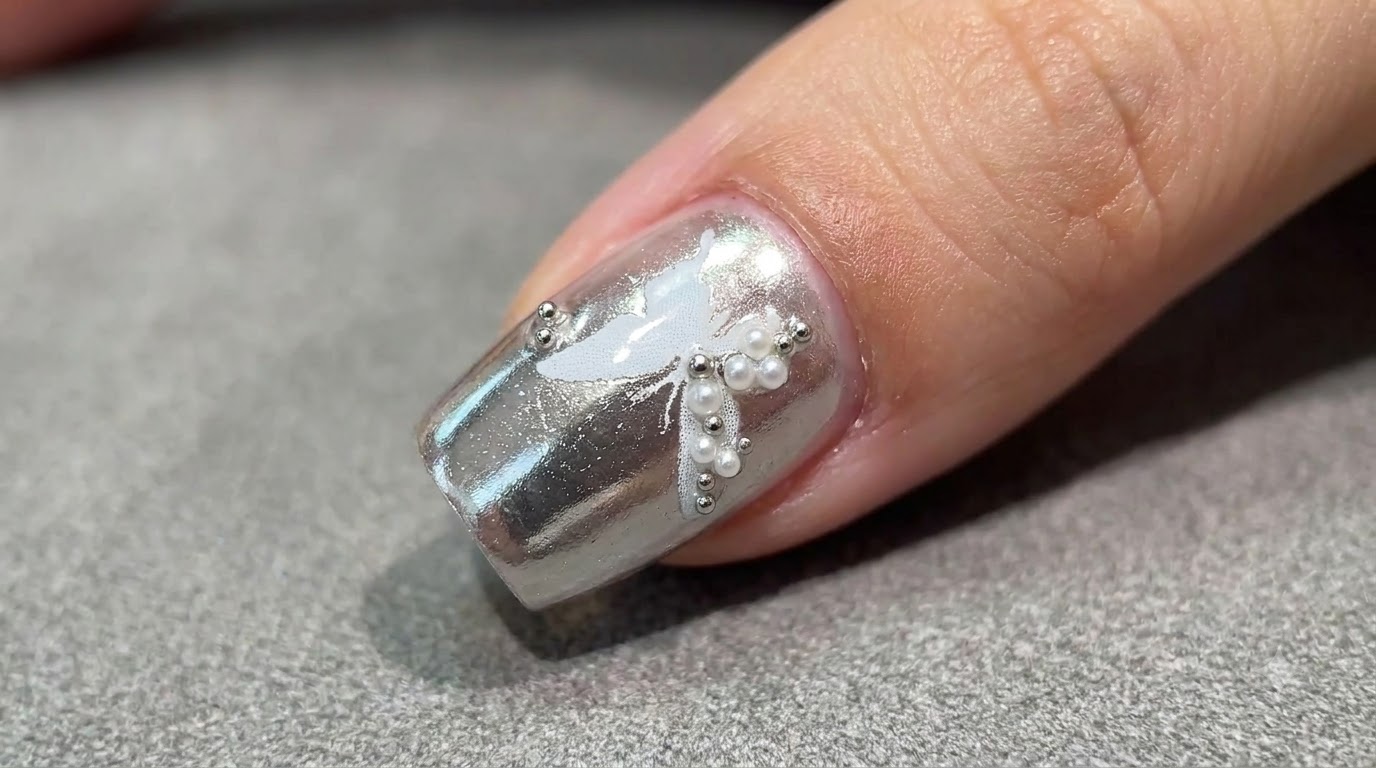
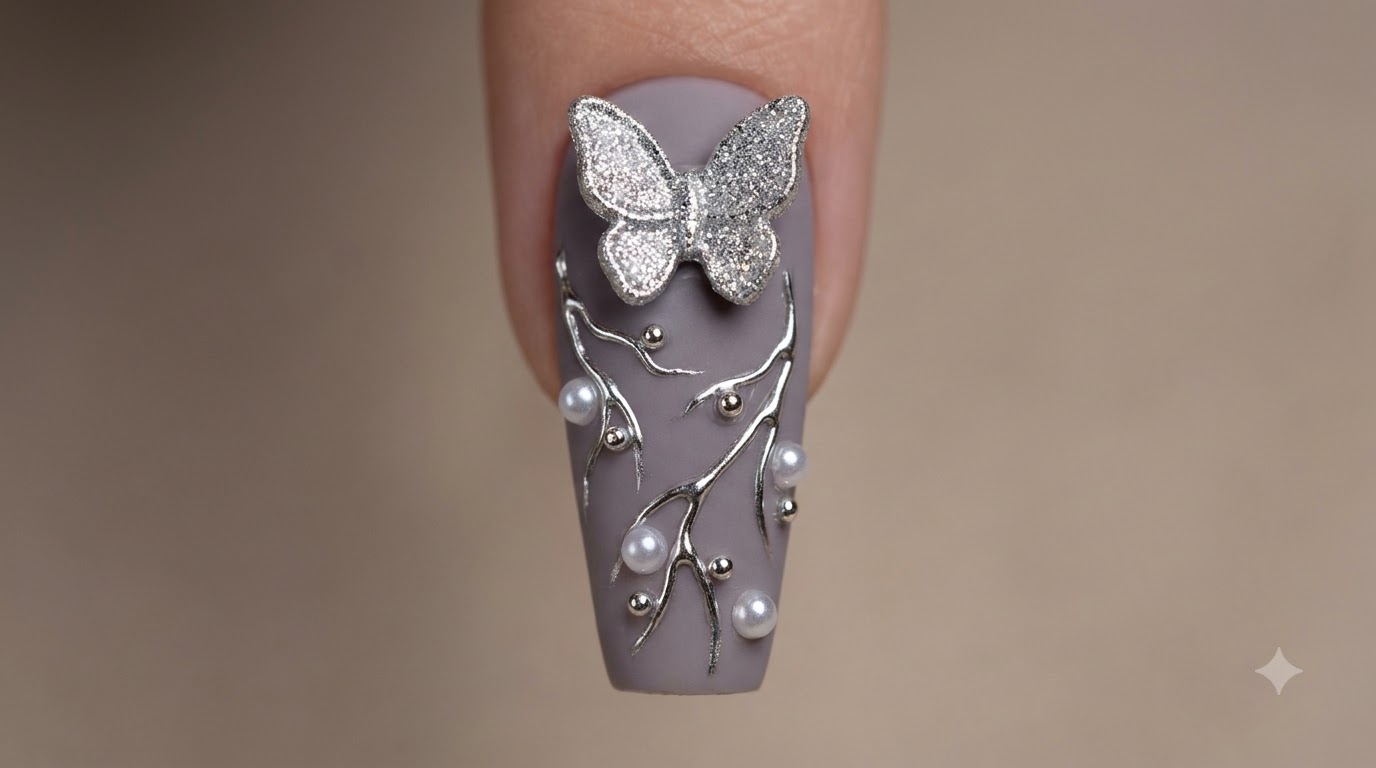
Create a high-end matte greyish-purple nail featuring a sparkling silver 3D butterfly, delicate metallic chrome line art, and exquisite pearl accents.
This sophisticated nail art design combines a refined matte greyish-purple base with striking liquid metal chrome branches and sparkling 3D butterfly charms. Perfect for special occasions or whenever you want to elevate your everyday manicure with luxurious details.
Steps
- 1Apply matte top coat
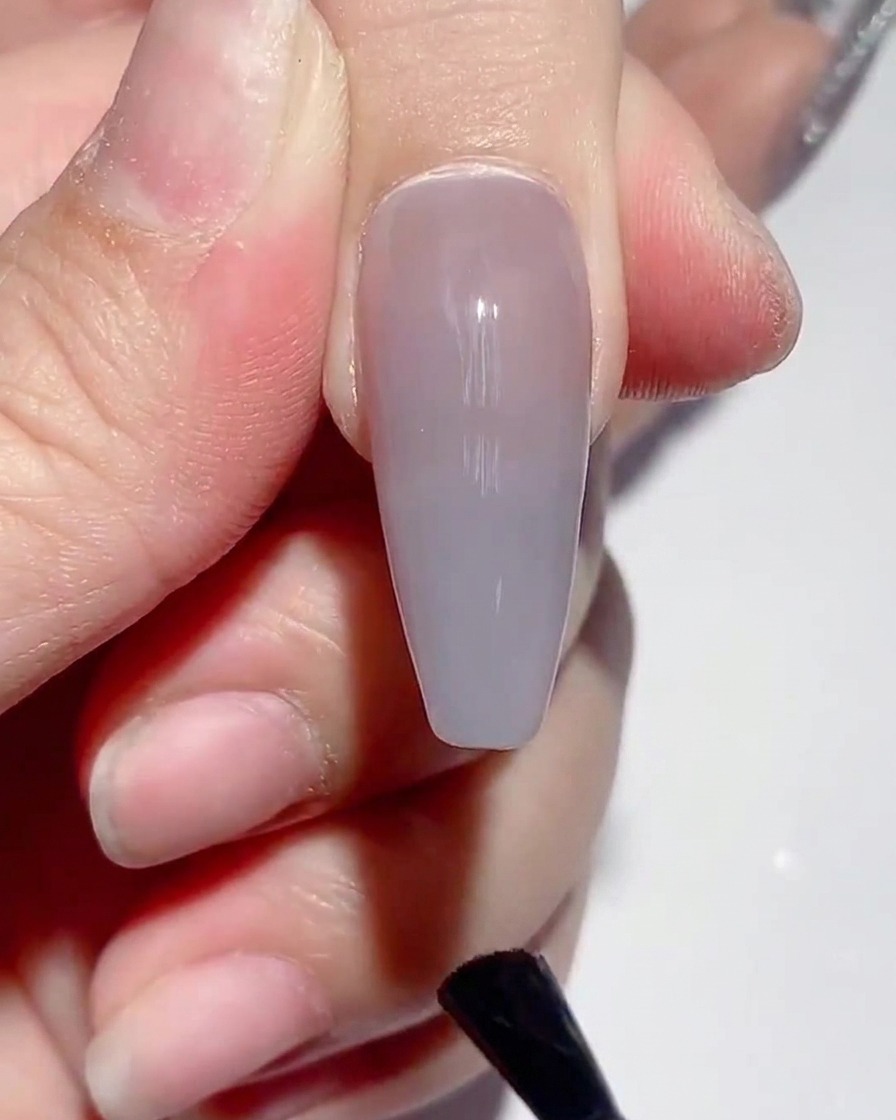
Apply an even layer of matte top coat over the cured base color, ensuring full coverage across the nail plate and capping the free edge. This creates a smooth matte finish that prepares the surface for subsequent nail art details.
Tip: Make sure the top coat is applied evenly to avoid streaks or glossy patches. - 2Cure under the lamp
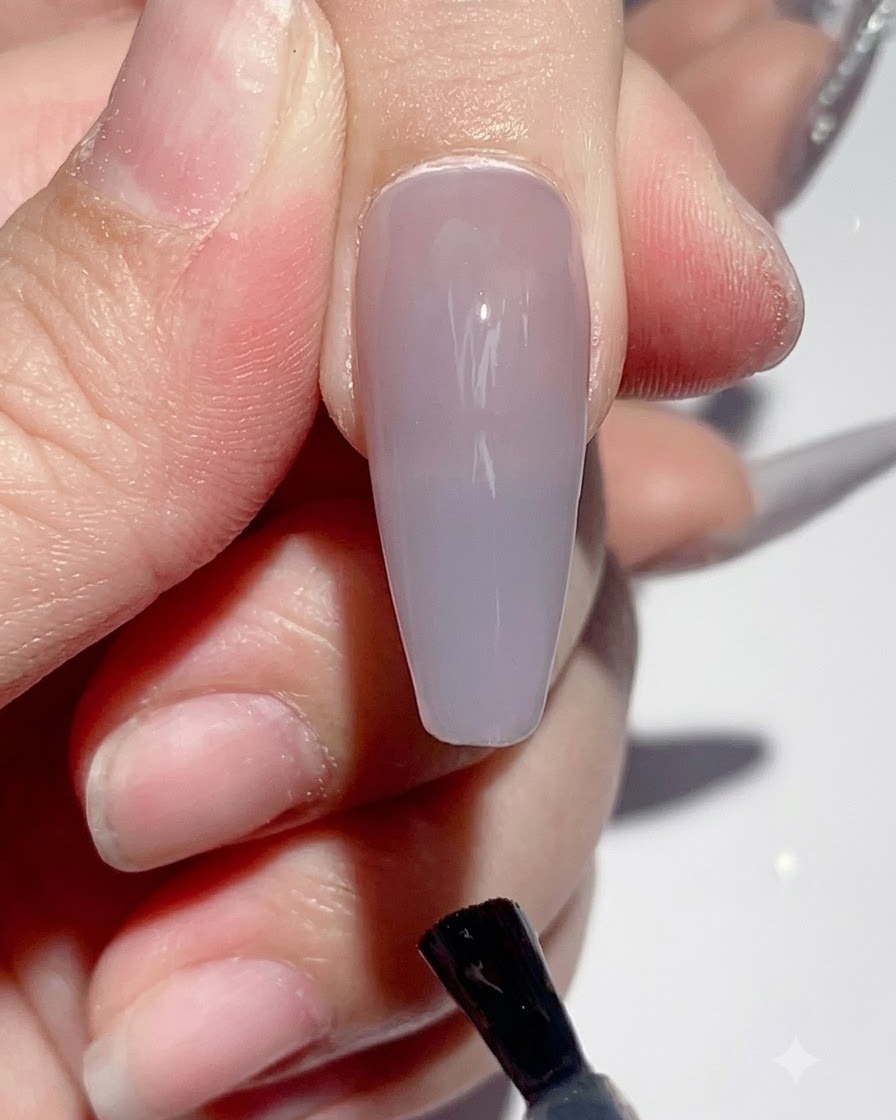
Place the hand under the UV or LED lamp and cure for 60 seconds to completely set the matte top coat layer before moving on to the next step.
Tip: Ensure your hand is positioned correctly inside the lamp for uniform curing. - 3Cleanse the nail surface
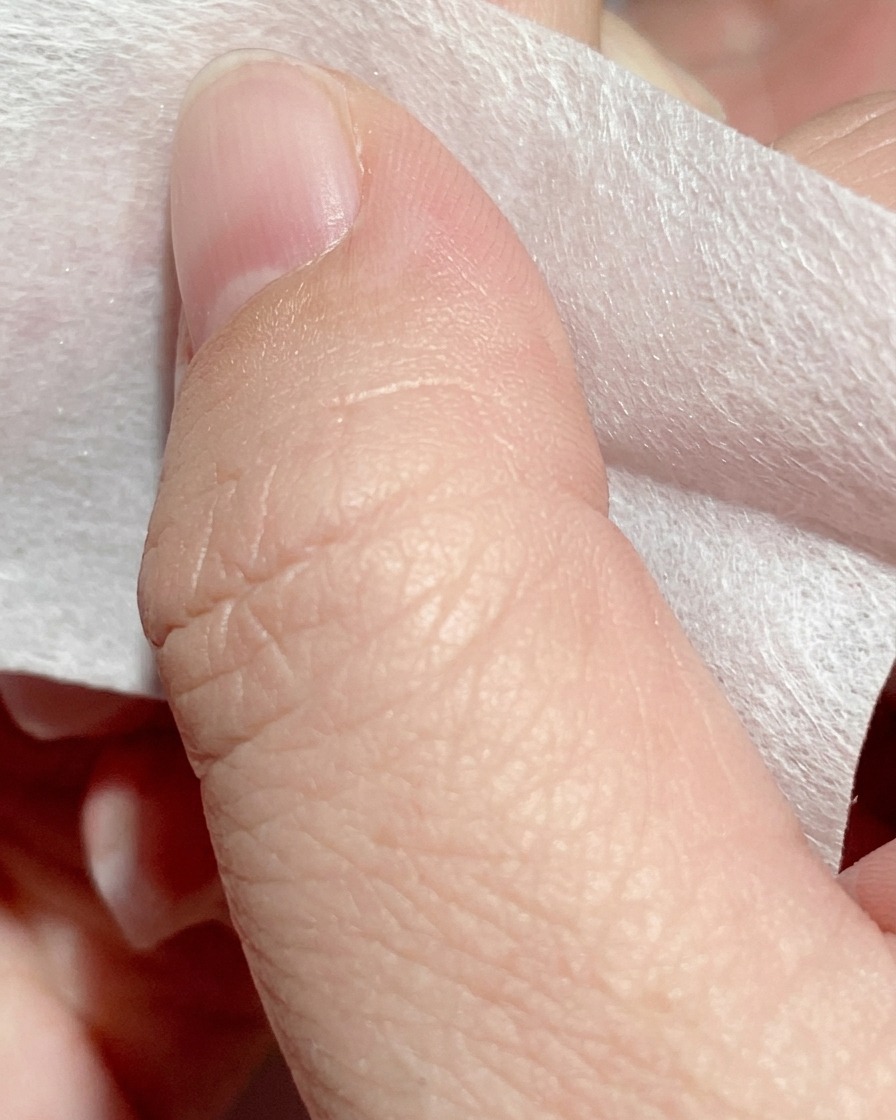
Take a lint-free wipe dampened with nail cleansing liquid and thoroughly wipe down the nail surface to remove any tacky residue or inhibition layer left after curing.
Tip: Use a fresh section of the wipe for each nail to prevent transferring residue back onto the surface. - 4Draw line art and dots
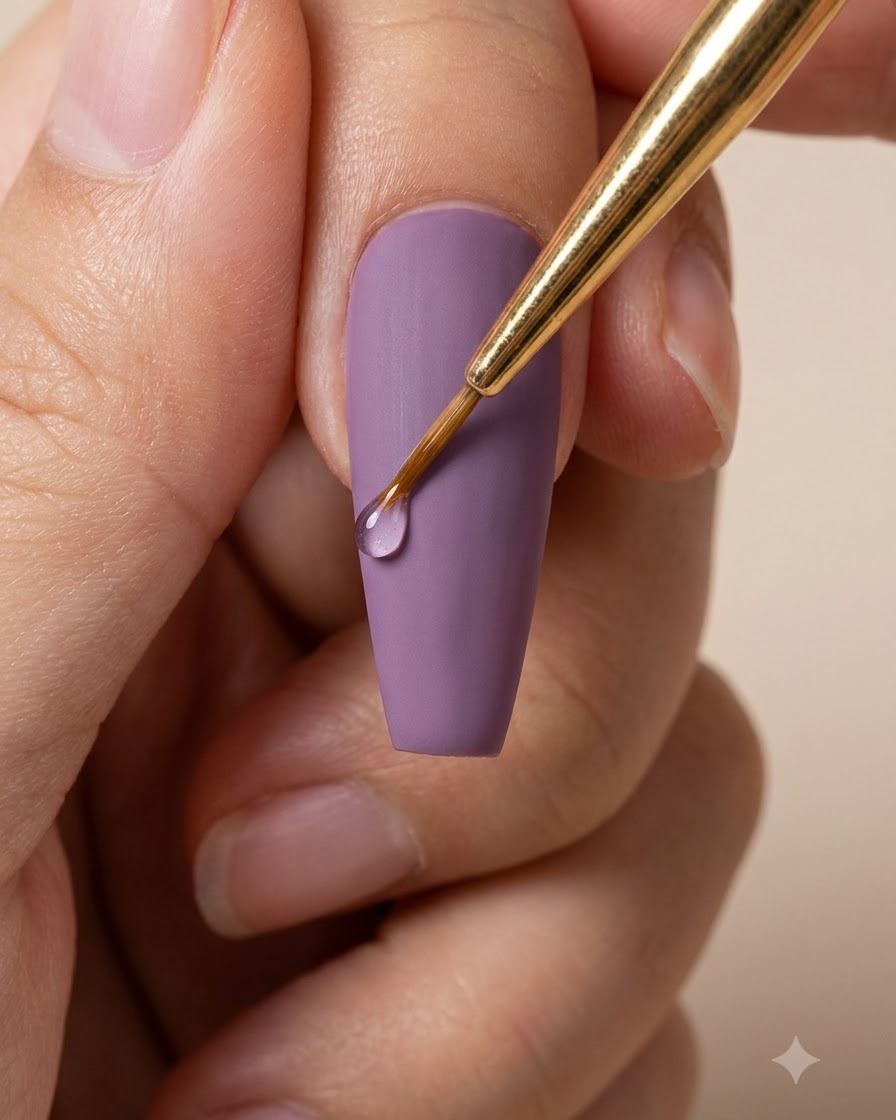
Using a fine liner brush dipped in rhinestone glue, carefully outline flowing line art and add random dots across the nail surface to create a dynamic composition. Keep the lines delicate and precise.
Tip: Work with a light hand to achieve thin, elegant lines with the rhinestone glue. - 5Flash cure rhinestone glue
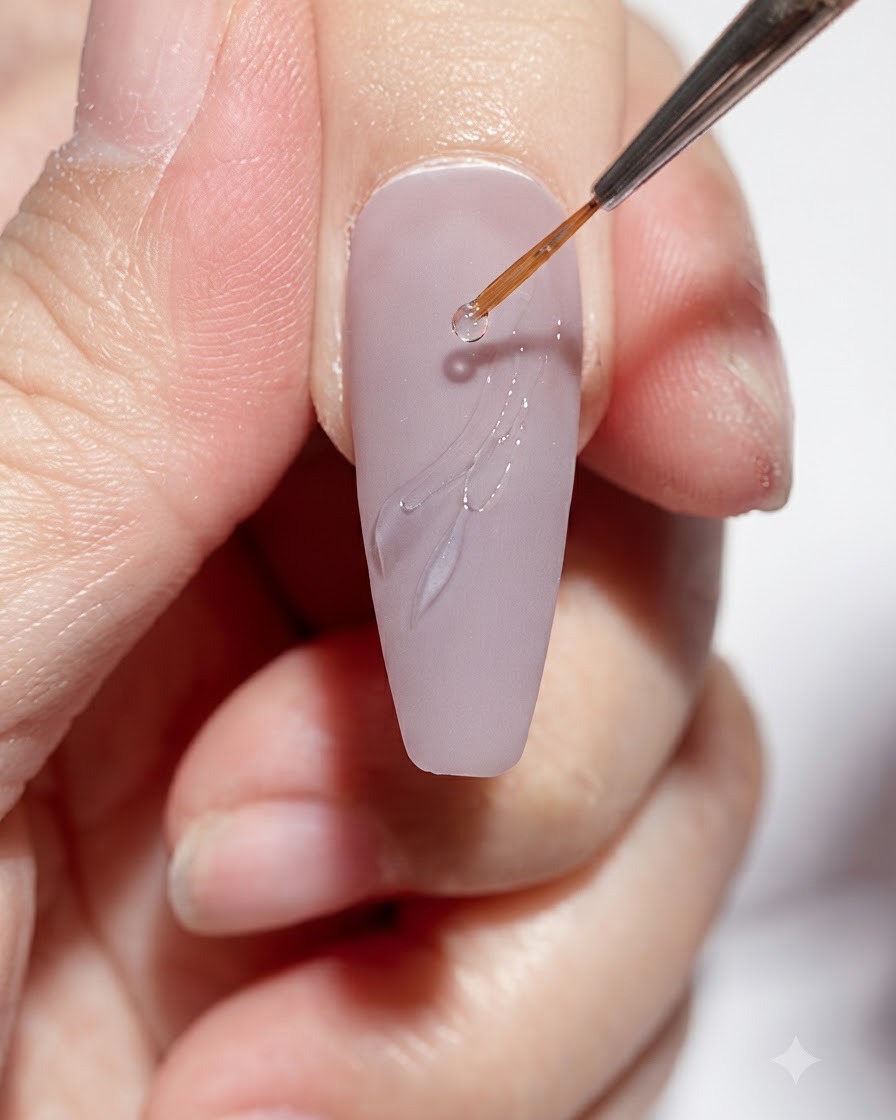
Place the nail under the UV or LED lamp to flash cure the rhinestone glue design for 15 seconds so that the drawn lines and dots hold their shape without running.
Tip: A short 15-second cure is enough to set the glue structure without fully hardening it if additional embedding is needed. - 6Apply silver magic mirror powder
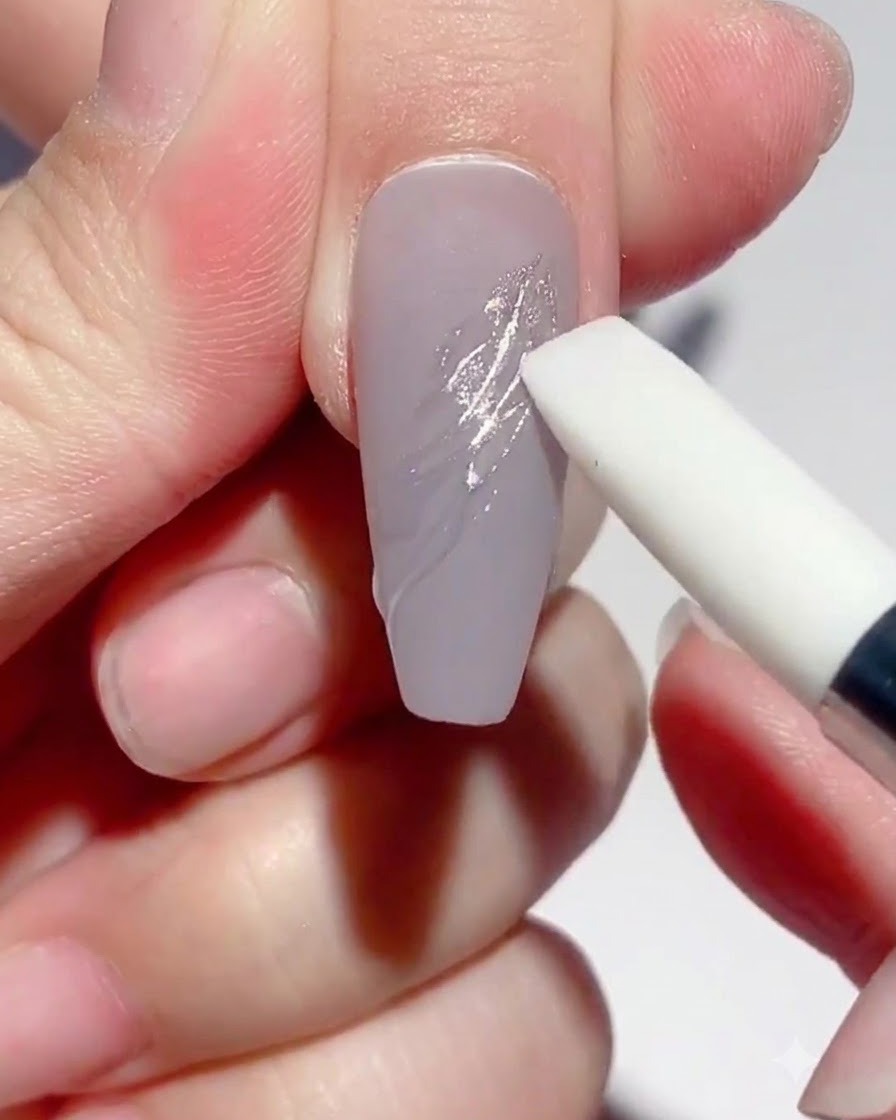
Use a silicone pen to gently rub silver magic mirror powder onto the cured rhinestone glue lines on the nail surface. The powder will adhere exclusively to the cured gel lines, creating a brilliant metallic silver finish that resembles liquid metal.
Tip: Rub firmly but gently to ensure the powder bonds completely with the tacky surface of the cured glue lines. - 7Clean up excess powder
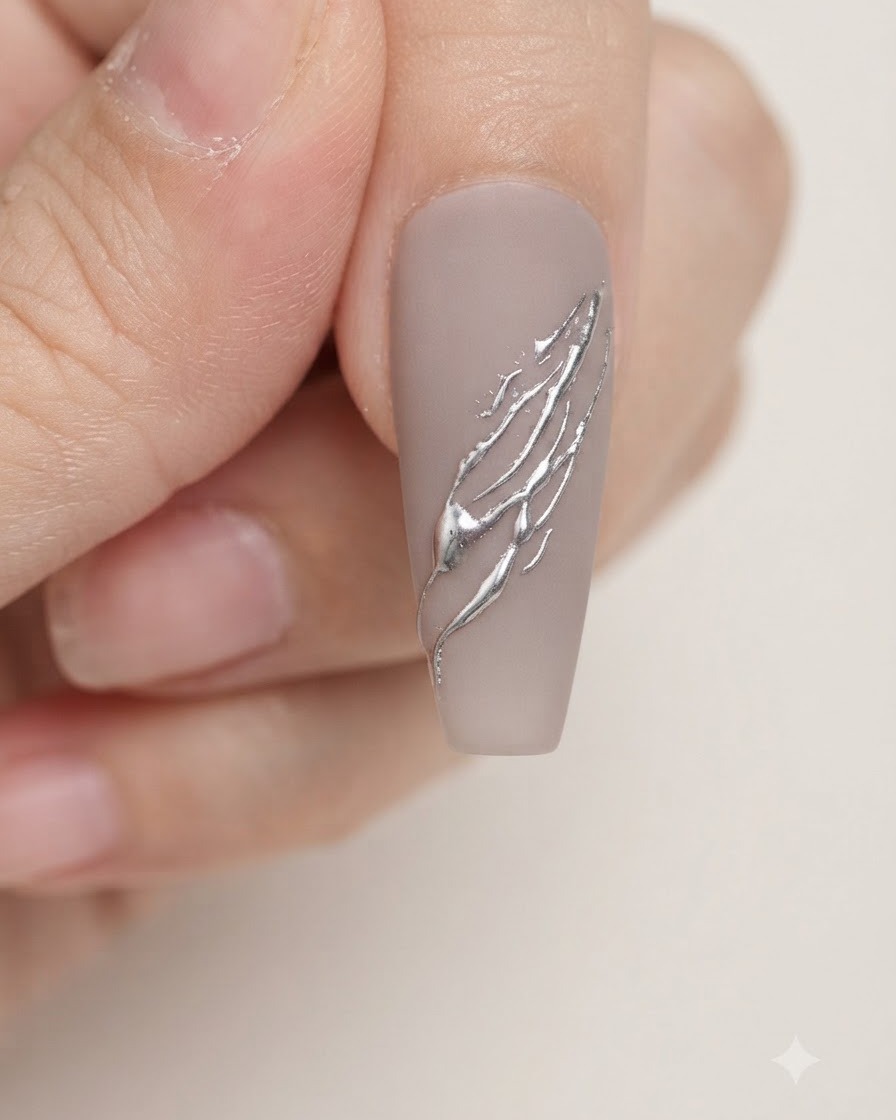
Take a soft dust brush and gently sweep away any loose or excess silver magic mirror powder from the nail surface. This reveals clean lines and ensures the surrounding matte top coat remains pristine.
Tip: Use a very soft brush to avoid smudging the mirror powder or scratching the matte top coat. - 8Apply rhinestone glue for embellishments
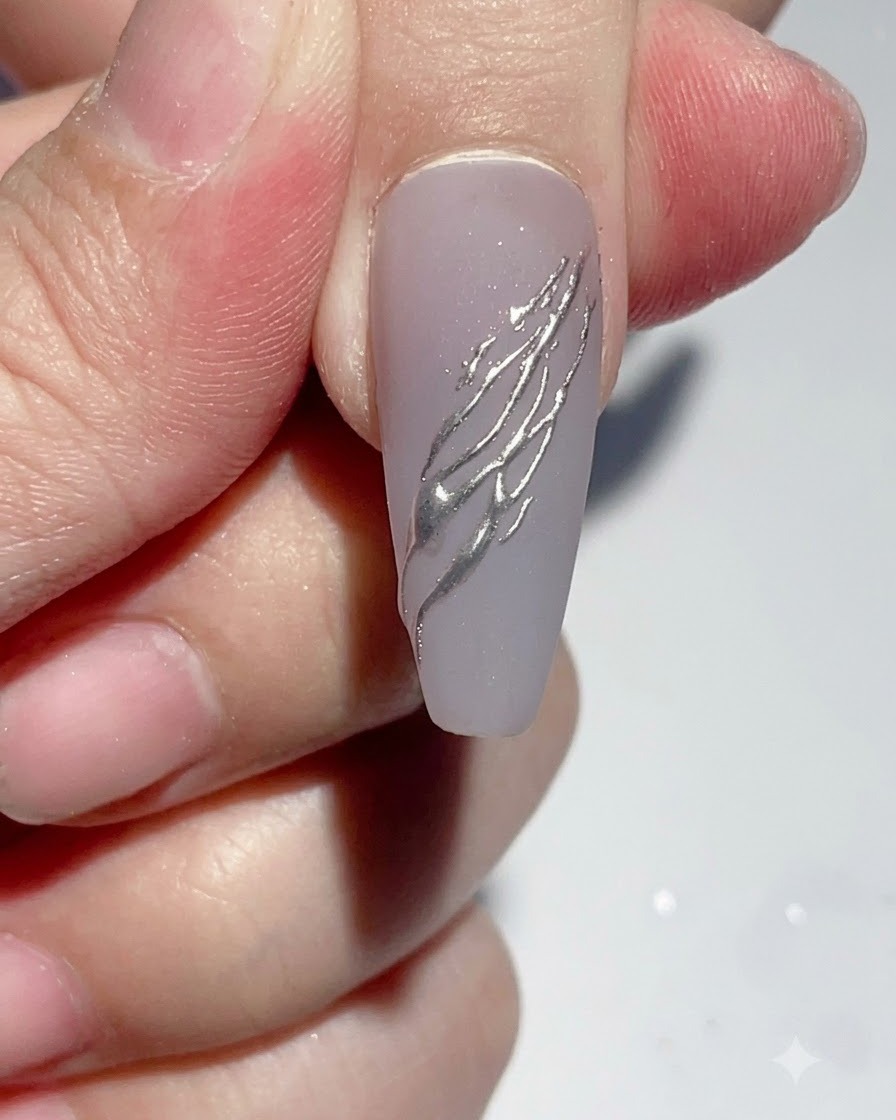
Using a fine liner brush, apply a small, precise amount of rhinestone glue onto the nail surface where you plan to place your decorations. This acts as an adhesive base to secure the charms and crystals.
Tip: Apply only as much glue as needed for your decorations to prevent overflow and bulkiness. - 9Reinforce decorations with glue
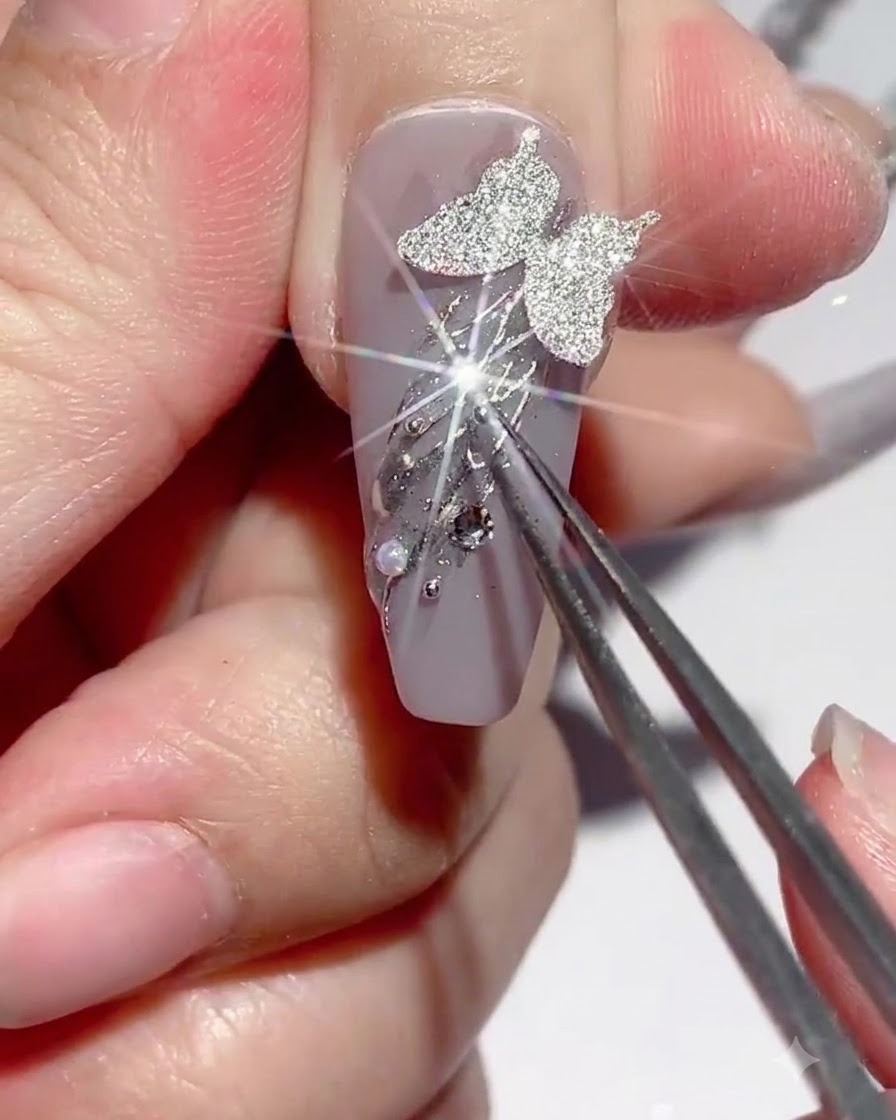
Apply additional rhinestone glue around the base and edges of the butterfly sticker, pearls, and rhinestones to wrap and secure them thoroughly. Cure under the UV/LED lamp to lock everything firmly in place.
Tip: Make sure to seal around all edges of large stickers and stones to prevent catching on clothing or hair. - 10Apply top coat around rhinestones and cure
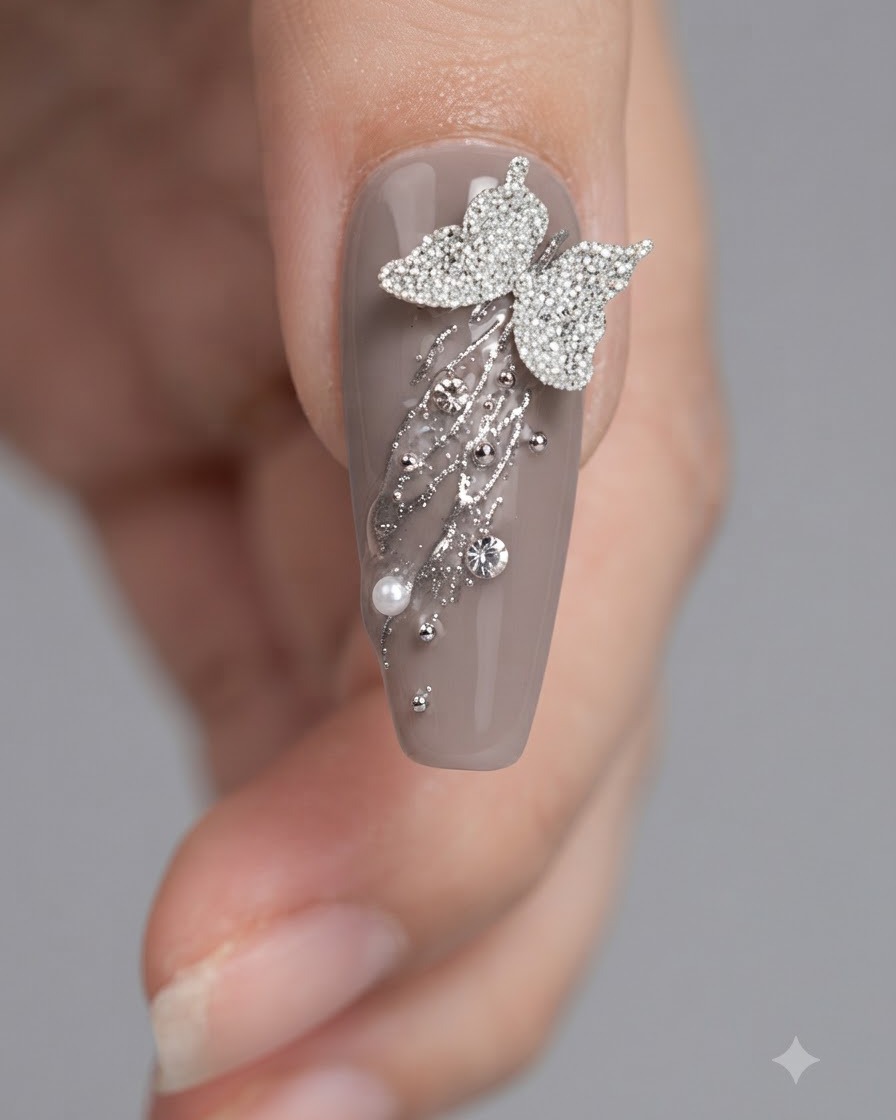
Apply top coat carefully around the rhinestones and decorations to seal and protect them, then cure under the lamp to complete the nail design.
Tip: Ensure all edges of the rhinestones are properly sealed to prevent them from catching or falling off.