Silver Mirror Powder Butterfly Nails — Step-by-Step Tutorial
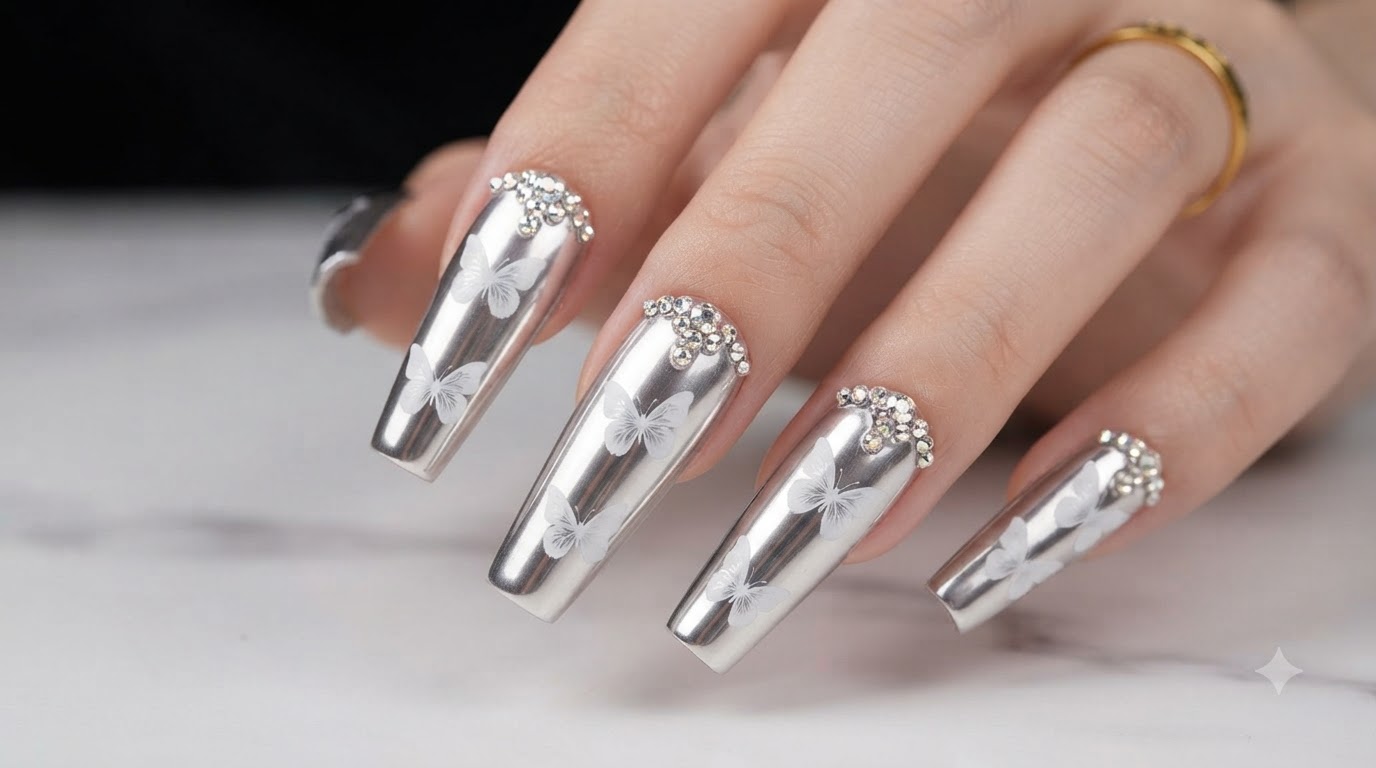
Achieve a dazzling high-shine finish with silver chrome mirror powder paired with delicate white butterfly decals and sparkling rhinestone accents.
Chrome finishes continue to dominate nail trends, offering an ultra-reflective mirror-like shine that catches every beam of light. Paired with delicate translucent butterfly appliqués and precision crystal placement near the cuticle, this look balances futuristic metallic edge with feminine detail. Whether you are prepping for a special event or want to elevate your everyday manicure, this step-by-step guide shows you how to master the silver chrome and charm combination at home.
Steps
- 1Thumb Chrome and Butterfly Detail
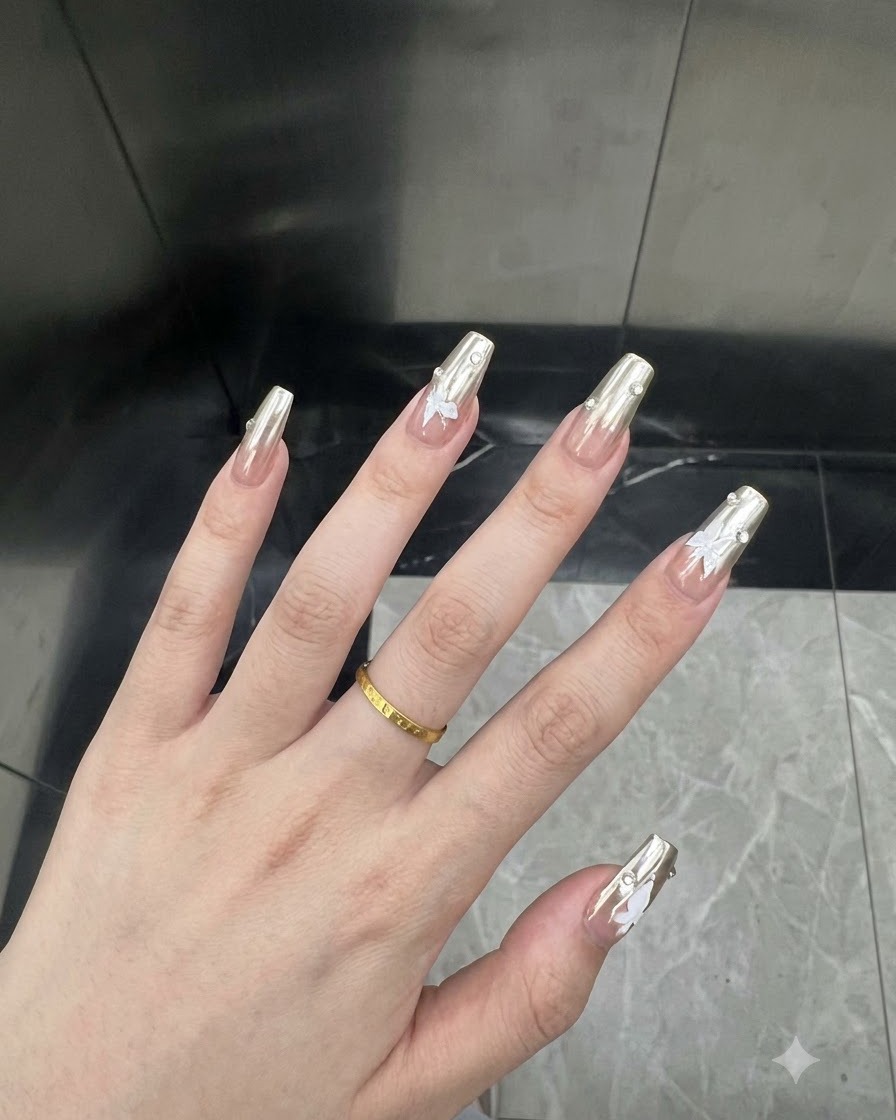
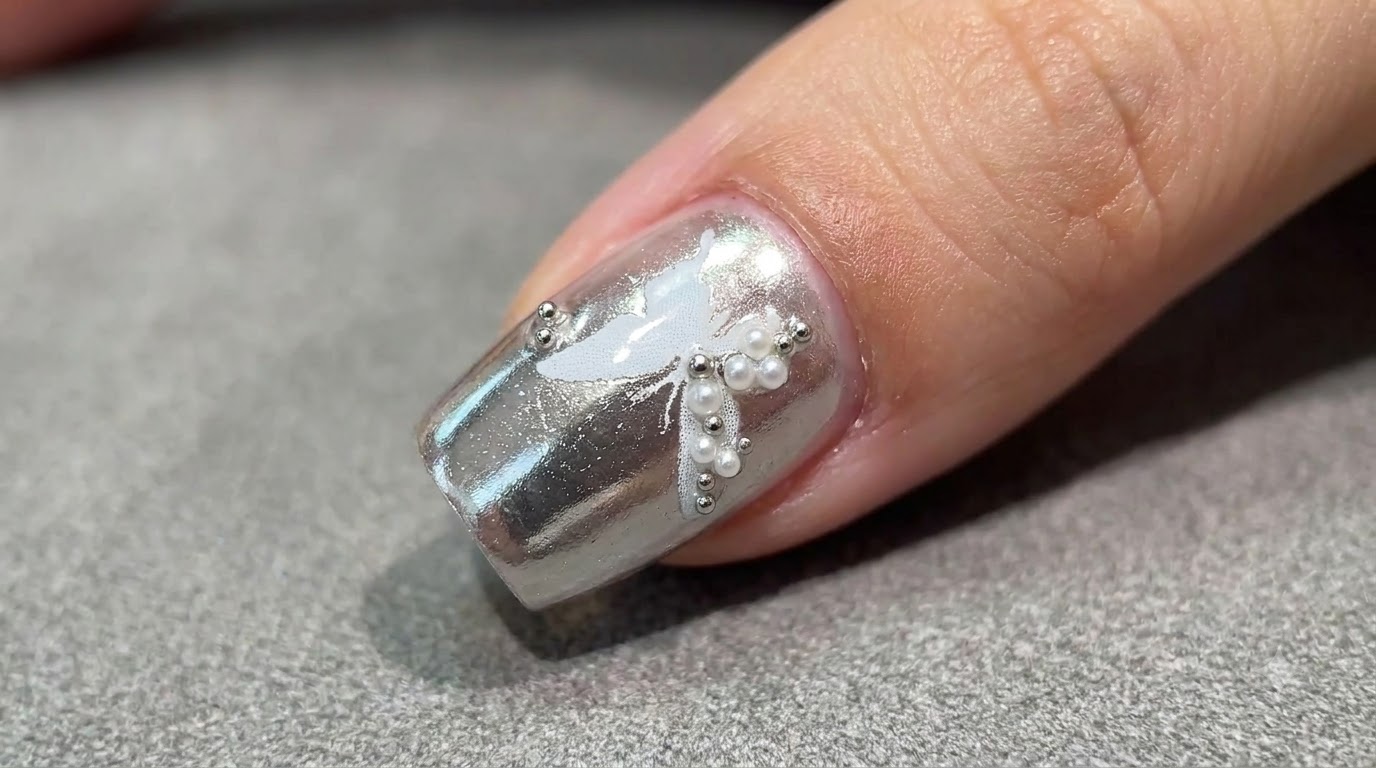
A close-up view focusing on the thumb nail showcasing the smooth silver chrome mirror powder application paired with a white butterfly accent and subtle rhinestone placement.
Tip: Ensure the chrome powder is thoroughly burnished onto a cured non-wipe top coat for maximum reflectivity before placing charms. - 2Reflective Chrome Quality
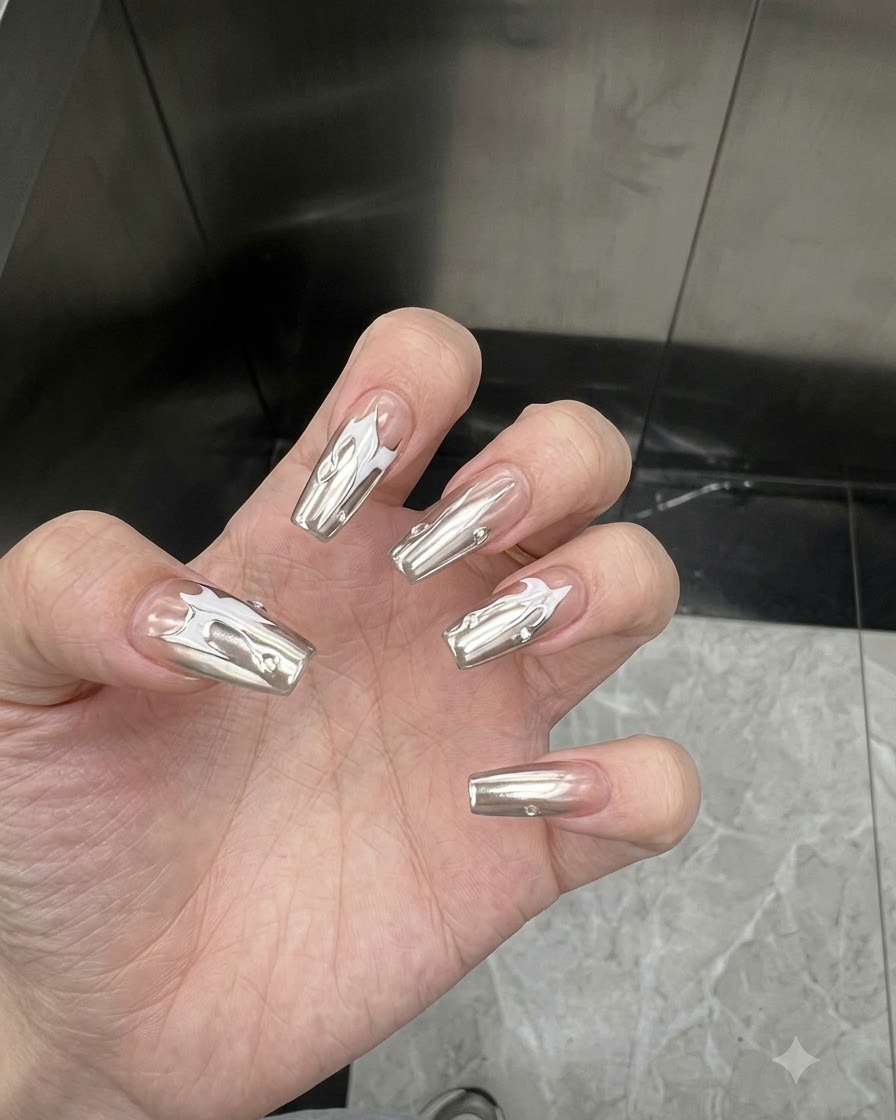
Demonstrating hand movement to highlight the high-shine mirror finish and light-catching properties of the silver chrome effect across all fingers.
Tip: Seal the edges with a high-gloss top coat to protect the chrome finish from chipping. - 3Butterfly Sticker Application
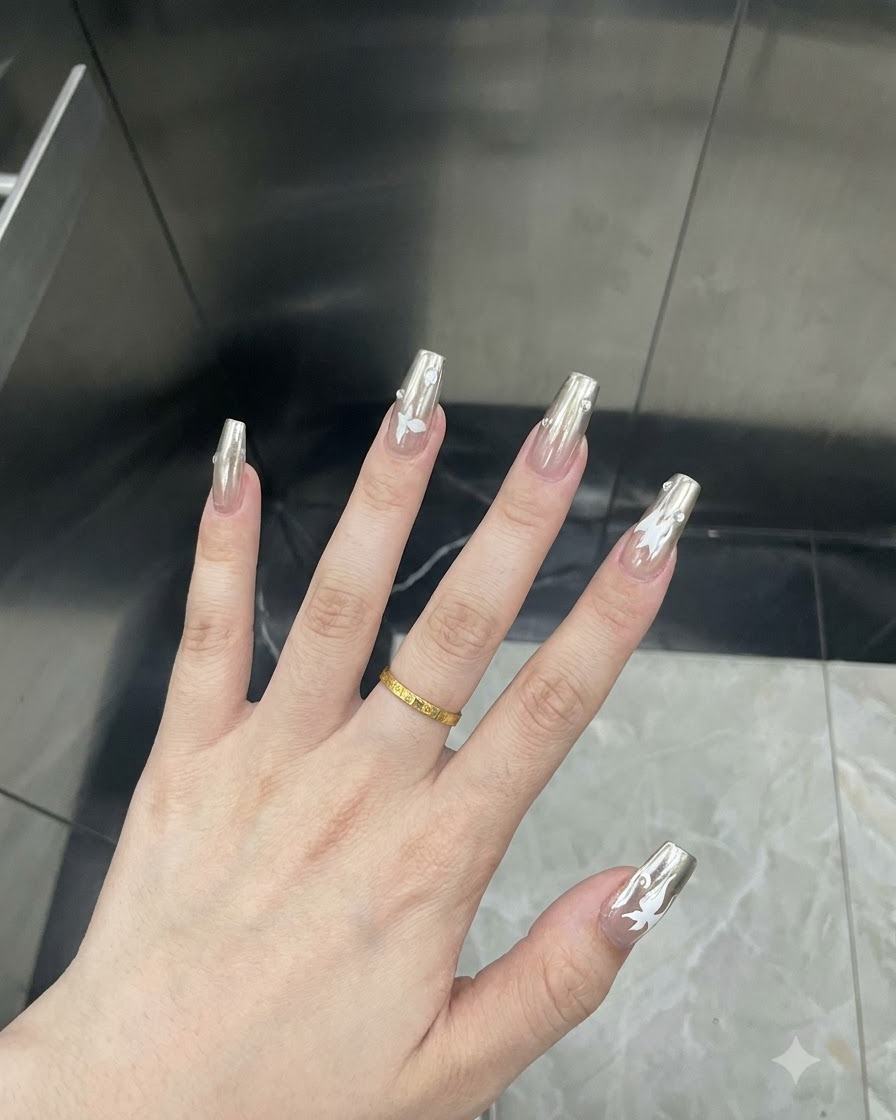
Detailed view focusing on the placement of the white butterfly sticker and accent crystals on the ring finger nail over the silver chrome base.
Tip: Use a wax pencil or tweezers to precisely position butterfly decals before securing them with a drop of clear top coat or builder gel. - 4Lighting Transition and Overview
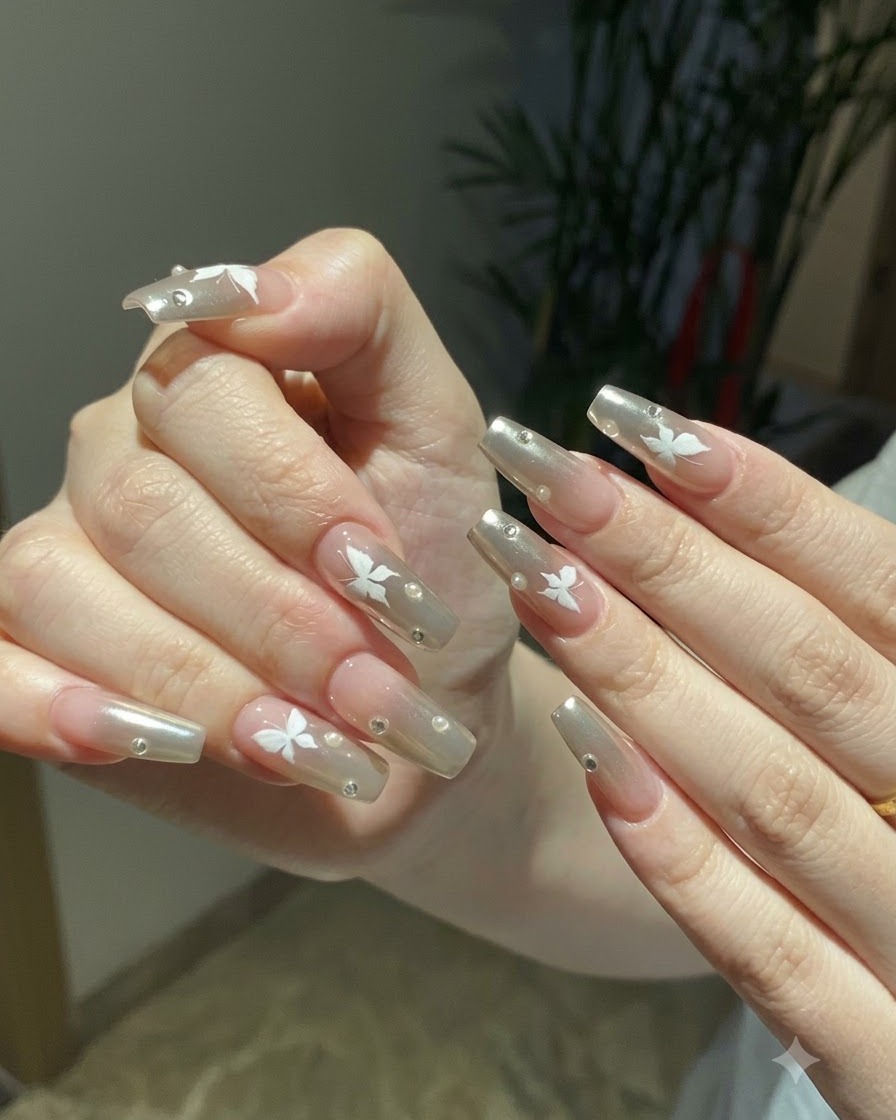
Transition to an alternate lighting setting showcasing the finished silver chrome manicured hands positioned against a soft neutral background with greenery in the distance.
Tip: Varying your lighting angles helps check for any uneven chrome application or unsealed edges. - 5Final Crystal and Butterfly Placement
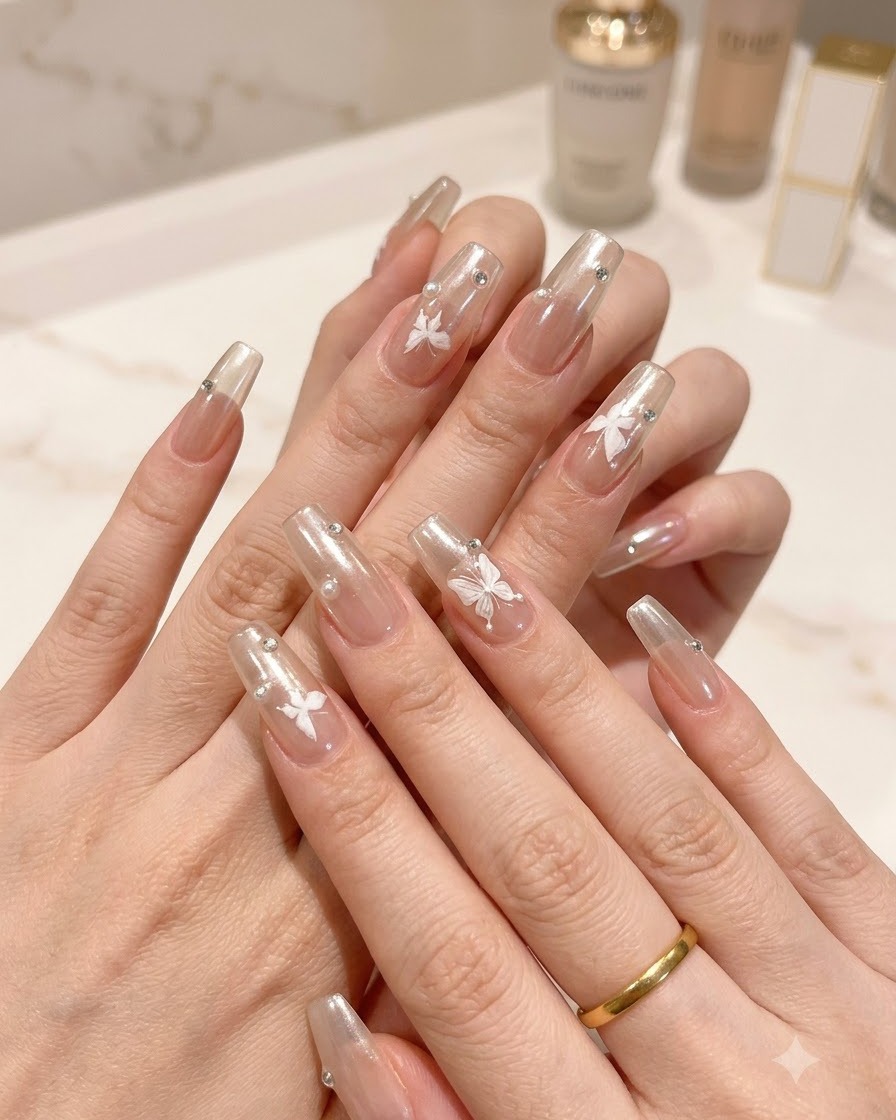
A detailed close-up shot emphasizing the precise placement of individual crystal beads and white butterfly accents on the finished silver chrome nails.
Tip: Flash-cure rhinestone placement gel for 5 to 10 seconds to lock charms in place before final full curing. - 6Showcase chrome powder depth
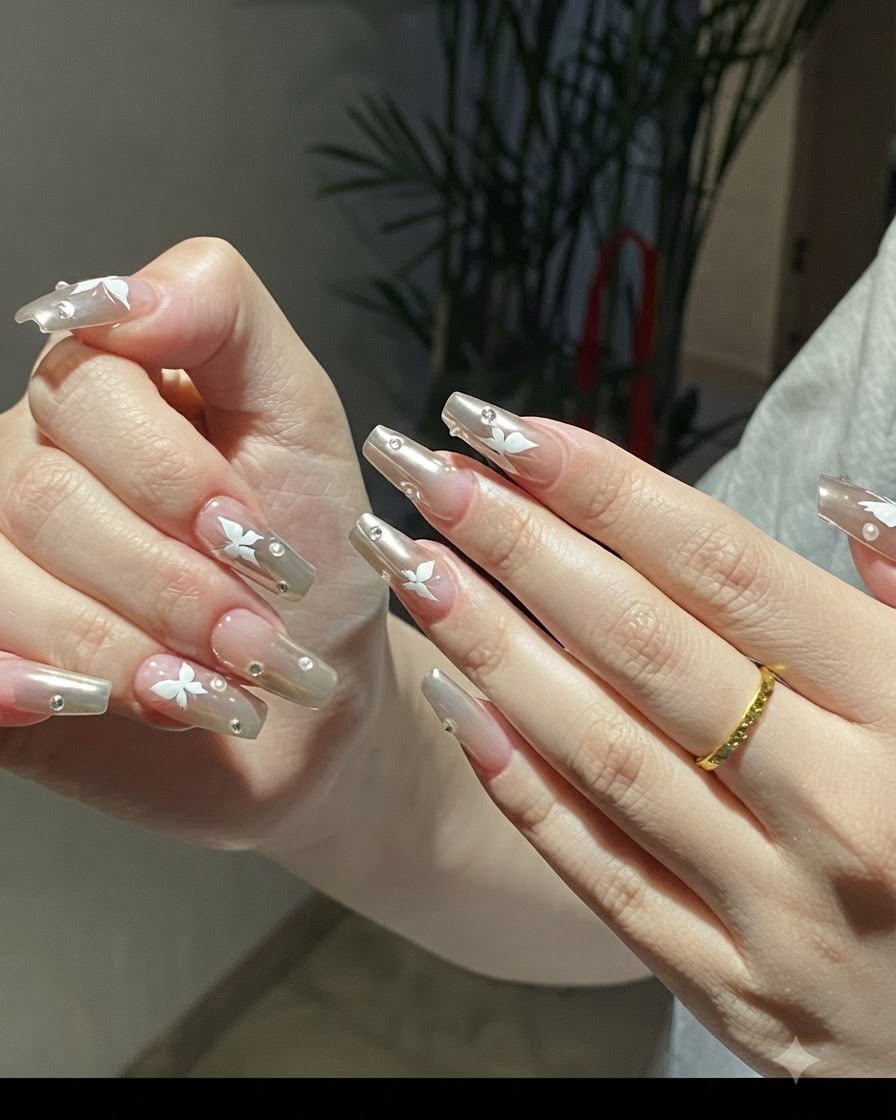
Rotate the hand slightly under lighting to display the multidimensional shine and depth of the silver mirror powder finish, highlighting how the chrome catches the light.
Tip: Gentle hand movements help capture the true reflective quality of chrome finishes on video.