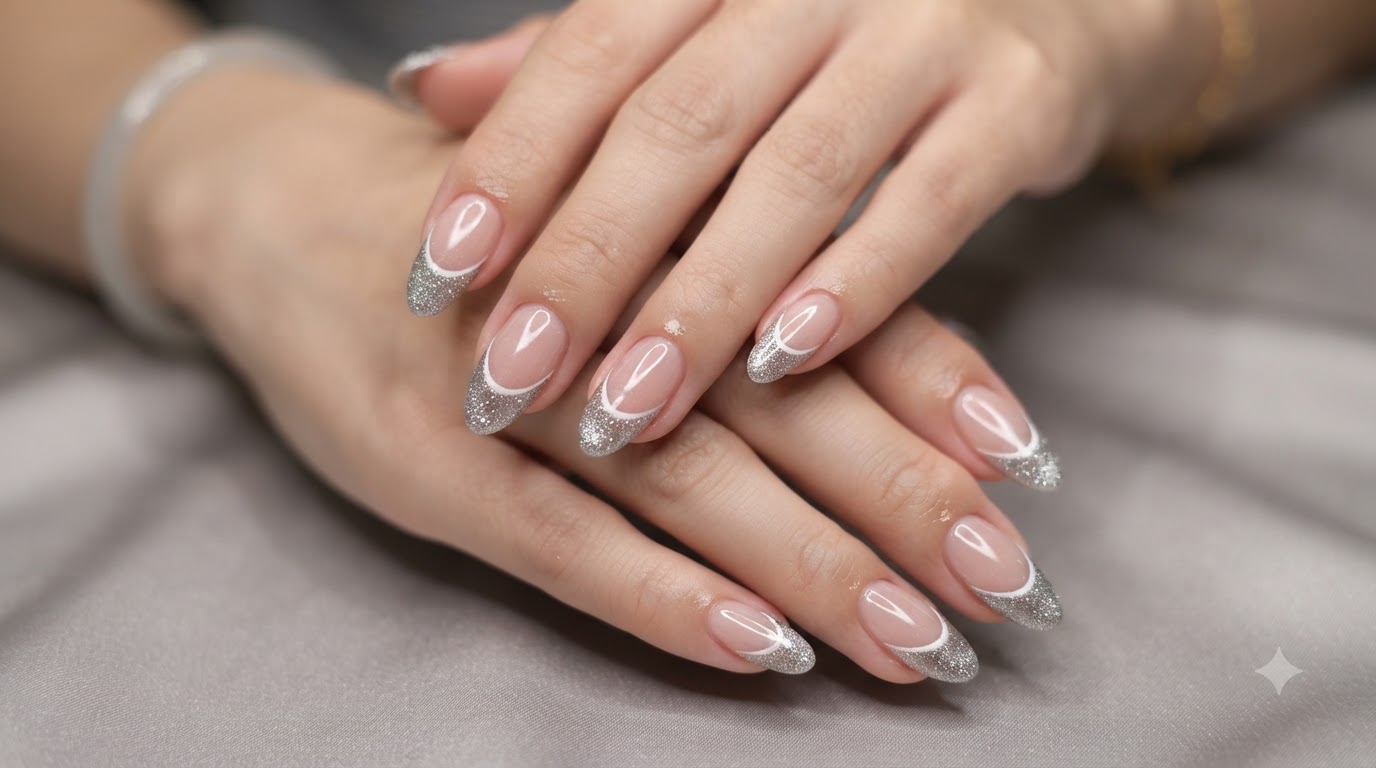
French Cat-Eye Glitter Nail Art — Sparkling Diamond Tips Tutorial
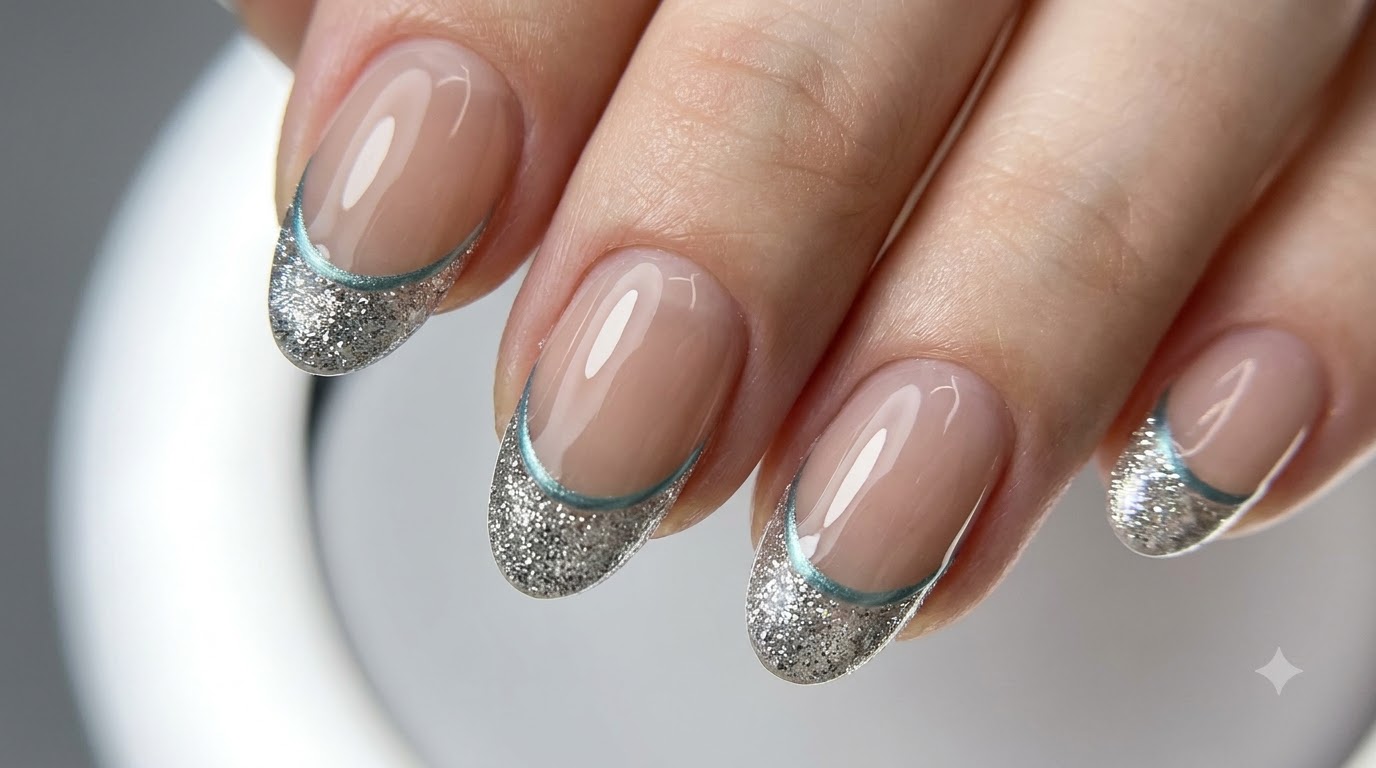
Create dazzling French cat-eye glitter nails with crushed diamond tips, crisp white lines, and elegant rhinestone accents for a high-shine finish.
The French manicure receives a modern, glamorous upgrade with shimmering cat-eye gel polish and delicate crystal embellishments. This sparkling diamond-style tip catches the light from every angle, making it a stunning choice for special occasions or everyday luxury.
Steps
- 1Remove Old Gel Product
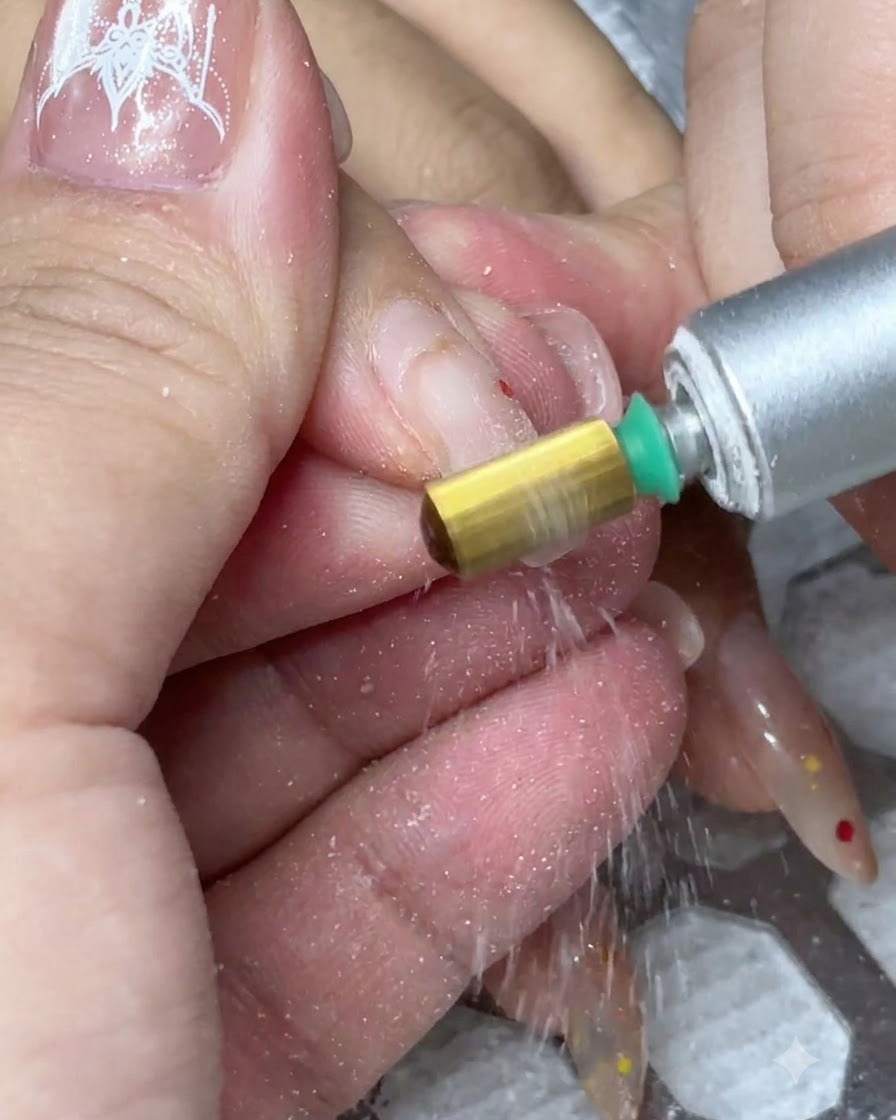
Using an electric file equipped with a carbide bit, carefully glide over the nail surface to remove the previous gel product. Keep the file moving continuously to avoid generating excess heat or thinning out the natural nail plate.
Tip: Hold the electric file at a flat angle against the nail to prevent accidental gouging or ridges. - 2Shape the free edge
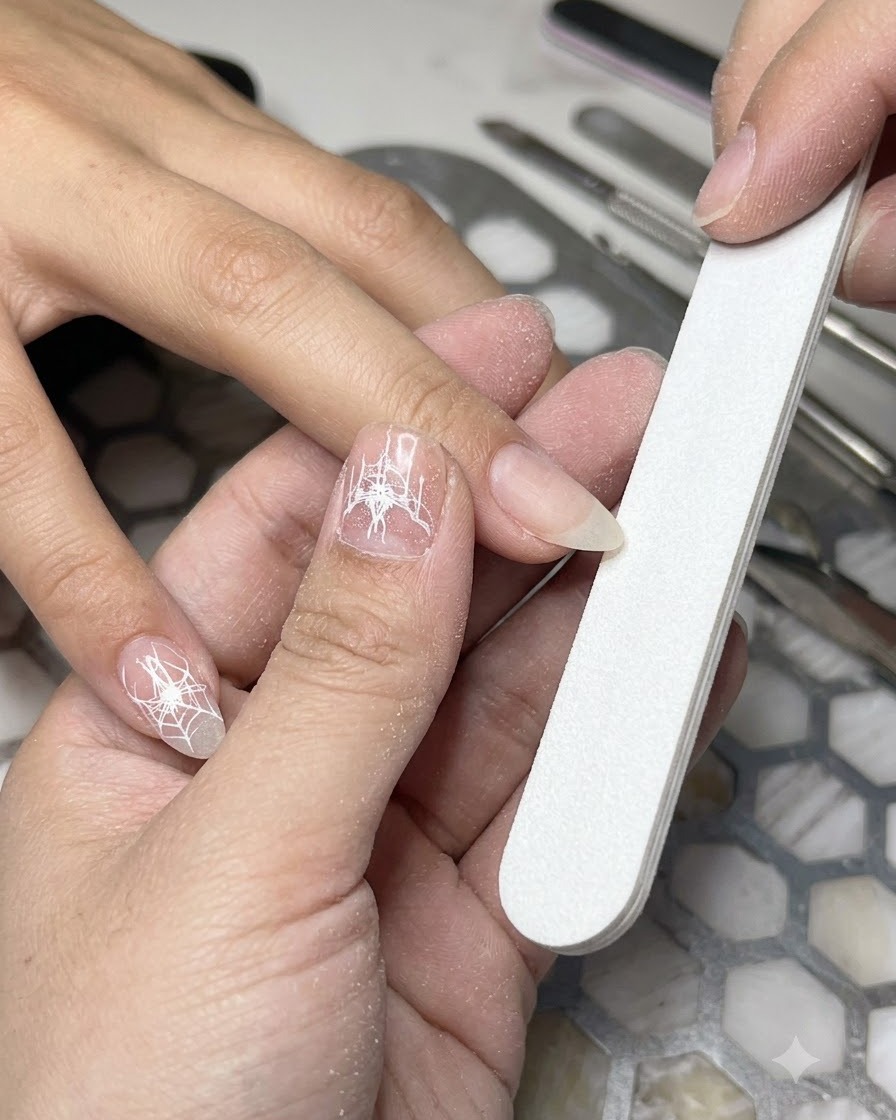
Use a nail file to carefully shape the free edge of the nail into a soft almond shape, ensuring symmetry and smooth contours across all nails.
Tip: Maintain a consistent angle while filing to keep the almond points even. - 3Clean the cuticle area with a drill bit
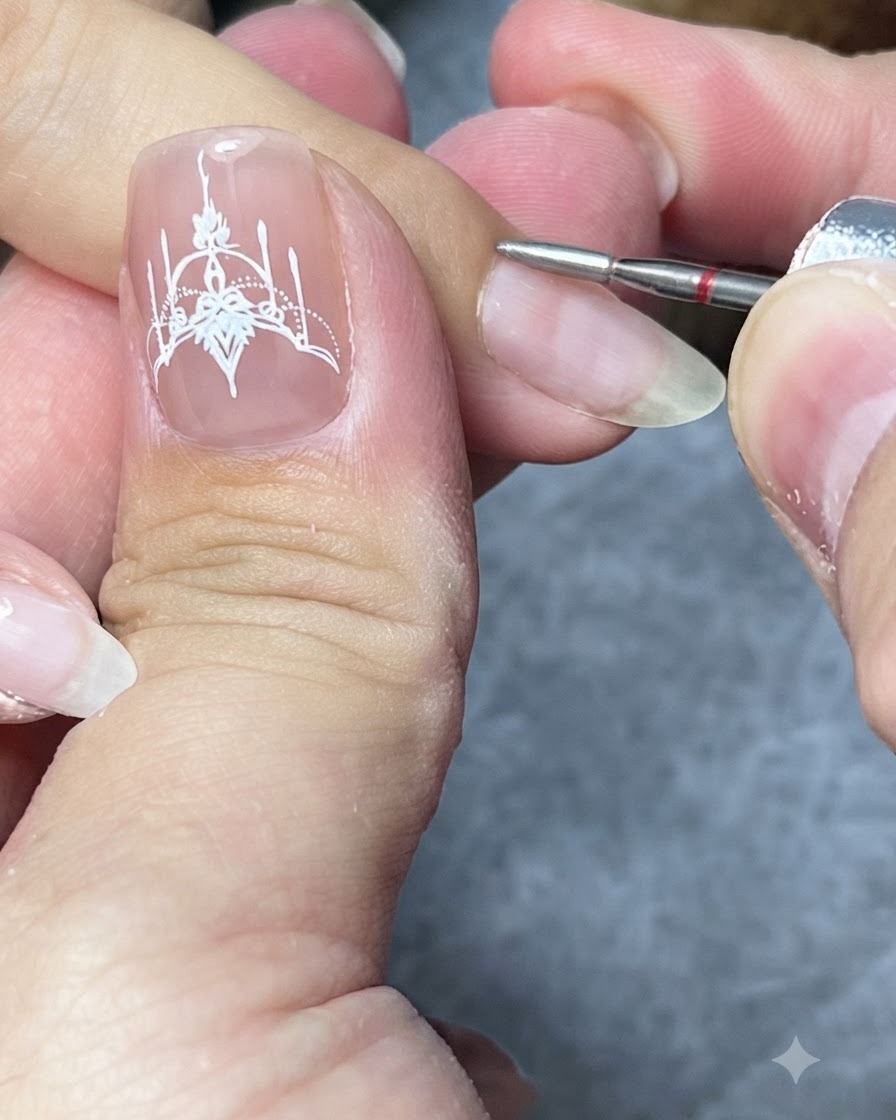
Use a small drill bit at a low speed to clean gently around the cuticle area and open the cuticle pocket, effectively removing any adhered dead skin.
Tip: Keep the drill moving constantly to avoid friction heat on the nail plate. - 4Trim excess cuticle skin
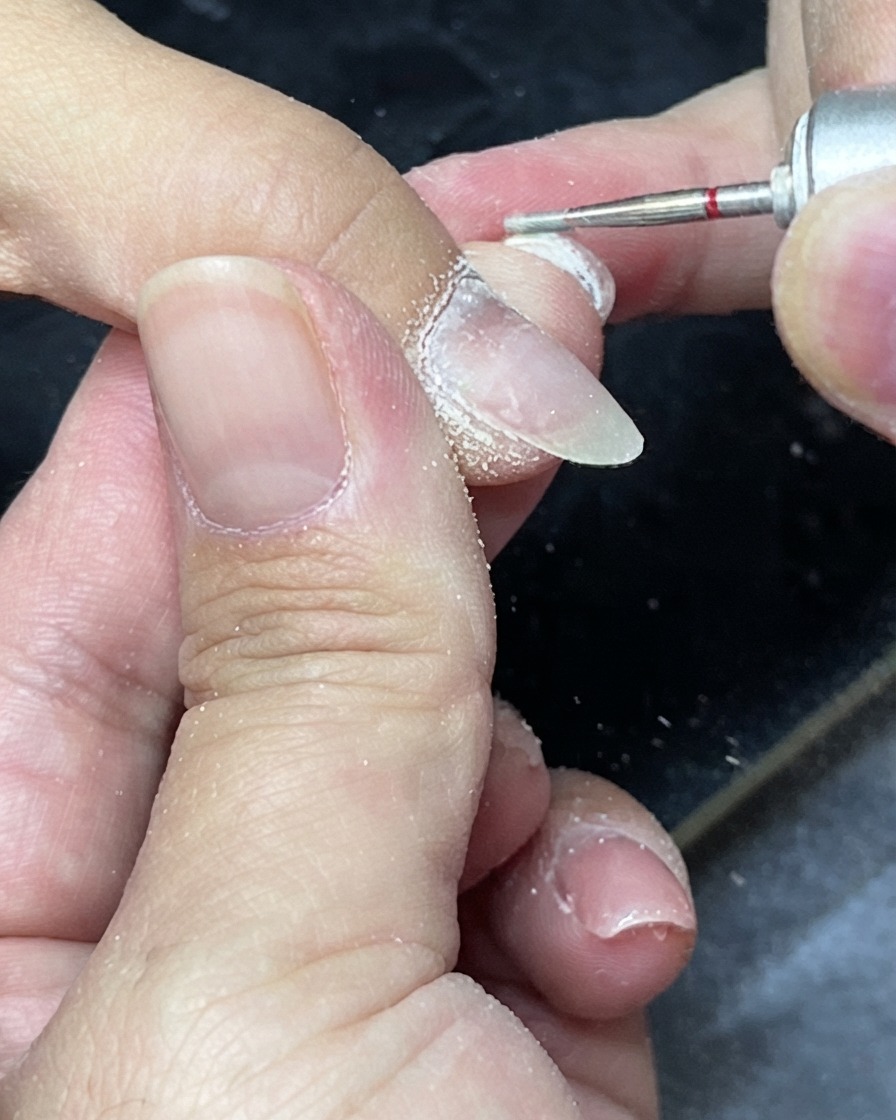
Use cuticle nippers to carefully and cleanly trim away the excess dead skin around the nail folds, ensuring a neat and tidy nail frame.
Tip: Be careful only to snip dead skin to avoid cuts or irritation. - 5Apply Clear Building Gel
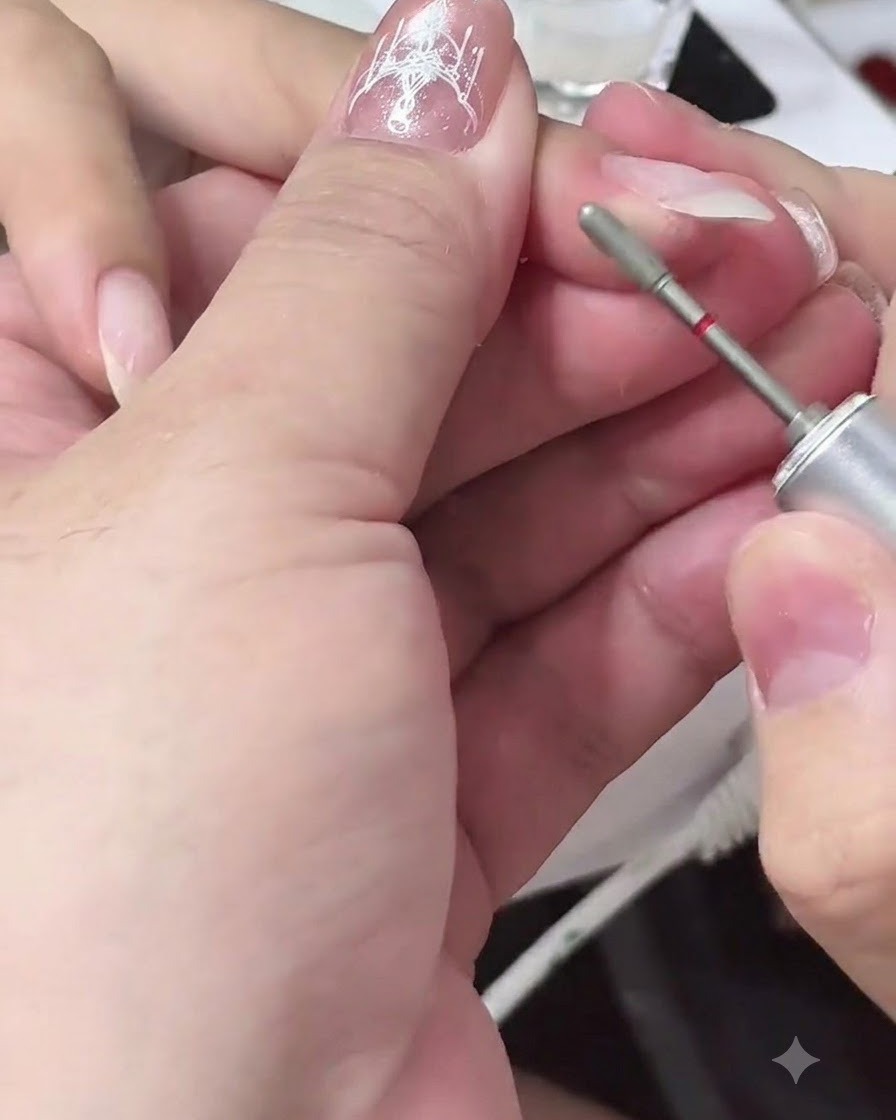
Apply a clear building gel onto the prepped nail plate to build proper apex structure and add long-lasting strength. Make sure to distribute the gel evenly across the stress zone before curing under a UV or LED lamp.
Tip: Flashing the gel for a few seconds can help lock the apex structure in place before full curing. - 6Apply sheer pink base color
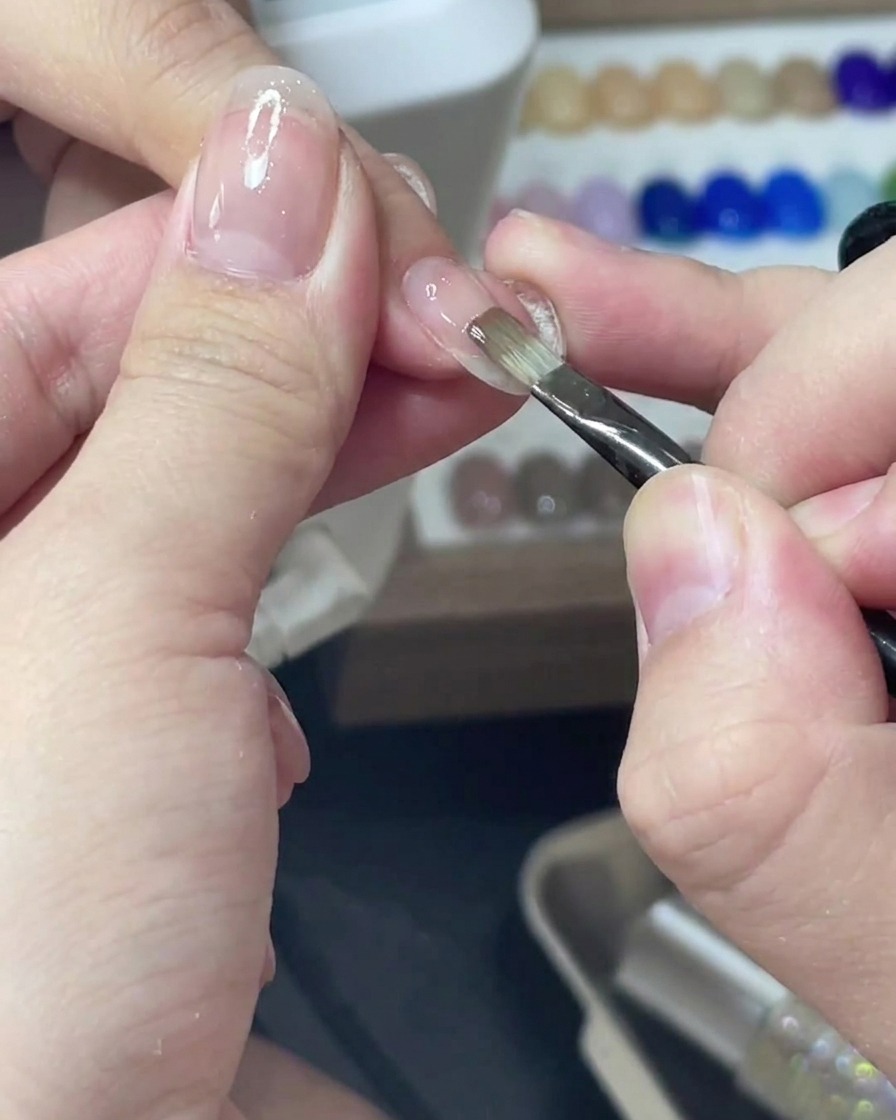
Use a thin liner brush to apply a sheer pink gel base color evenly over the nail surface, creating a smooth, translucent foundation for subsequent nail art.
Tip: Apply thin strokes to avoid pooling near the cuticles or sidewalls. - 7Apply Silver Cat-Eye Gel Polish
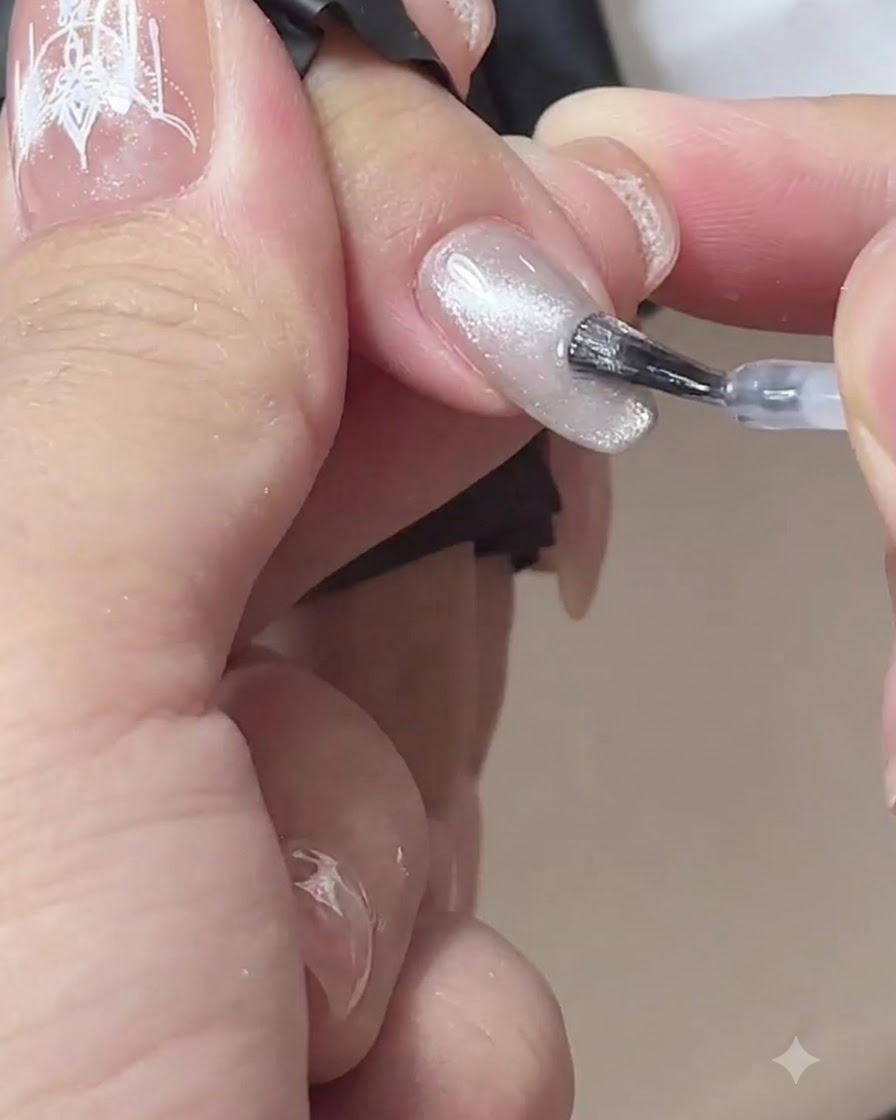
Apply a smooth coat of silver cat-eye gel polish evenly across the nail tips. Ensure the coverage is uniform before moving on to magnetize the particles.
Tip: Apply a medium-thin coat to avoid pooling around the edges while keeping enough magnetic pigment for a vibrant reflection. - 8Create Cat-Eye Highlight
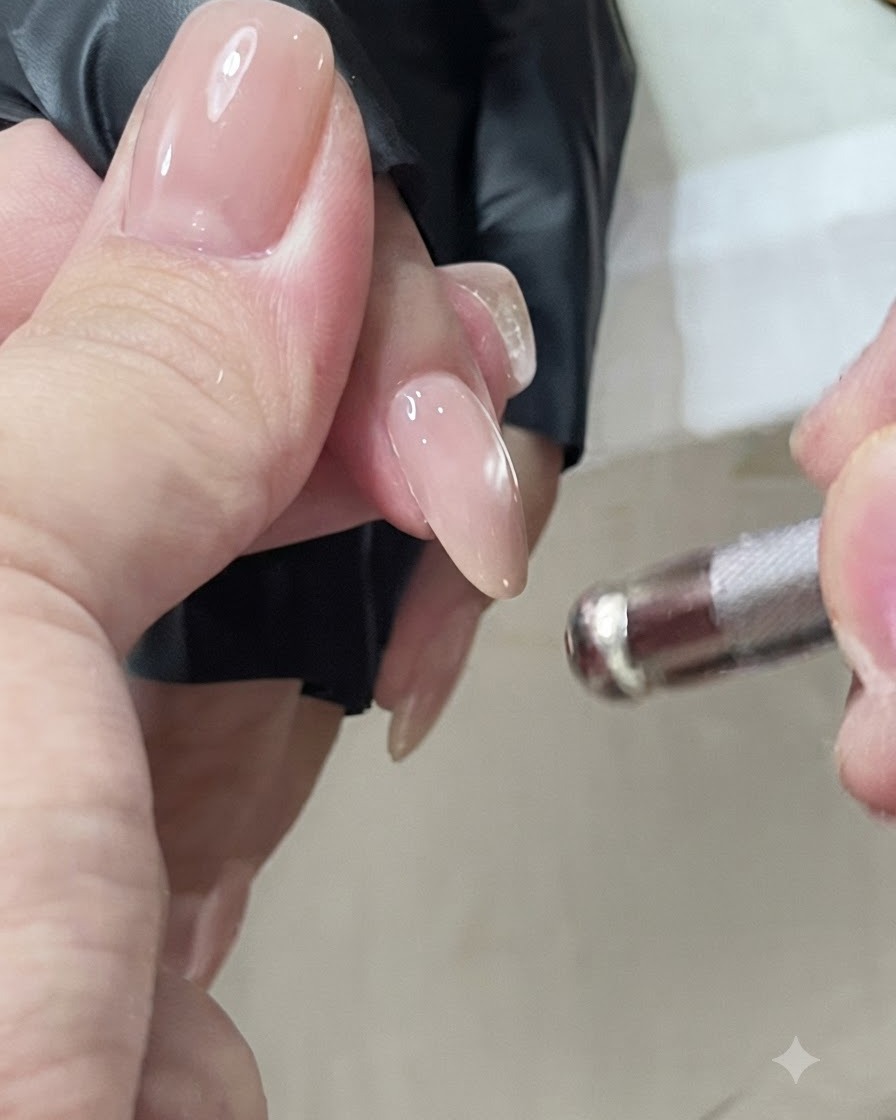
Hold a small magnetic tool closely over the uncured cat-eye gel to draw and concentrate the silver magnetic particles into a sharp, luminous light stripe. Cure immediately once the desired reflection effect is achieved.
Tip: Keep the magnet steady and close to the nail without touching the wet surface to ensure a sharp, crisp line. - 9Paint Fine French Tip Line
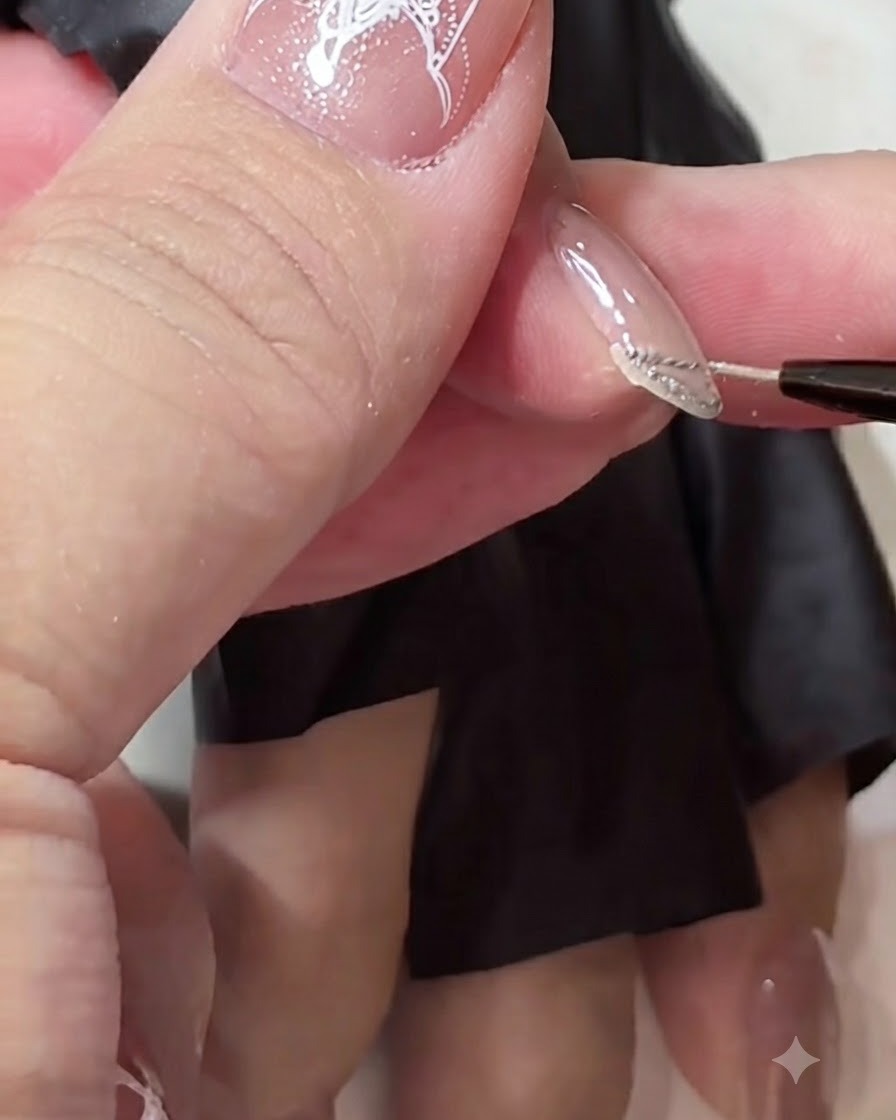
Take a fine liner brush dipped in white gel polish to trace a crisp, elegant French tip line over the glitter section, defining the boundary cleanly.
Tip: Use light, steady pressure on the brush tip to maintain a smooth, even line without wobbling. - 10Apply Rhinestone Adhesive Base
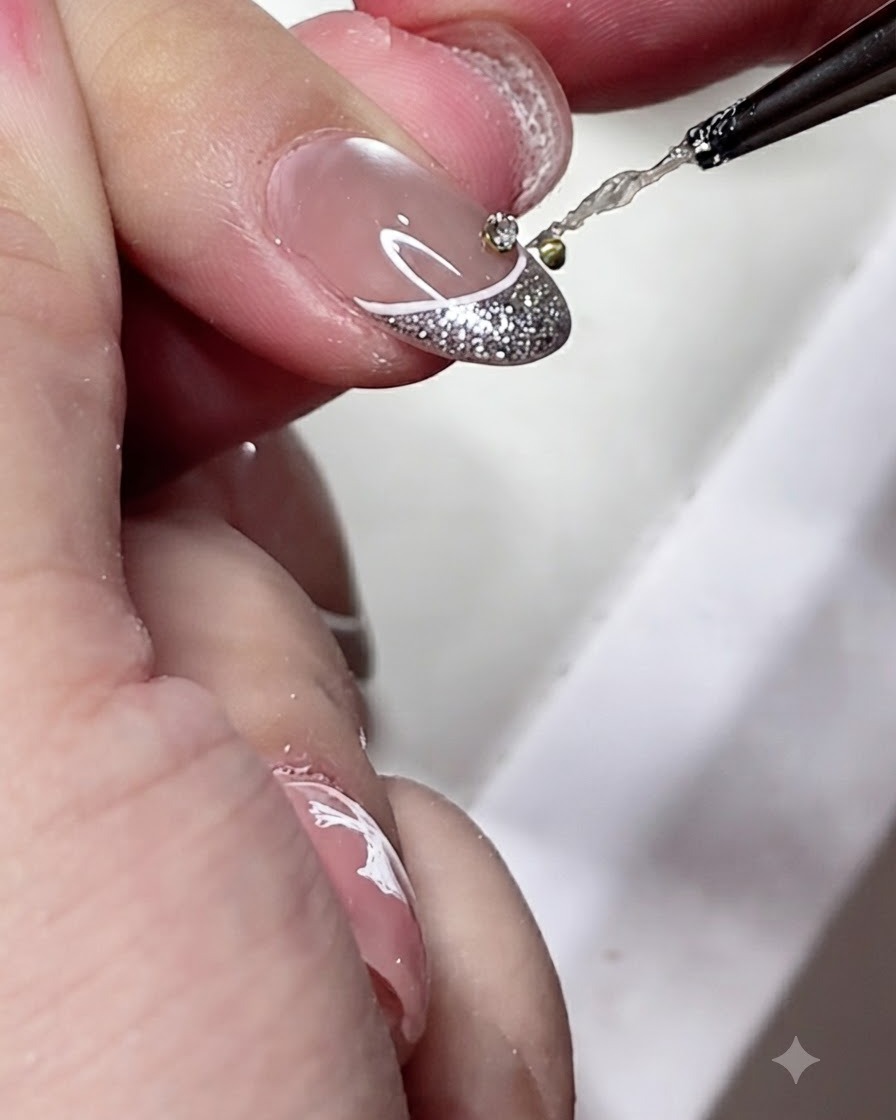
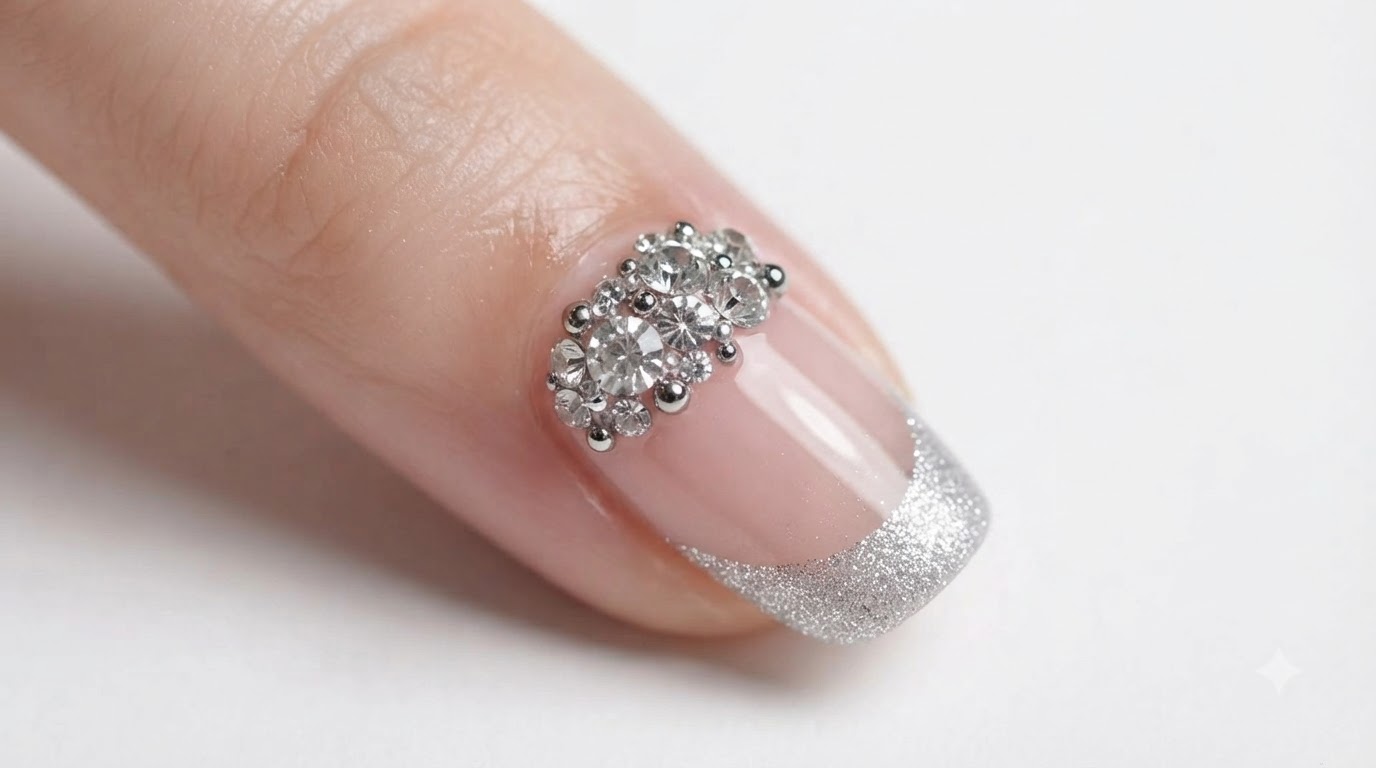
Place a tiny dot of thick application gel precisely at the center of the French tip area to act as secure adhesive for your upcoming rhinestone placement.
Tip: Do not use too much gel adhesive to prevent it from spilling out from underneath the crystal once pressed down. - 11Secure Rhinestone Base
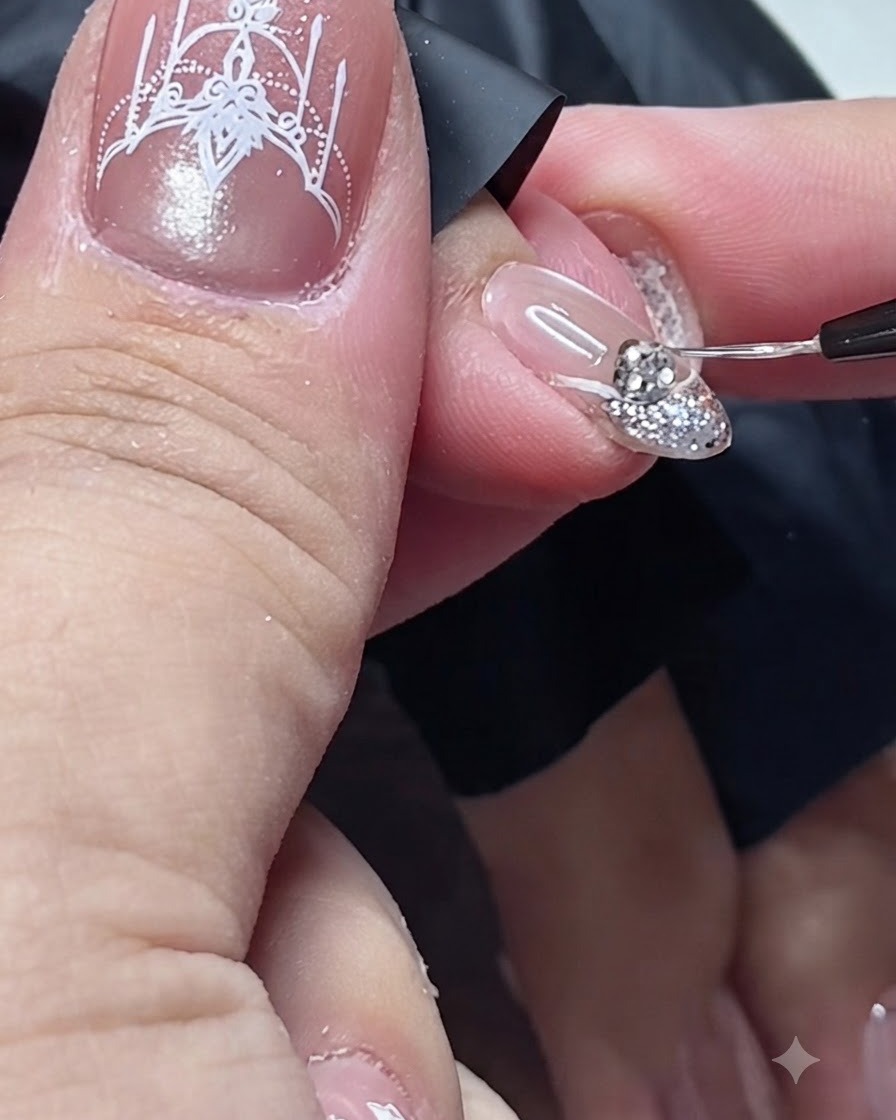
Dip a fine detail brush into top coat and meticulously seal around the base and edges of the rhinestone. This locks the embellishment firmly into place and prevents it from catching or falling off.
Tip: Avoid covering the top facets of the rhinestone with top coat so it maintains its brilliant sparkle.