Y3K Tech Silver Glitter French Nails — Step-by-Step Tutorial
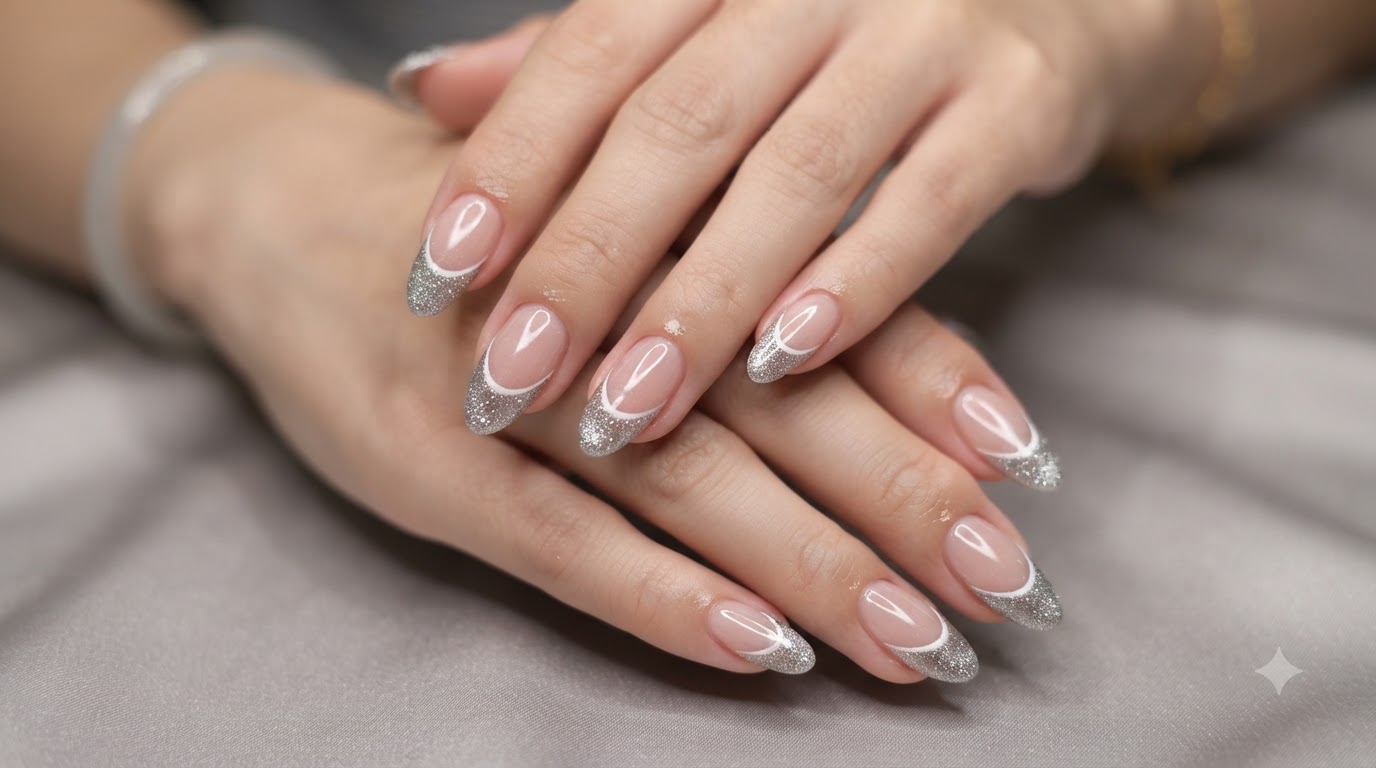
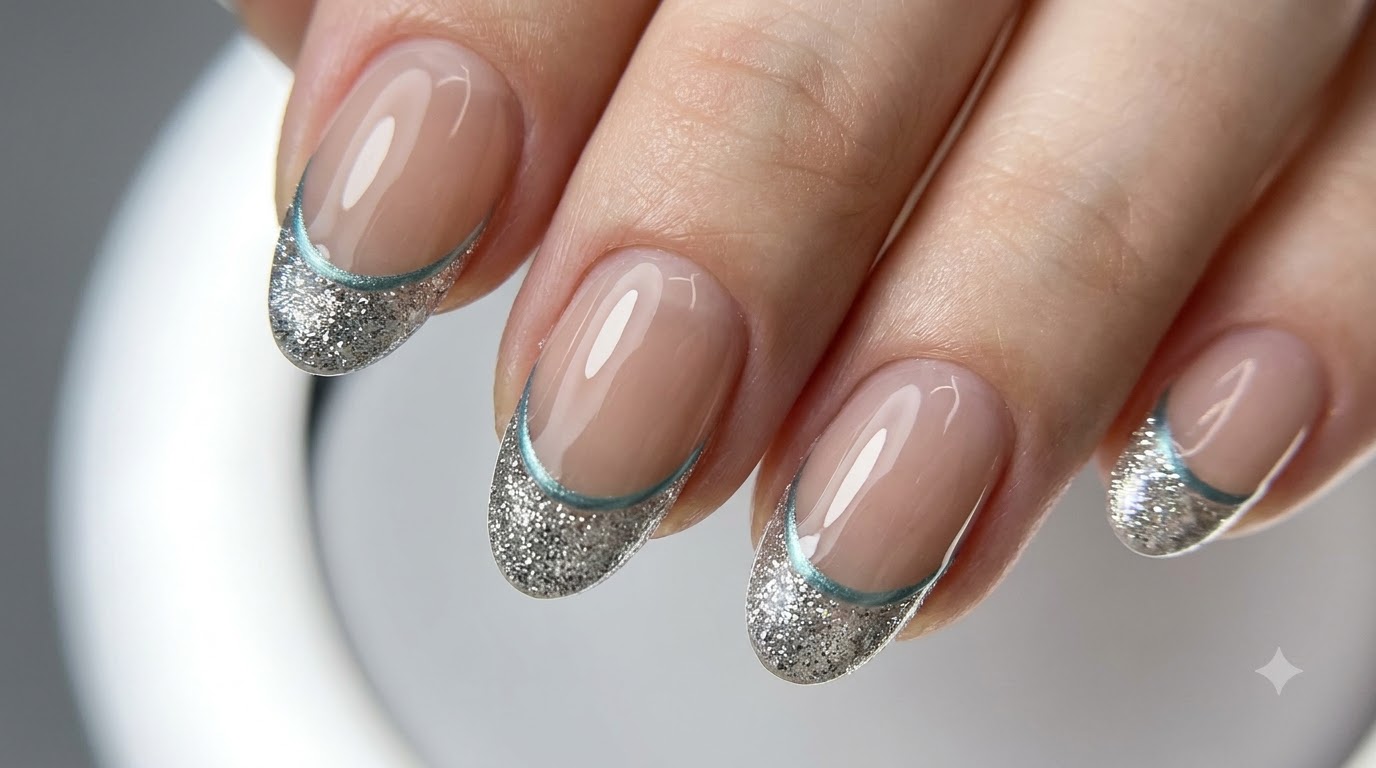
Create futuristic Y3K tech-style silver glitter French nails with a clear nude base, sparkling silver tips, and a sleek blue-green outline accent[cite: 1].
Embrace the futuristic Y3K tech aesthetic with this striking silver glitter French manicurecite: 1. By combining sparkling platinum gel, layered silver glitter flakes, structural rear building for a full sense of space, and a crisp blue-green outline, this look delivers a high-impact cyberpunk finish that feels both modern and chiccite: 1.
Steps
- 1Apply Nude Base Layer
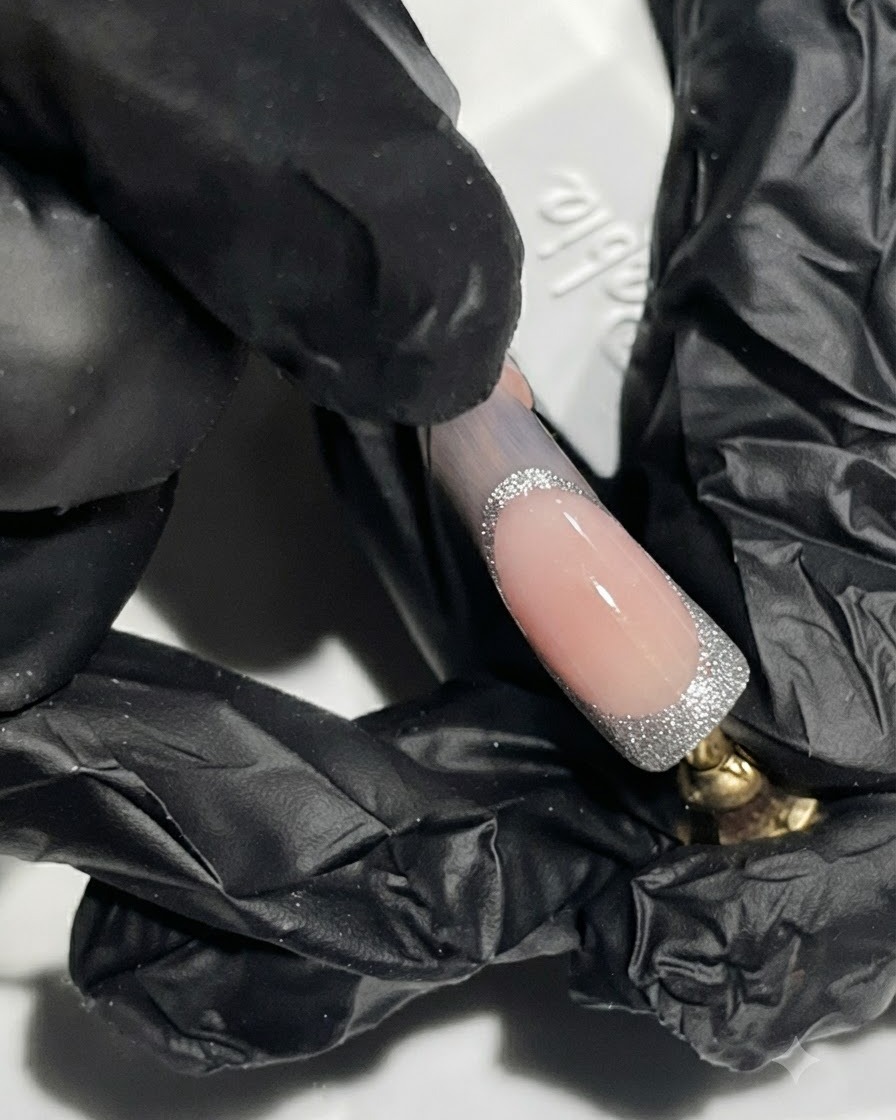
Apply a nude gel color onto the nail tip to build the initial base for your French manicure. Ensure the application is even across the tip area before preparing to cure.
Tip: Keep the layer thin to prevent bubbling or uneven curing under the lamp. - 2Cure Nude Base Layer
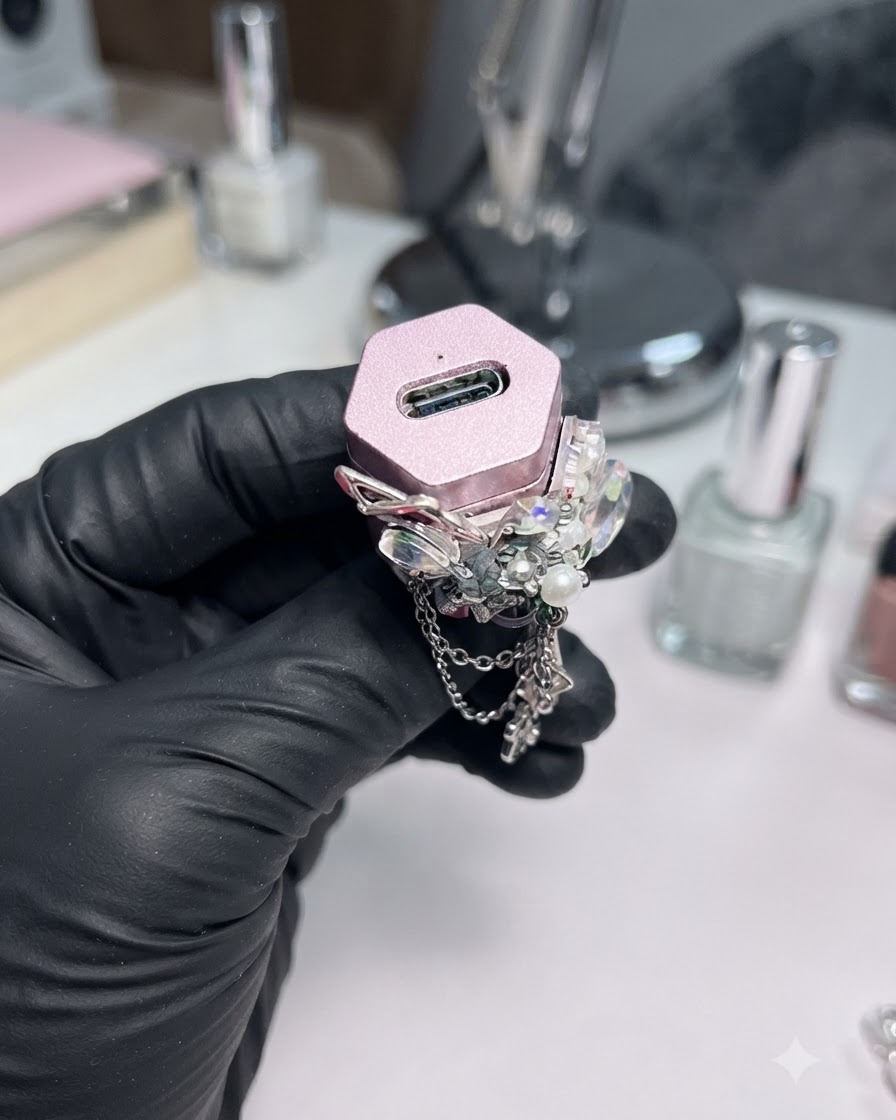
Place the nail under a UV/LED mini lamp to fully cure the nude base color layer. Make sure the light reaches the entire surface of the tip to set the gel properly.
Tip: Position the mini lamp close to the nail for complete and even curing. - 3Outline French Tip
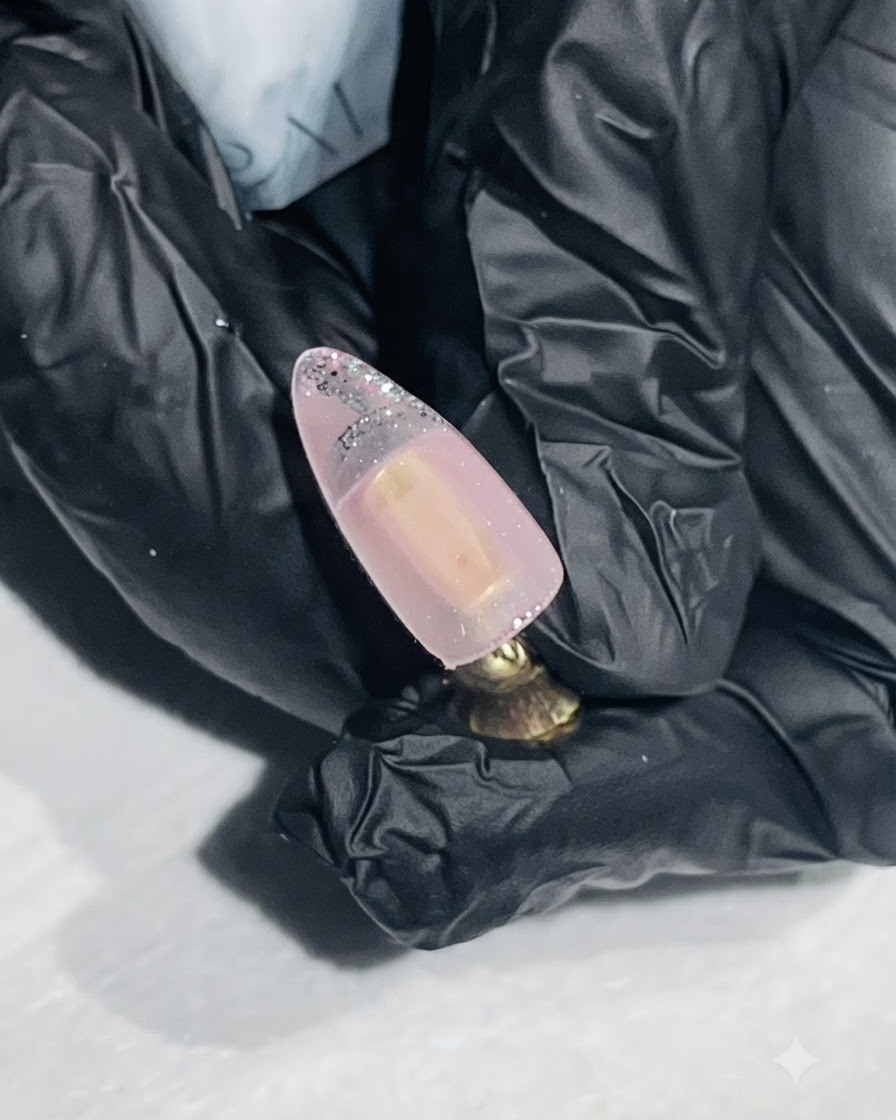
Take a fine liner brush dipped in silver platinum gel to carefully draw the outline of the French tip. Take your time to define a clean, crisp smile line.
Tip: Use light pressure on your liner brush for smoother, more precise lines. - 4Fill French Section
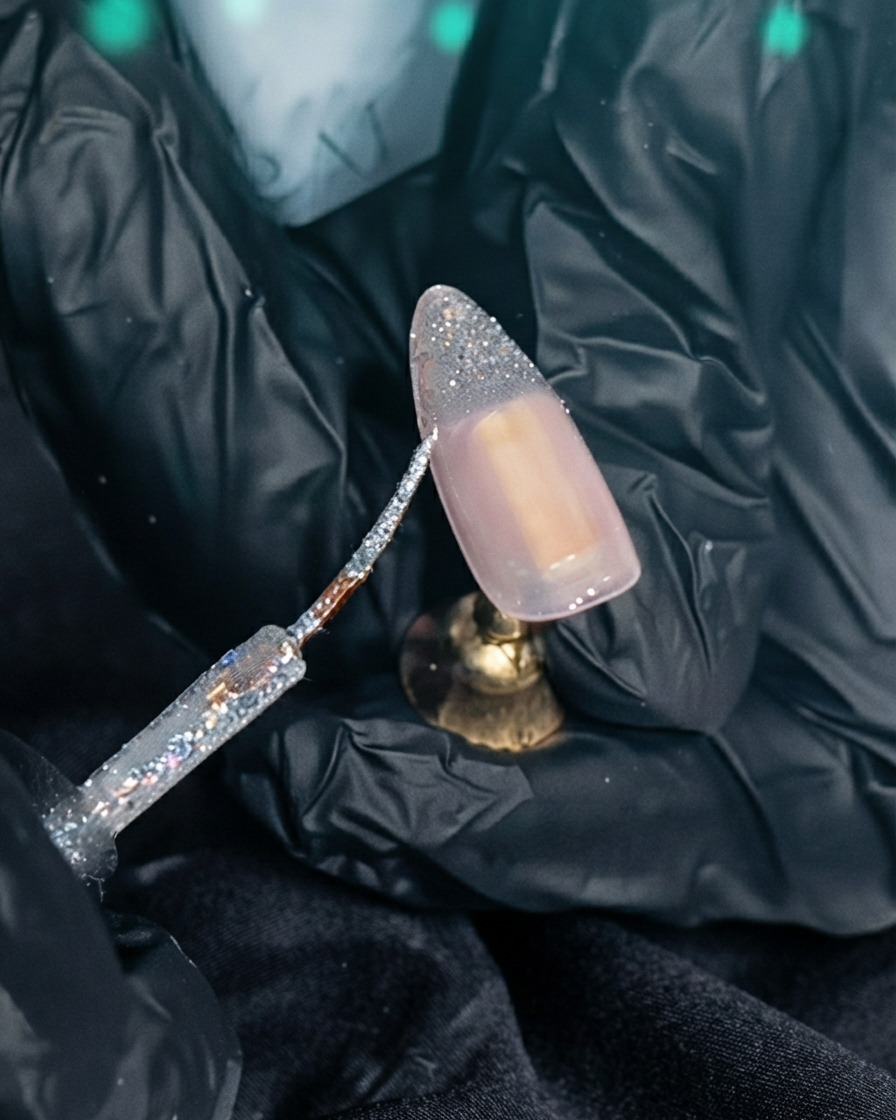
Use the silver platinum gel to completely fill in the lower part of the French tip area. Make sure the coverage is solid and uniform across the entire tip section.
Tip: Check for any bald spots or thin areas in the metallic gel before curing. - 5Cure Platinum Gel Layer
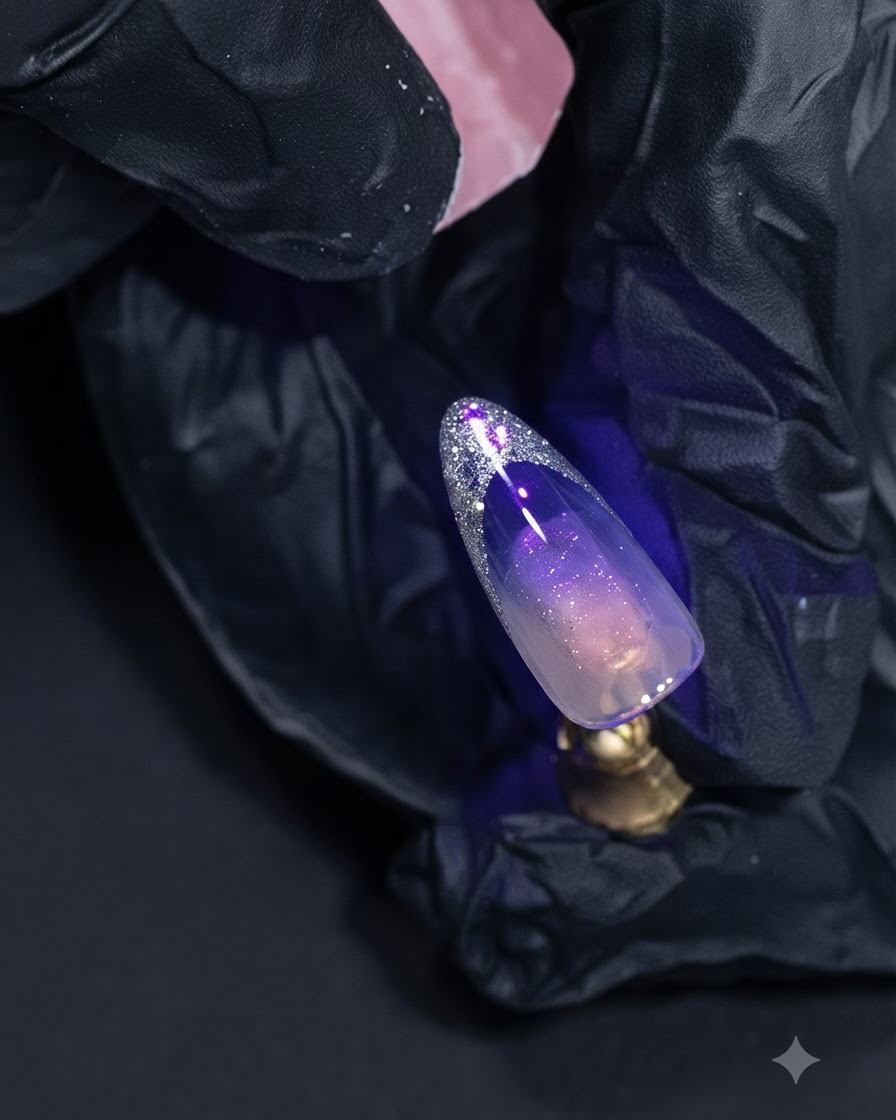
Place the nail back under the UV/LED lamp to cure the silver platinum gel French layer. Ensure the metallic gel is completely set before moving on to the next embellishment step.
Tip: Allow a full cure cycle to ensure the glitter and platinum particles lock securely in place. - 6Apply Reinforcing Gel Base
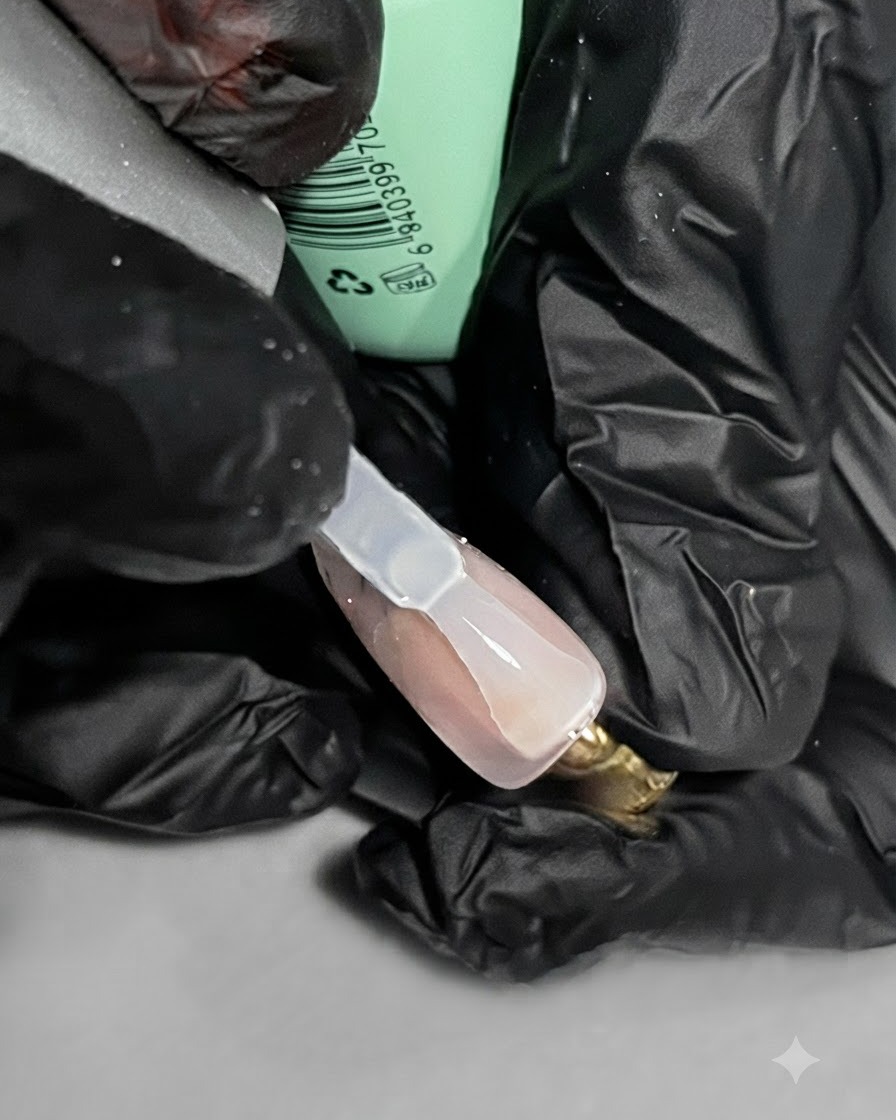
Apply a layer of reinforcing gel over the nail surface to create a smooth, flowing foundation. This building layer provides a proper surface structure before adding loose glitter pieces.
Tip: A smooth floating surface helps keep the embedded glitter flat and evenly distributed. - 7Place silver glitter flakes
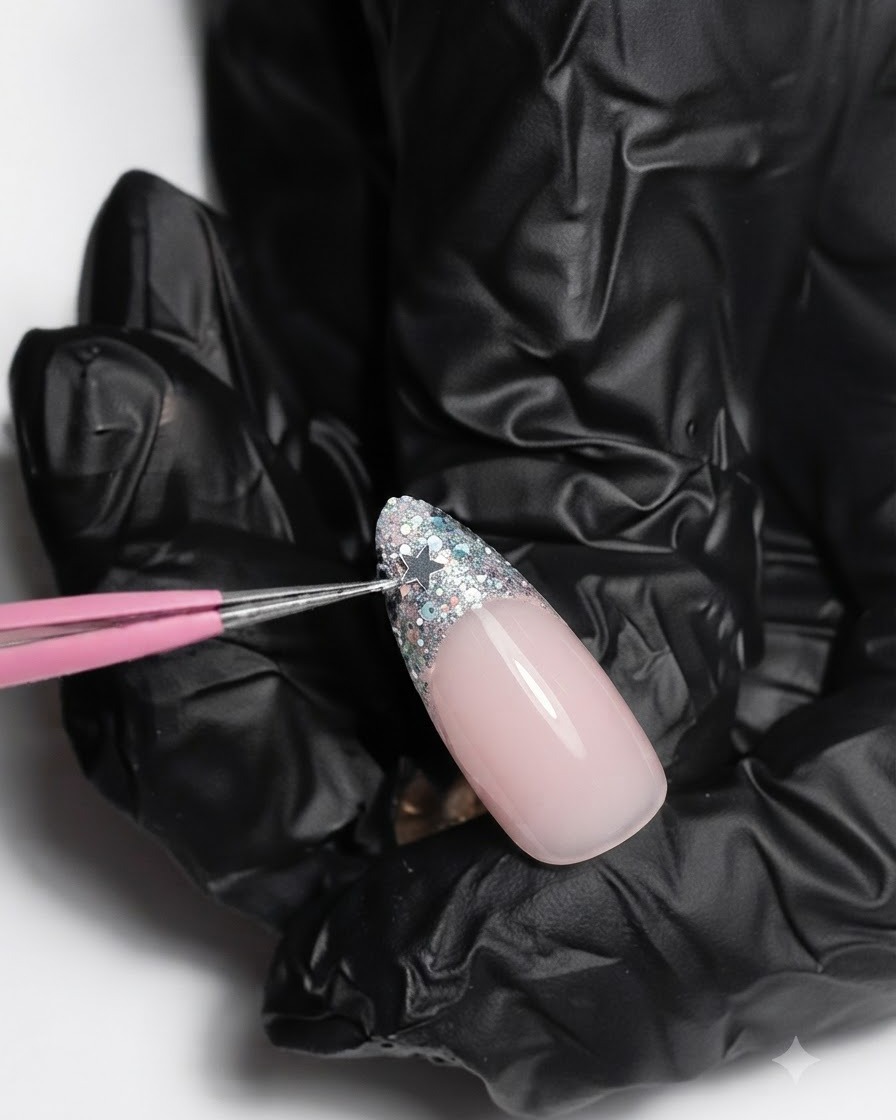
Using tweezers, carefully pick up and place large and small silver glitter flakes onto the platinum gel French tips to build up the dimensional Y2K metallic look.
Tip: Mix different sizes of glitter to create a rich, multi-layered texture across the nail tip. - 8Arrange and fill the glitter
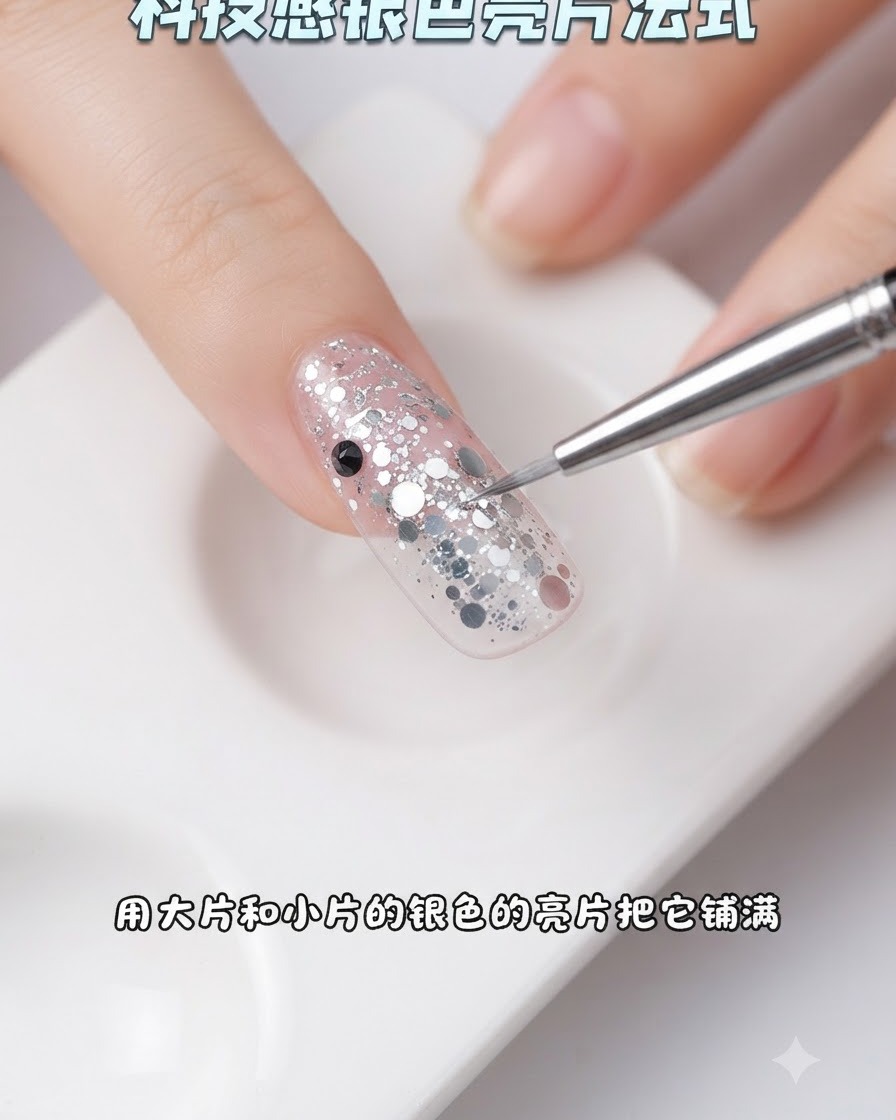
Use a fine detail brush to arrange and evenly distribute the silver glitter pieces across the entire French tip area, filling any gaps to make the surface dense and covered.
Tip: Check the spacing under good lighting to ensure the glitter is spread uniformly without overcrowding one side. - 9Apply reinforcing gel over glitter
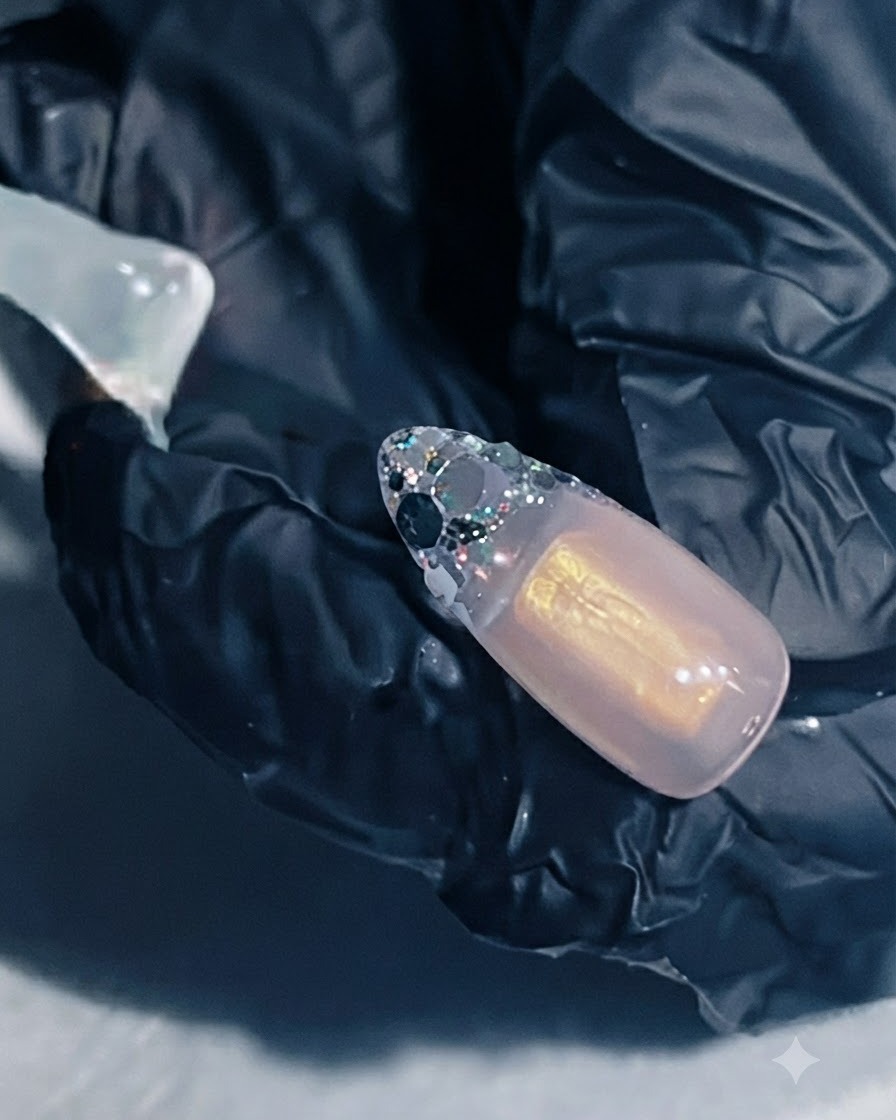
Apply another layer of reinforcing gel evenly over the embedded glitter pieces to encapsulate them securely and build the initial structure.
Tip: Make sure the reinforcing gel covers all the edges of the glitter pieces so they dont catch or lift later. - 10Seal and smooth the surface
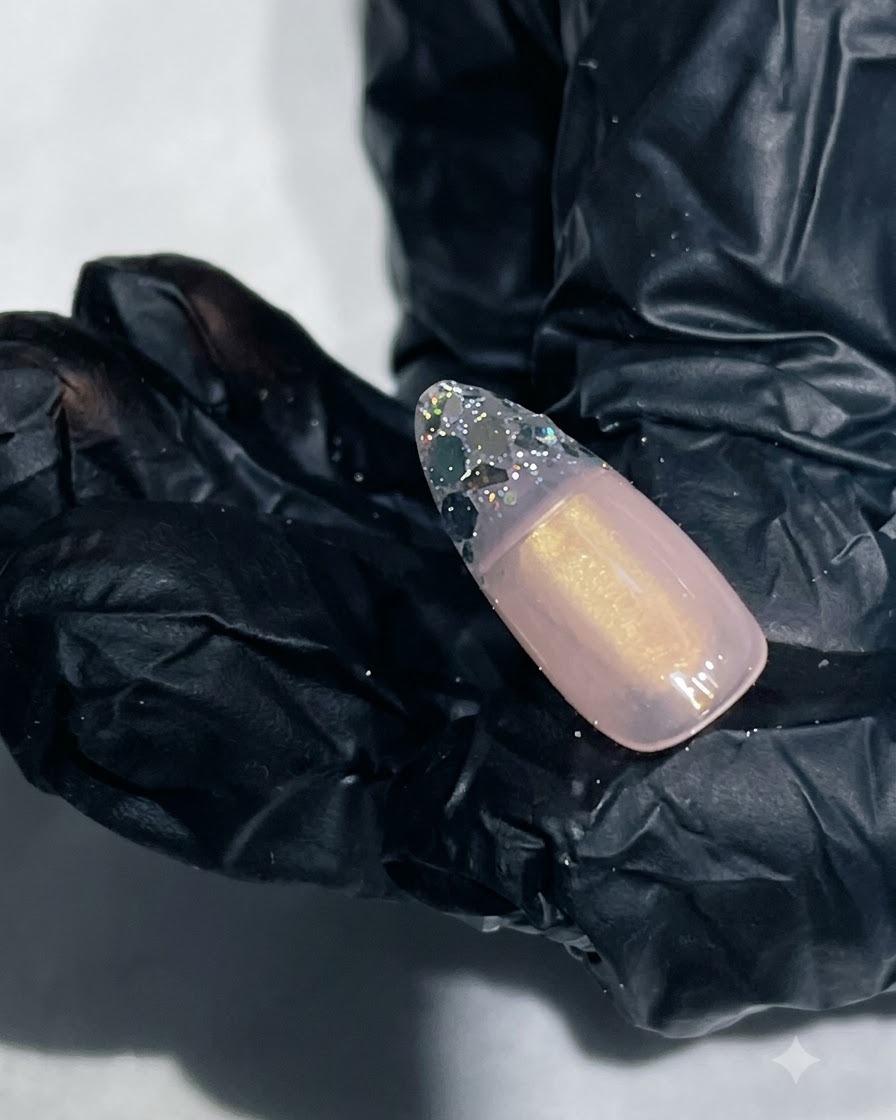
Seal the top with reinforcing gel and level it out to ensure the surface flows smoothly, preparing it for the structural build and final details.
Tip: Allow the self-leveling gel a few moments to form a smooth apex before curing. - 11Cure the reinforcing gel layer
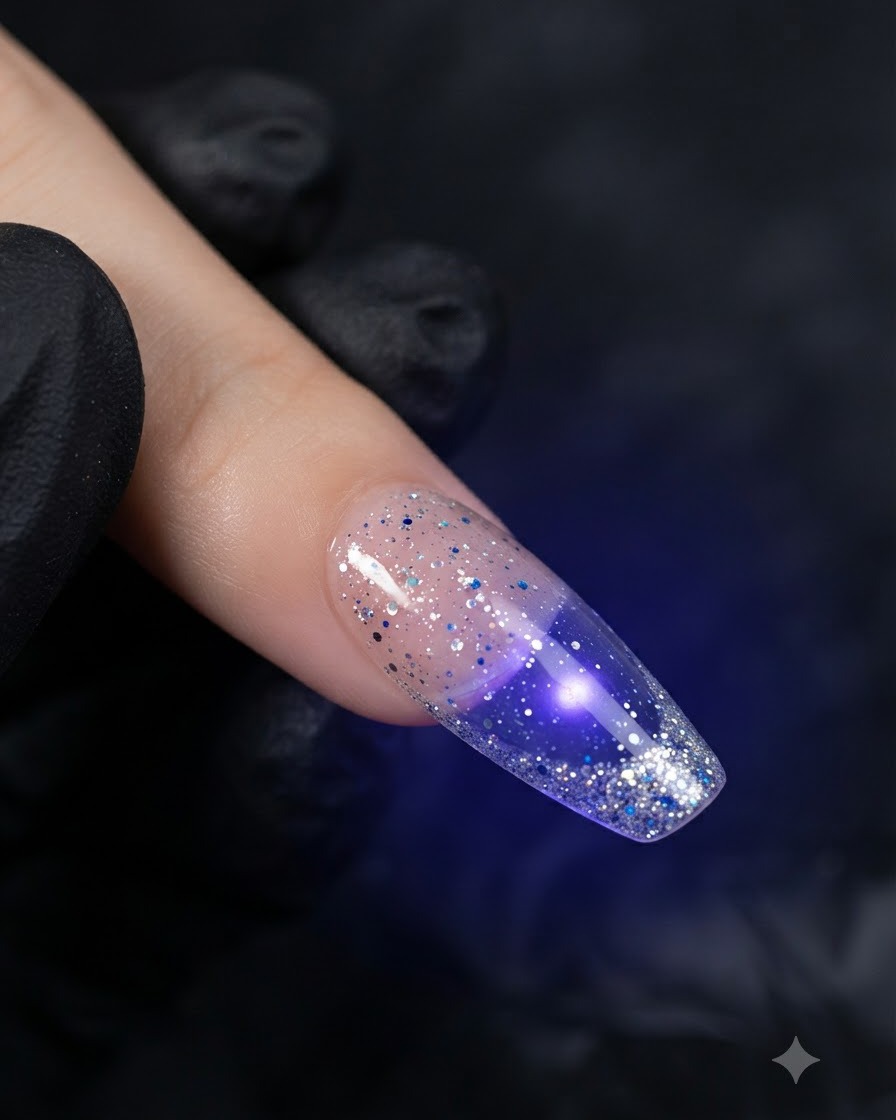
Place the hand under the UV or LED lamp to fully cure the reinforcing gel layer, locking the encapsulated silver glitter and structural build securely in placecite: 1. Ensure the hand is positioned correctly for even light exposure across the entire nail surface.
Tip: Make sure your curing time matches the specific gel manufacturers requirements to prevent under-curing.