Pink Crushed Diamond Cat Eye Nails — Step-by-Step Gel Tutorial
Create stunning shimmering pink crushed diamond and cat eye gel nails with this step-by-step tutorial designed for a professional salon-quality finish.
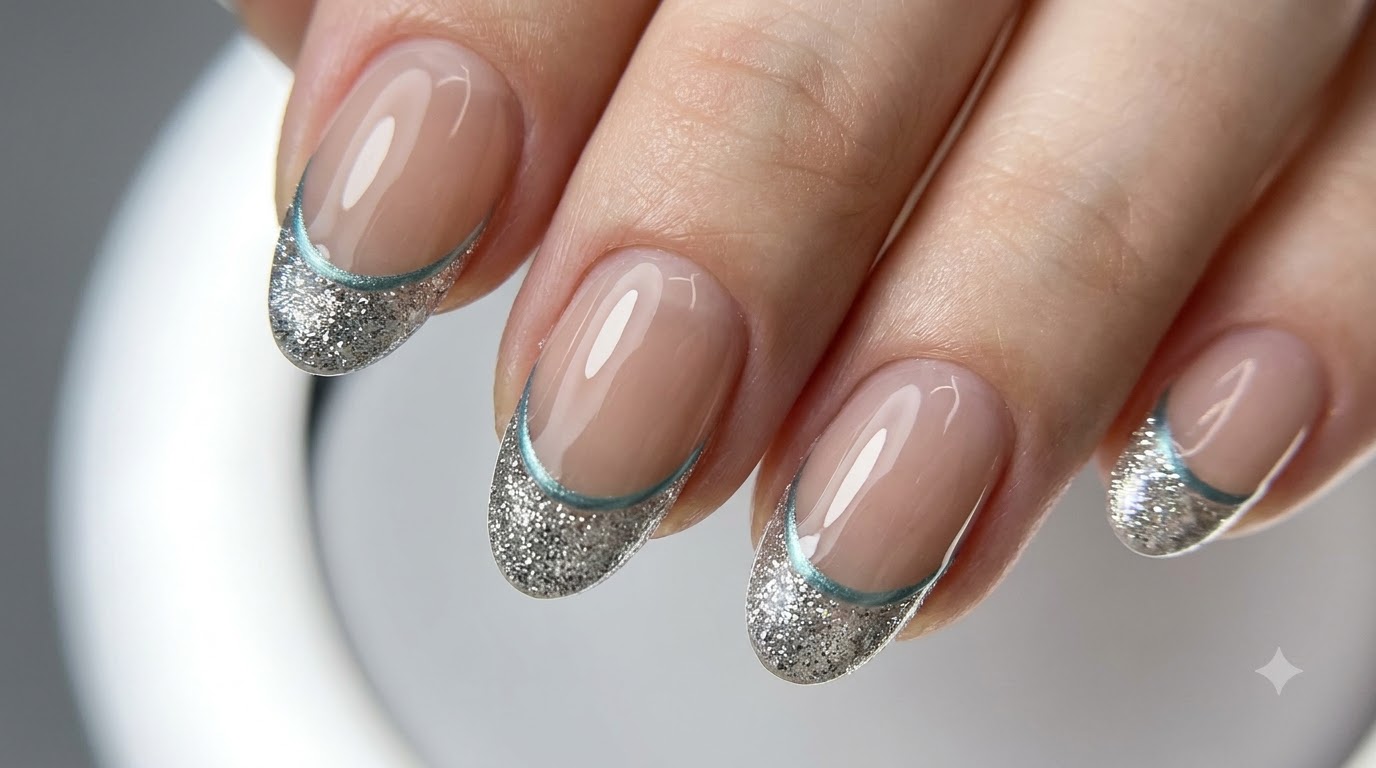
Elevate your manicure game with this gorgeous pink crushed diamond and cat eye combination. This look blends ethereal glitter gradients with a mesmerizing magnetic light reflection, creating a luxurious depth that catches the light from every angle.
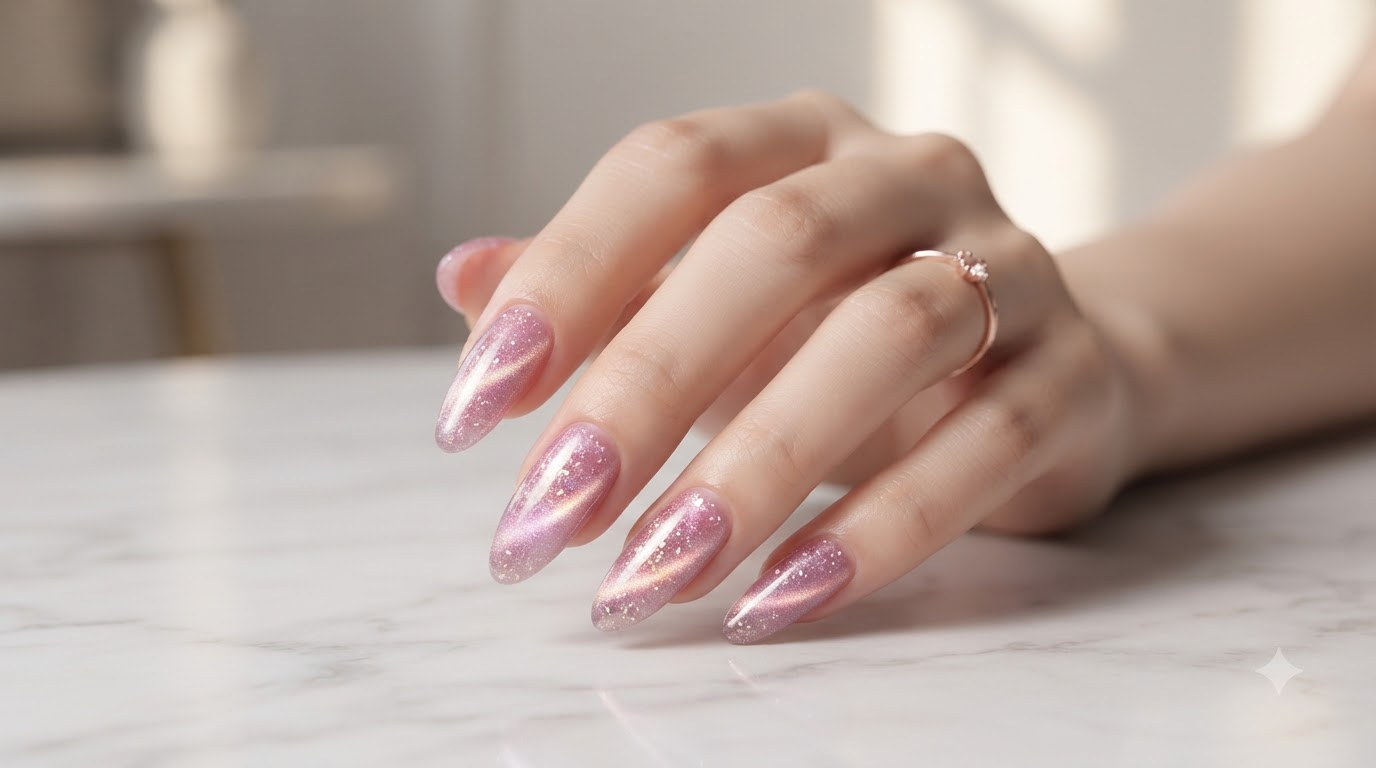
Steps
- 1Apply Base Coat
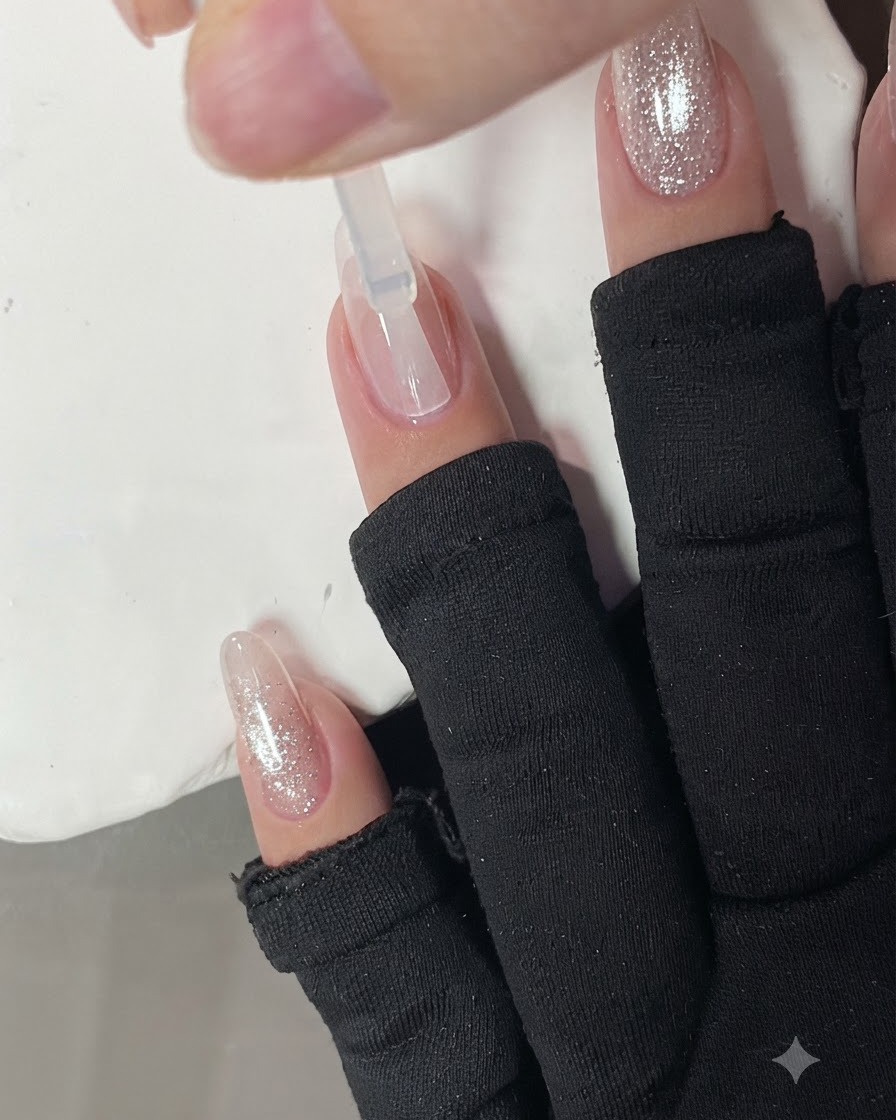
Start by applying a smooth and even layer of gel base coat to the prepared nail plate, making sure to coat the entire surface evenly before curing.
Tip: Ensure the base coat is applied thinly to prevent lifting or bubbling during the curing process. - 2Cure Base Coat
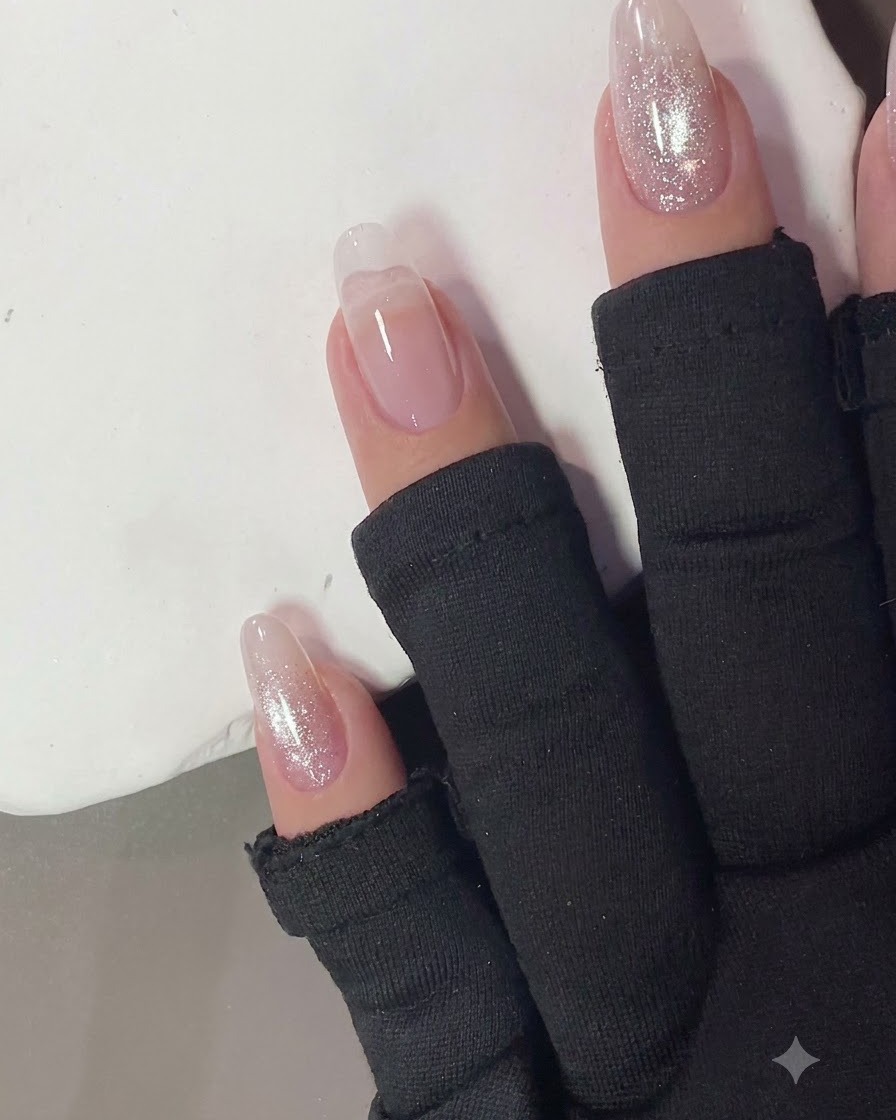
Place your hand under a UV or LED nail lamp to cure the base coat according to the product manufacturer instructions.
Tip: Do not skip full curing time to ensure proper adhesion for subsequent gel layers. - 3Wipe Sticky Layer
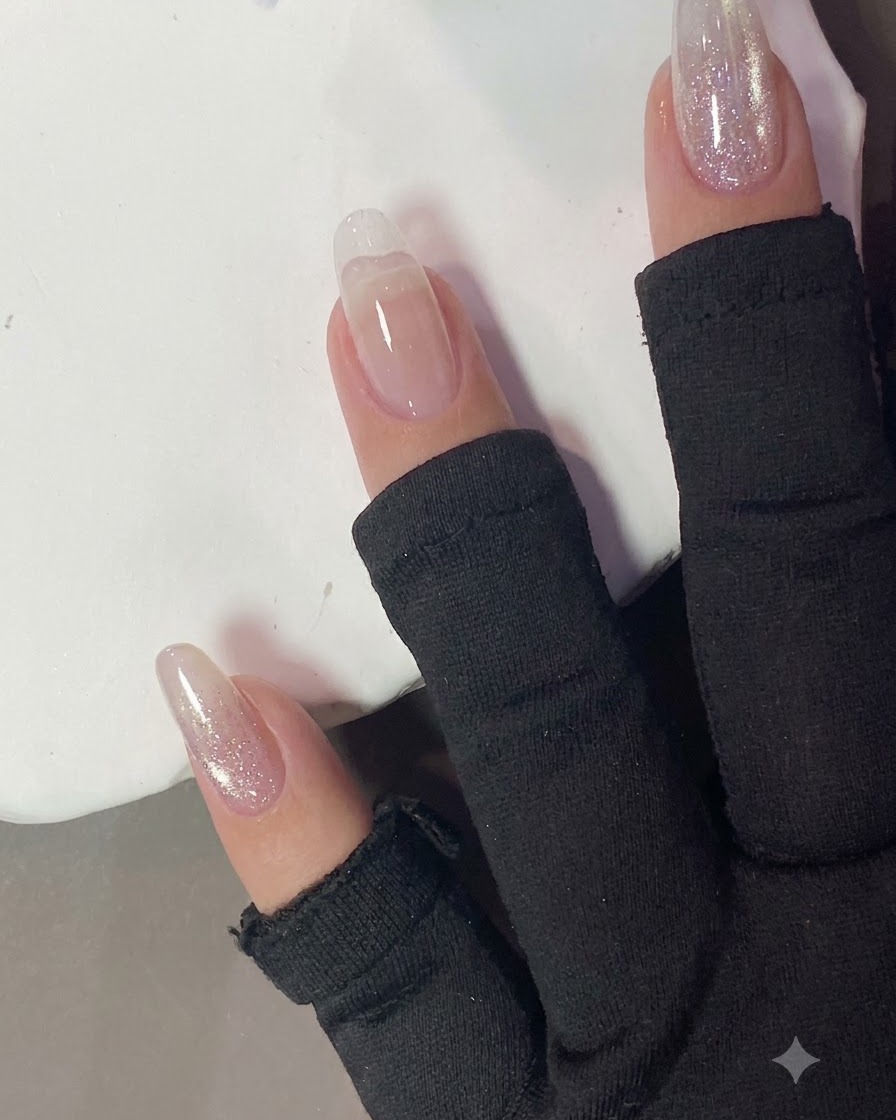
Use a clean cotton pad moistened with cleanser to thoroughly wipe off the tacky inhibition layer left behind by the cured base coat.
Tip: Wiping off the sticky layer creates a clean, smooth surface for precise color placement. - 4Apply Nude Pink Gel
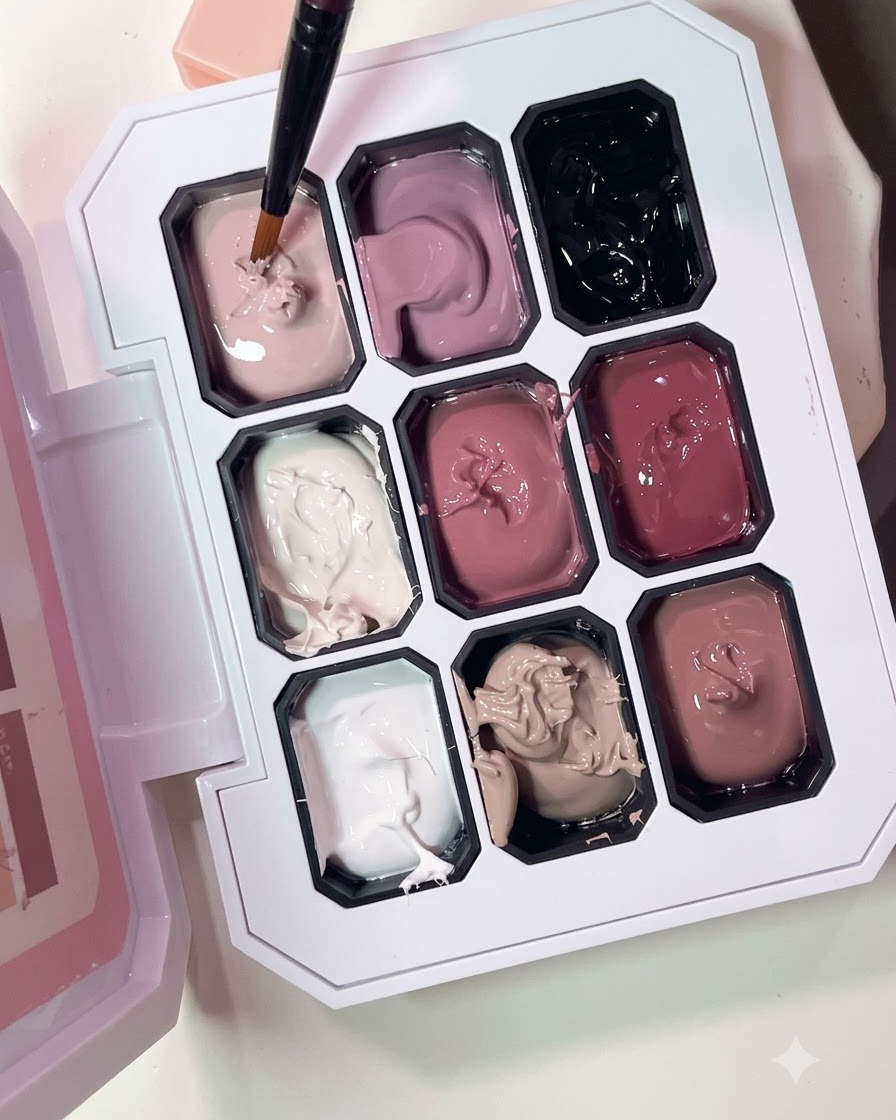
Dip a small nail art brush into the nude pink color from your palette and carefully apply it to cover the smile line.
Tip: Keep your brush strokes controlled to maintain a neat boundary along the nail bed. - 5Create Gradient with Sponge
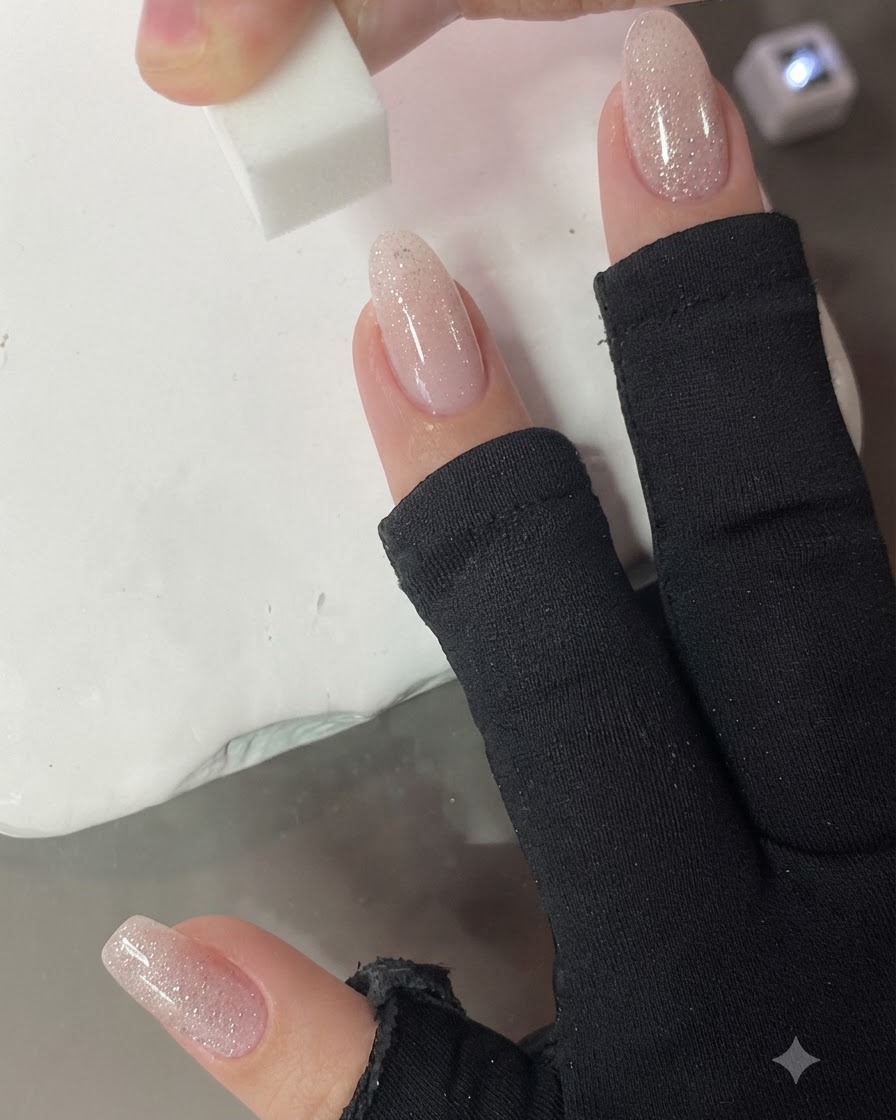
Take a small makeup sponge and gently dab the nude pink gel using an up-and-down vertical motion to create a smooth, light gradient effect.
Tip: Dabbing straight up and down prevents streaks and ensures an even distribution of color. - 6Clean Surrounding Skin
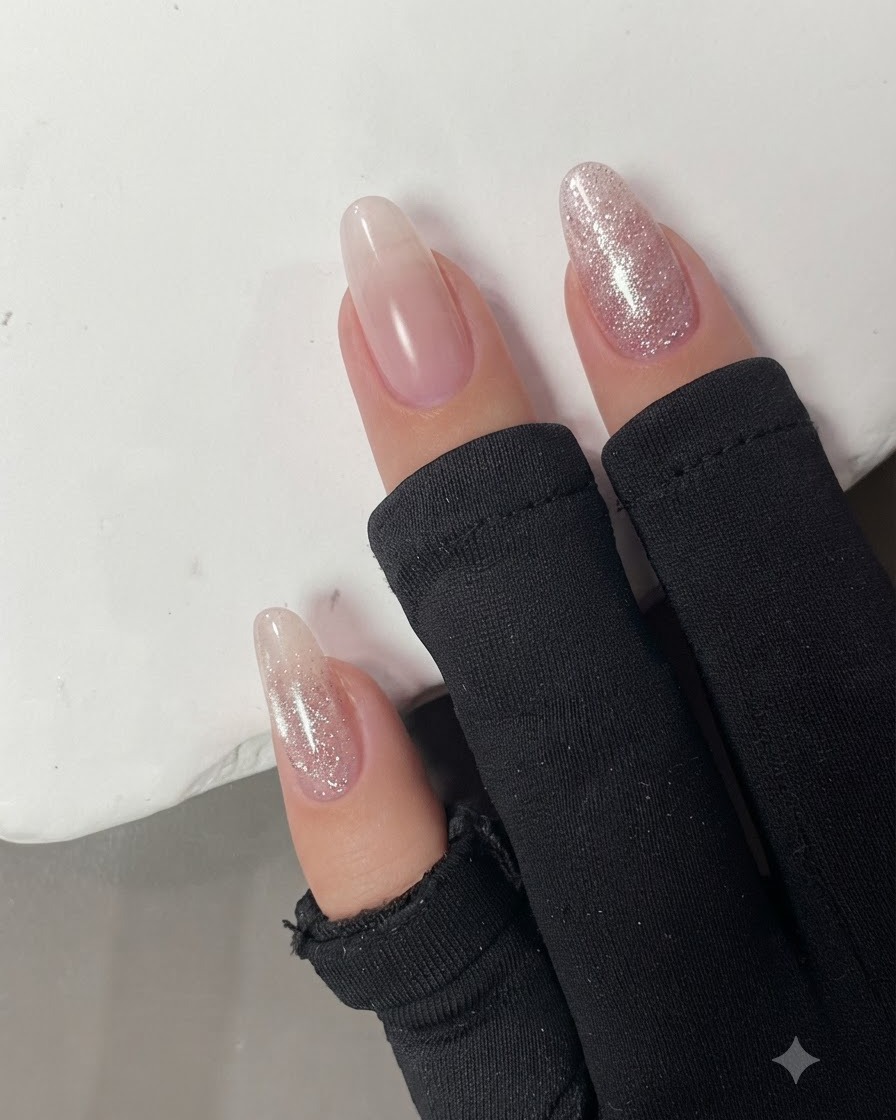
Carefully wipe away any stray gel polish that has touched the surrounding skin or cuticles before curing the layer.
Tip: Always clean up skin edges to prevent accidental skin irritation or premature lifting of the gel manicures. - 7Cure the nude pink layer
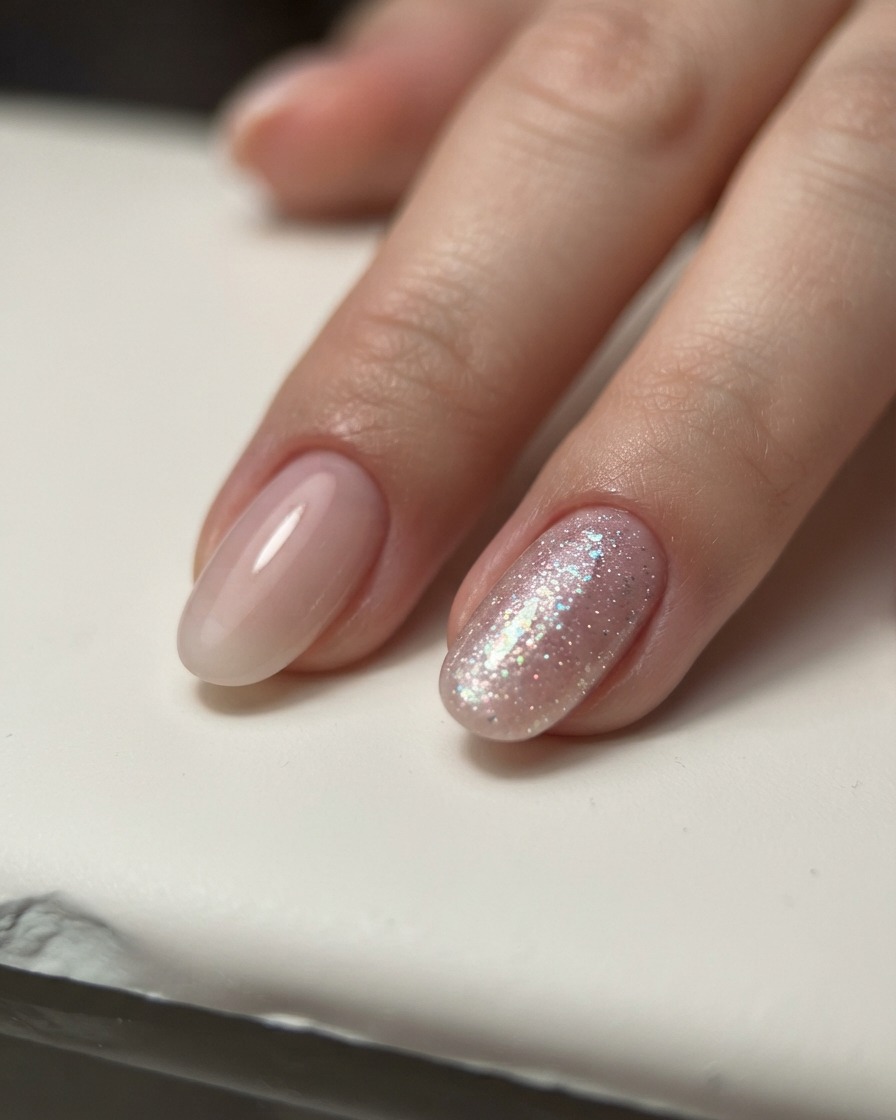
Place your hand inside the UV/LED lamp and cure the nude pink layer completely. Ensure the gel is fully set before moving on to the next application step to prevent shifting or wrinkling.
Tip: Make sure your hand is positioned flat inside the lamp so the light hits the entire nail surface evenly. - 8Apply pink crushed diamond gel
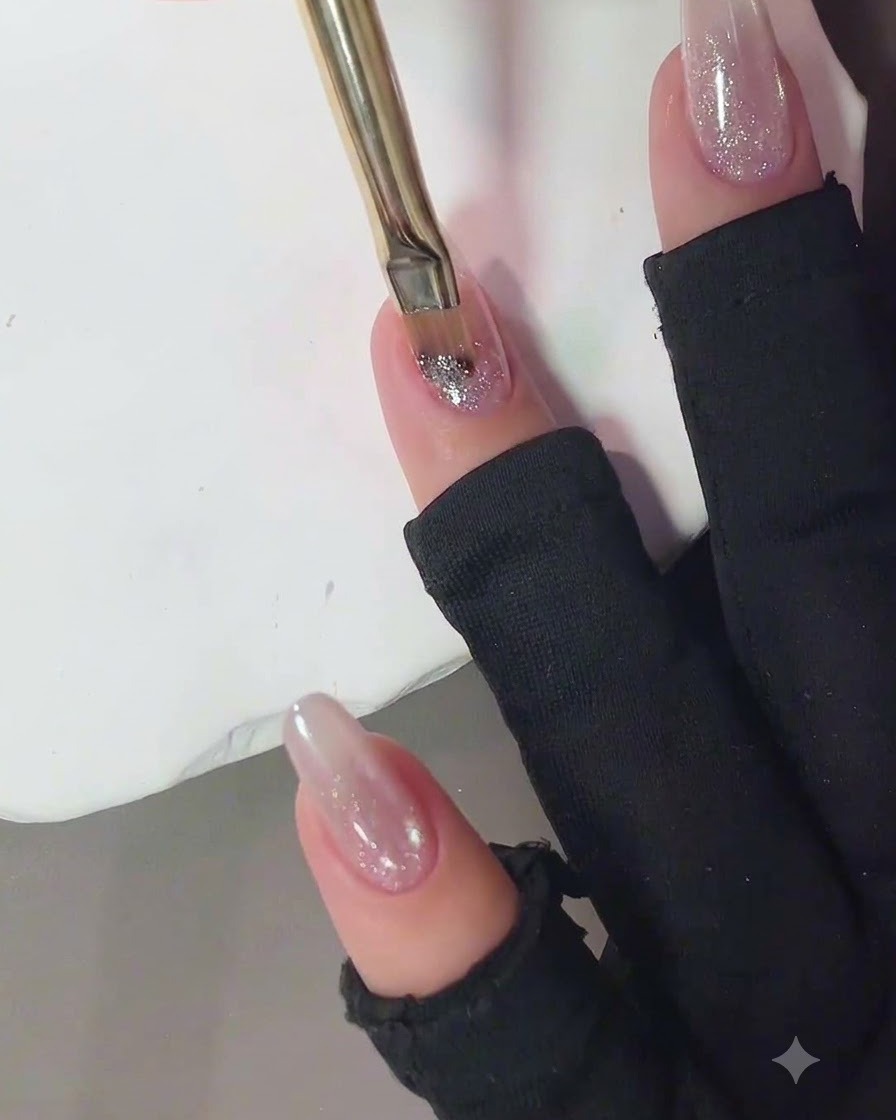
Take the pink crushed diamond gel and apply it starting from the tip down to about two-thirds of the nail length, leaving the cuticle area bare. Do not cure this layer yet, as you will need to blend the transition next.
Tip: Keep the application controlled at the upper edge so it is easier to blend a soft gradient look. - 9Blend the crushed diamond gradient
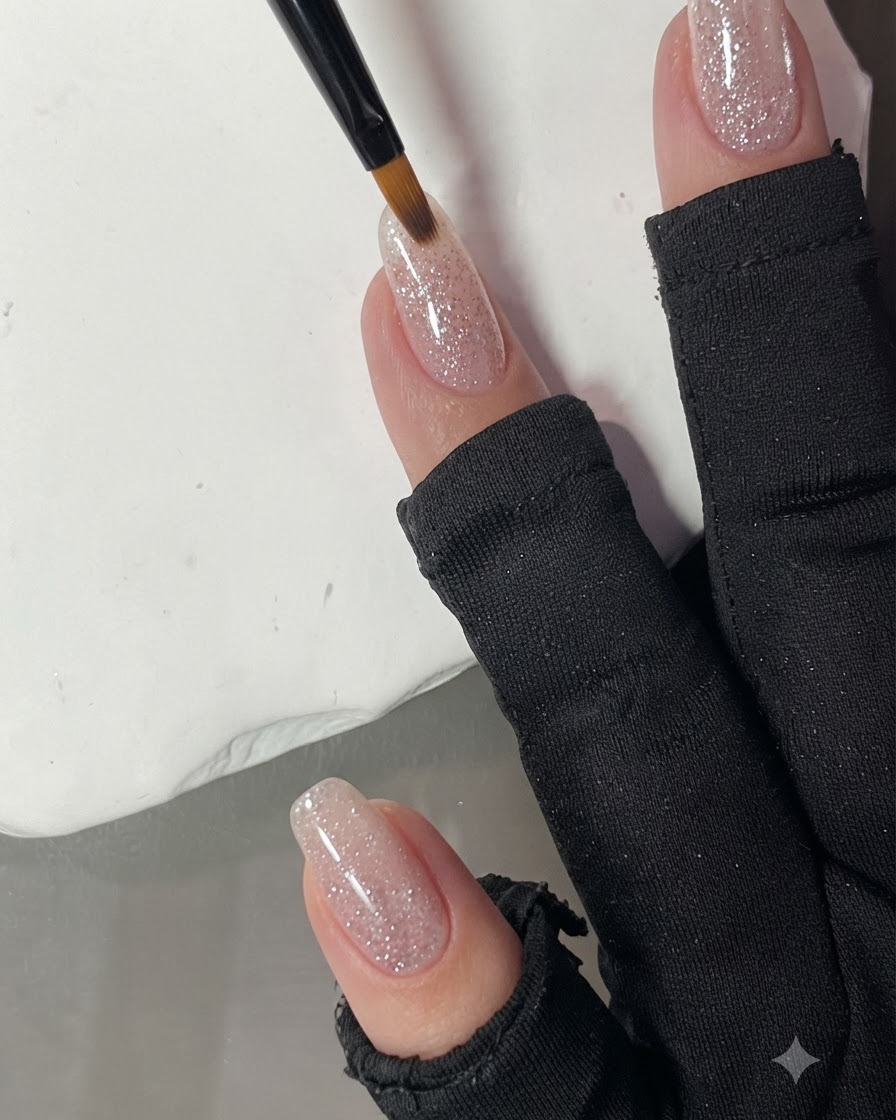
Take a clean fan brush and gently sweep over the boundary where the crushed diamond gel meets the bare nail area. This diffuses the harsh line and creates a smooth, soft ombre transition.
Tip: Use very light, feathery strokes with the fan brush to avoid wiping away too much glitter. - 10Cure the crushed diamond layer
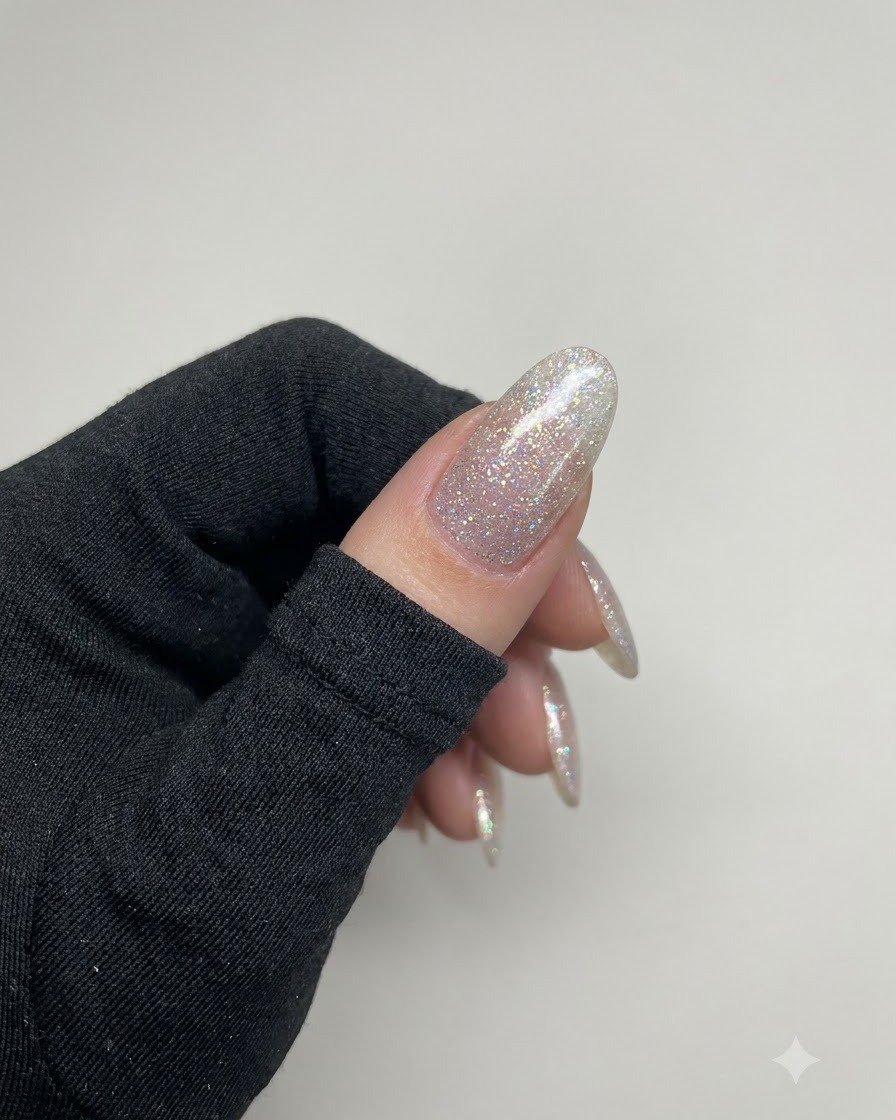
Once you are satisfied with the soft gradient transition, place the hand under the UV/LED lamp to cure the crushed diamond glitter layer securely in place.
Tip: Check that the glitter is evenly dispersed across the nail before curing. - 11Apply reinforcement gel
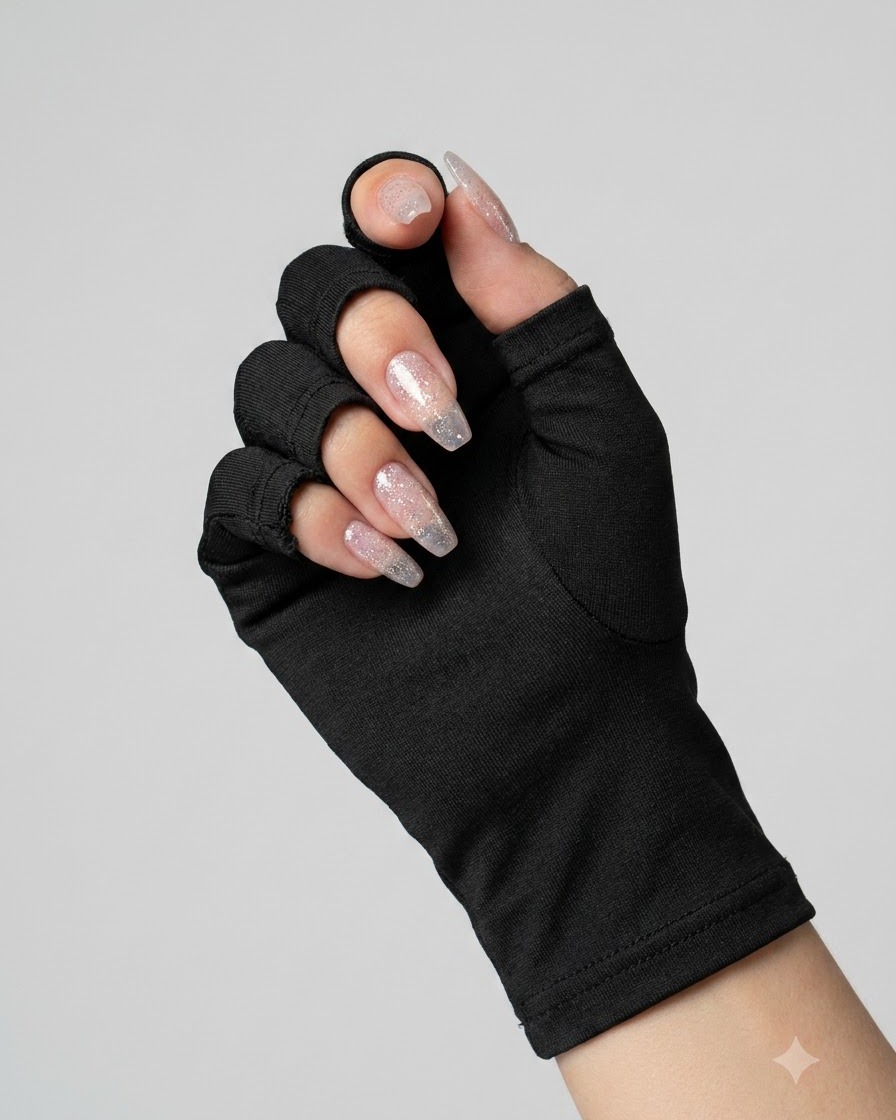
Apply a clear layer of reinforcement gel over the entire nail to level out any texture from the glitter particles and smooth the overall surface structure. Cure this layer according to your lamp instructions.
Tip: Reinforcement gel adds strength and prevents the glitter texture from feeling bumpy under the top coat. - 12Apply pink cat eye gel
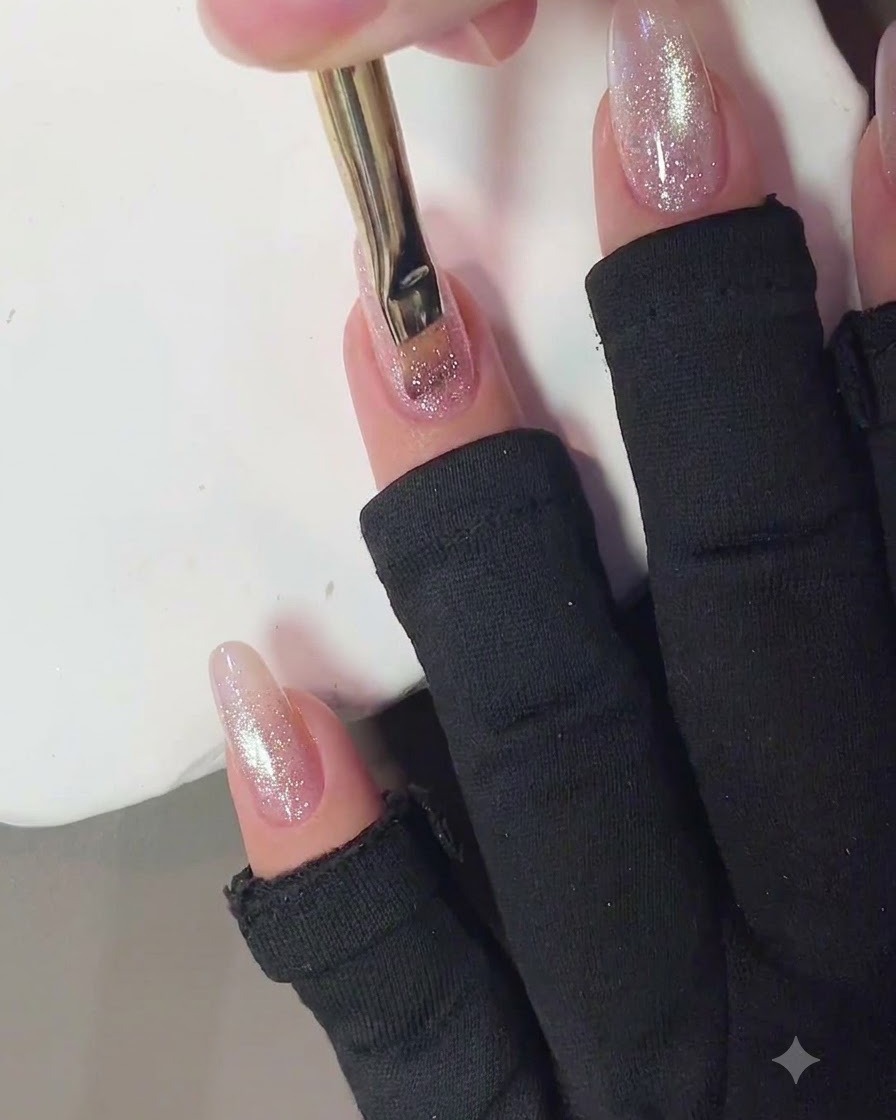
Apply a fresh layer of pink cat eye gel evenly across the nail surface over the cured reinforcement layer. Do not cure this layer immediately, as you need it wet to manipulate the magnetic particles.
Tip: Apply a smooth, even coat so the magnetic particles can move freely and create a clean reflection line. - 13Magnetize the Cat-Eye Gel
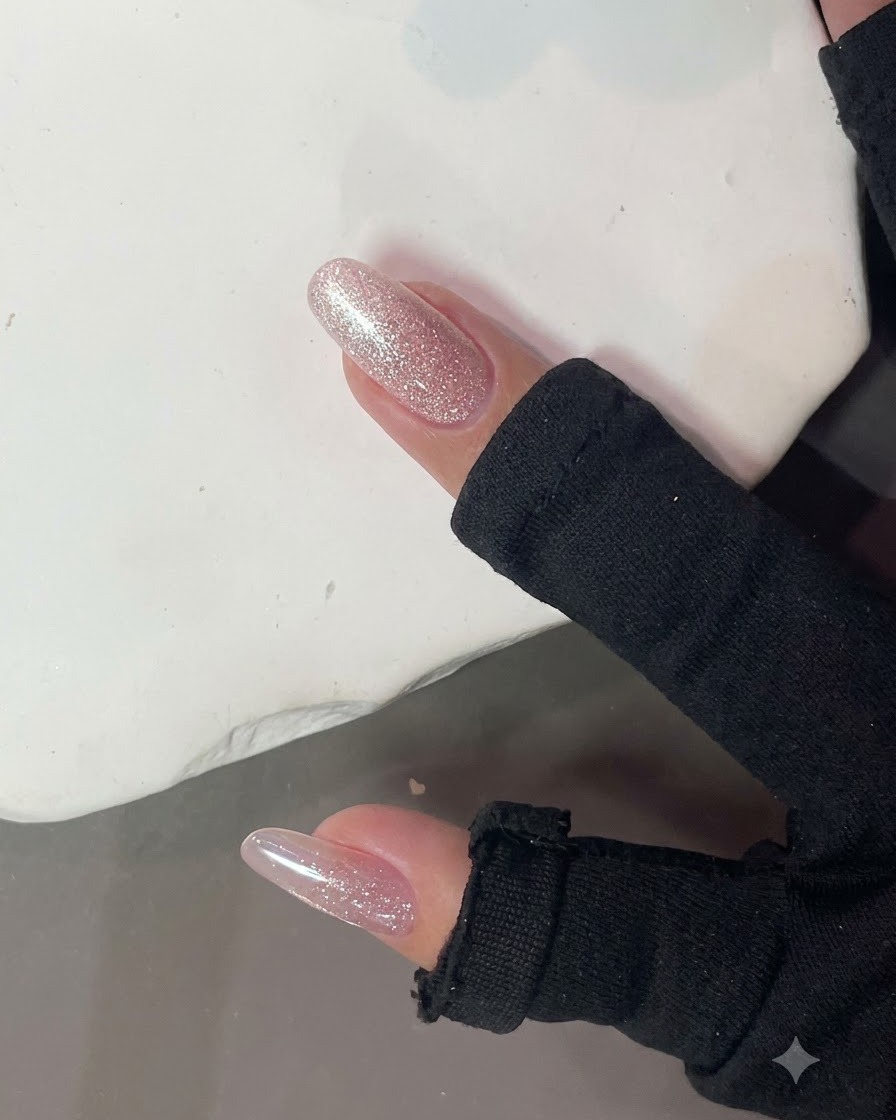
Hold a specialized nail magnet closely over the uncured pink cat-eye gel layer without touching it. The magnet pulls the metallic particles into a sharp, shimmering light stripe or aura. Hold steady for a few seconds until you achieve your desired reflective design before curing.
Tip: Do not let the magnet touch the wet gel surface, as it will ruin the smooth finish and leave a smudge. - 14Cure the Cat-Eye Layer
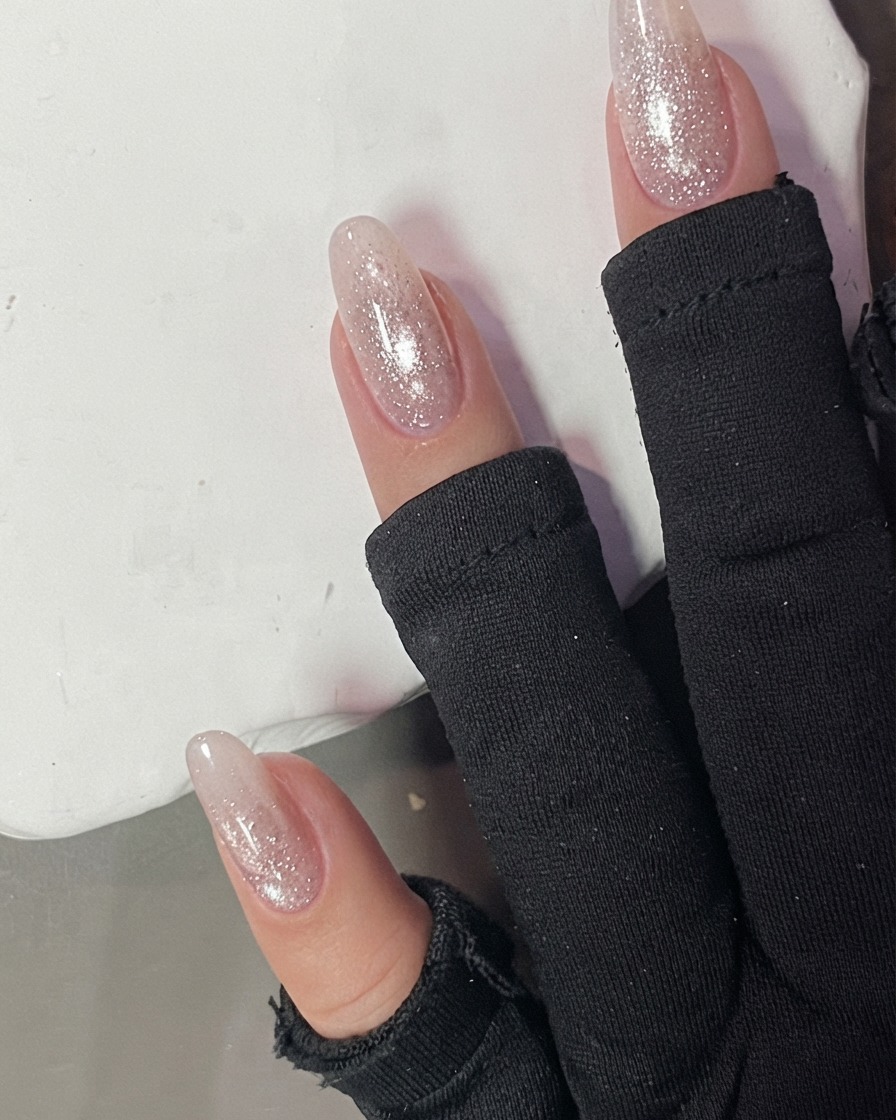
Place your hand inside the UV or LED lamp to cure the freshly magnetized cat-eye layer. Curing locks the magnetic particles permanently in place so the shimmering effect cannot shift or fade.
Tip: Keep your hand flat inside the lamp to ensure the light cures all fingers evenly. - 15Apply Top Coat
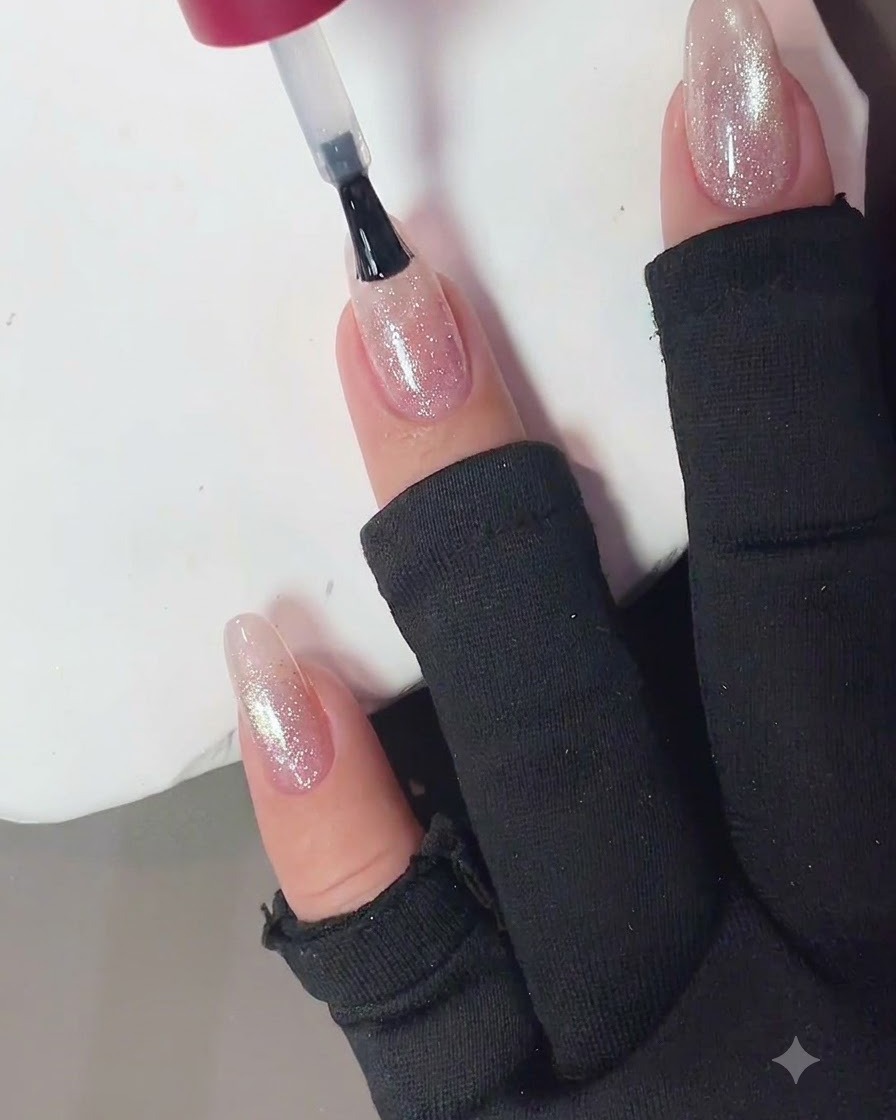
Finish the manicure by applying an even layer of no-wipe top coat over the entire nail surface, making sure to cap the free edge completely. Cure under the UV or LED lamp to lock in the shine, protect the design against chipping, and leave a glossy finish with no sticky residue to wipe off.
Tip: Capping the free edge with top coat is crucial to sealing the layers and preventing premature chipping at the tips.