Silver Glitter
Gemstone Statement Nails — Step-by-Step Tutorial
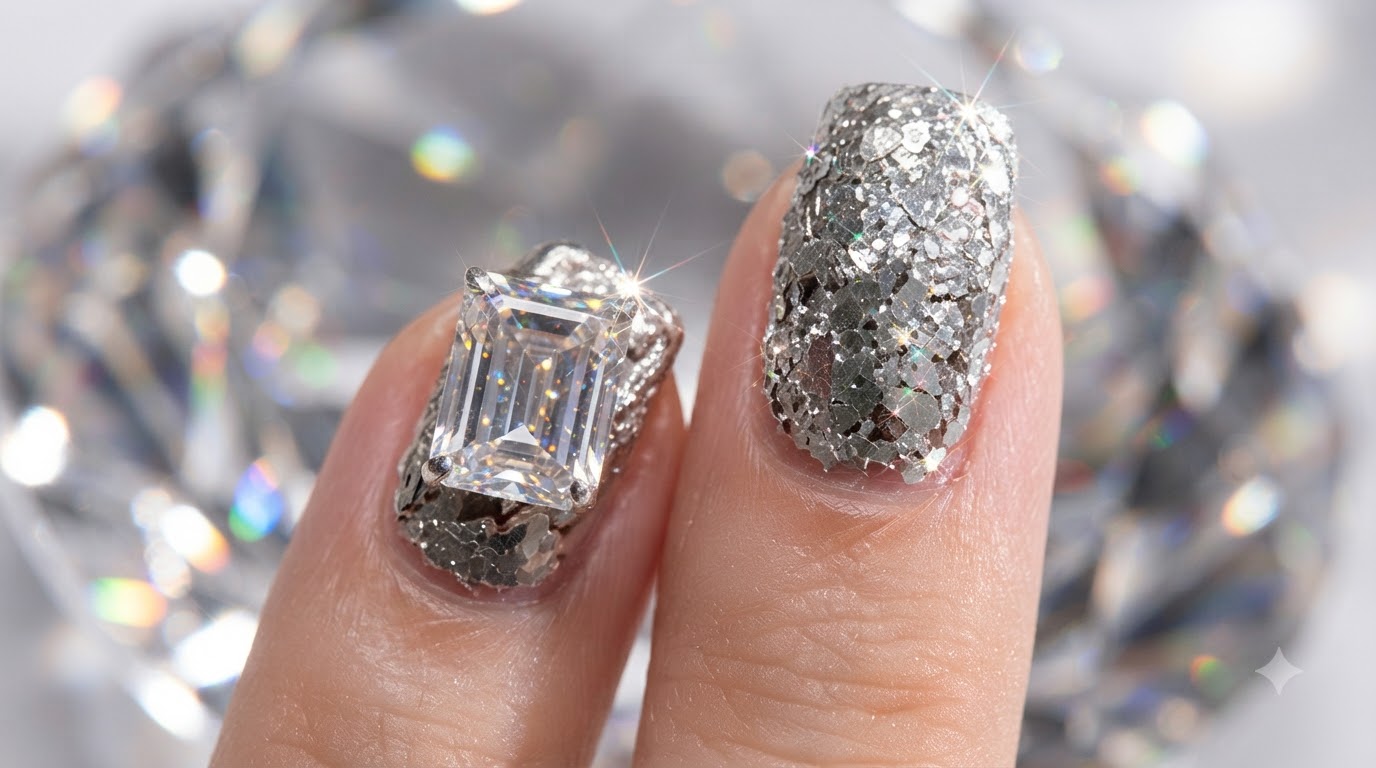
Create show-stopping statement nails featuring textured chunky silver glitter and a large rectangular crystal gem for an ultimate luxury finish.
Transform your manicure into a dazzling masterpiece with this high-shine silver glitter and gemstone look. Combining heavily textured glitter with an oversized emerald-cut crystal, this design brings dramatic sparkle and dimension to your fingertips. Perfect for special occasions or whenever you want your hands to truly stand out.
Steps
- 1Apply Base Coat
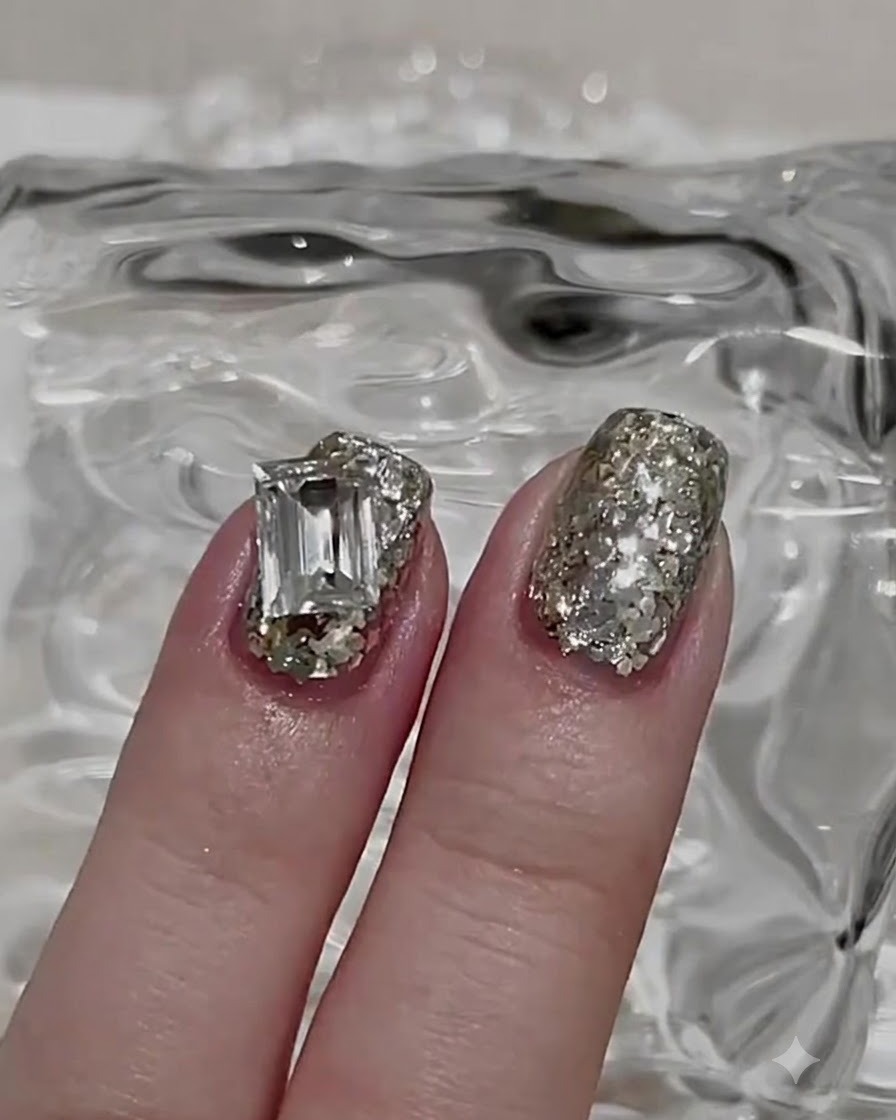
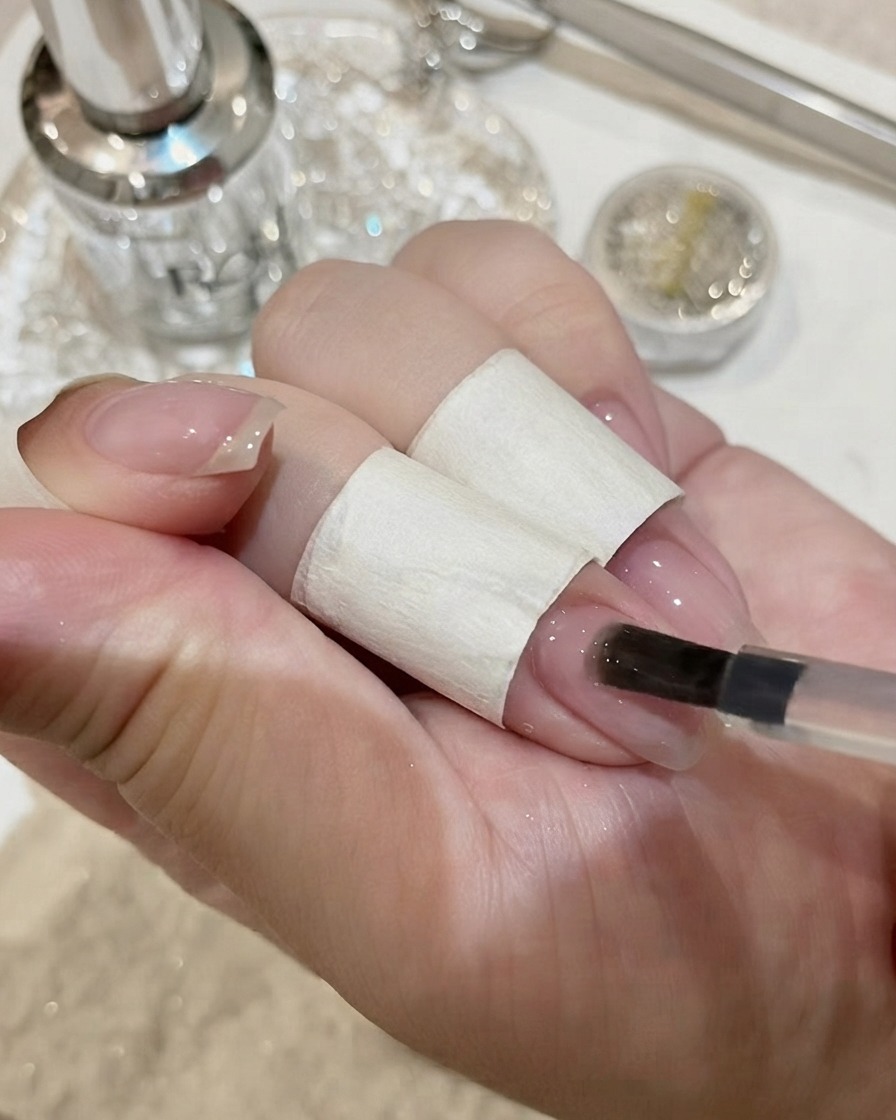
Apply a clear base coat gel to the fingernails using a brush to prepare the nail surface and ensure proper adhesion for the subsequent glitter layer.
Tip: Make sure to apply an even, thin layer across the entire nail. - 2Cure Base Coat
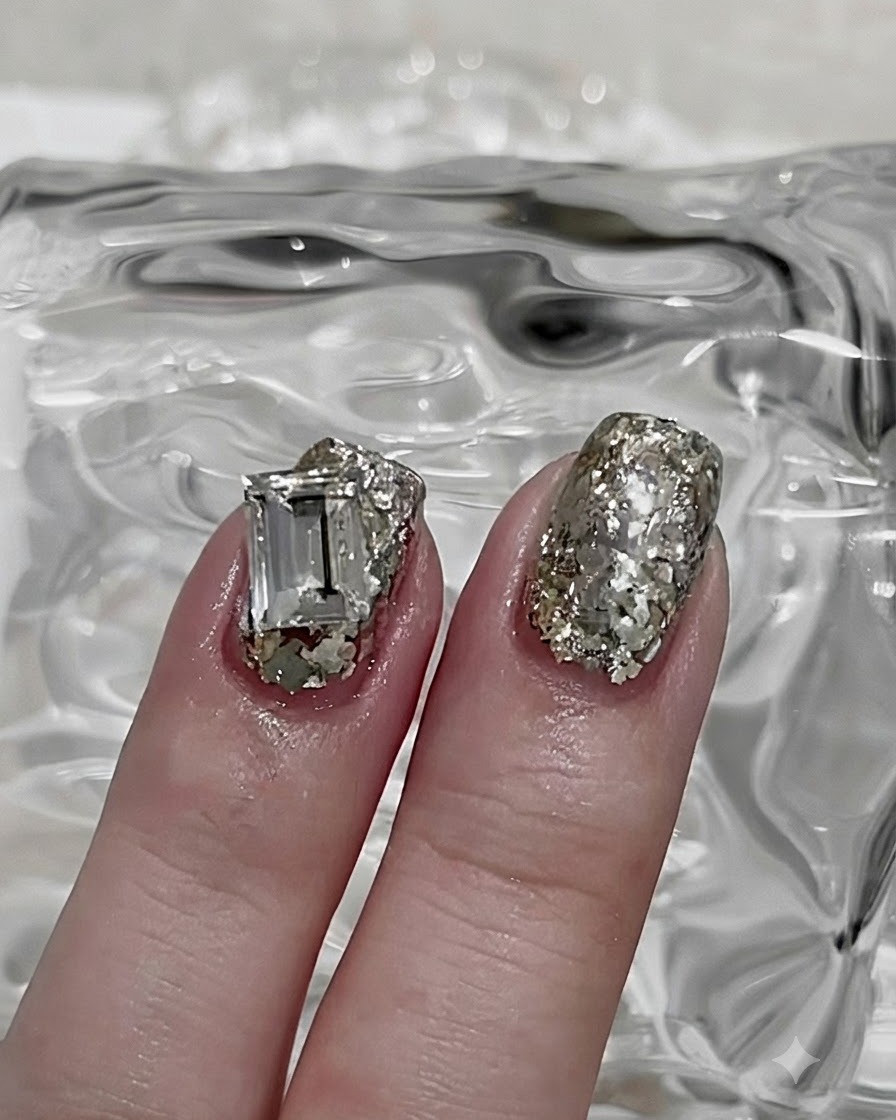
Place your fingers inside a UV or LED lamp to cure the freshly applied base coat. Curing hardens the gel and preserves its tacky inhibition layer for the next step.
Tip: Follow the gel manufacturers recommended curing time for your specific lamp wattage. - 3Pick Up Glitter Powder
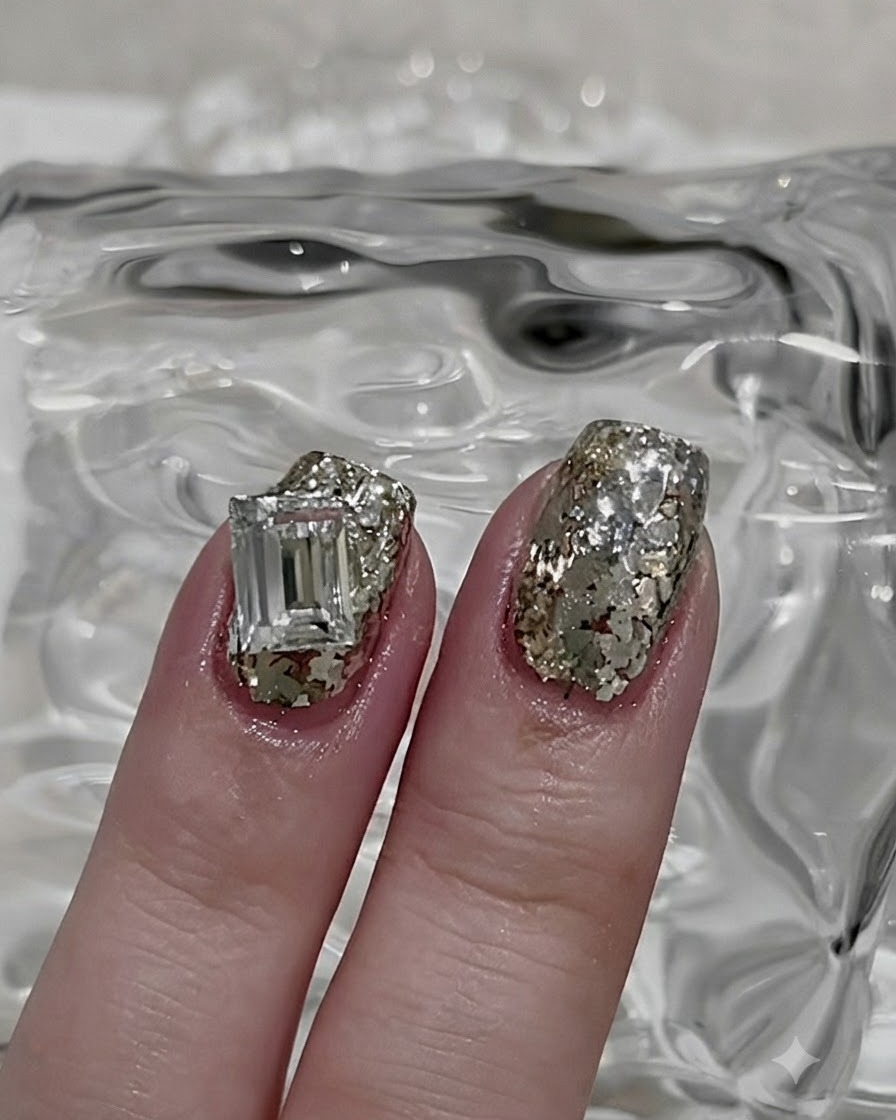
Take a fine nail art brush and pick up a small amount of silver glitter powder. Preparing a controlled amount on your brush allows for precise application across the nail.
Tip: Pick up small amounts gradually to maintain better control over the glitter density. - 4Apply Silver Glitter Powder
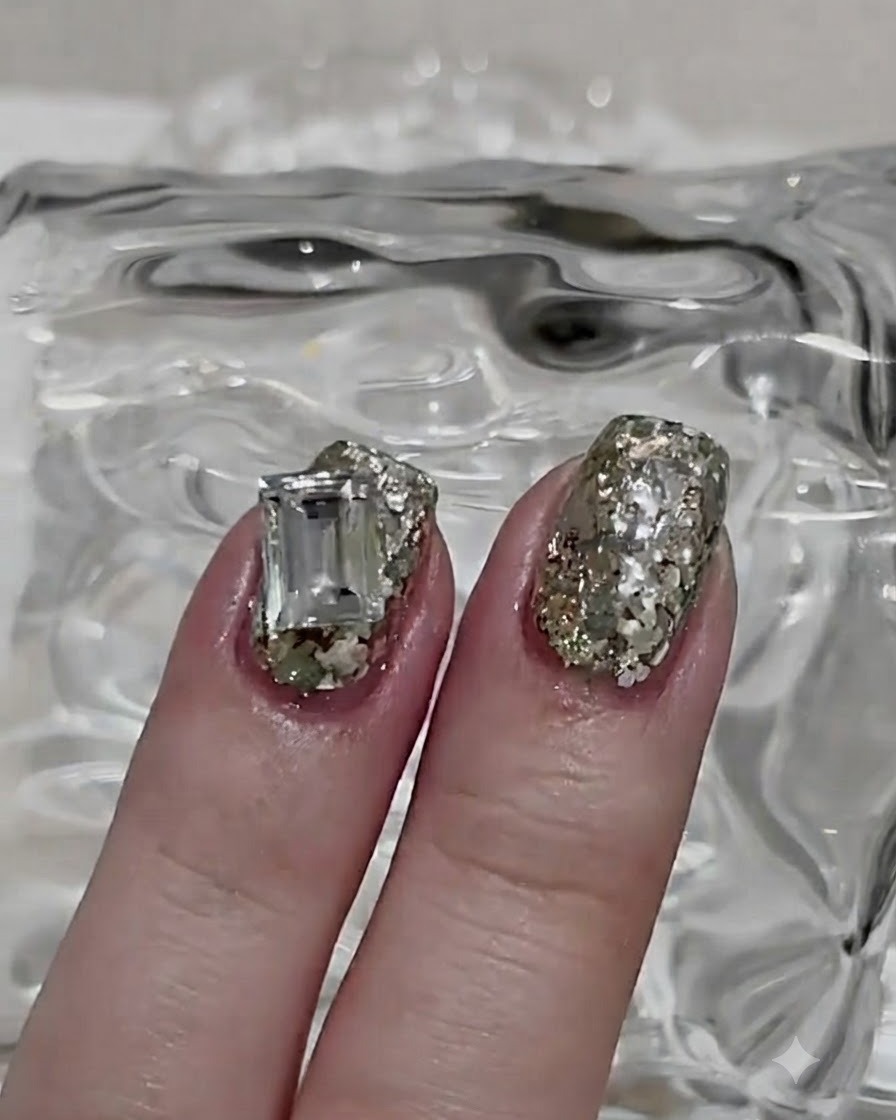
Take the silver glitter powder and use the sticky inhibition layer of the base gel to apply it across the entire nail surface. Use a small brush to distribute the powder thinly and evenly, then add a small amount of extra gel and glitter to fill in any sparse gaps or uneven areas.
Tip: Apply the glitter in thin passes using a brush for maximum control and coverage density. - 5Spread and Thin Glitter
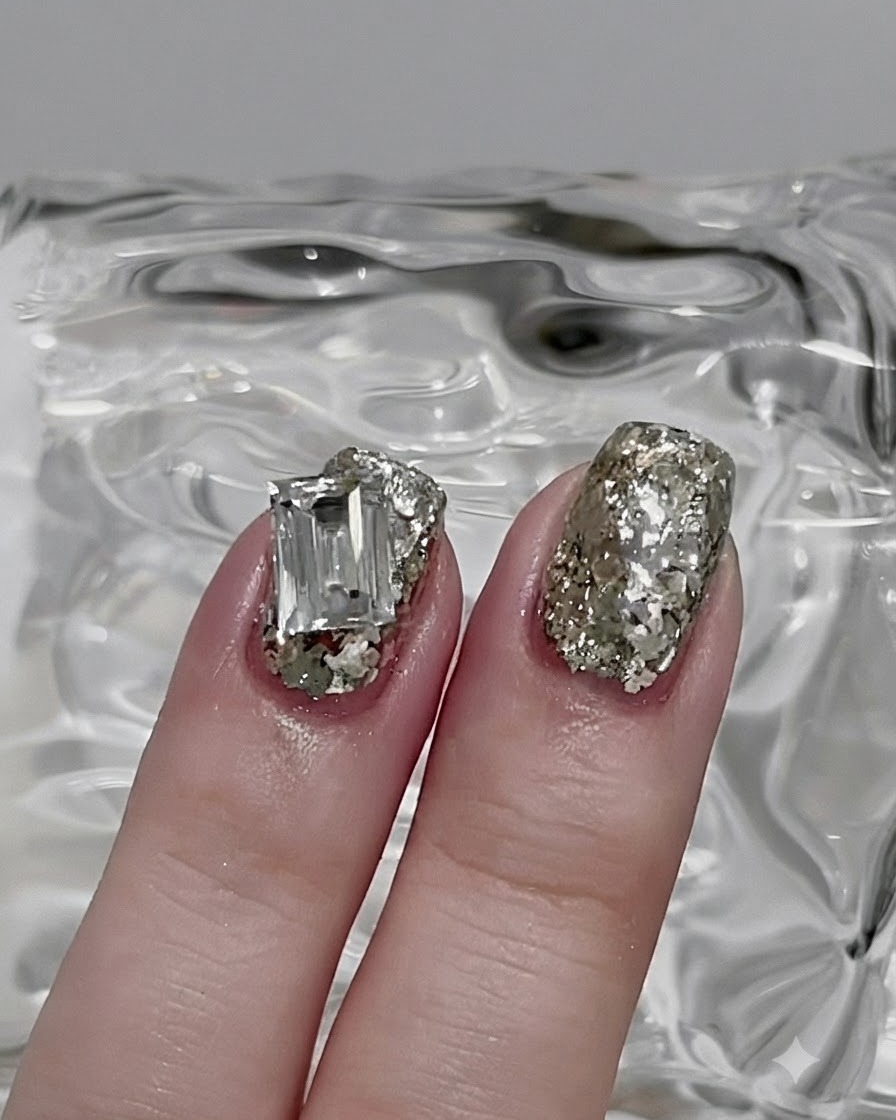
Gently maneuver your brush to spread the glitter particles evenly across the entire nail plate. Keep the layer very thin to avoid bulkiness before adding extra details.
Tip: Brush lightly across the surface to flatten out any overlapping flakes. - 6Fill In Gaps
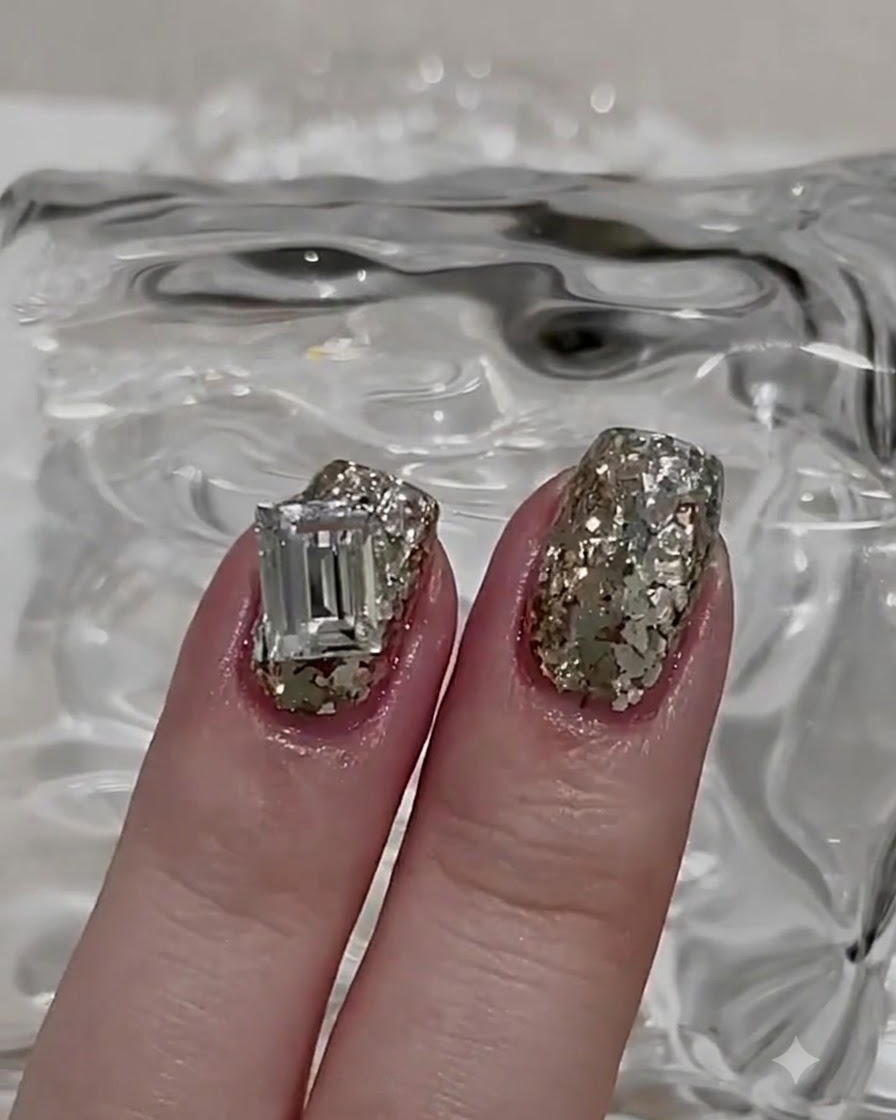
Inspect the nail for any sparse areas, then dab a tiny bit of extra base gel and more silver glitter into those empty spots. This ensures total coverage and a dense, sparkling finish.
Tip: Target only the visible gaps to maintain an even texture without over-thickening. - 7Apply black diamond top coat
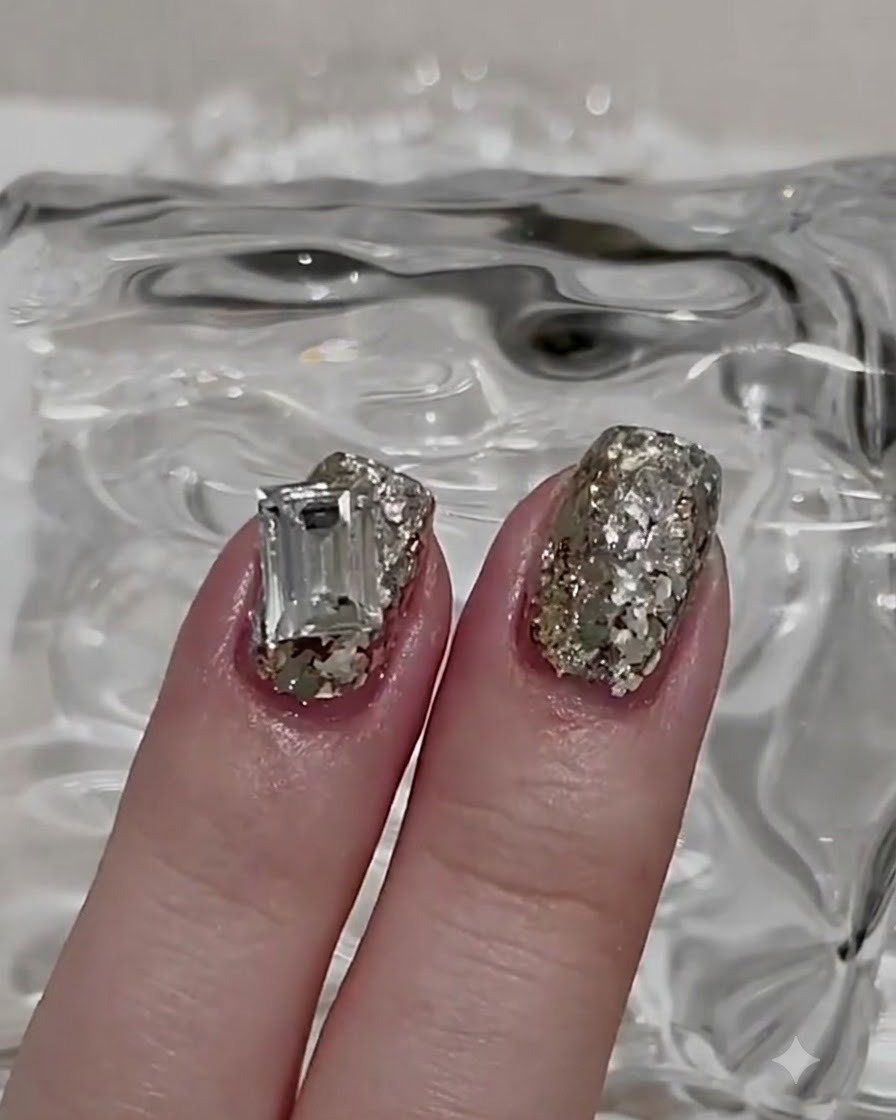
Apply a layer of black diamond-infused top coat over the cured glitter layer to maximize shine and depth. Cure under the lamp completely.
Tip: Ensure even coverage so the glitter is fully encapsulated and protected. - 8Cure Top Coat Layer
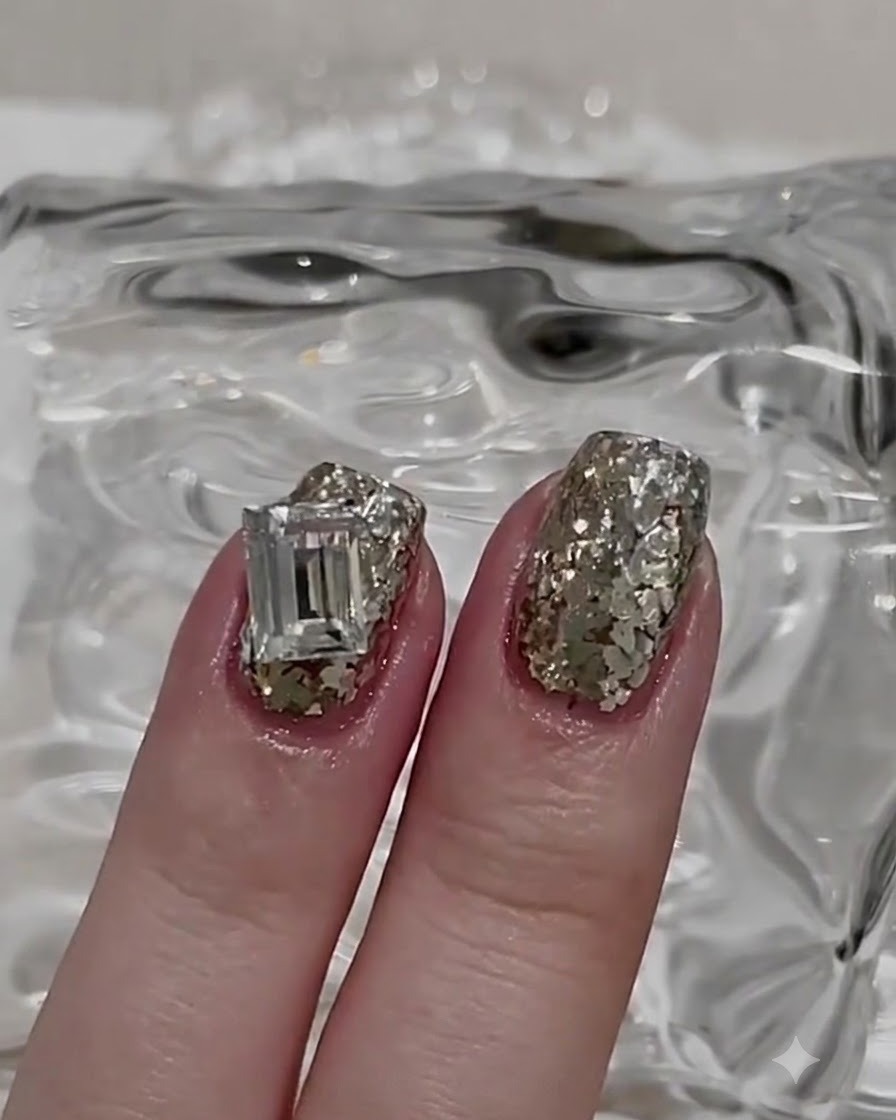
Place your fingers under a UV or LED nail lamp to fully cure the black diamond top coat layer. Ensure your hand is positioned correctly inside the lamp so the light reaches all angles, hardening the thicker top coat completely.
Tip: Do not rush the curing process, especially with thicker top coat layers, to prevent surface wrinkling. - 9Buff Gem Placement Area
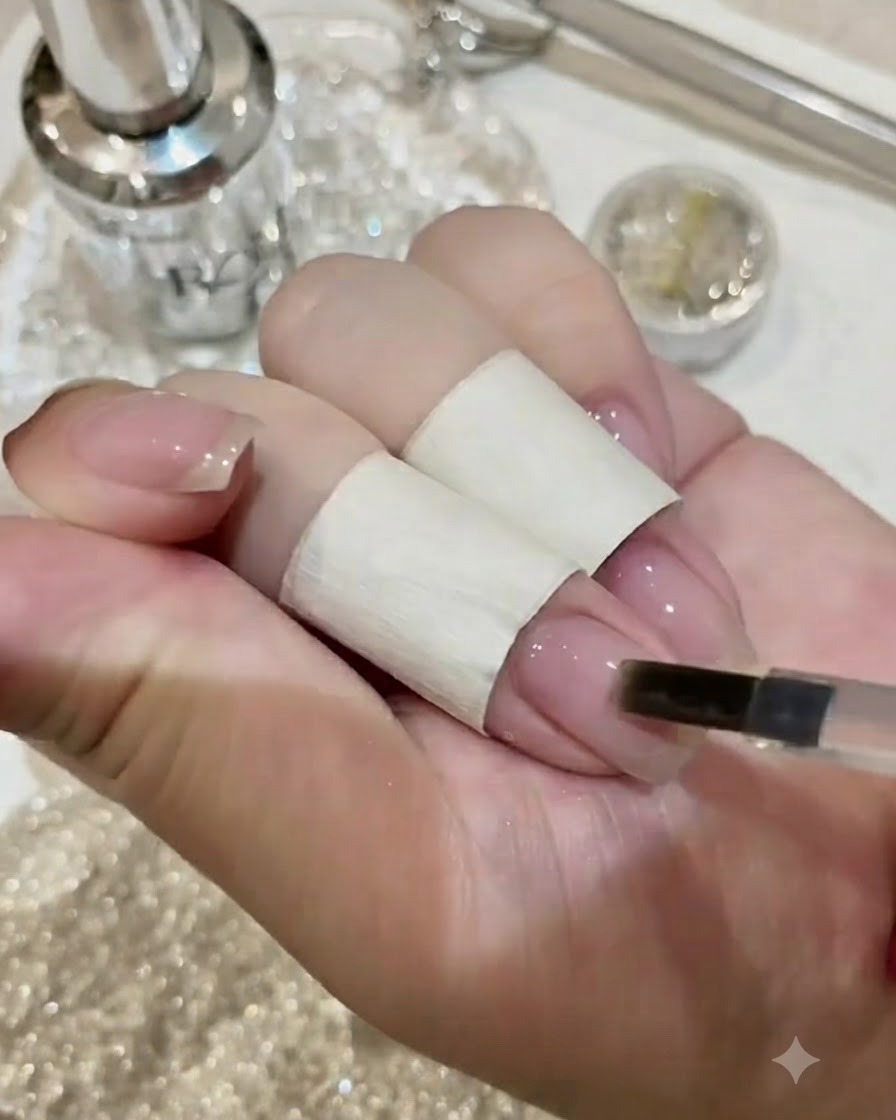
Because the top coat layer is thicker, use a nail file to gently buff and smooth the specific spot where you plan to place the large gemstone. This creates a slightly textured surface that helps the rhinestone adhesive bond securely without sliding.
Tip: Buff only the exact zone where the gem will sit to preserve the high shine everywhere else. - 10Apply Rhinestone Adhesive
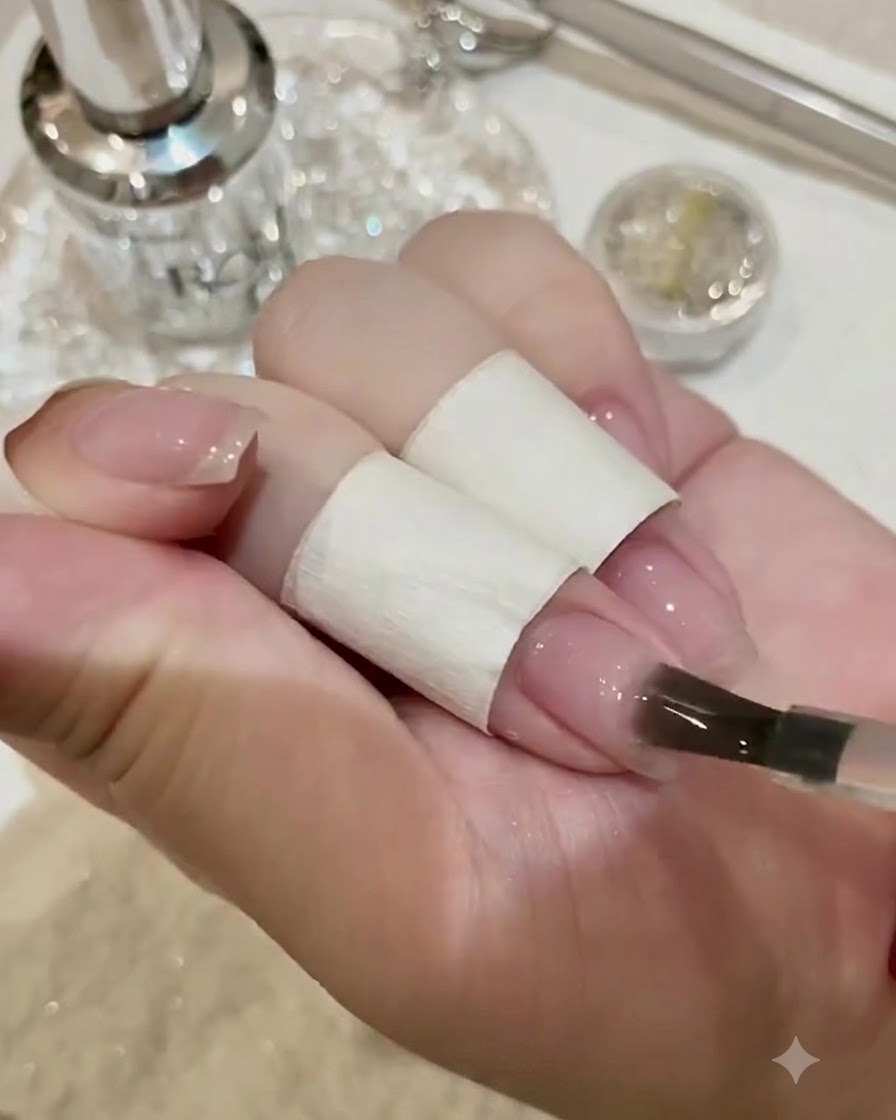
Using a fine detail brush, apply a controlled drop of specialized rhinestone adhesive glue onto the prepped spot on the nail. This thick adhesive will securely anchor your statement gem in place and prevent it from shifting or falling off.
Tip: Use just enough adhesive to anchor the base of the gem without squeezing excess glue out onto the sides. - 11Place and adjust crystal gemstone
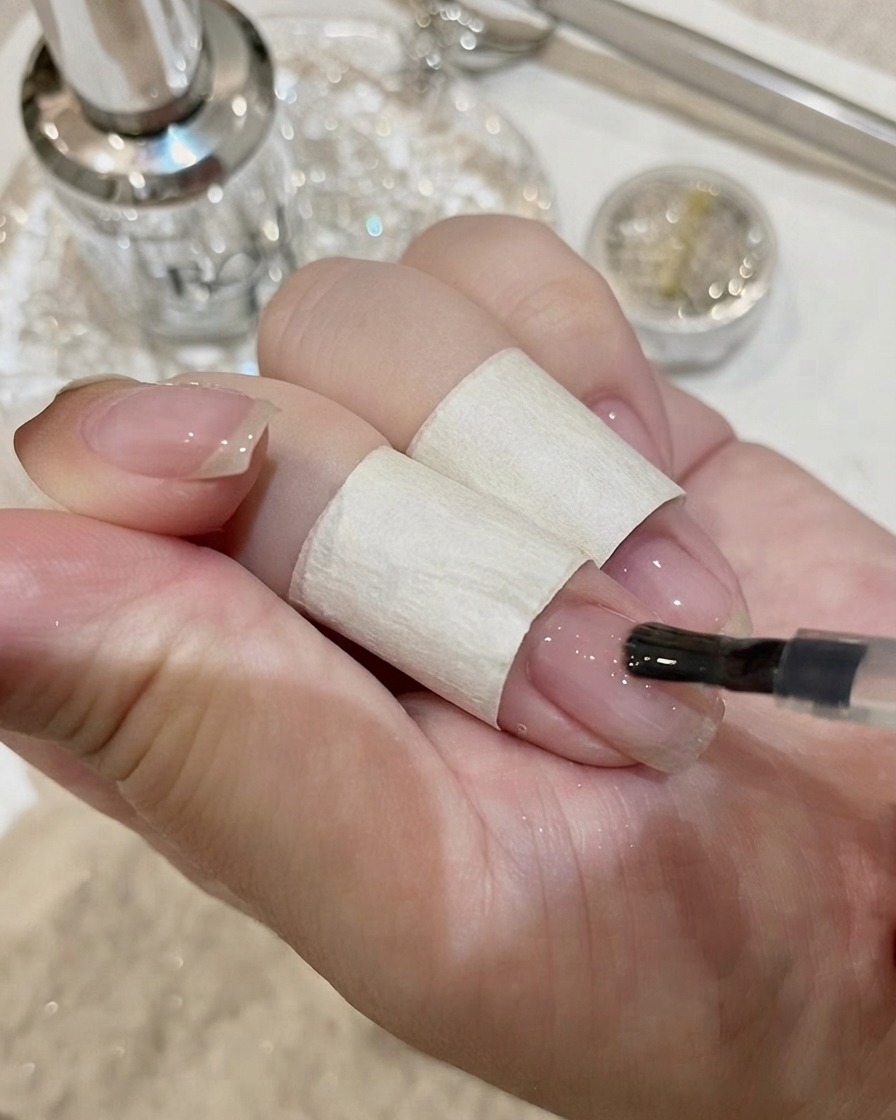
Using rhinestone adhesive, place a large rectangular crystal gemstone onto the designated spot on the nail. Adjust its position precisely before curing.
Tip: Double-check placement alignment under good lighting before putting the hand into the lamp. - 12Cure the final assembly
Place the hand under the UV or LED lamp to fully cure the rhinestone adhesive and lock the crystal gemstone securely in place, completing the design.
Tip: Ensure adequate curing time for thick adhesive layers underneath large gems to prevent shifting.