Silver Cat-Eye Butterfly Nail Art — Step-by-Step Tutorial
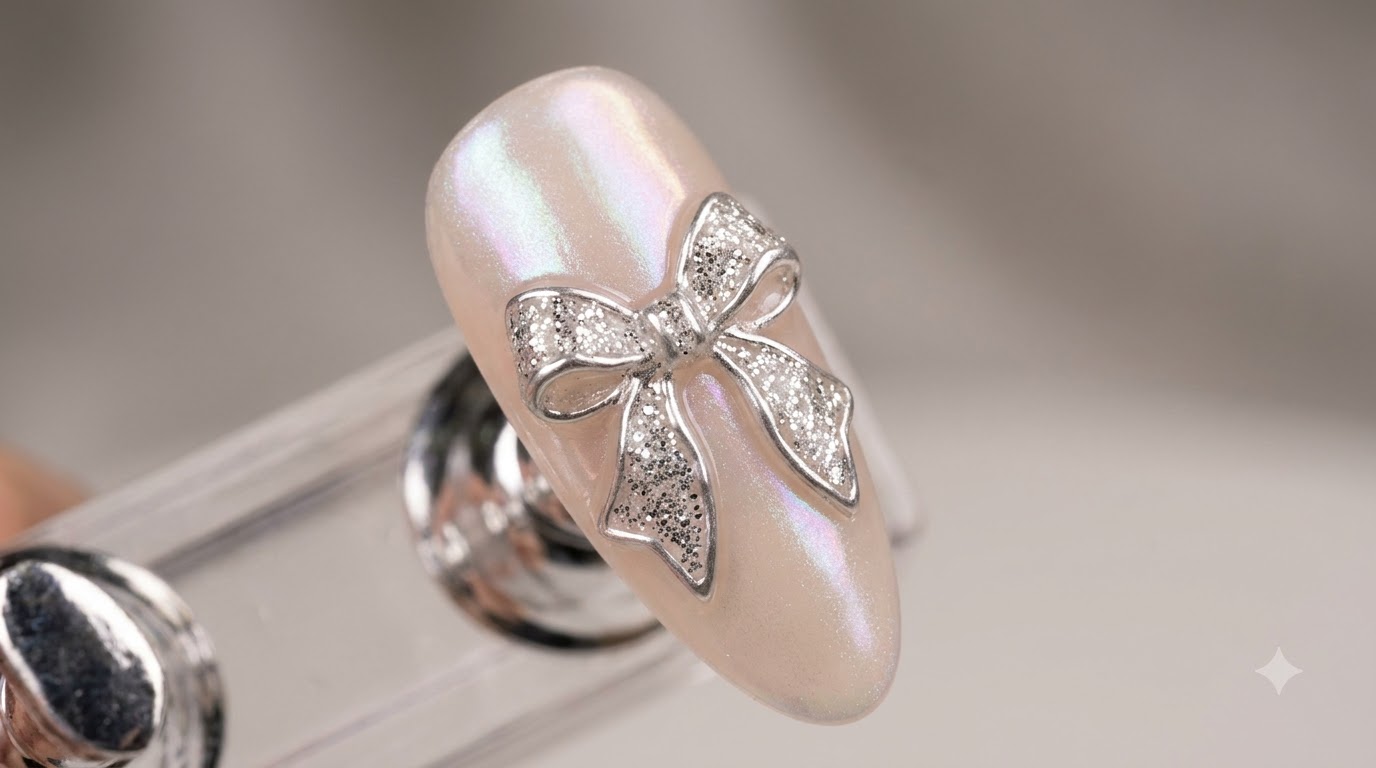
Create an eye-catching holographic silver cat-eye butterfly bow design on nude nails, complete with fine black line work and a glossy finish.
Cat-eye gel nails continue to trend for their mesmerizing, multi-dimensional shift under the light, and pairing this effect with delicate butterfly bow line work creates a gorgeous, versatile look. By flash-curing between every single layer, you preserve the sharp, distinct lines and brilliant sparkle from every angle. This tutorial guides you through building a professional-quality 3D-appearing bow right at home.
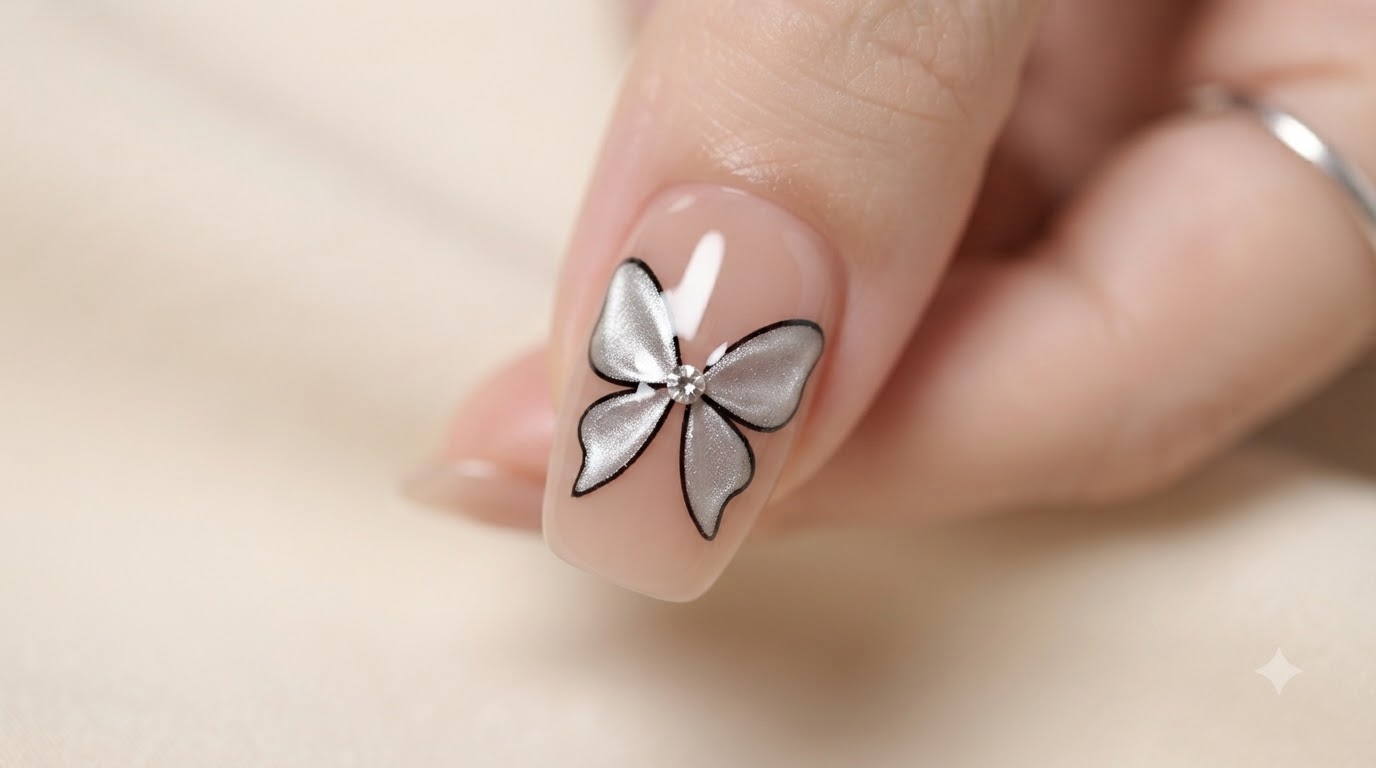
Steps
- 1Apply Nude Gel Base Coat
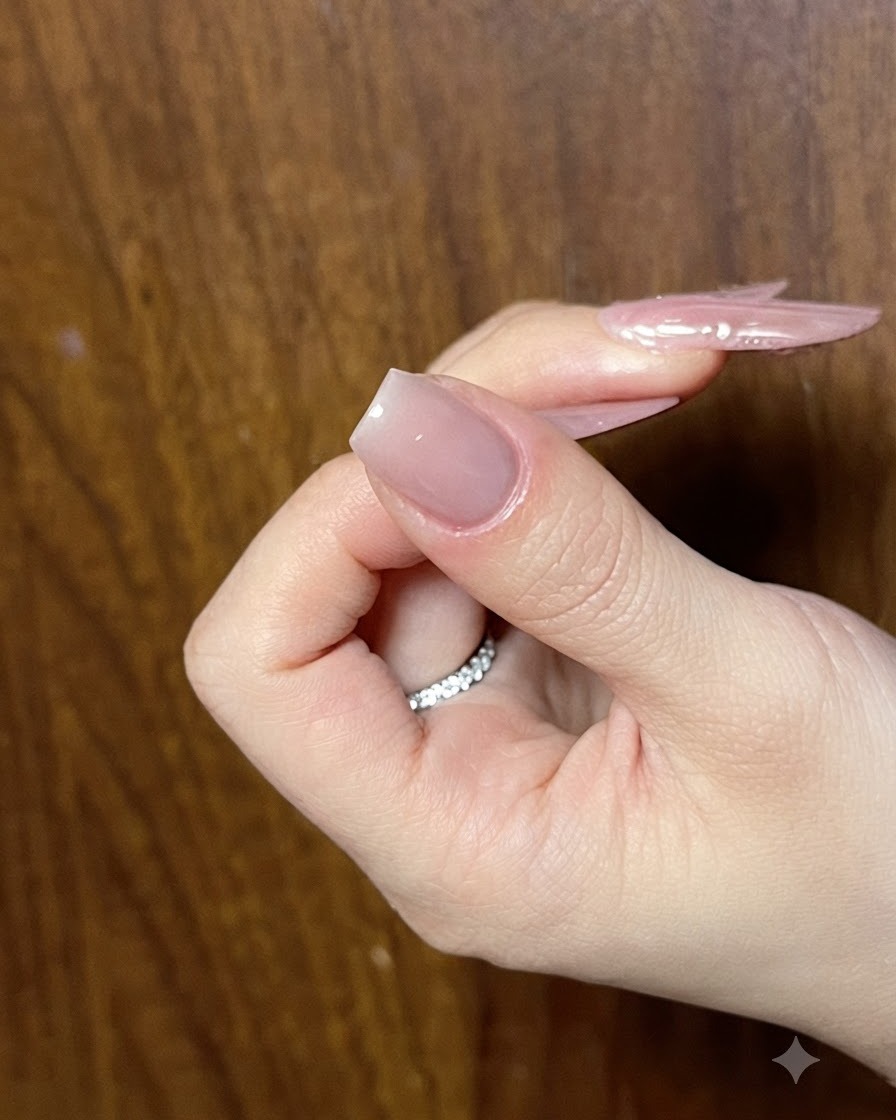
Begin the manicure by applying a smooth, even layer of nude gel base coat to the nail surface. This creates a clean, neutral foundation for the butterfly bow art.
Tip: Ensure the base coat is applied thinly and evenly to prevent lifting later on. - 2Paint First Bow Wing
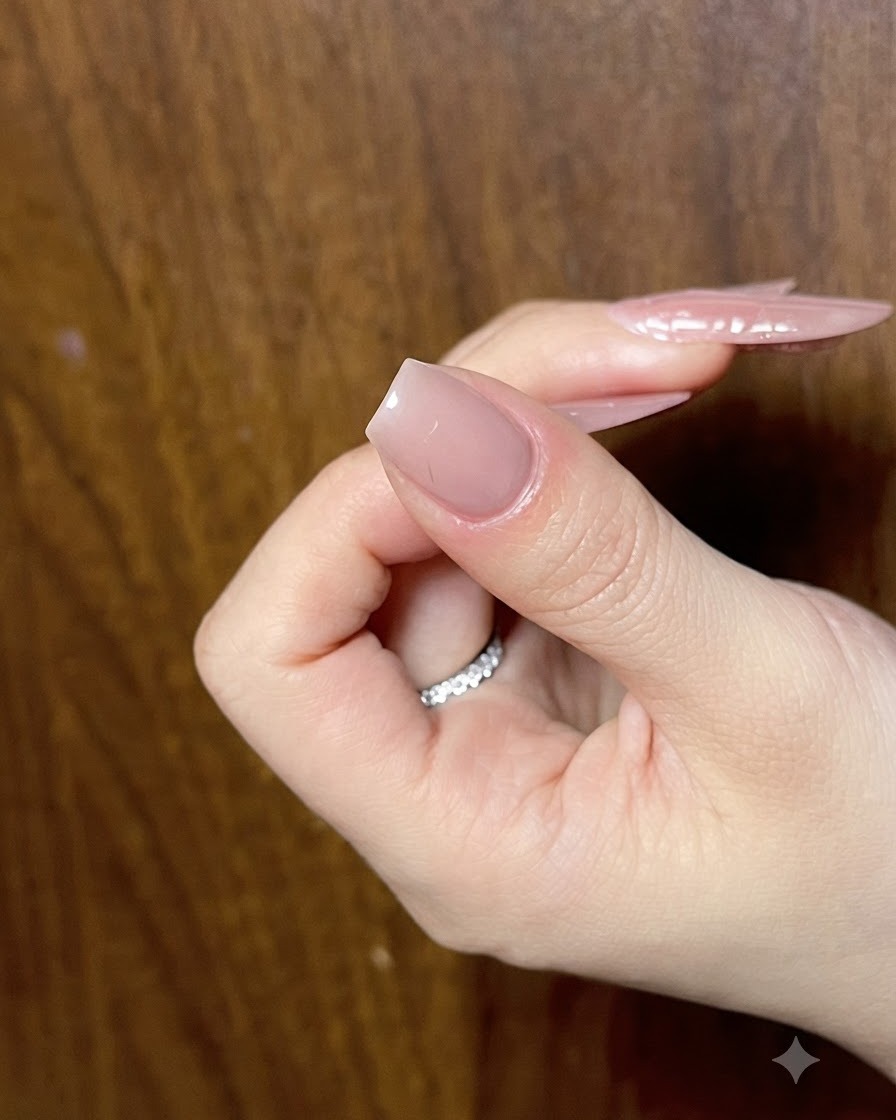
Take a thin liner brush dipped in a bright silver cat-eye gel to paint the outline and fill of the first wing of the butterfly bow.
Tip: Keep your strokes light and precise to form a neat wing shape. - 3Complete Second Bow Wing
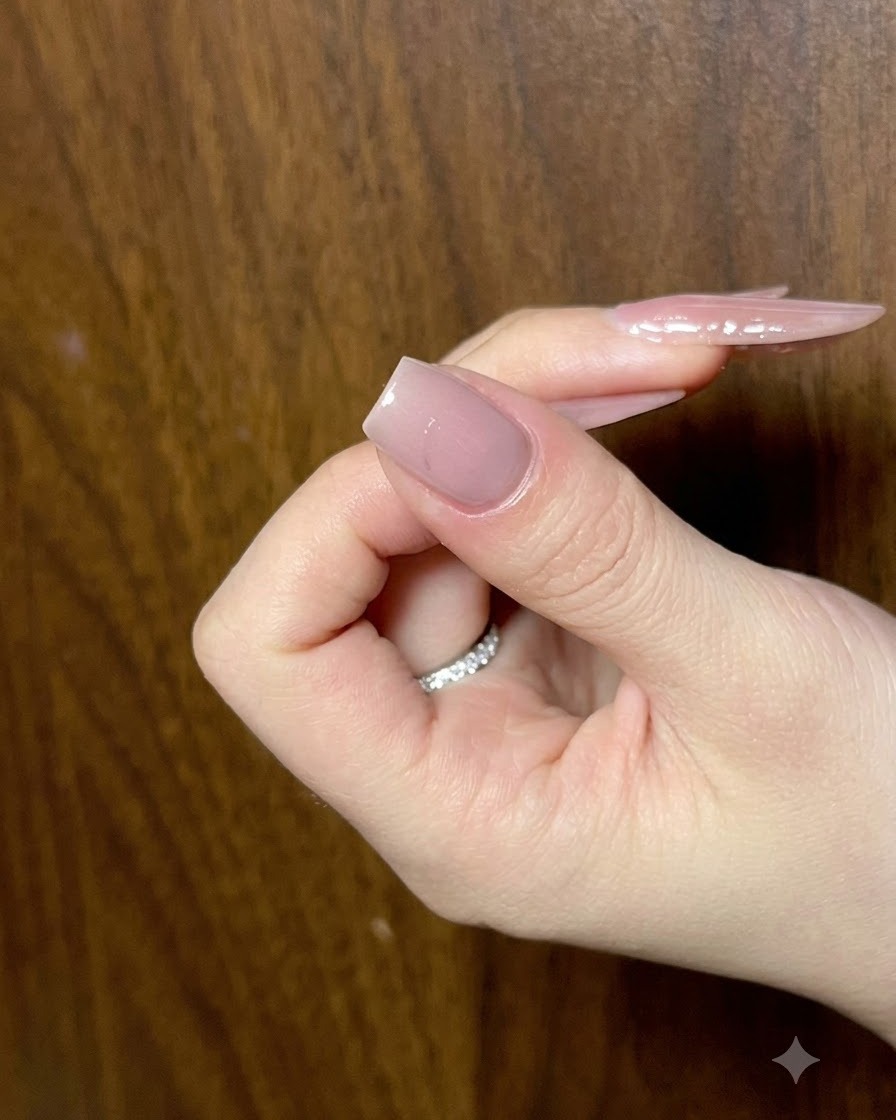
Using the same liner brush and silver cat-eye gel, complete the second wing of the bow to balance the design.
Tip: Random placement works well, so dont worry if it isnt perfectly symmetrical. - 4Shape the Butterfly with Magnet Tool
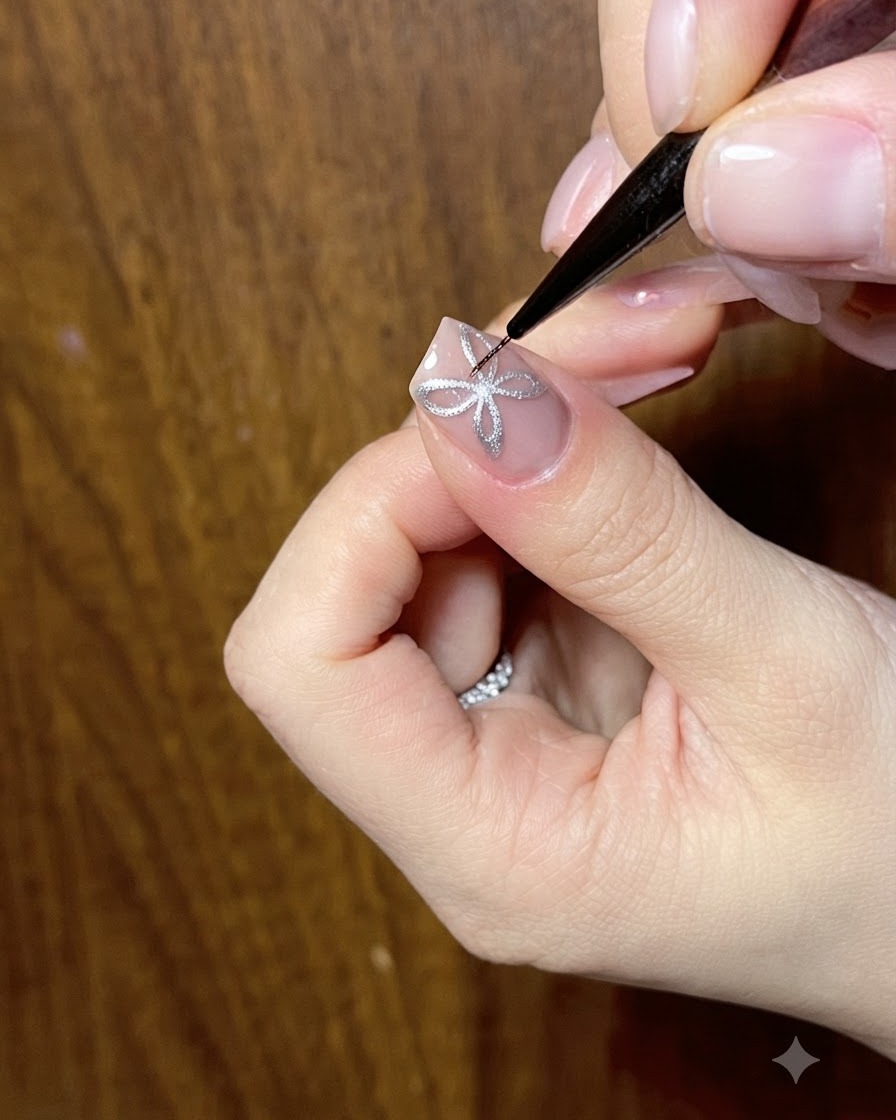
Take a fine tool or magnet to carefully manipulate and shift the cat-eye gel particles within the butterfly design outline, creating distinct shimmery lines.
Tip: Work carefully with your fine brush or magnet tool to achieve crisp, defined butterfly wing shapes. - 5Cure the Design
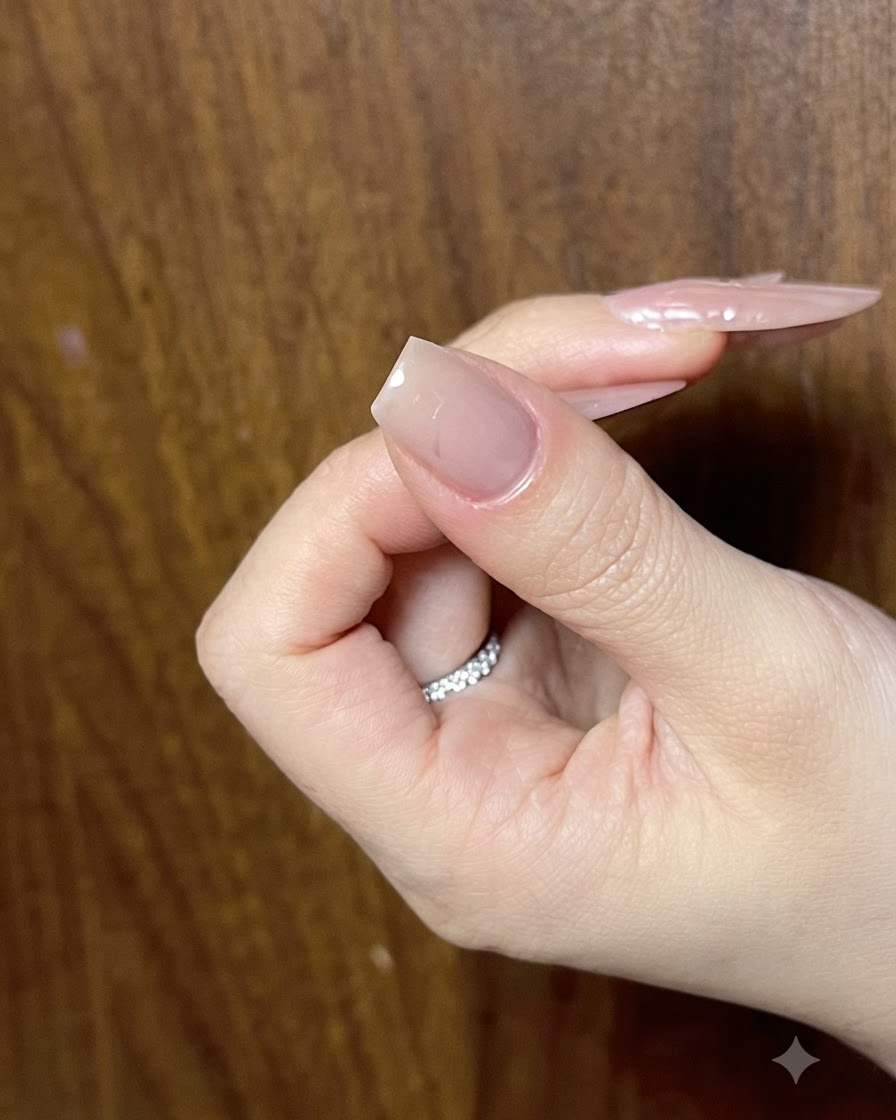
Place your nail under a UV/LED lamp to cure the silver cat-eye butterfly design, ensuring the cat-eye effect is locked in and distinct from every angle.
Tip: Remember to cure after every single step to maintain distinct layers and shine. - 6Adjust the Bow Shape
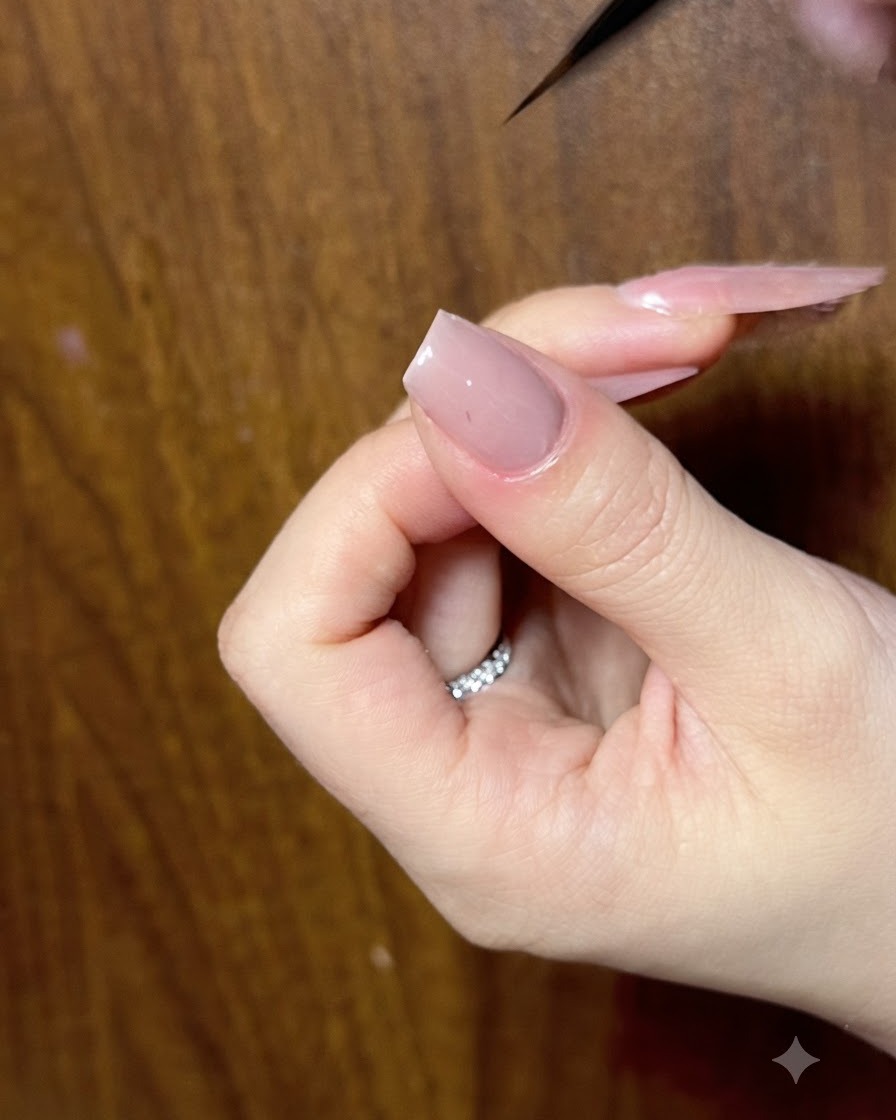
Use a fine liner brush to clean up and adjust the edges of the bow, ensuring the symmetry and proportions look clean and balanced.
Tip: Keep your strokes light and precise when perfecting the bow dimensions. - 7Refine Butterfly Wing Edges
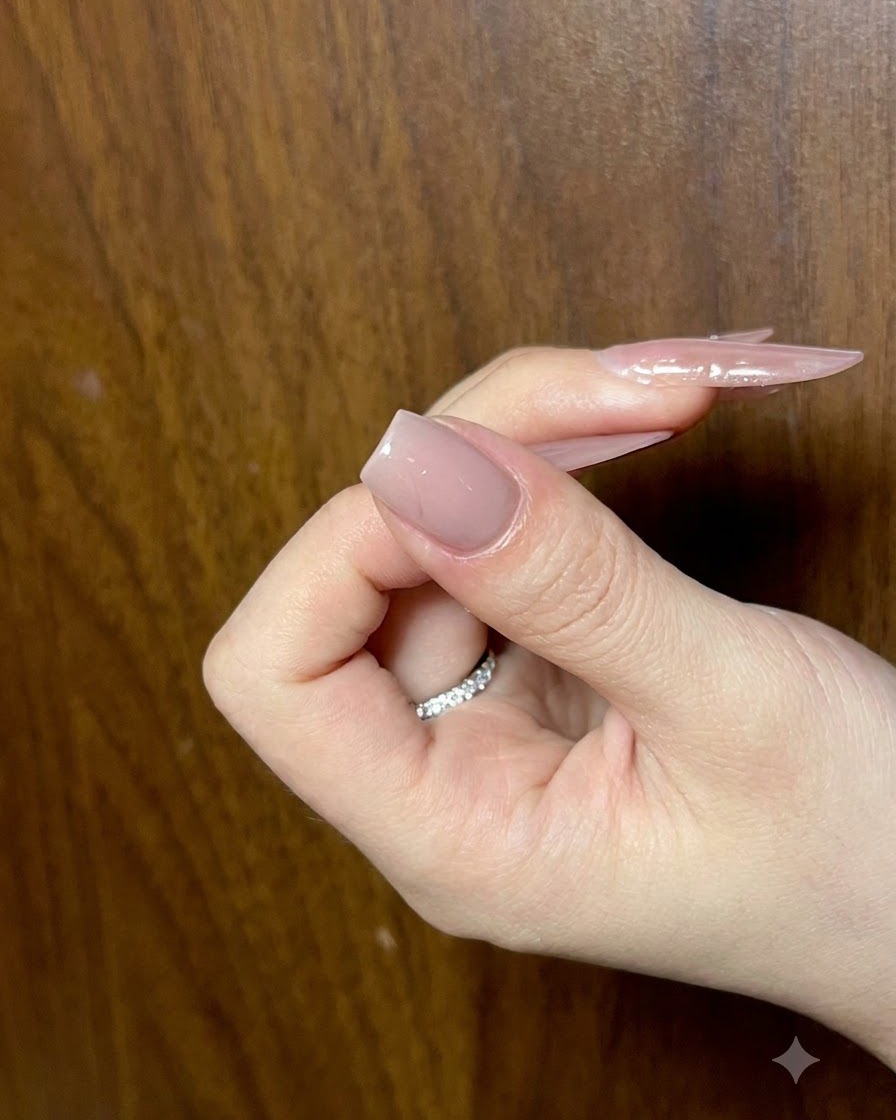
Continue fine-tuning the design by meticulously refining the outer edges of the butterfly wings using a precision liner brush.
Tip: Take your time on the wing tips to give the butterfly a delicate, realistic look. - 8Cure the Refined Design
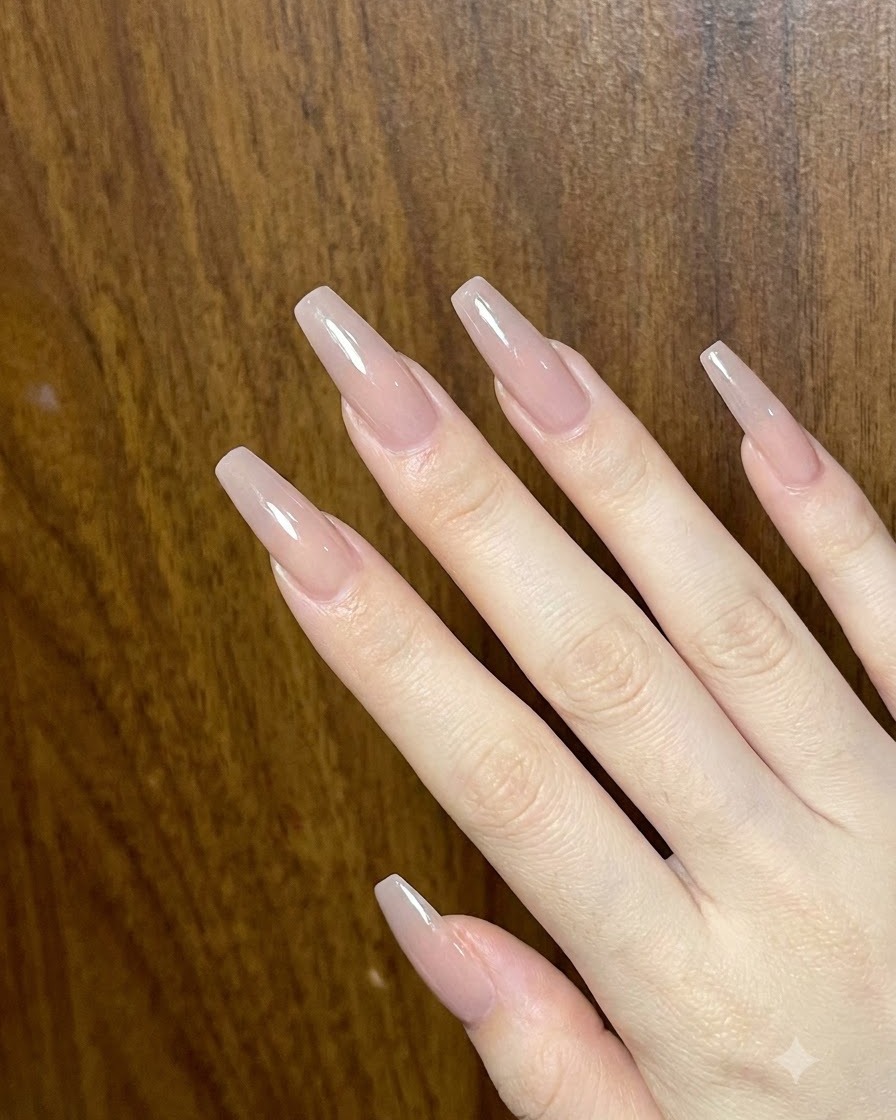
Place the hand under the UV or LED lamp to fully cure the refined butterfly design, locking the shape in place.
Tip: Remember to cure after every single step to keep the cat-eye effect distinct and separate. - 9Brief Cure to Set Adjustments
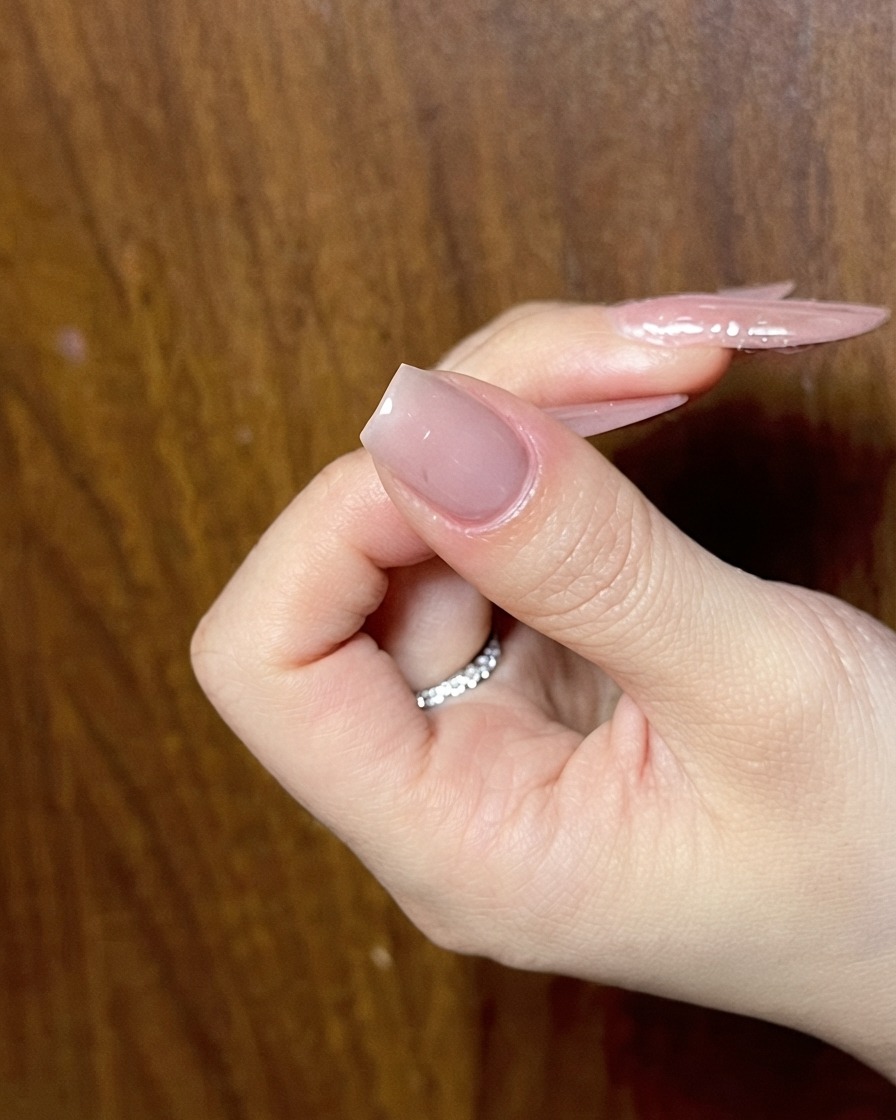
Perform another short flash cure under the nail lamp to firmly set your recent adjustments before moving on to outlining details.
Tip: Flash curing helps prevent gel from shifting or running before you lock in the final design. - 10Add further wing detailing with cat-eye gel
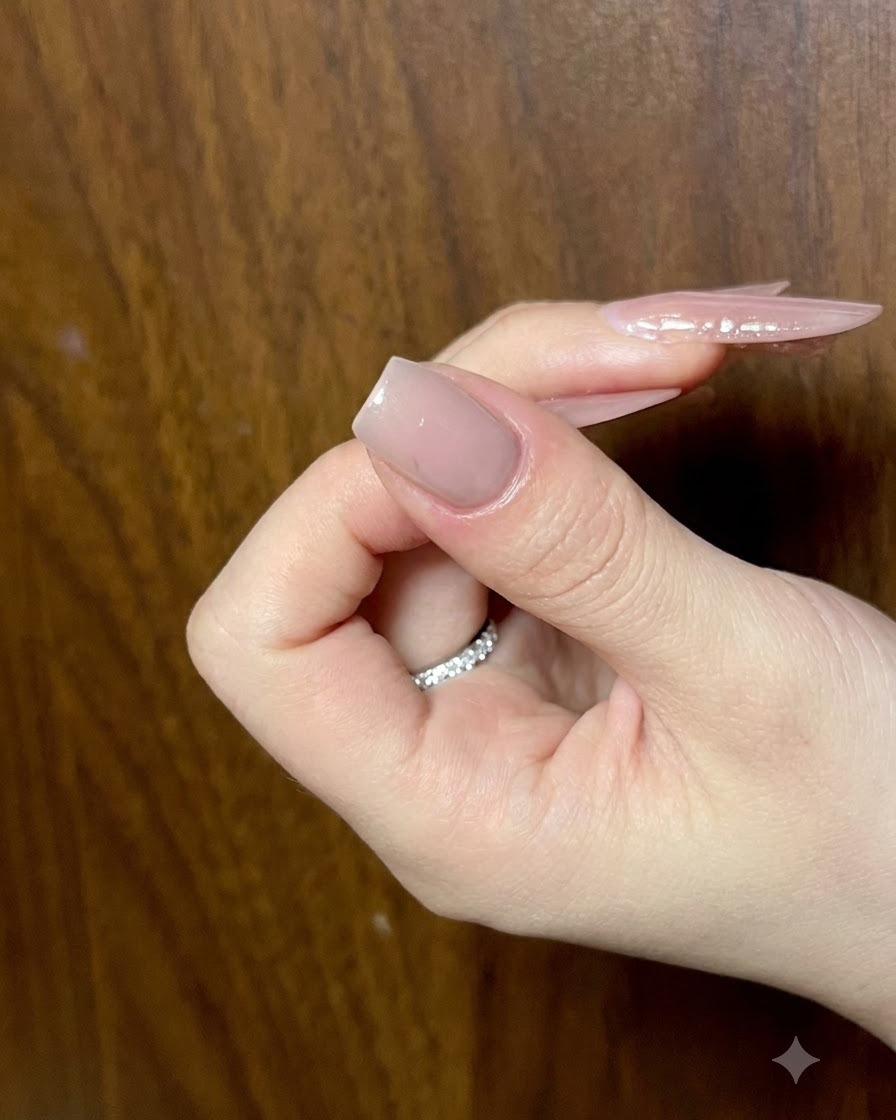
Continue shaping and adding depth to the butterfly wings using the silver cat-eye gel, working carefully around the pre-cured areas. Apply small amounts to build the layered look of the wings while keeping the strokes controlled. Make sure to cure each addition with your UV or LED light to preserve the distinct, multi-dimensional cat-eye effect.
Tip: Curing after every single step ensures the cat-eye particles maintain separate, distinct reflections from every angle. - 11Enhance the wing tips with cat-eye gel
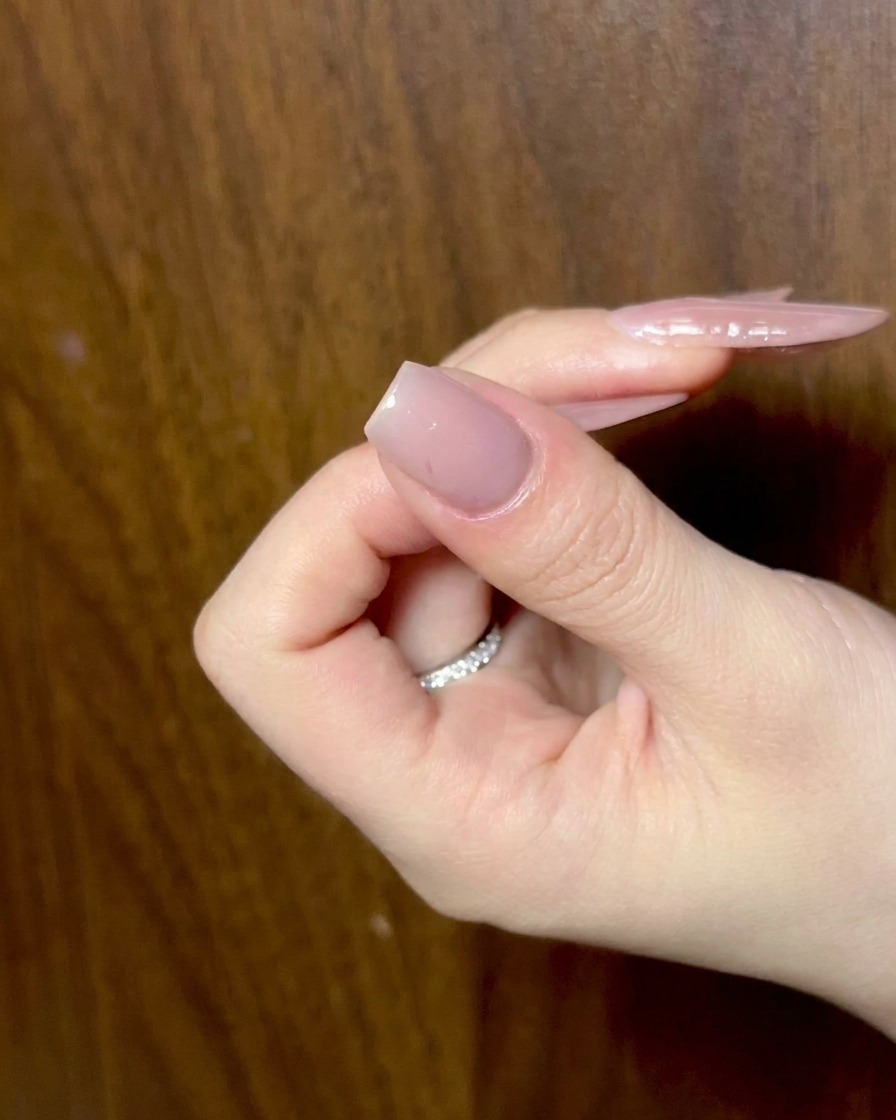
Take additional silver cat-eye gel and apply it specifically to the outer tips of the butterfly wings. This creates a more extended, elegant wing span and accentuates the shimmering effect at the edges. Keep your application precise to maintain the delicate silhouette of the design.
Tip: Focusing extra shine on the tips makes the entire butterfly design pop more dramatically under direct light. - 12Cure the wing tip enhancement
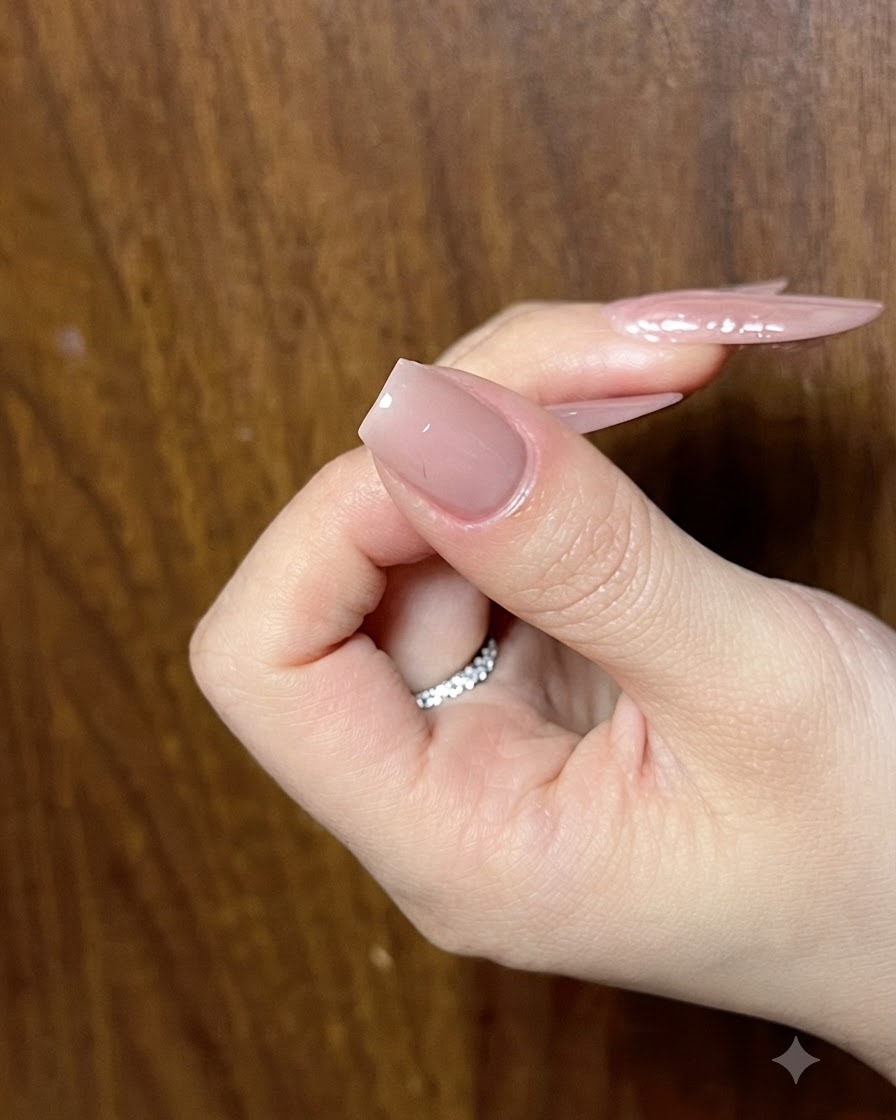
Place the hand under the UV or LED nail lamp to cure the freshly applied cat-eye gel on the wing tips. Curing locks the gel into position so it will not smudge or shift during subsequent detailing steps. Ensure a full cure cycle is completed before moving forward.
Tip: Never skip individual curing steps when working with thick cat-eye layers to prevent shifting or uncured gel underneath. - 13Make final adjustments to the wing shape
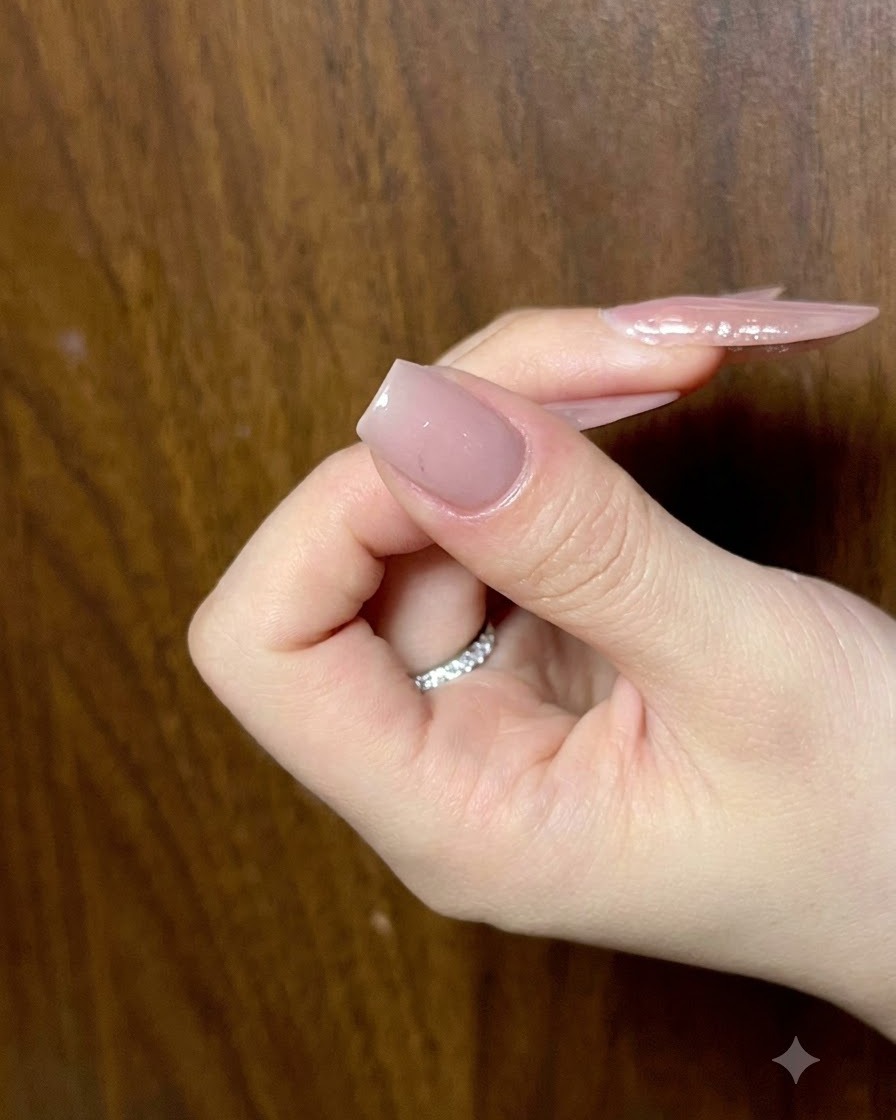
Inspect the overall shape of the butterfly wings and use a fine brush with cat-eye gel to make any necessary final adjustments. Balance out symmetry or add subtle flares to ensure the design looks dynamic and well-proportioned.
Tip: Random placement works well, but small balancing adjustments ensure the overall composition looks intentional. - 14Cure the completed butterfly shape
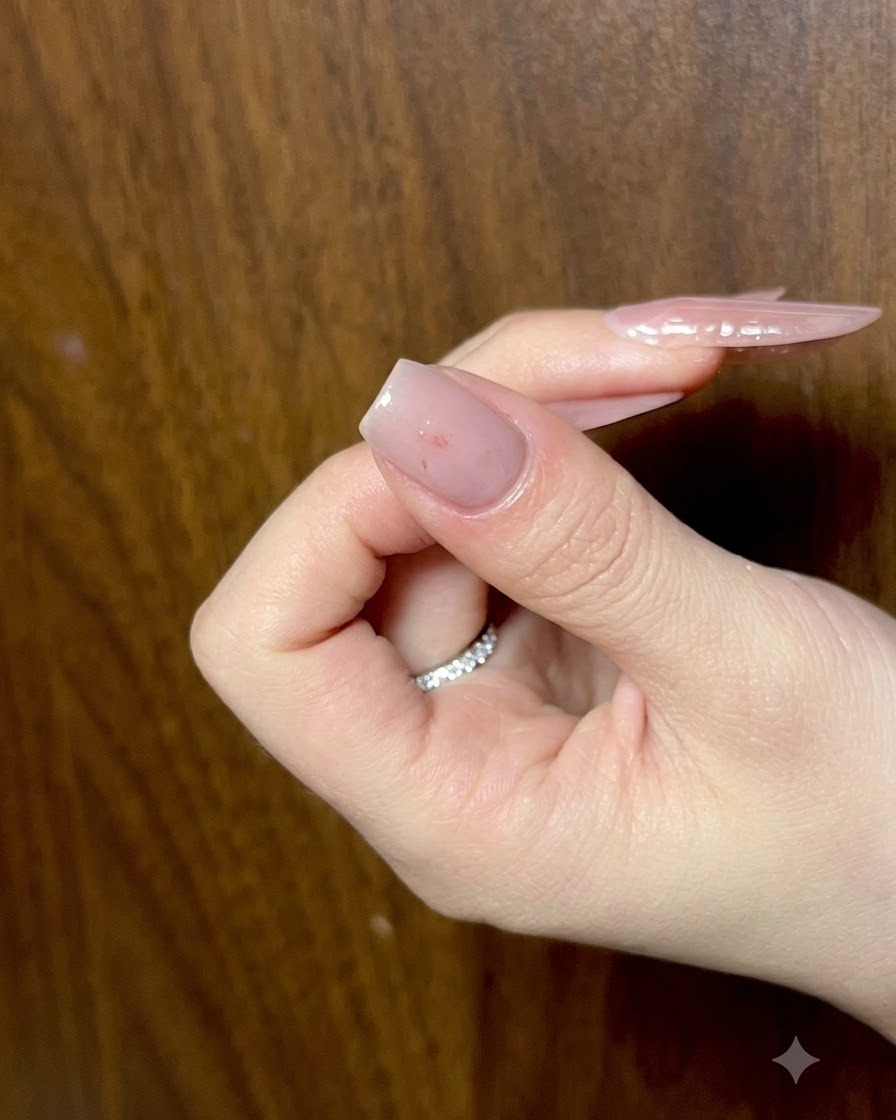
Cure the fully shaped butterfly design under the light to set the structure permanently before moving on to line work and center accents. This ensures a solid base for the upcoming black outline and glitter layers.
Tip: A thorough cure here provides a firm foundation for drawing fine lines on top without indentation. - 15Add a center dot to the butterfly bow
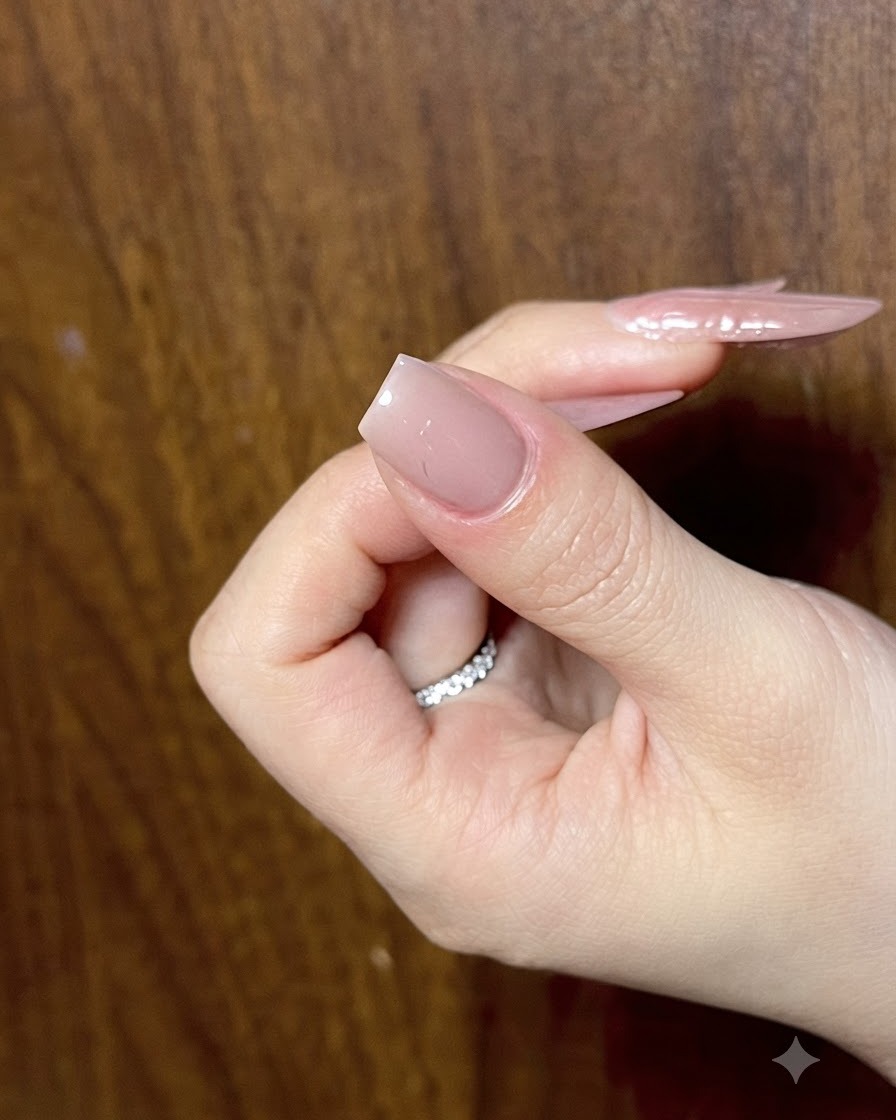
Take a small dot of the bright silver cat-eye gel and place it precisely in the center of the butterfly bow. This anchors the bow structure and creates a focal point for the light to catch. Cure this center dot with the light before proceeding to the outline.
Tip: A tiny bead of gel in the center adds instant dimension, making the bow look like it is tied in the middle. - 16Cure the center dot
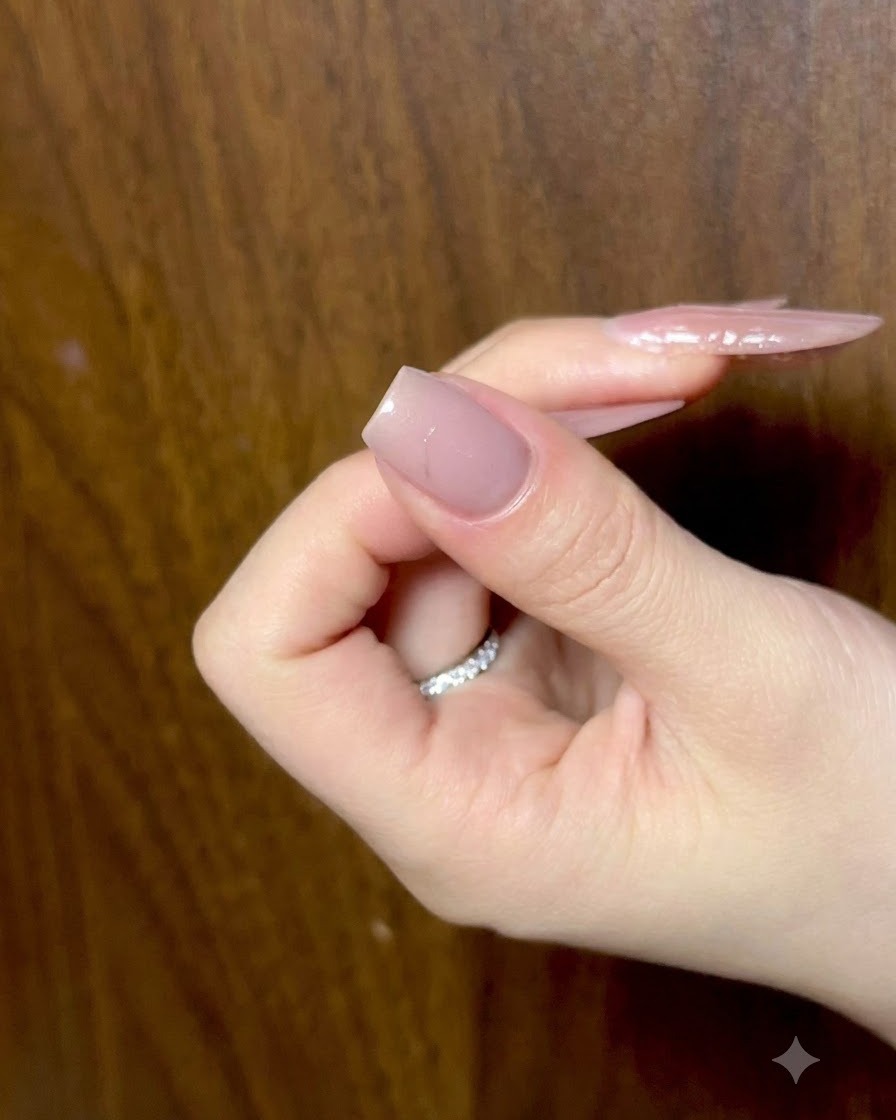
Place your hand under the UV or LED light to cure the newly applied center dot. Curing securely sets the gel in place so it will not shift during the subsequent detailing and outlining steps.
Tip: Ensure your hand is placed evenly under the light source for a complete and uniform cure. - 17Cure the center detail
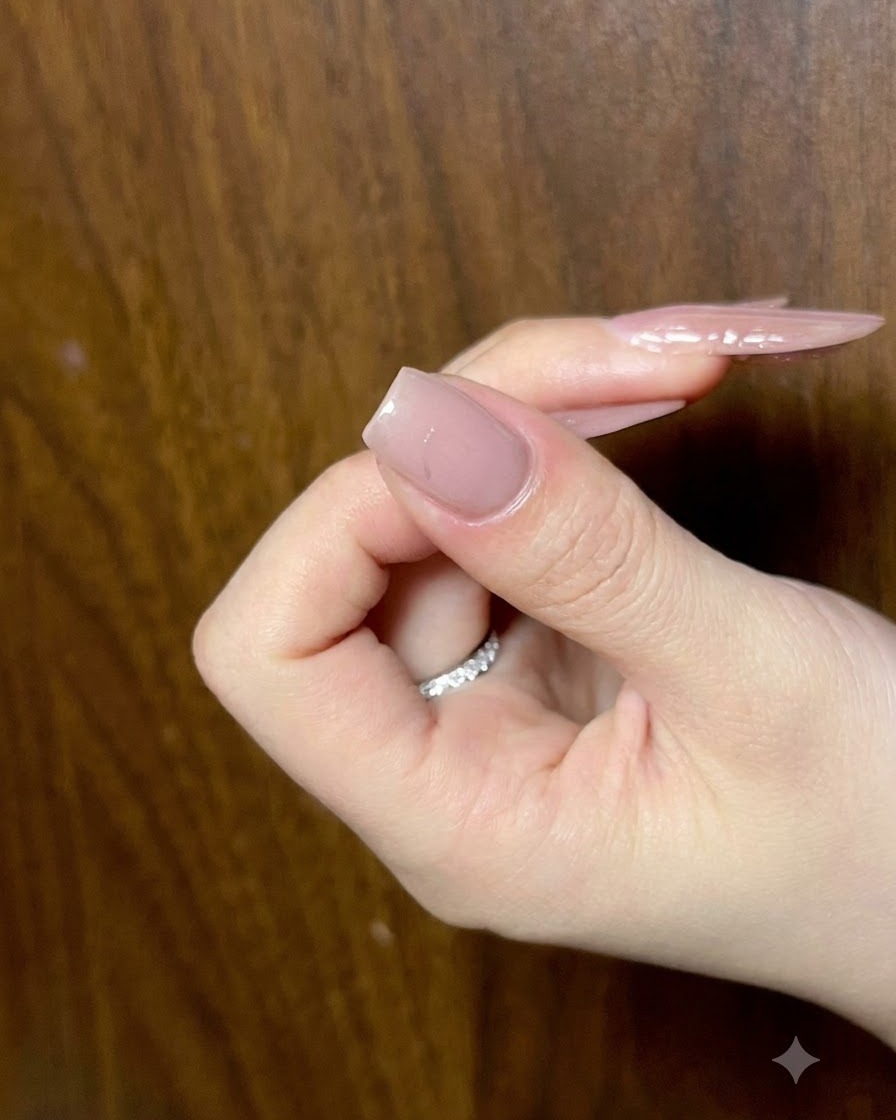
Perform an additional short cure to firmly lock in the center detail before moving on to the fine line work. This extra security prevents accidental smudging when working closely around the center of the design with fine brushes.
Tip: Double-curing intricate raised details helps maintain crisp edges and prevents the gel from running. - 18Outline the bow edges
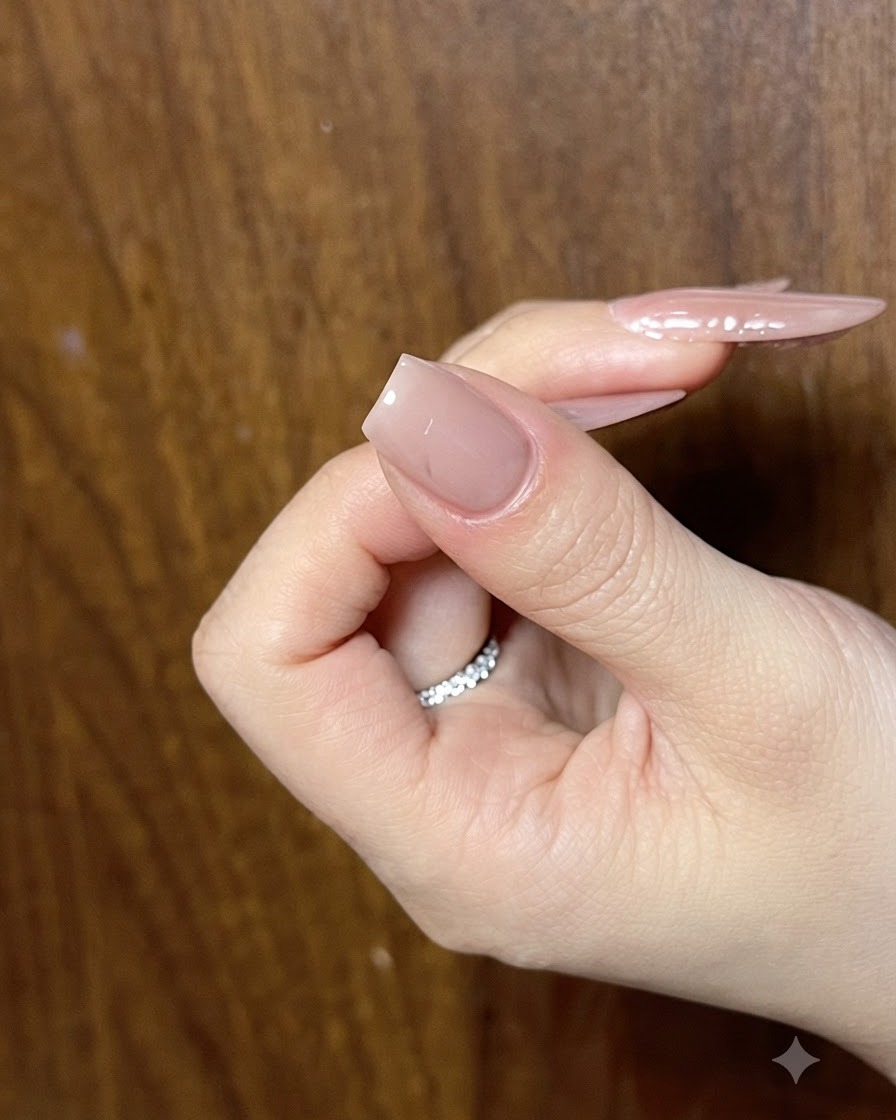
Using a fine liner brush dipped in black color gel, carefully draw the outer boundaries of the butterfly bow. Keep your strokes very thin and light to create a delicate, shadow-like effect that frames the sparkling cat-eye base.
Tip: Keep the liner brush vertical and use only the very tip for the cleanest, thinnest possible lines. - 19Outline the wings
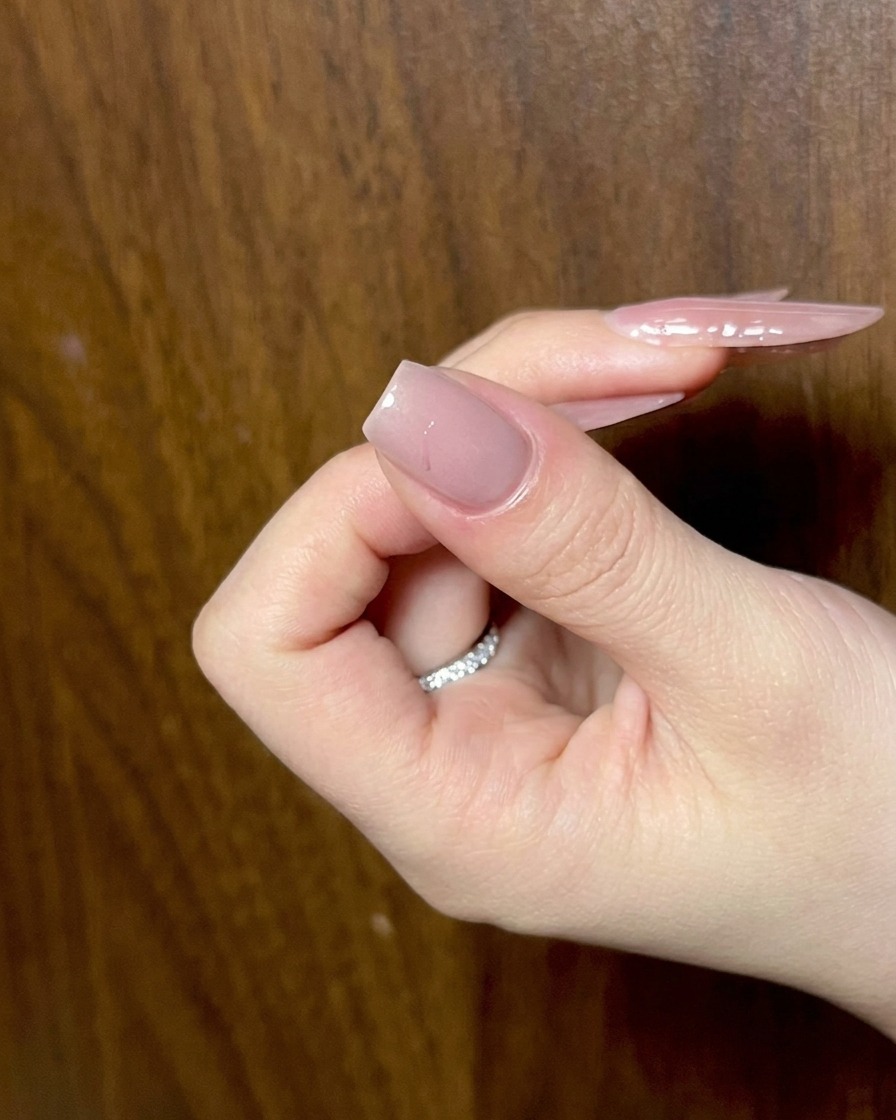
Continue tracing around the wing sections of the butterfly bow using the black color gel. Maintain a delicate and airy line weight so the dark outline complements rather than overpowers the bright cat-eye background.
Tip: Anchor your pinky finger against your hand for stability while drawing intricate lines. - 20Add inner details
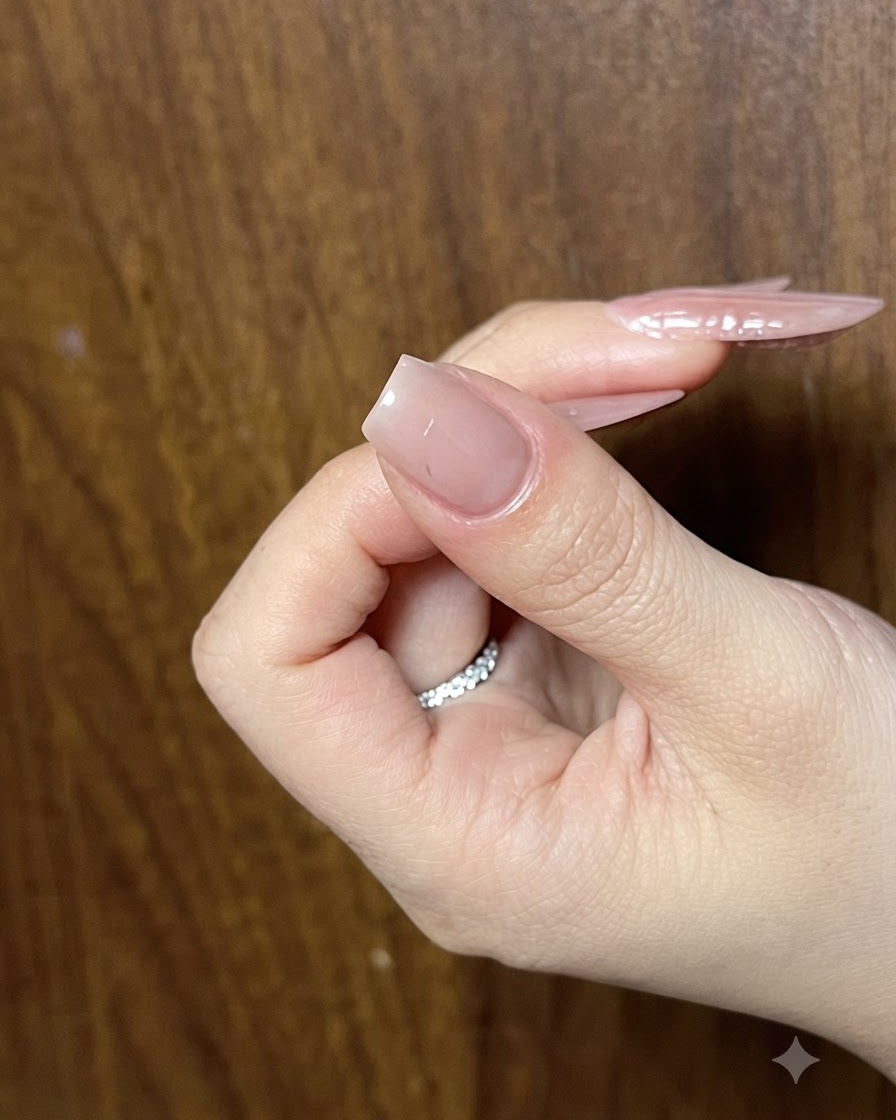
Add internal accent lines and dimension within the butterfly bow using the black color gel. These thin strokes give depth and structure to the bow, enhancing the shadow effect mentioned in the design process.
Tip: Work with a minimal amount of gel on your brush tip to avoid thick, clunky lines. - 21Finalize black outlines
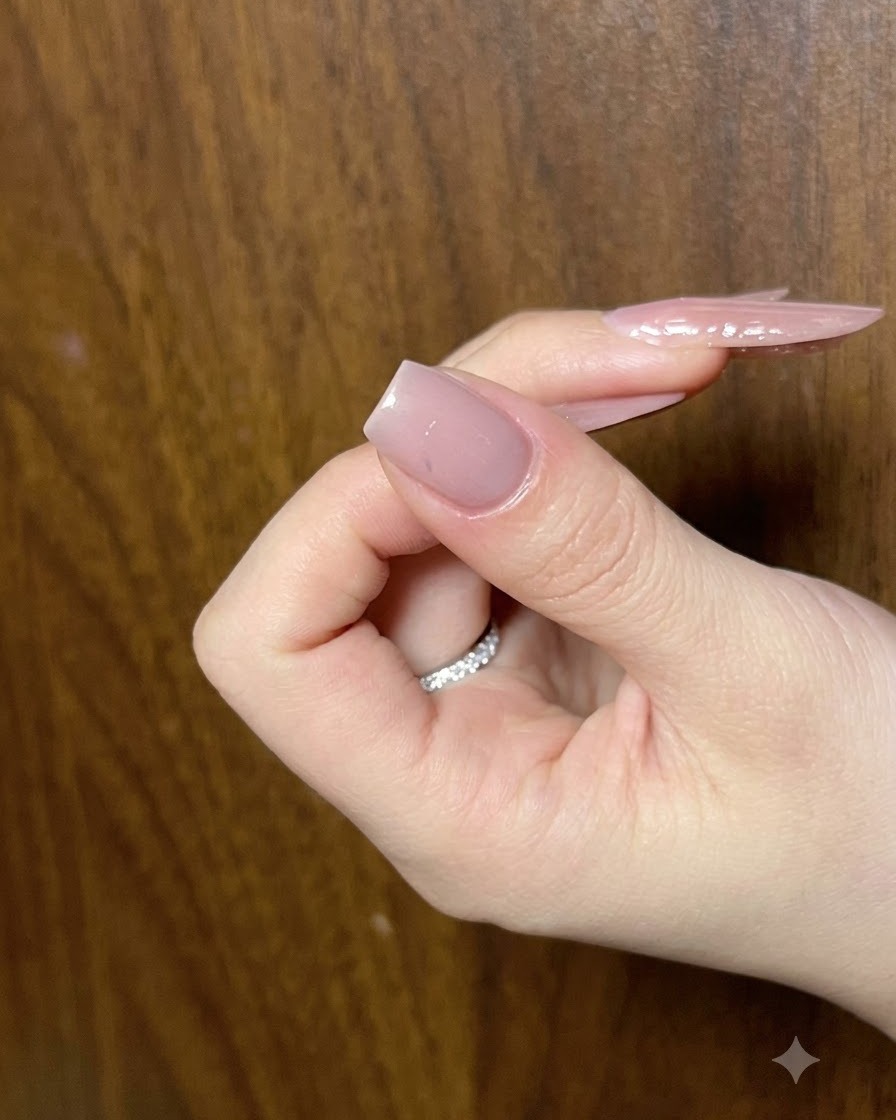
Inspect the black linework across the entire butterfly bow and touch up any areas that need refinement. Once satisfied with the thin, shadow-like outlines, prepare the nail for its final curing step.
Tip: Check your lines from multiple angles under good lighting to ensure symmetry and neatness before curing. - 22Cure the Black Outline
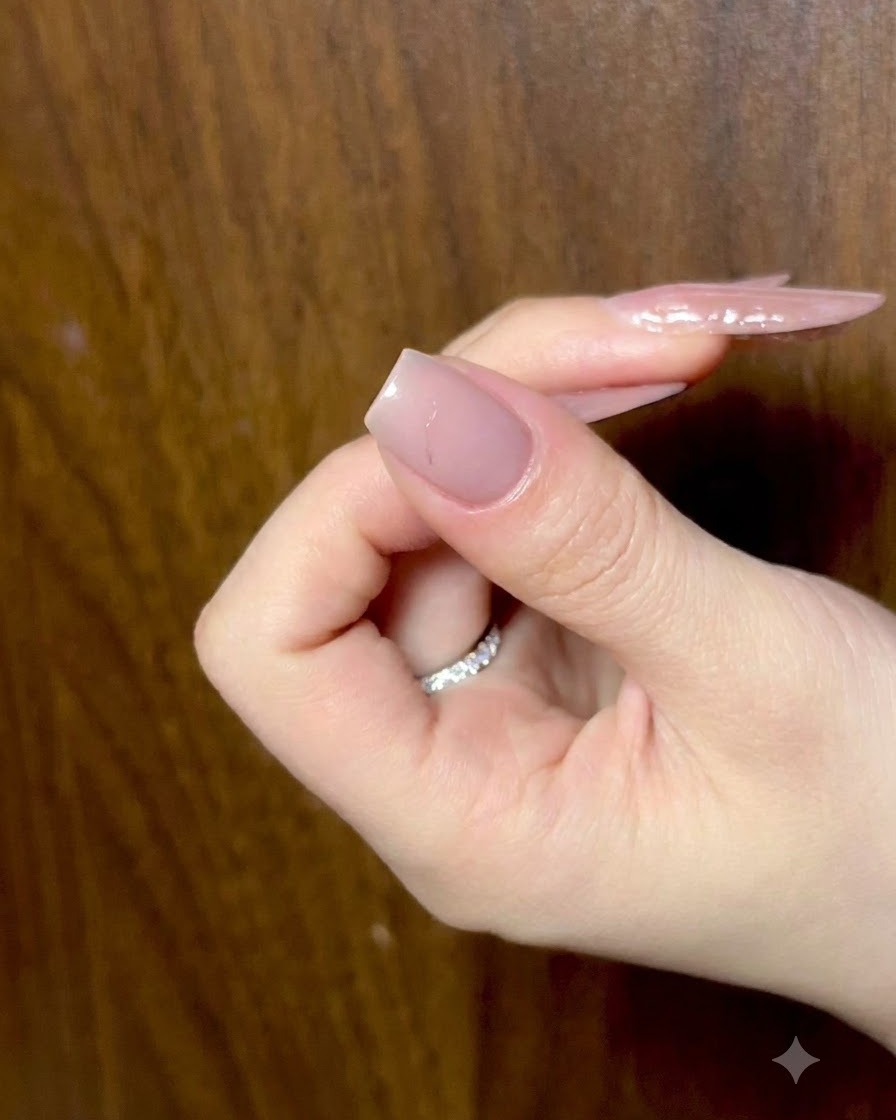
Place your hand under the UV or LED lamp to fully cure the thin black outline gel. Curing locks the delicate butterfly shadow lines in place, preventing any smudging before the final glitter and top coat layers are applied.
Tip: Keep the curing time consistent according to your gel brands instructions to ensure the fine lines set completely. - 23Add Dimension with Glitter
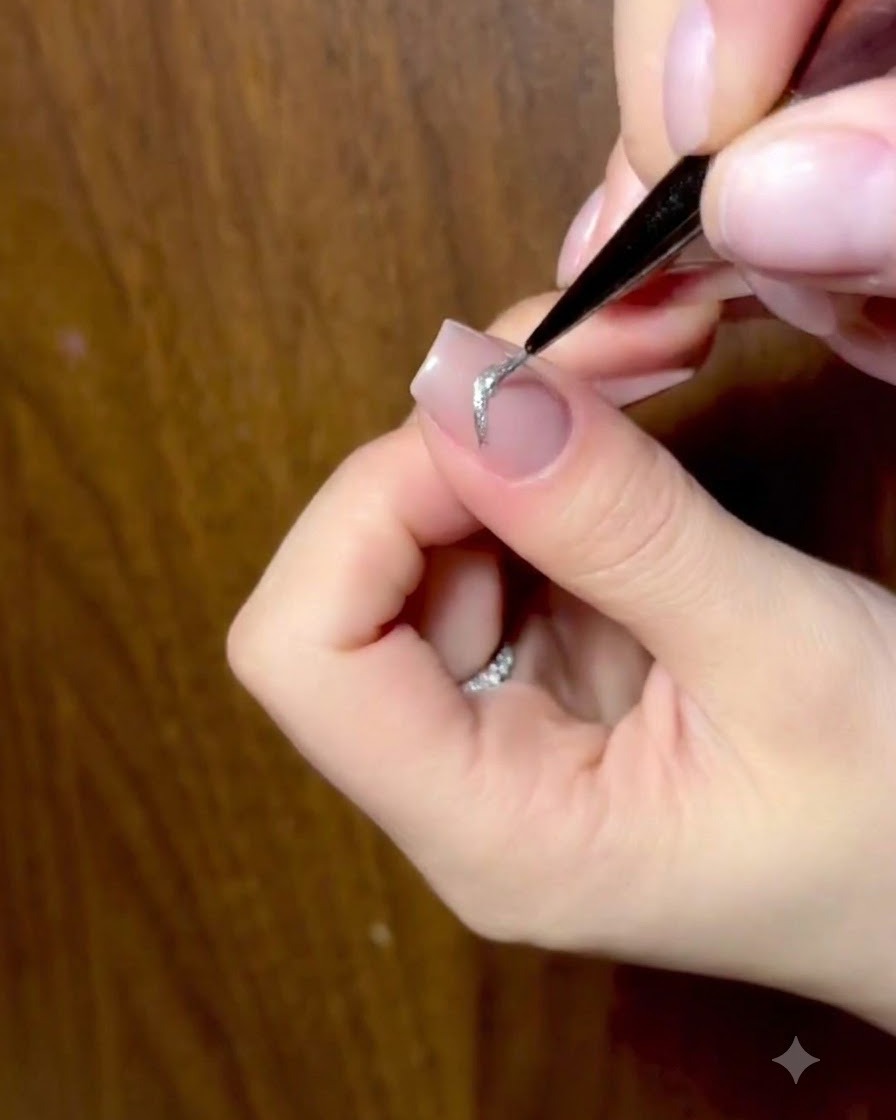
Take a fine brush and apply shiny glitter directly on top of the cured cat-eye area. This creates extra sparkle and depth, enhancing the multi-dimensional shine of the butterfly bow design from every angle.
Tip: Tap the glitter gently onto the cat-eye gel rather than dragging it to keep the underlying magnetic effect distinct. - 24Apply Final Top Coat and Cure
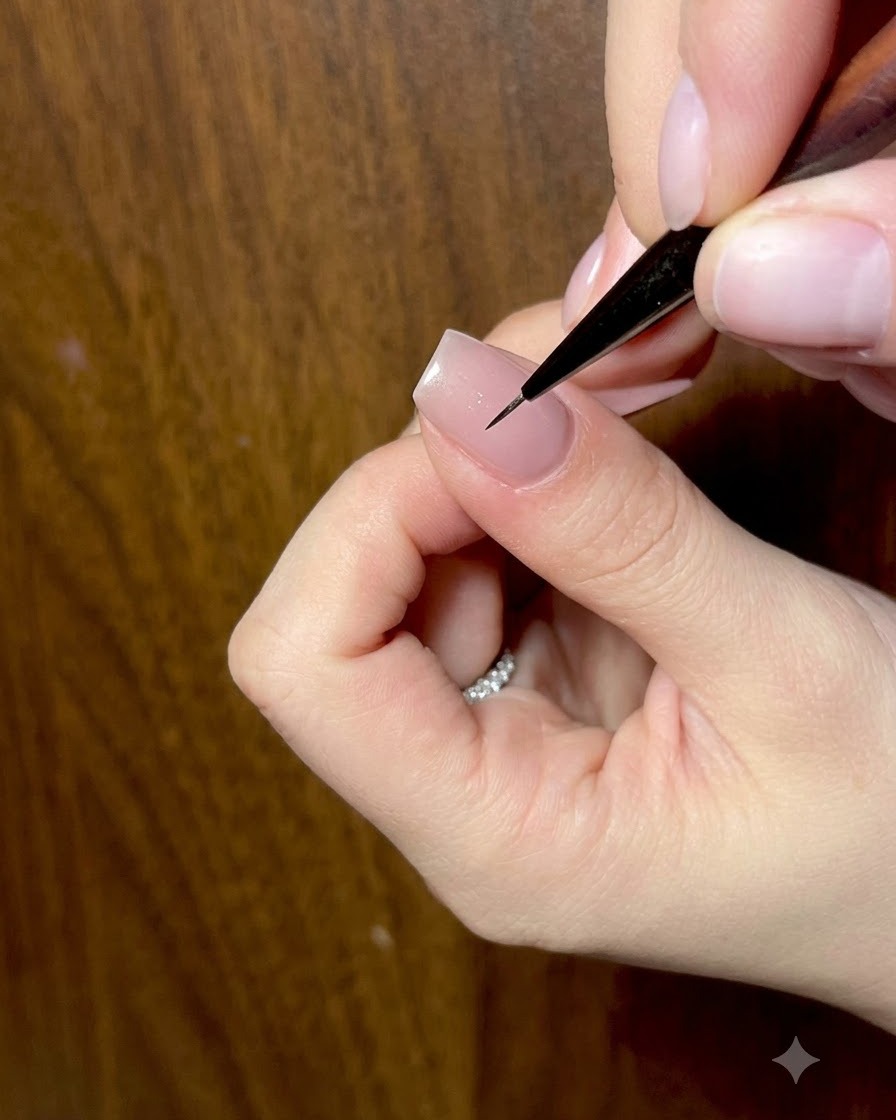
Seal the entire nail design by applying a smooth layer of top coat over the glitter and bow art. Cure under the lamp for a final time to lock in the shine, ensuring a long-lasting, versatile finish that looks brilliant from every corner.
Tip: Cap the free edge with the top coat to prevent chipping and protect your intricate nail art.