Silver Glitter Bow Nude Chrome Nail Art — Step-by-Step Tutorial
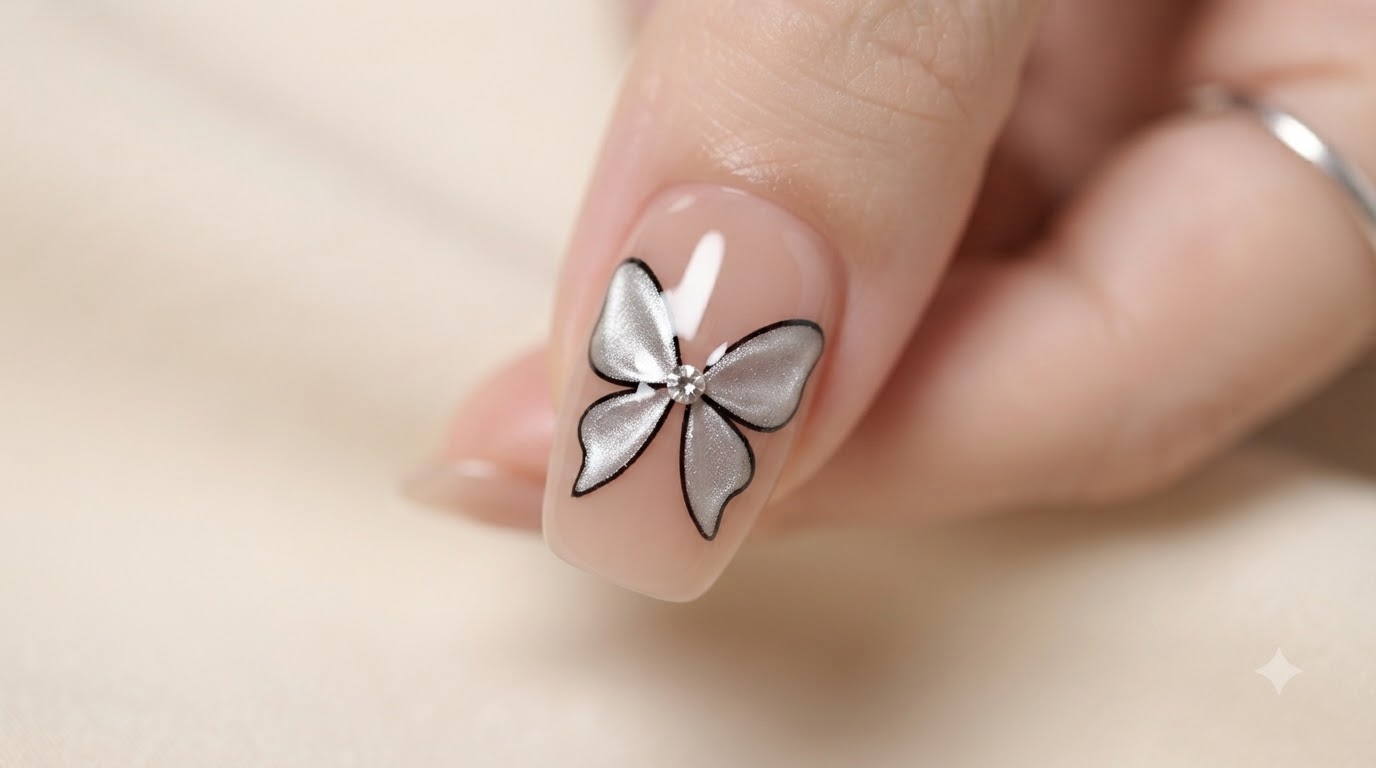
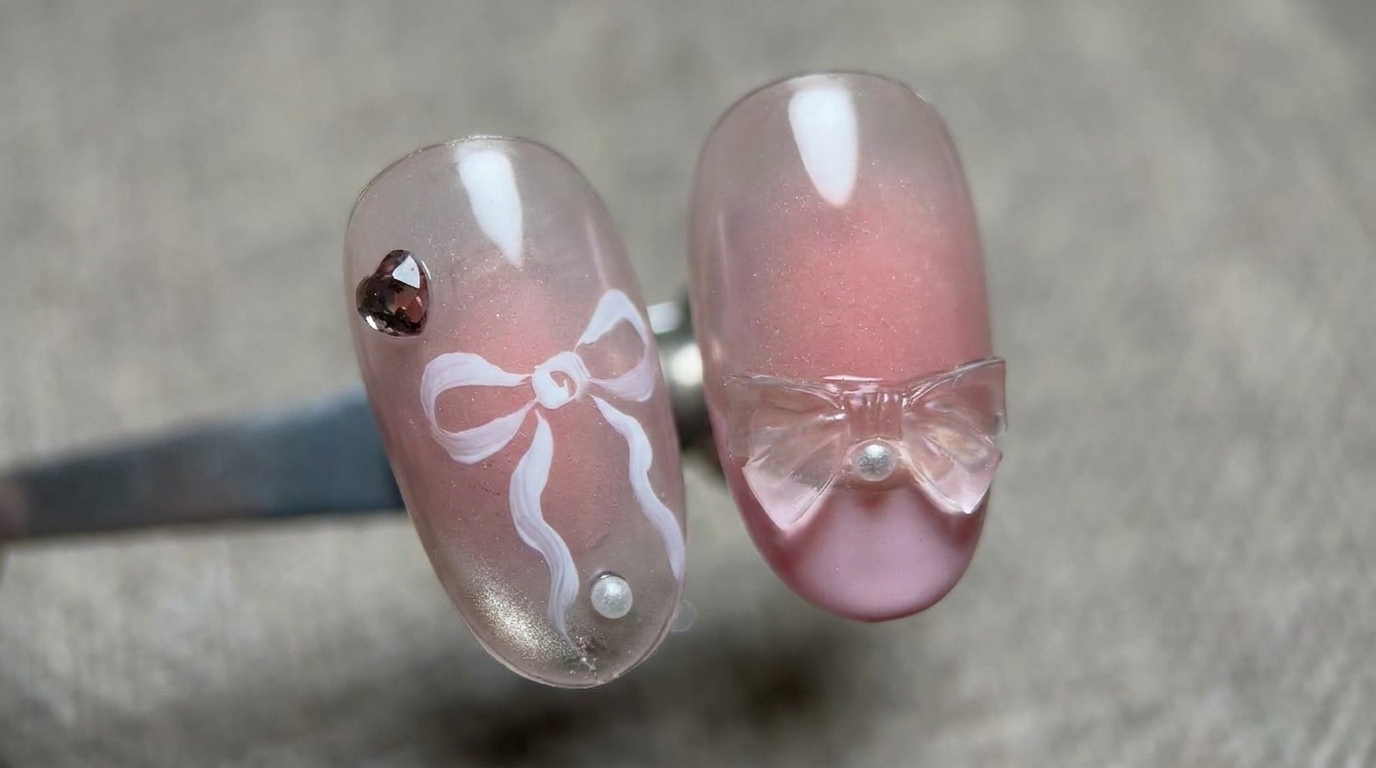
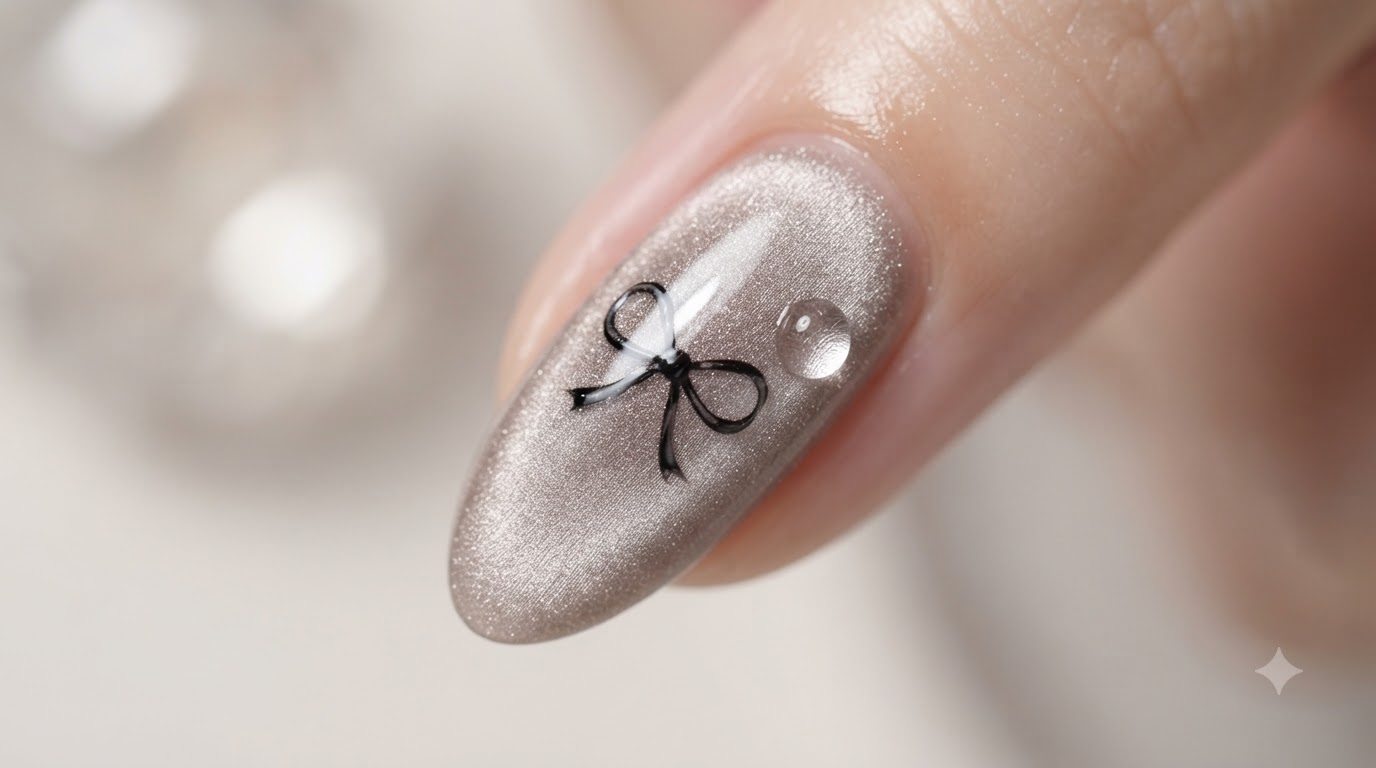
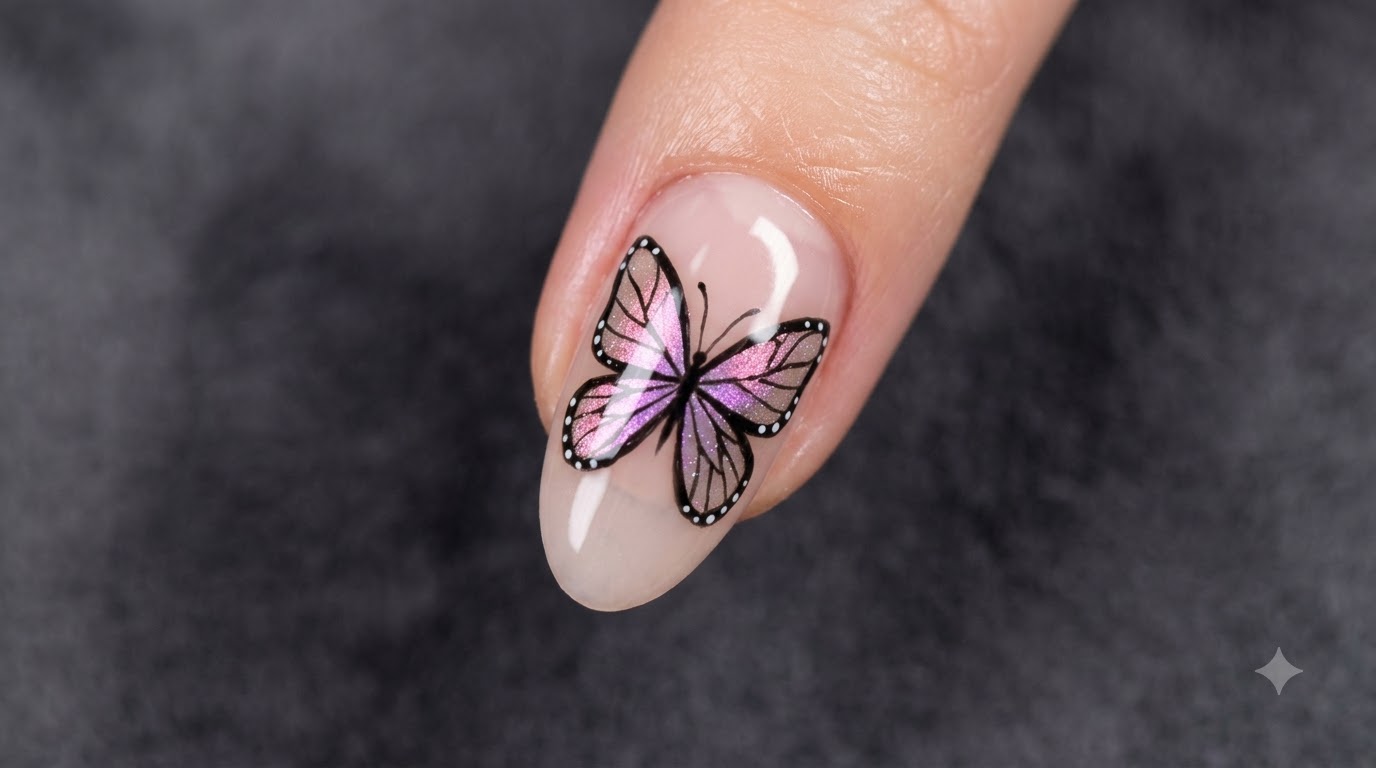
Create an elegant nude base nail featuring a 3D silver glitter bow design with sparkling chrome highlights using a simple step-by-step method.
Elevate your manicure game with this stunning nude chrome look accented by a sparkling 3D silver glitter bowcite: 1. Combining a pearlescent aurora base with raised floating gel art, this tutorial walks you through every stage to achieve a professional salon finish right at home.
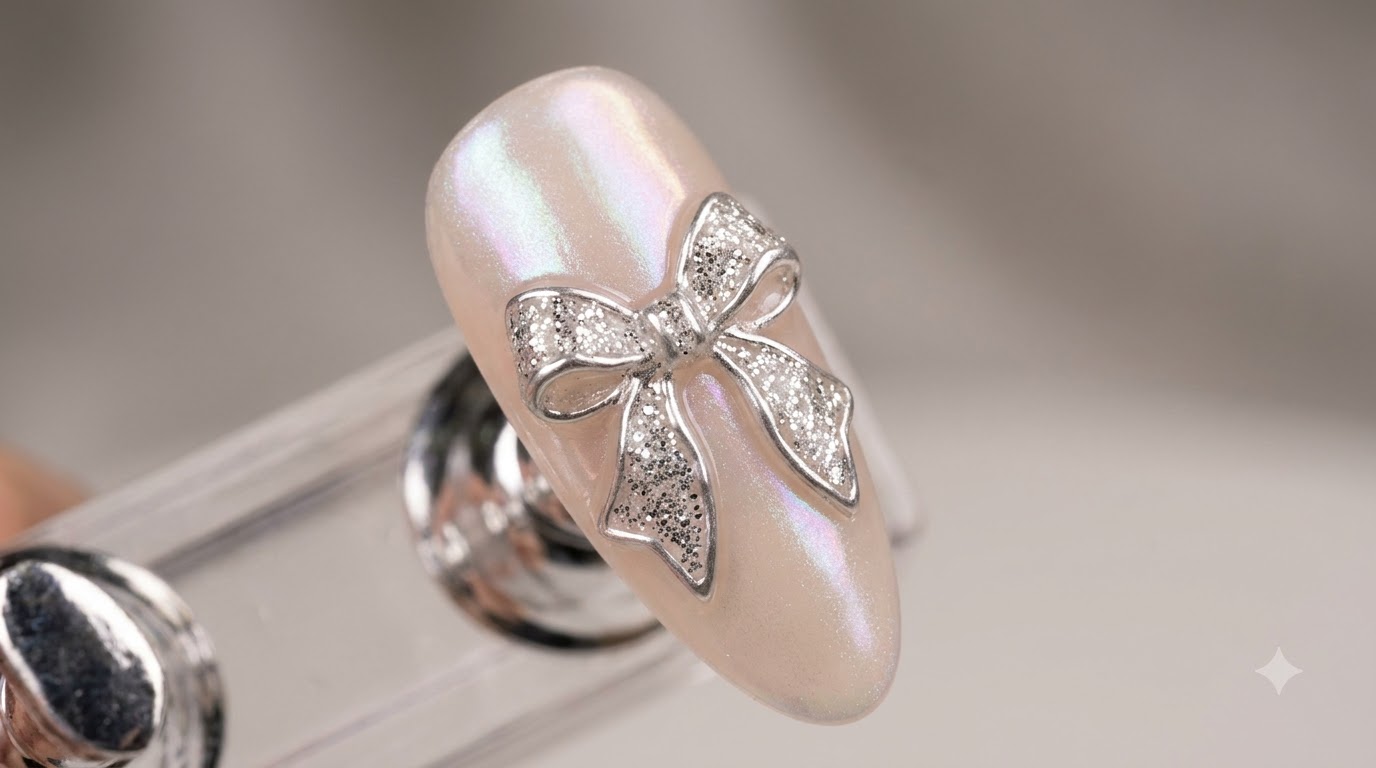
Steps
- 1Apply Gulauri palette color number 6
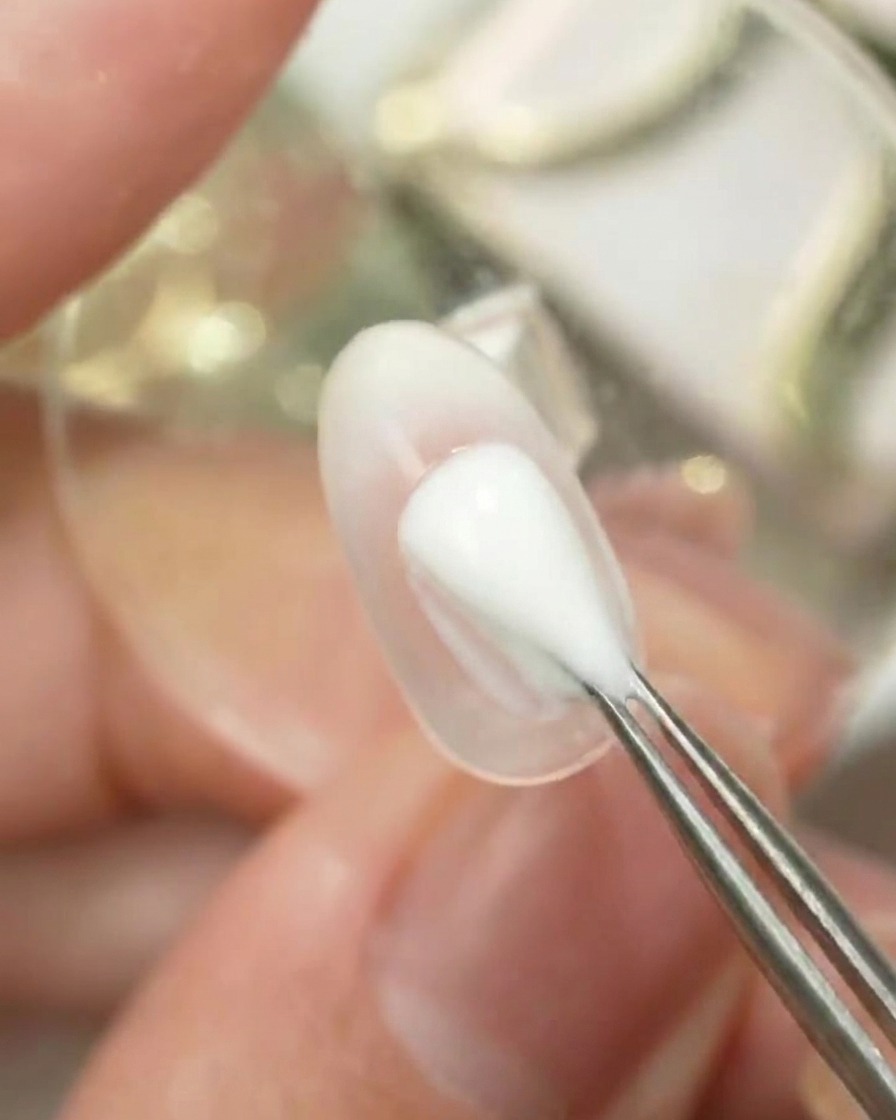
Apply Gulauri palette color number 6 onto the nail surface using a blending tool or sponge to create a smooth ombre effect. Ensure the color fades gracefully toward the cuticle area for a seamless gradient transition.
Tip: Tap the color gently rather than brushing it to build a soft, cloud-like gradient layer. - 2Cure the ombre layer
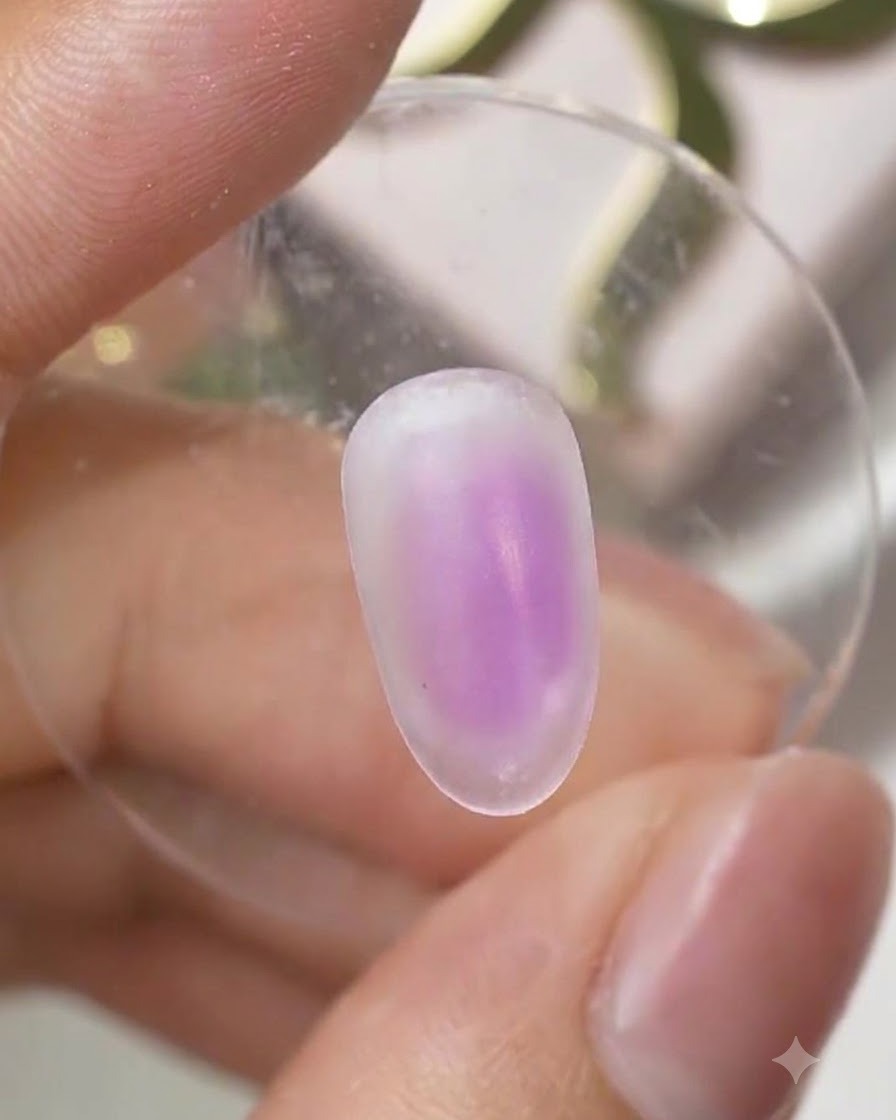
Place the nail under the UV or LED lamp to cure the Gulauri ombre layer completely. Make sure the curing time matches your gel product specifications to prevent any wrinkling or shifting.
Tip: Ensure your hand is placed flat inside the lamp so the light reaches the entire nail surface evenly. - 3Apply Traveler color number 1
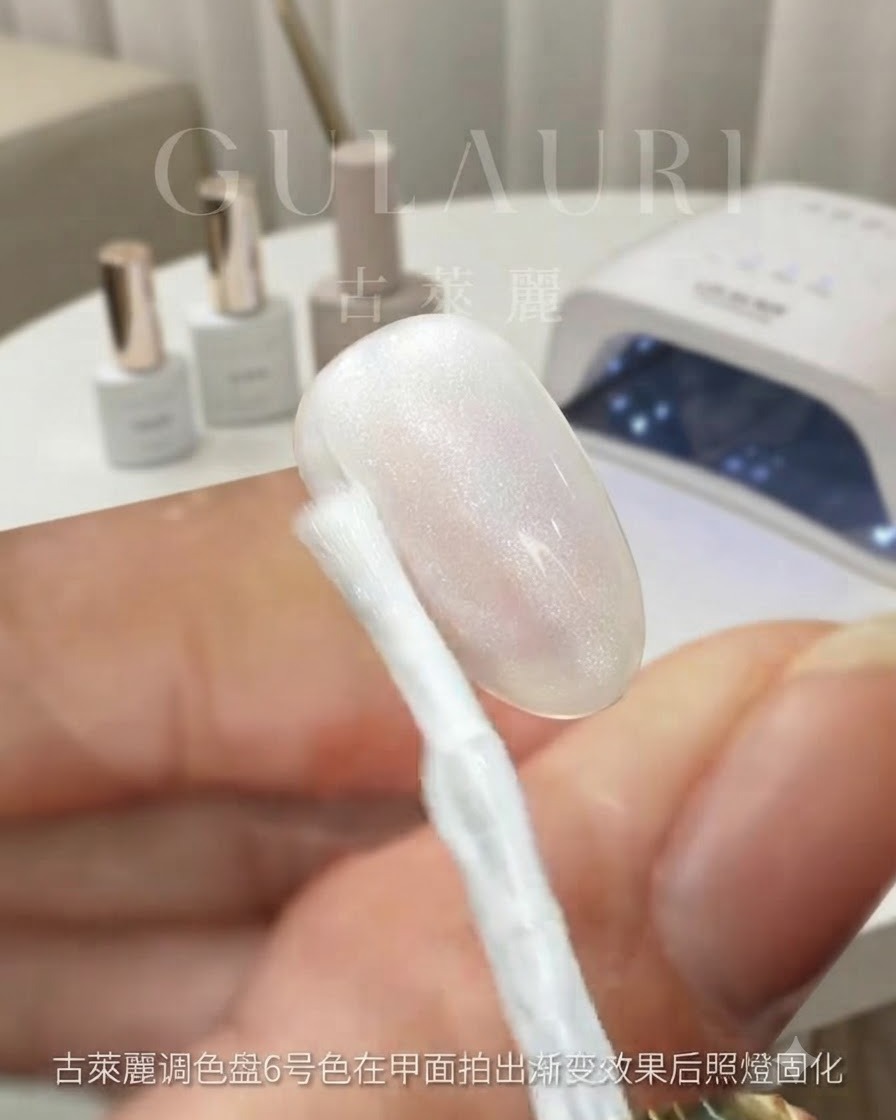
Apply a layer of Traveler color number 1 across the entire nail surface over the cured ombre base. This adds a shimmering translucent layer that enhances the depth of the overall design.
Tip: Keep this layer thin and even to maintain the visibility of the ombre transition underneath. - 4Apply magic powder special top coat
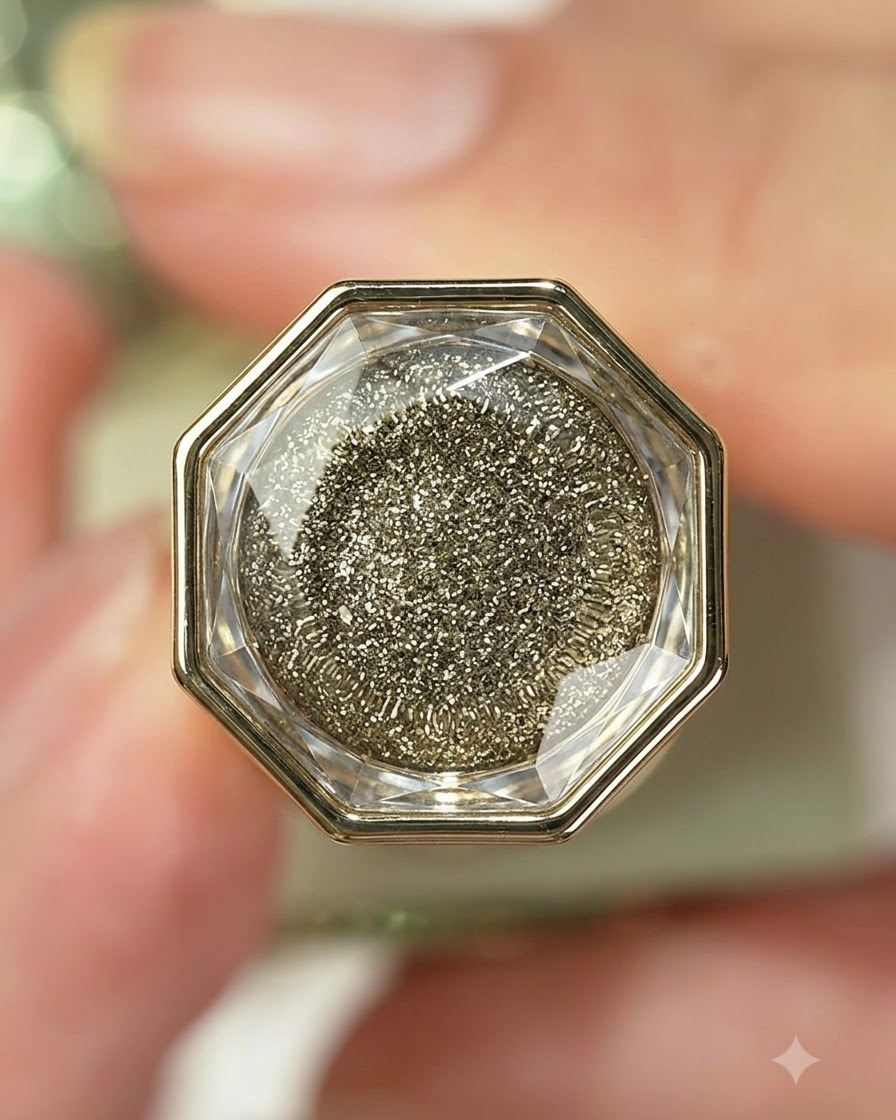
Apply a specialized magic powder top coat evenly across the nail surface. This formulation provides the ideal tacky surface or texture required for adhering the upcoming magic powder smoothly.
Tip: Do not flood the edges, and ensure complete coverage so the powder adheres uniformly. - 5Cure the special top coat
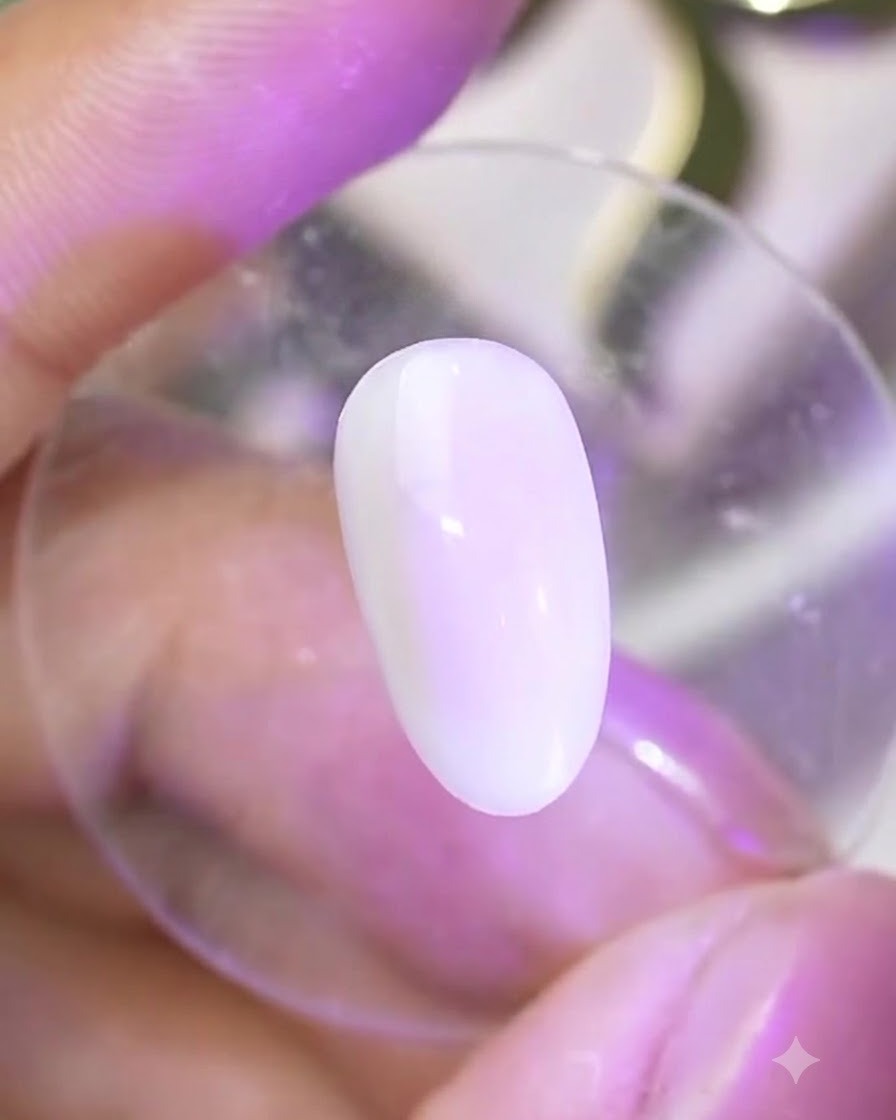
Place the nail into the UV or LED lamp to cure the magic powder special top coat. Follow the recommended duration to create the optimal base for the chrome or magic powder application.
Tip: Check that the surface is properly set before moving on to rubbing powder. - 6Apply Baibaoxian magic powder M01
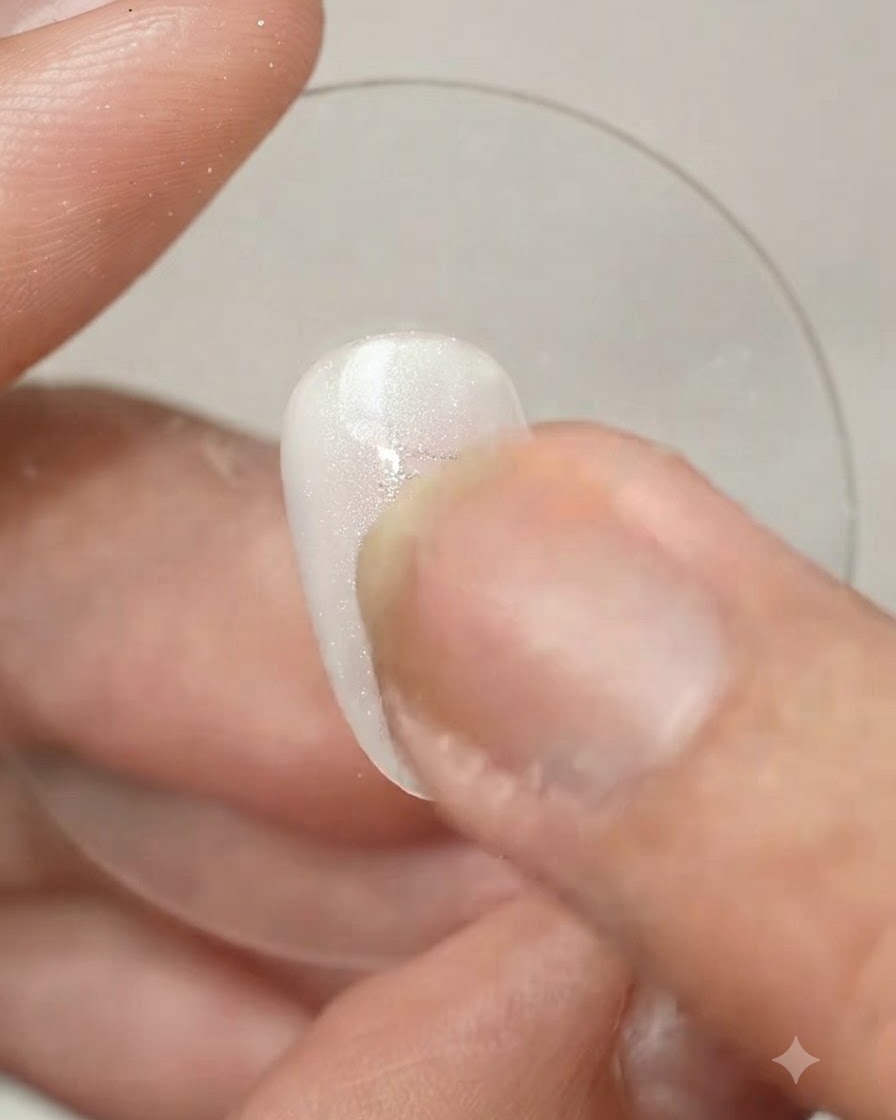
Take an applicator and gently rub Baibaoxian magic powder M01 onto the cured nail surface. Buff it gently until a uniform, lustrous metallic or pearlescent sheen appears across the entire nail.
Tip: Use a soft silicone or sponge applicator and buff with light pressure for a mirror-like finish. - 7Draw Bow Contour Lines
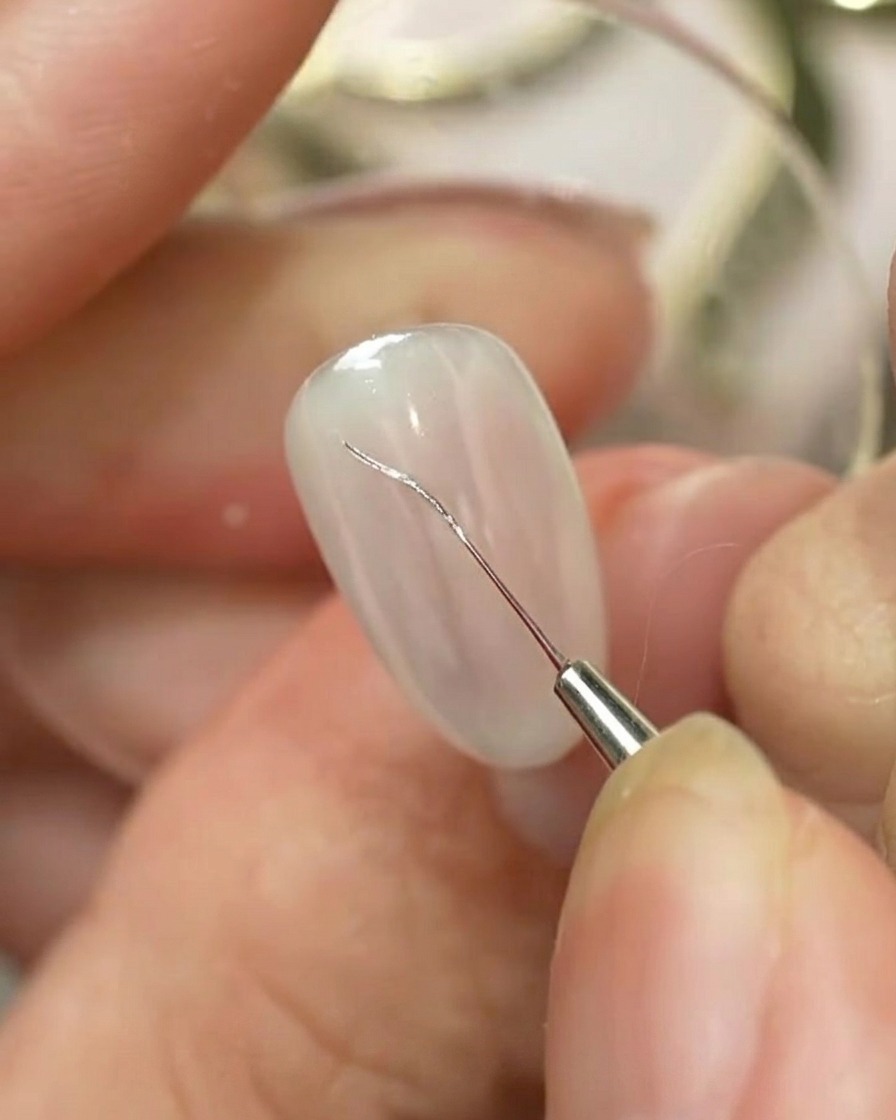
Dip a fine liner brush into Jingcui collection number 10 silver floating sculpture gel and carefully draw the outline and contour lines of a bow onto the nail surface. Take your time to keep the lines crisp, elegant, and symmetrical for a clean base structure before filling it in.
Tip: Keep a light hand when drawing with sculpture gel to ensure even, smooth lines without heavy blobs. - 8Cure the Bow Outline
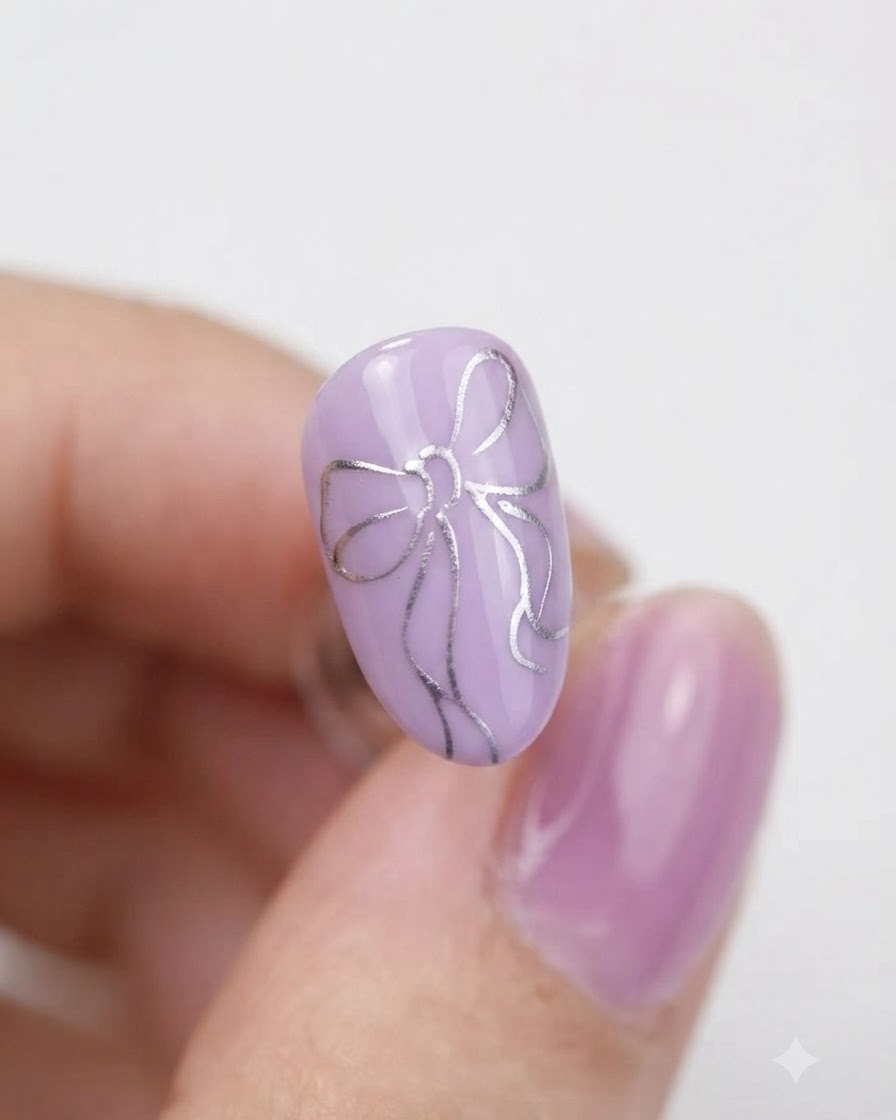
Place the hand under your UV or LED nail lamp to cure the silver floating sculpture gel used for the bow outline. Curing ensures the dimensional lines stay firmly in place and will not smudge or smear during the subsequent powder application steps.
Tip: Ensure a full cure according to your gel product instructions so the raised outline maintains its sharp shape. - 9Apply Light Champagne Magic Powder
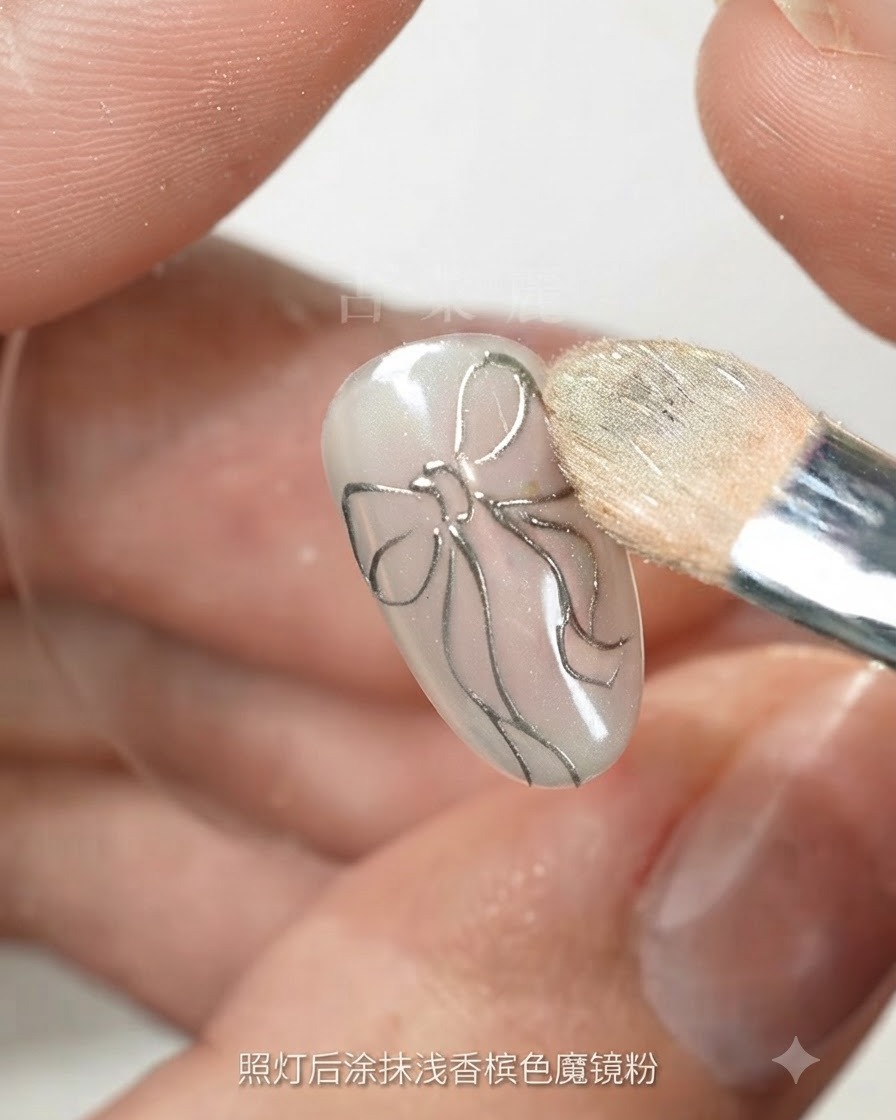
Using a soft eyeshadow applicator sponge or dedicated powder brush, gently buff light champagne color magic powder over the entire cured nail surface including the bow design. This imparts an iridescent, metallic sheen across the base and the raised lines.
Tip: Buff the powder lightly using circular motions for an even, flawless mirror-like finish without patchy spots. - 10Apply crushed diamond gel inside the bow
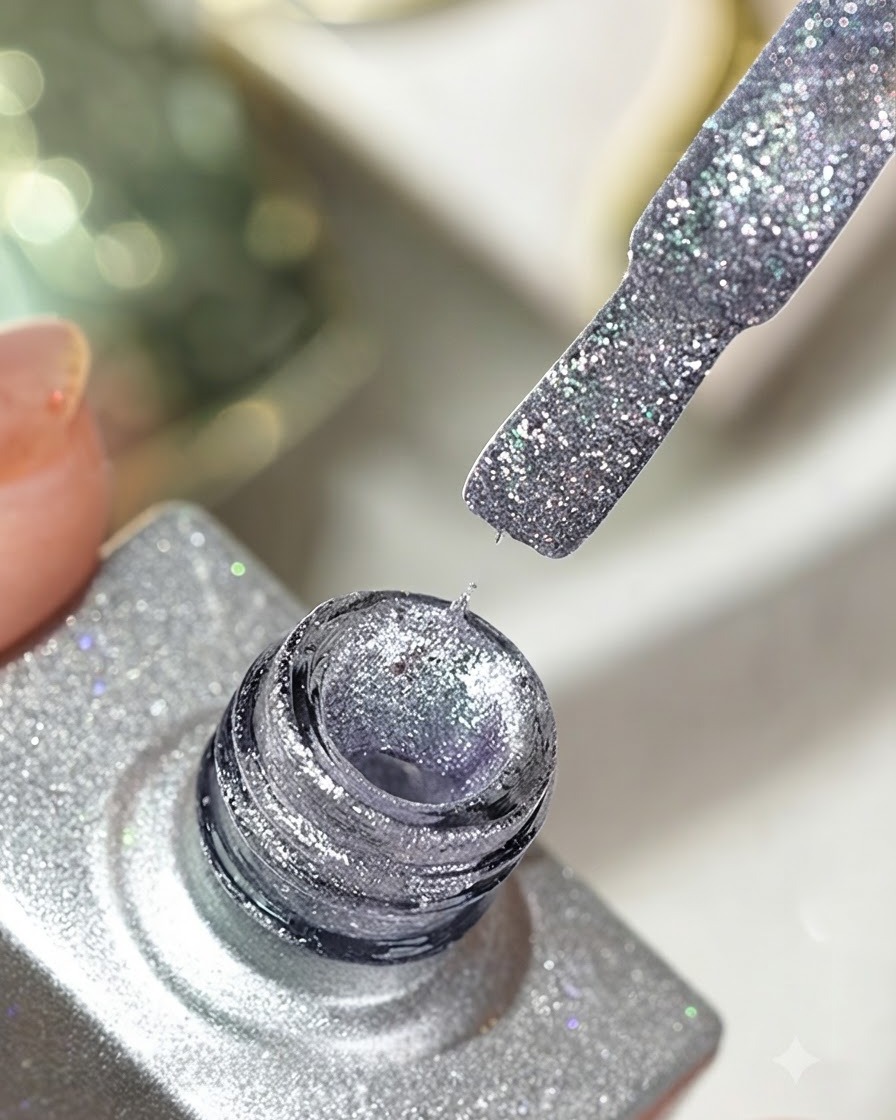
Using a fine detail brush, carefully apply crushed diamond gel number 26 inside the previously drawn bow contour linescite: 1. Take your time to fill the space evenly without spilling over the edges, creating a brilliant, sparkling focal point within the bow designcite: 1.
Tip: Wipe your fine brush clean between strokes to maintain precision and keep the glitter particles neatly within the drawn borders.