Laser French Butterfly Nail Art — Step-by-Step Tutorial
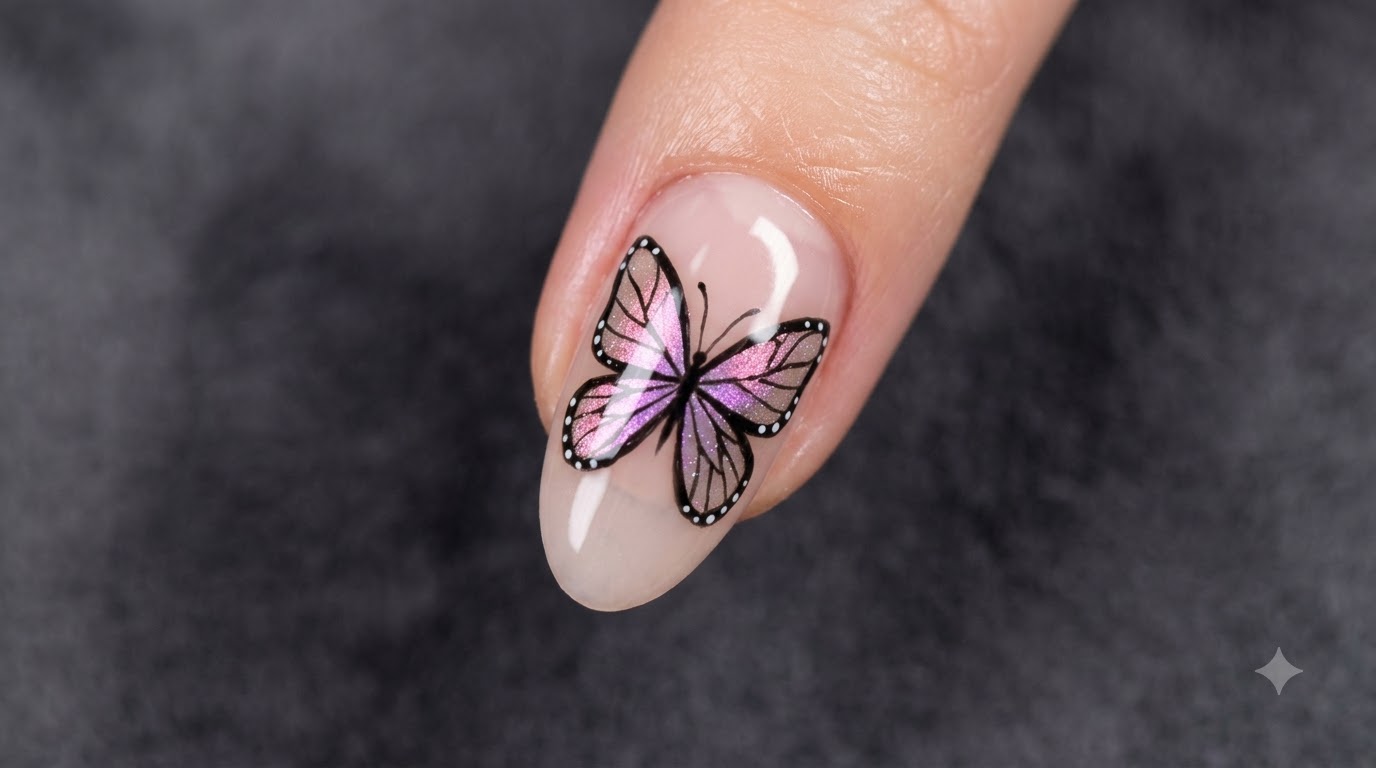
Create enchanting laser French butterfly nails featuring delicate aurora shimmer, color-shifting powder, and precise black line art.
Laser French style butterflies bring a magical, luminous dimension to your fingertips. By layering sparkle gel with aurora and color-shifting powders, you create an iridescent canvas that makes the hand-painted black wings and fine veining stand out with professional flair.
Steps
- 1Apply Clear Base Coat
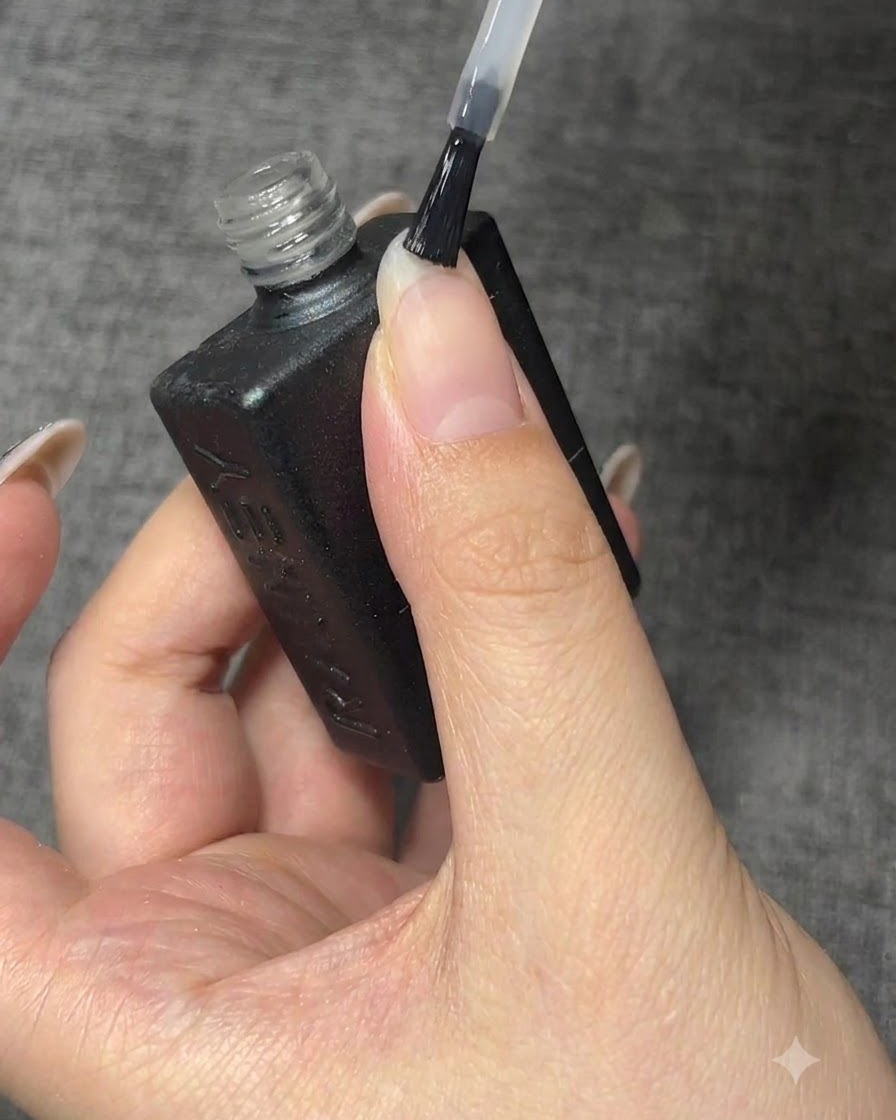
Apply a layer of clear base coat to your prepped nail surface, ensuring even coverage from the cuticle to the free edge, to provide a protective foundation for your nail art.
Tip: Make sure the nail is completely clean and dry before applying the base coat to promote better adhesion. - 2Cure the Base Coat
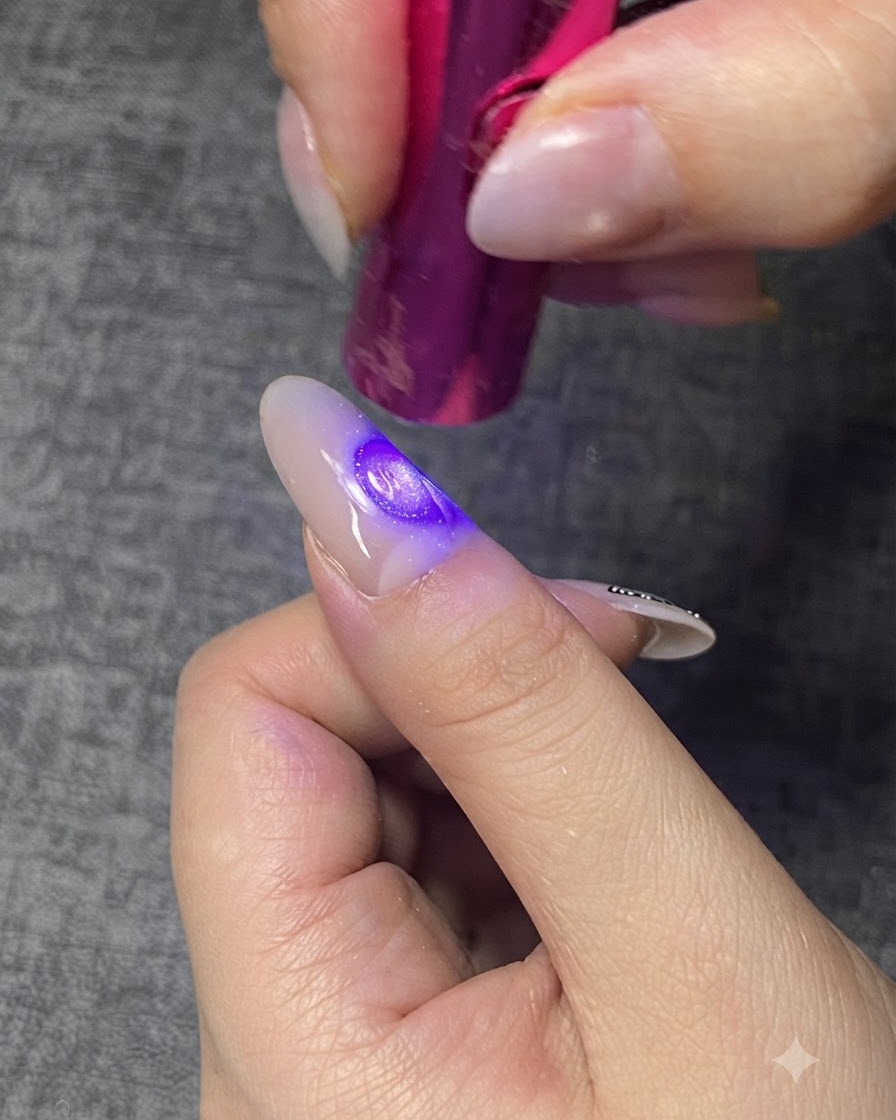
Place your hand under a UV or LED lamp to cure the freshly applied base coat thoroughly.
Tip: Follow your specific gel product guidelines for the exact curing time to ensure it sets properly. - 3Paint Butterfly Base Outline
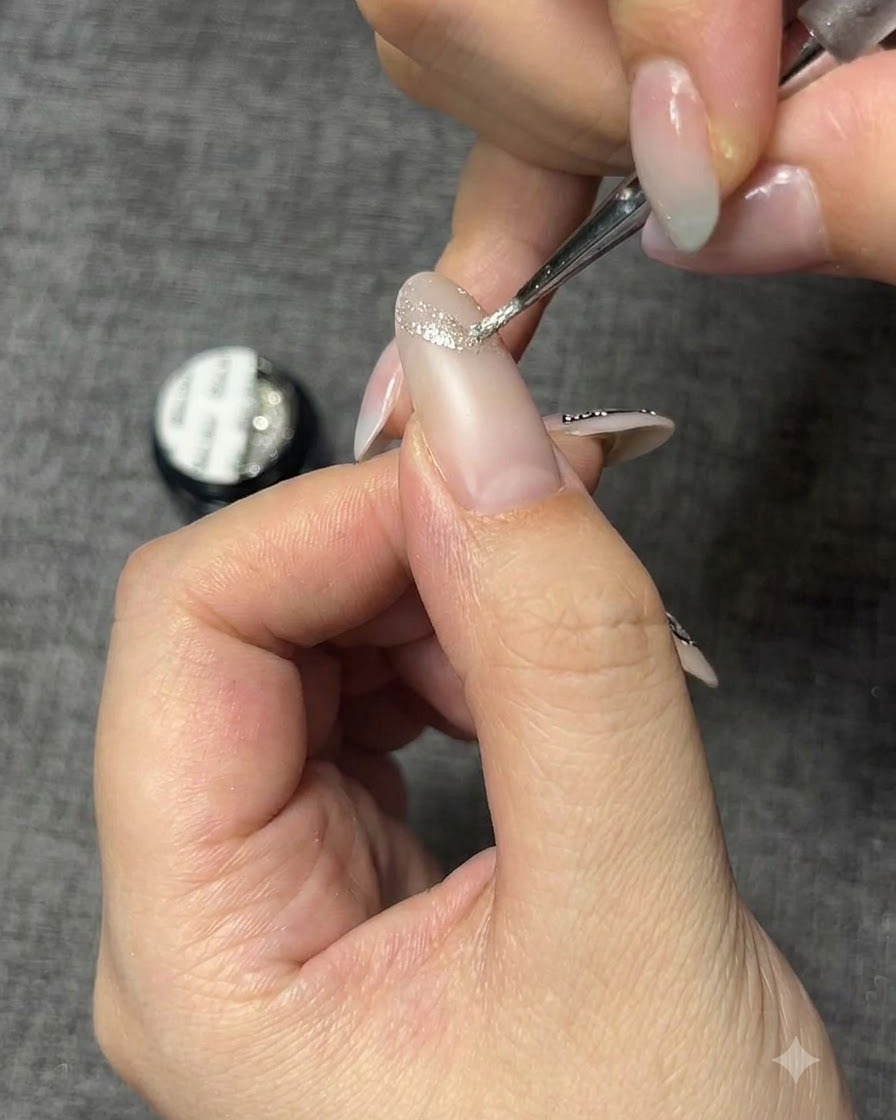
Using a detail brush and a sparkly gel polish, carefully sketch out the initial outline of the butterfly shape on the nail.
Tip: Keep your hand steady and use light strokes to map out the general shape of the wings. - 4Cure Sparkle Gel Outline
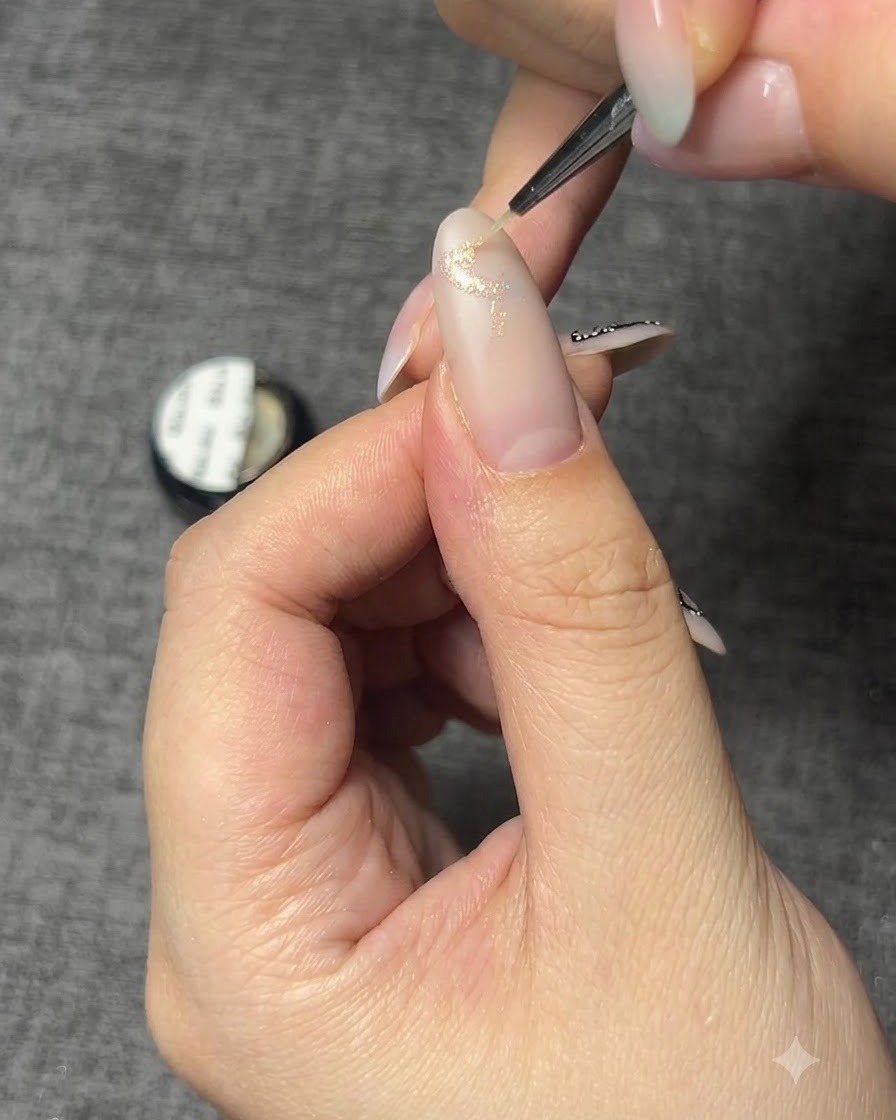
Cure the sparkle gel butterfly outline under your UV/LED lamp to lock the sparkly base layer in place.
Tip: Ensure the glitter gel is fully cured so that the subsequent powder layers adhere neatly. - 5Apply Aurora Powder
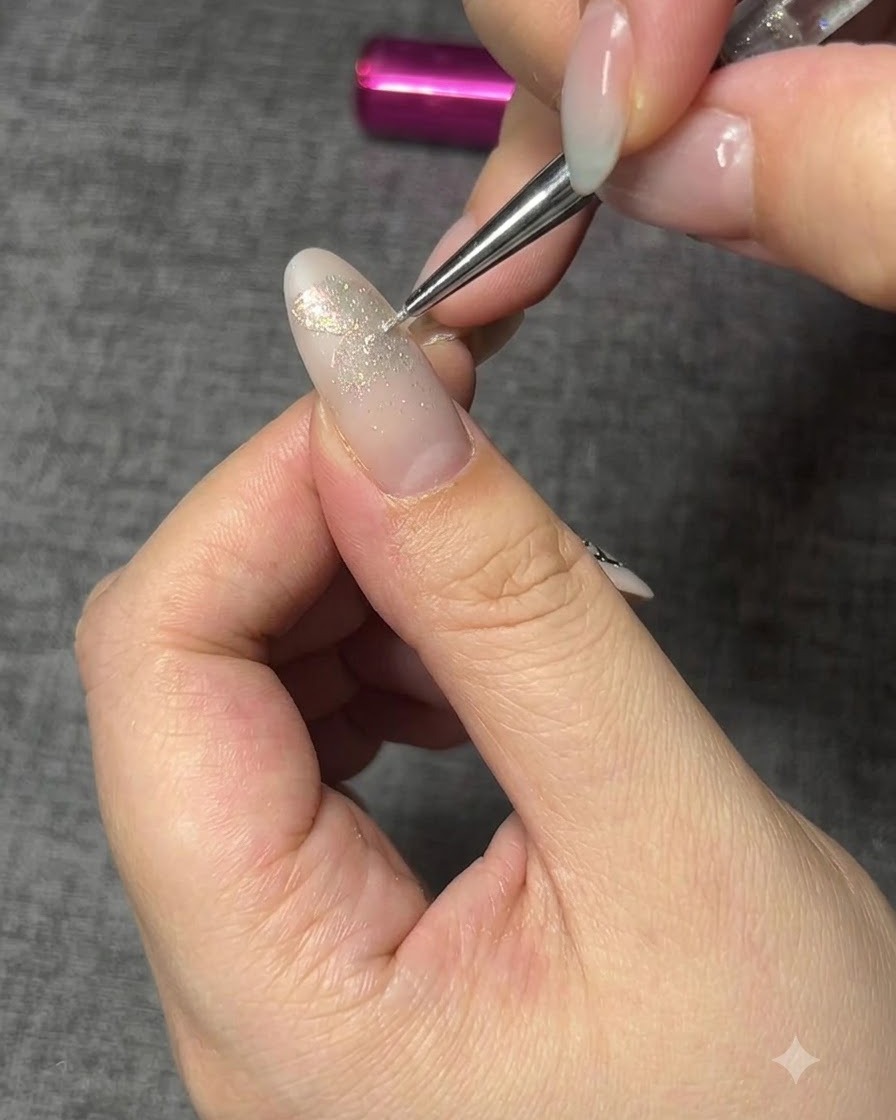
Gently rub aurora powder over the cured sparkle gel butterfly base layer to create a luminous, iridescent effect.
Tip: Use a small applicator or sponge tool to buff the powder smoothly over the gel surface. - 6Set Powder and Continue Details
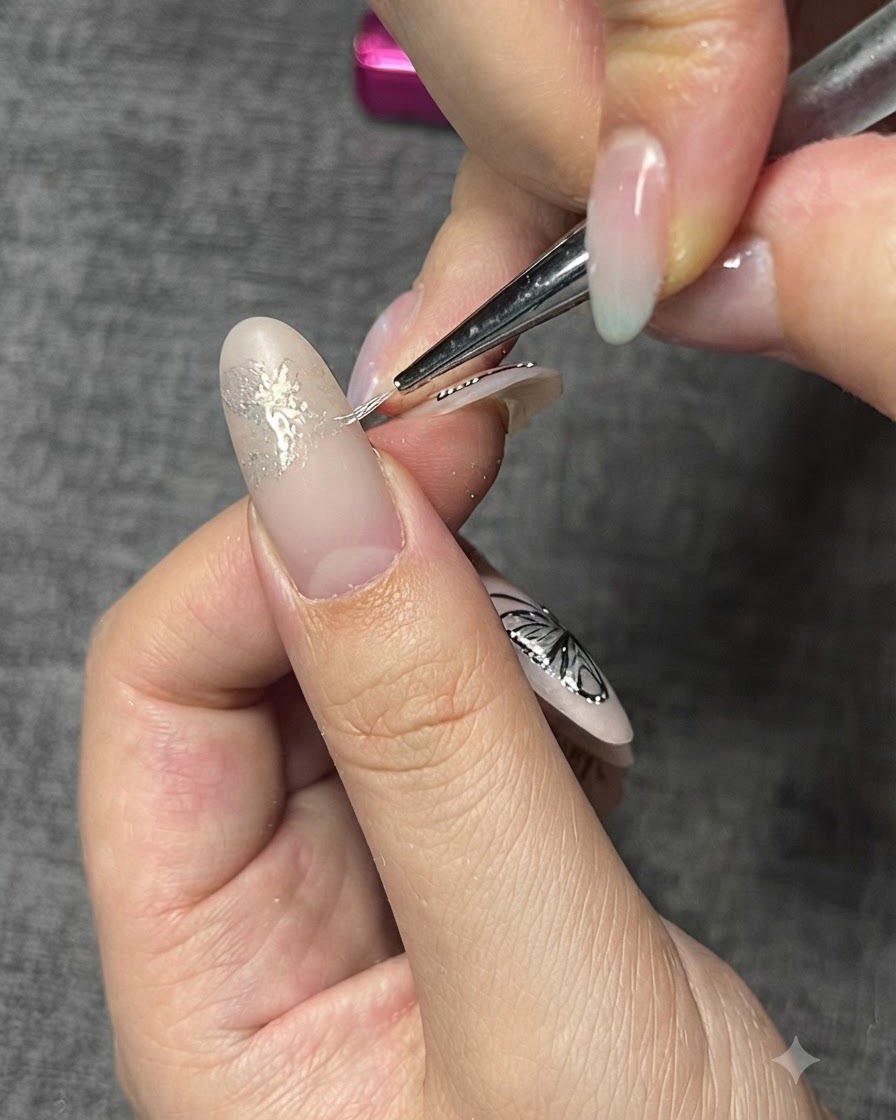
Cure the nail under the lamp to set the aurora powder, then use a fine liner brush for further outlining.
Tip: Ensure any excess loose powder is dusted away gently before moving on to the next detail phase. - 7Apply color-shifting powder
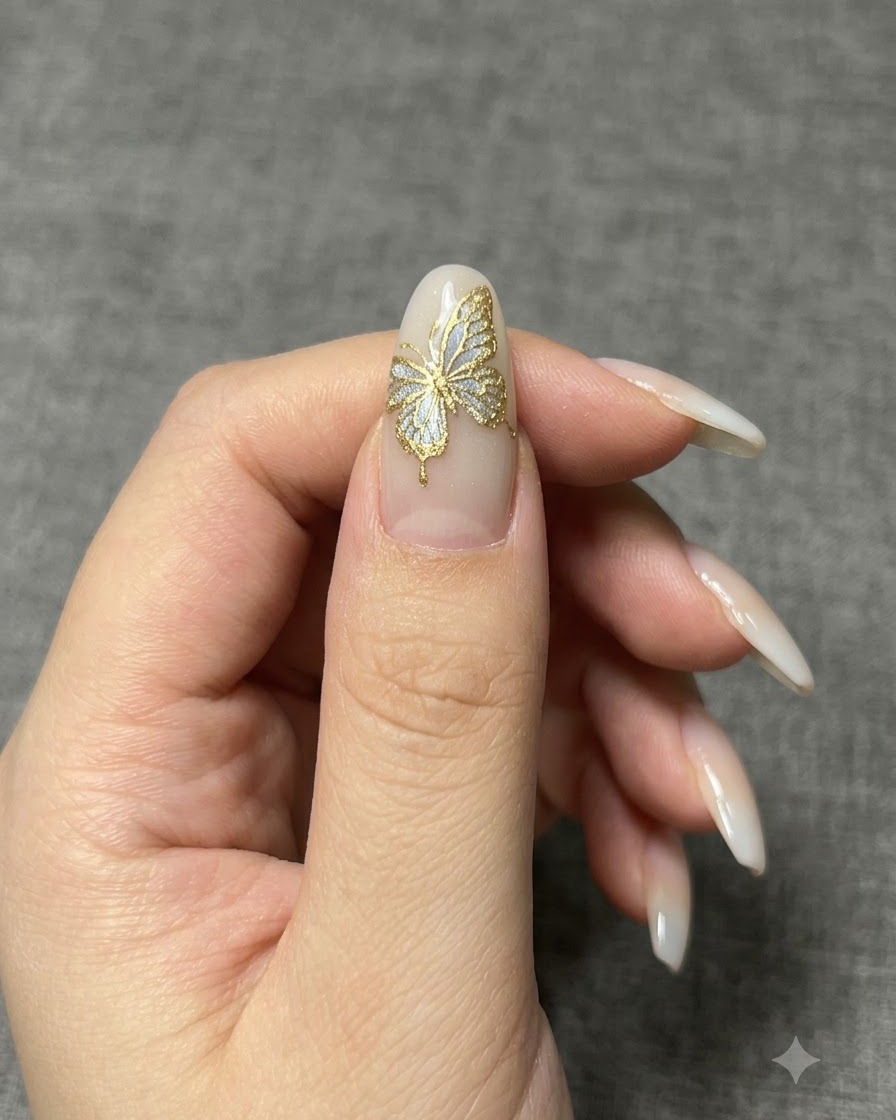
Apply a secondary color-shifting powder over the aurora powder layer to create a luminous, multi-dimensional effect on the nails. Gently buff or pat the powder onto the tacky surface until the desired shimmer and color shift appear. Cure briefly if required by your product instructions before moving on to the next step.
Tip: A little powder goes a long way; use a soft silicone tool or your fingertip for an even, smooth application. - 8Begin outlining the butterfly wings
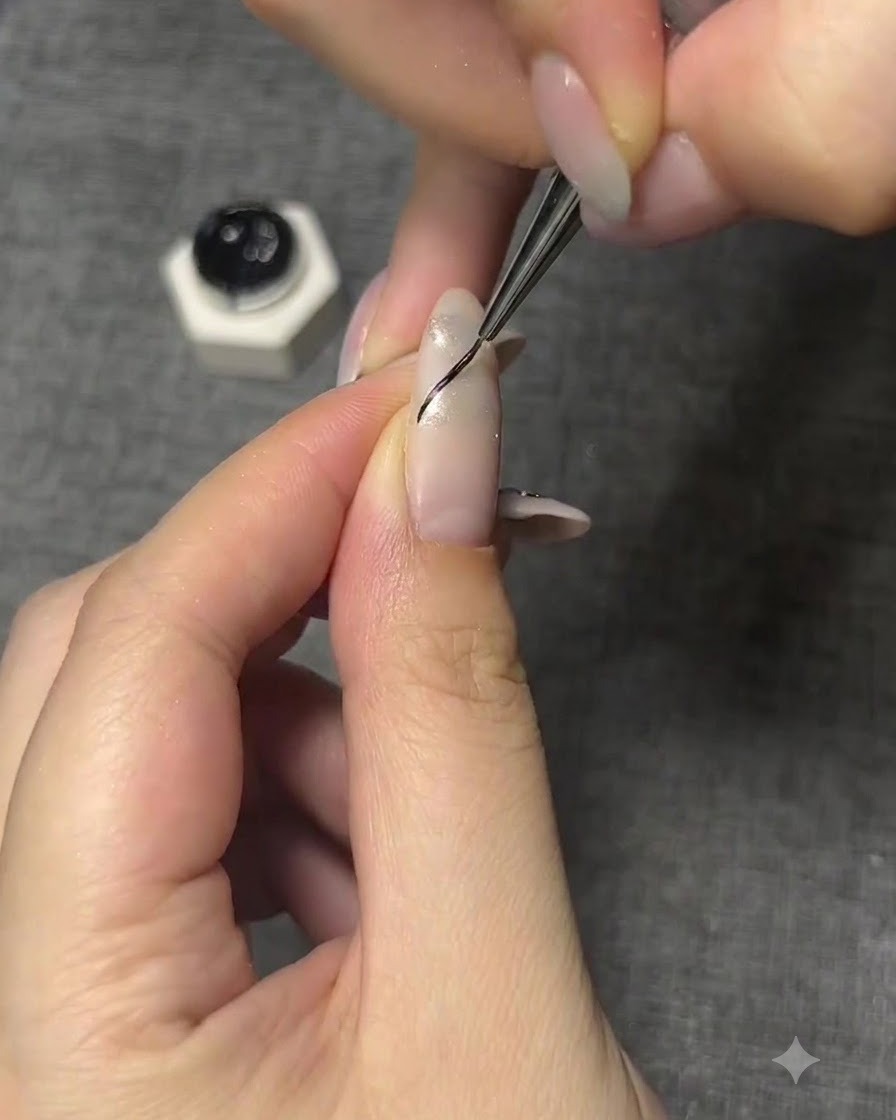
Take a fine liner brush dipped in black art gel and carefully begin drawing the initial curved lines to map out the butterfly wings. Keep your hand steady and trace smooth arcs over the shimmering background. This foundational outline sets the shape and proportion for the entire butterfly design.
Tip: Keep your pressure light and let the tip of the brush glide smoothly to avoid jagged or overly thick lines. - 9Refine butterfly wing contours
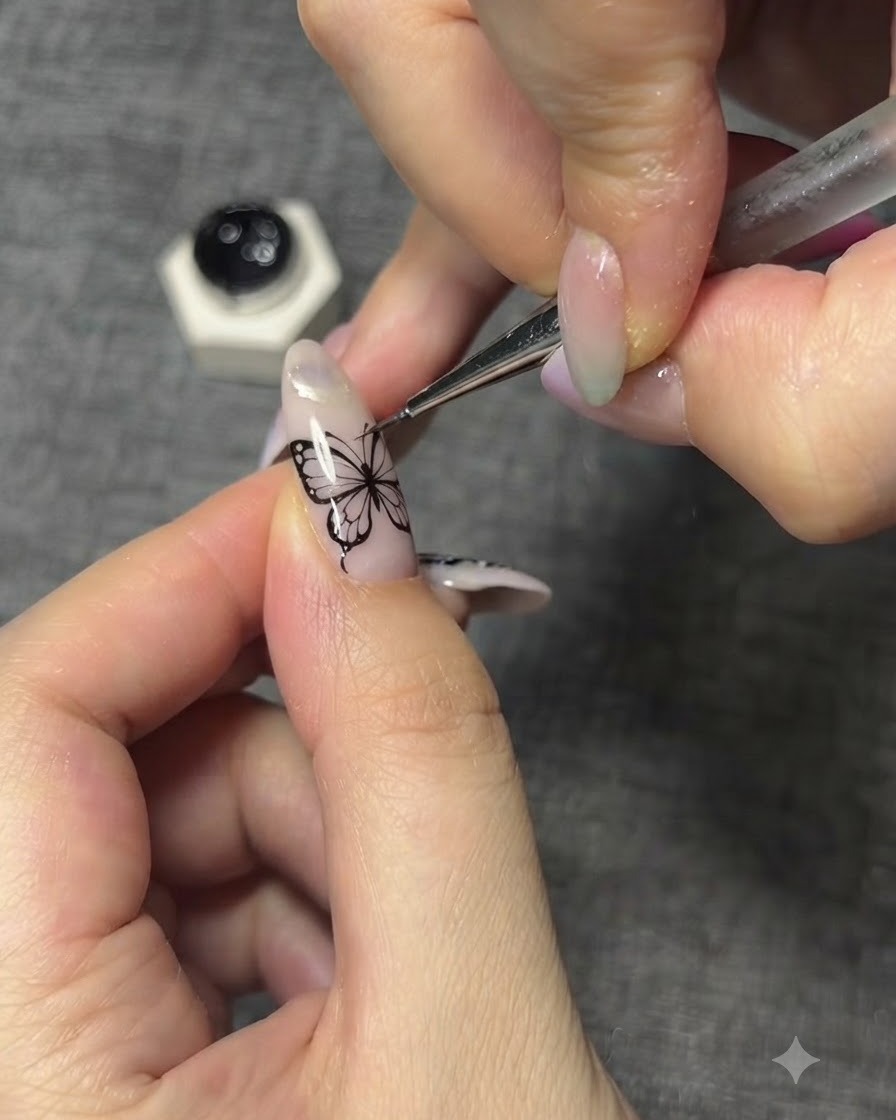
Carefully trace over your initial strokes to refine the butterfly wing contours, ensuring all lines are clean, round, and smooth. Take your time to adjust any uneven sections so the overall silhouette looks balanced and elegant. Cure the gel once you are satisfied with the shape.
Tip: Smooth contours make the final nail art look professional, so dont hesitate to patch up any light spots with a tiny dab of black gel. - 10Complete geometric wing outline
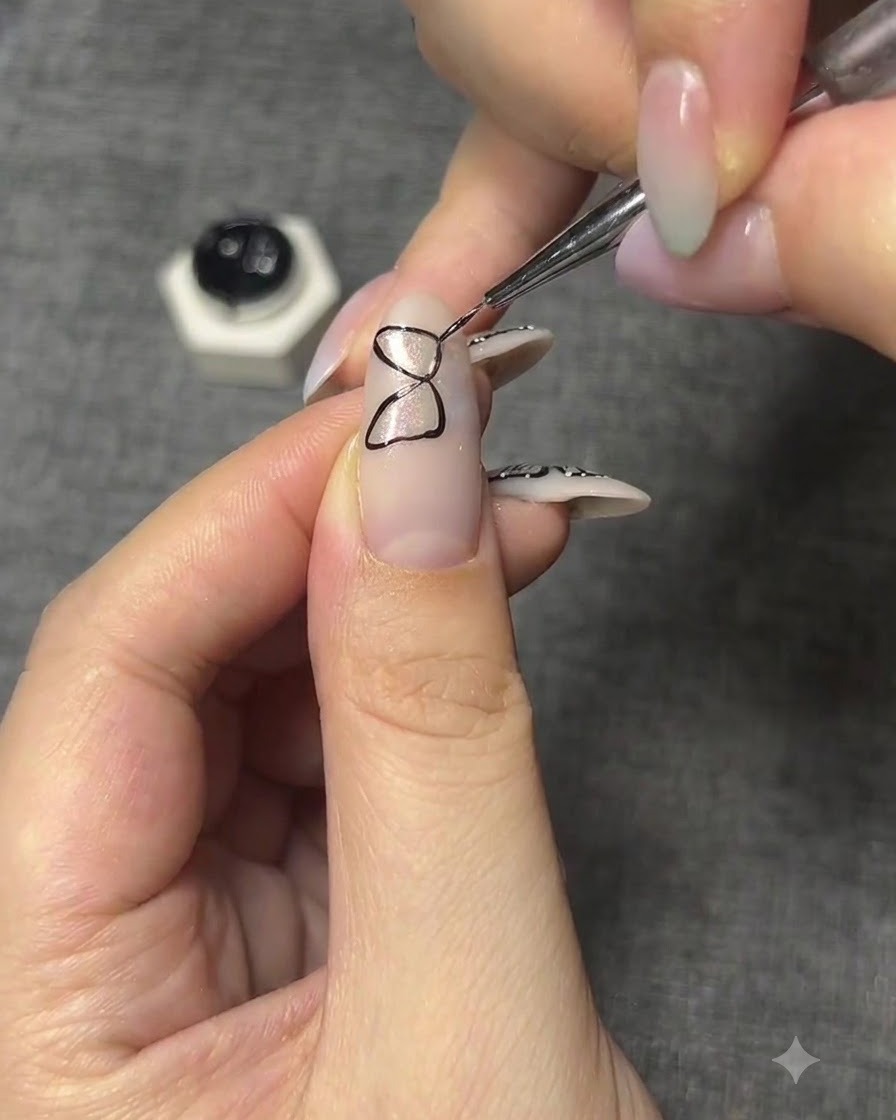
Fill in and complete the geometric sections of the butterfly wing outline using your black art gel. Ensure the upper and lower wing panels connect seamlessly to form a cohesive butterfly shape. Flash cure if necessary to prevent the gel from running before adding details.
Tip: Maintaining symmetrical proportions between the left and right sides will make your butterfly look much more realistic. - 11Adjust wing alignment
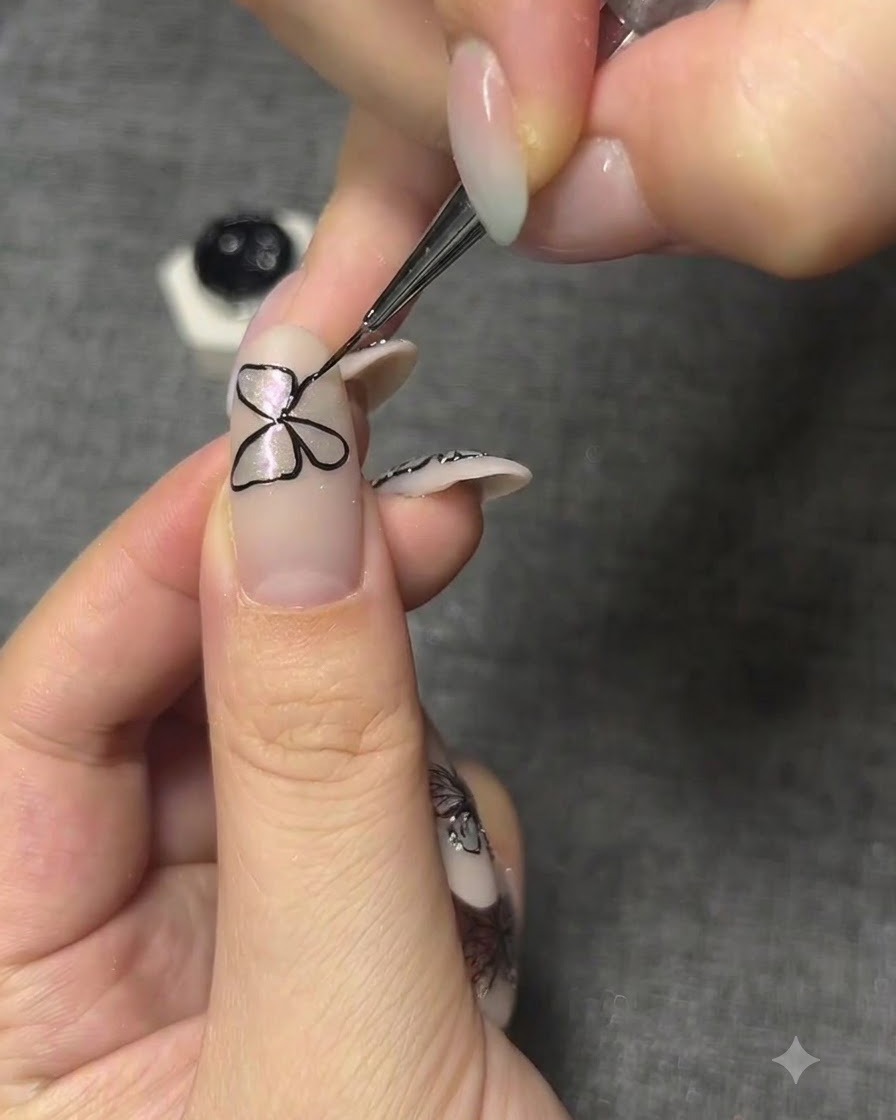
Check the placement of the wings and carefully adjust the alignment so they sit closely together near the center body. A compact alignment creates a dainty, delicate look characteristic of miniature butterfly nail art. Clean up any misplaced gel with a brush dipped in alcohol before curing.
Tip: Keeping the wings snug and centered on the nail plate prevents the design from looking too wide or disproportionate. - 12Define inner wing contours
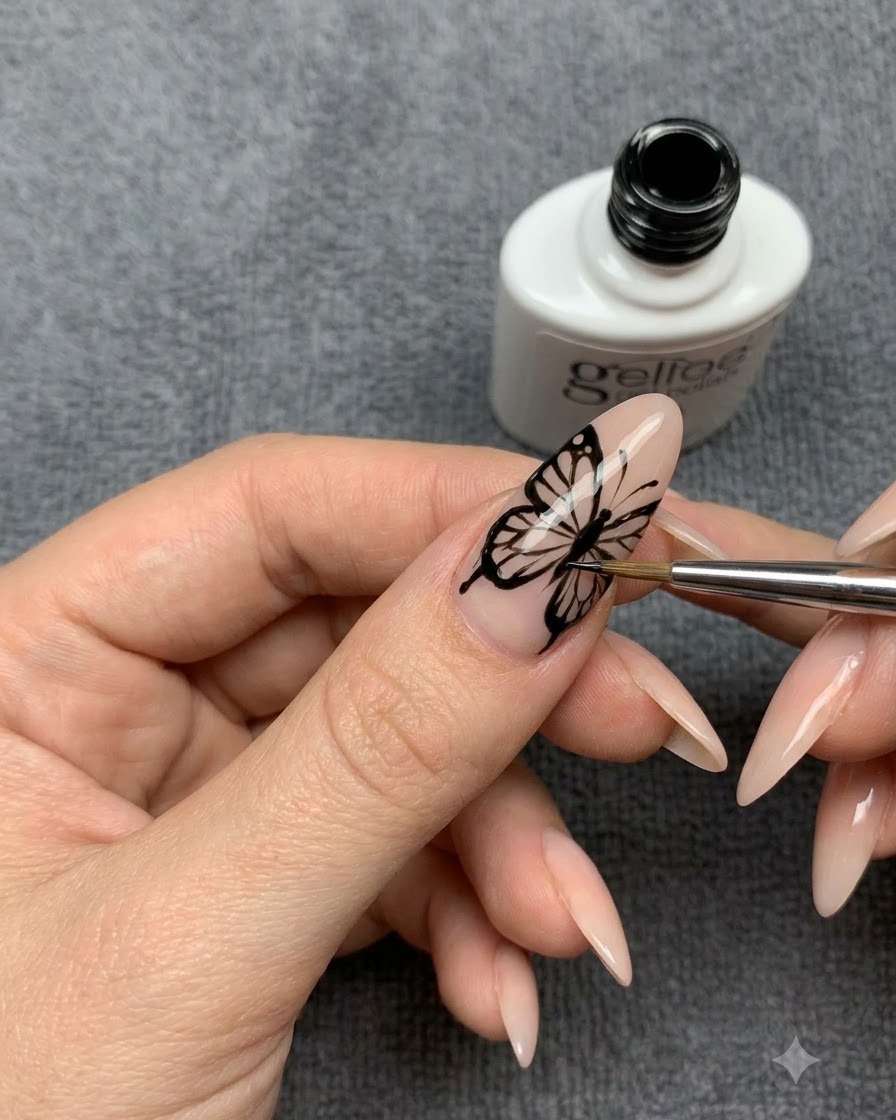
Using a finer liner brush, draw delicate wing veins and add extra definition to the inner contours of the butterfly. Dont be afraid if your hands shake slightly, as organic, slightly uneven strokes often look more natural and artistic. Cure the gel once the internal details are complete.
Tip: A very fine liner brush is essential for creating crisp, hair-thin veins inside the butterfly wings. - 13Draw delicate wing veins
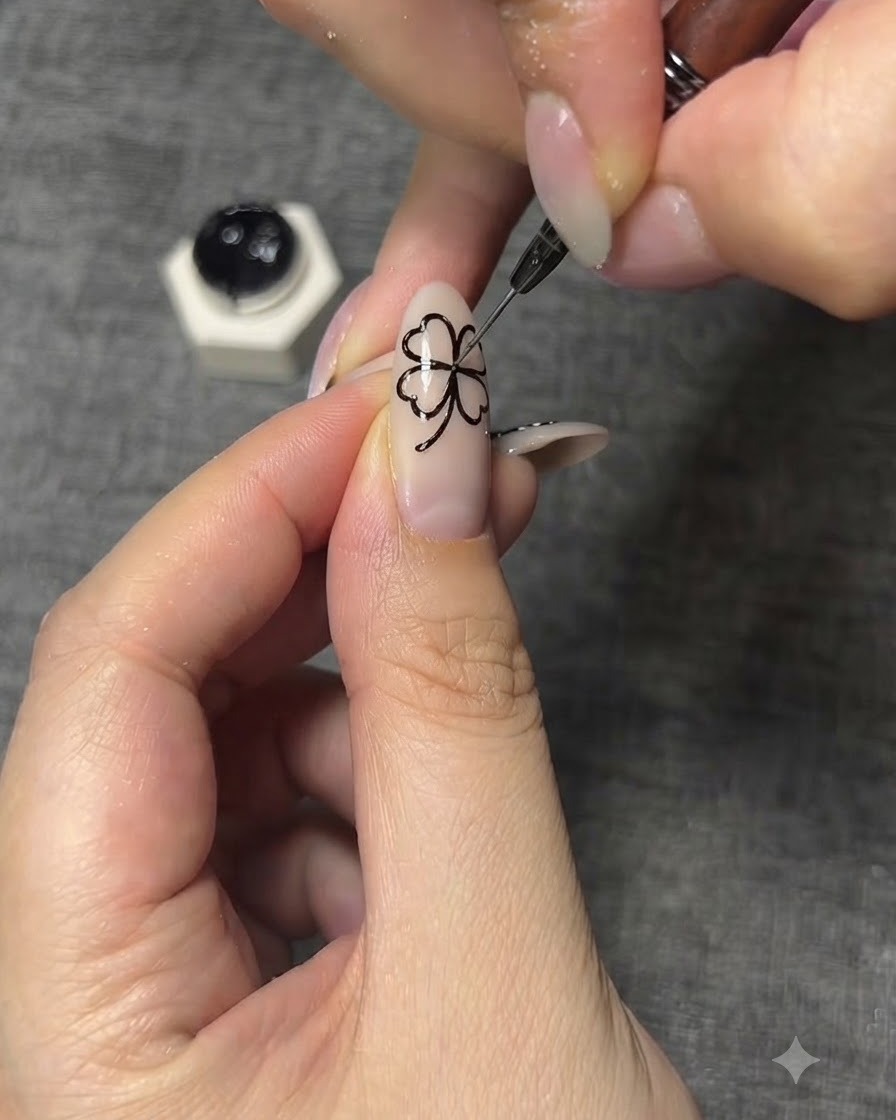
Take a finer liner brush dipped in black gel to draw the delicate wing veins inside the butterfly outline. Dont worry if your hand shakes slightly, as natural variations can actually enhance the organic, hand-drawn look of the wings.
Tip: Keep a light touch with the liner brush to ensure the veins look fine and delicate rather than heavy.