Rhinestone Bowknot Nail Art — Festive New Year Design
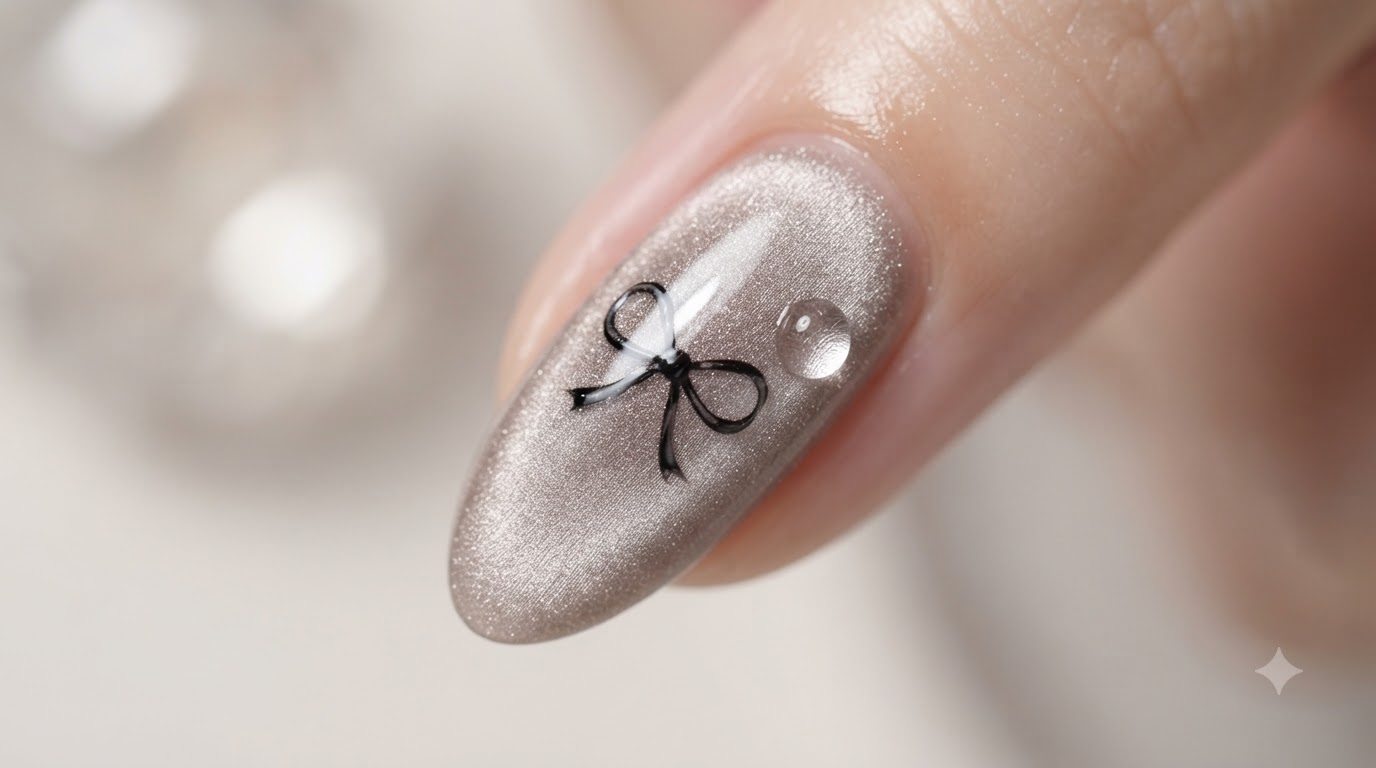
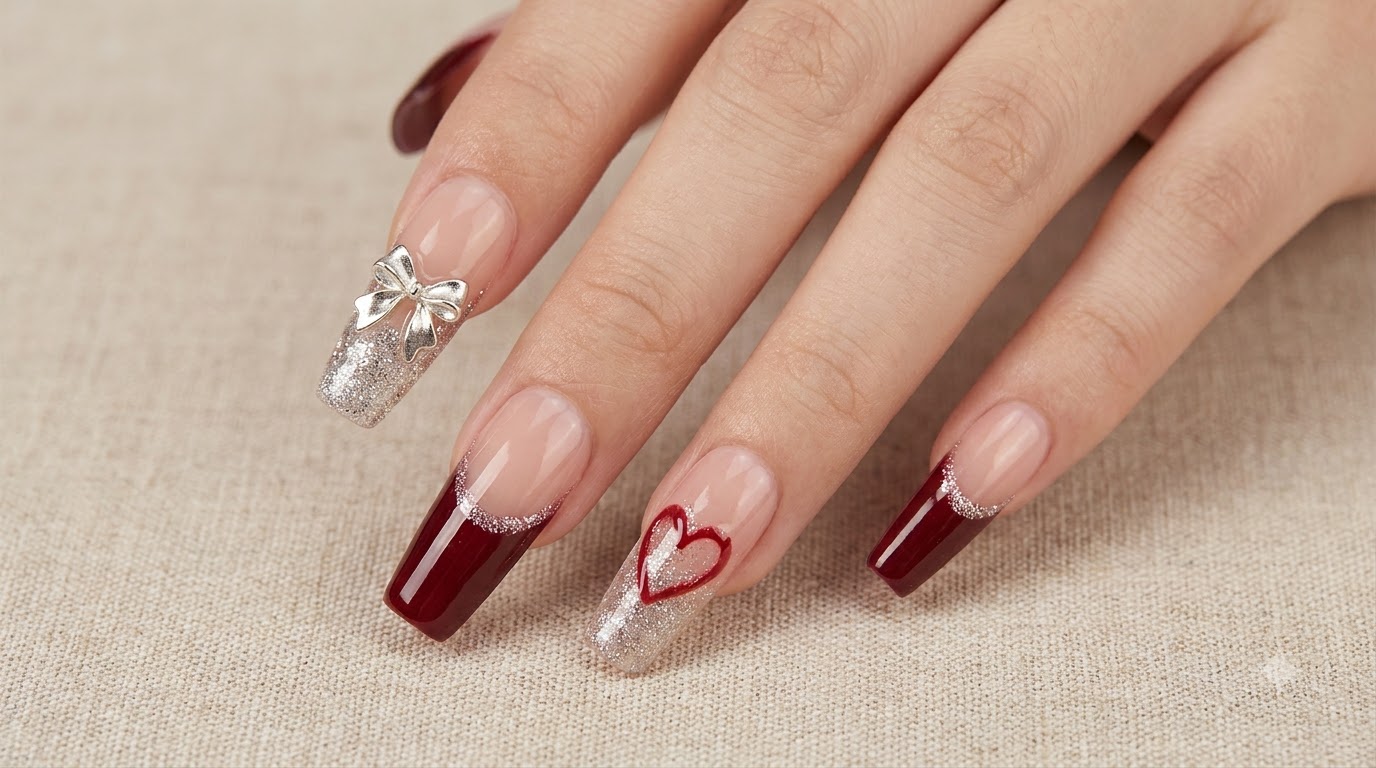
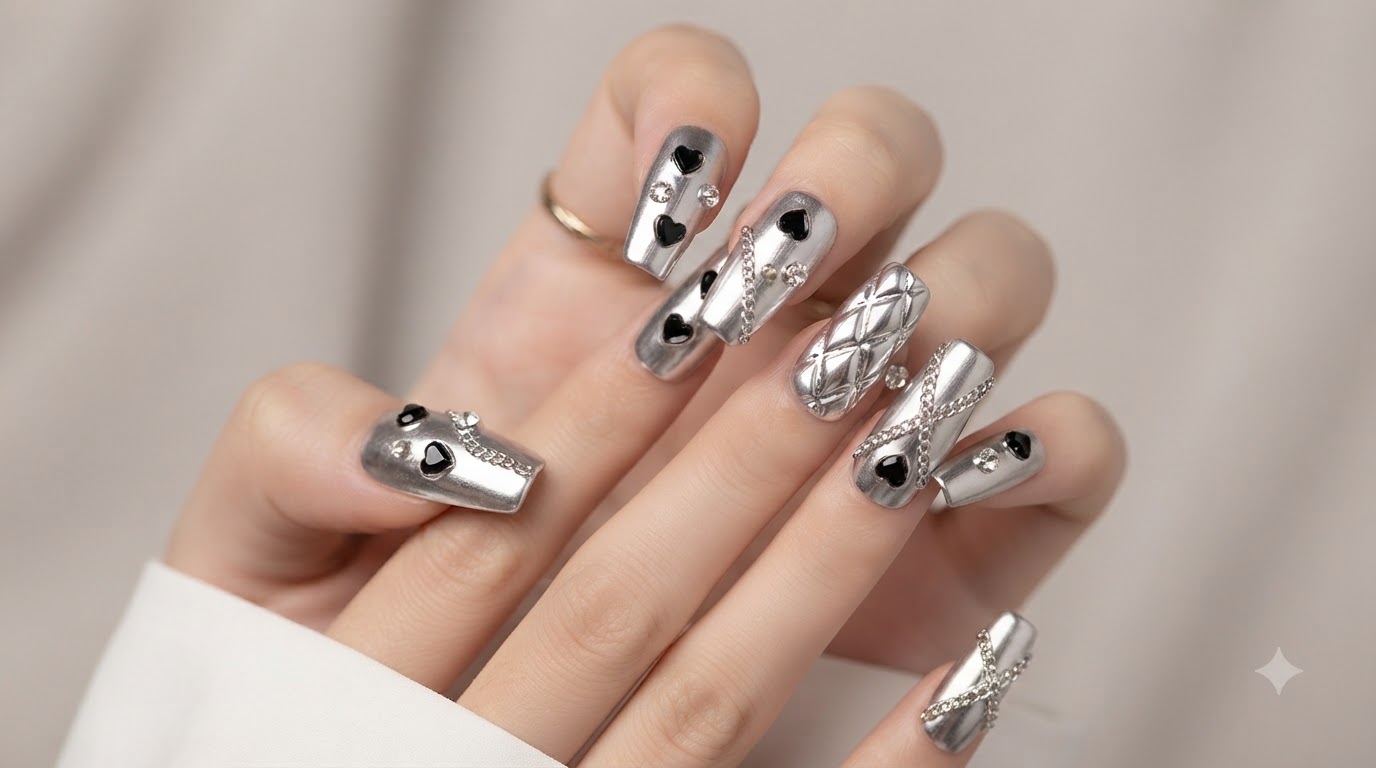
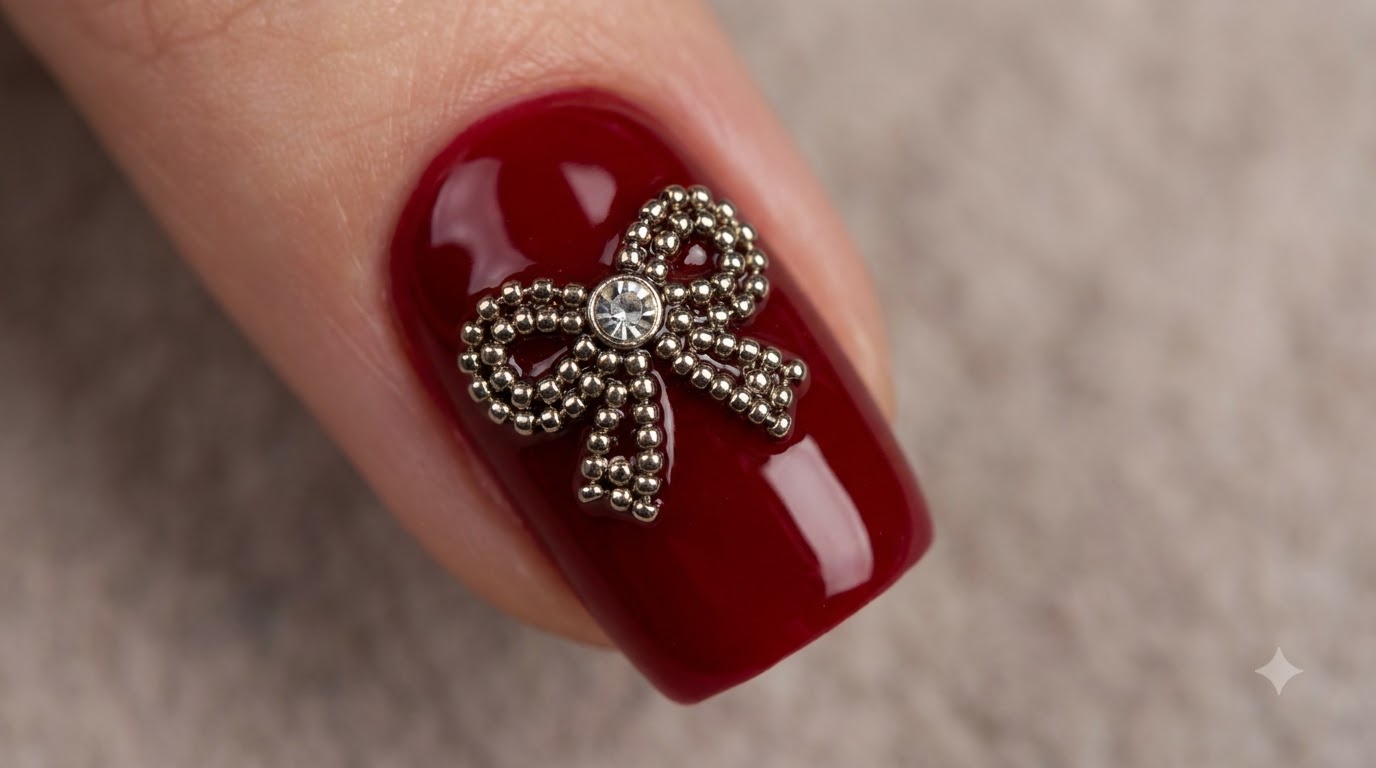
Create an exquisite festive New Year nail art look featuring a dimensional bowknot meticulously crafted from tiny steel beads and a central rhinestone over a rich red gel base.
This alternative bowknot design is exceptionally unique and tailored for the festive New Year atmospherecite: 1. Combining a glossy red gel base with precise metallic beadwork, it offers a stunning 3D tactile effect that elevates your manicure to statement status.
Steps
- 1Outline Bowknot Shape with Gem Glue
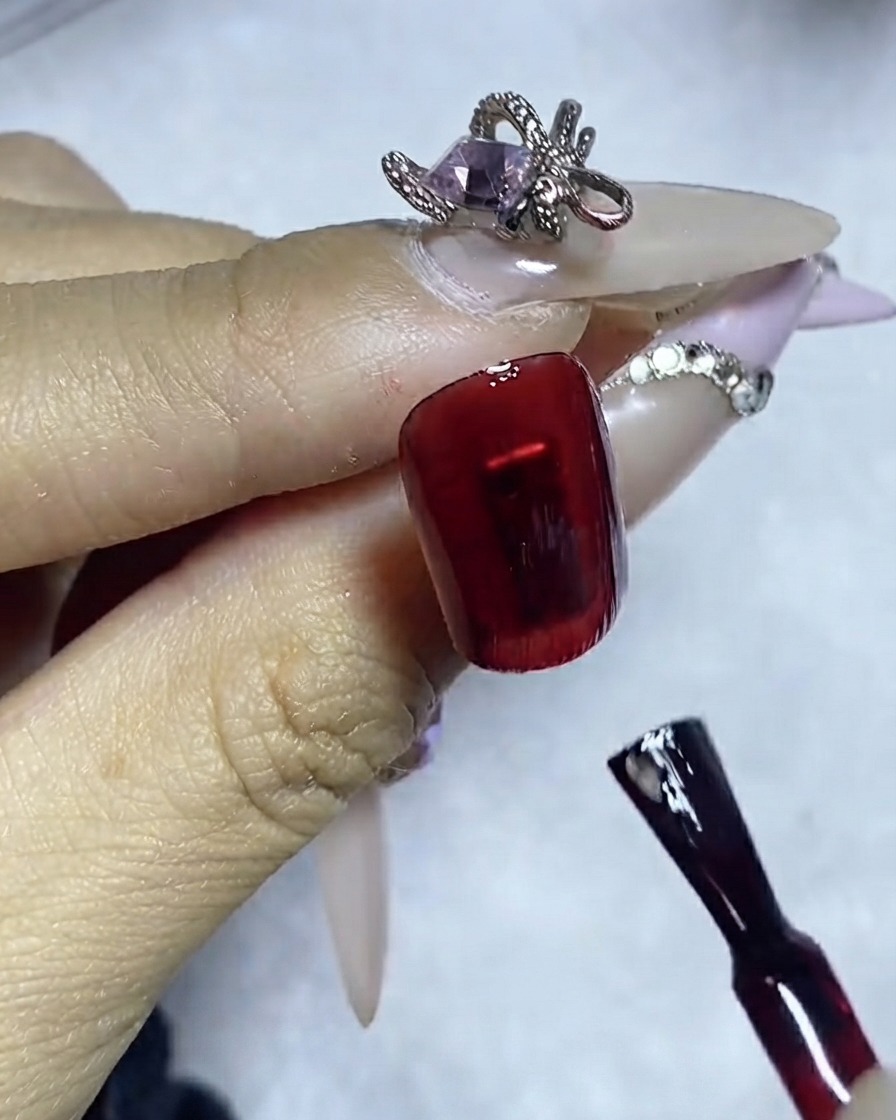
Using a fine liner brush, apply gem adhesive glue directly onto the cured red base gel. Carefully trace and outline the contour of one side of your bowknot design.
Tip: Keep the glue line thin and precise to prevent the steel beads from sliding out of place. - 2Place Steel Beads Along the Outline
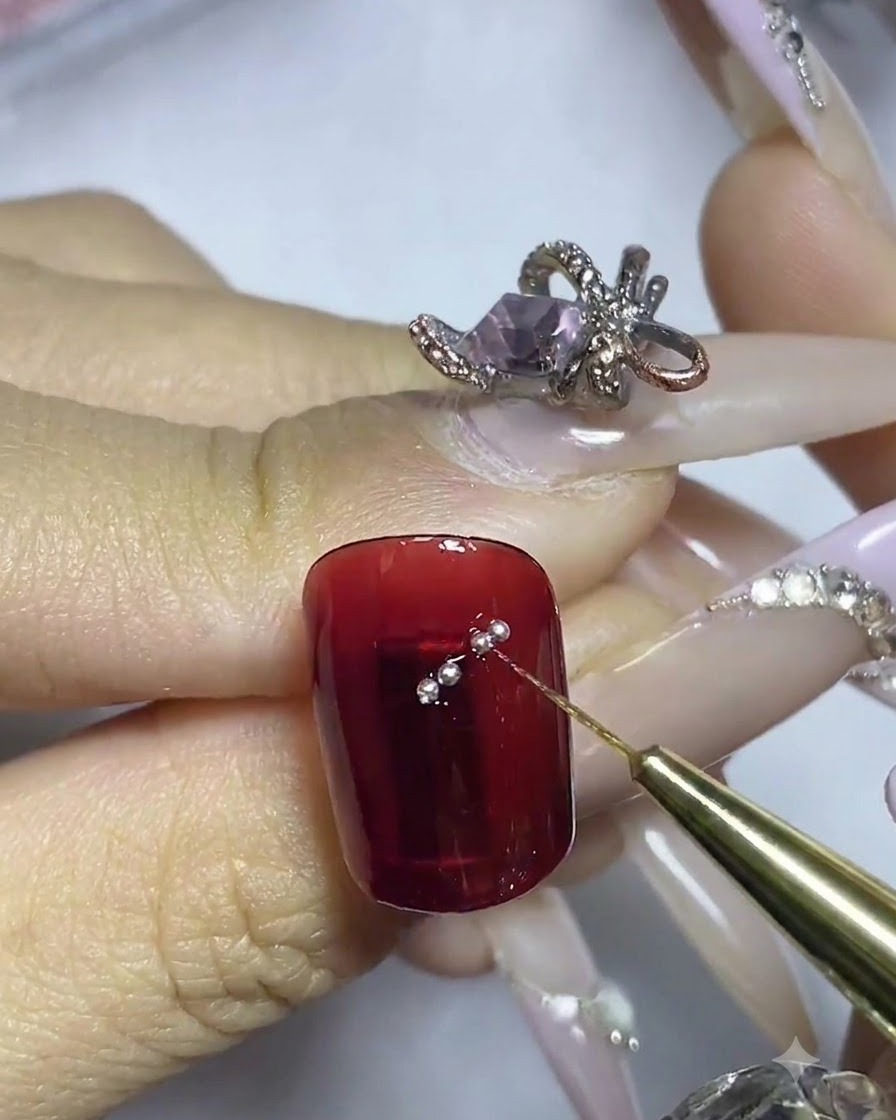
Pick up small steel beads individually using your liner brush dipped slightly in glue, and place them one by one along the pre-drawn bow contour. Working sequentially helps you move quickly and neatly.
Tip: Picking up beads with a slightly tacky brush speeds up placement significantly. - 3Complete First Side and Outline Second Side
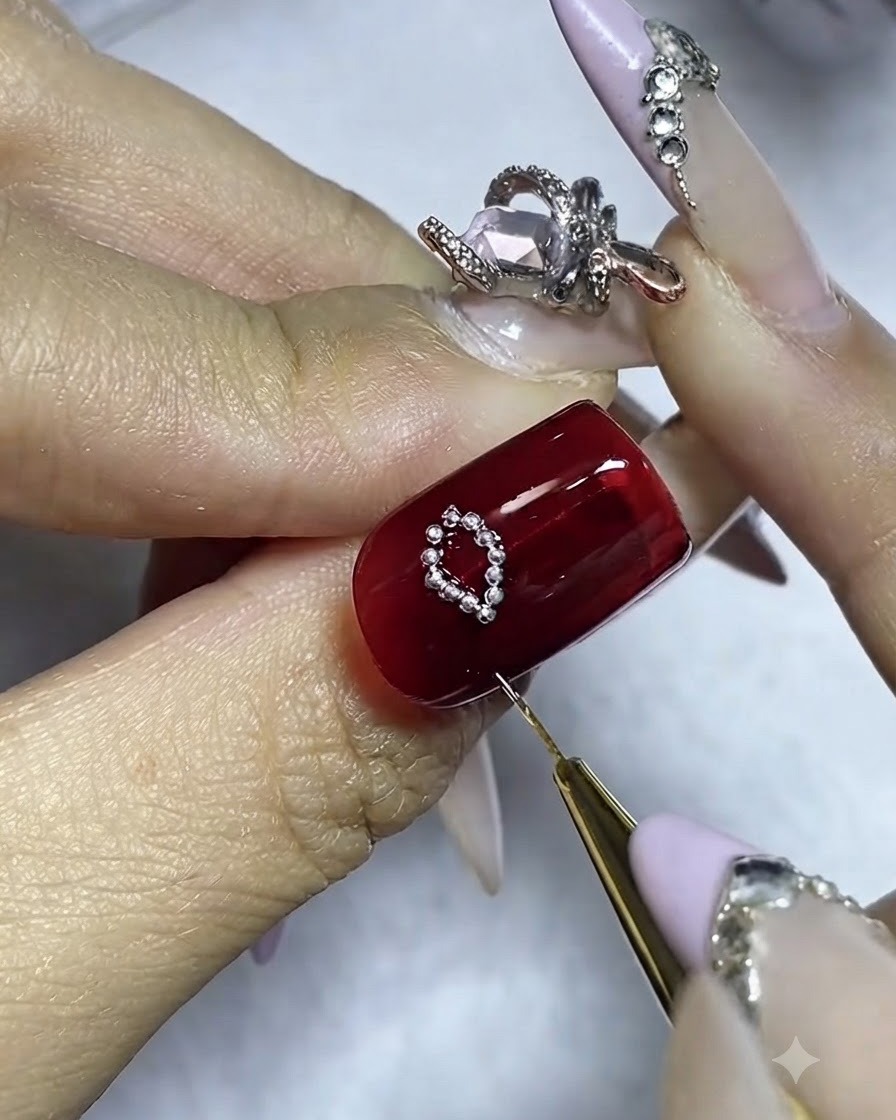
Finish placing the steel beads for the first loop of the bow. Next, apply more gem glue with the liner brush to mirror the contour on the opposite side for symmetry.
Tip: Check symmetry against the first side before curing to ensure a balanced bow shape. - 4Add Center Stone and Adjust Shape
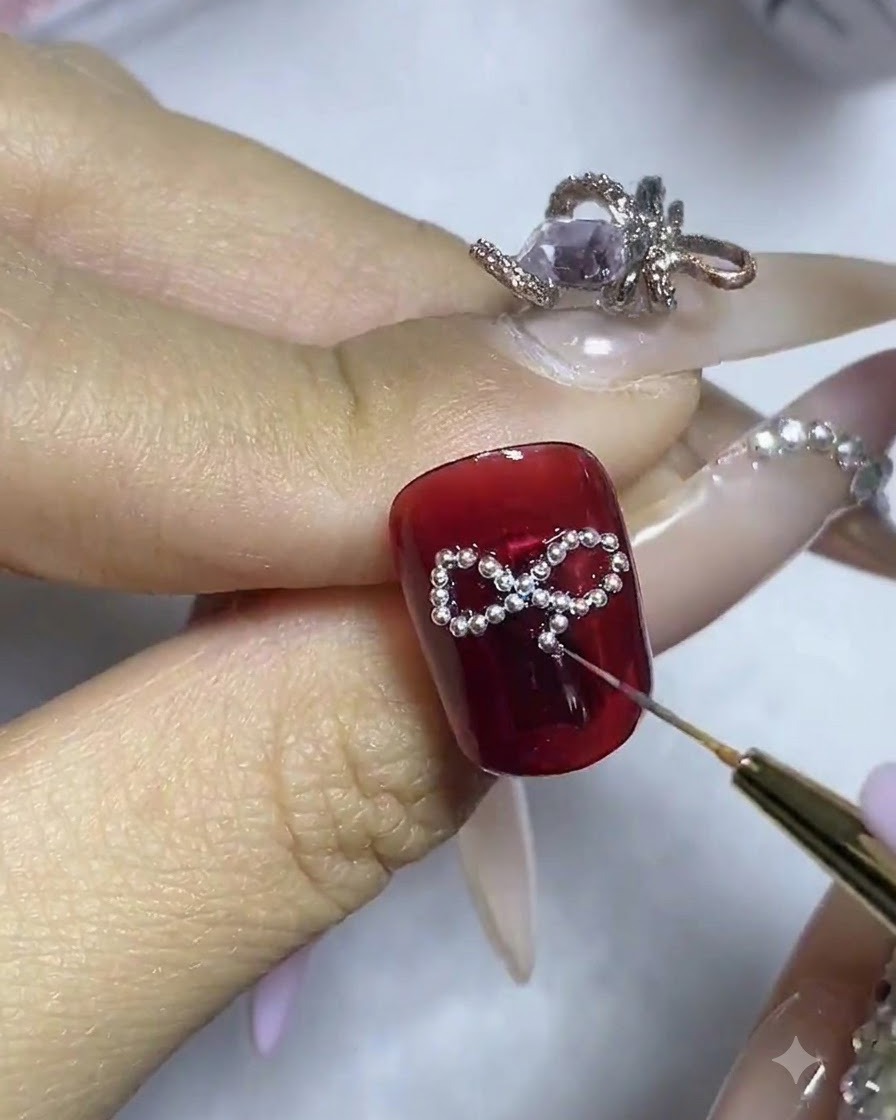
Place a small circular rhinestone or bead at the exact center of the bowknot position. Use your fingernail or a silicone tool to gently push and adjust the bead alignment into place.
Tip: A silicone tool or your fingernail provides great control for micro-adjustments without sticking to the product. - 5Create Lower Ribbon Loops
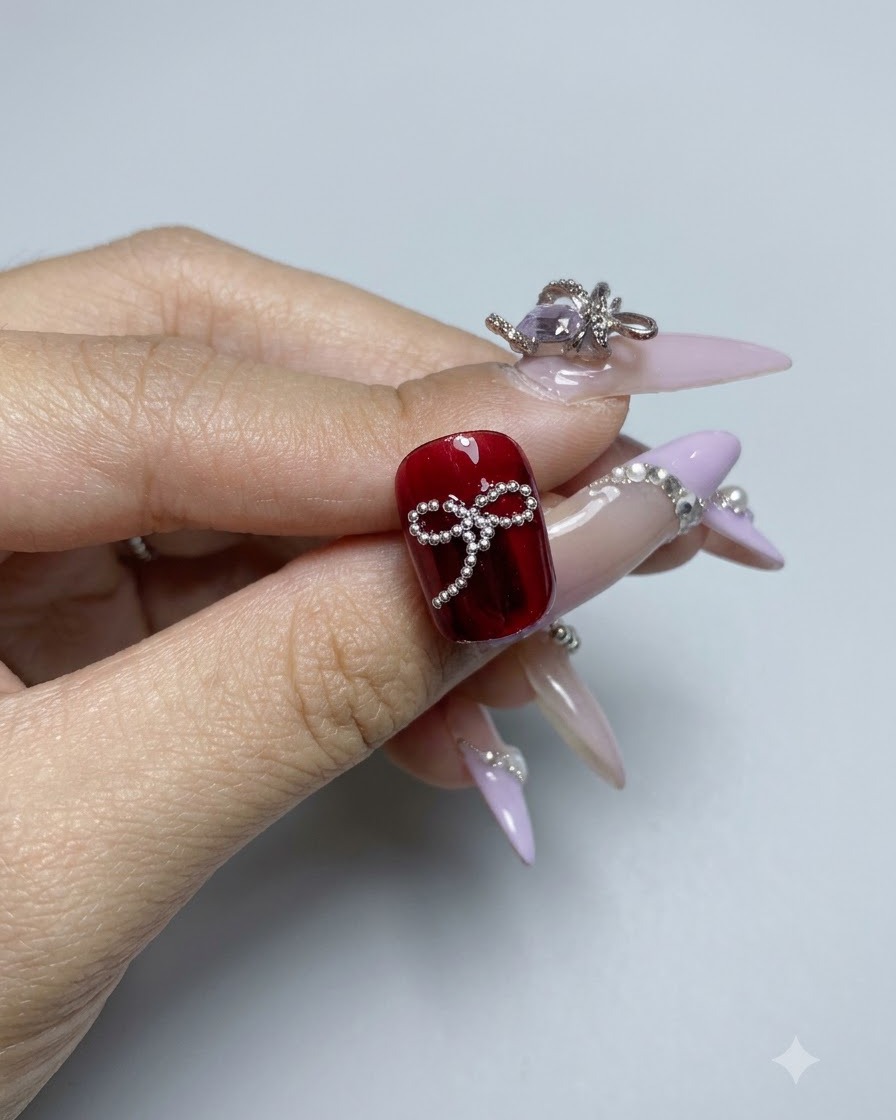
Draw the lower portion resembling an 8 shape using gem adhesive, then line it with steel beads using the same technique. Adjust any misplaced beads so the final shape clearly resembles a dimensional bowknot.
Tip: Do not worry if it looks slightly abstract initially; final adjustments bring the whole bow shape together clearly. - 6Refine Bowknot Shape
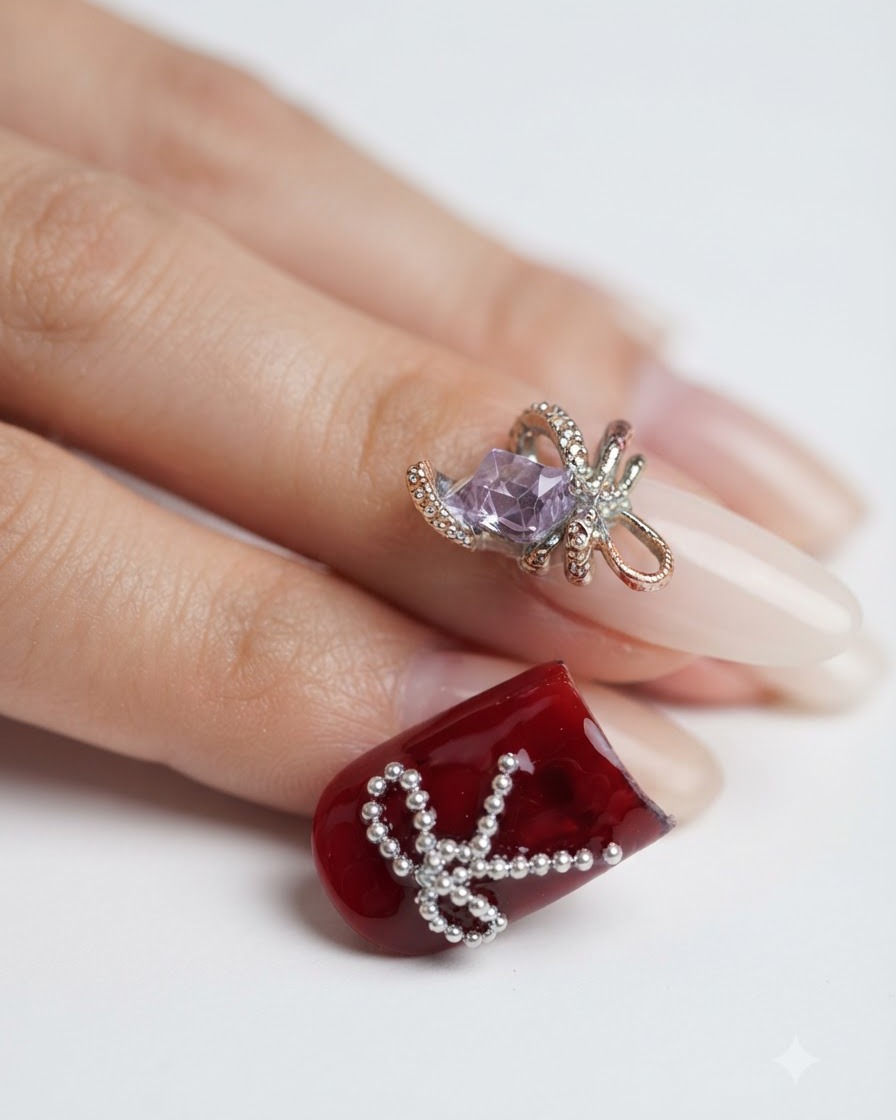
Carefully inspect the layout of the steel beads to ensure the bowknot shape is clear and symmetrical. Use your fingernail or a silicone tool to adjust any misplaced beads in the center circle or loops before curing.
Tip: A silicone tool or your clean fingernail gives you precise control when pushing individual beads into place without disturbing the surrounding glue. - 7Seal Bead Edges
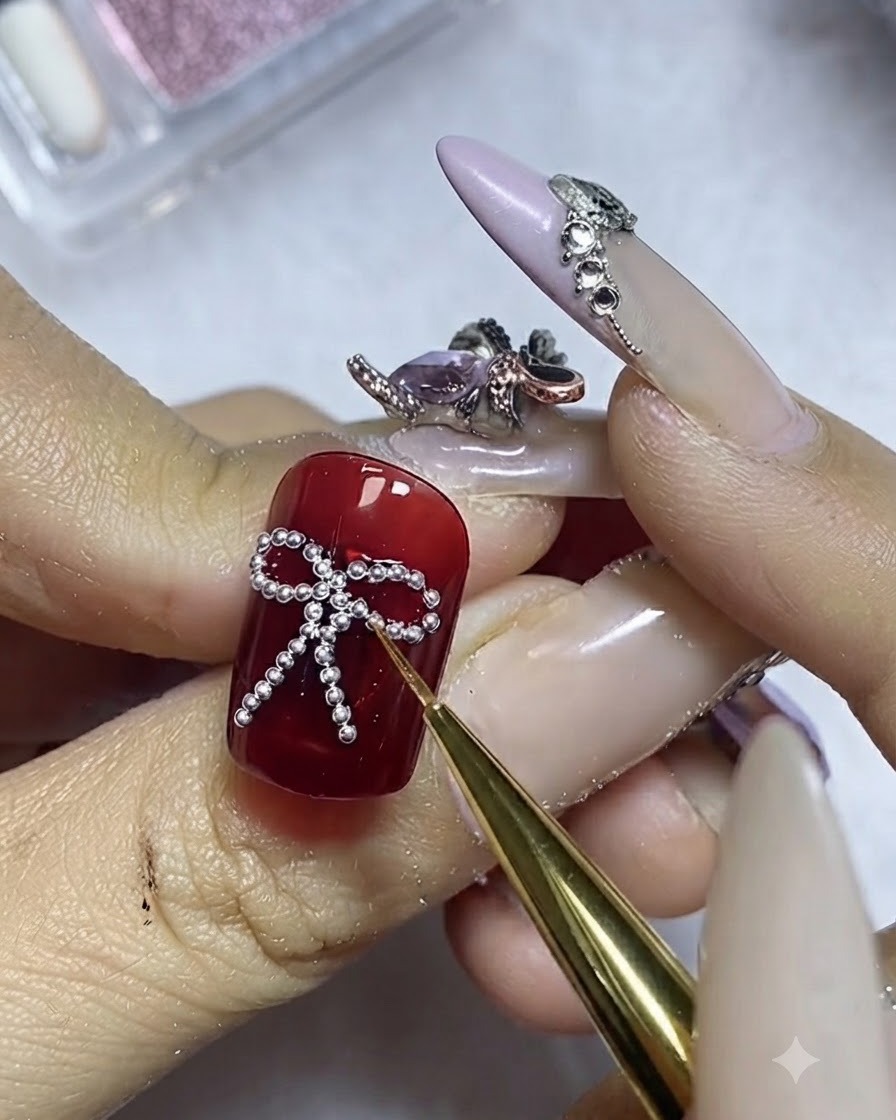
Dip a fine liner brush into top coat and carefully trace around the edges of the steel beads. This locks the beads in place and prevents them from catching or falling off, while ensuring the individual bead texture remains visible.
Tip: Take your time with the liner brush to avoid flooding the beads with too much top coat, which can dull their metallic shine. - 8Apply Final Top Coat
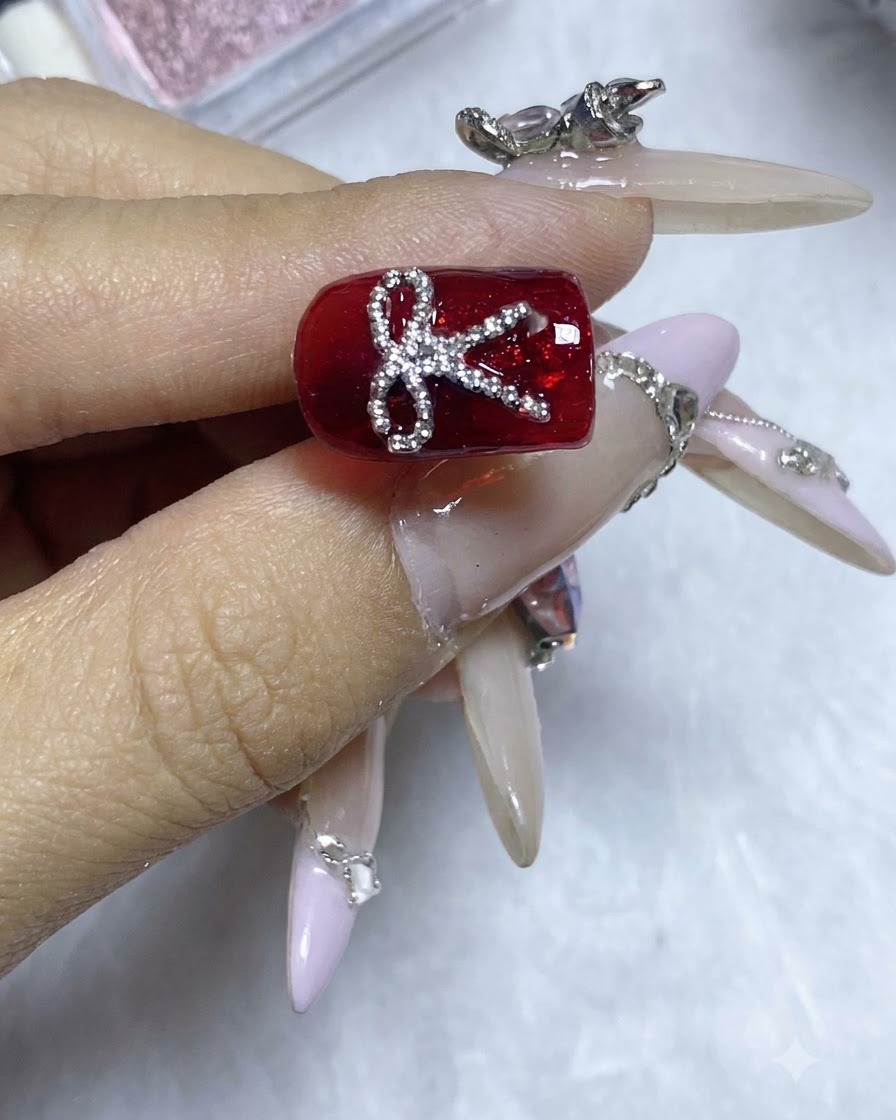
Apply a final layer of clear top coat over the entire nail surface to lock in the entire design. Make sure to carefully maneuver around the raised steel bead bowknot to protect its texture and dimension.
Tip: Keeping the top off the top of the beads preserves their unique metallic finish and 3D tactile effect.