Cat-Eye Gel Bow Nail Art — Fairy-Like 3D Ribbon Tutorial
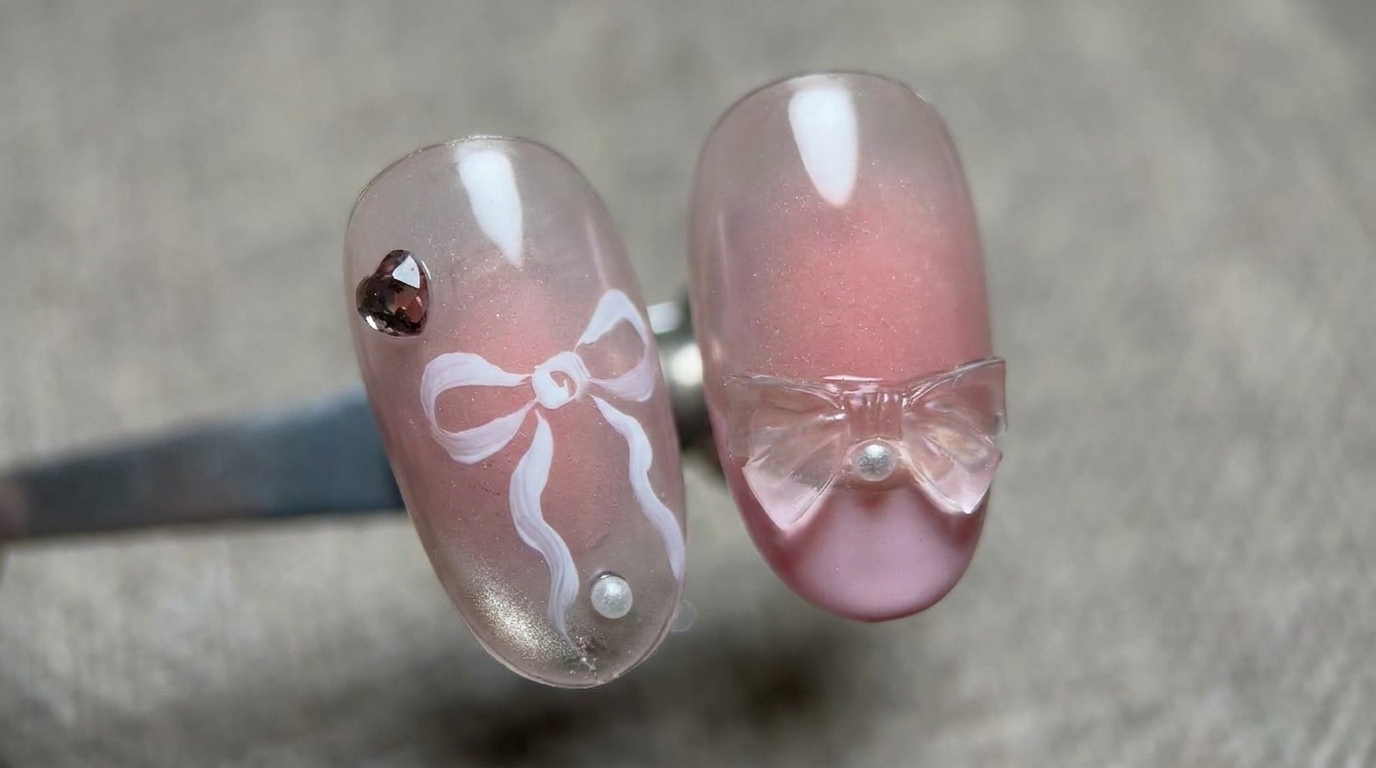
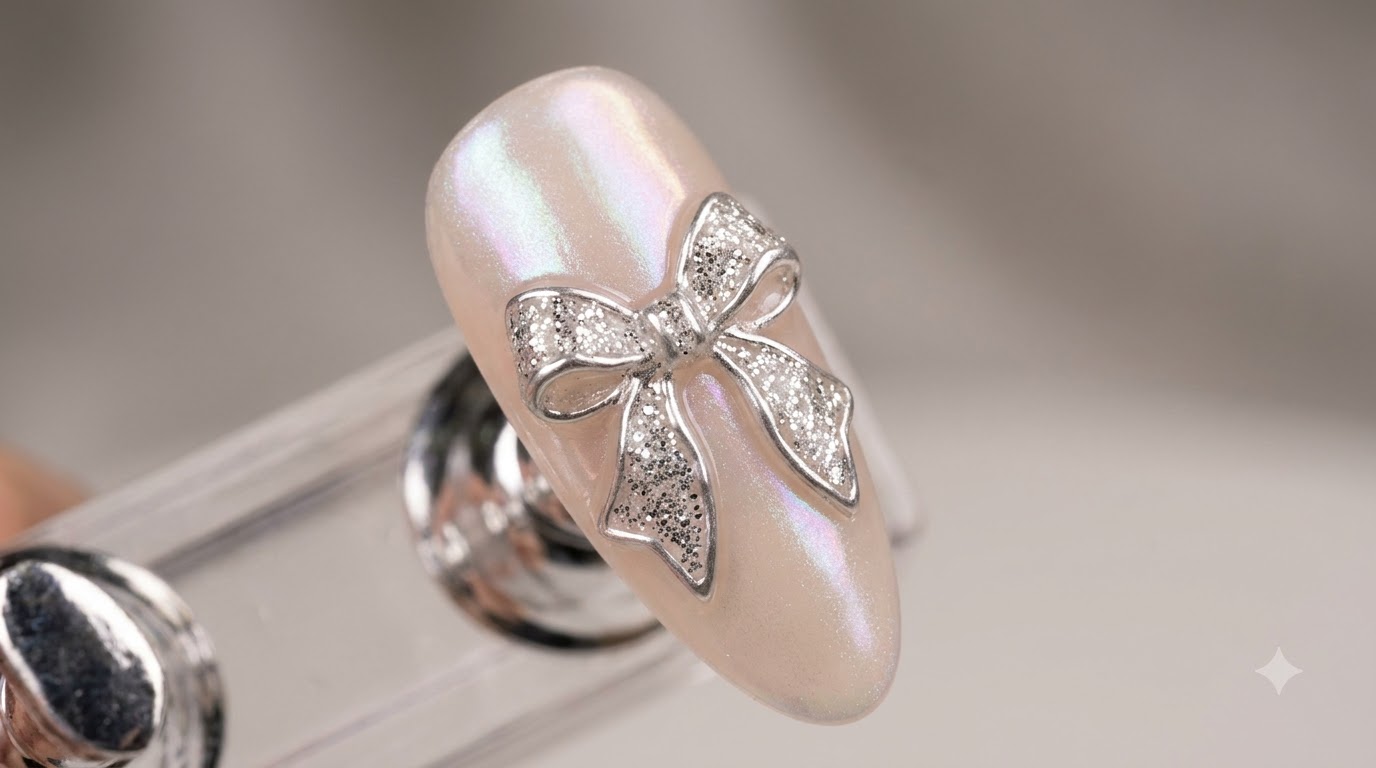
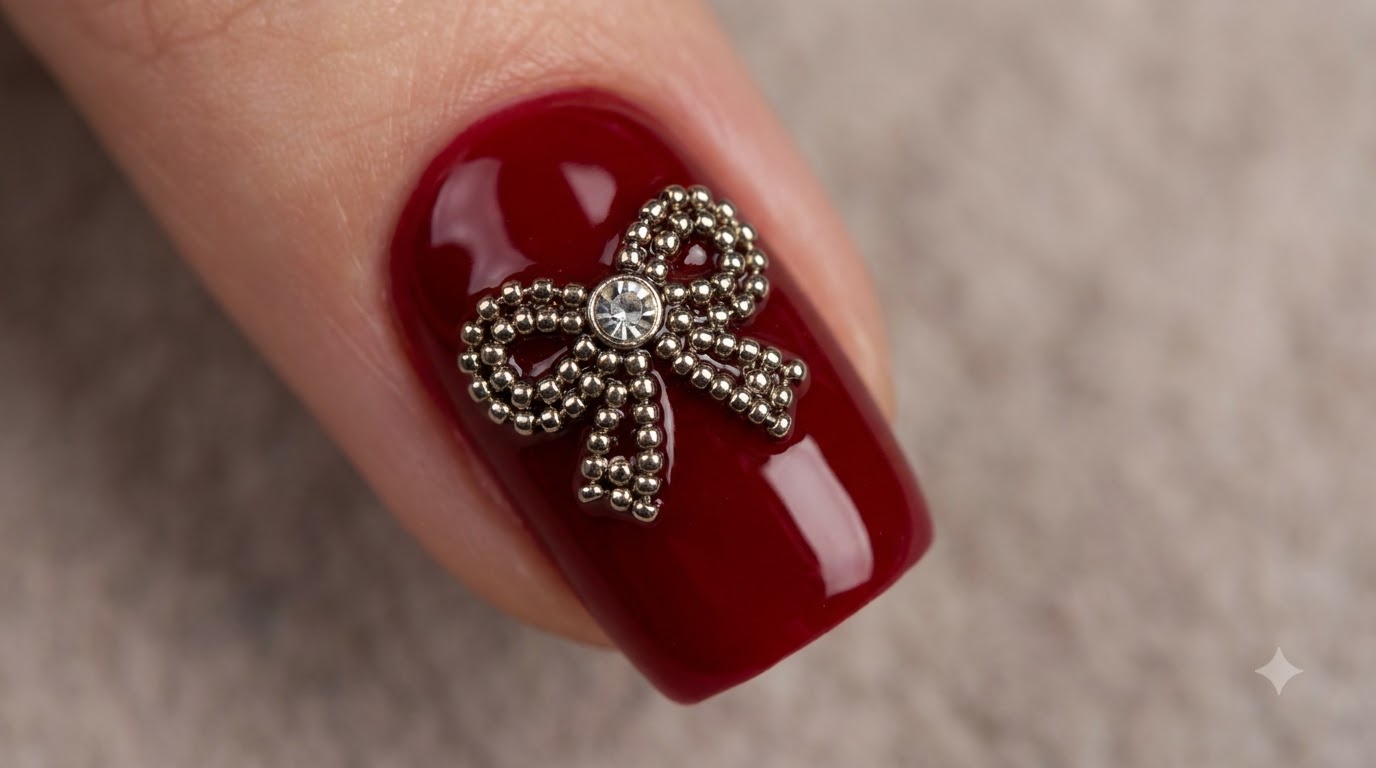
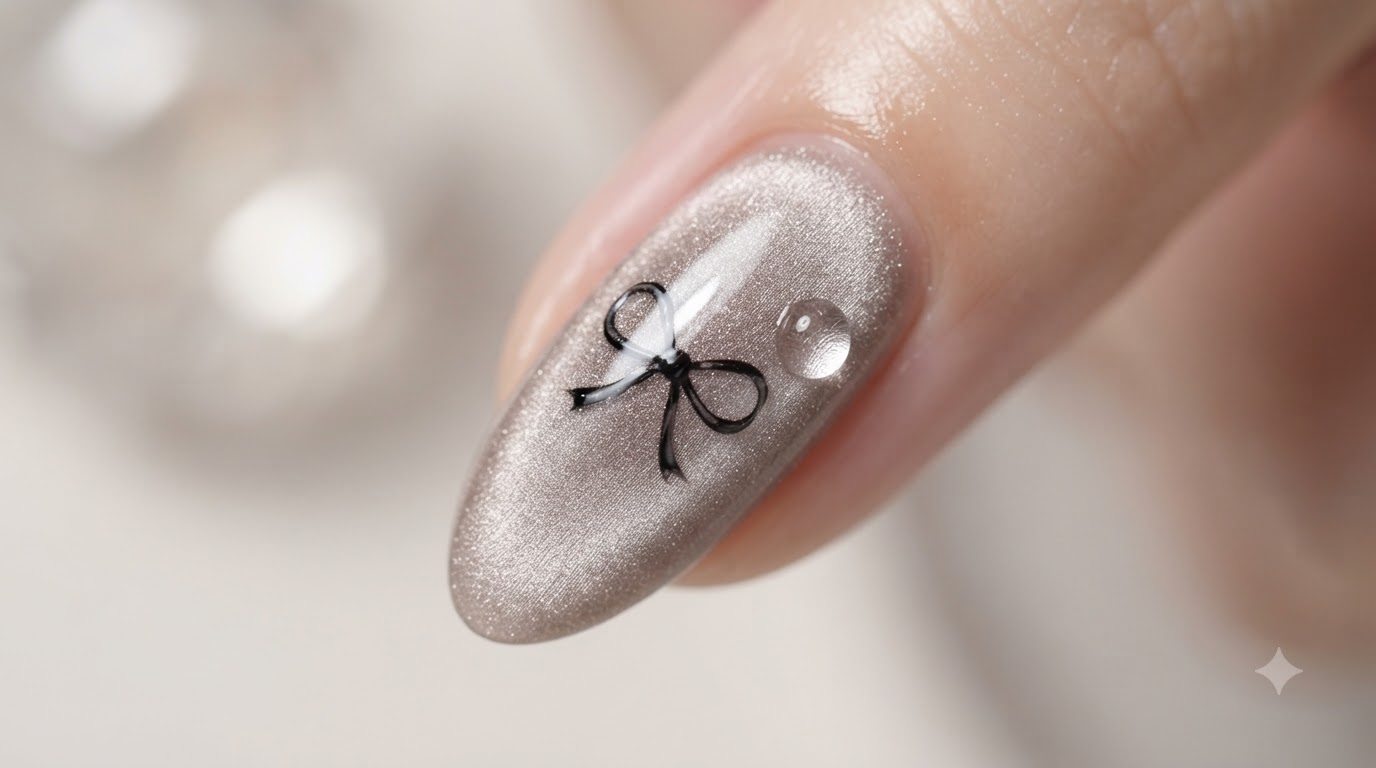
Learn how to create an ethereal fairy-like bow nail art design featuring a shimmering silver cat-eye glass bead effect and a delicate 3D hand-painted black ribbon.
Combining trendsetting cat-eye magnetic gel with delicate hand-painted ribbon details, this fairy-core nail look offers a mesmerizing glass bead reflection. The sophisticated interplay between the shimmering silver background and the crisp 3D black bow creates an elegant, ethereal aesthetic suitable for any special occasion.
Steps
- 1Apply Nude Adhesive
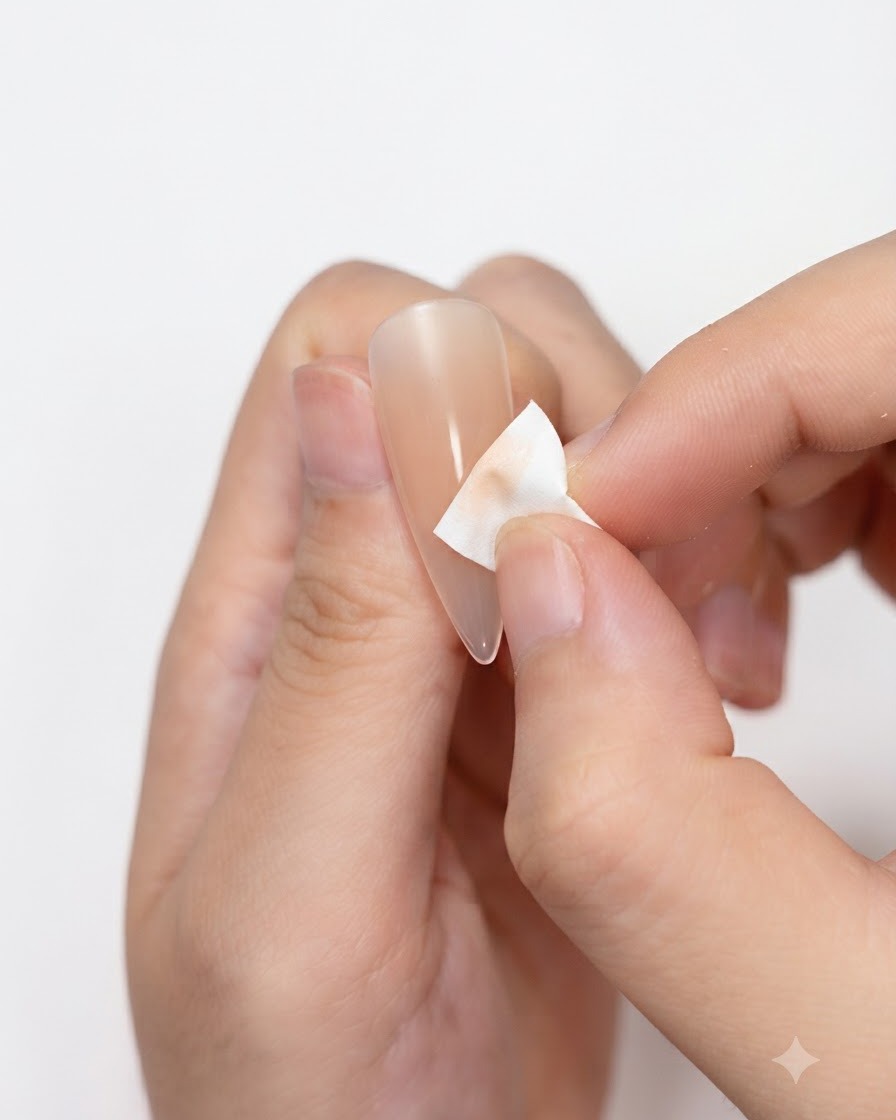
Use a nude-colored adhesive to carefully cover and line the cuticle area on the nail tip to create a seamless base for your design.
Tip: Ensure the adhesive is applied evenly along the cuticle line to maintain a clean foundation. - 2Apply Silver Cat-Eye Gel
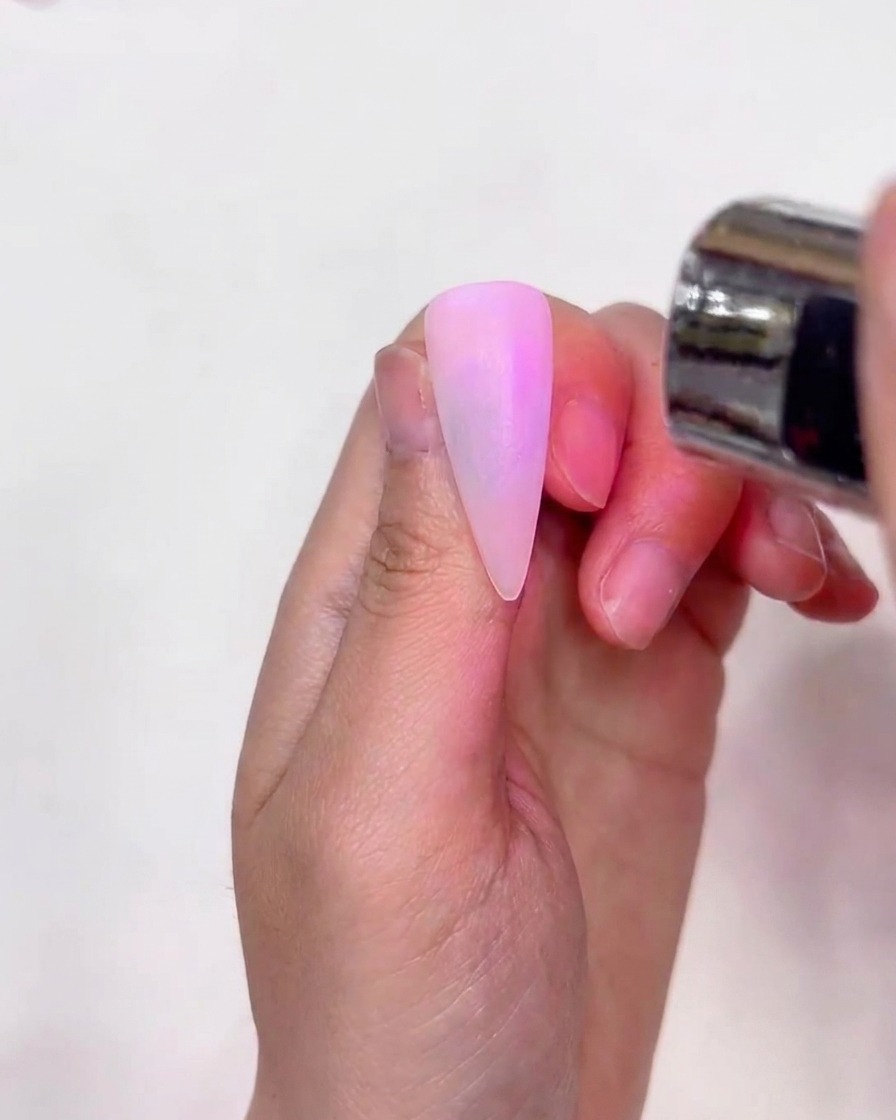
Apply a thin coat of silver cat-eye gel polish evenly across the entire surface of the nail.
Tip: Keep the layer thin to prevent pooling and ensure the magnetic particles move easily. - 3Create Side Highlights
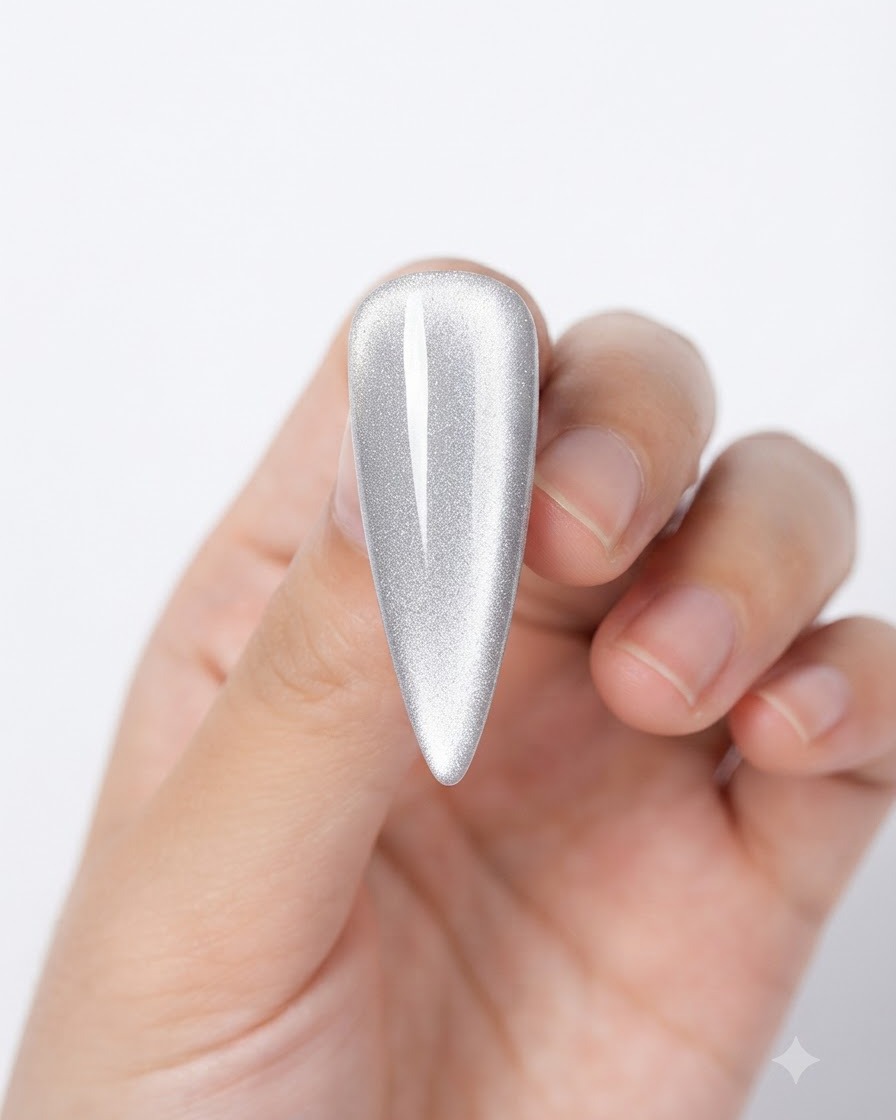
Position a magnet to pull the silver magnetic particles toward both sides of the nail, establishing a wide highlight frame.
Tip: Hold the magnet steady and close to the nail without touching the wet gel surface. - 4Form Center Glass Bead Effect
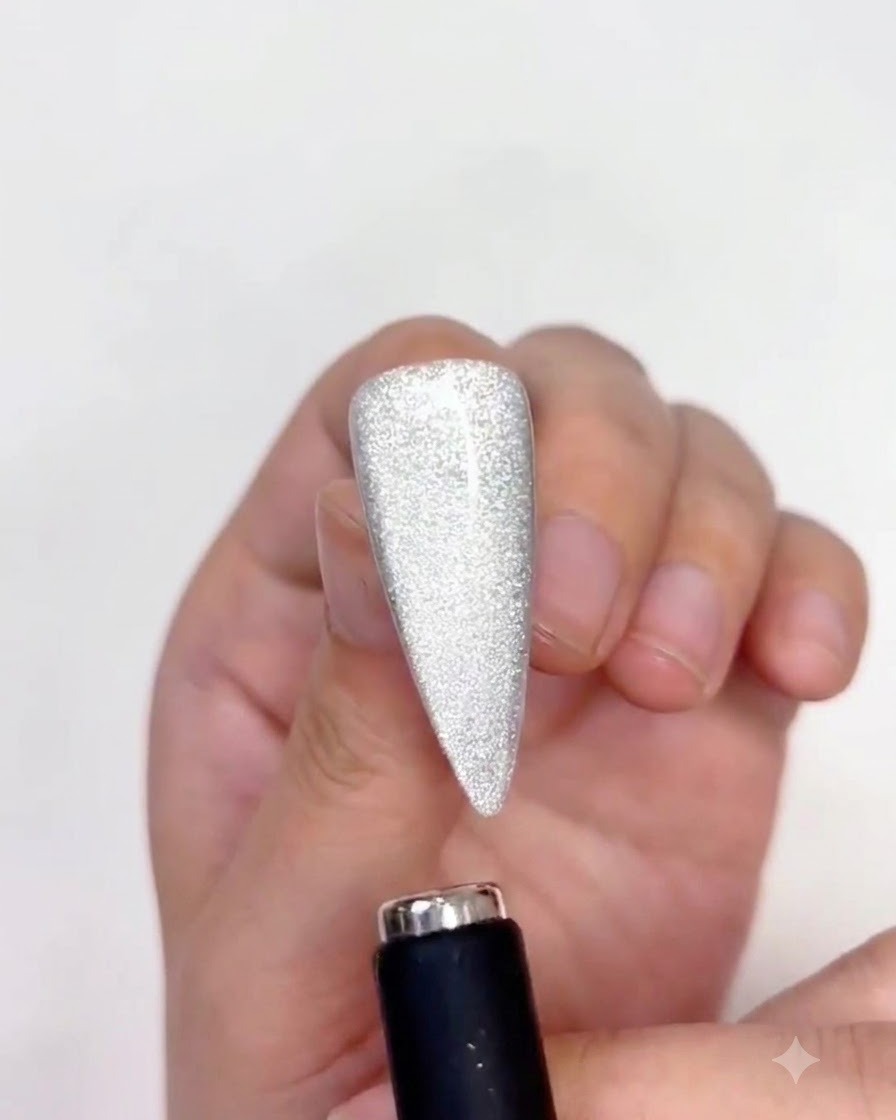
Slowly guide the magnet upward toward the center of the nail to gather the light reflection into a dimensional glass bead appearance.
Tip: Move the magnet smoothly and slowly for a seamless transition of light. - 5Repeat on Upper Nail
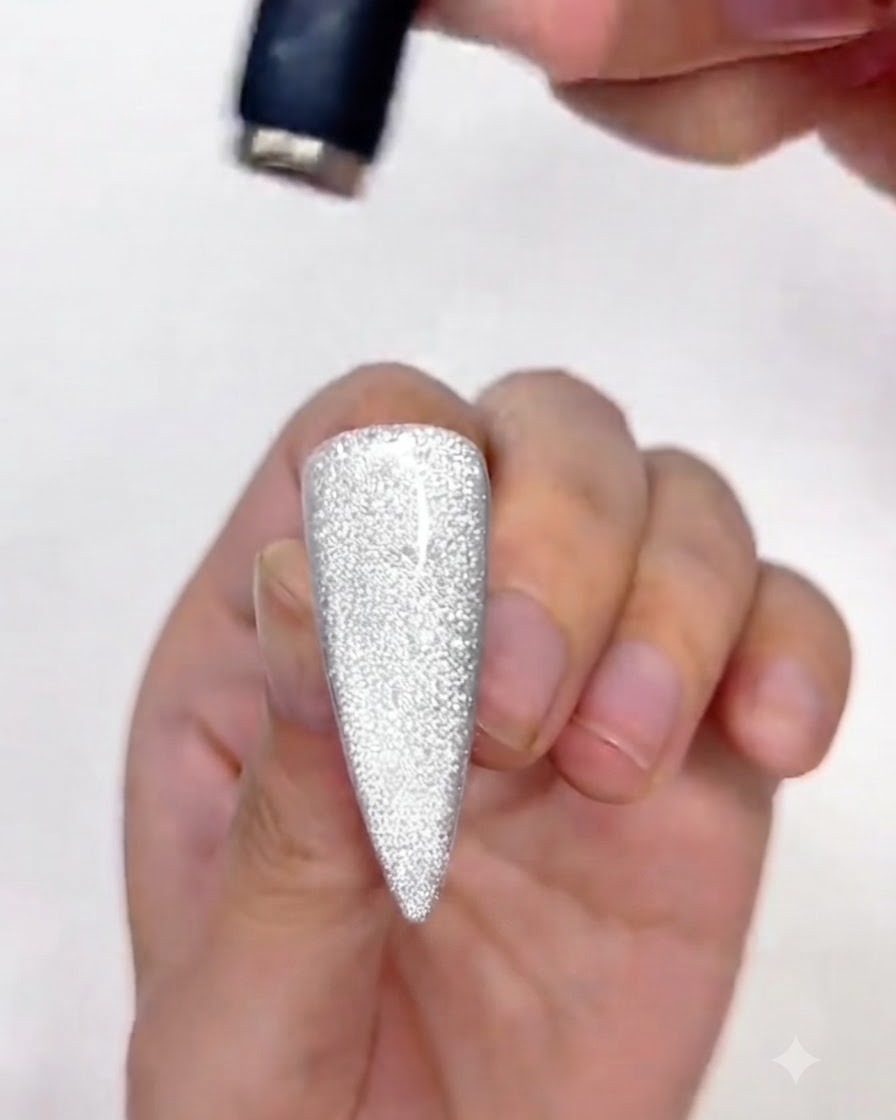
Repeat the magnetic highlighting process on the top part of the nail to complete the full bead effect.
Tip: Check the light reflection from multiple angles to ensure the glass bead effect looks balanced. - 6Cure Cat-Eye Gel
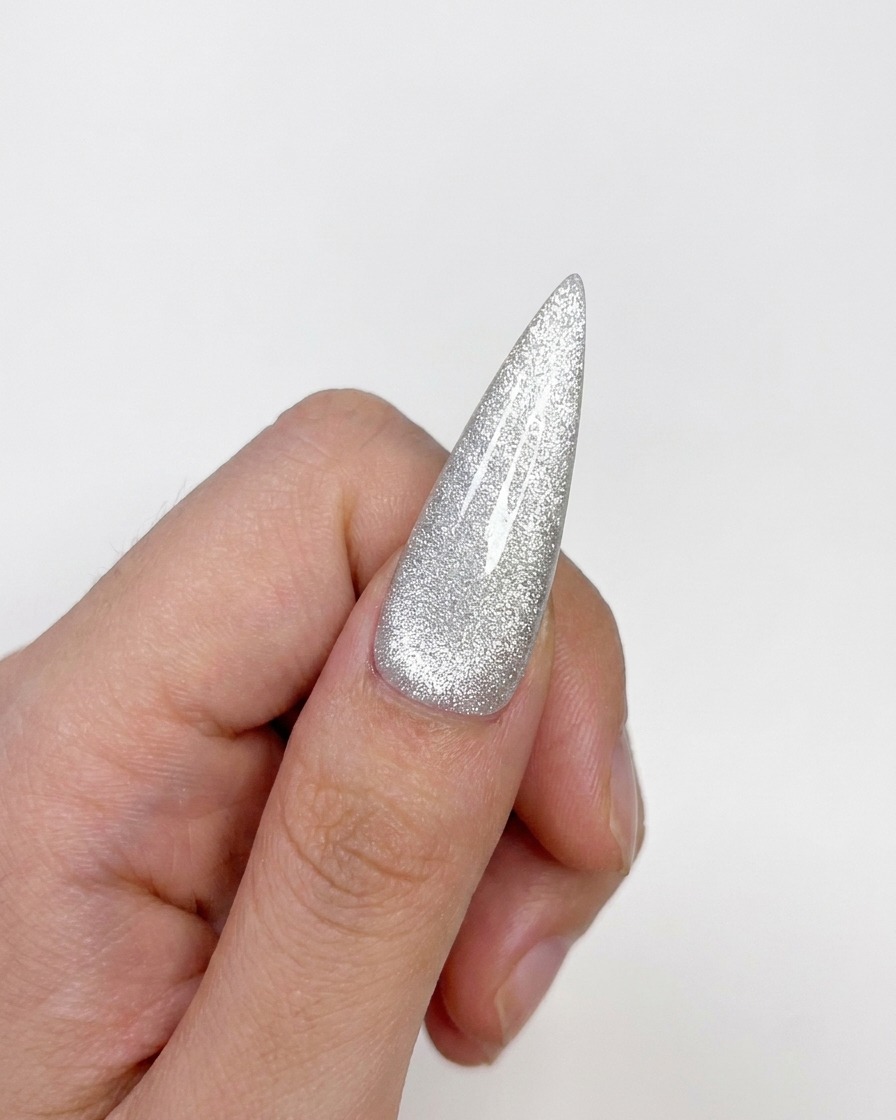
Place the nail under a small UV/LED lamp and cure for 60 seconds to lock in the cat-eye design.
Tip: Make sure your lamp placement covers the entire nail surface evenly. - 7Draw an X Shape for the Bow Center
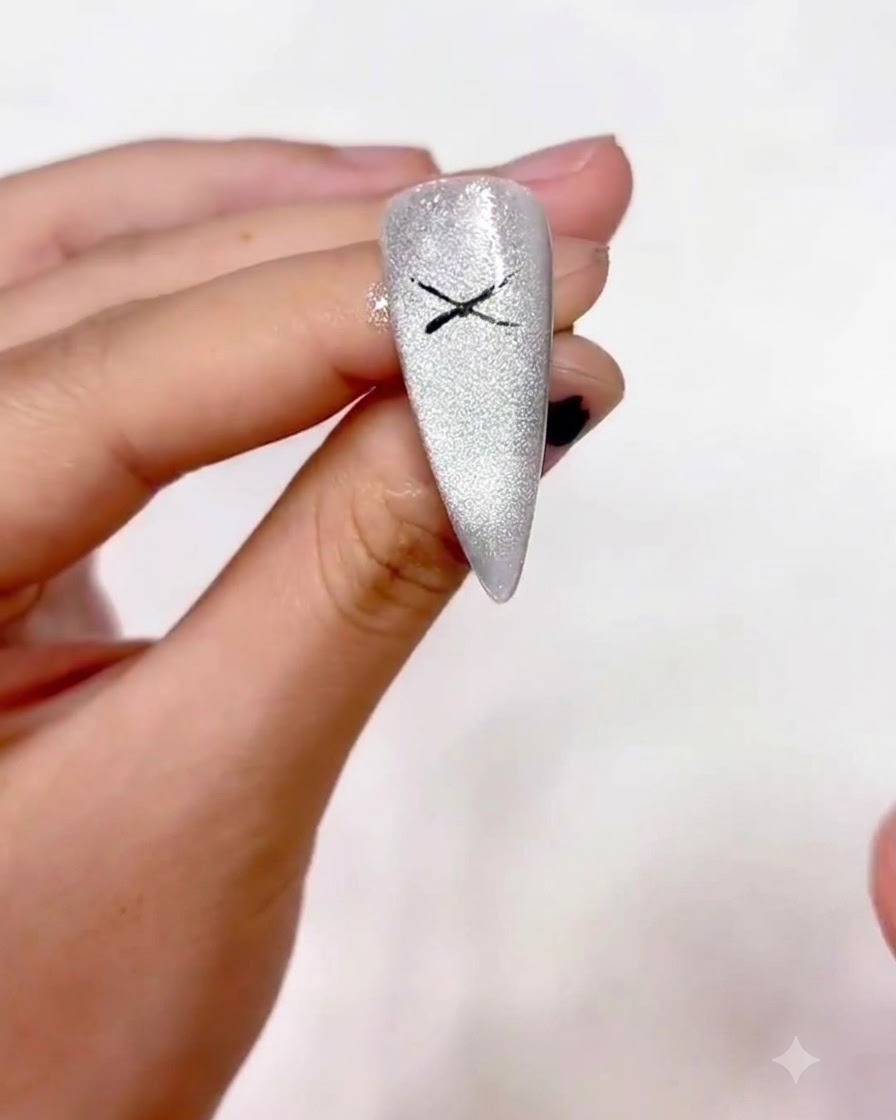
Using a fine liner brush and black gel, carefully draw a small X shape at the center of the prepped cat-eye nail to establish the foundation and knot structure of the bow.
Tip: Keep your lines thin and precise so the final bow looks intricate and well-defined. - 8Form the bow silhouette
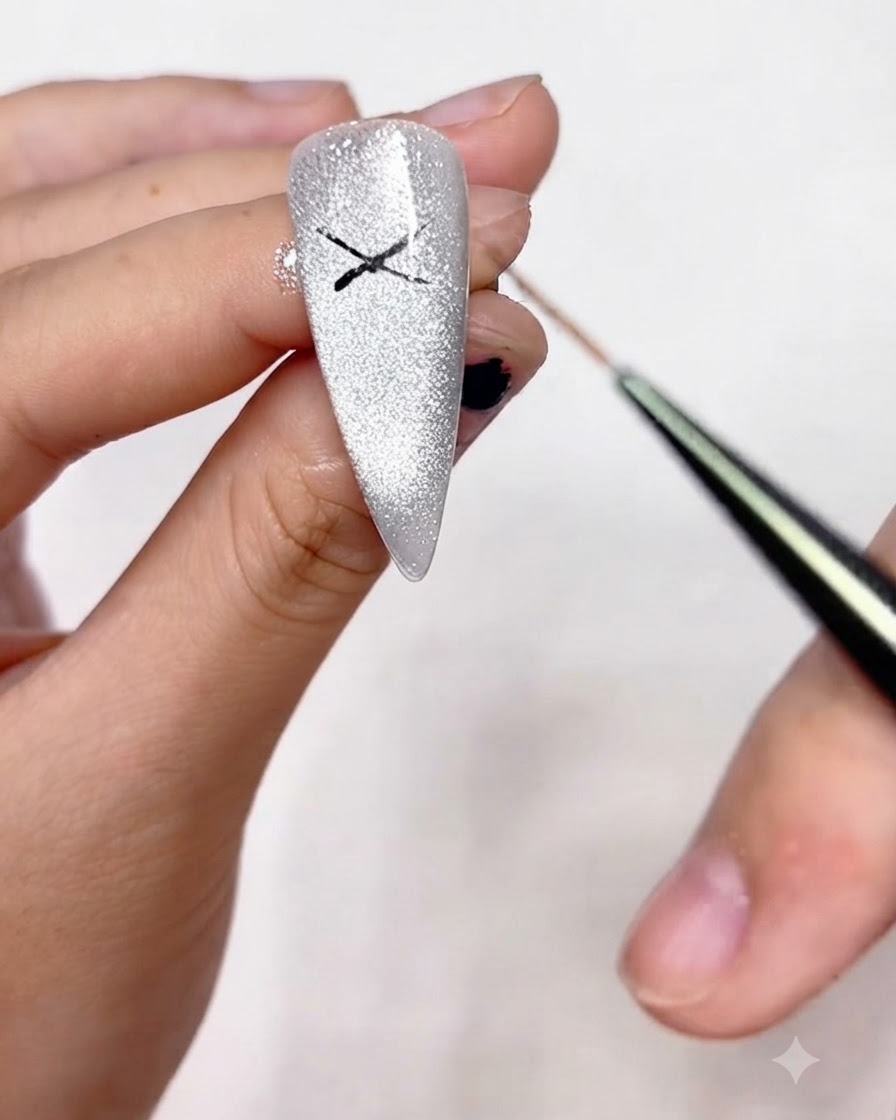
Take your fine liner brush and connect the outer ends of the X shape to outline the loops of the bow. This creates the classic ribbon silhouette sitting neatly on top of the cat-eye base.
Tip: Lightly touch the tips of the lines together to form clean, symmetrical loop corners. - 9Add the bow tails
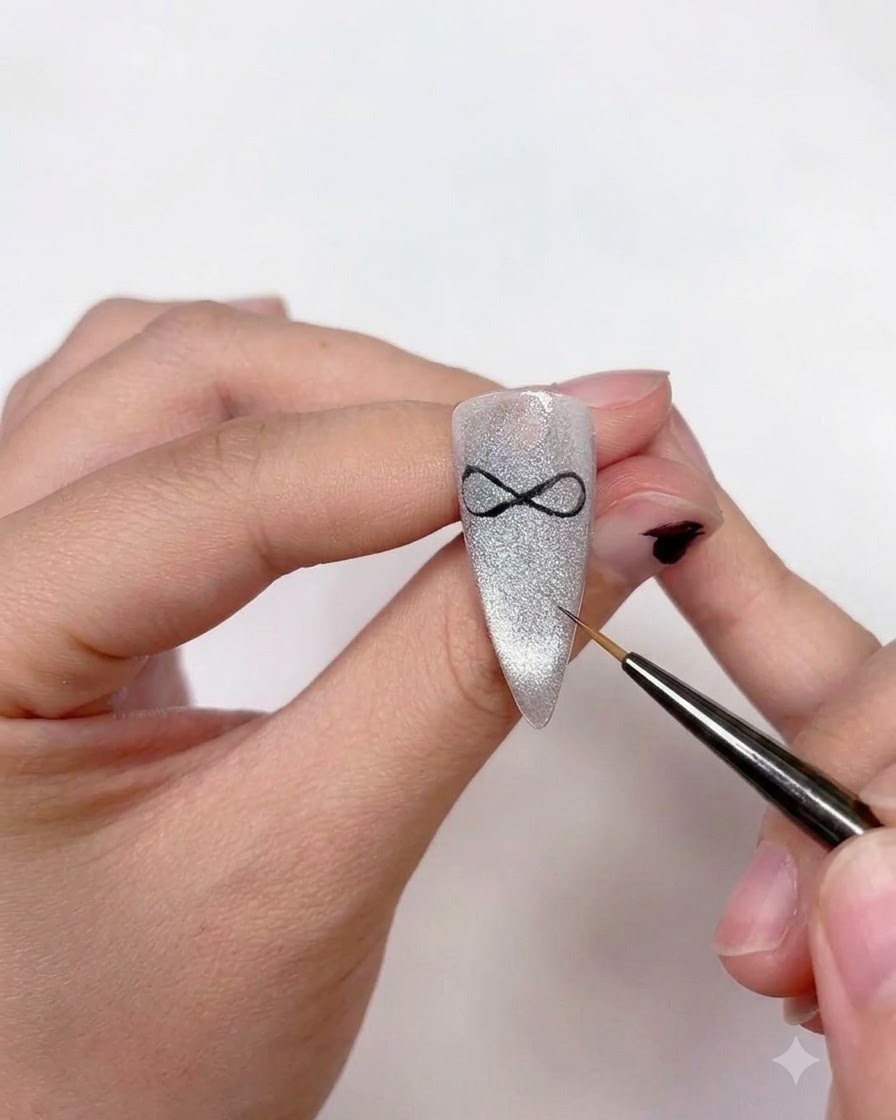
Extend two flowing lines downward from the center knot of the bow to create the hanging ribbon tails. Give them a slight graceful curve to make the design look dynamic and fairy-like.
Tip: Sweep the brush downward with a light hand to taper the ends of the tails smoothly. - 10Cure the initial bow design
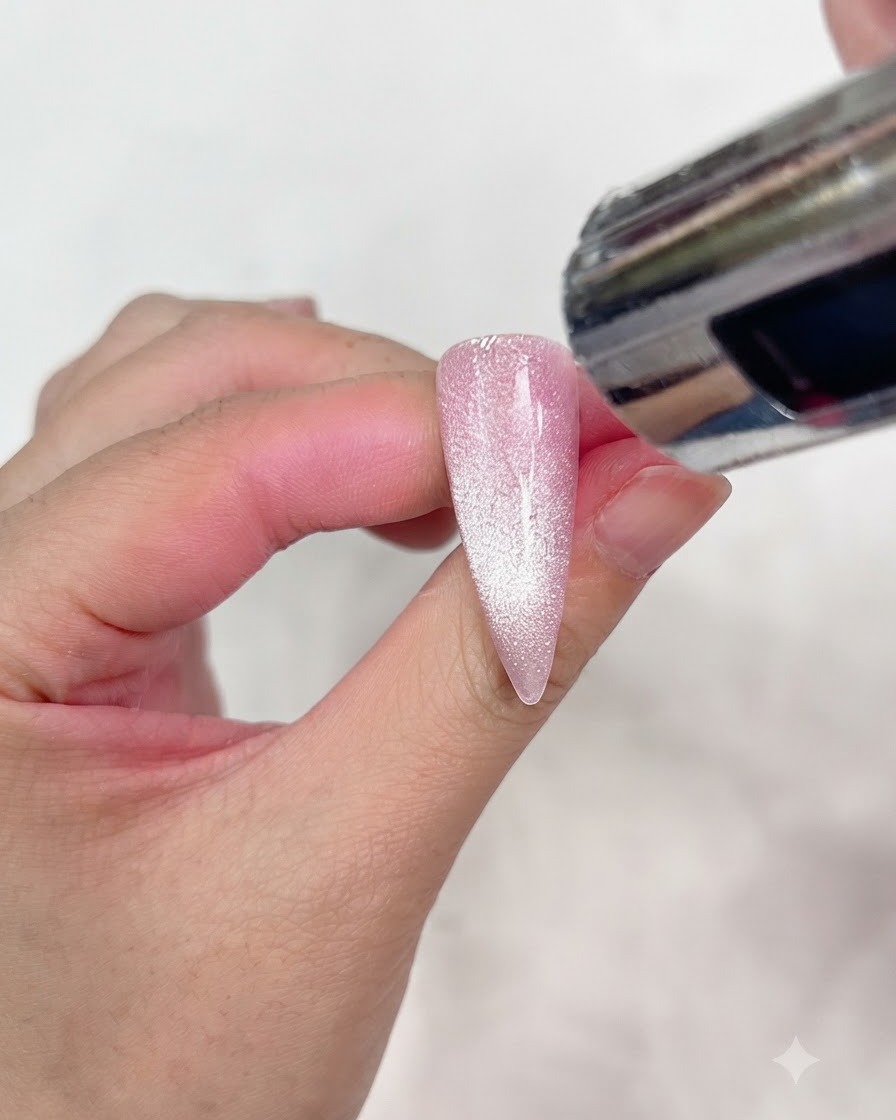
Place the nail under a small portable UV or LED lamp to flash cure the black gel lines. This locks the painted outline into place so it will not smudge during subsequent detailing steps.
Tip: A brief flash cure of 10 to 15 seconds is usually enough to secure black liner gel before finishing touches. - 11Refine bow lines and opacity
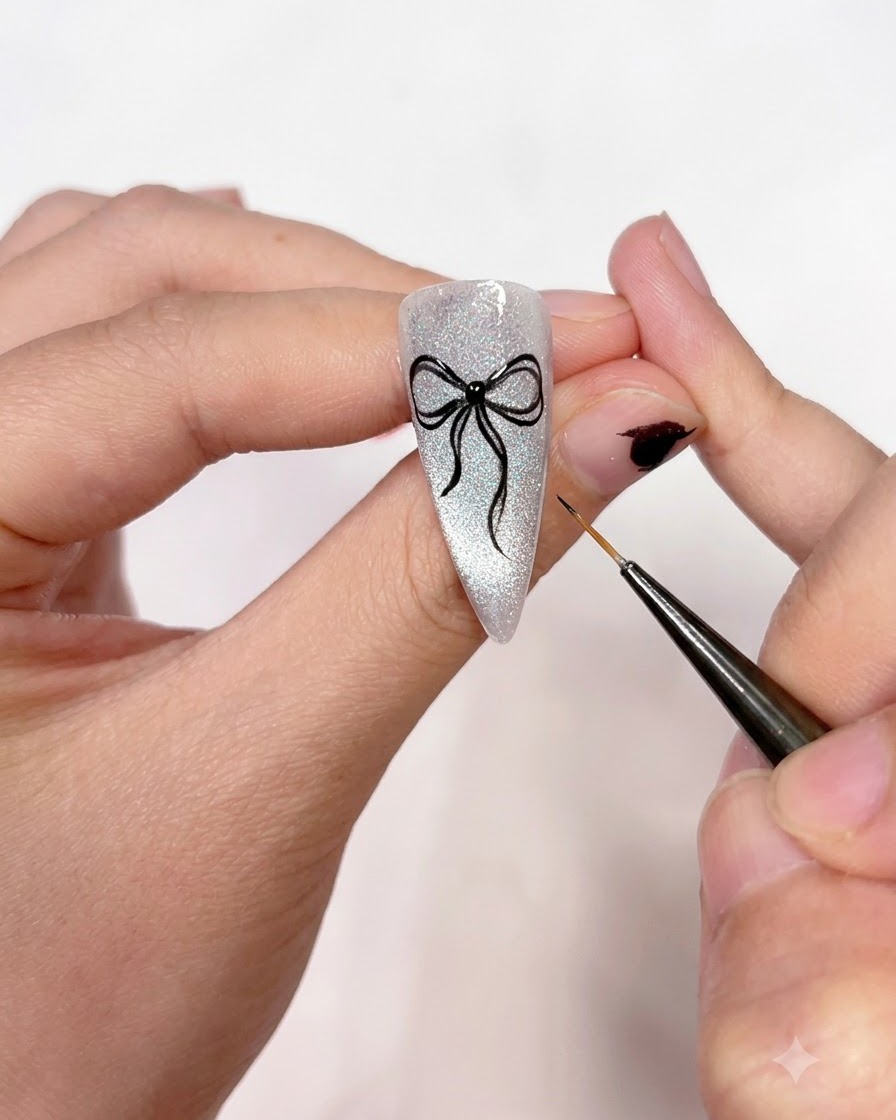
Go back over the black gel lines with your fine liner brush to fill in any sparse areas, darken the color, and ensure a uniform thickness throughout the entire bow pattern.
Tip: A second thin pass ensures rich black opacity and prevents any patchiness under top coat. - 12Final cure of the painted details
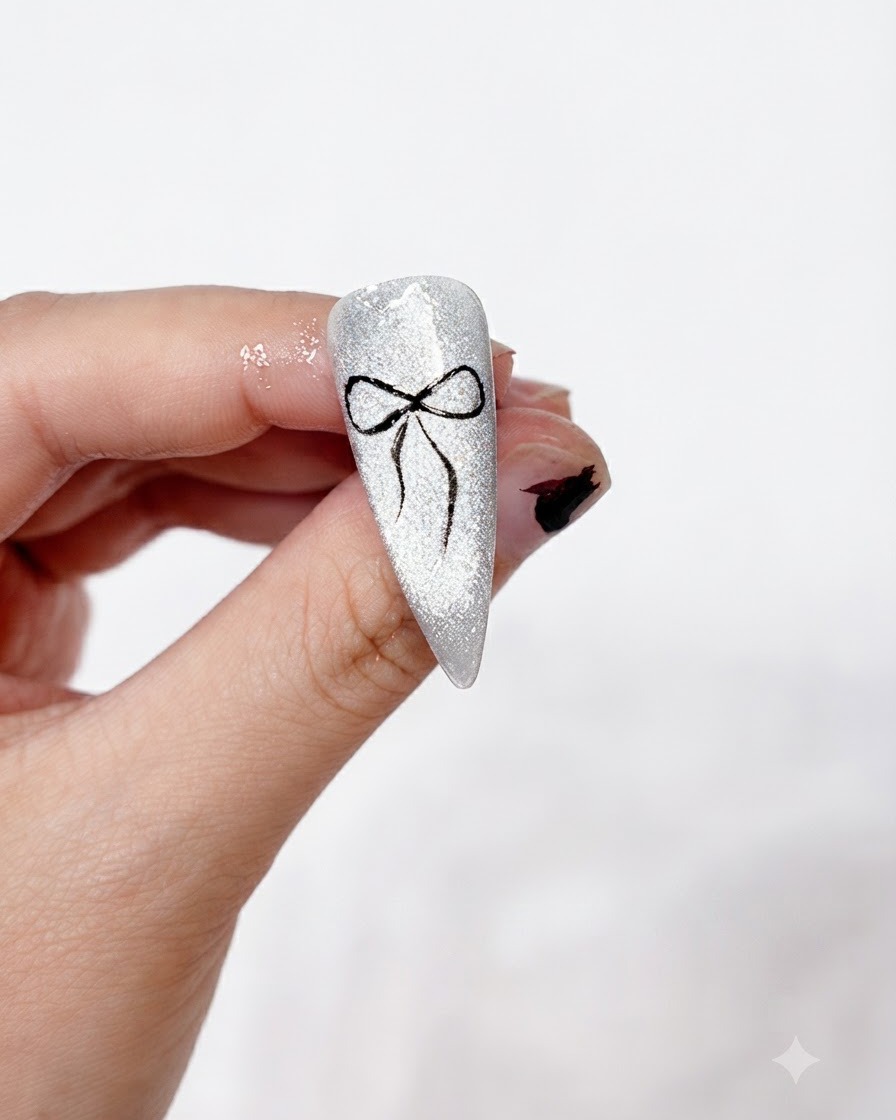
Perform a final complete cure of the refined black bow art under your UV lamp to ensure the gel is fully hardened across all lines and tails before moving on to sealing and 3D effects.
Tip: Ensure proper curing time to prevent any wrinkling or shifting of the gel layers.