Clear Bow and Ribbon Gel Nail Art — Step-by-Step Tutorial
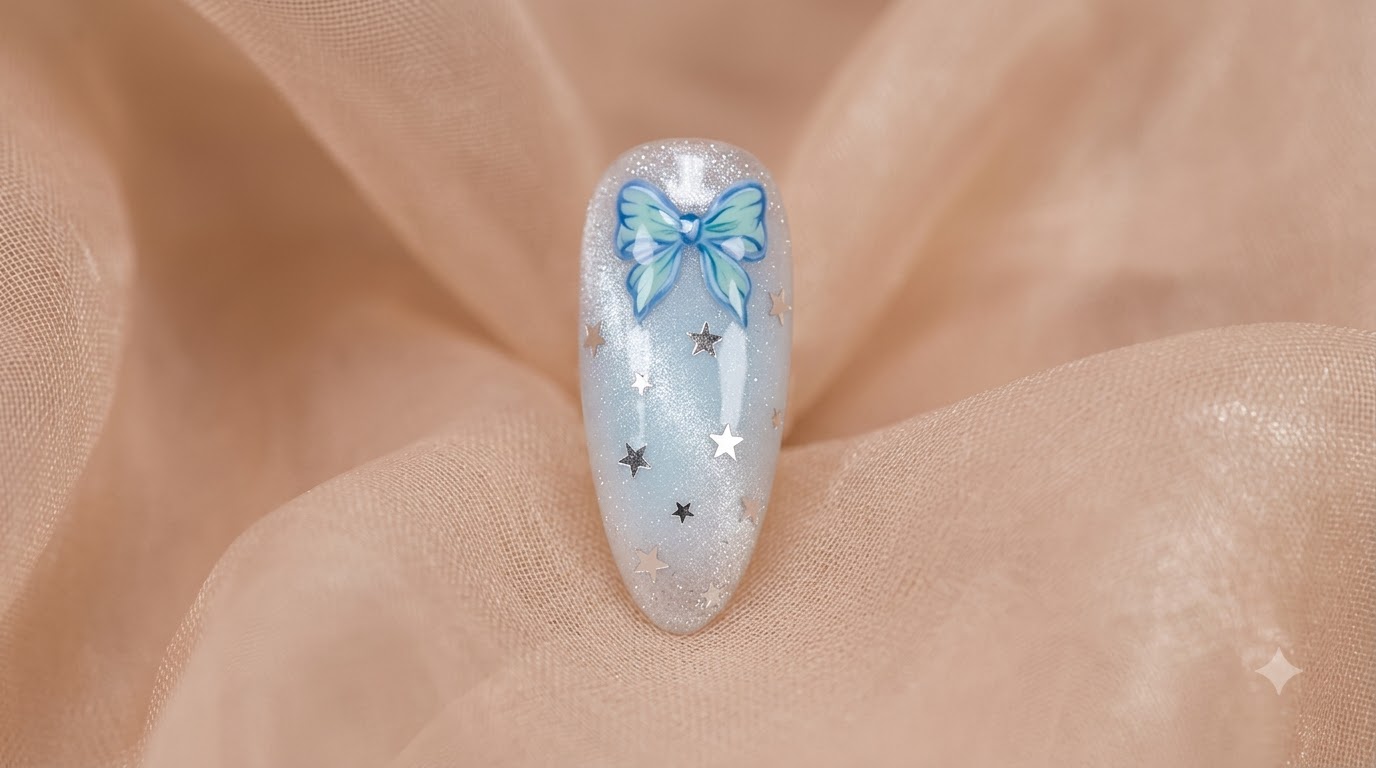
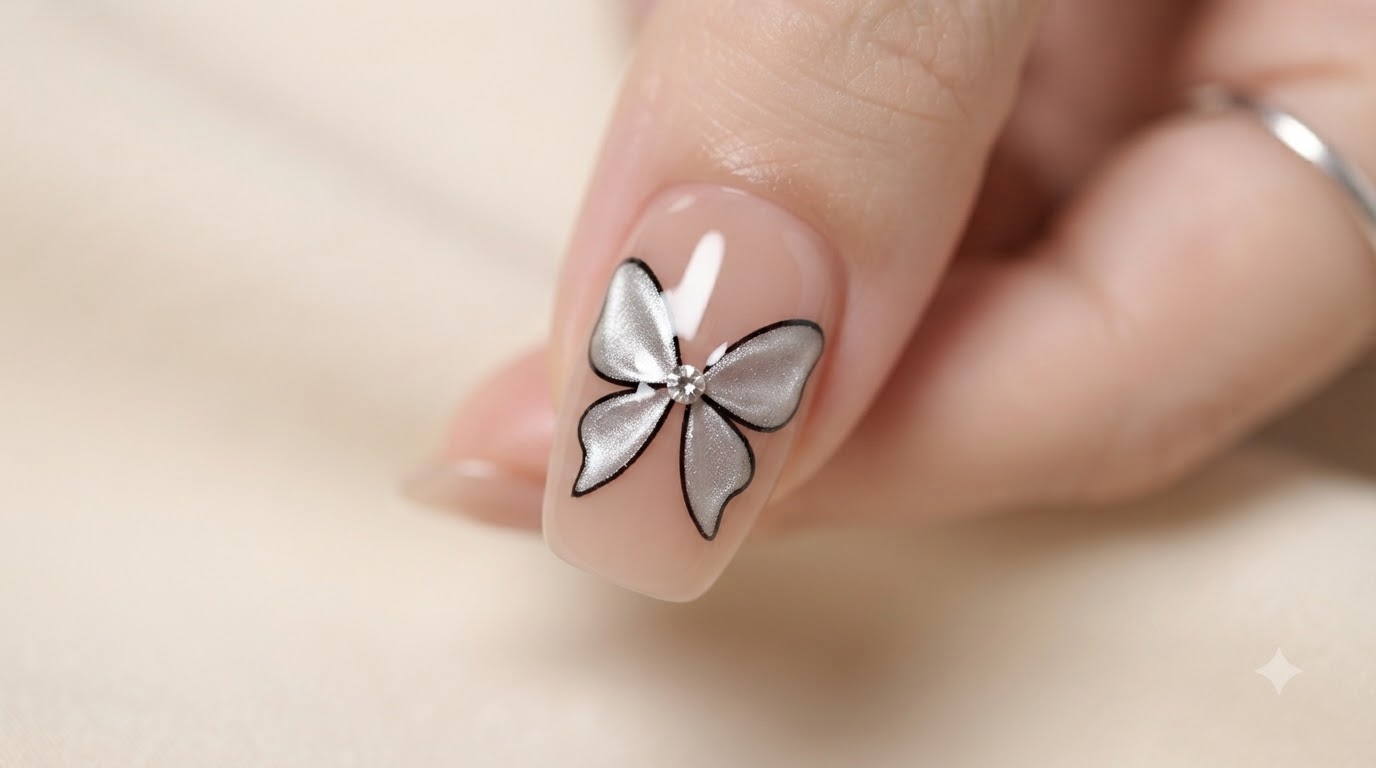
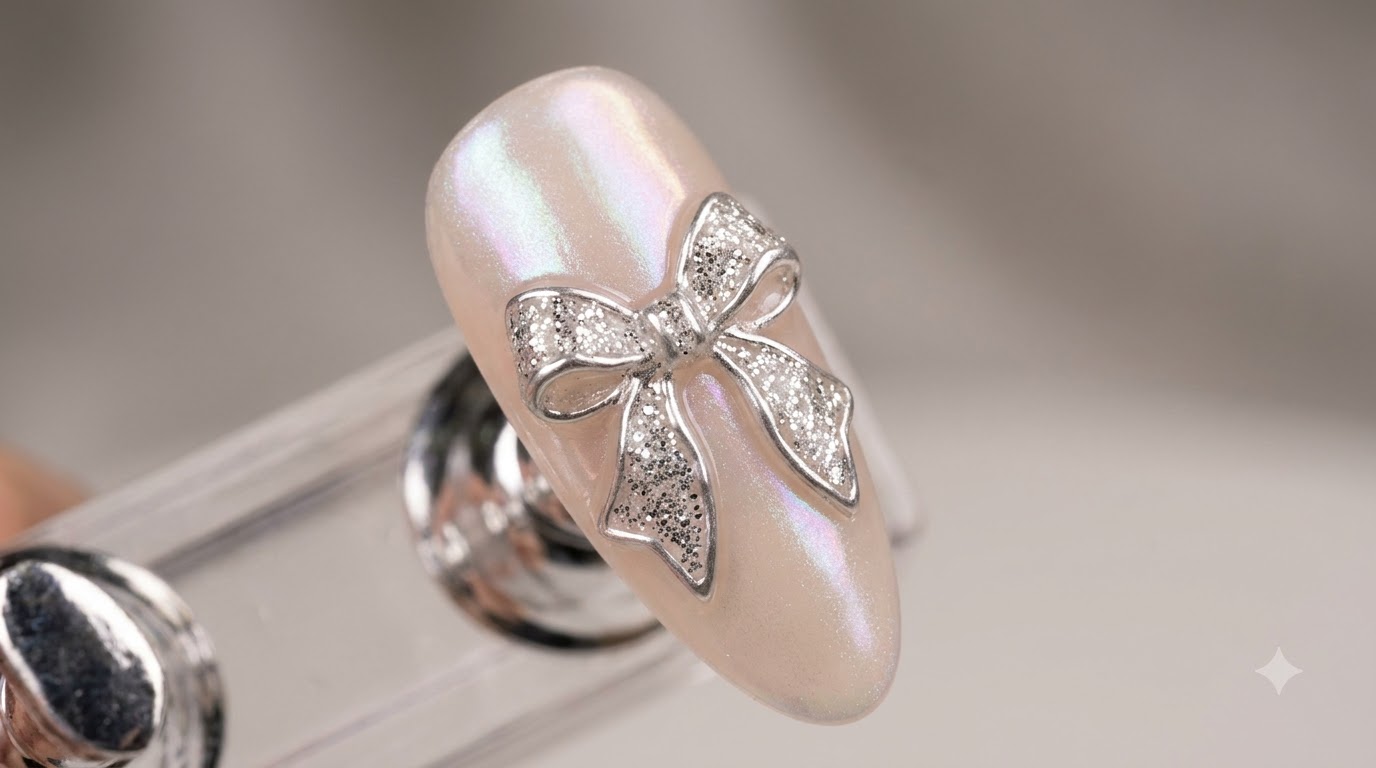
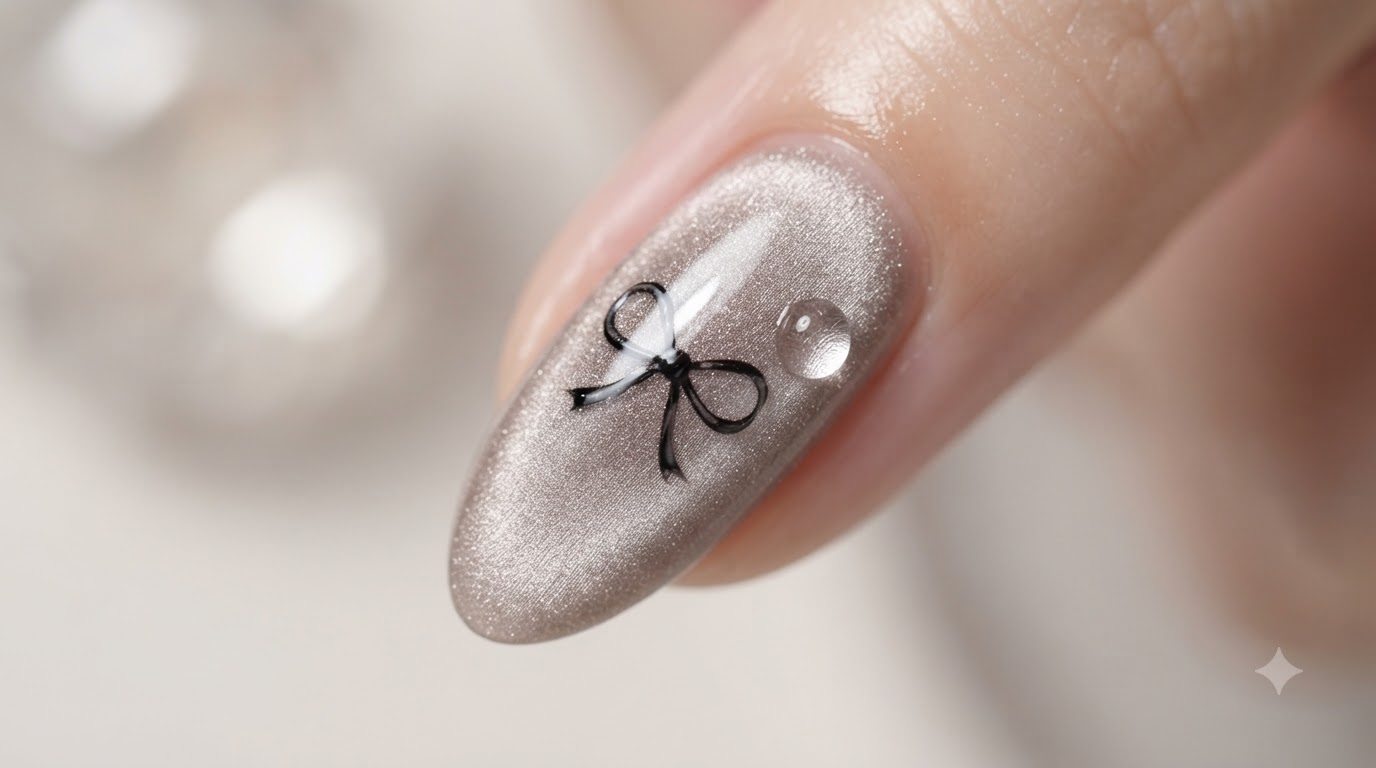
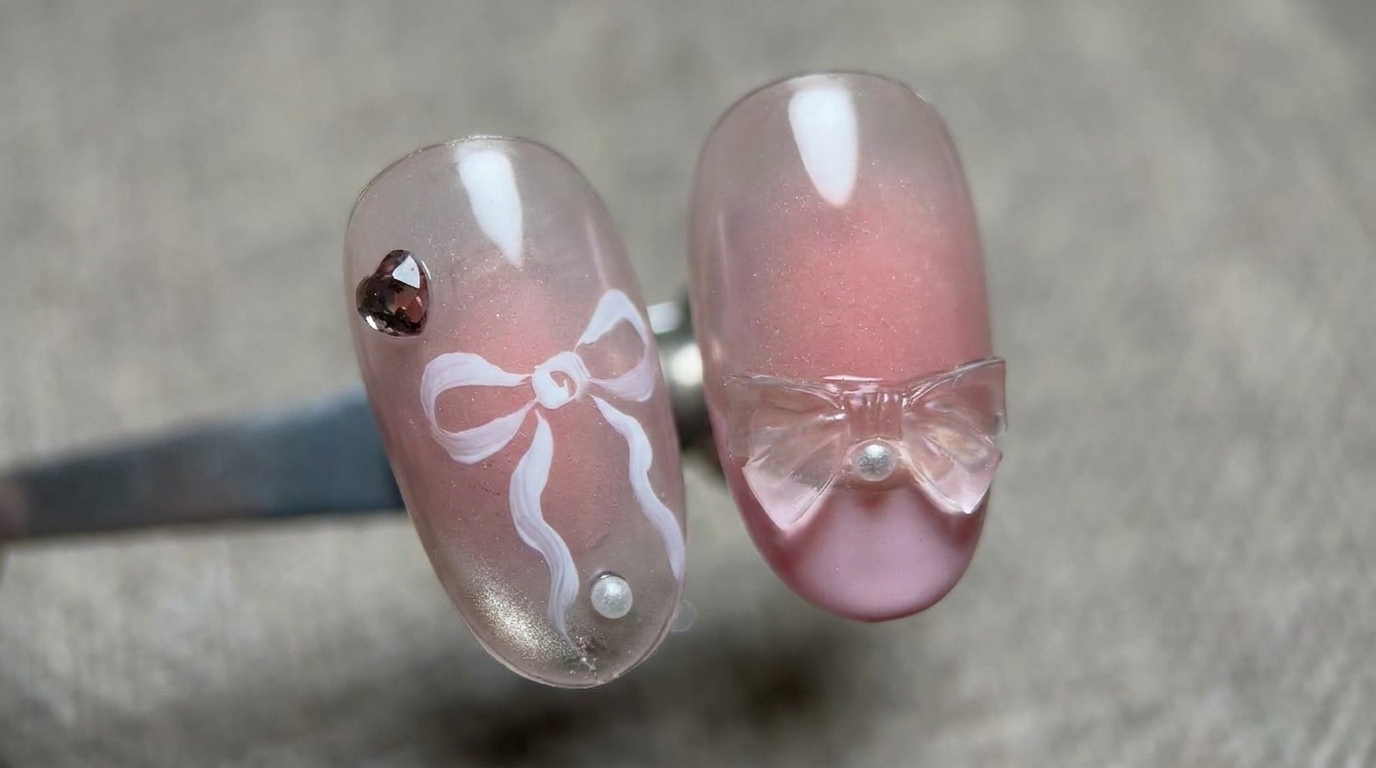
Create delicate clear bow and ribbon gel nails featuring a soft pink gradient base, crisp French smile lines, and a custom 3D resin bow embellishment.
Embellished 3D bows and encapsulated clear elements are the ultimate trend for whimsical, romantic nail art. This step-by-step tutorial walks you through blending a soft pink base, painting clean smile lines, and crafting dimensional transparent ribbons using a silicone mold for an ethereal salon look.
Steps
- 1Dab light pink gradient onto the nail tip
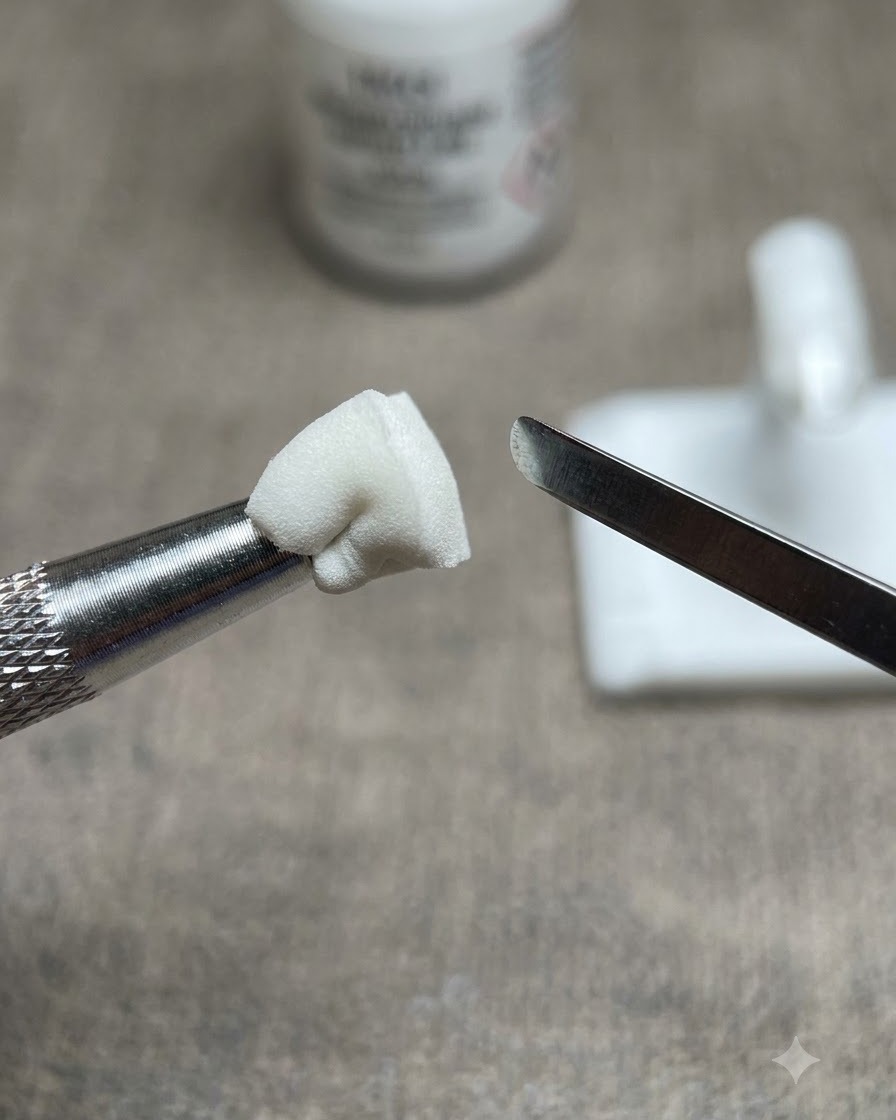
Using a sponge tool, gently dab a light pink gradient color onto the clear nail tip. This creates a soft, translucent base for the design. Ensure the gradient is smooth and even before proceeding to the next step.
Tip: Use a light tapping motion with the sponge to avoid heavy, uneven patches of color. - 2Apply clear base gel coat
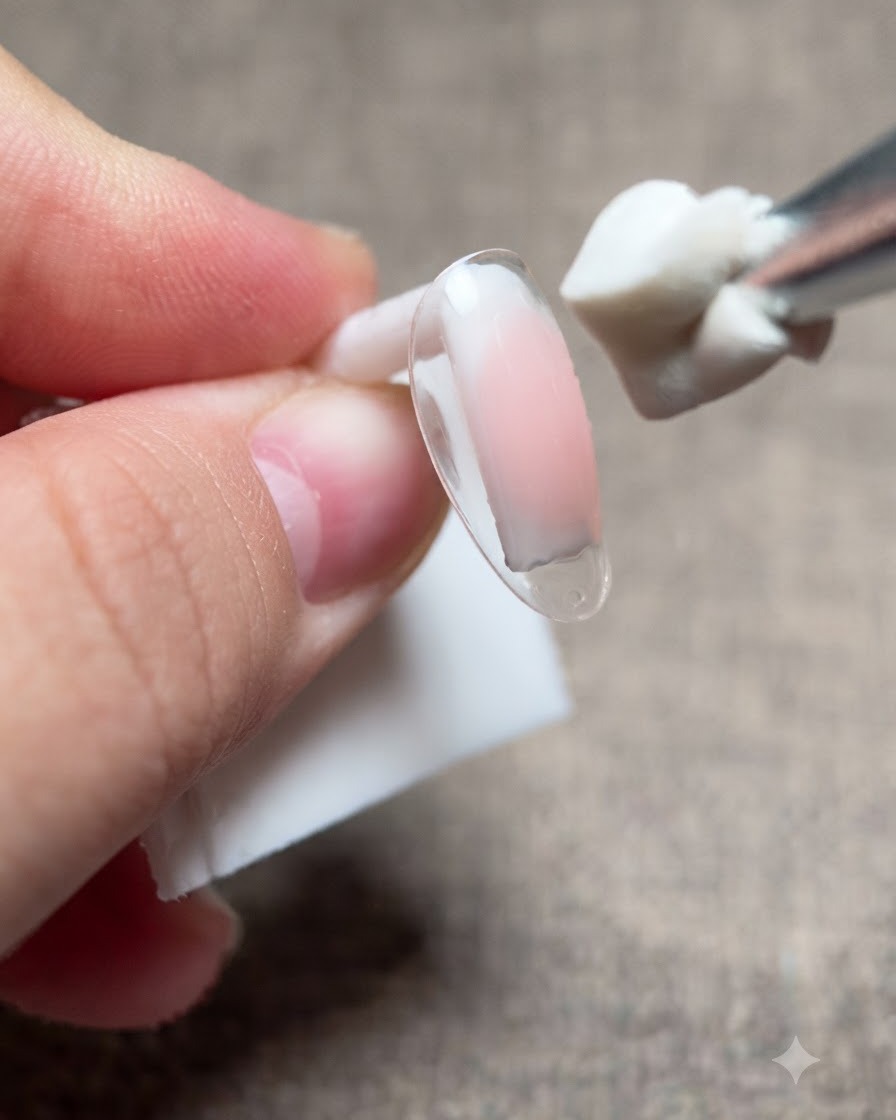
Using a brush, apply an even layer of clear base gel over the gradient color on the nail. This layer protects the gradient and prepares the surface for subsequent gel layers and nail art details.
Tip: Keep the coat thin and smooth to maintain a natural look and prevent bubbling during curing. - 3Apply subtle shimmer or light-colored gel polish
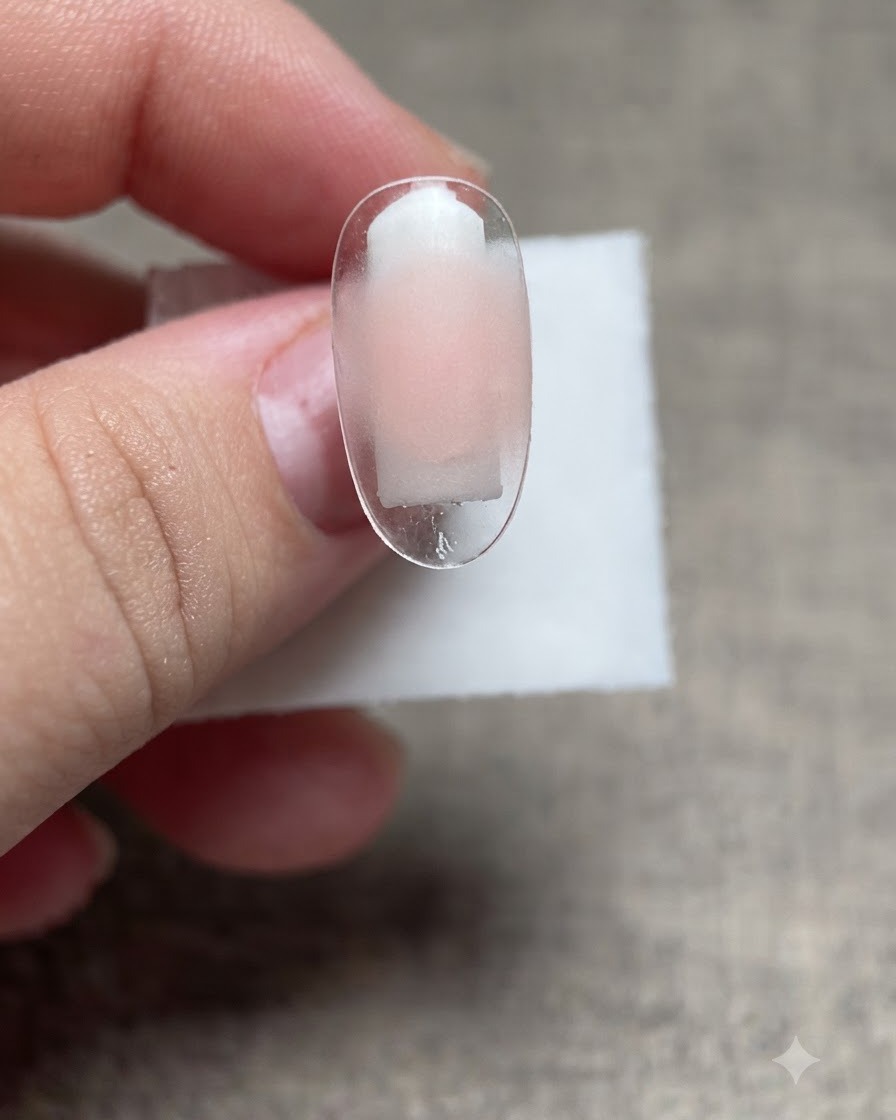
Apply a subtle shimmer or light-colored gel polish layer over the entire nail surface to enhance depth and dimension. Cure the layer under your UV or LED lamp as required.
Tip: Ensure uniform coverage so the shimmering effect is evenly distributed across the nail. - 4Paint light pink line across the smile line
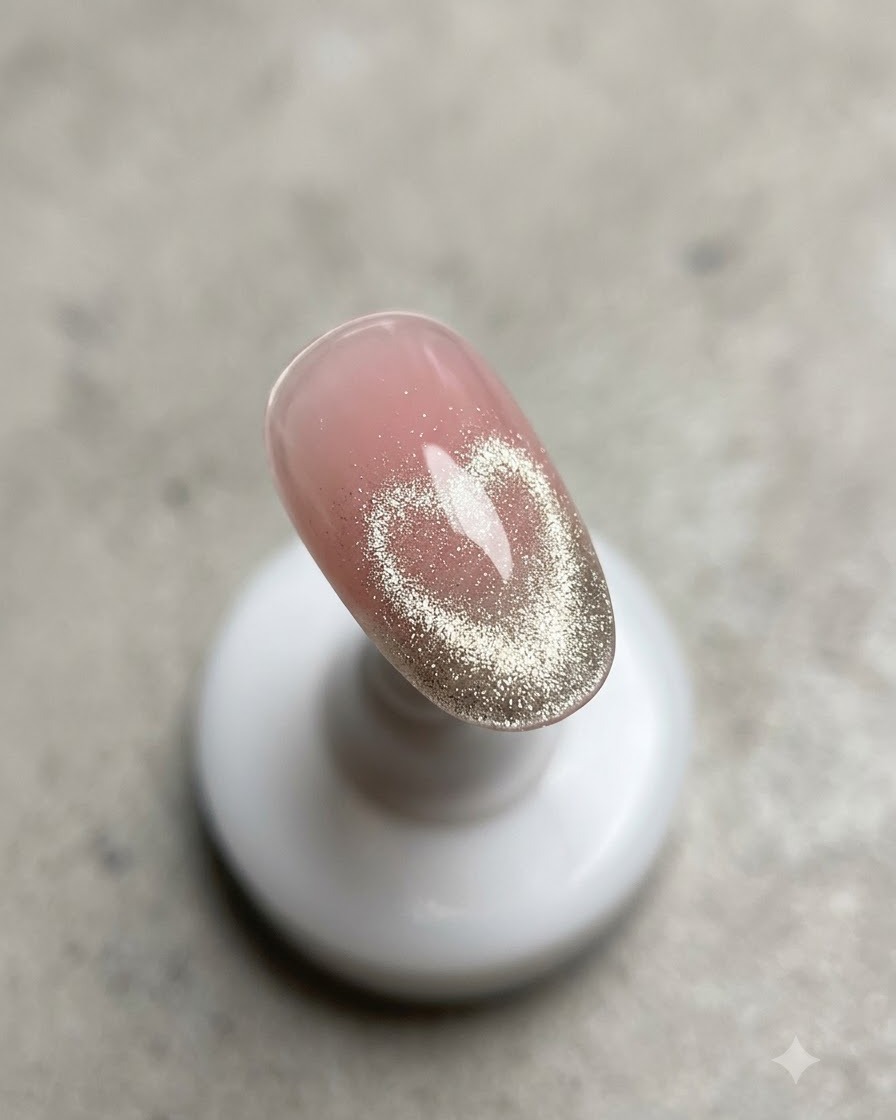
Using a thin liner brush, carefully paint a crisp light pink line across the smile line of the nail. This defines the French manicure structure and adds a neat, elegant boundary.
Tip: Stabilize your hand on a flat surface to draw a smooth, steady line without shaking. - 5Refine the smile line edges
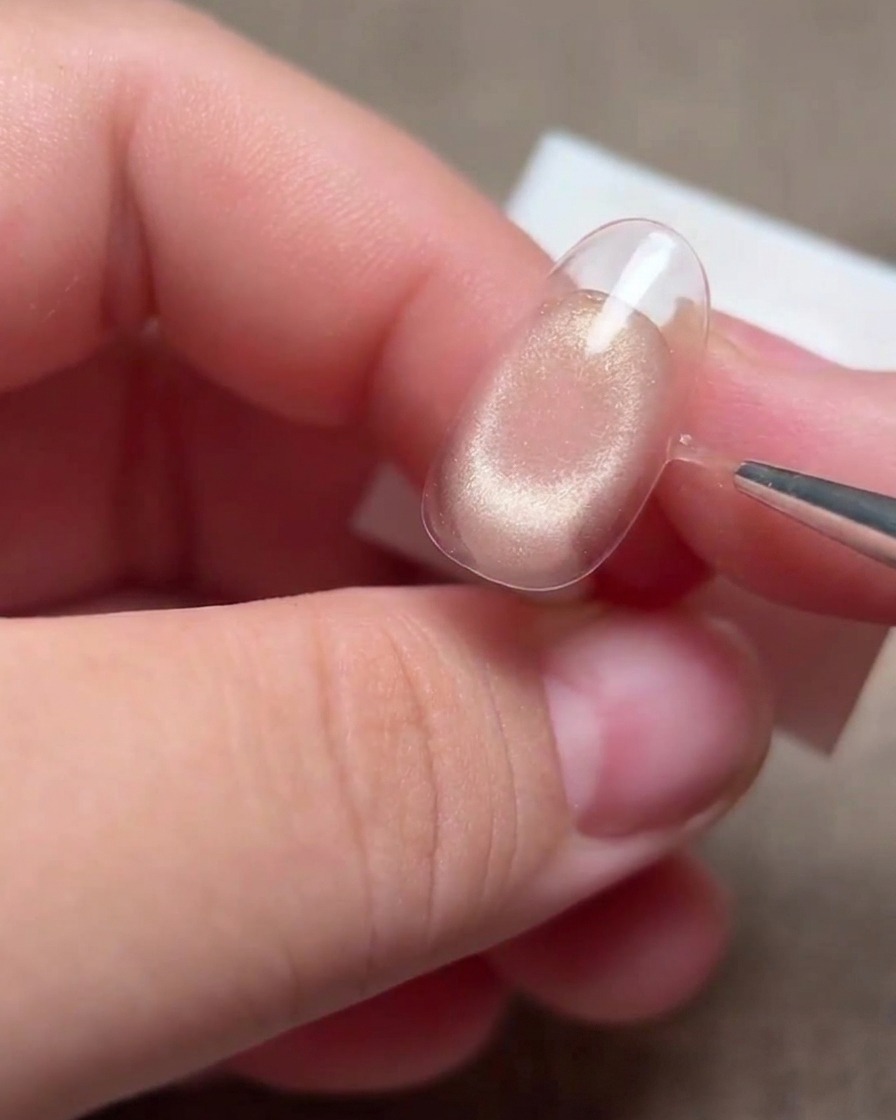
Continue refining the smile line with the liner brush to ensure smooth, clean edges. Clean up any minor imperfections before curing to keep the lines sharp and well-defined.
Tip: Wipe your liner brush clean with alcohol if needed to get ultra-precise, sharp edges. - 6Select clear 3D bow element from mold
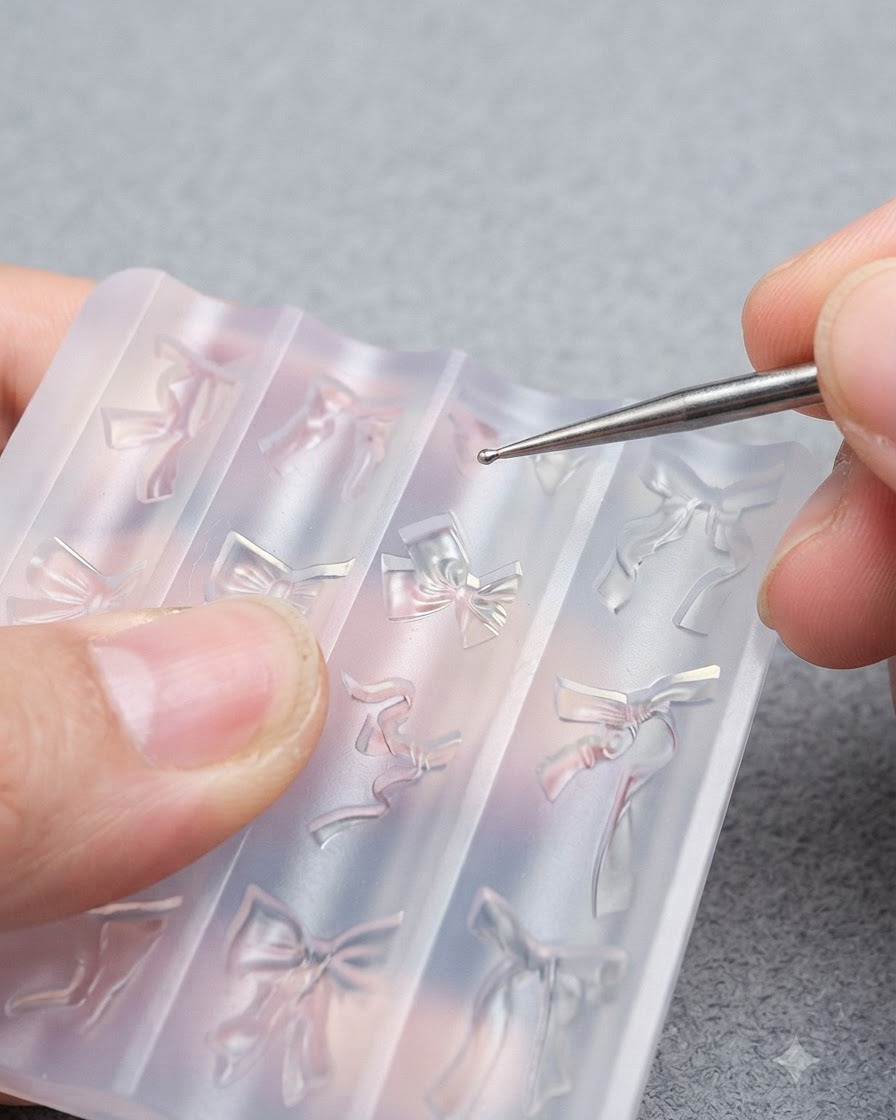
Using tweezers, carefully lift a clear 3D bow element from a silicone nail mold. Handle the delicate piece gently to avoid bending or damaging its shape before application.
Tip: Use fine-tipped tweezers for a secure grip on small, intricate 3D nail art pieces. - 7Cure the 3D element in mold
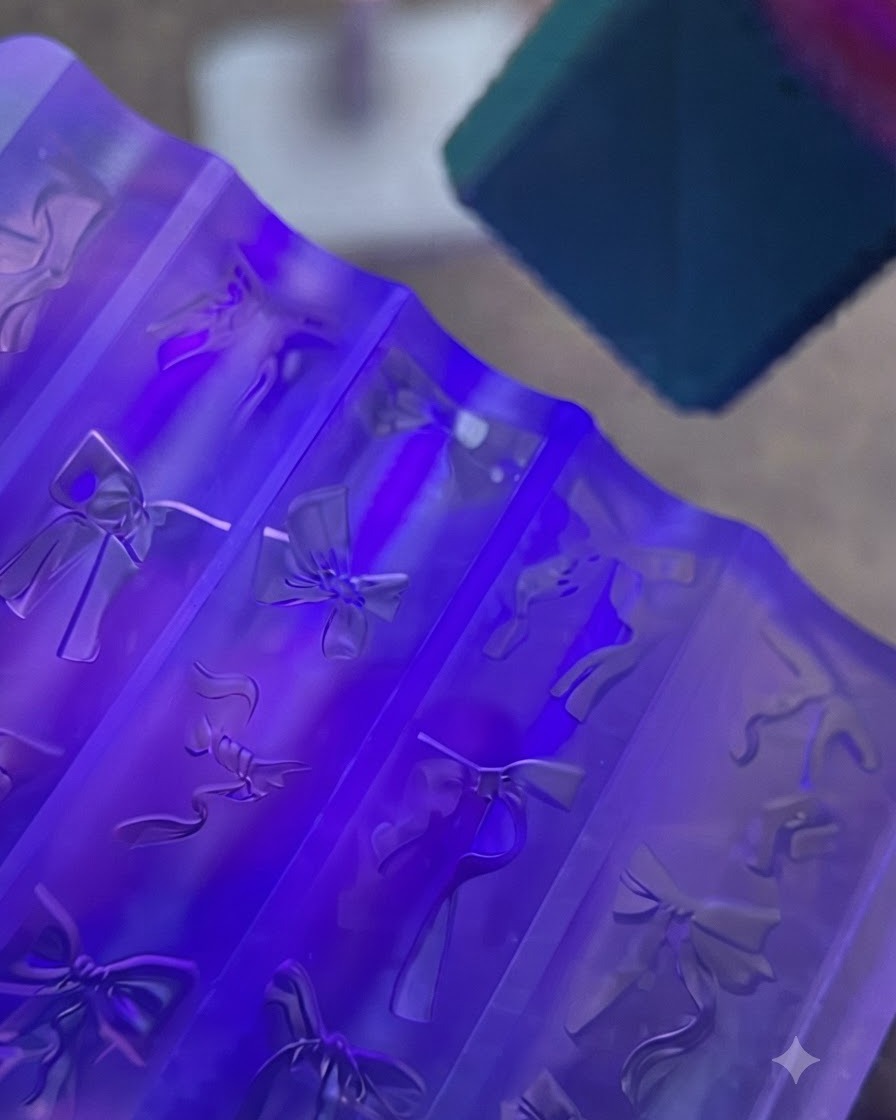
Place the nail mold under a UV or LED lamp to flash cure the clear gel inside. Ensure the lamp intensity is sufficient to set the shape so it holds its dimensional form when removed.
Tip: A quick flash cure prevents the gel from slouching or losing its sharp edges before final removal. - 8Remove the 3D Bow from Mold
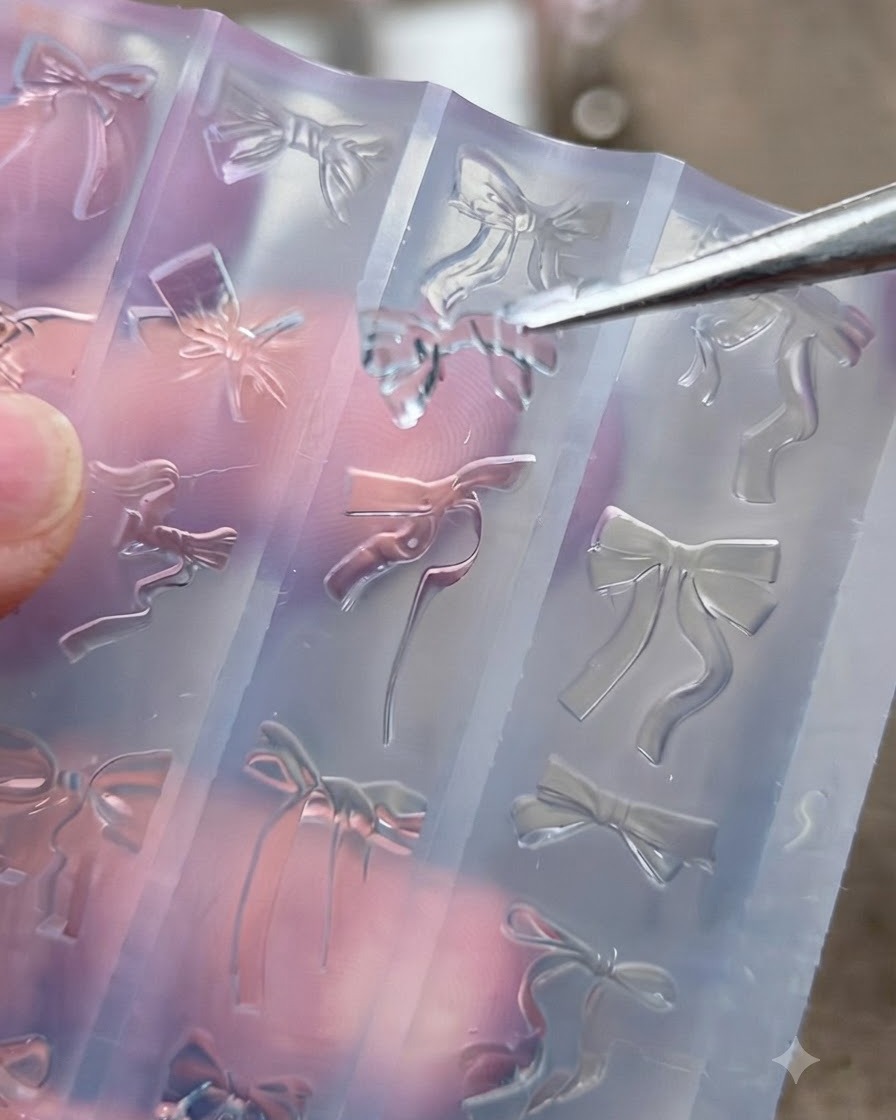
Using a pair of precision tweezers, gently lift and detach the fully cured clear 3D bow from the silicone nail art mold. Take your time to avoid tearing or distorting the delicate resin or gel shape as you release it from the cavity.
Tip: Gently wiggle the mold sides outward first if the piece feels stuck to ensure the delicate ribbons do not break. - 9Attach clear 3D bow to nail
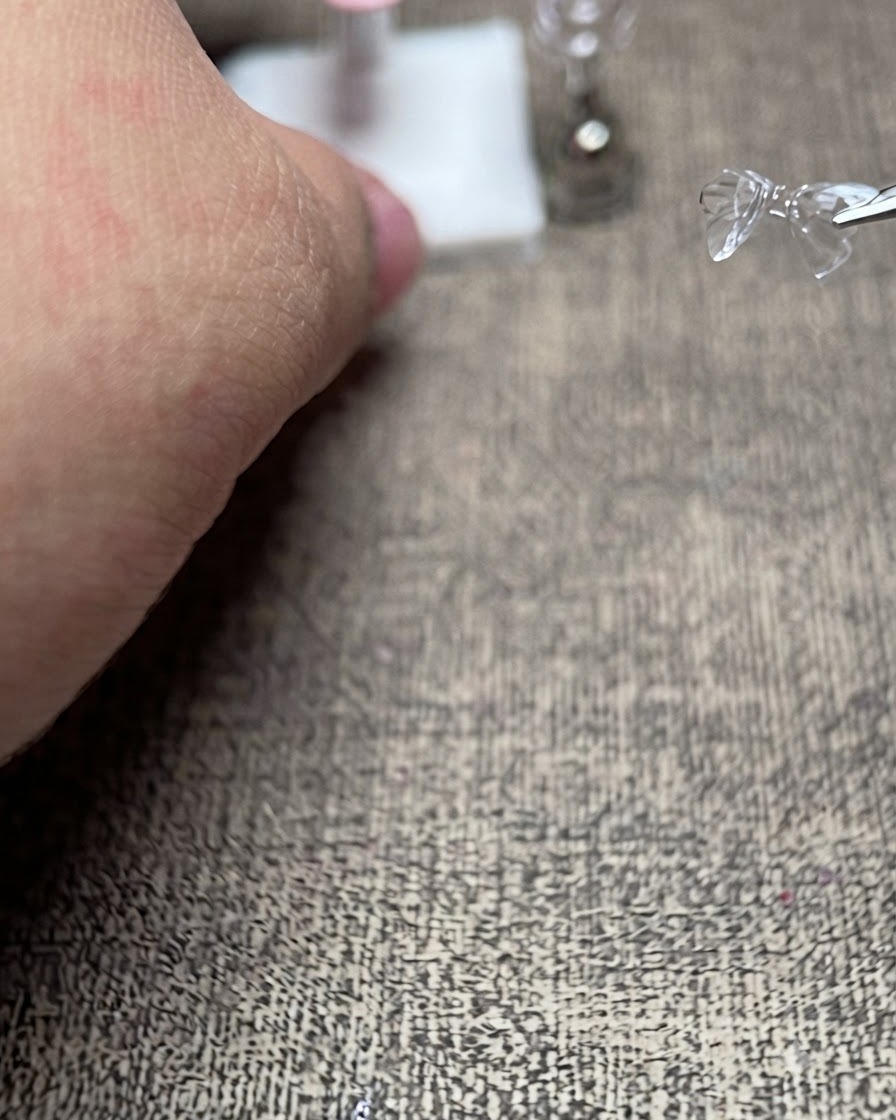
Apply a small bead of strong adhesive or base gel to the center of the pre-designed nail surface. Pick up the cured clear 3D bow with tweezers and press it securely into the gel before curing to lock it in position.
Tip: Use just enough adhesive gel to anchor the piece without flooding out the sides, which ruins the clean clear look.