Blue Butterfly Press-on Nail Art — Step-by-Step Tutorial
Create enchanting blue gradient press-on nails featuring magnetic cat-eye polish, a hand-painted butterfly bow, and starry silver accents.
Butterfly motifs and celestial accents have taken the nail art world by storm, combining whimsical charm with sophisticated technique. This tutorial guides you through layering fragment cat-eye polish, a textured matte base, and detailed gel painting to achieve a stunning, professional-grade press-on nail design.
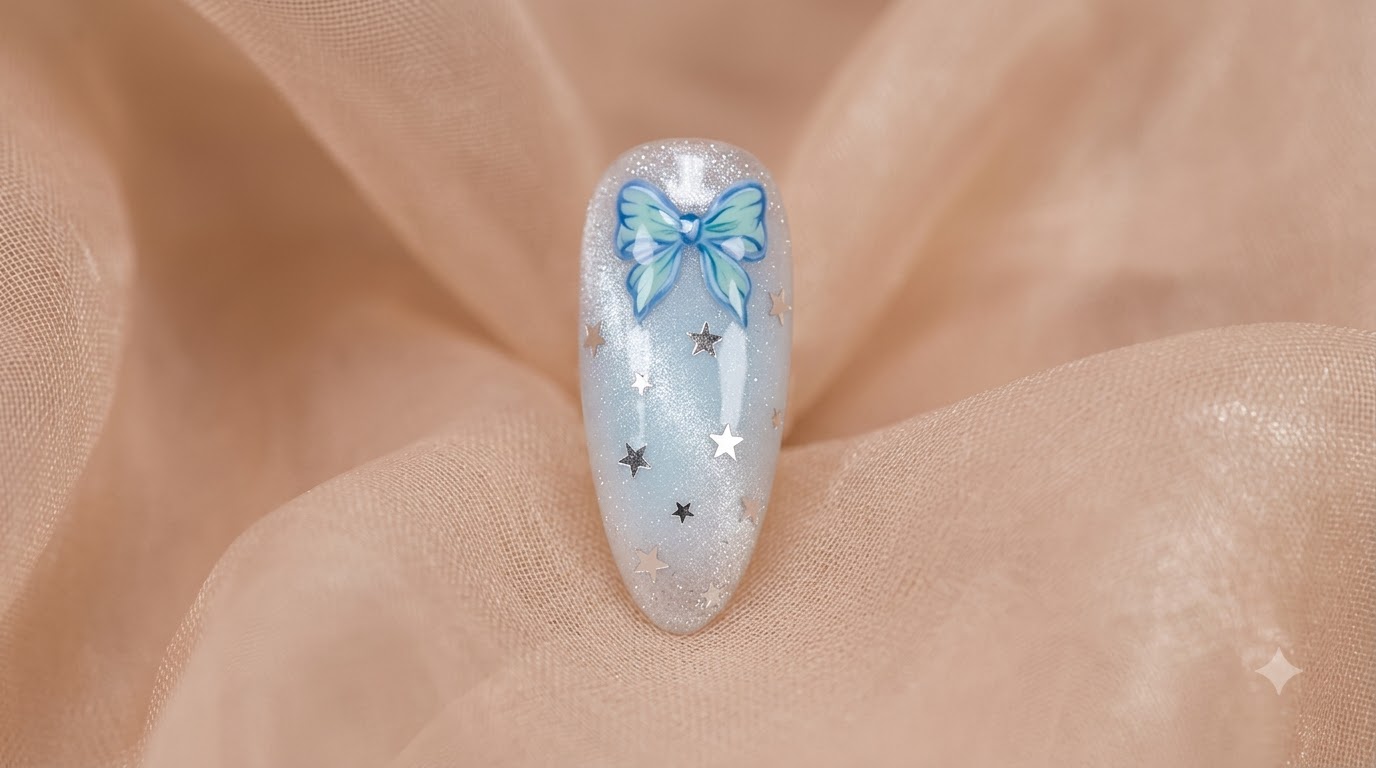
Steps
- 1Apply a white adhesive patch
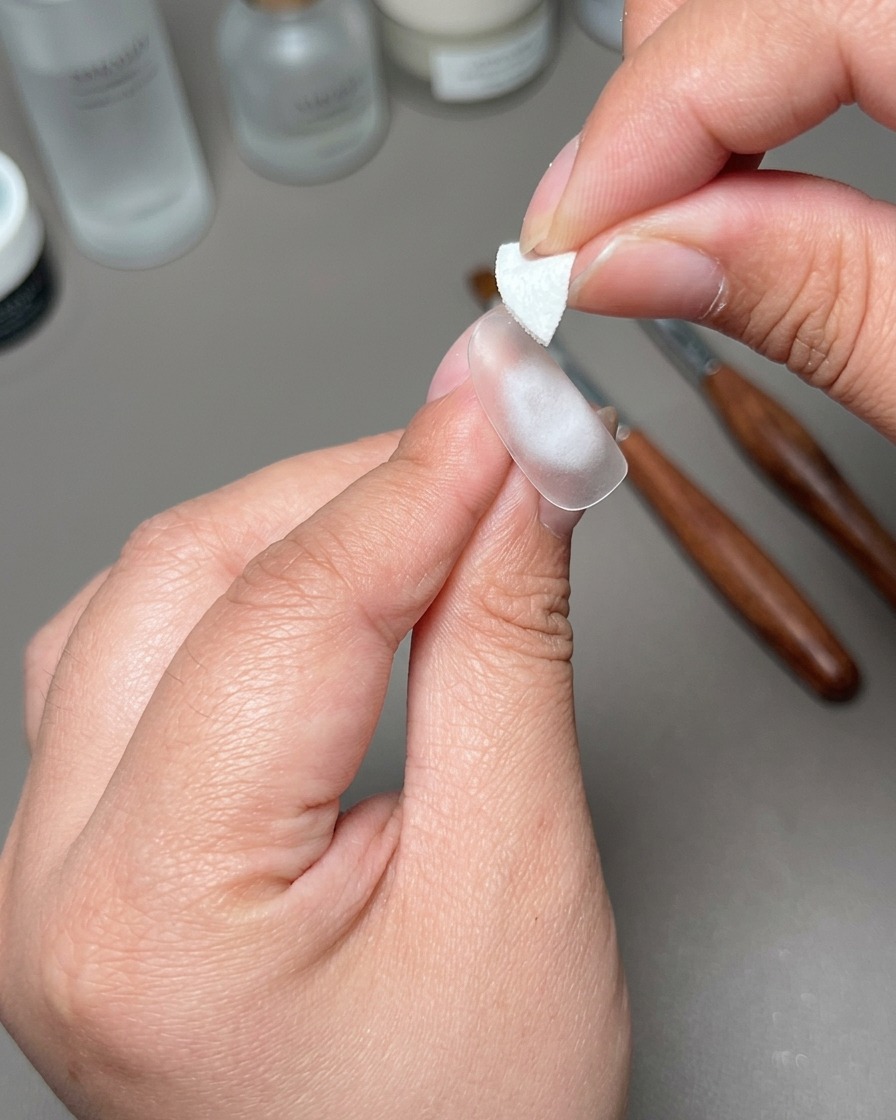
Apply a white adhesive patch carefully to the center of the nail tip to effectively cover and conceal the release line. Smooth it out gently to ensure a flat, uniform surface for the subsequent polish layers.
Tip: Make sure the patch is properly pressed down so there are no air bubbles trapped underneath. - 2Apply Fragment Cat-Eye Gel
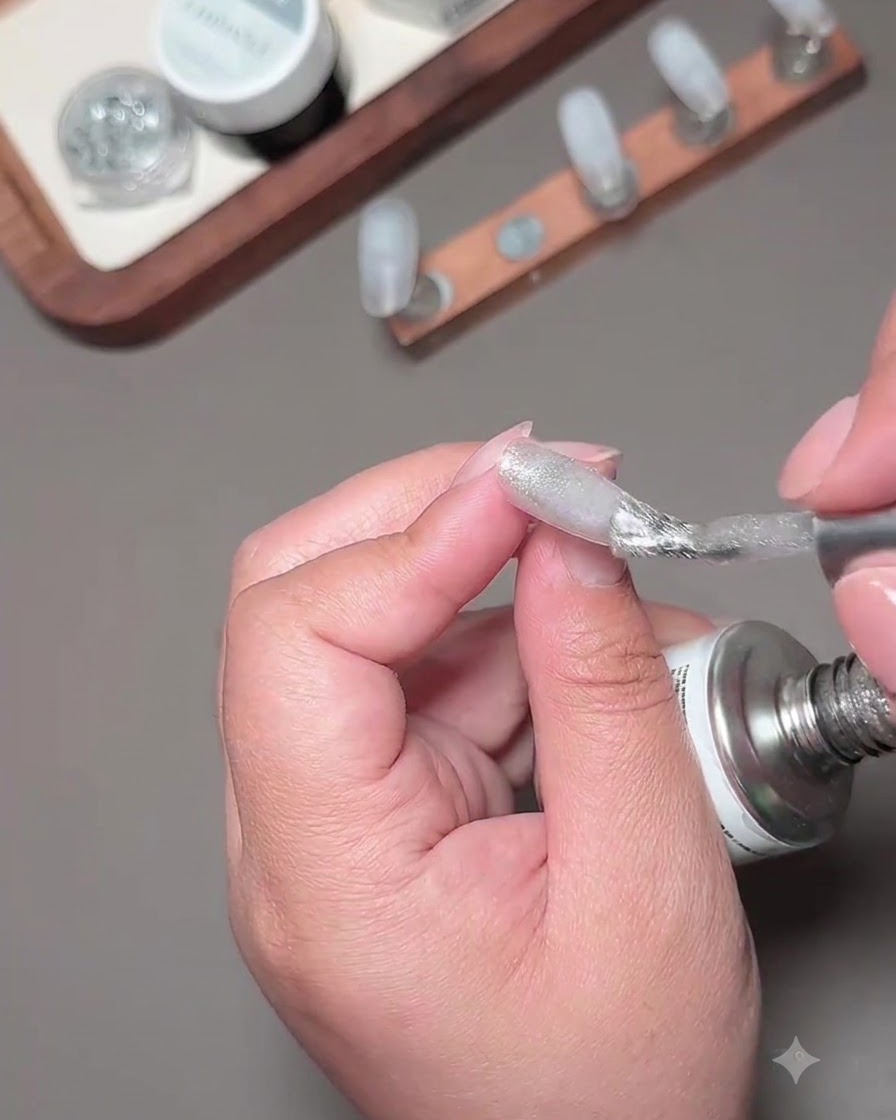
Paint an even layer of fragment cat-eye gel polish across the entire nail surface, covering the applied patch completely. Make sure the layer is smooth and uniform before using the magnet tool.
Tip: Apply a moderate amount of gel to avoid pooling around the edges of the nail tip. - 3Activate Cat-Eye Magnetic Effect
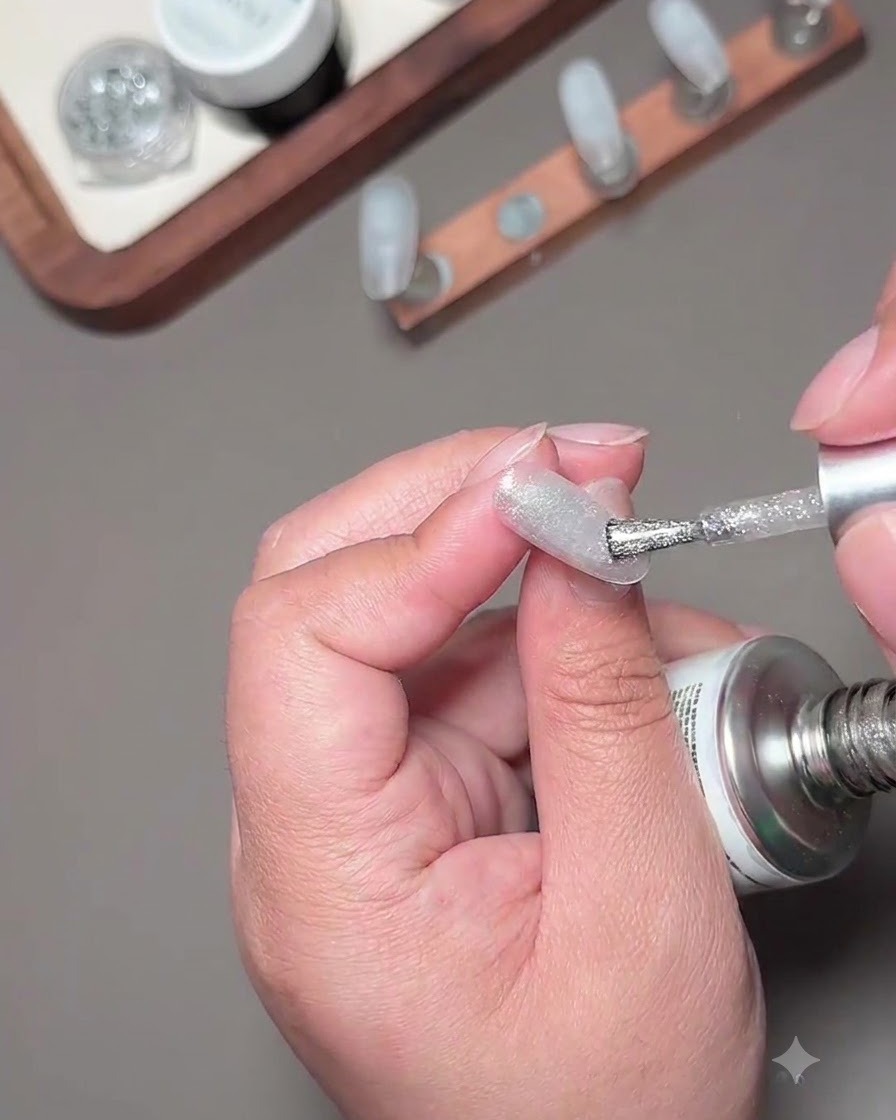
Hold a round magnet tool close to the wet cat-eye polish to draw the magnetic particles inward toward the center of the nail. This creates a brilliant, concentrated focal highlight.
Tip: Keep the magnet steady and close to the surface without touching the wet polish to achieve a sharp highlight line. - 4Apply Matte Top Coat
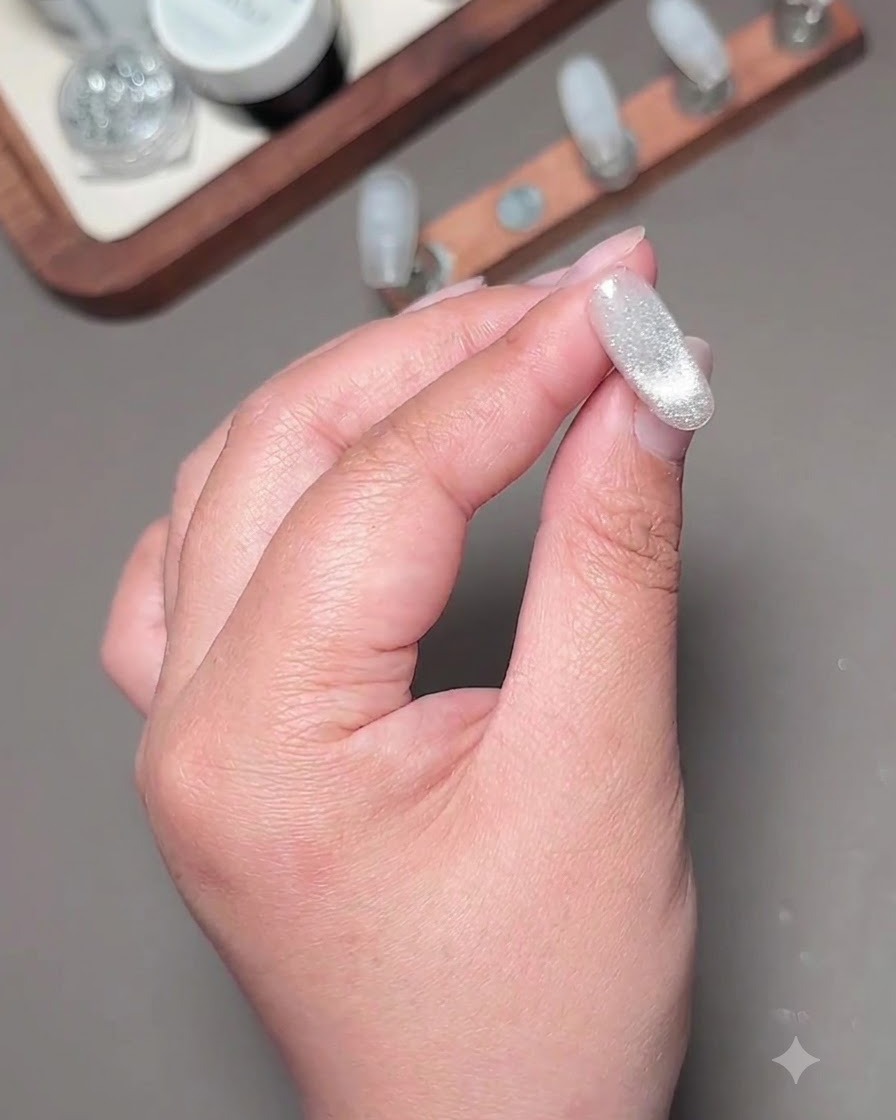
After curing the cat-eye gel, apply a thin layer of matte top coat evenly across the nail surface. Cure under a UV or LED lamp as required to set the matte finish.
Tip: Ensure full coverage with the matte top coat to create the desired textured contrast for the design. - 5Apply a blue adhesive patch
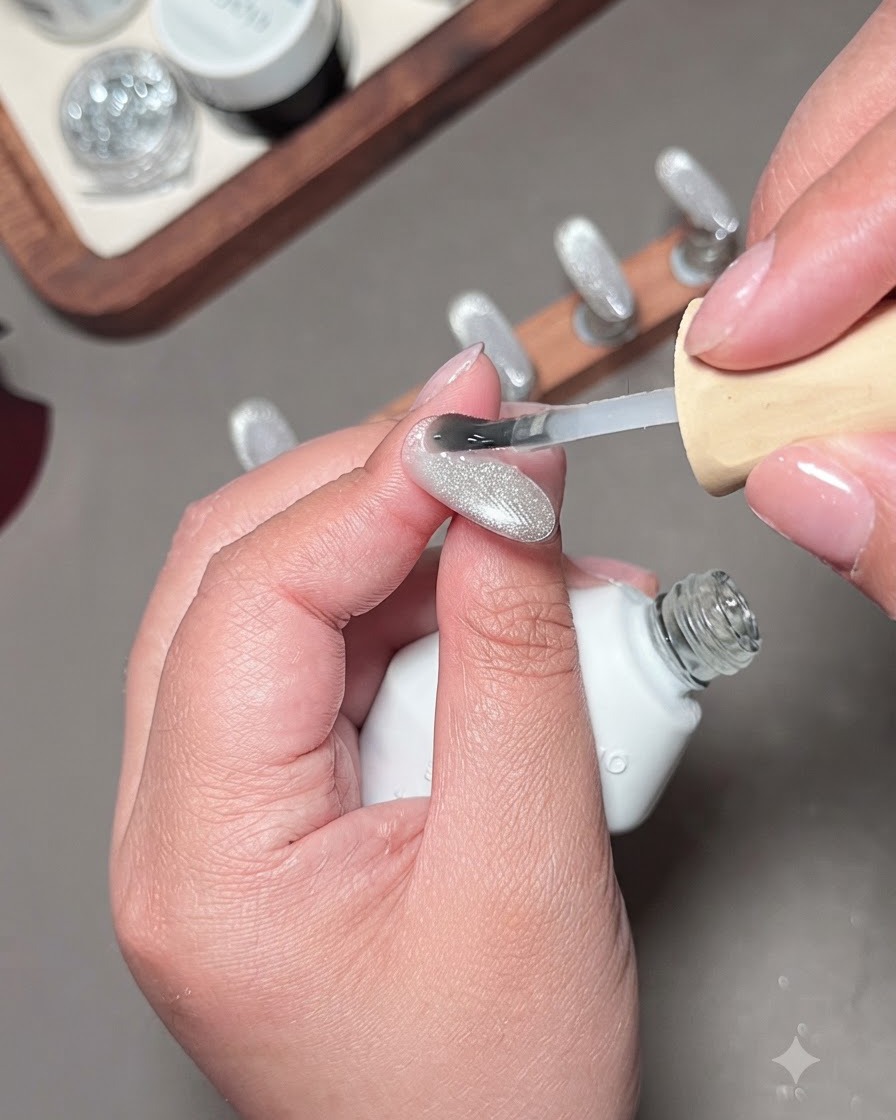
Apply a layer of fragment cat-eye polish and use a magnet to draw the light into the center of the nail, followed by applying a thin layer of matte top coat. Then, apply a blue patch to the center of the nail as part of the butterfly design structure.
Tip: Ensure the cat-eye magnetic effect is properly centralized before curing and applying the patch. - 6Deepen Center Color
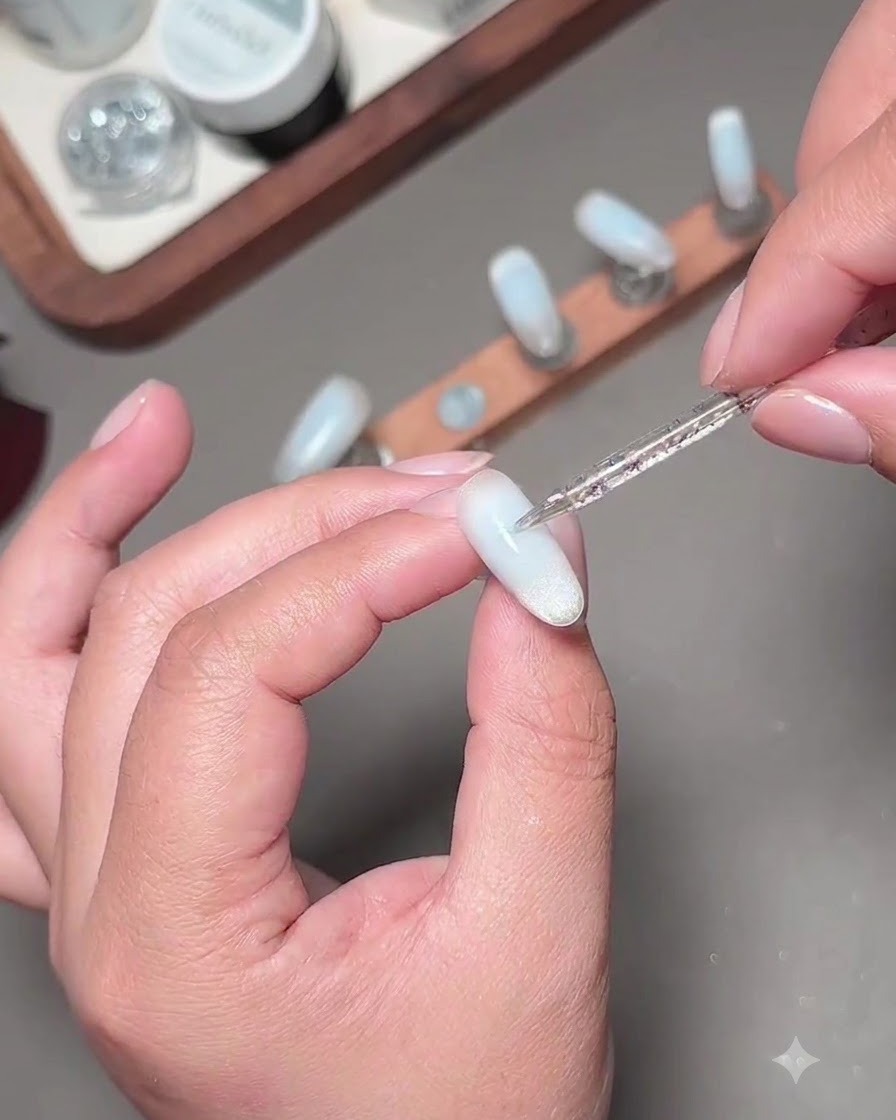
Using a fine detail brush, apply a second layer of blue color to deepen and enrich the hue right in the center of the nail design, adding dimension and depth.
Tip: Keep strokes controlled and localized to the center area to preserve the surrounding layered effects. - 7Paint butterfly bow lines
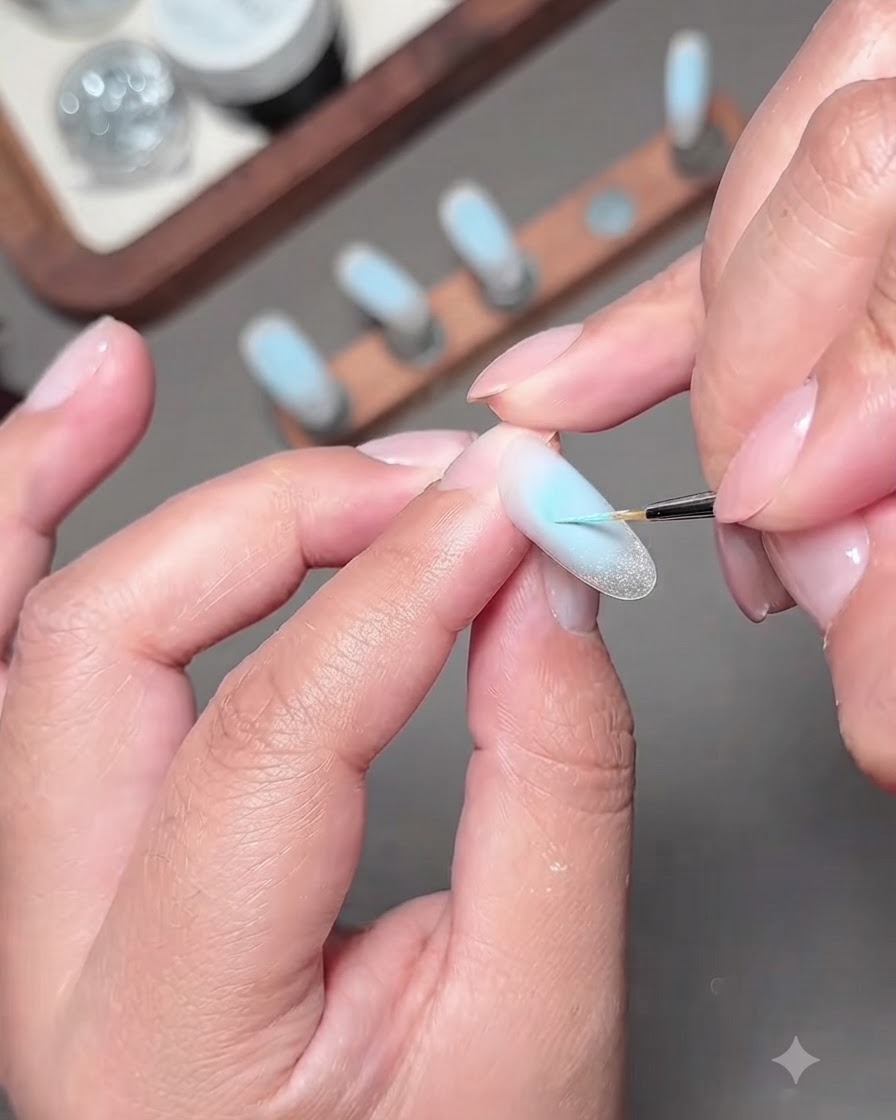
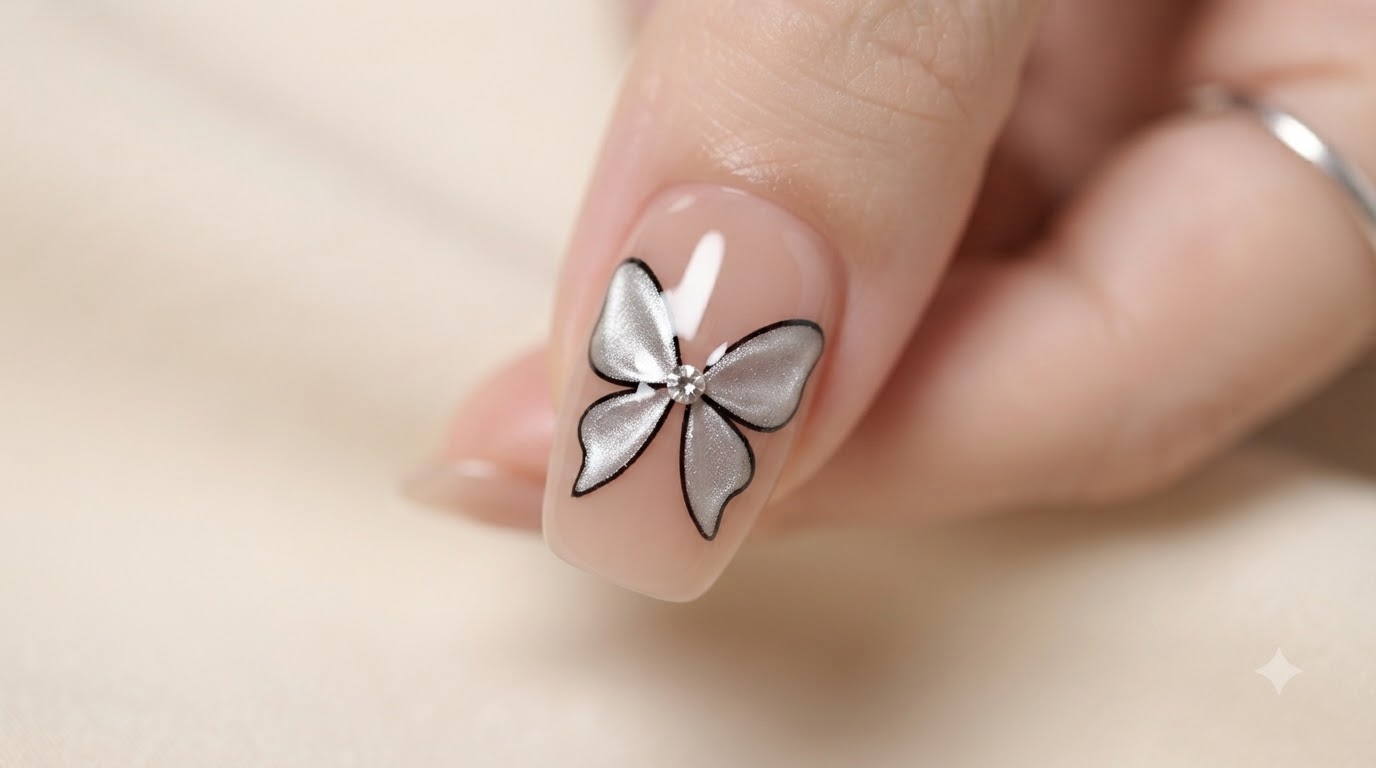
Dip a fine liner brush into blue nail art gel and carefully paint the intricate outlines of a butterfly bow over the blue patch area. Maintain a steady hand to create thin, clean, and symmetrical wing shapes.
Tip: Wipe excess gel off your liner brush to ensure the lines remain ultra-fine and detailed. - 8Draw lines with fragment diamond gel
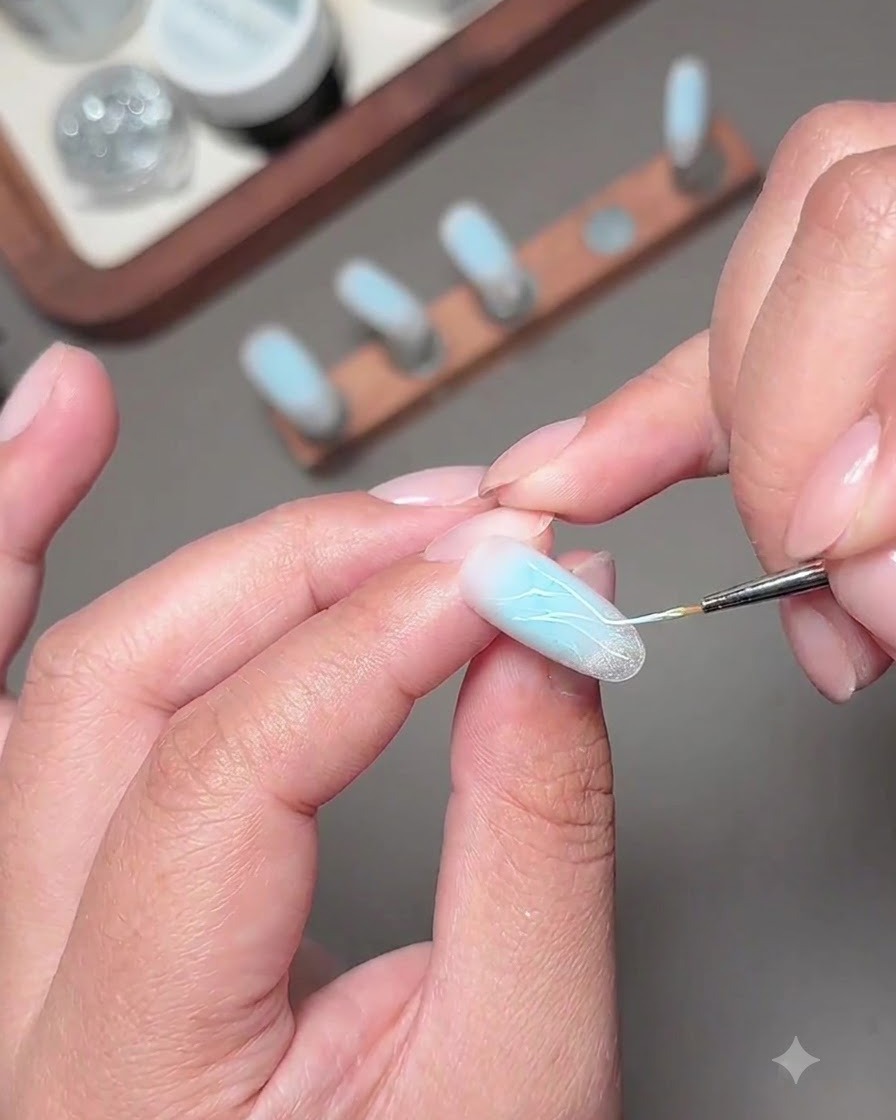
Using a fine brush, draw delicate accent lines across the nail surface with fragment diamond gel. These lines enhance the shimmering background and add texture and dimension to the butterfly theme.
Tip: Keep the strokes light so the fragment particles distribute evenly without clumping. - 9Apply star sequins
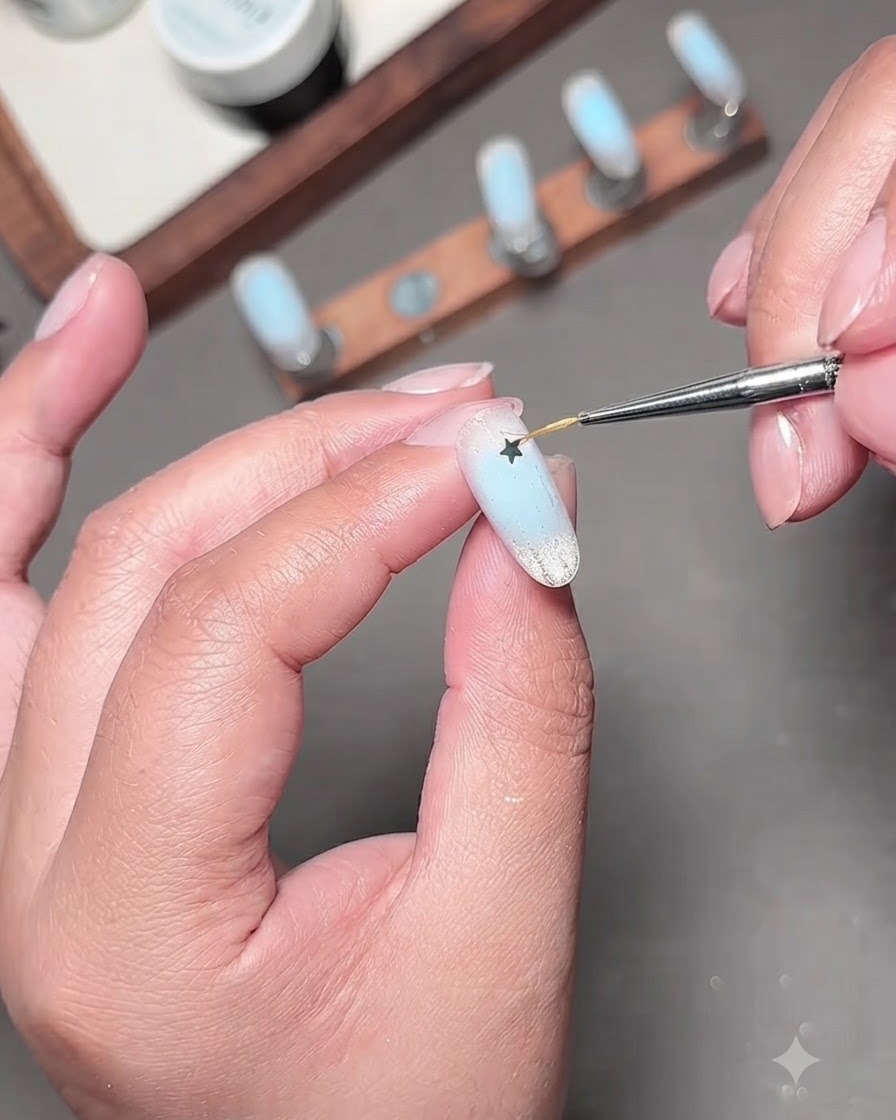
Use a fine detail brush to carefully pick up and place silver star-shaped sequins onto the nail surface to finalize the design. Position them strategically around the butterfly art for a magical, starry finish.
Tip: Use a small dot of clear gel or top coat as adhesive to secure each star sequin in place before final curing.