French Lace Dot Nail Art — Elegant Step-by-Step Tutorial
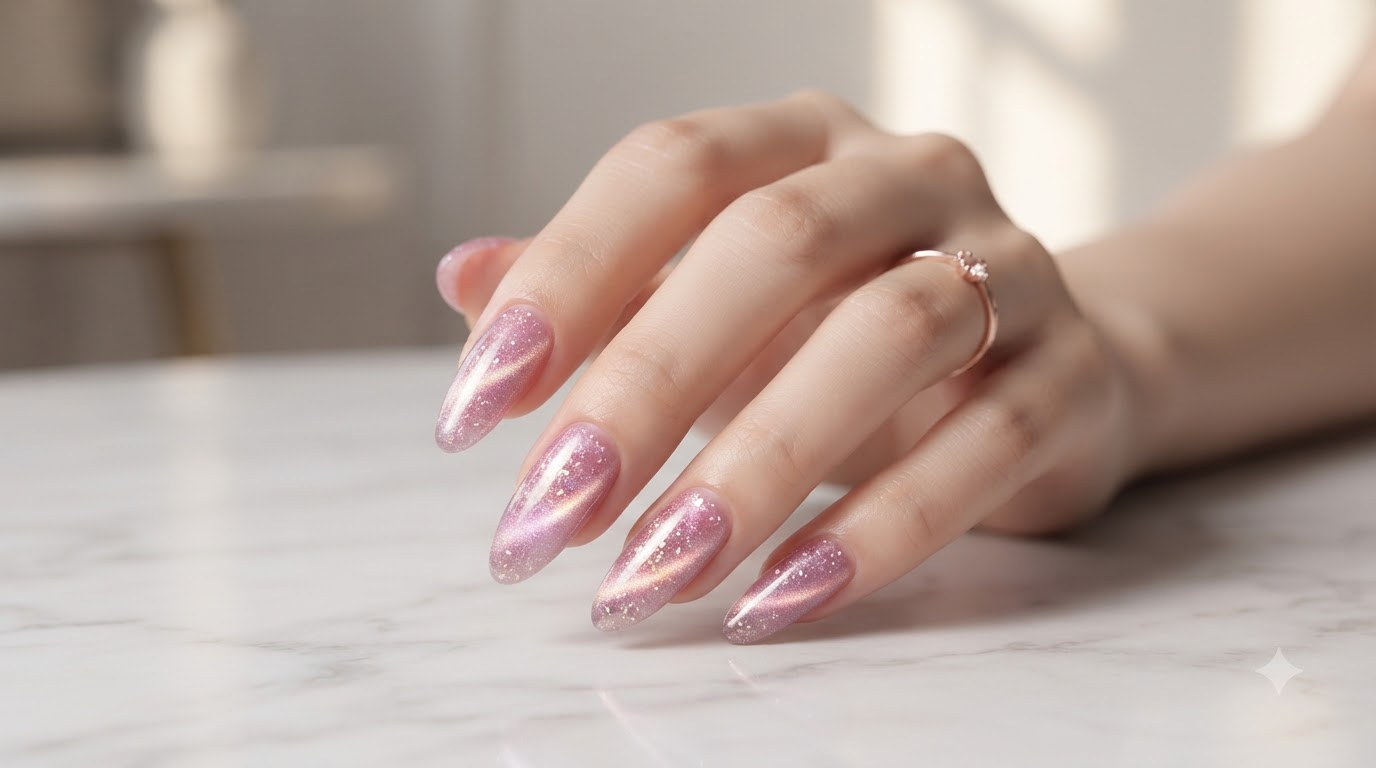
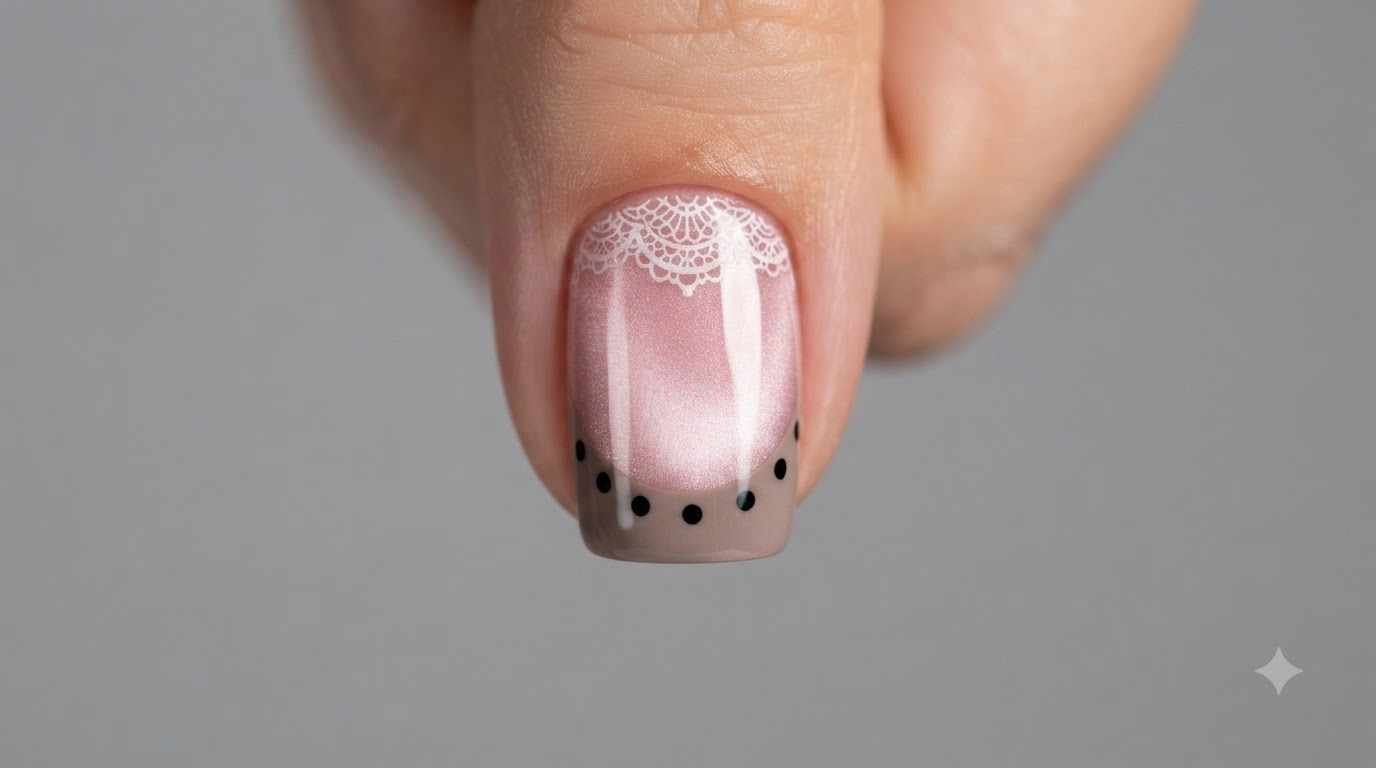
Create an exquisite French lace and cat-eye nail design featuring a soft pink shimmering base, delicate white lace stamping, and playful black polka dots.
Combining classic romance with modern playful accents, this French lace dot design by Jiang Jiang offers a sophisticated look for any occasion. The tutorial blends a translucent pink cat-eye effect with intricate stamping and a clean bean-paste French tip.
Steps
- 1Apply milky white base coat
Begin by applying an even layer of milky white base coat to the prepped nail plate, ensuring complete and uniform coverage across the entire surface. Cap the free edge to prevent premature lifting and create a smooth foundation for the subsequent layers. Cure under your UV or LED lamp as recommended by the gel manufacturer.
Tip: Apply in thin, even strokes to avoid bulkiness and ensure proper curing through the entire layer. - 2Apply Light Pink Cat-Eye Gel
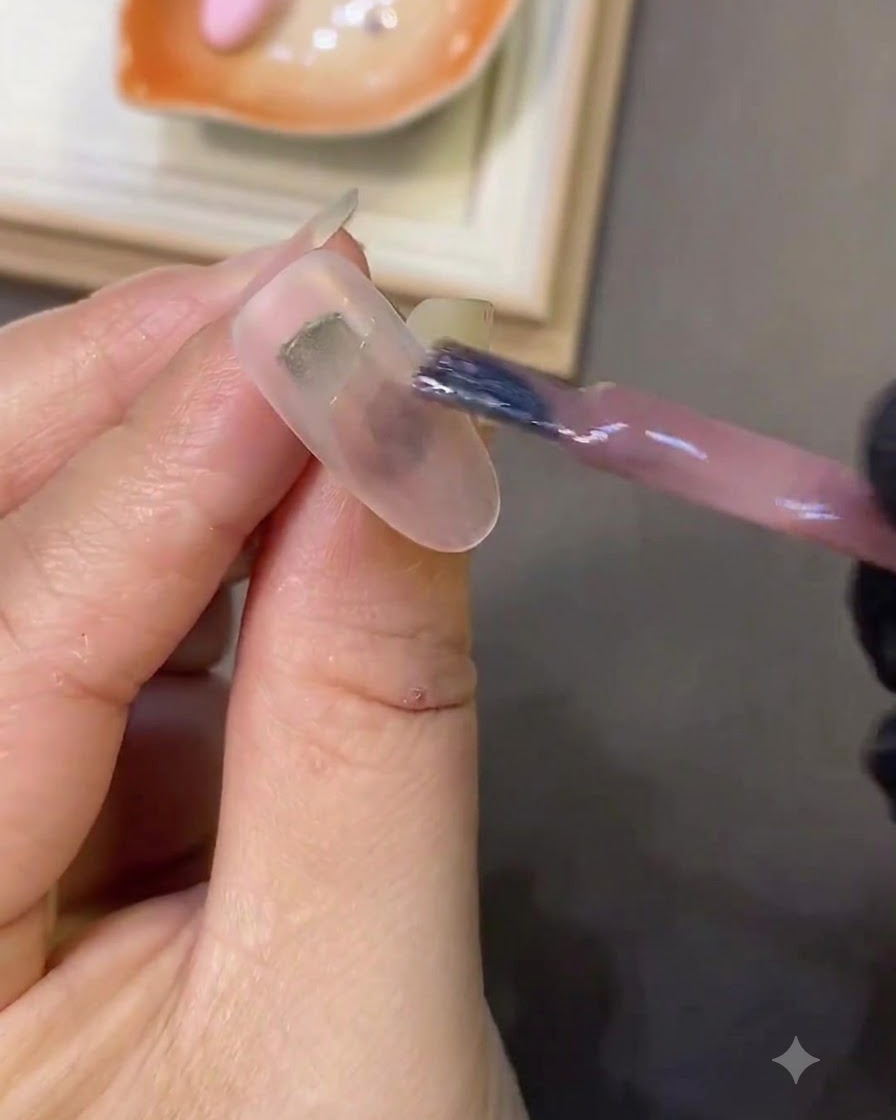
Apply an even layer of light pink cat-eye gel over the cured milky white base coat to create a shimmering, translucent background effect.
Tip: Keep the coat smooth and even so the magnetic particles can move freely. - 3Create Wide Highlight with Magnet
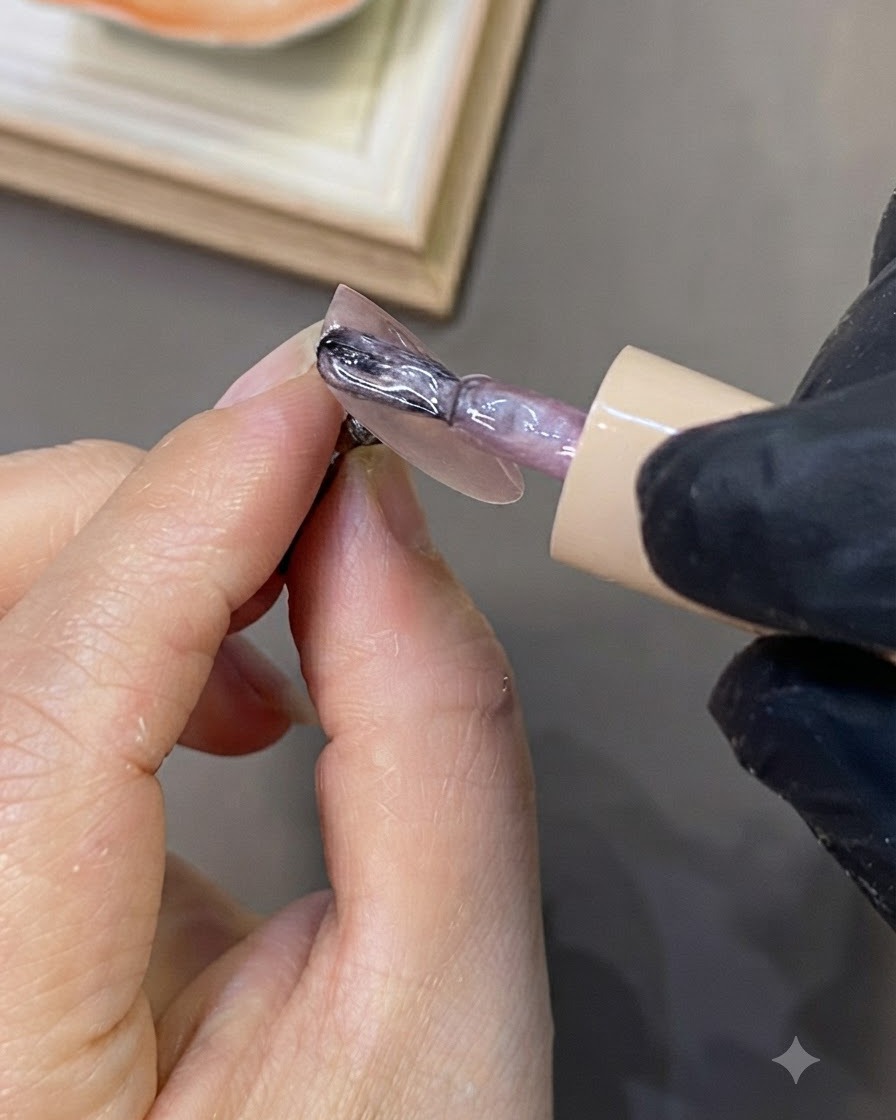
Hold the magnet close to the nail surface to pull the magnetic particles into a wide, soft highlight band across the center.
Tip: Do not touch the wet gel surface with the magnet. - 4Form the Cat-Eye Bead Effect
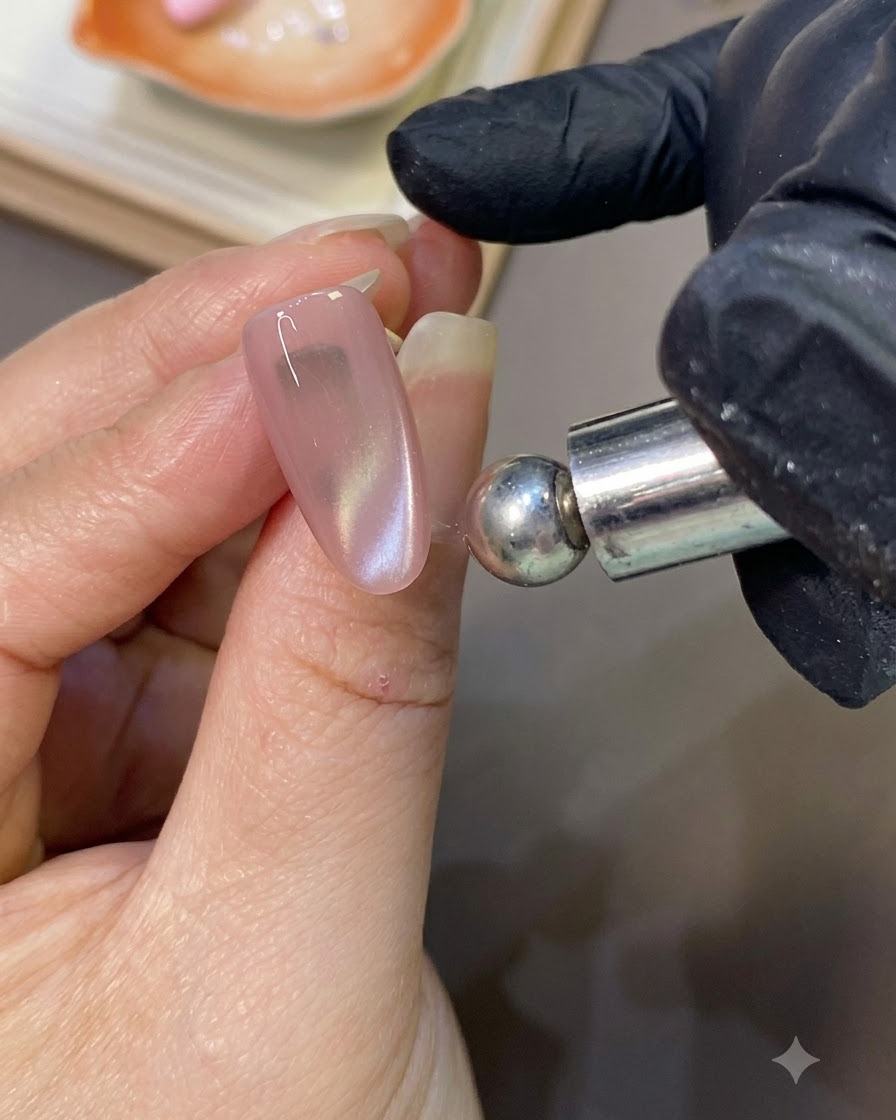
Use a round-headed magnet tool to concentrate the magnetic particles further, forming a distinct circular cat-eye bead highlight near the edge or center.
Tip: Hold the spherical magnet steady for a few seconds until the desired reflection bead forms. - 5Wipe Sticky Inhibition Layer
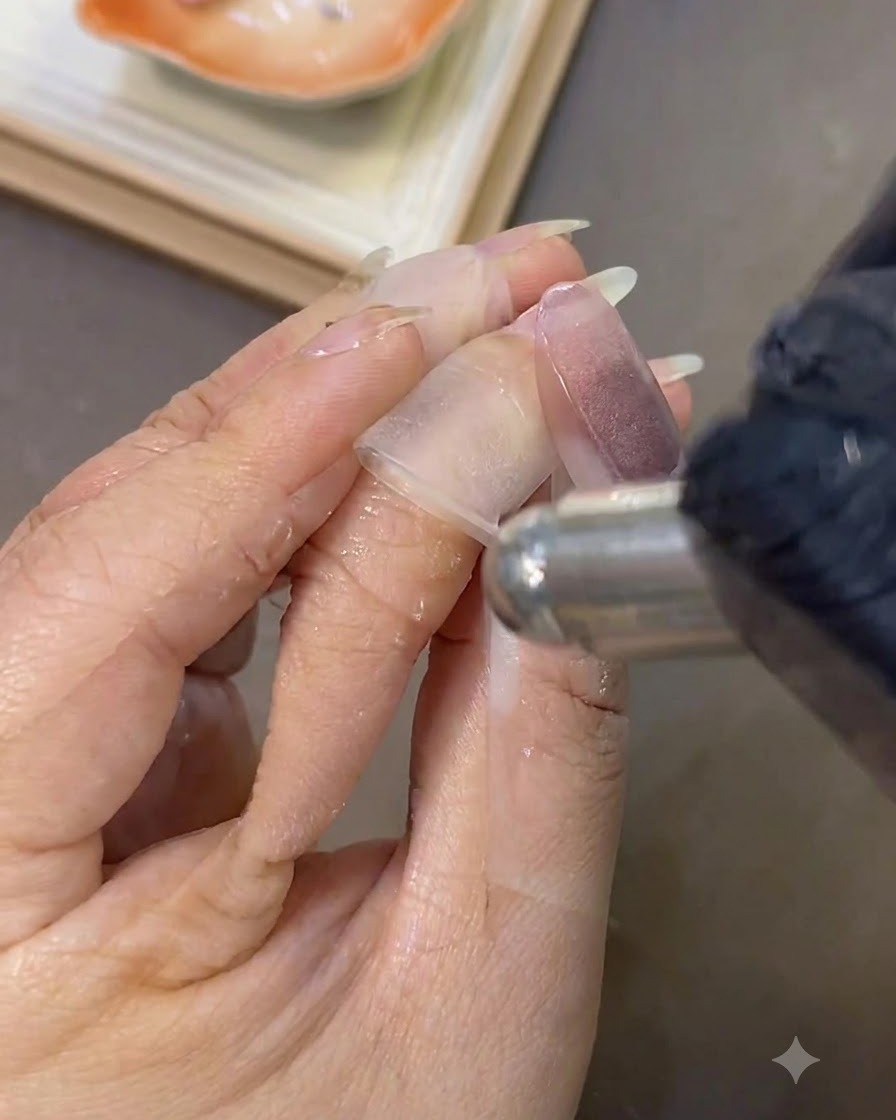
Take a lint-free wipe saturated with nail cleanser and thoroughly wipe down the cured nail surface to remove the sticky inhibition layer.
Tip: Ensure the surface is completely non-sticky before stamping to prevent smudging. - 6Apply White Polish to Stamping Plate
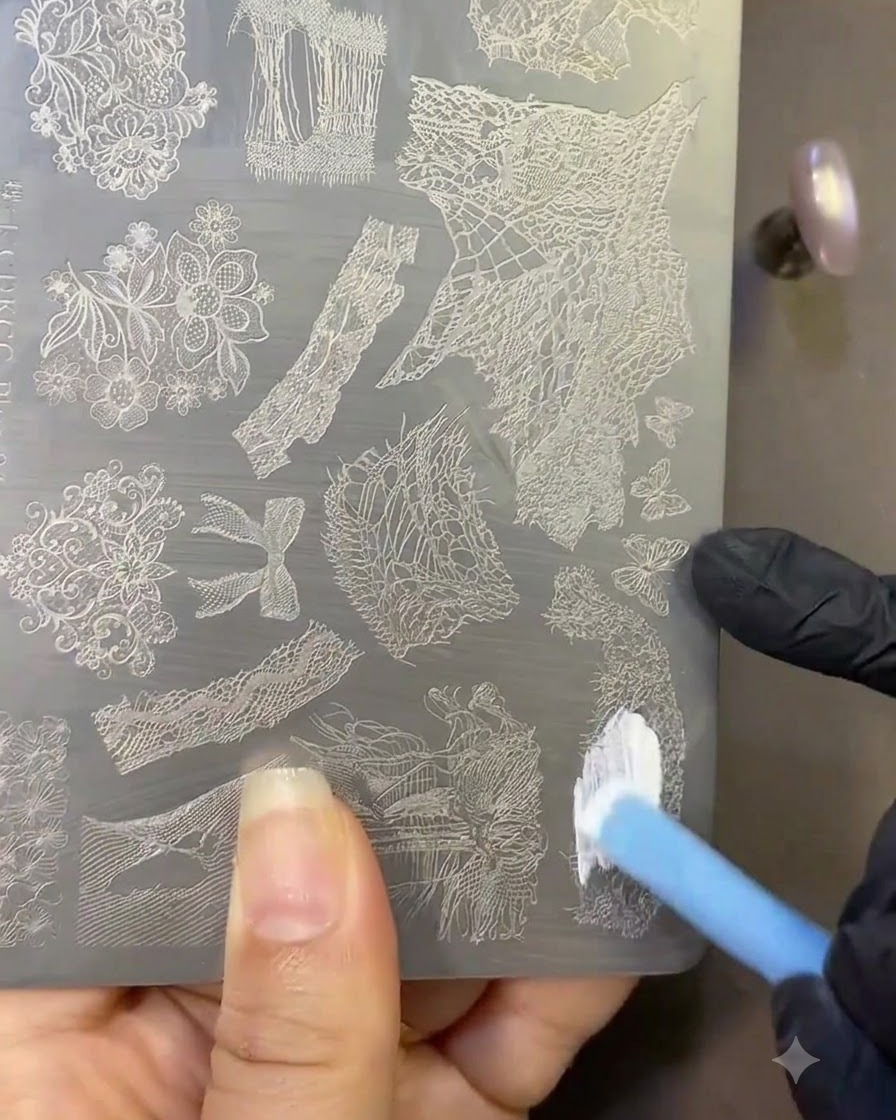
Brush white stamping polish directly over the engraved lace pattern on the metal stamping plate, ensuring all fine lines are filled.
Tip: Work quickly so the stamping polish does not air-dry before scraping and picking up. - 7Scrape excess stamping polish
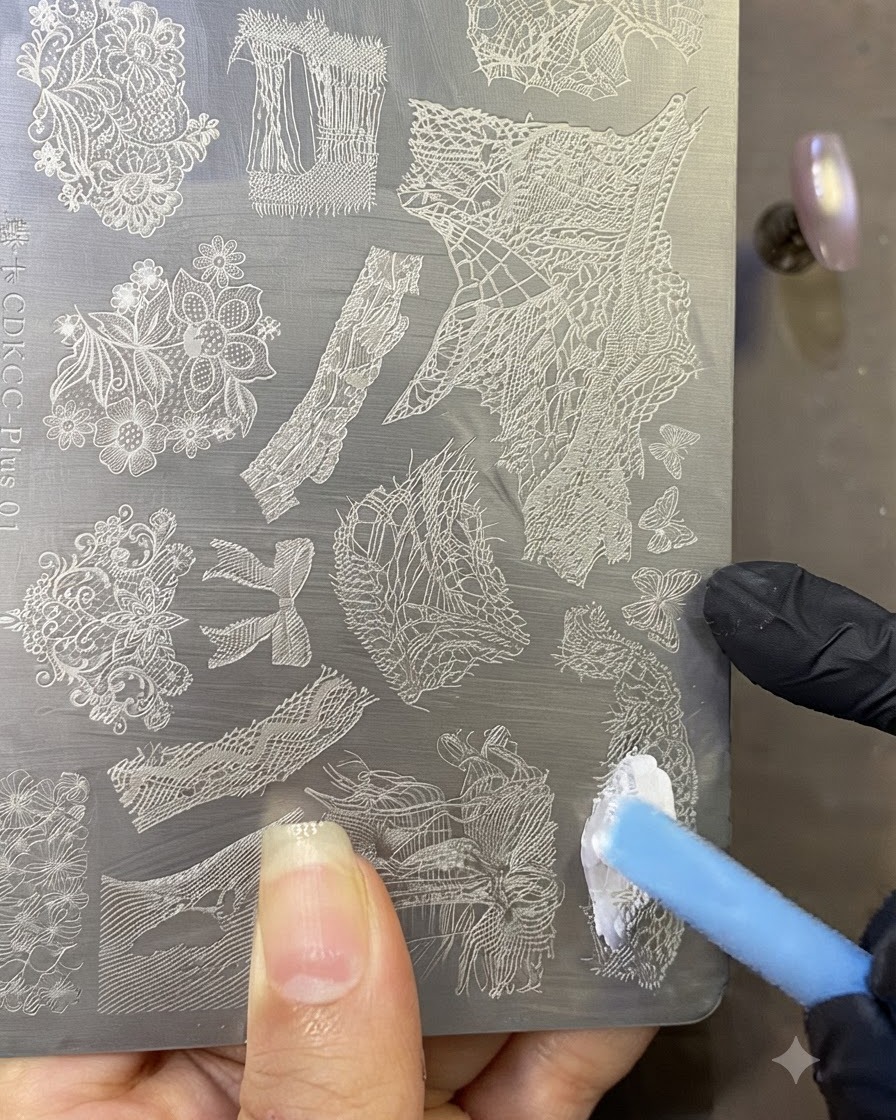
Apply white stamping polish onto the lace pattern of the stamping plate, then use a plastic card at a 45-degree angle to scrape across the plate with light, even pressure to remove excess polish.
Tip: Keep the scraper at a consistent angle to ensure the polish remains only inside the etched grooves of the plate. - 8Pick up the lace design
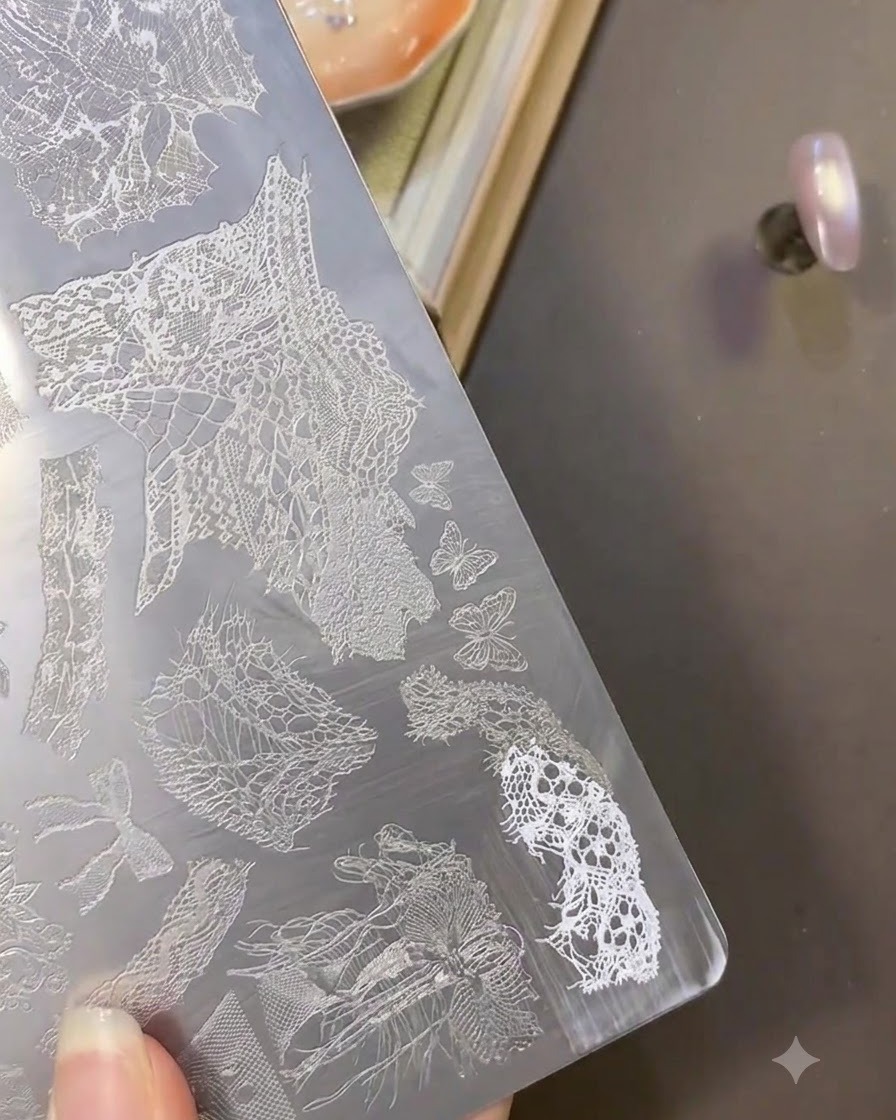
Gently press a clear silicone stamper straight down onto the scraped lace pattern on the stamping plate to pick up the design, ensuring the entire white lace motif is cleanly transferred onto the stamper head.
Tip: Use a rolling motion or a direct gentle push depending on your stamper firmness, avoiding excessive pressure that can distort the delicate lace lines. - 9Transfer lace pattern with stamper
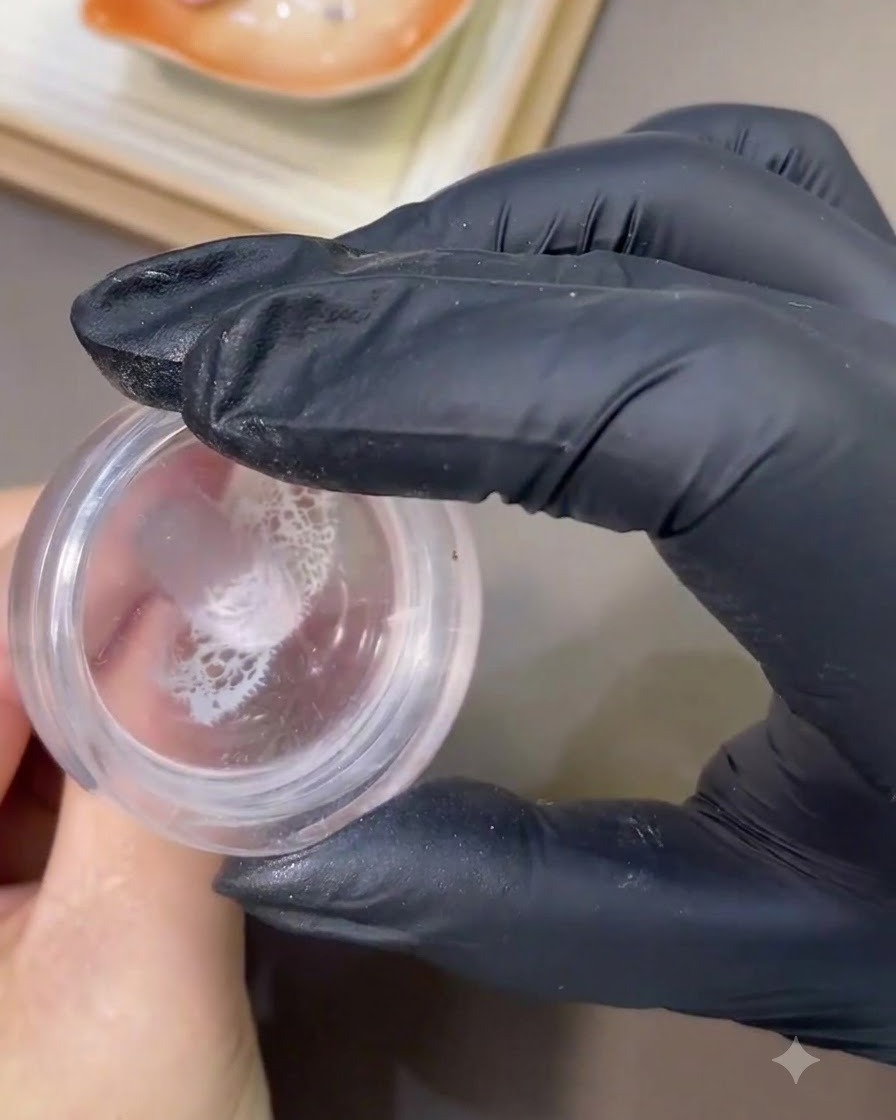
Align the stamped white lace pattern on your silicone stamper and gently press it down onto the nail surface to cleanly transfer the delicate design. Roll the stamper from side to side if necessary to ensure full contact without distorting the intricate lace details. Check that the pattern adheres properly before sealing or cleaning up.
Tip: Use a gentle, rolling motion rather than pressing straight down to prevent air bubbles and smudging the design. - 10Clean up excess gel around edges
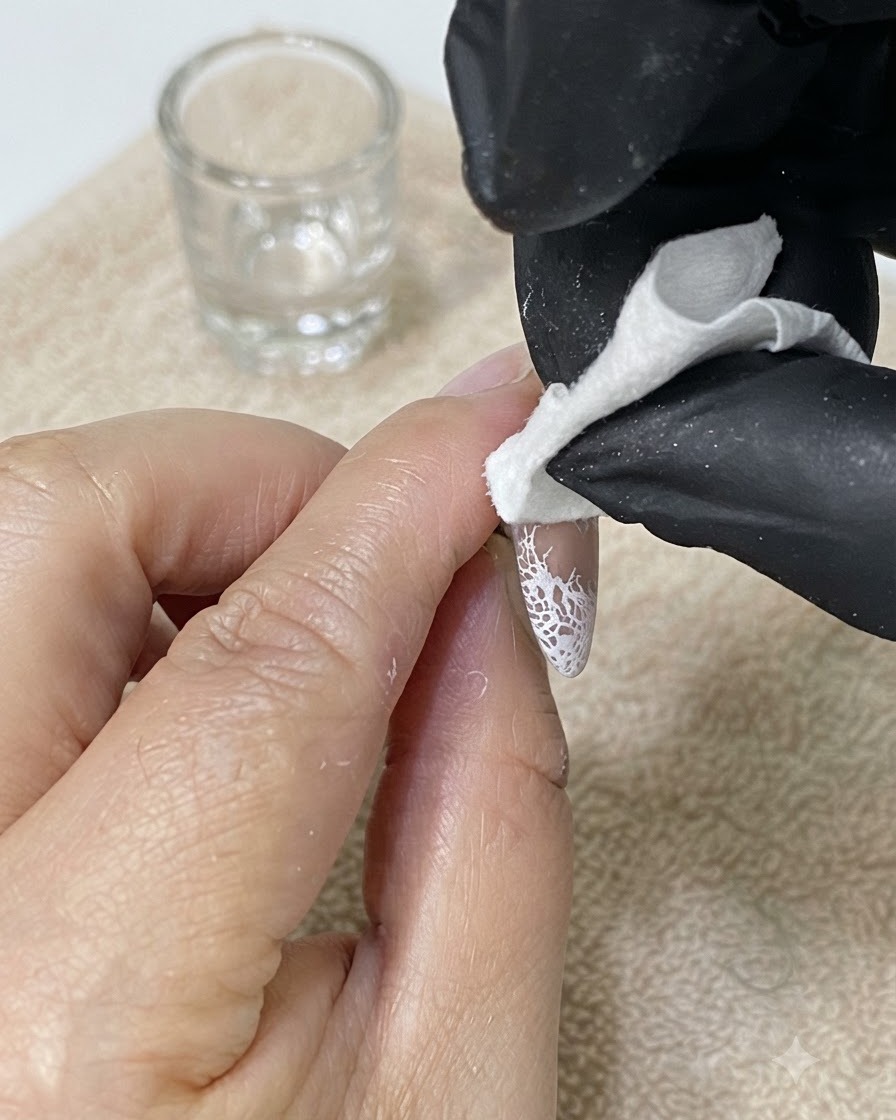
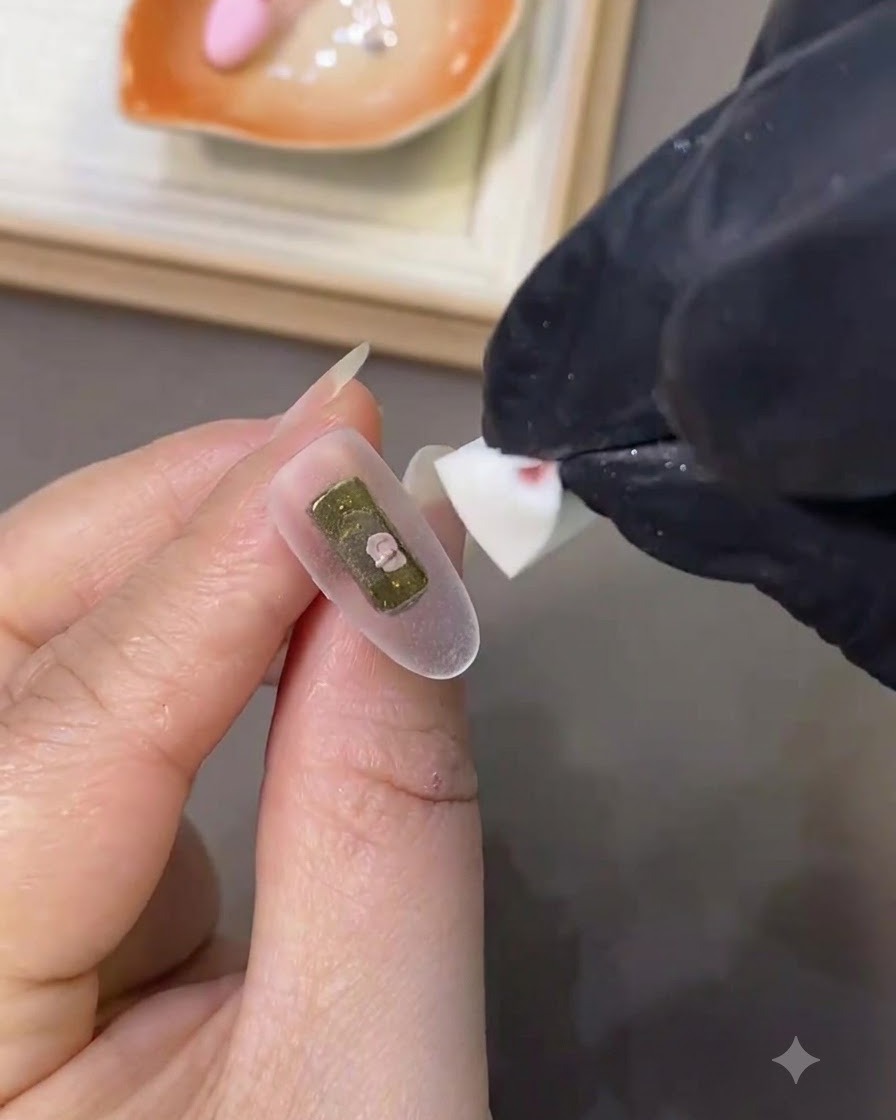
Using a lint-free wipe lightly moistened with cleanser or alcohol, carefully clean up any excess stamping gel or stray marks from the skin and nail edges. Precision cleanup ensures a professional-looking finish and prevents accidental curing of product onto the surrounding skin. Work gently to avoid disturbing the newly transferred lace design.
Tip: Wrap a small cleansing wipe tightly around an orange wood stick for precise control when cleaning close to the cuticle and sidewalls. - 11Paint the French tip
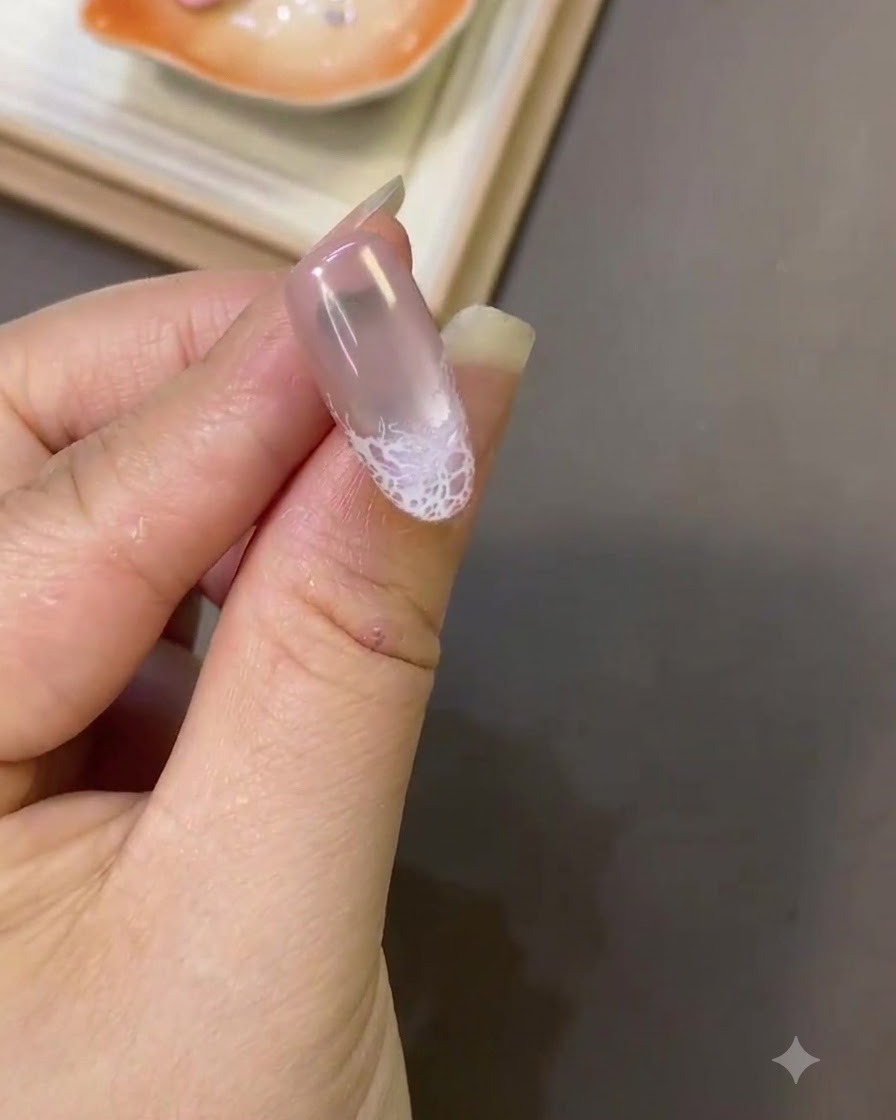
Using a thin nail art liner brush and a dark beige or bean-paste colored gel, carefully outline and fill in a French tip design over the pre-existing nail layer.
Tip: Rest your hand on a steady surface to keep your liner brush lines smooth and crisp along the smile line. - 12Refine the French Tip Smile Line
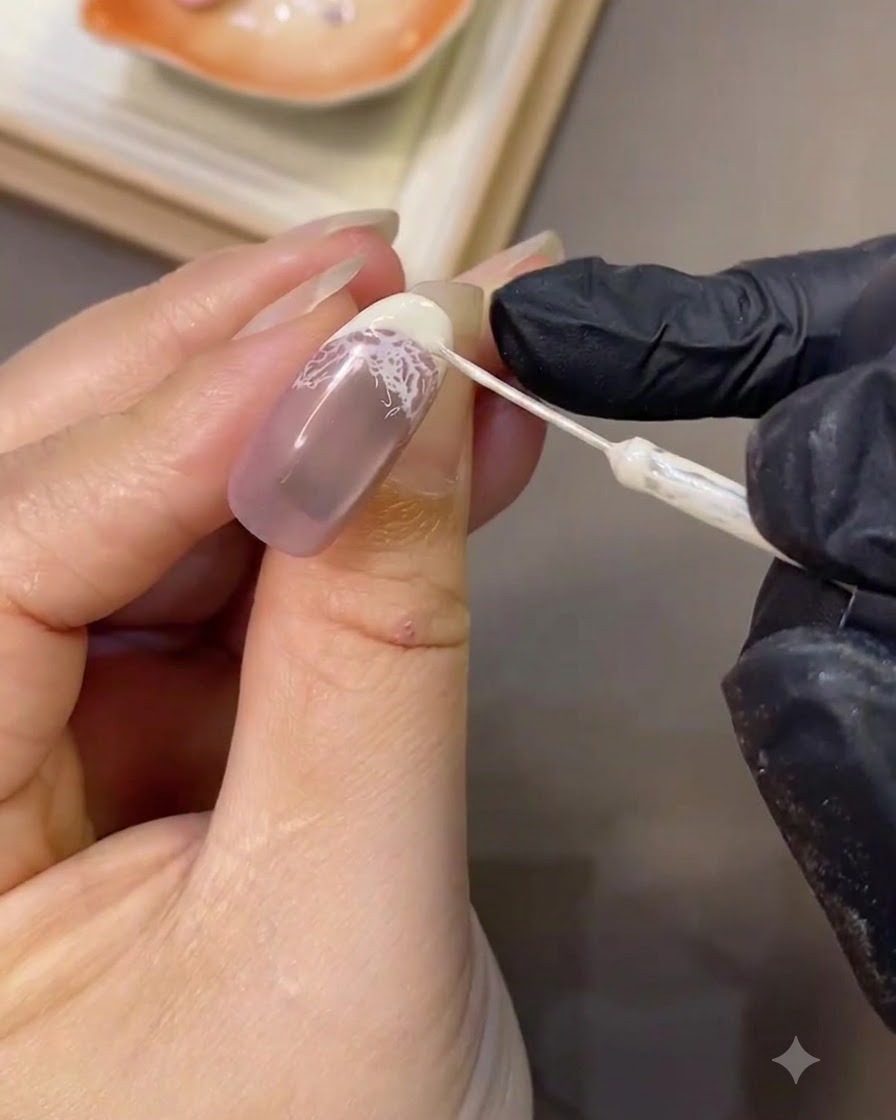
Take a fine liner brush dipped in matching gel polish to carefully clean and sharpen the smile line and edge details of the French tip. This creates a crisp, professional boundary between the translucent base and the colored tip, smoothing out any uneven curves.
Tip: Keep your hand steady by anchoring your pinky finger against your other hand for better control when drawing fine lines. - 13Add Polka Dots Along the Smile Line
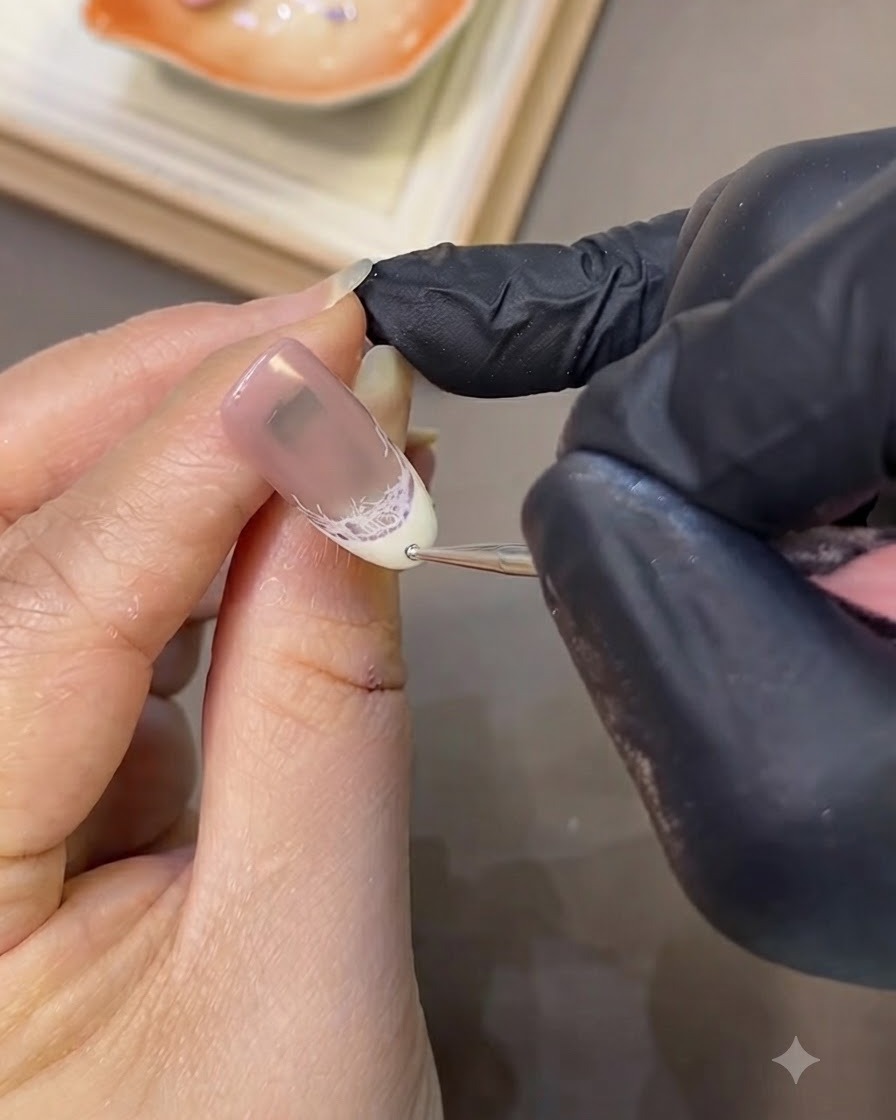
Dip a small dotting tool into black gel polish and carefully place neat, evenly spaced black polka dots right along the curve of the smile line. This adds a playful, detailed accent that complements the lace pattern underneath.
Tip: Lightly tap the dotting tool into the gel without pressing too hard to ensure each dot remains uniform in size and perfectly round. - 14Apply Builder Gel for Leveling
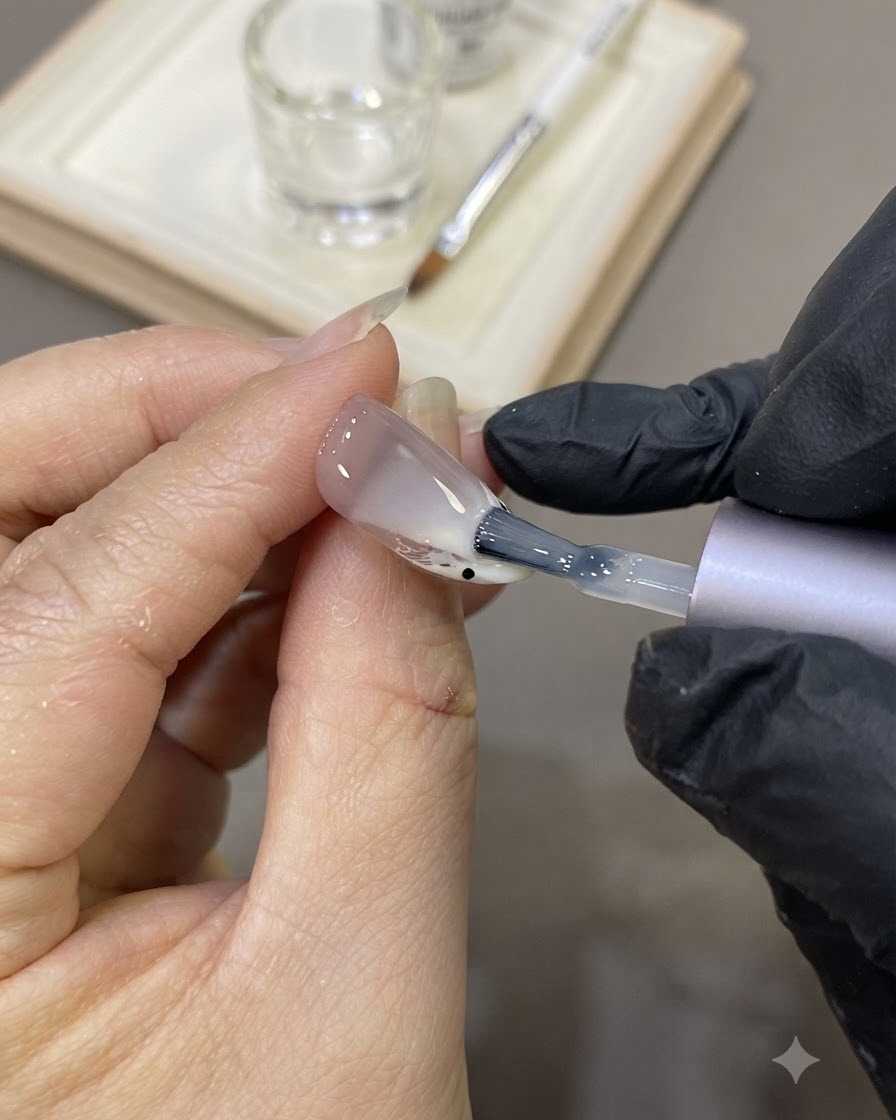
Apply an even layer of builder gel over the entire nail surface to encapsulate the design elements, level any minor bumps, and add structural strength. Cure thoroughly under your UV or LED lamp before moving on to the final top coat.
Tip: Float the builder gel brush gently across the surface rather than pressing down hard to achieve a self-leveling, mirror-smooth finish. - 15Apply Top Coat
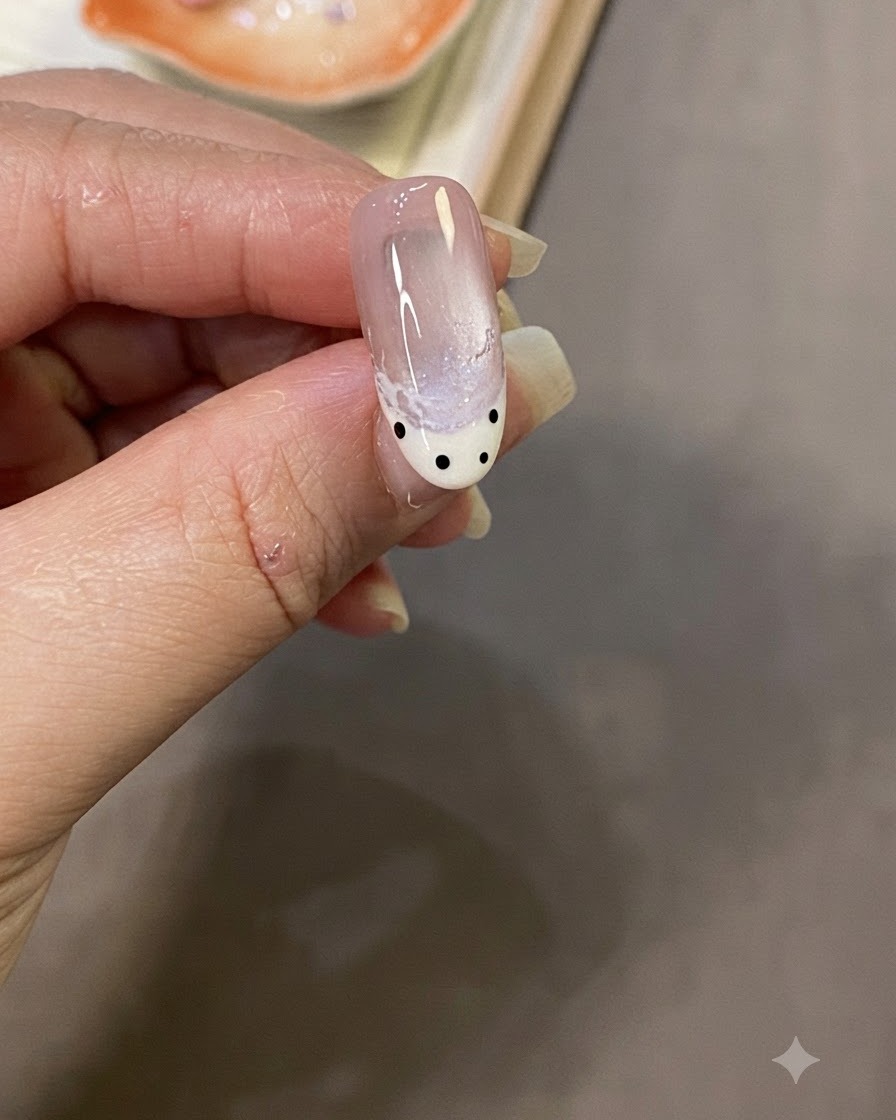
Apply a final high-gloss top coat over the entire nail to seal the design and protect the nail art elements underneath. Make sure to cap the free edge properly. Cure fully under your UV or LED lamp to lock in the glossy shine.
Tip: Capping the free edge with top coat prevents chipping and peeling along the tip.