Minimalist Elegant Irregular French Heart Nail Art — Step-by-Step Tutorial
Discover how to create a sophisticated manicure featuring burgundy irregular French tips, silver glitter, delicate crystal bows, and hand-painted hearts.
This sophisticated nail look combines rich burgundy tones with minimalist nude bases, shimmering silver glitter accents, and charming 3D embellishments. Perfect for romantic occasions or elevated everyday wear, this tutorial guides you through achieving a clean salon-quality finish at home.
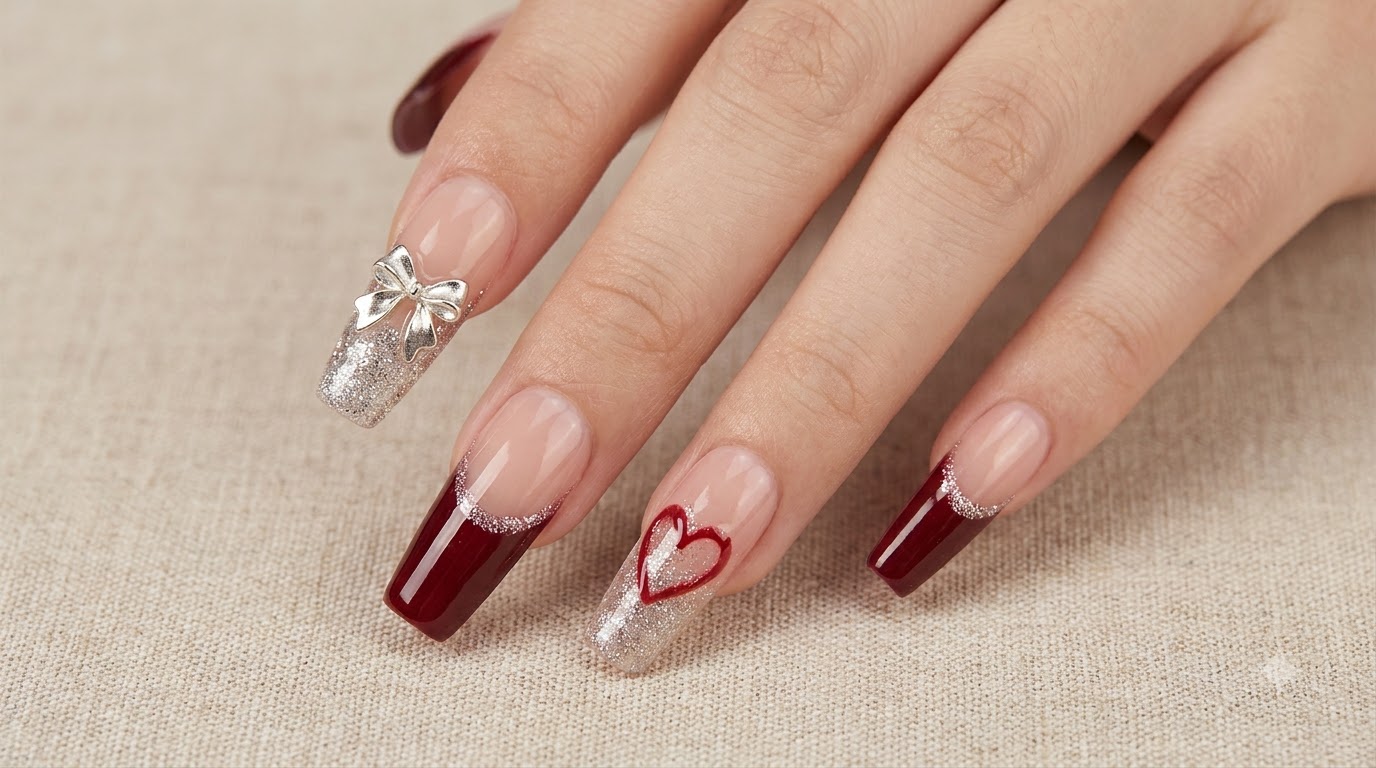
Steps
- 1Thumb Burgundy French Tip with Crystal Bow
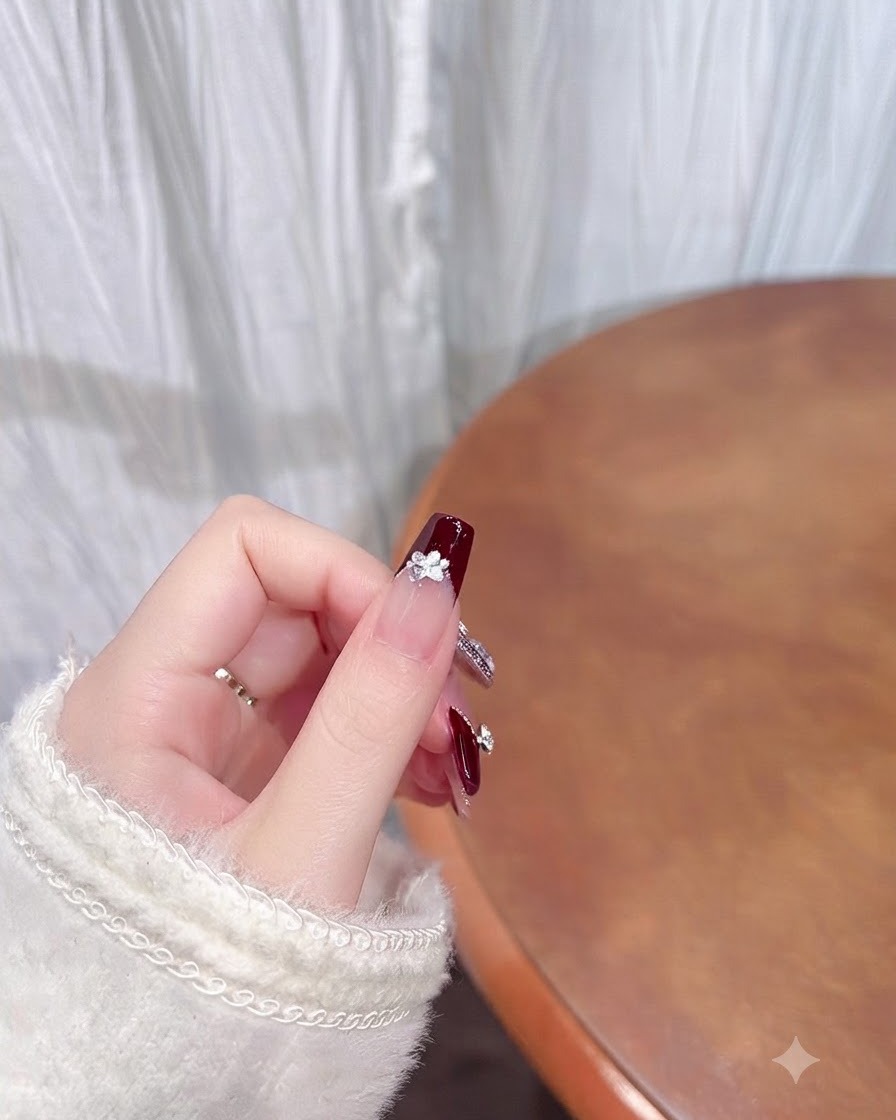
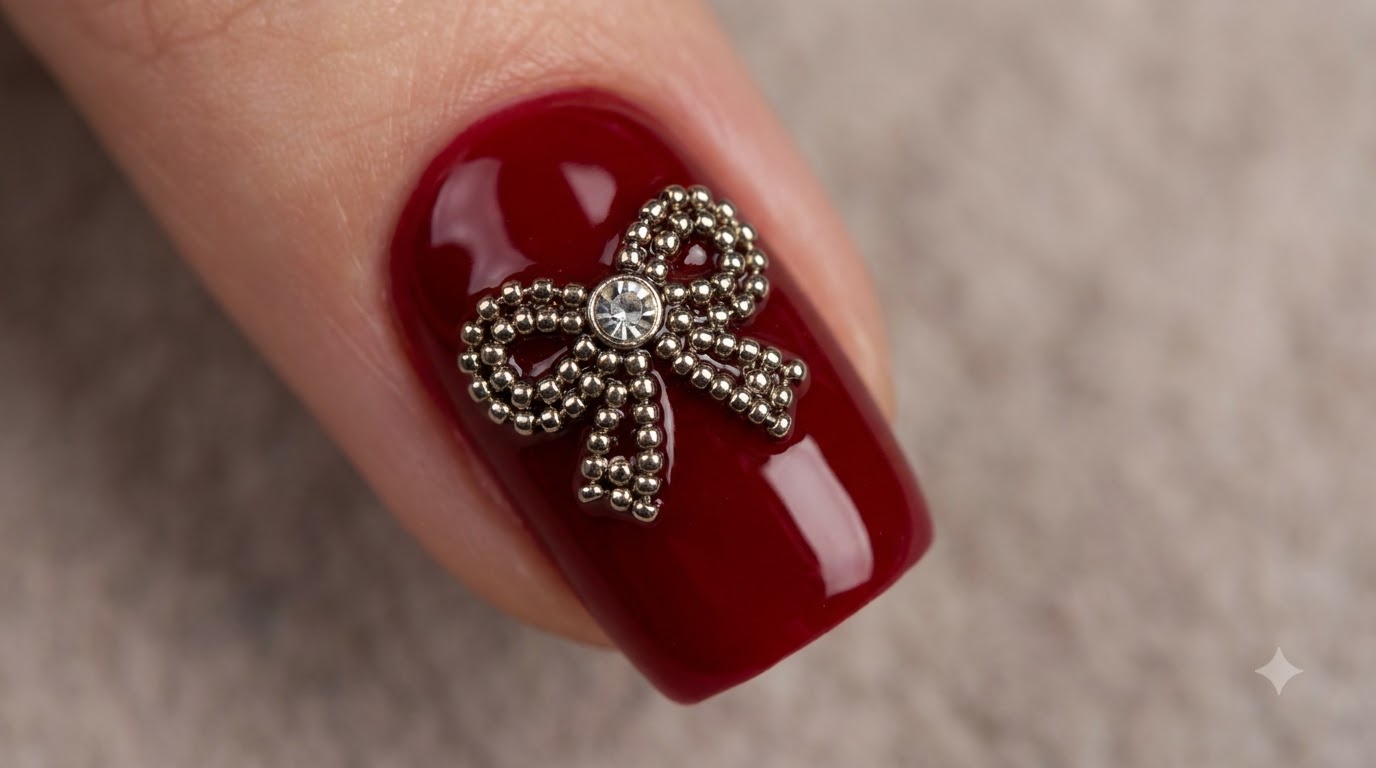
Focusing on the thumb, apply a deep burgundy French tip over a sheer nude base. Adhere a delicate silver crystal bow embellishment near the smile line to add a touch of elegance and sparkle to the design.
Tip: Secure small charms like crystal bows using a small bead of clear builder gel or rhinestone glue, then cure thoroughly. - 2Plan the Mixed Art Layout
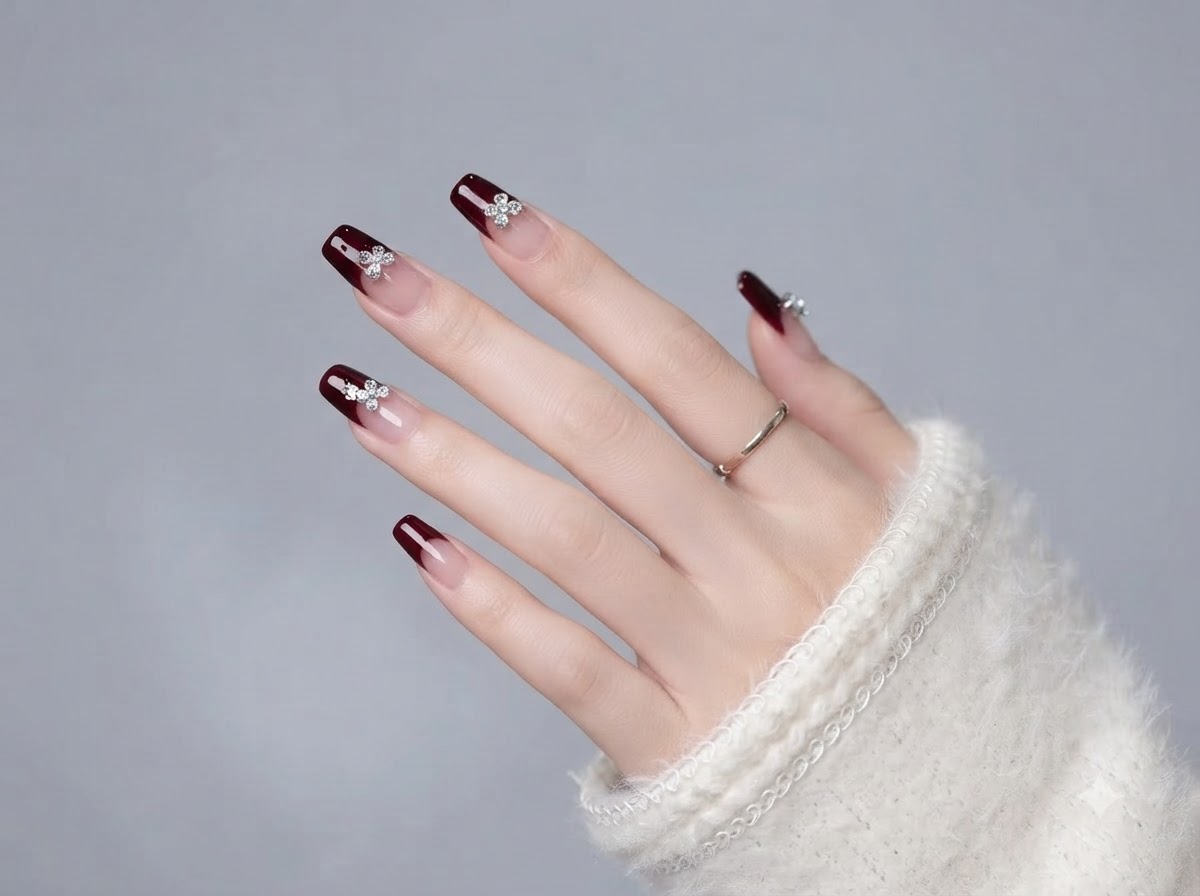
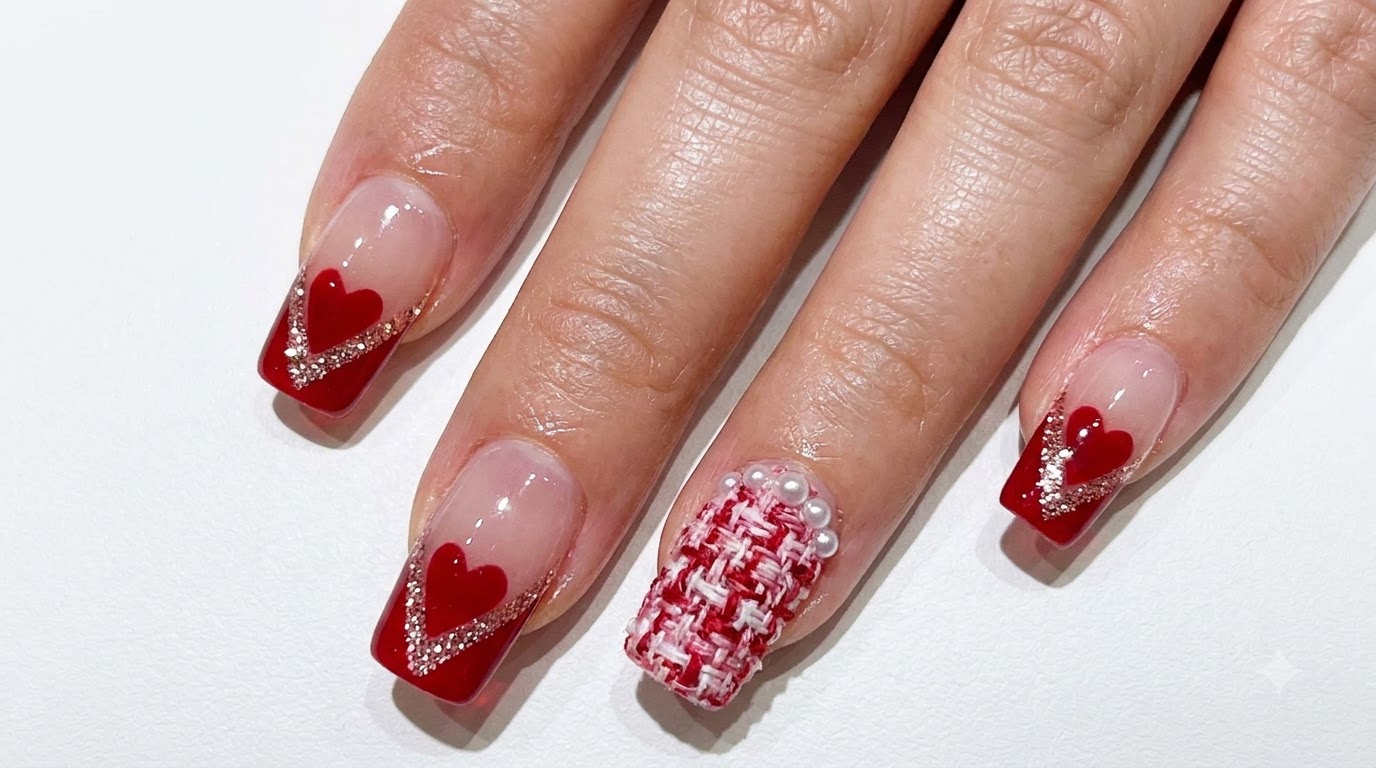
Before proceeding with all fingers, review the cohesive layout of your burgundy and nude gel manicure. Ensuring that your French tips, full-color nails, and crystal accents complement each other across multiple fingers is key to a balanced, intentional look.
Tip: Ensure consistent tip widths and placement of embellishments across corresponding fingers for a balanced look. - 3Apply Sheer Nude Base & Burgundy Tips
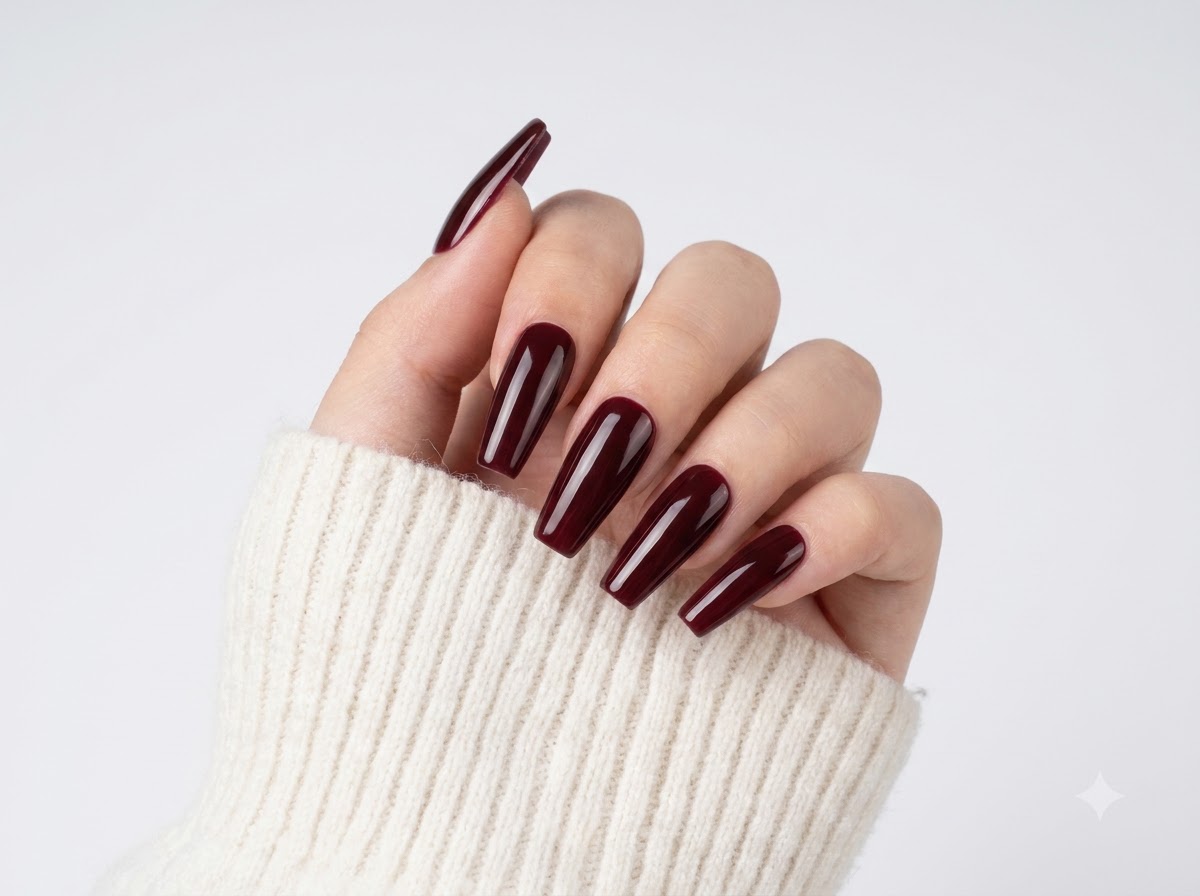
Continue applying your sheer nude bases and deep burgundy tips on the corresponding fingers. The rich depth of the burgundy color contrasts beautifully against the glossy, natural-looking nude foundation.
Tip: Apply a high-shine top coat over the entire nail and cure to lock in the glossy finish and protect the design. - 4Create the Burgundy Bow Accent Nail
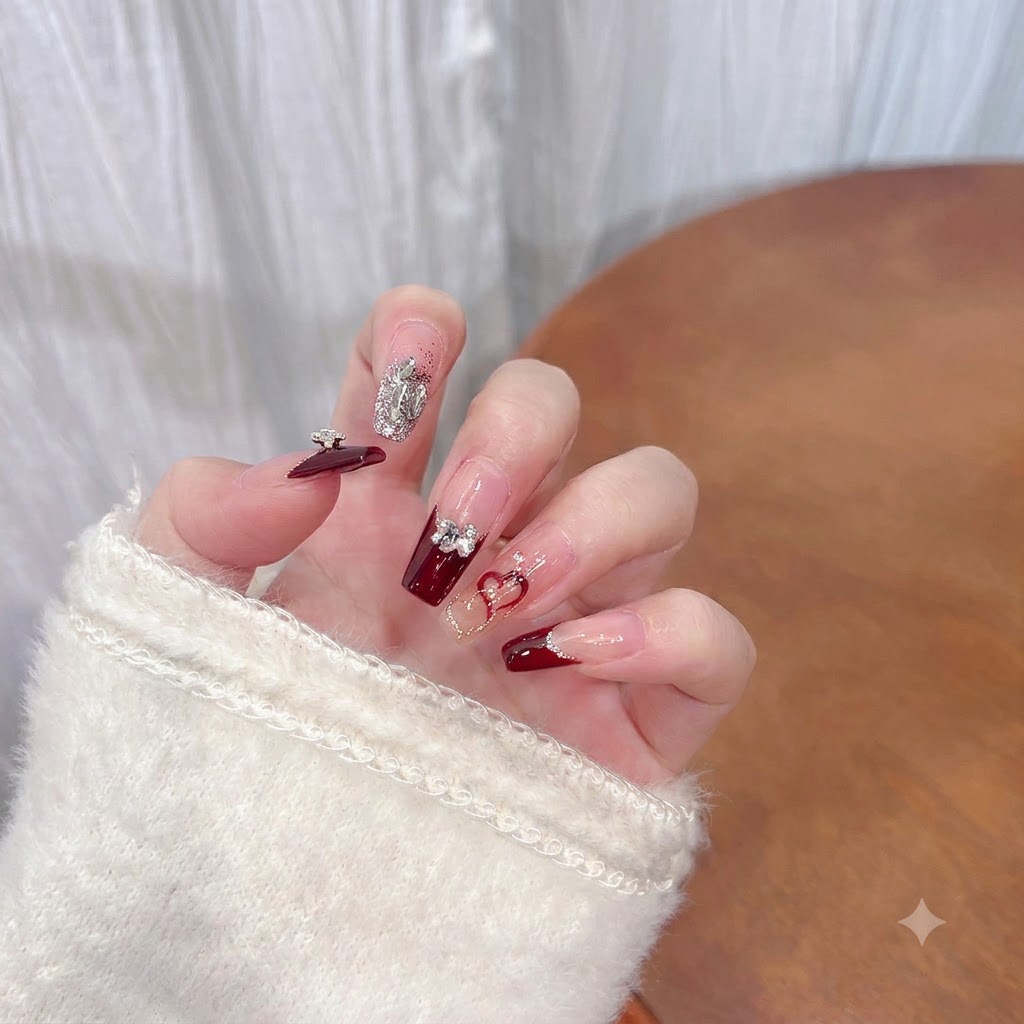
For the middle finger, apply two even coats of solid dark burgundy gel as your base, curing after each. Apply your delicate silver bow charm and surround the base with small sparkling rhinestones to create a striking accent nail.
Tip: Place rhinestones around the base of the charm to enhance its dimension and brilliance before curing. - 5Hand-Paint the Outline Red Heart
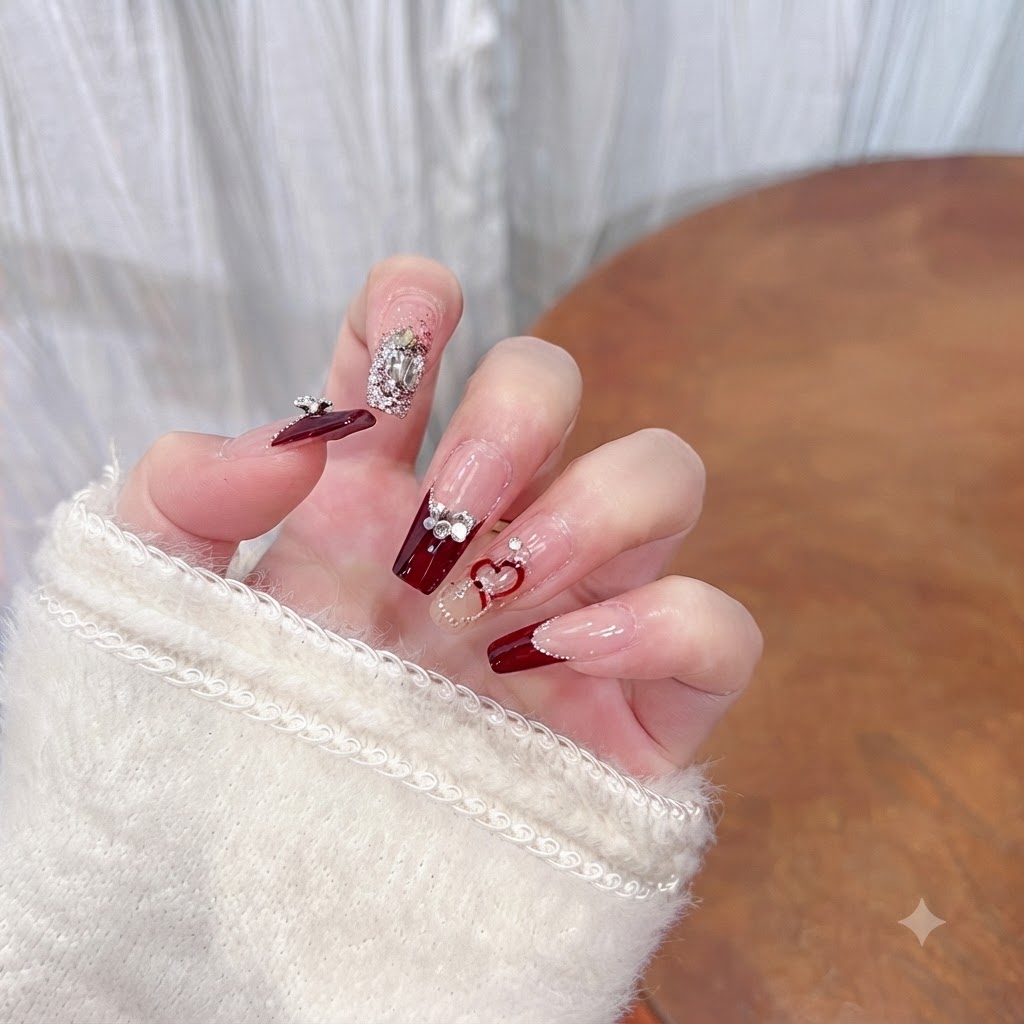
On the ring finger, use a fine liner brush and red art gel to paint a delicate outline of a heart over a cured sheer nude base. Add crisp, clean lines to emphasize the romantic theme of the manicure, then cure fully.
Tip: Use a fine liner brush and highly pigmented red gel paint to draw crisp, clean lines for the heart outline. - 6Apply Full Silver Glitter to the Index Finger
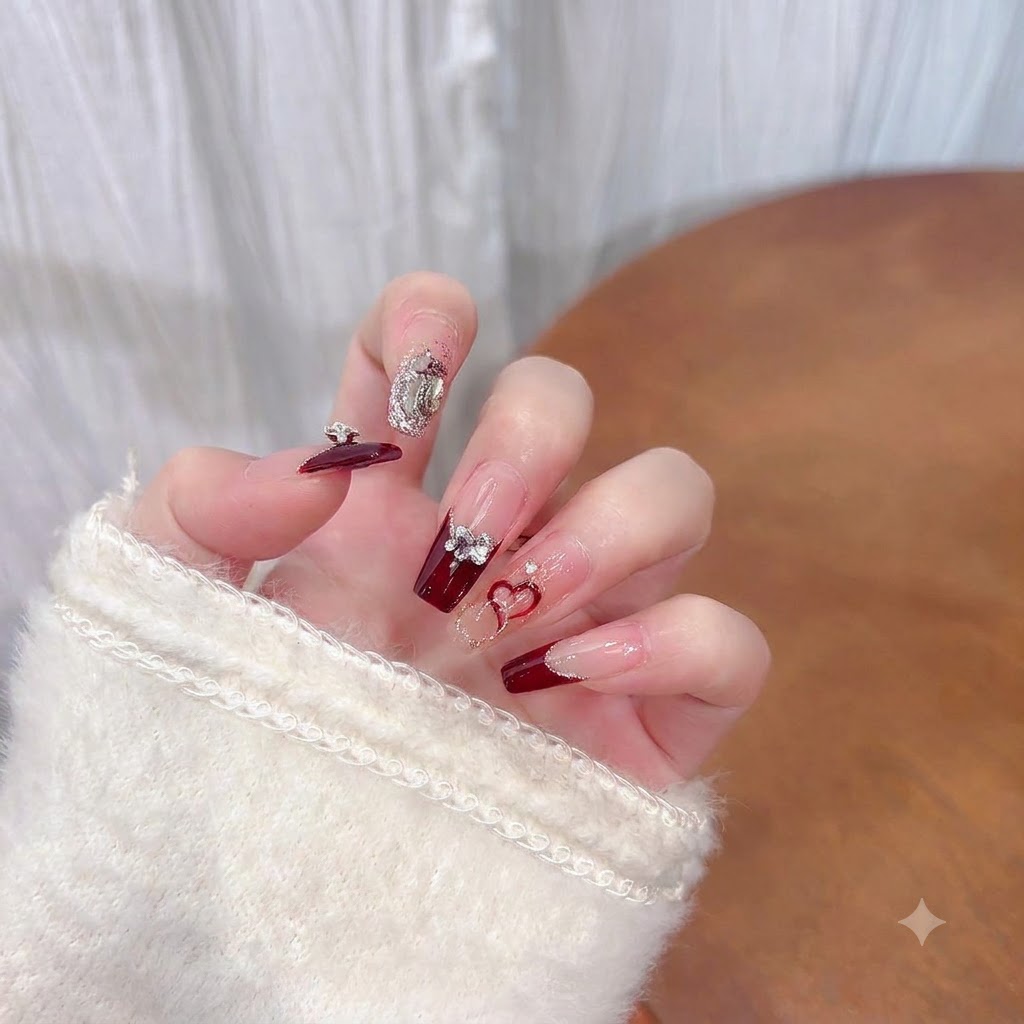
Finish the index finger with a full coverage application of silver glitter sparkle gel. The dense, reflective glitter adds a contrasting metallic texture that balances the rich burgundy and minimalist nude elements.
Tip: Pat glitter gel gently onto the nail to ensure an even distribution of sparkles without patchy spots. - 7Seal with a Glossy Top Coat
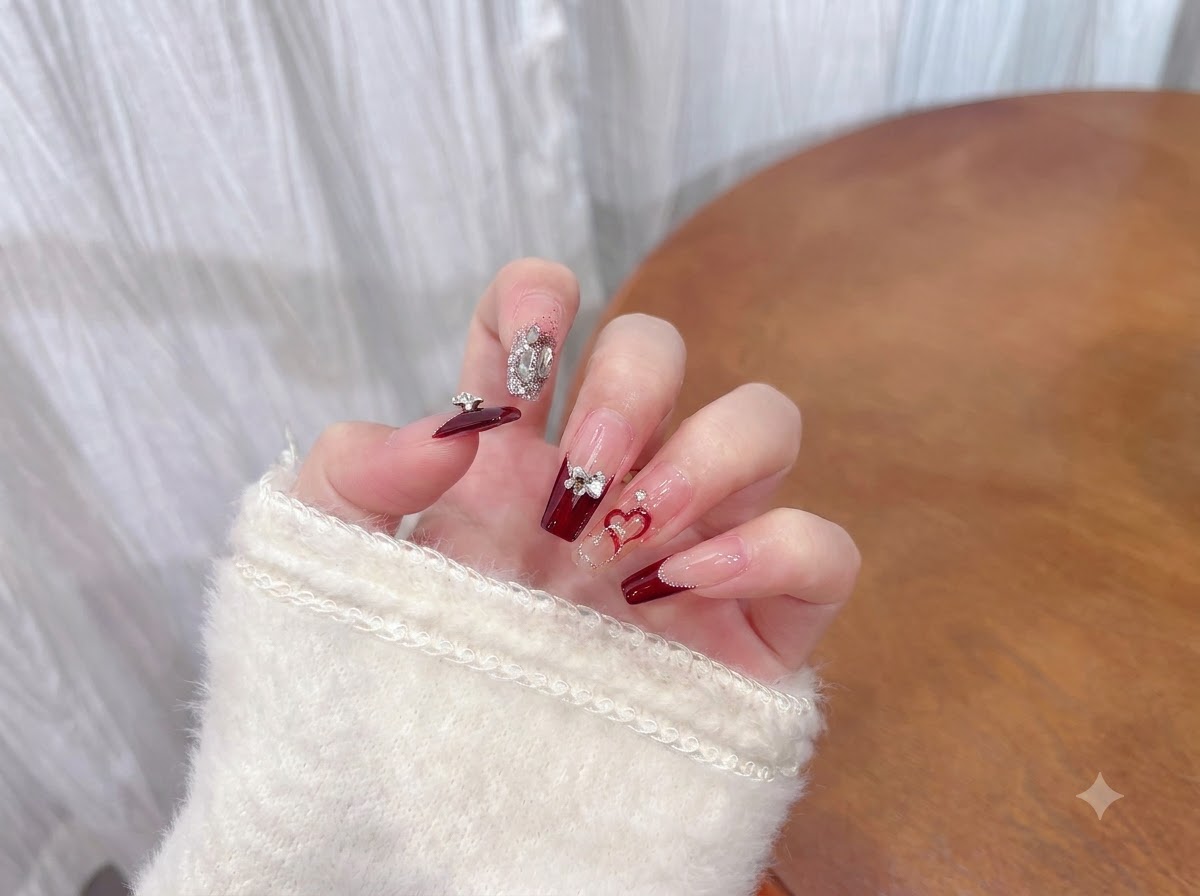
Apply a generous layer of high-gloss top coat across all completed nails, making sure to carefully cap the free edges and seamlessly go around the 3D charms. Cure fully under your LED/UV lamp to completely seal the intricate art and protect the manicure from chipping.
Tip: A flawless top coat application completely seals the free edges, preventing water infiltration and lifting.