Platinum French V-Tip Heart Nails — Step-by-Step Tutorial
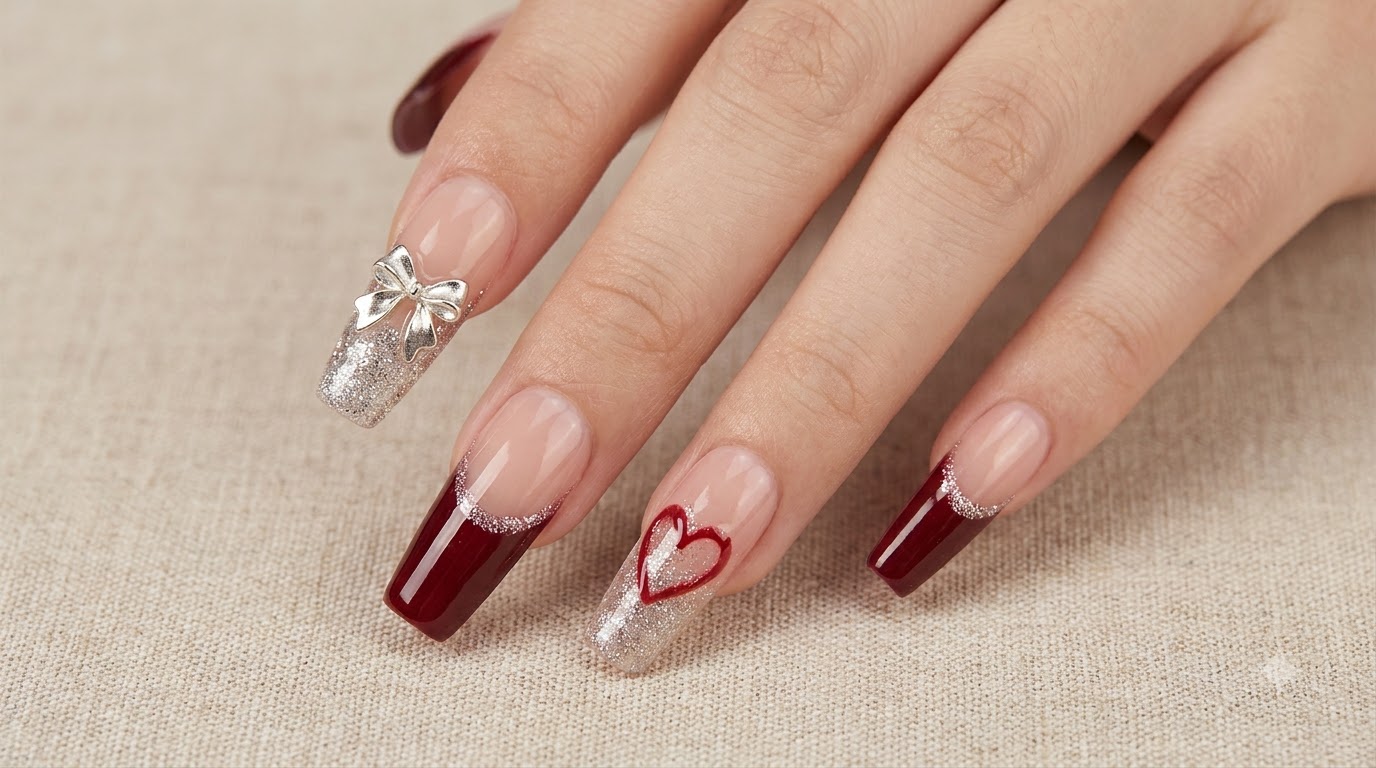
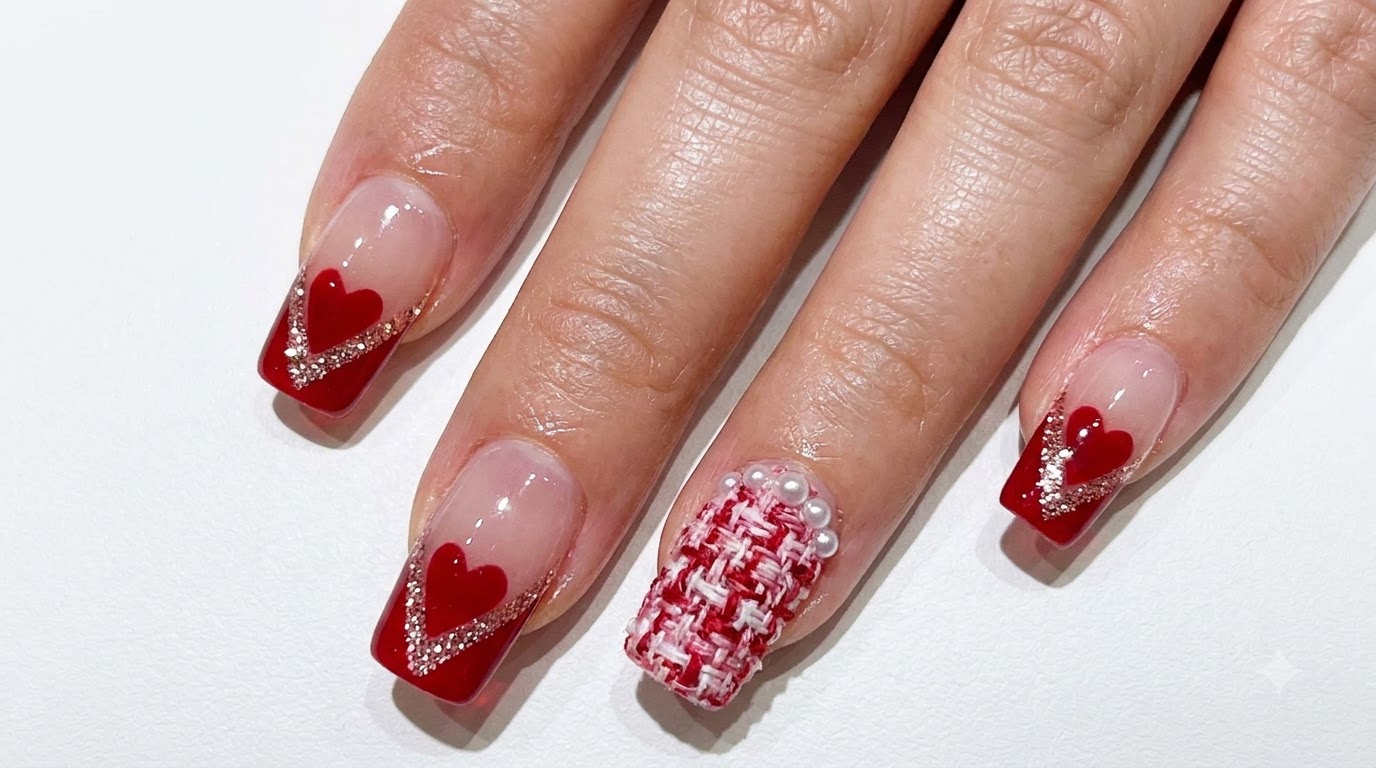
Create a stunning romantic manicure with these red geometric V-tip French nails featuring hand-painted negative space hearts and sparkling rose-gold platinum glitter borders.
Geometric French manicures take a romantic turn with this stunning red V-tip and negative space heart design. Perfect for Valentines Day or any time you want a bold, glamorous look, this style combines sharp, crisp lines with delicate hand-painted details. The addition of a fine rose-gold glitter border elevates the classic red and nude palette to a professional, salon-quality finish.
Steps
- 1Paint the V-tip outline
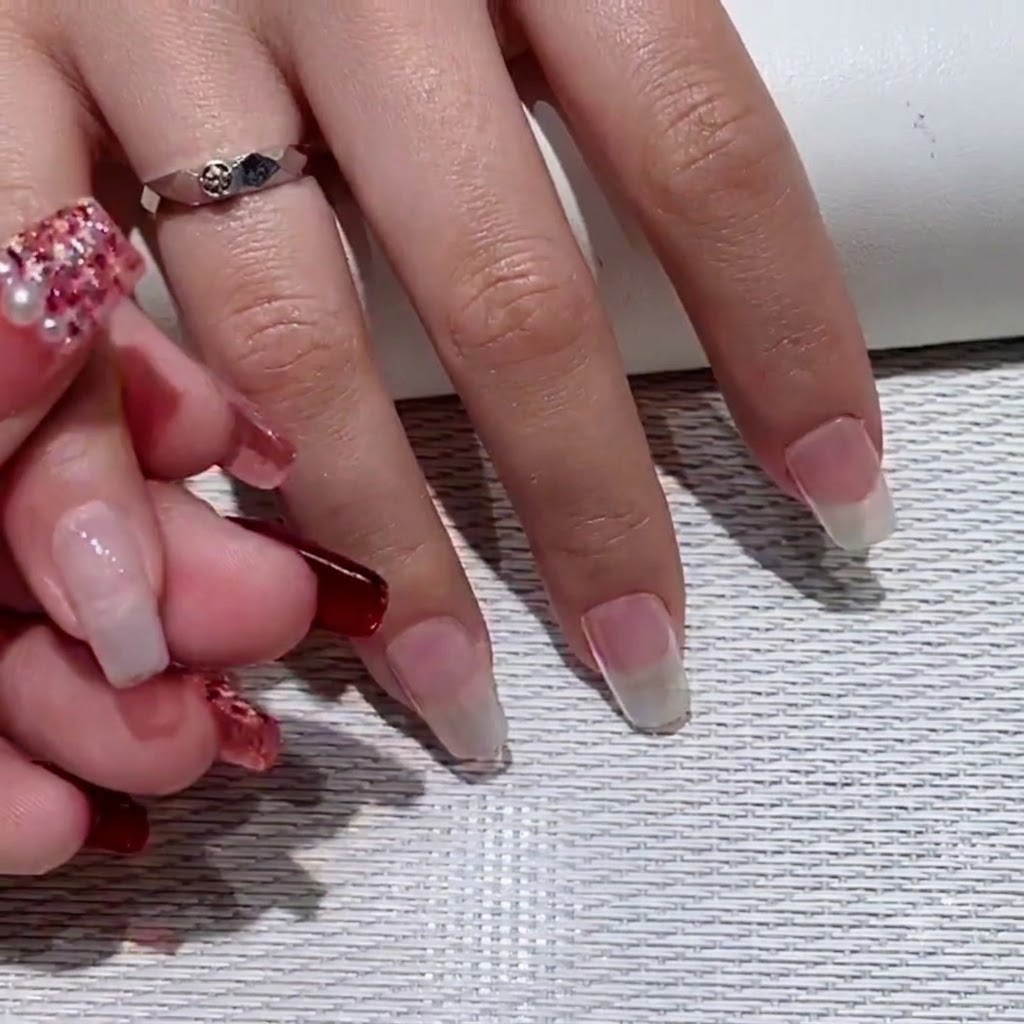
Using a fine liner brush, begin painting the red outline for a deep V-shaped French tip on the index finger. Start from the left sidewall and draw a clean, diagonal line down toward the center of the free edge. Keep the brush steady to ensure the line is crisp and sharp.
Tip: Rest your pinky finger on a stable surface to steady your hand while pulling straight lines. - 2Fill in the V-tip color
Carefully apply and fill in the red gel polish on the left side of the middle fingers V-shaped tip to ensure full coverage and complete opacity. Use precision strokes with your fine brush to keep the clean, sharp lines characteristic of a geometric French manicure.
Tip: Keep gel layers thin and build opacity gradually to prevent wrinkling or pooling at the edges of the V-shape. - 3Outline the ring finger V-tip
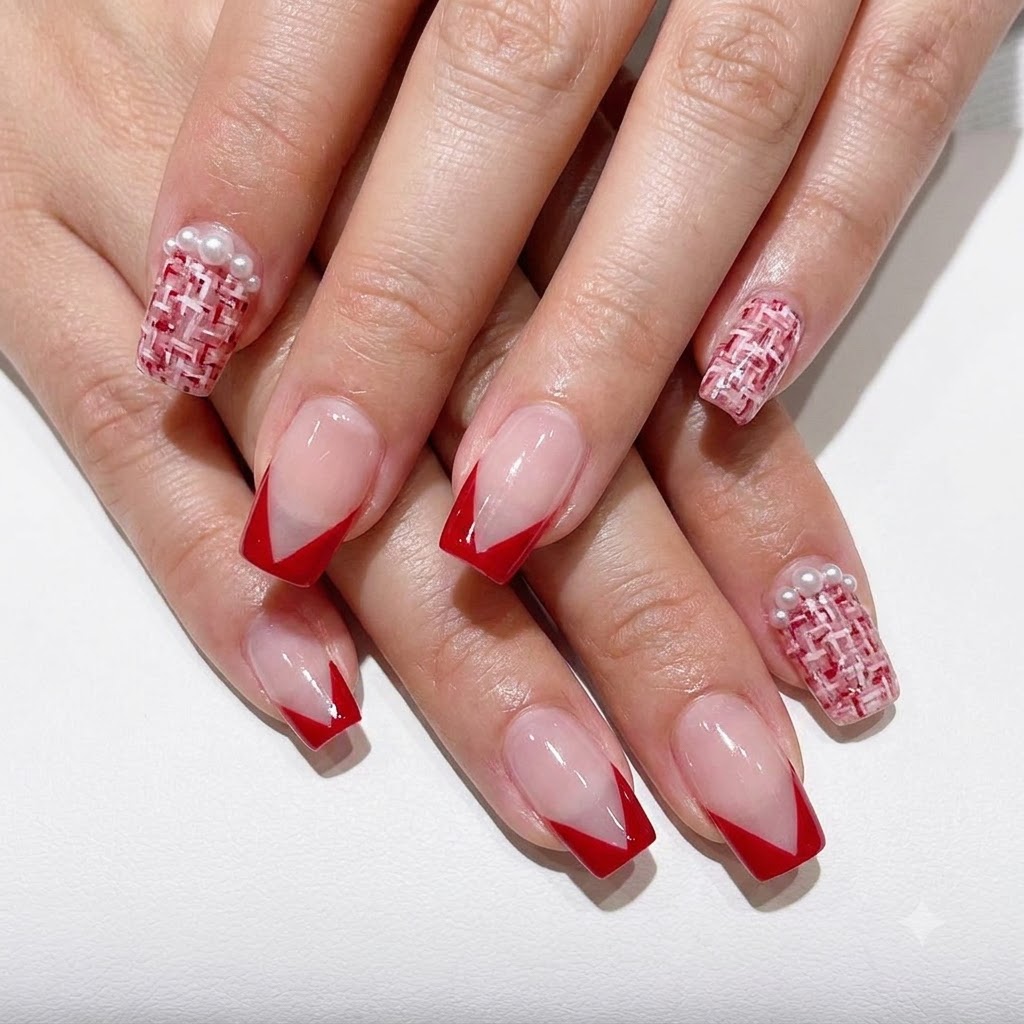
Using a fine liner brush loaded with red gel polish, carefully paint the clean, sharp outline of a V-shaped French tip on the ring finger. Anchor your hand securely on the clients finger or hand to maintain maximum control and precision while drawing the angled lines.
Tip: Draw from the edges of the nail toward the center point to easily match the symmetry and depth of adjacent fingers. - 4Outline and fill the pinky V-tip
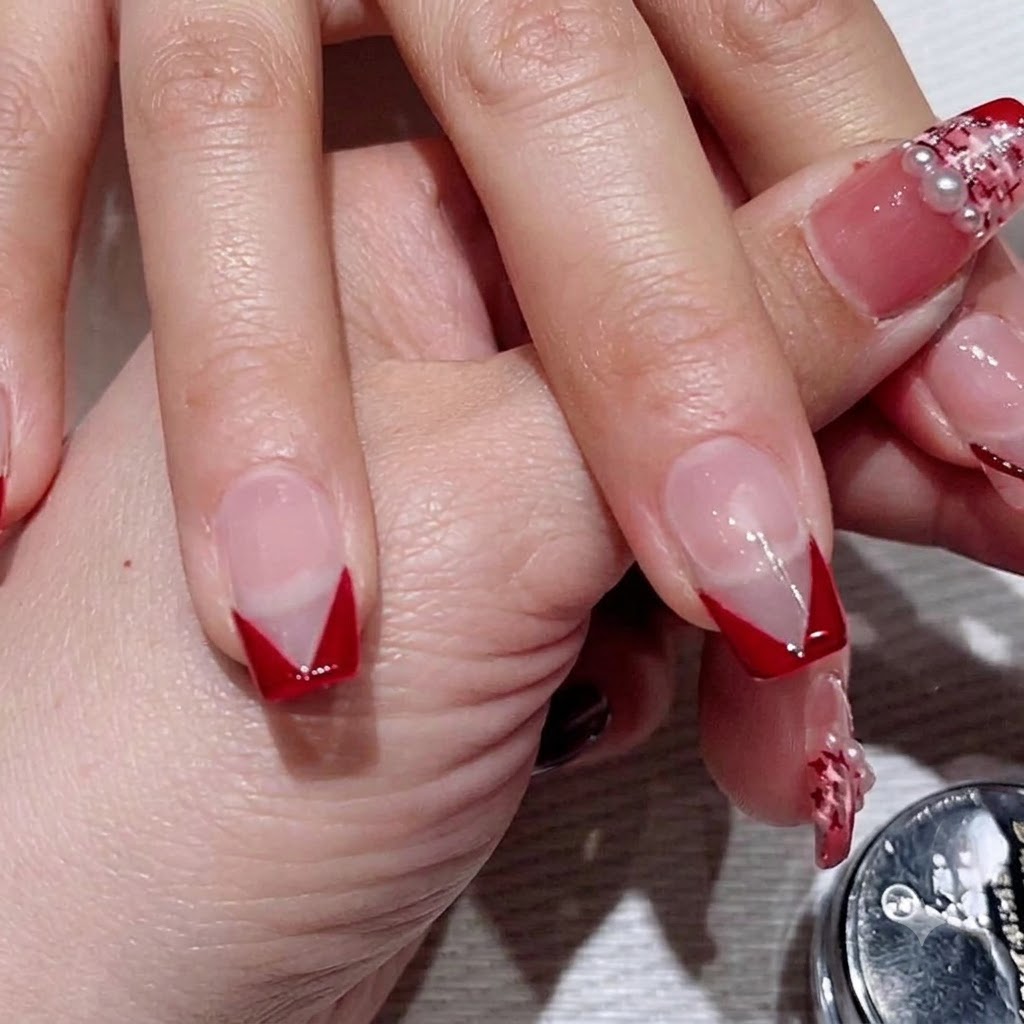
Continue the geometric French design by outlining and completely filling in the red V-shaped tip on the pinky finger. Ensure the sides align neatly with the nail sidewalls and form a sharp, clean point at the center of the free edge.
Tip: Smaller nails require a lighter touch with less product on the brush bristles to prevent accidental flooding of the cuticles. - 5Place dots for the heart base
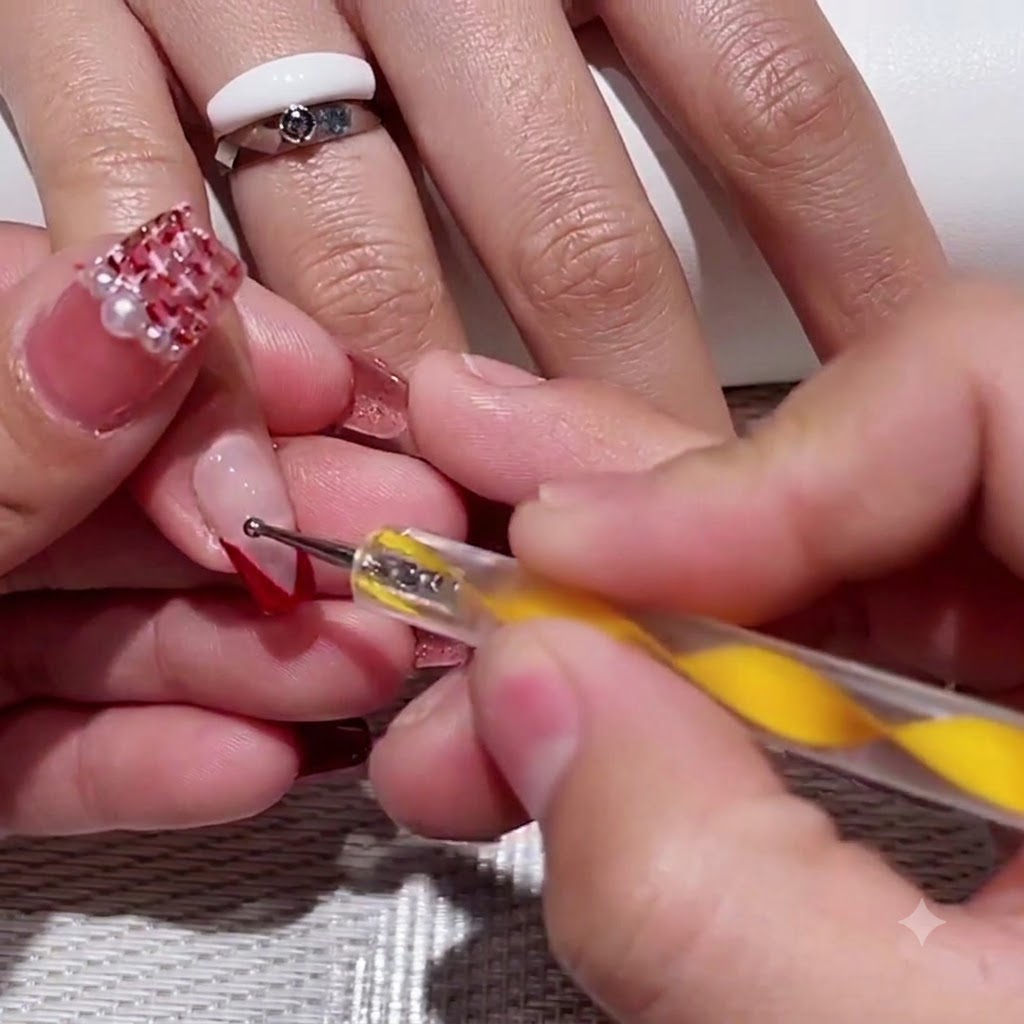
Switch to a small dotting tool dipped in red gel polish and place two precise dots in the negative space directly above the V-tip on the middle finger. These twin dots serve as the rounded upper arches of your custom hand-painted heart design.
Tip: Pick up just a tiny bead of gel on the tip of the tool to prevent the dots from spreading too large or merging prematurely. - 6Add top heart dots on the ring finger
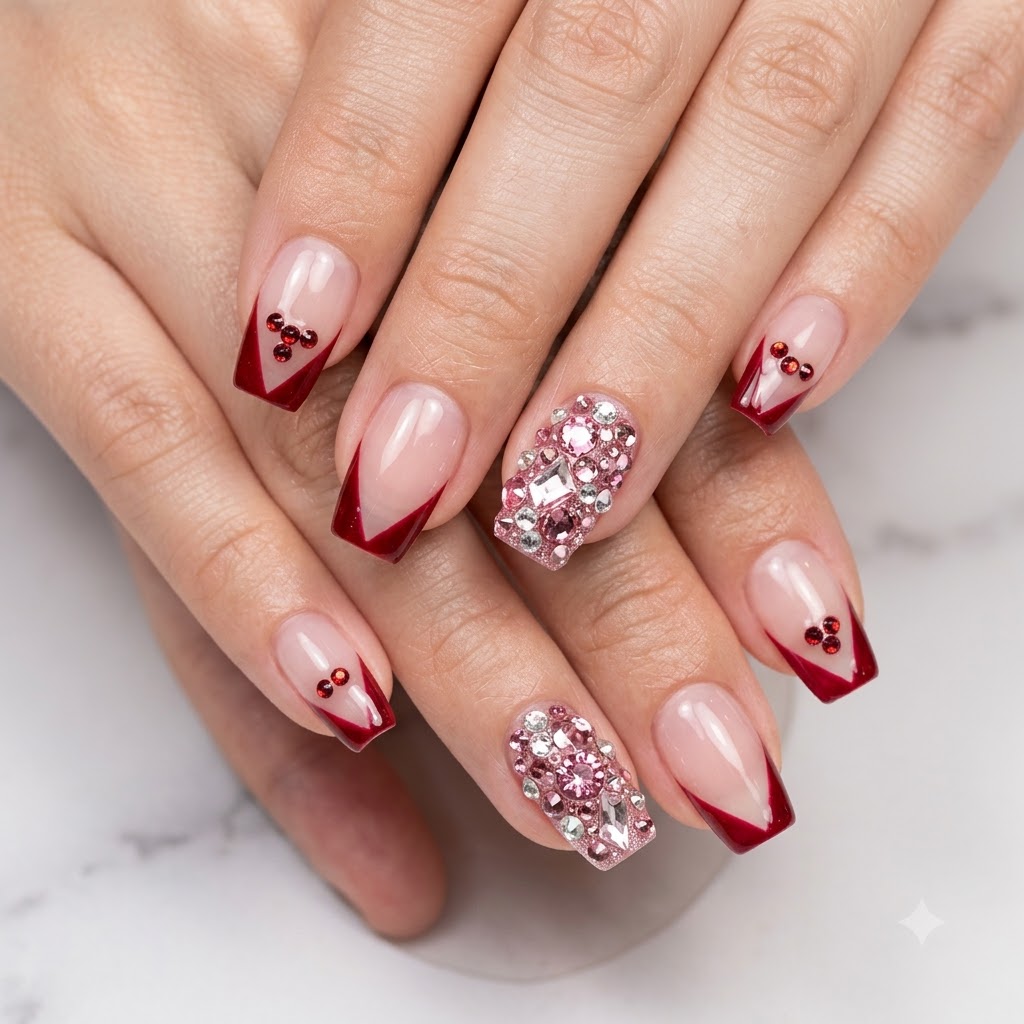
Take your dotting tool with red gel polish and place two symmetrical red dots side by side in the negative space just above the V-tip on the ring finger. This establishes the rounded top curves for the second heart accent in your set.
Tip: Keep the spacing even between the two dots so that pulling them downward into a point creates a balanced heart shape. - 7Draw the heart details
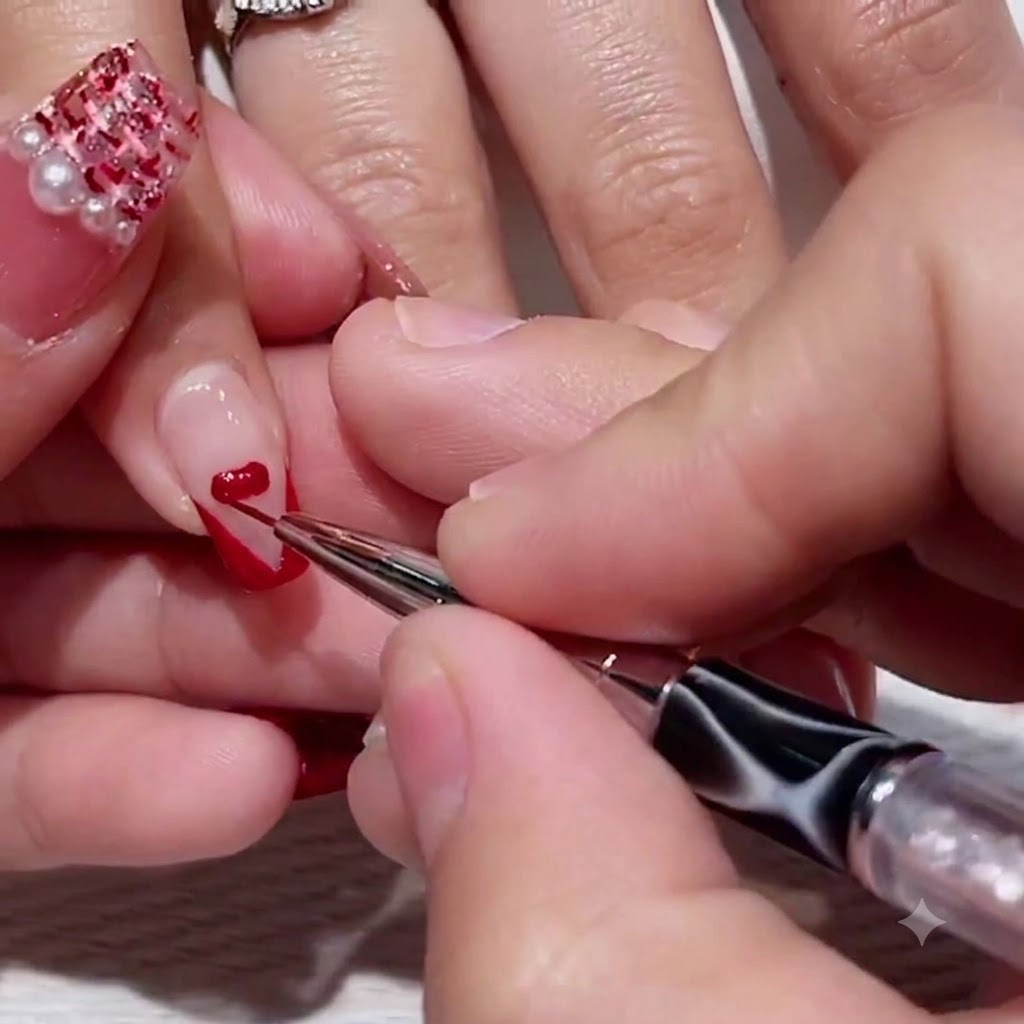
Using a fine liner brush, carefully connect the red dots to draw the bottom point of the heart on the index finger. Take your time to create crisp, even lines that connect smoothly. This adds a charming, intricate detail to the nail design.
Tip: Keep a steady hand and rest your pinky on the clients hand for stability while painting fine details. - 8Shape and fill the red heart
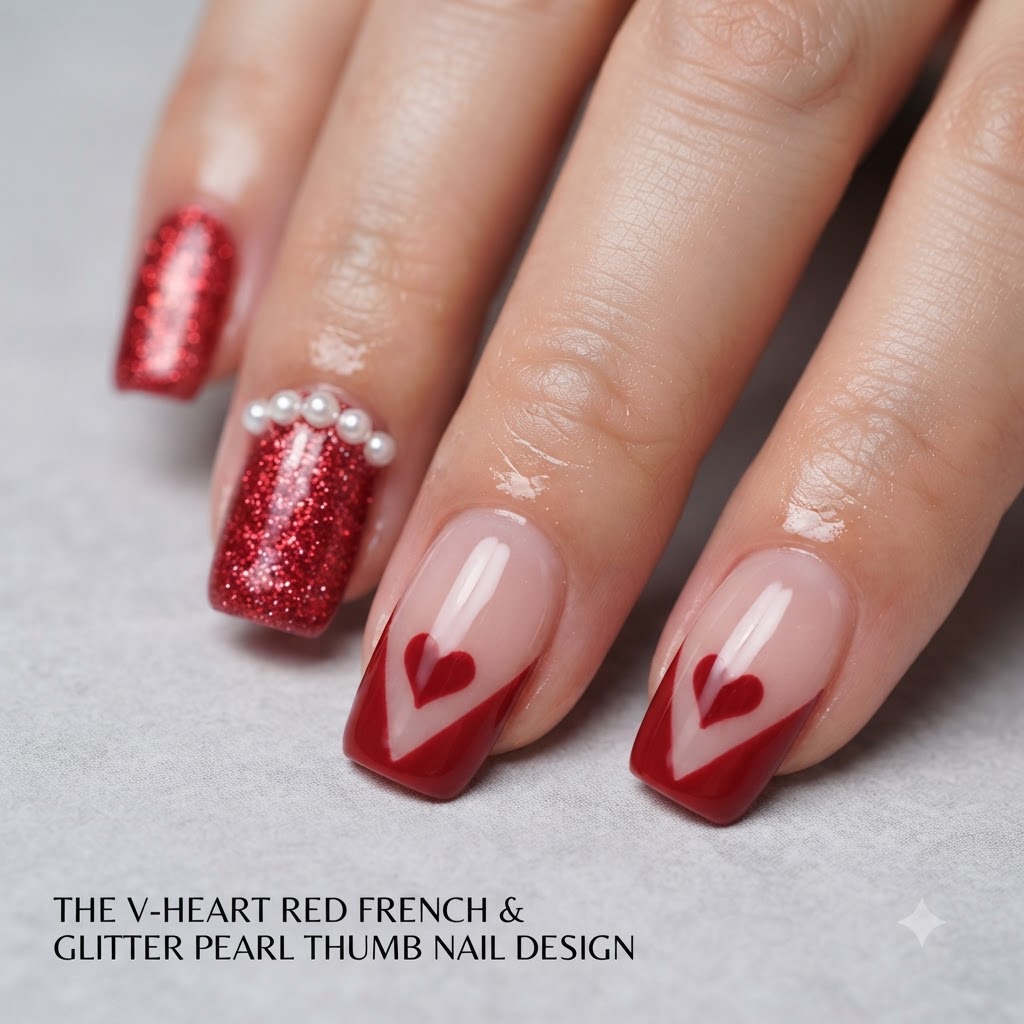
Using a fine liner brush, pull and connect the previously placed dots downward into a crisp, sharp point to complete the solid red heart shape inside the negative space. Clean up any minor edges to ensure the silhouette is crisp and defined before curing.
Tip: A quick flash cure for 5 to 10 seconds can lock the heart shape in place before full curing to prevent any accidental smudging. - 9Refine the red heart details
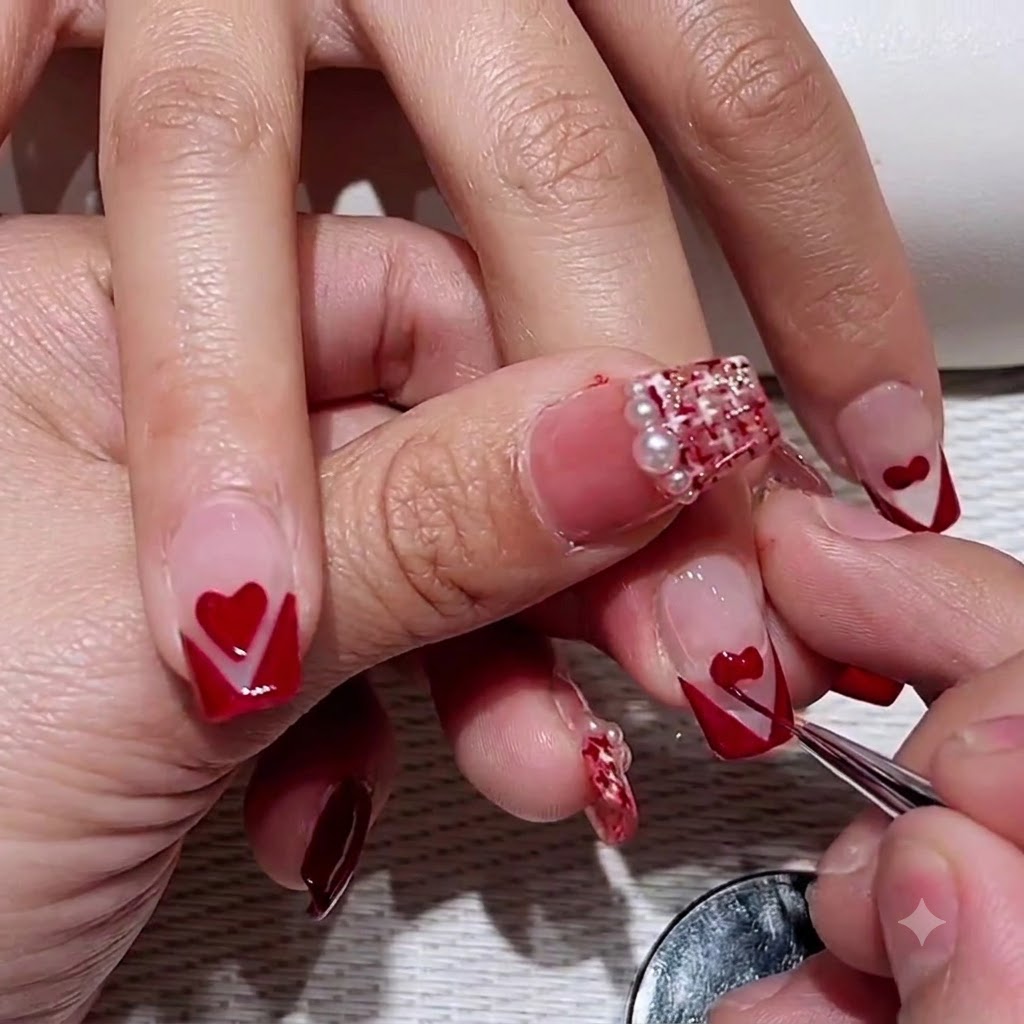
Using a fine liner brush and red gel polish, carefully clean and sharpen the outer edges of the red heart shape on the ring finger. Precise brushwork ensures clean lines and a polished, symmetrical finish for the nail art design.
Tip: Keep a small brush dipped in isopropyl alcohol nearby to instantly clean up any stray red pigment before curing. - 10Review intermediate nail progress
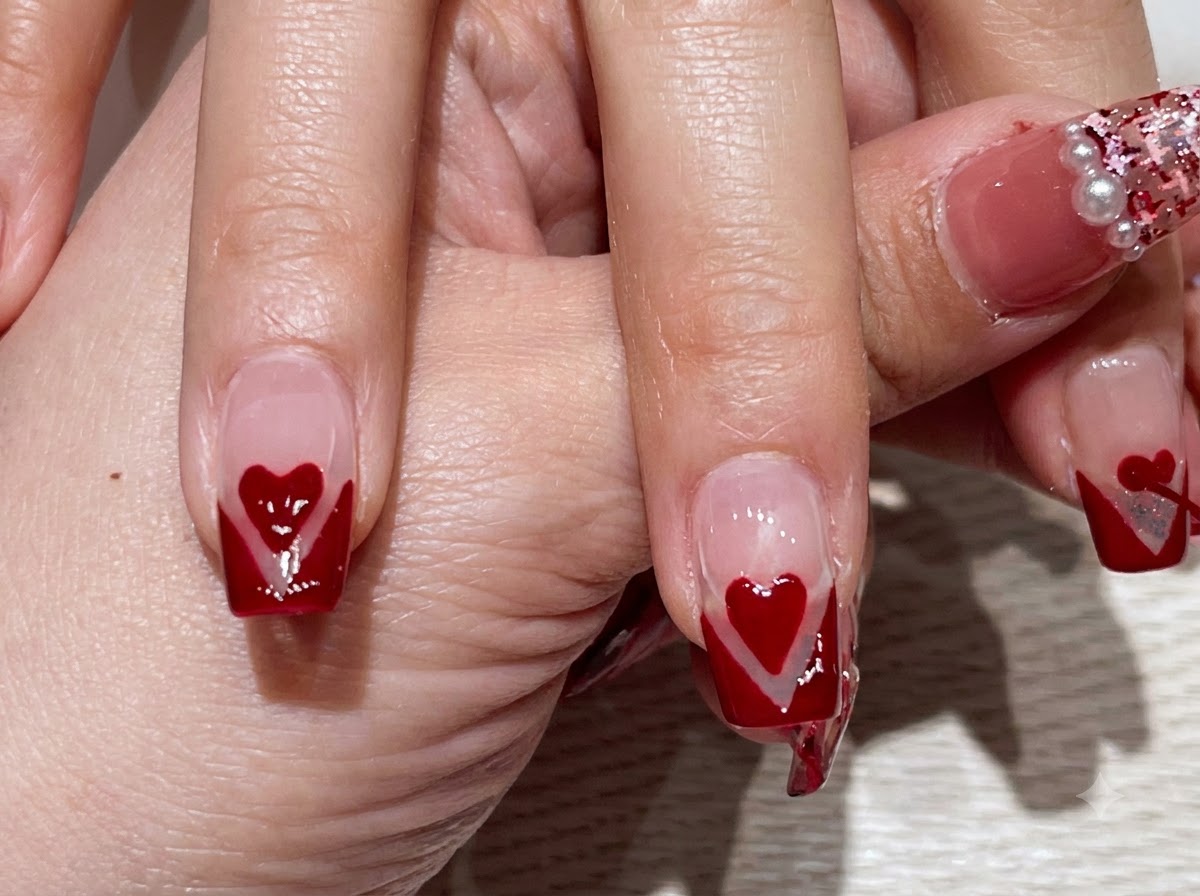
Check the alignment and coverage of the completed red V-tips and central heart details across all four fingers. This intermediate progress view ensures the painted elements are symmetrical and evenly saturated before moving on to the glitter accent phase.
Tip: Inspect the nails from multiple angles to catch any uneven lines or gaps in coverage while the gel is still uncured. - 11Apply rose-gold glitter line along the V-tip
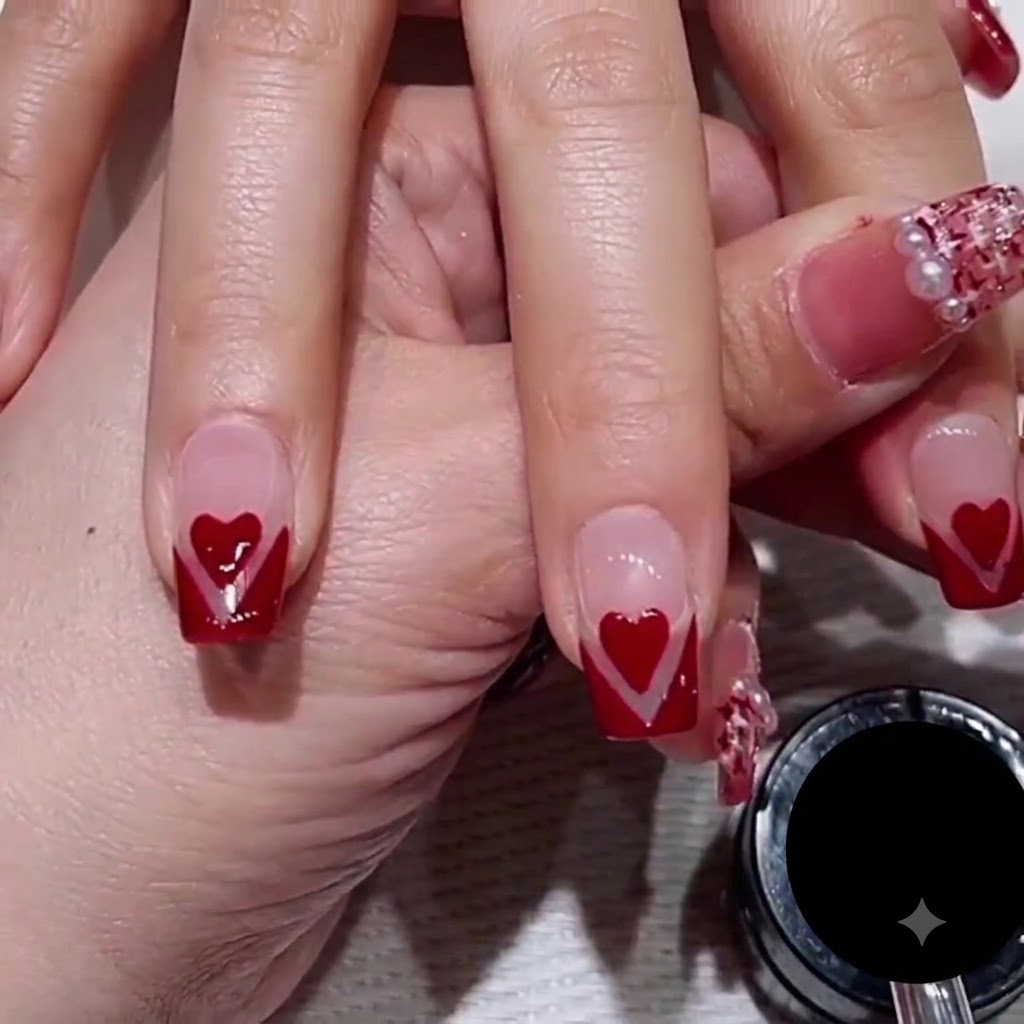
Using a fine, long striper brush dipped in rose-gold platinum glitter polish, carefully paint a delicate, thin line along the inner left contour of the red V-tip on the index finger. Keep your hand steady to ensure the metallic line follows the precise boundary of the geometric shape, enhancing the definition and adding a sparkling accent to the design.
Tip: Wipe excess glitter off the brush bristles before starting so the line stays sharp and doesnt blob over the clean nail surface. - 12Complete the index finger glitter border
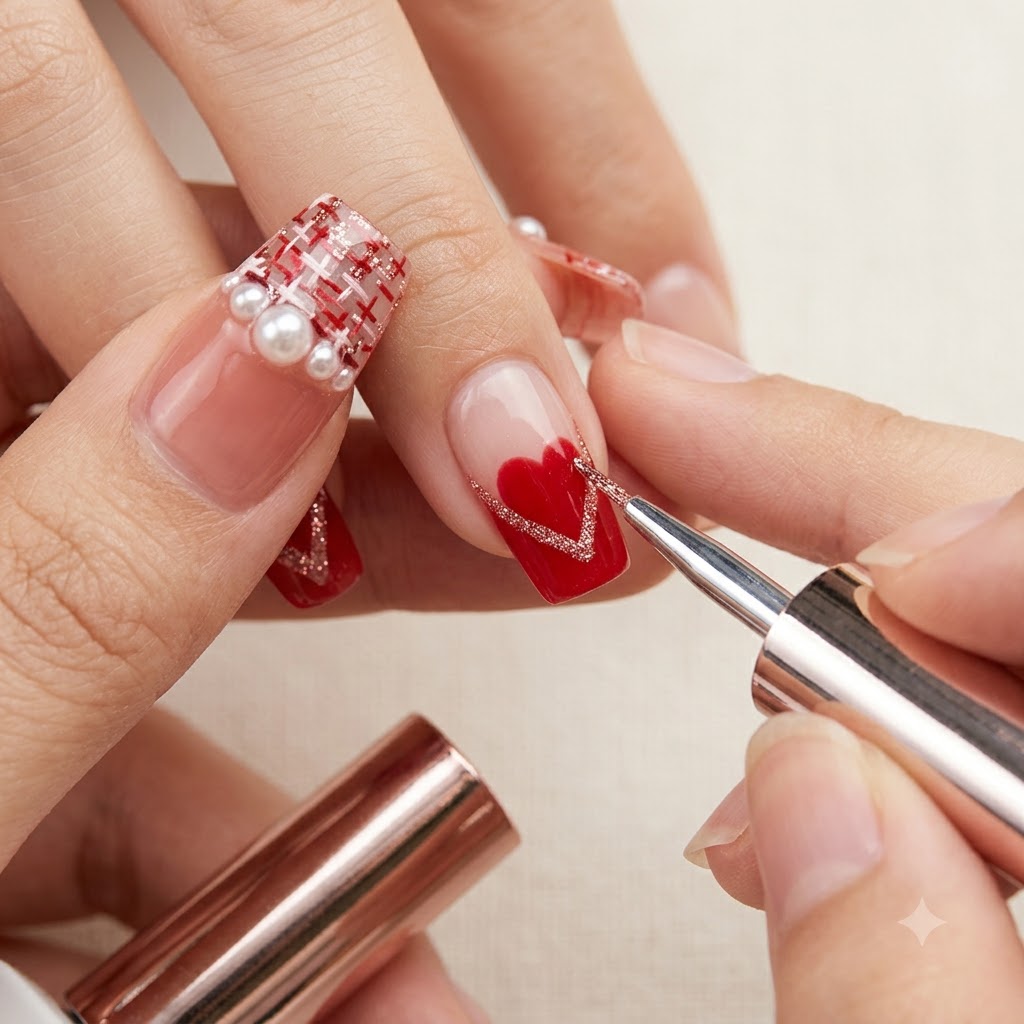
Dip a long striper brush into rose-gold platinum glitter polish and trace a thin line along the right inner edge of the index fingers V-tip. Mirroring the left side creates a clean, shimmering double-lined border framing the red heart.
Tip: Load just a small amount of glitter onto the tip of the striper brush to prevent clumping and maintain a thin, crisp line. - 13Add glitter trim to ring finger
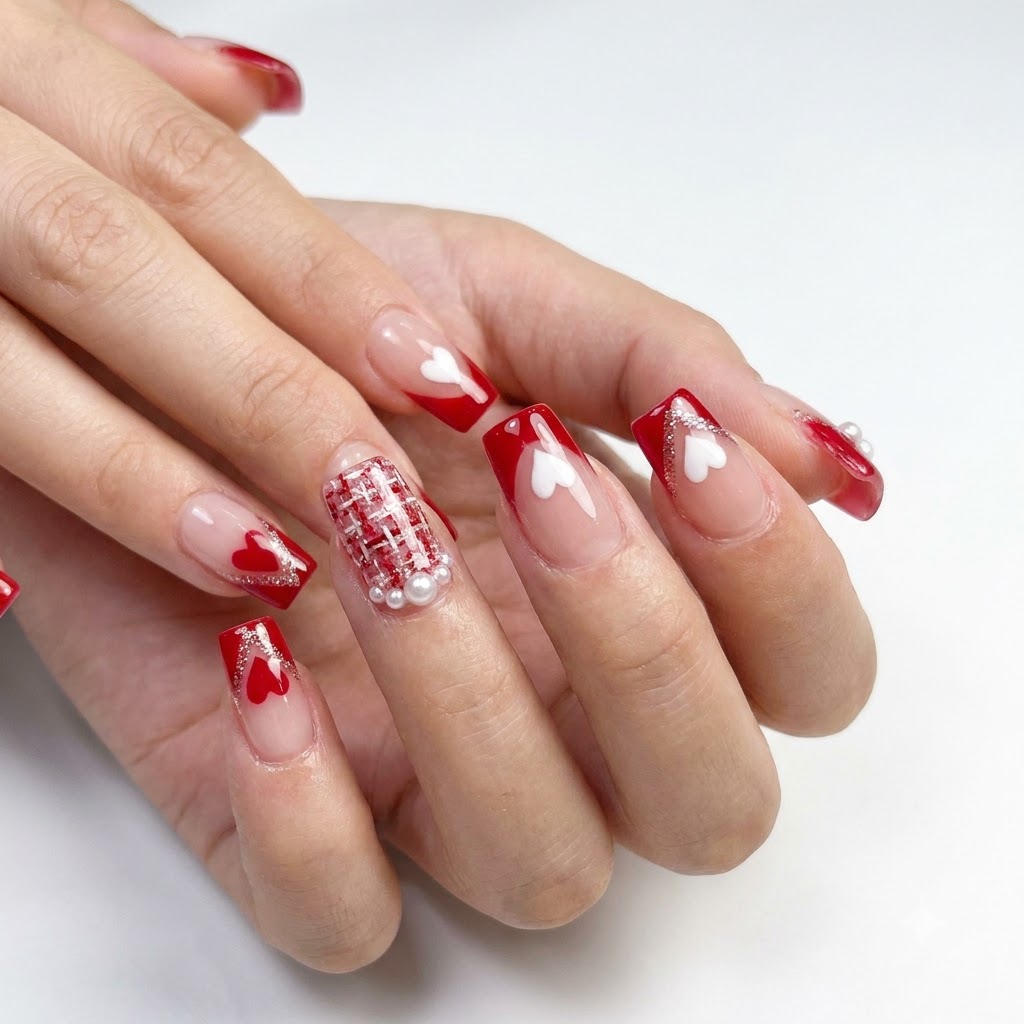
Using the striper brush and rose-gold platinum glitter polish, meticulously trace the inner V-shaped border of the ring finger. This glittering accent adds dimension and seamlessly ties together the multi-finger design scheme.
Tip: Lightly float the brush over the surface of the nail to deposit the glitter evenly without dragging the base layer underneath. - 14Apply top coat to the index finger
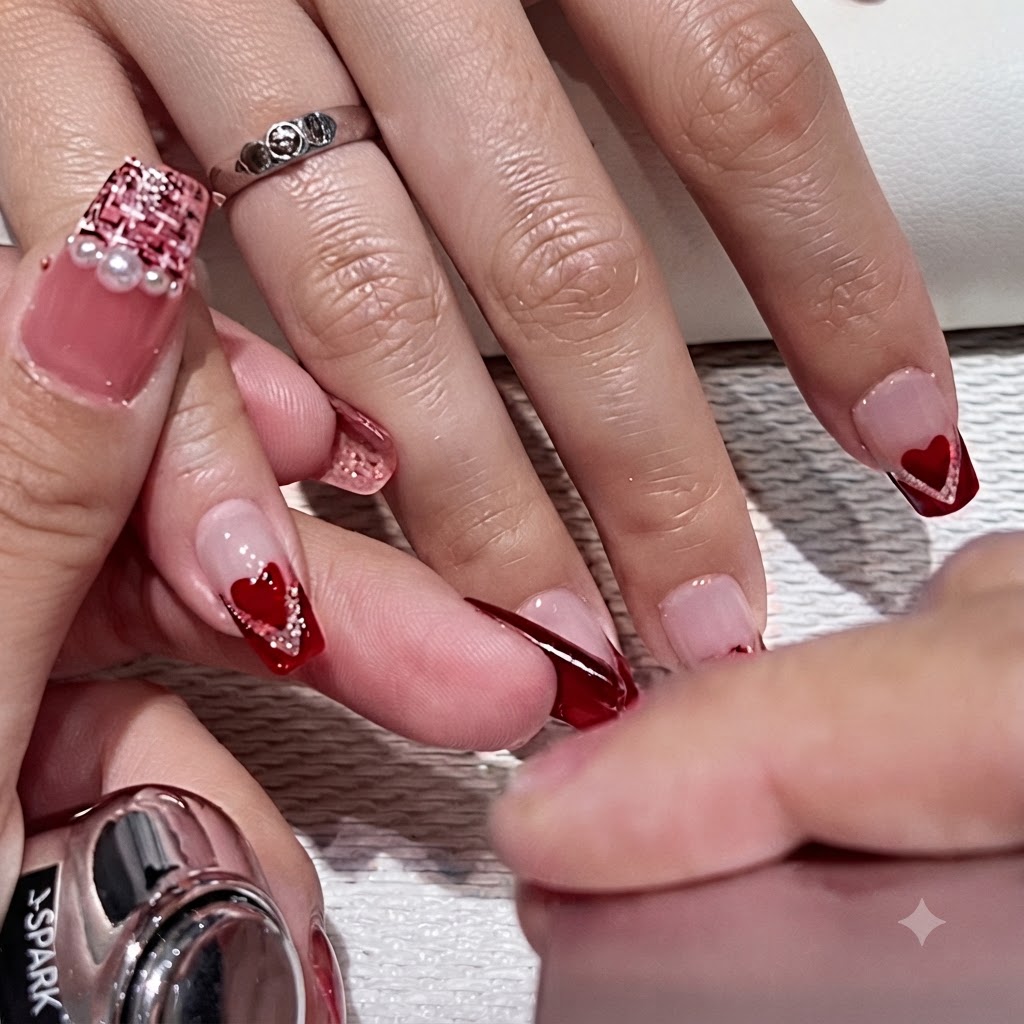
Using the built-in bottle brush, apply an even layer of clear glossy top coat over the entire completed design on the index finger. Make sure to seal the free edge completely to protect the nail art from chipping and wear.
Tip: Cap the free edge with top coat to lock in both the color layers and the delicate glitter details securely. - 15Seal the middle finger with top coat
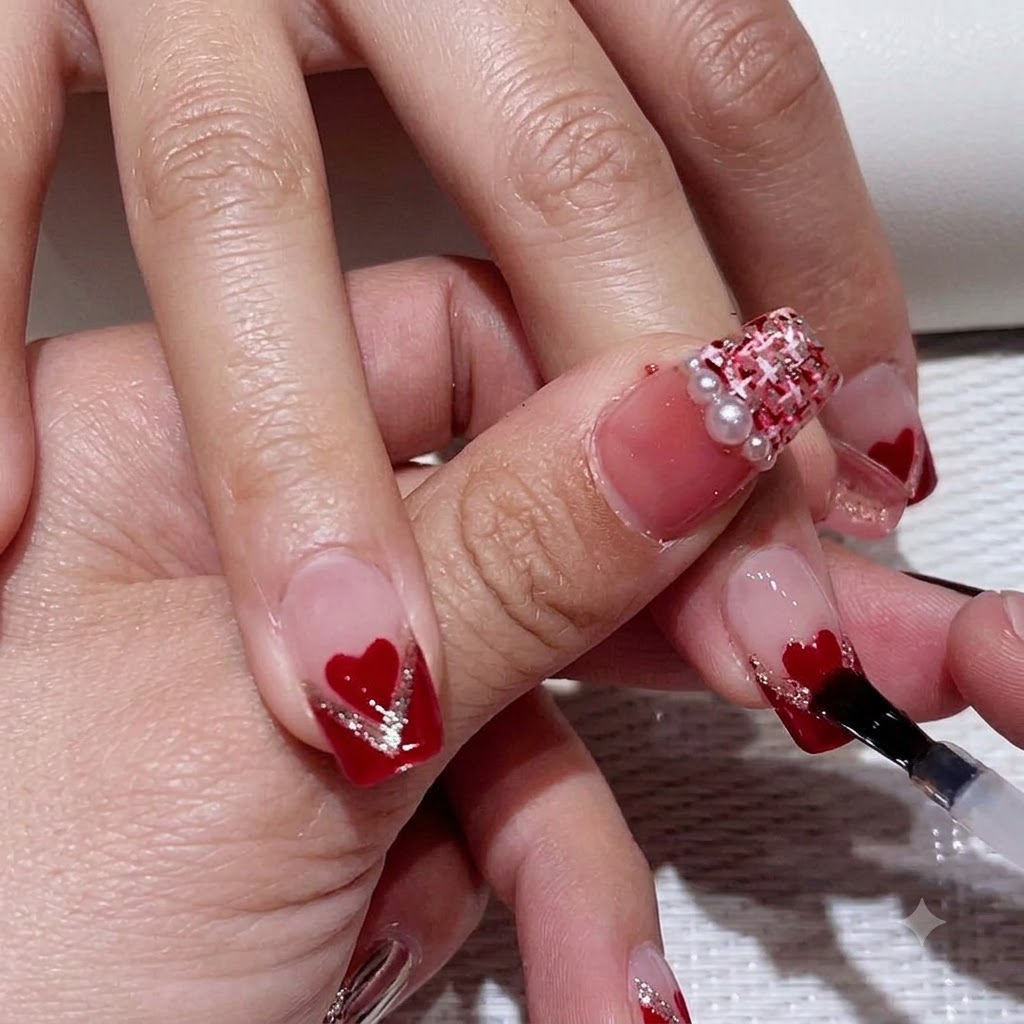
Apply a thin layer of clear glossy top coat over the middle finger to seal in the painted nail art, ensuring full coverage from base to free edge. Cap the edge to prevent chipping and extend the wear of your manicure. Cure thoroughly under a UV or LED lamp according to your product specifications.
Tip: Always cap the free edge with top coat to prevent premature lifting and seal the design completely.