Simple French Cat Eye Nails
Silver Glitter Tips — Step-by-Step Tutorial
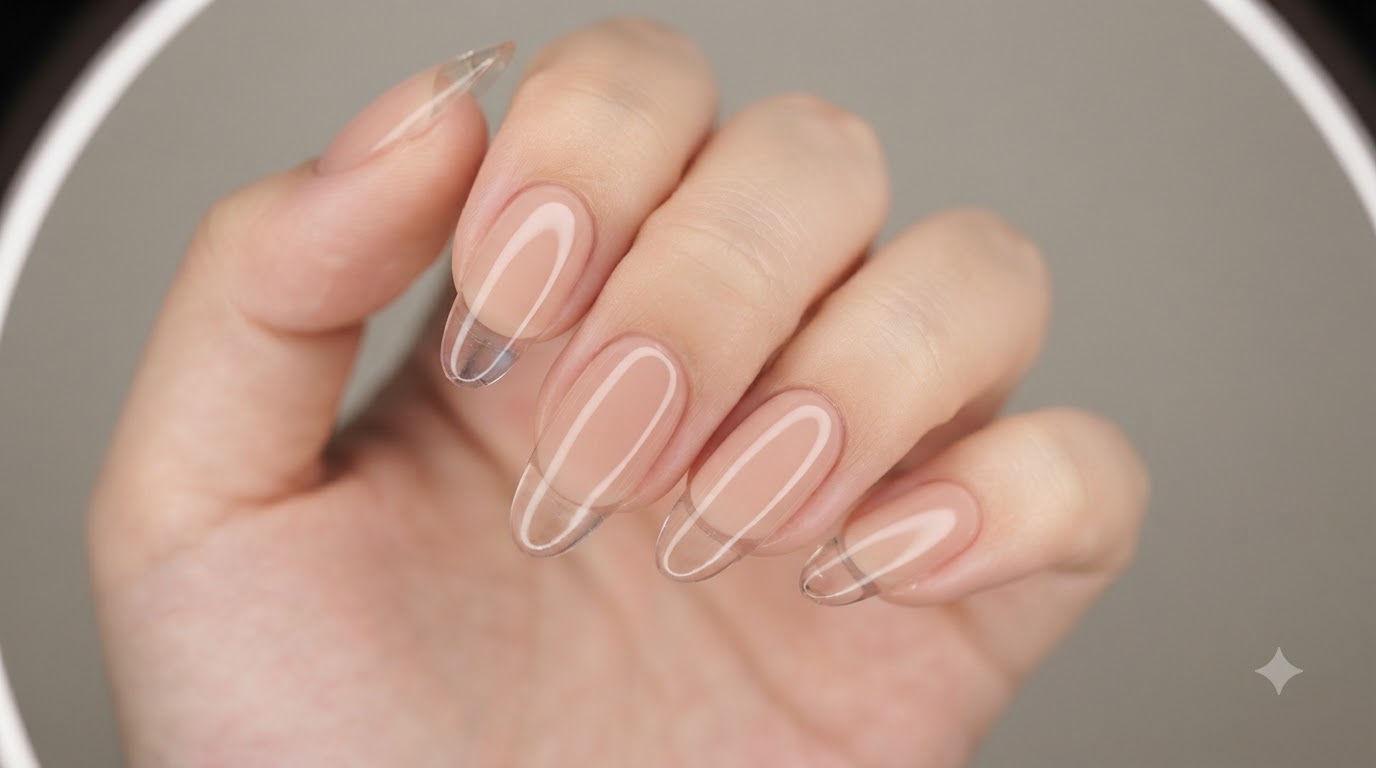
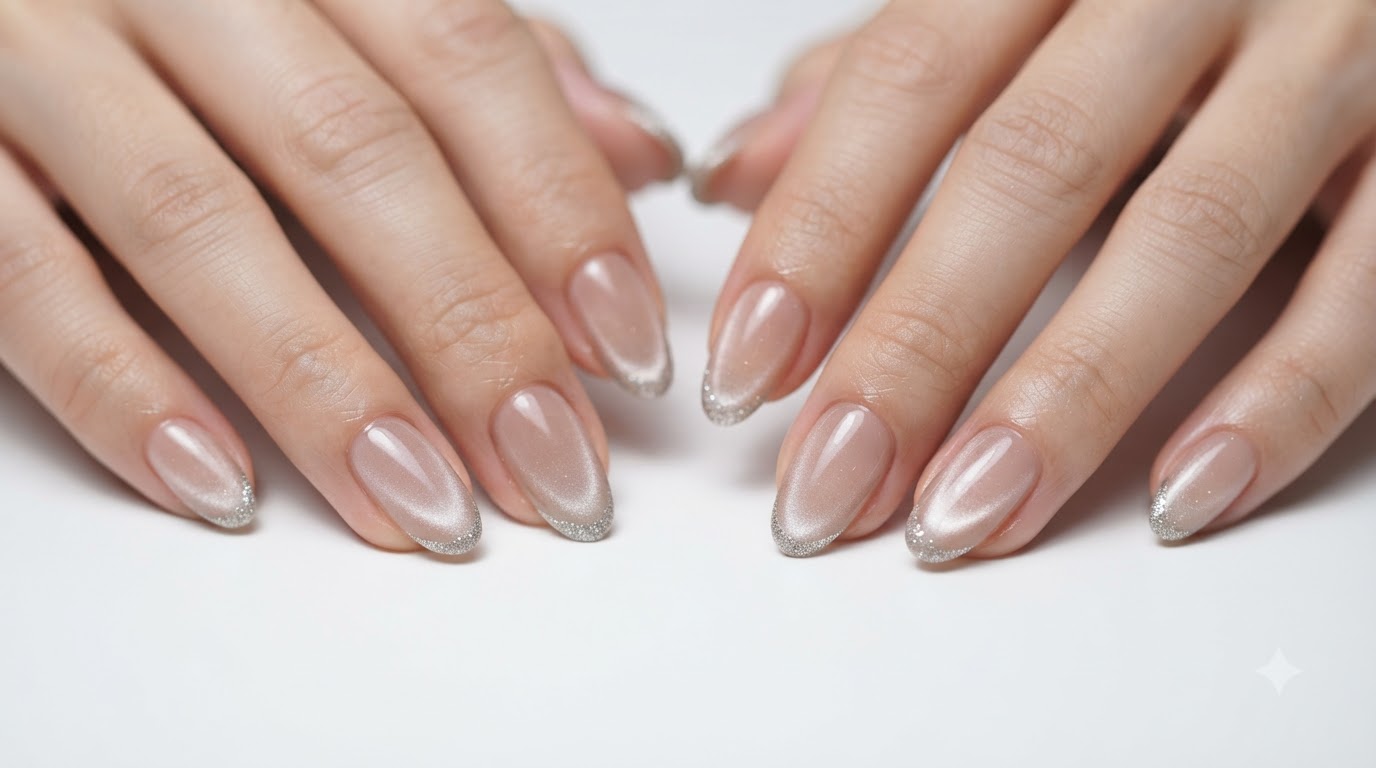
Master the elegant French cat eye look with this step-by-step tutorial. Featuring a luminous magnetic tip and a delicate silver glitter edge, this design is perfect for a sophisticated, modern manicure.
The French cat eye is a stunning modern twist on the classic French manicure, blending translucent nude tones with mesmerizing magnetic dimension. By using a specialized V-shaped magnet, the cat eye shimmer is pushed toward the free edge, creating a glowing French tip illusion. A final touch of fine silver glitter along the very edge gives this look a sharp, pristine finish that looks incredibly luxurious.
Steps
- 1Exfoliate cuticle area with e-file
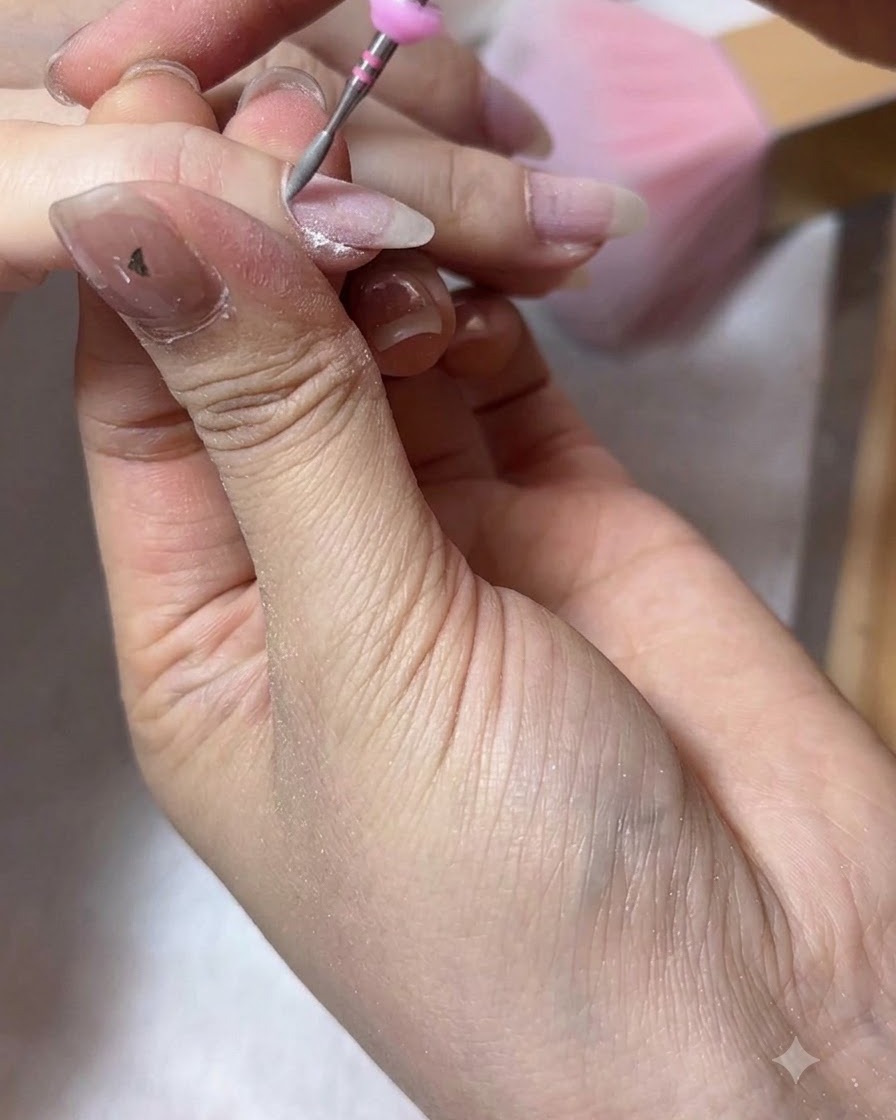
Using a fine flame bit on your electric file, gently sweep along the cuticle pocket to remove dead skin cells and smooth the surrounding skin. Keep the e-file at a low speed and maintain a light touch to avoid damaging the natural nail plate or sensitive skin.
Tip: Keep the barrel of the bit parallel to the nail surface and use smooth, sweeping motions. - 2Clear lateral folds with e-file
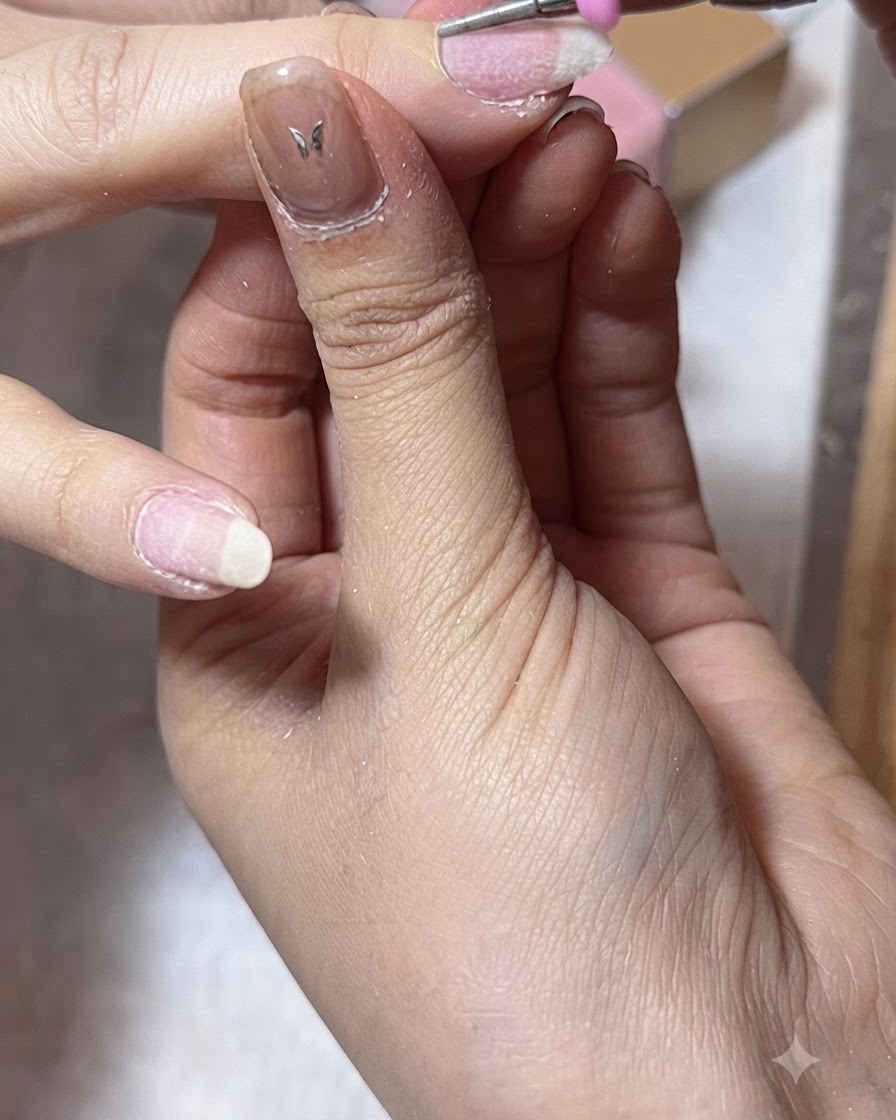
Adjust the angle of the flame bit slightly to navigate into the lateral nail folds. Gently sweep along the sidewalls to lift any remaining dead tissue and ensure the entire pocket is clean and open before trimming.
Tip: Tilt the hand slightly to get a clear view of the sidewalls without applying excess pressure. - 3Trim lifted cuticles
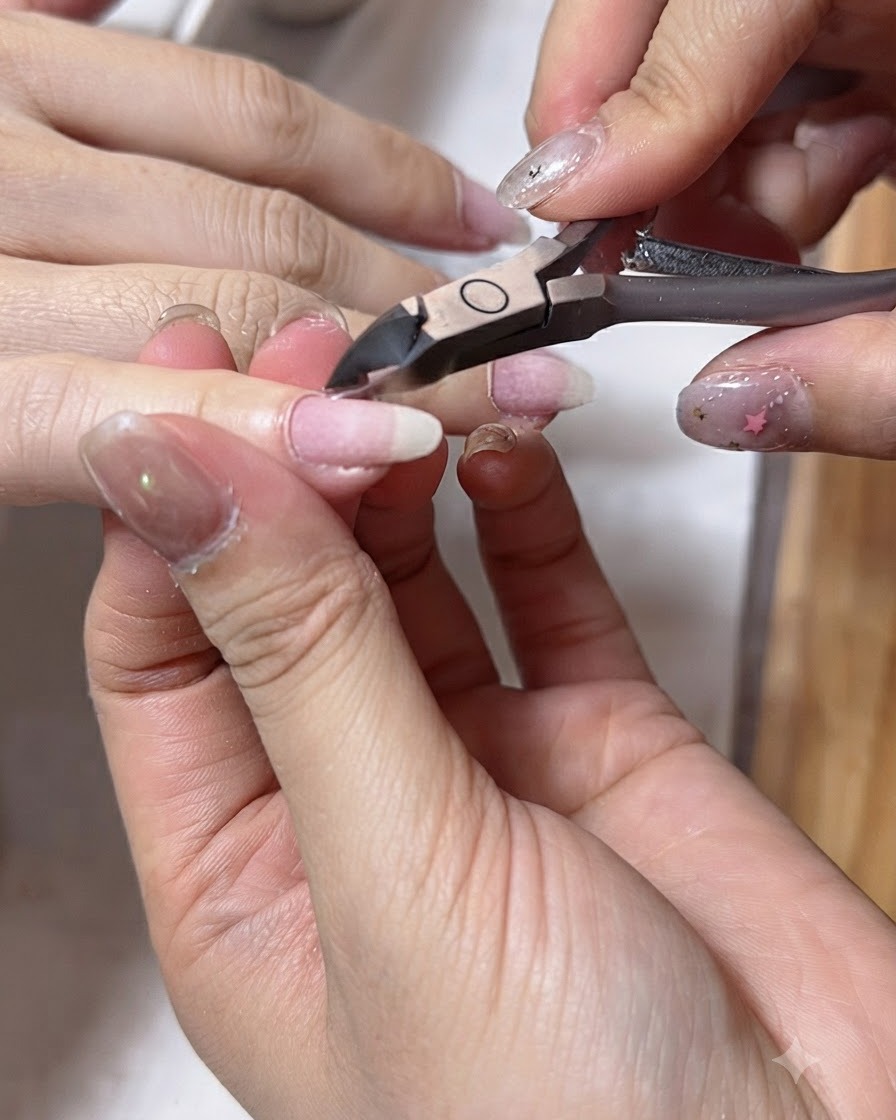
Using sharp metal cuticle nippers, carefully trim along the lifted band of dead skin around the proximal fold and sidewalls. Make small, controlled snips rather than pulling or tearing to achieve a clean, smooth finish.
Tip: Rest your stabilizing hand firmly against your clients hand to ensure steady, precise cuts. - 4Clean away dust and debris
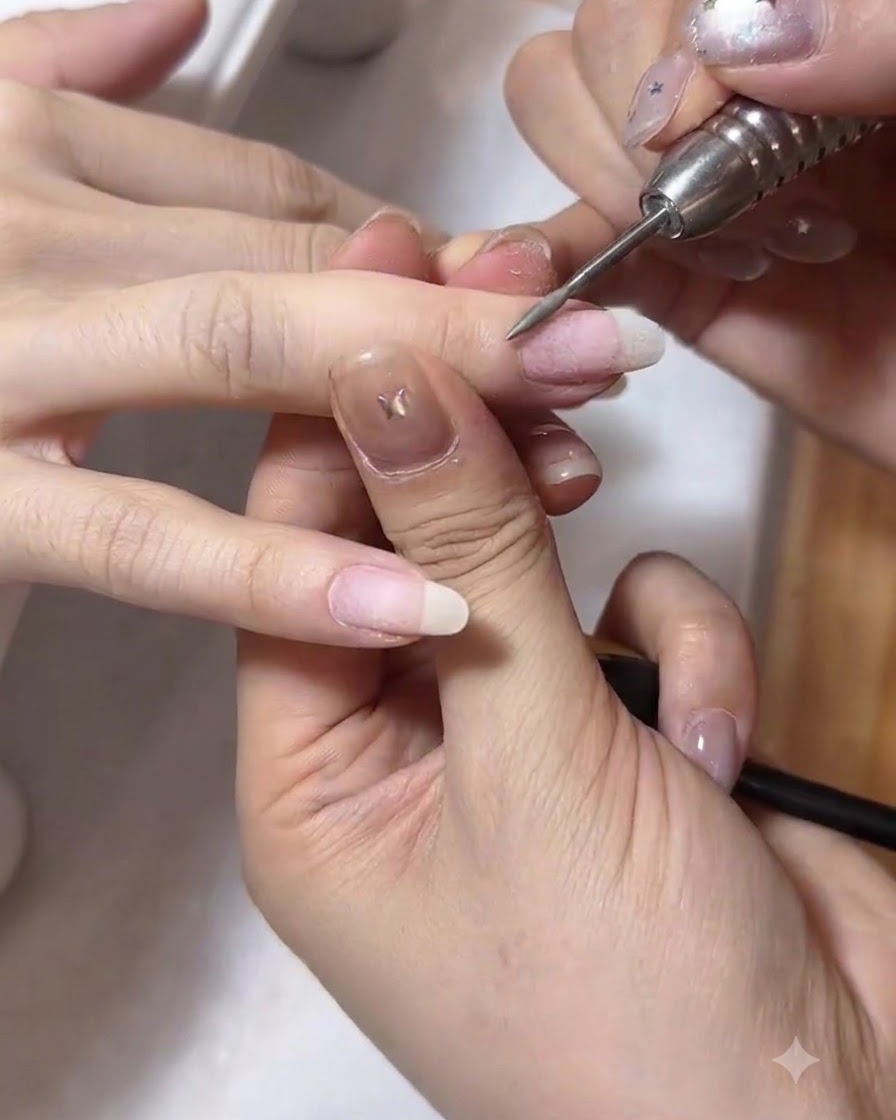
Take a small fan brush dampened slightly with cleanser or water, and gently sweep across the nail plate and cuticle area. This removes all remaining filing dust and loose skin particles, leaving a clean surface for product application.
Tip: Ensure the nails are completely dry of any excess moisture before moving on to base gel application. - 5Apply clear base gel
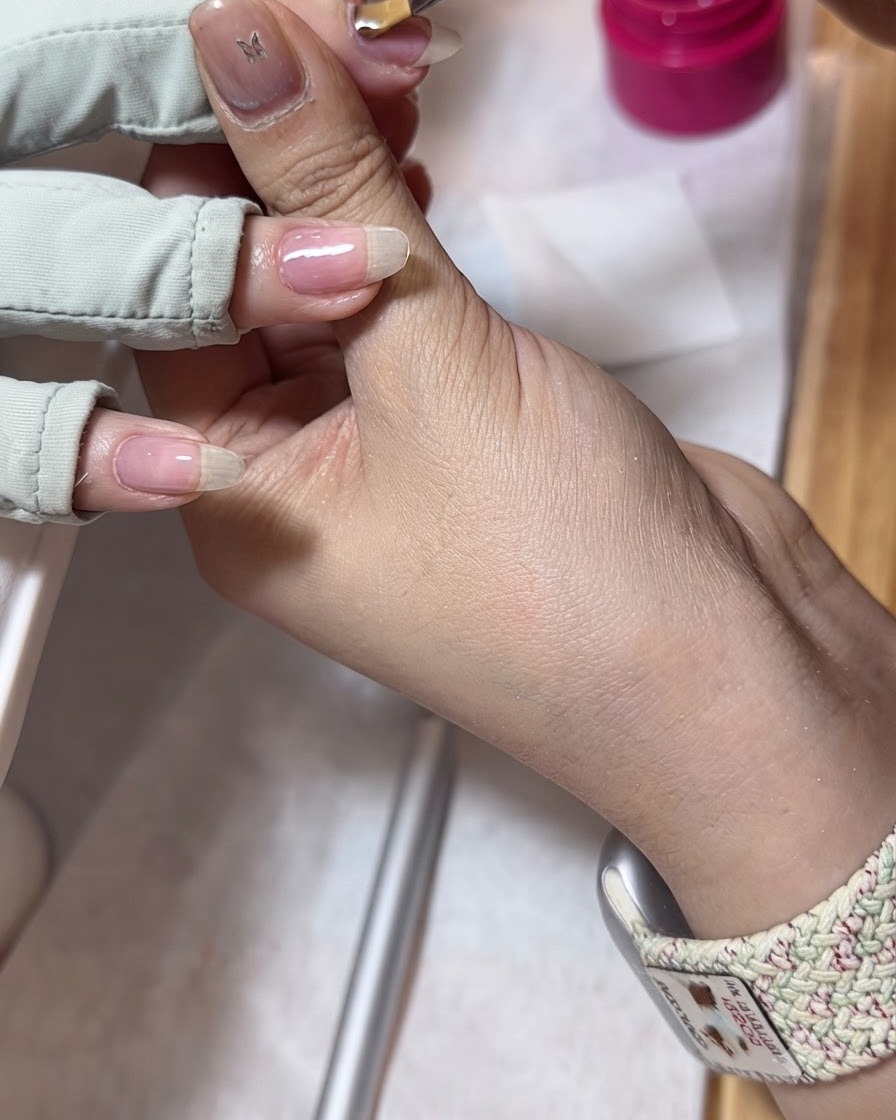
Dip your gel brush into the clear base gel and apply a thin, controlled layer over the entire natural nail plate. Cap the free edge to seal the product and prevent premature lifting, then cure under a UV or LED lamp.
Tip: Apply in thin layers to ensure proper curing and prevent the gel from shrinking or pooling near the cuticles. - 6Inspect the completed structure
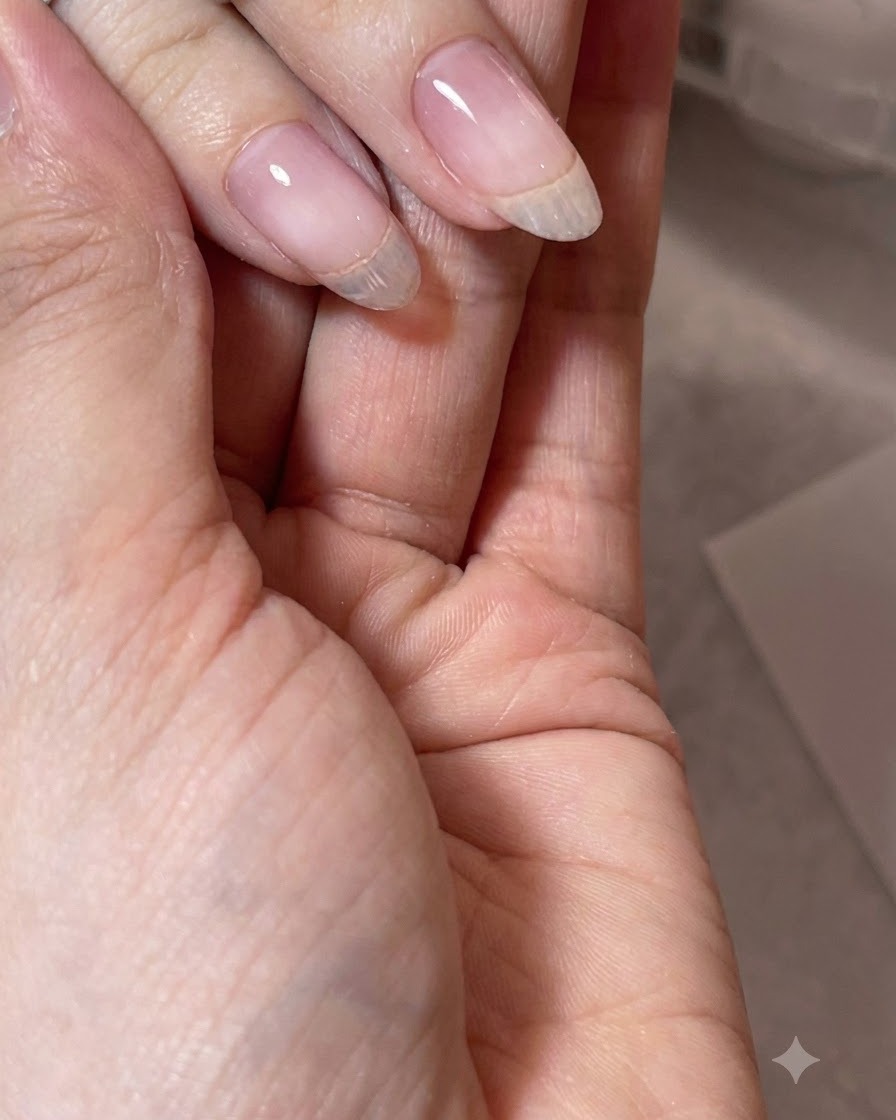
Review the nail after completing the builder gel structure. Ensure the surface is smooth and features a balanced, transparent apex. This perfectly shaped foundation is critical for the seamless application of the cat-eye gel that follows.
Tip: A well-built apex provides strength to the nail and ensures all subsequent color layers lay flawlessly across the surface. - 7Create wide cat-eye shimmer effect
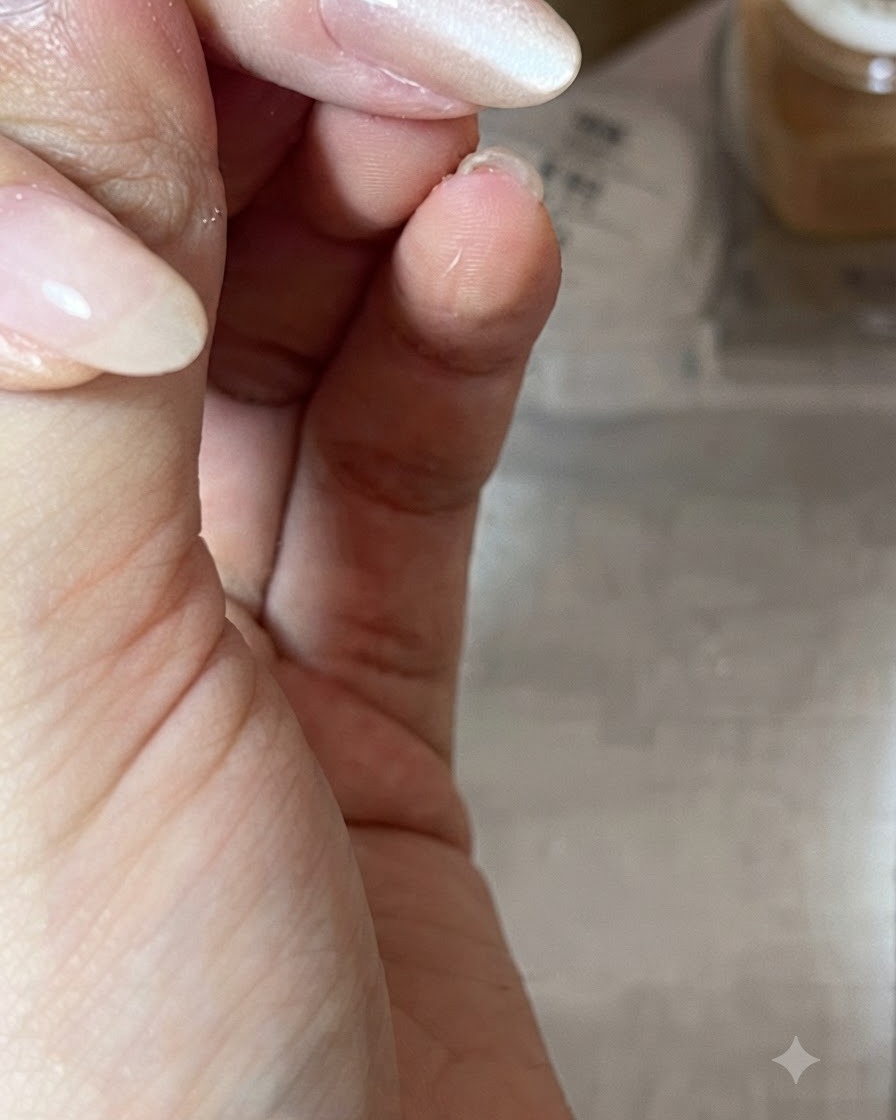
Hold a cylindrical magnet diagonally over the uncured cat-eye gel polish without touching the surface. The magnetic particles will shift and align to form a wide, luminous band of light across the nail, creating a deep multidimensional shimmer.
Tip: Keep your hand and the magnet completely steady for a few seconds once the desired light effect appears, then immediately cure to lock it in place before the particles disperse. - 8Create the cat-eye French tip
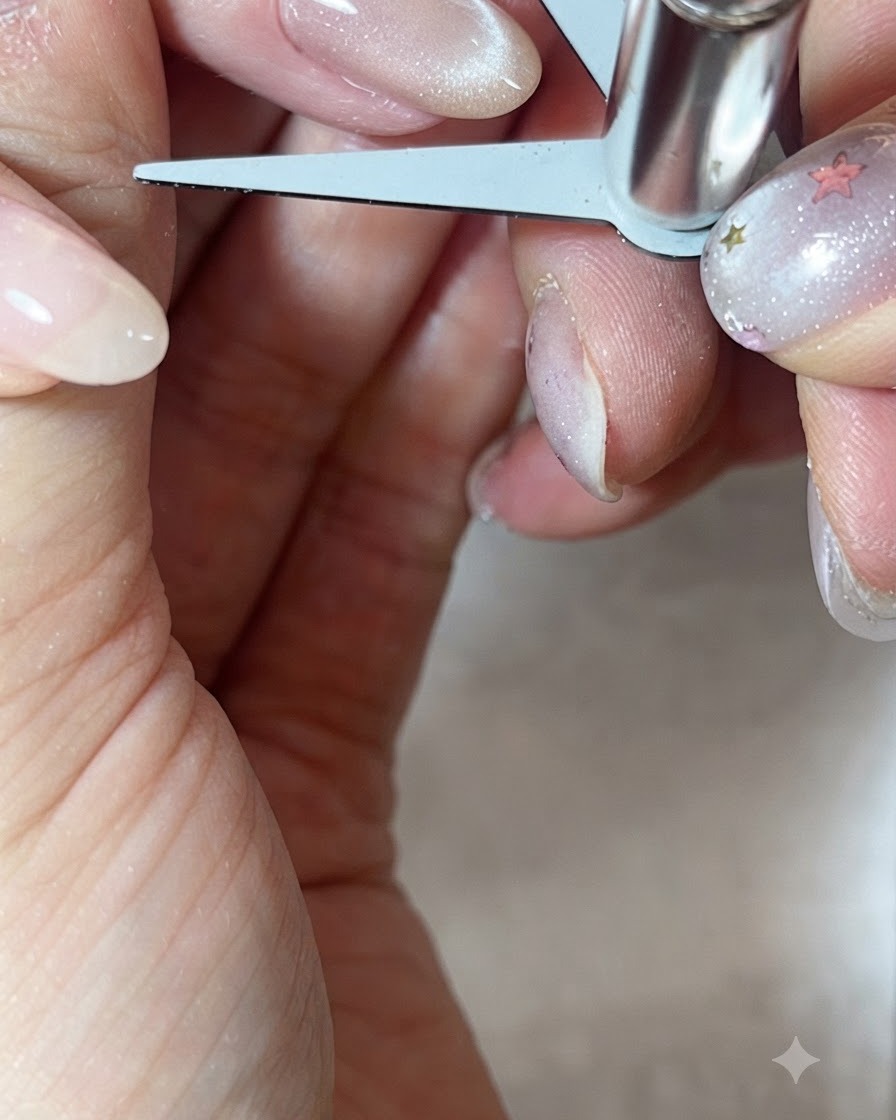
Place a specialized V-shaped scissor magnet near the free edge of the wet cat-eye gel. This unique tool pushes the magnetic particles downward, instantly forming a concentrated, bright band of light at the tip. Hold the magnet steady for a few seconds to set the French tip effect before curing.
Tip: Keep the magnet as close to the nail as possible without touching the wet gel to achieve the sharpest French line. - 9Paint the silver glitter edge
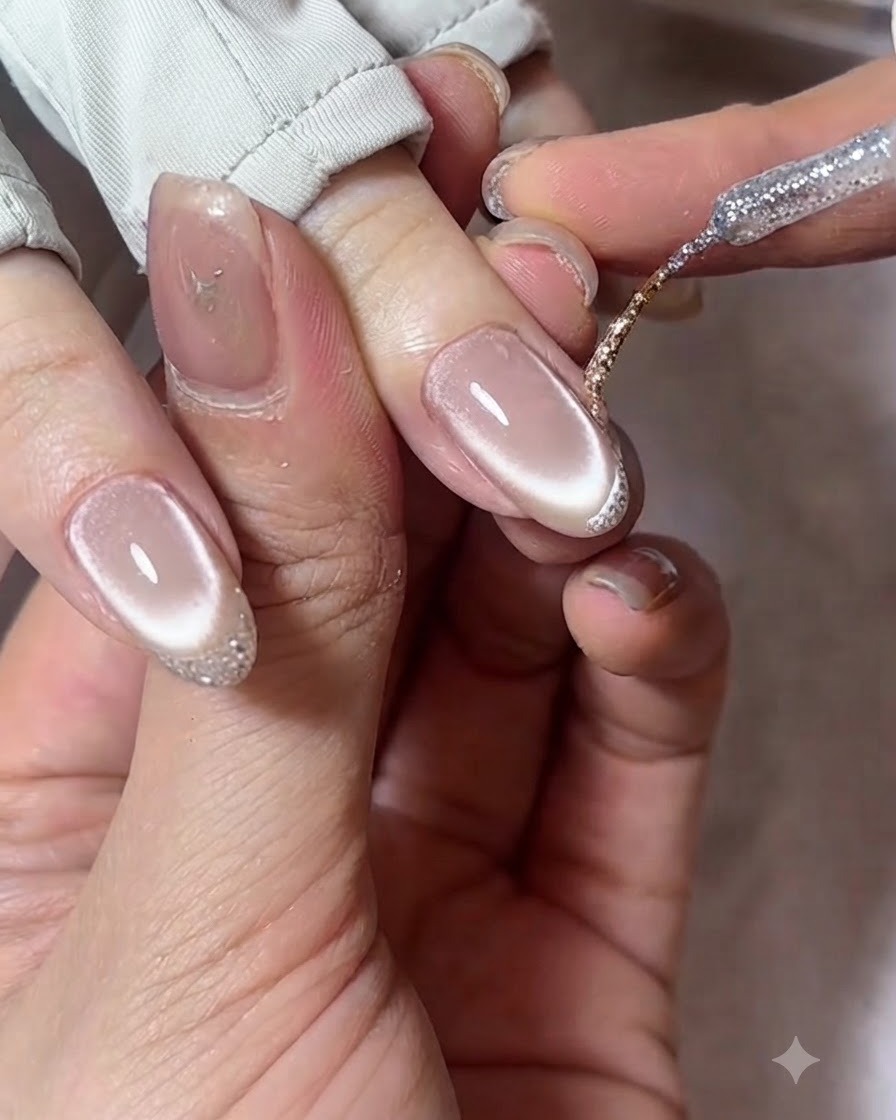
Dip an ultra-fine liner brush into highly reflective silver glitter gel. Carefully outline the extreme free edge of the nail with a very thin, precise line to accentuate the French tip. Cure the nail completely under your lamp once the line is perfected.
Tip: Use a slow, steady hand and a long liner brush to draw the line in one smooth motion for the cleanest edge. Anchor your pinky against the clients hand for maximum stability.