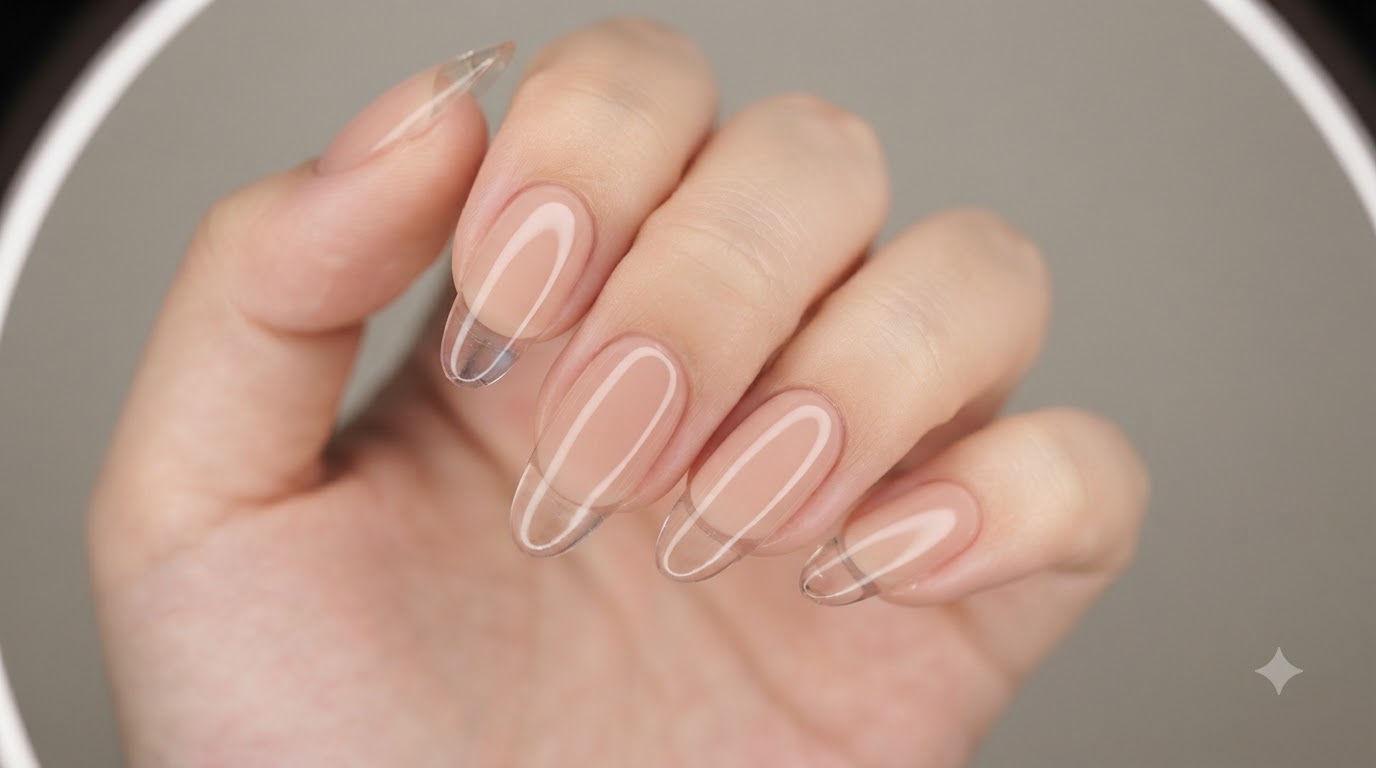
Ice Transparent French Extension Nails — Crystal Glass Tutorial
Master the modern ice transparent French manicure using dual forms and a sponge gradient technique for a flawless, crystal-clear glass finish.
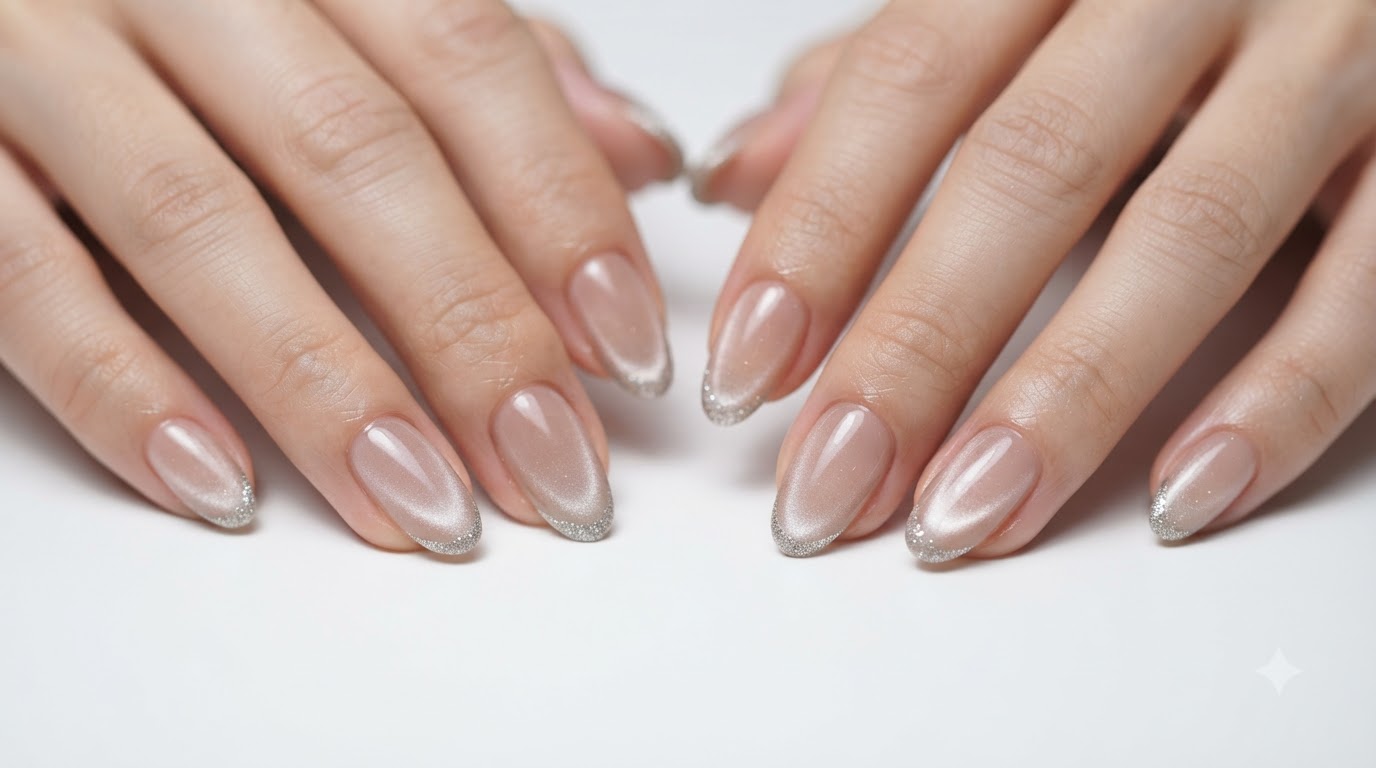
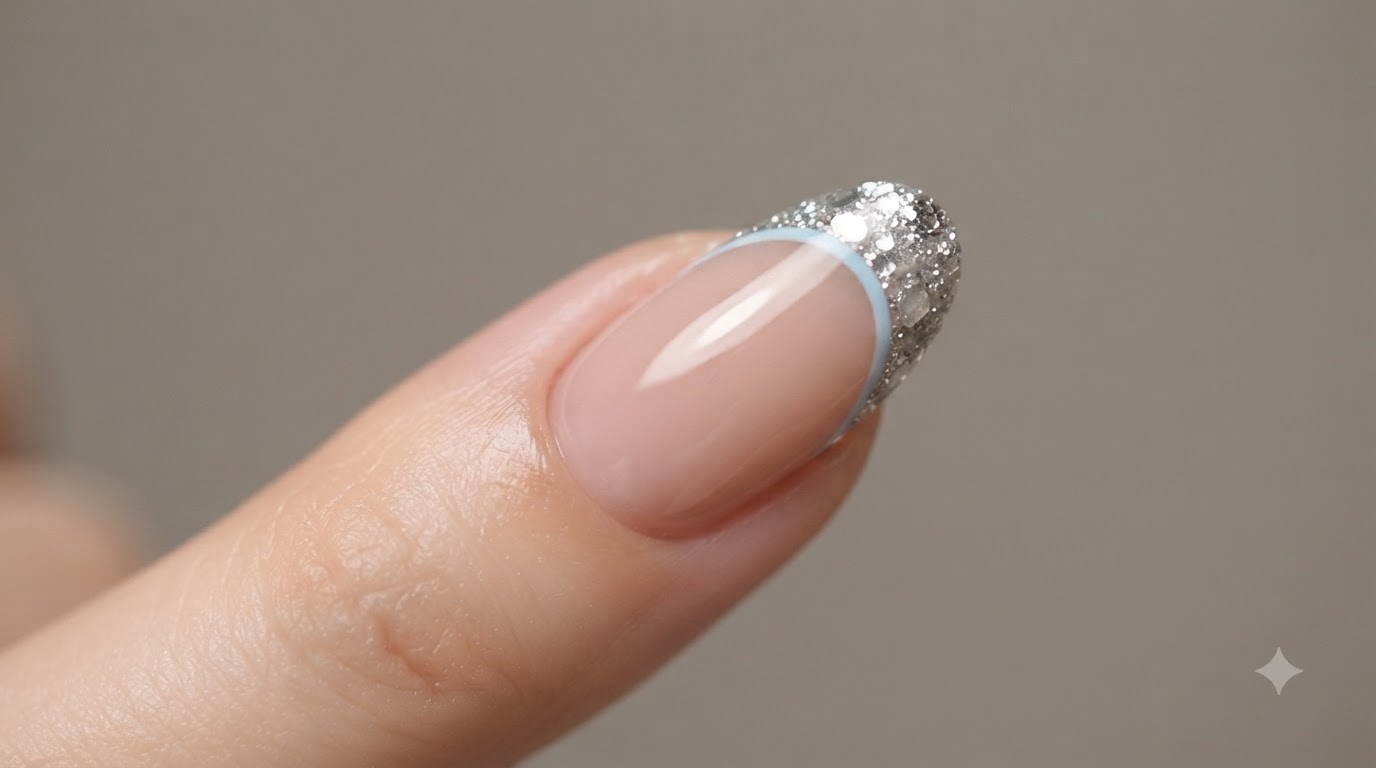
The ice transparent French look takes the classic French manicure into a modern futuristic space by leaving the extended tips completely crystal-clear and pairing them with a soft nude gradient base. Achieving this glass-like aesthetic requires precise dual form placement and careful alignment to ensure a seamless transition from your natural nail plate to the translucent tip. This tutorial guides you step-by-step through building, shaping, and perfecting your own glass French extensions at home.
Steps
- 1Apply Clear Base Gel
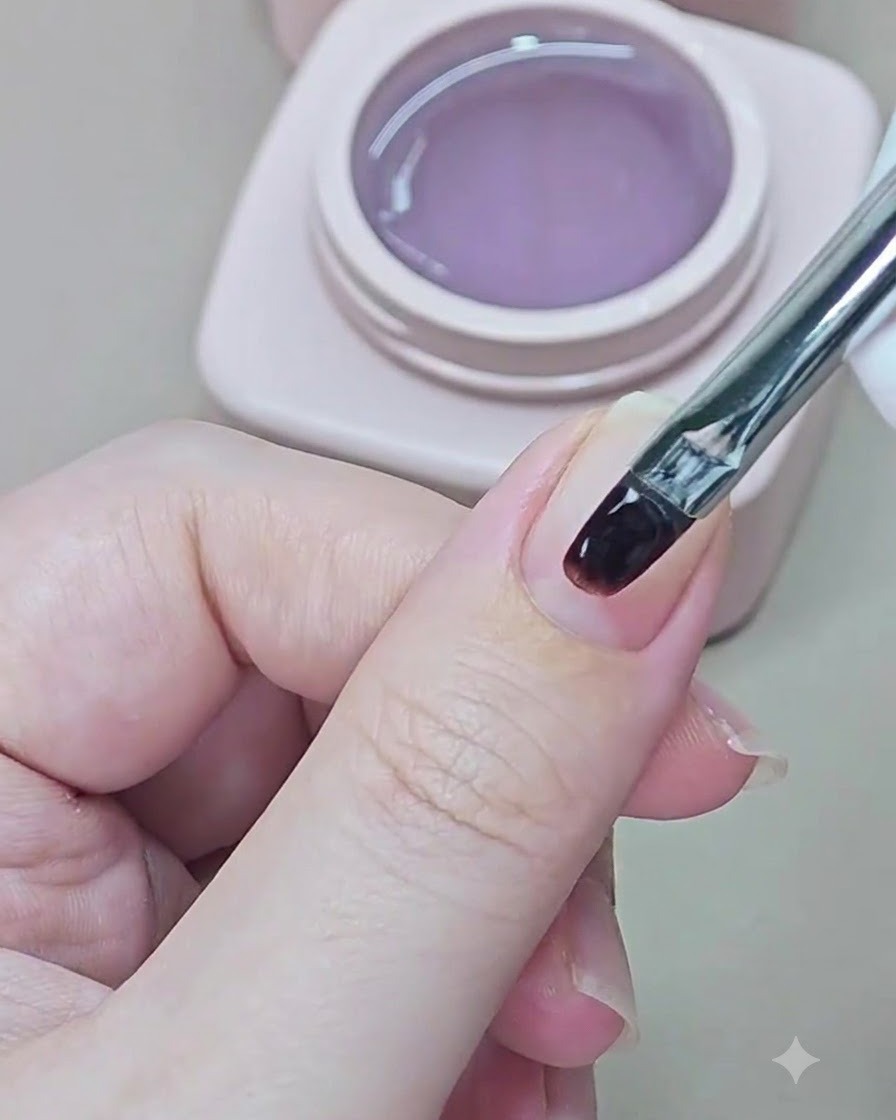
Brush a thin and even layer of clear base gel directly onto the prepped natural nail plate to ensure proper adhesion for the upcoming extension product.
Tip: Keep the layer thin to prevent pooling around the cuticles during the cure. - 2Cure Base Gel with Mini Lamp
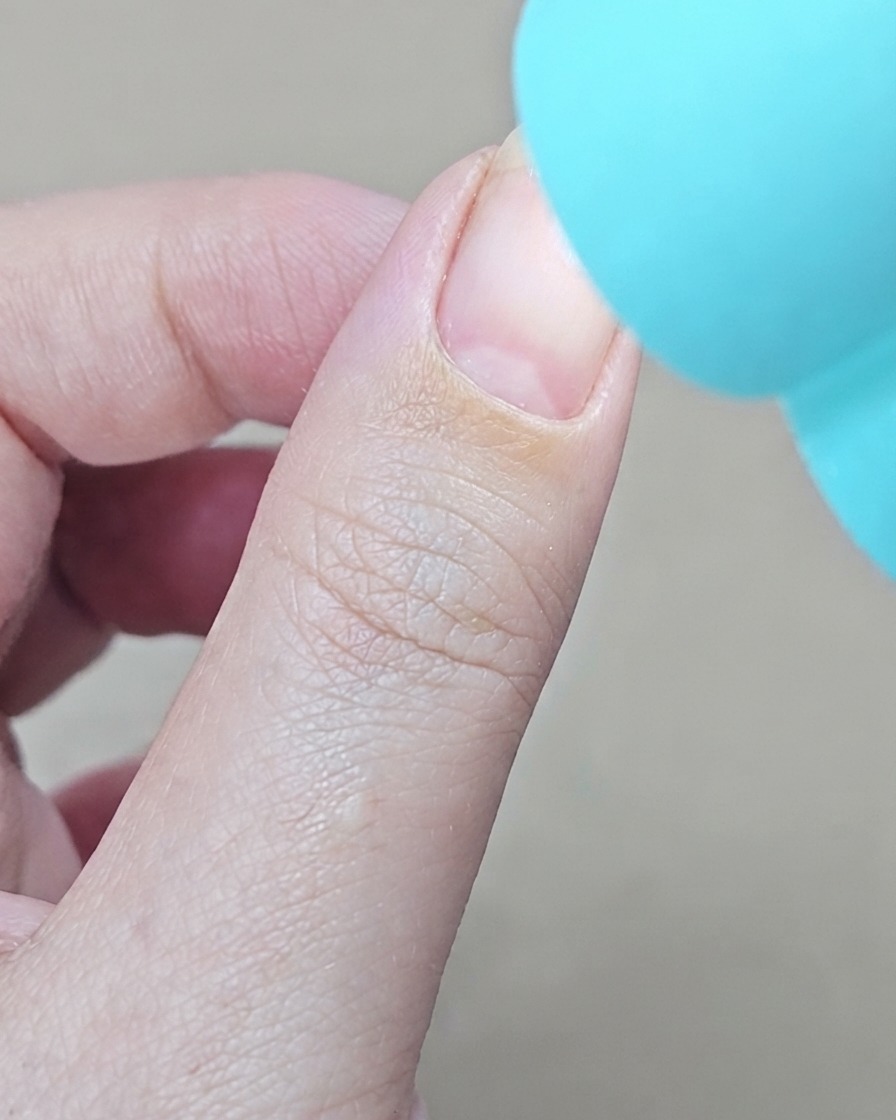
Hold a small, handheld blue UV/LED lamp directly over the treated nail to flash cure the base gel layer and lock it into place.
Tip: Hold the mini lamp steady to prevent the uncured gel from shifting before it hardens. - 3Prepare Dual Form with Extension Gel
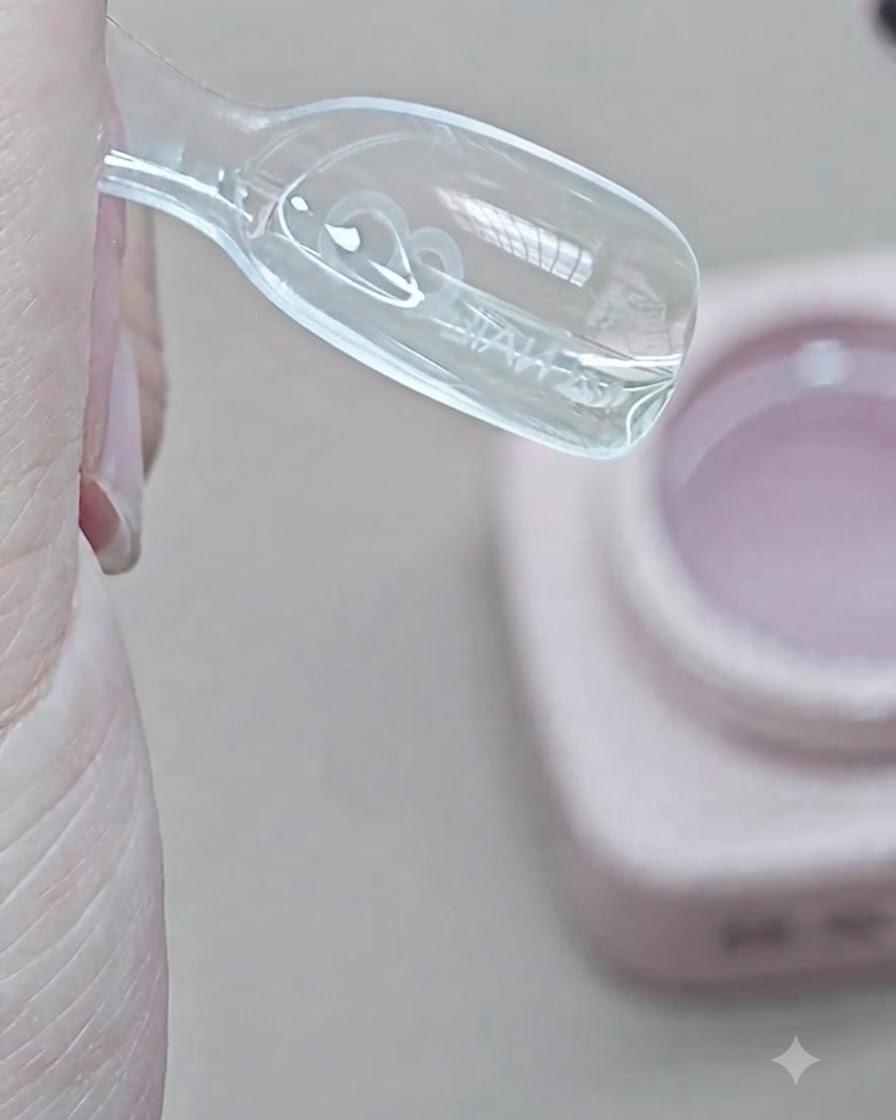
Brush thick, clear transparent extension gel evenly into the hollow well of a plastic dual form nail mold, making sure to maintain thickness on both sides.
Tip: Avoid applying too much gel near the edges of the mold to prevent excessive overflow upon application. - 4Apply Dual Form to Nail Bed
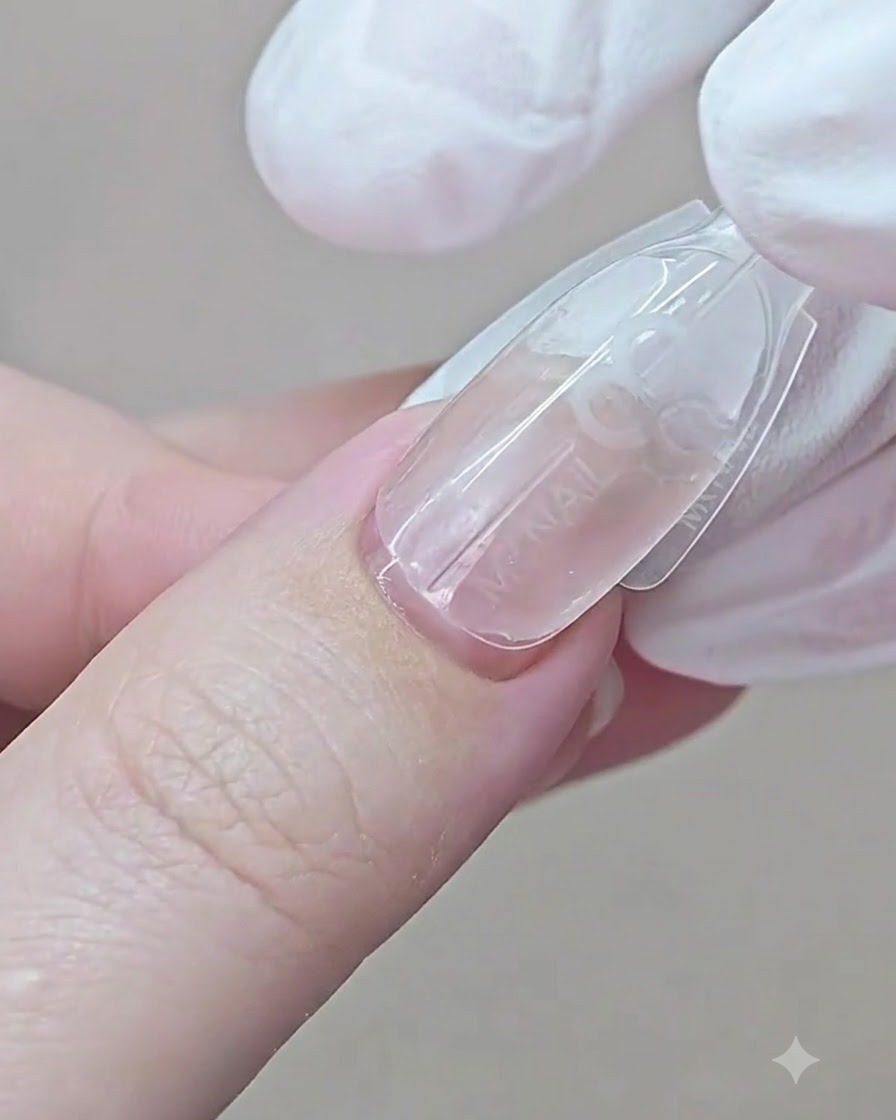
Press the gel-filled dual form onto the nail bed by anchoring it securely at the cuticle edge and slowly pushing forward to eliminate air bubbles and prevent gel overflow.
Tip: Push forward slowly and gently so the gel spreads uniformly without spilling over the skin. - 5Cure Index Finger Dual Form
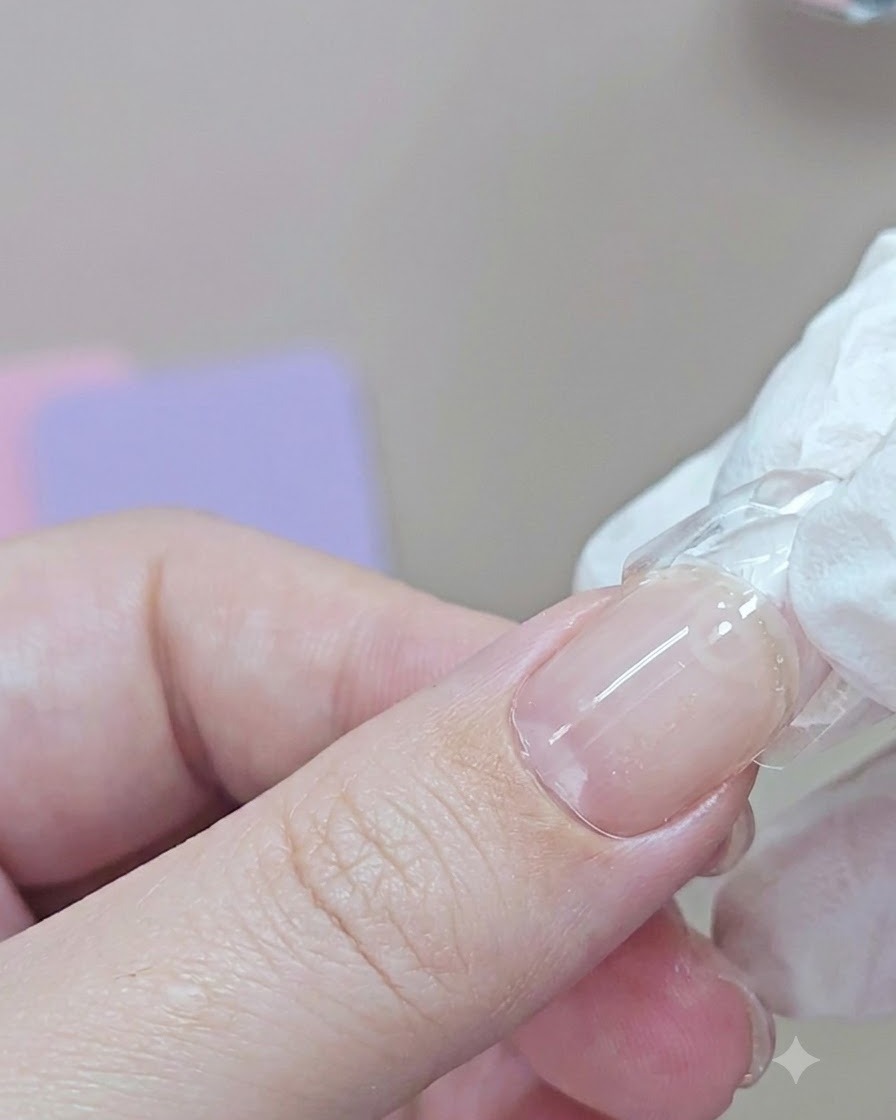
Use the handheld blue mini lamp to cure the extension gel while the dual form remains securely attached to the index finger.
Tip: Ensure the light covers the entire length of the extension evenly to set the gel completely. - 6Apply and Cure Middle Finger Form
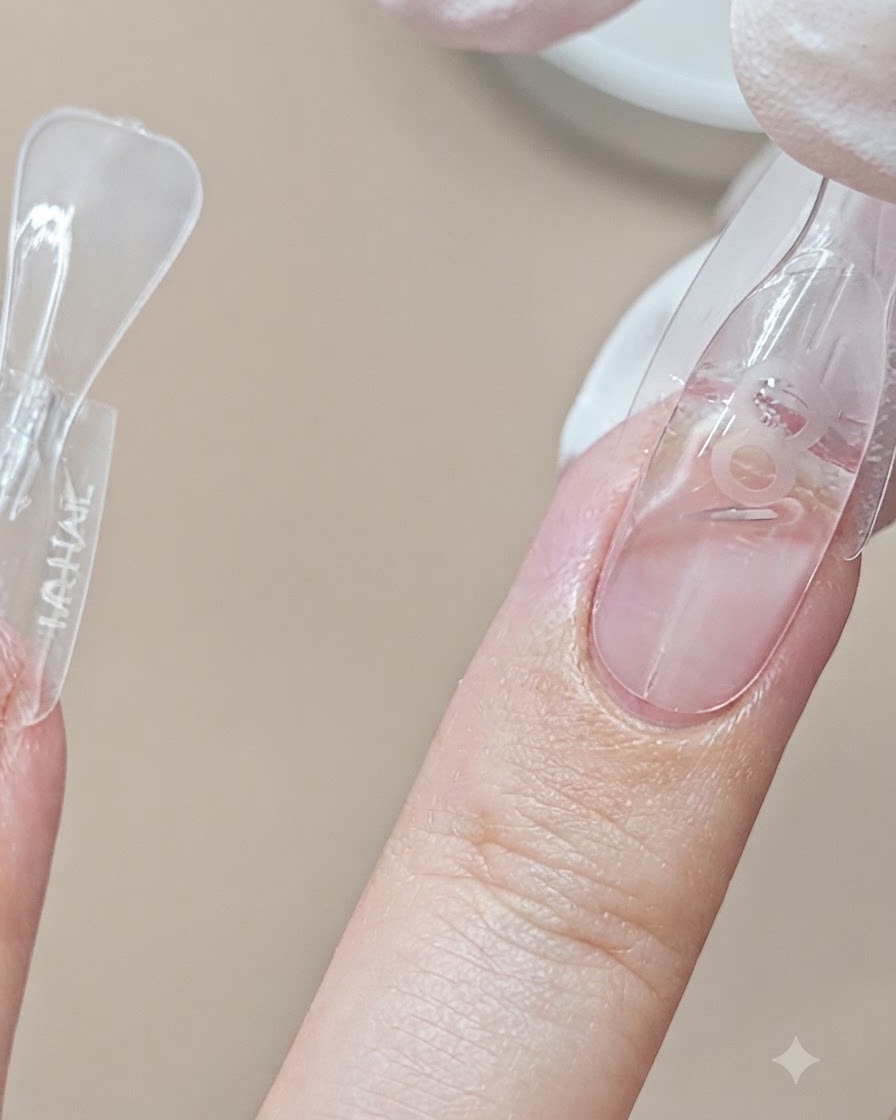
Press a newly prepared dual form onto the middle finger following the same alignment technique, then cure the gel under the handheld mini lamp.
Tip: Double-check the alignment along the natural nail axis before flashing the light. - 7Press dual form onto ring finger
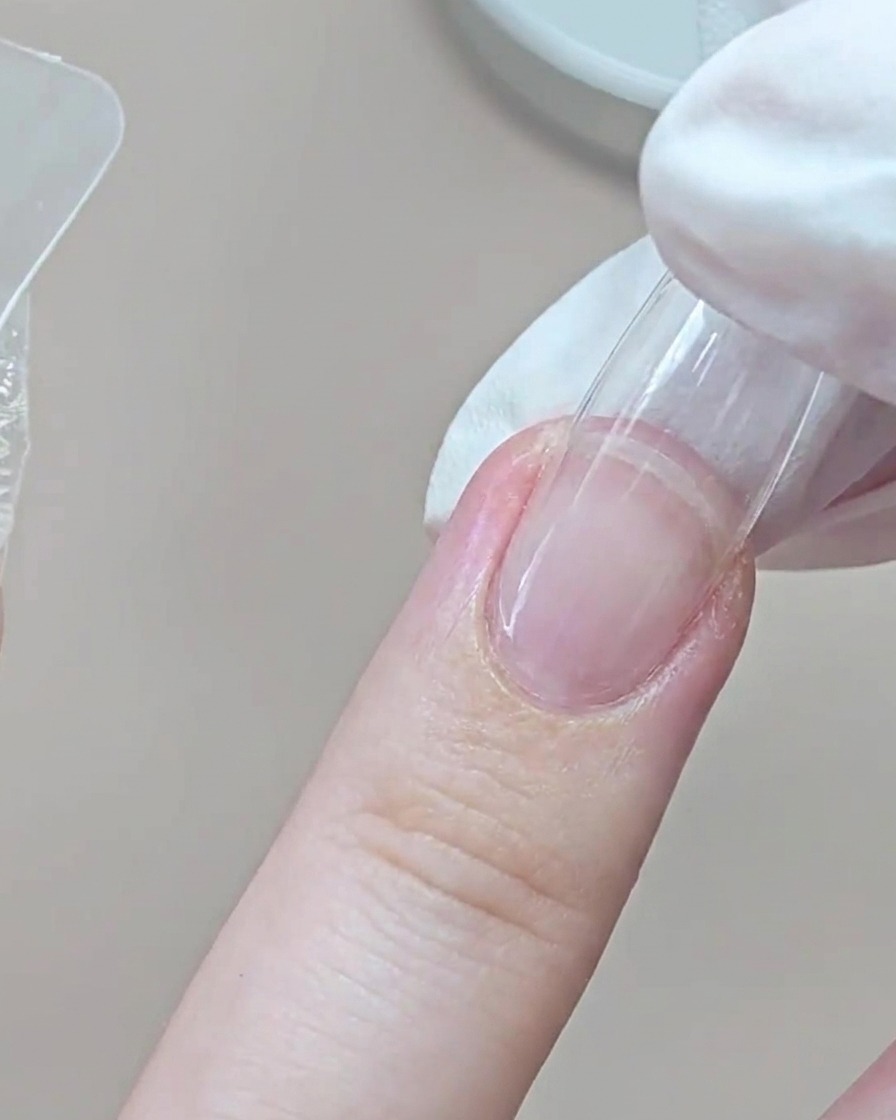
Take a prepared dual form filled with extension gel and gently press it onto the prepped ring finger, aligning it near the cuticle edge and pushing forward slowly to avoid overflow. Cure under a mini UV or LED lamp to set the gel in place.
Tip: Apply gentle and even pressure when placing the dual form to eliminate air bubbles trapped underneath. - 8Press dual form and cure
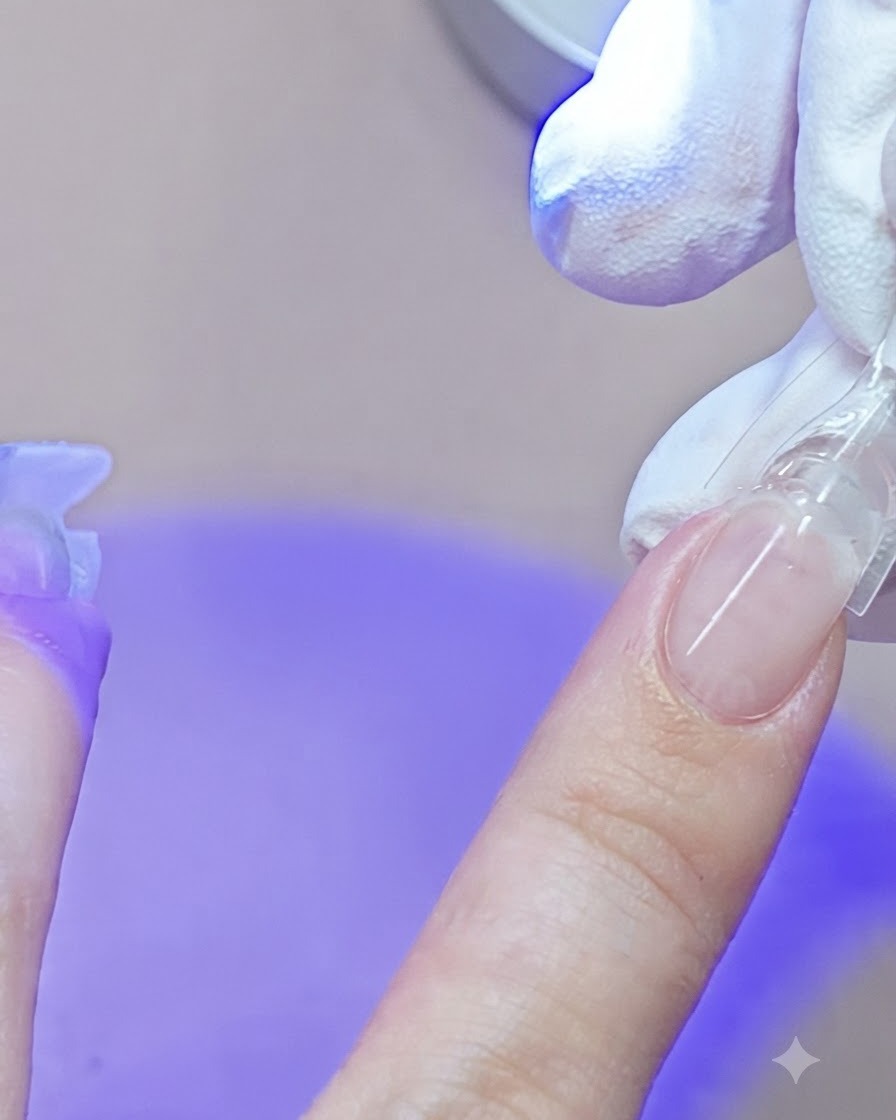
Take the prepared dual form filled with extension gel and press it firmly onto the pinky nail, ensuring there are no air bubbles trapped underneath. While holding the form in place, use a handheld mini lamp to flash cure the gel and lock the extension securely onto the nail surface.
Tip: Hold the dual form steady while flash curing to prevent it from shifting out of alignment. - 9Remove dual form from index finger
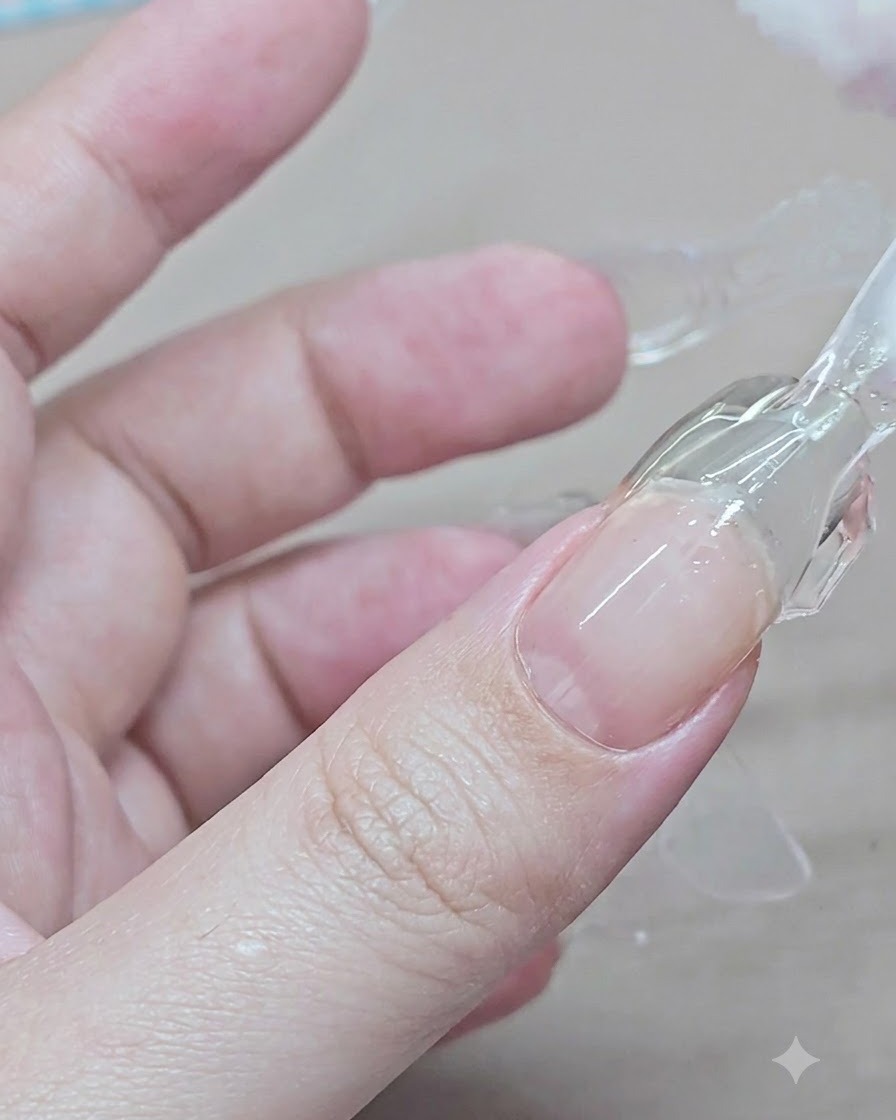
Once the extension gel is fully cured, gently pinch the sides of the plastic dual form to break the suction and carefully peel it away from the hardened clear gel extension on the index finger.
Tip: Do not force or yank the form off roughly; gentle side-to-side pinching will release it smoothly without damaging the gel structure. - 10Pop off dual form from middle finger
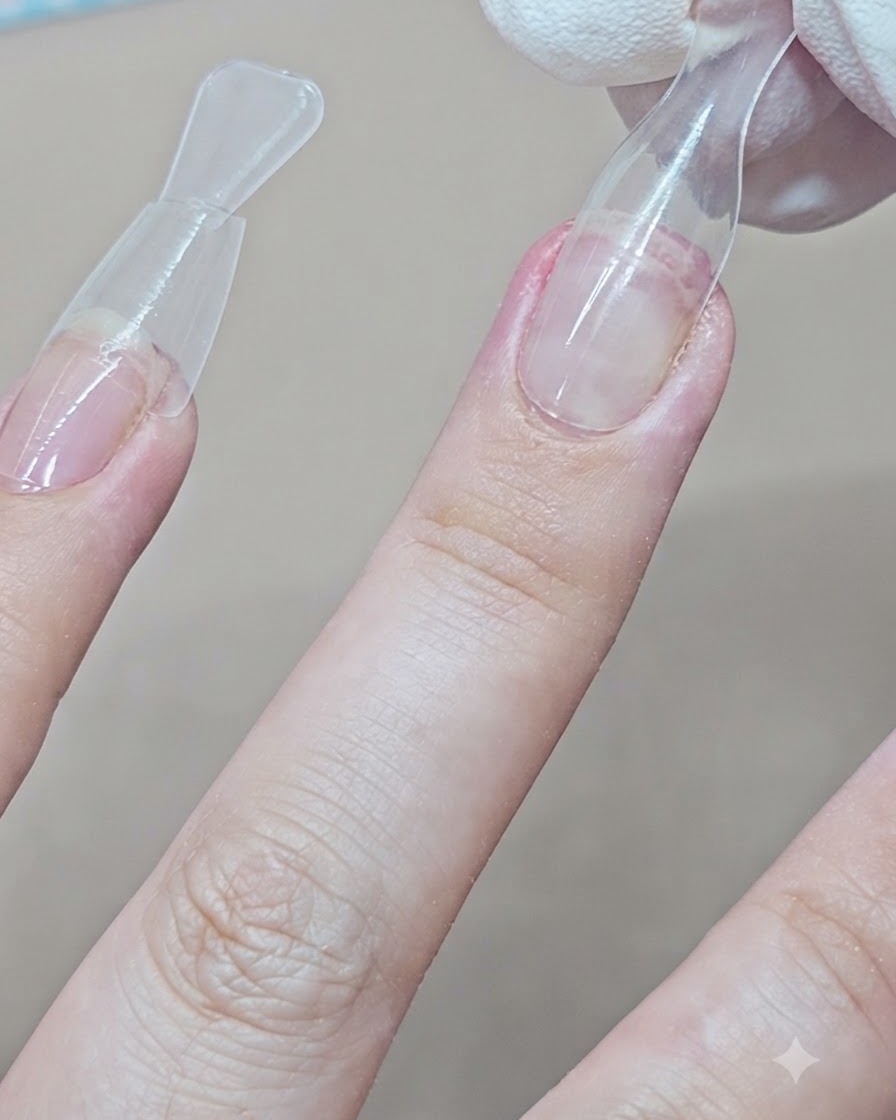
Gently wiggle and pop off the plastic dual form from the middle finger extension now that the clear gel has been cured and set securely.
Tip: Check the edges of the cured gel extension for any residue or loose bits after removing the dual form. - 11Nip excess gel from sidewalls
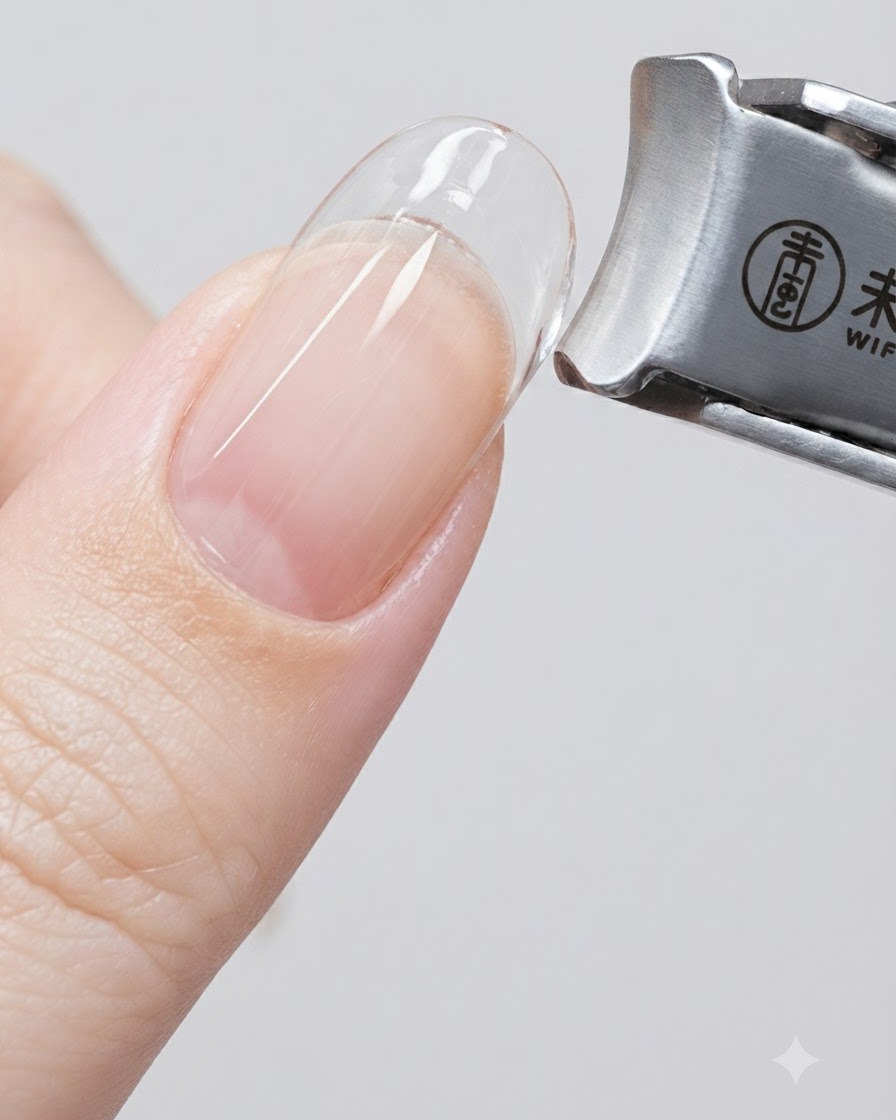
Using metal nail clippers, carefully nip away any excess cured gel around the sidewalls and edges of the nail extension to clean up the shape and lines.
Tip: Snip small amounts at a time to avoid cutting too close to the finger or cracking the structural extension. - 12File gel tip into almond shape
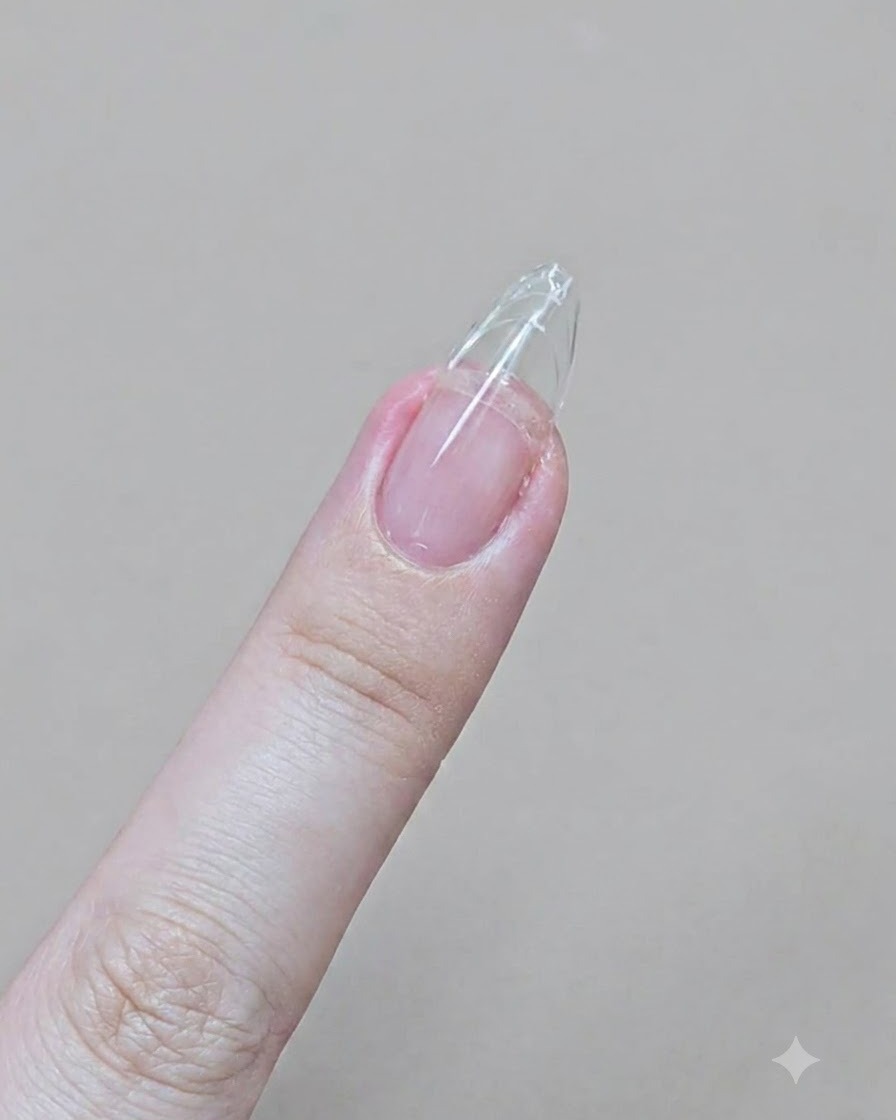
Using an emery board, vigorously file the sides and free edge of the clear gel tip to refine the silhouette and shape it into a sharp, clean almond point.
Tip: Maintain an even angle on both sides while filing to ensure a symmetrical and balanced almond shape. - 13Apply leveling builder gel layer
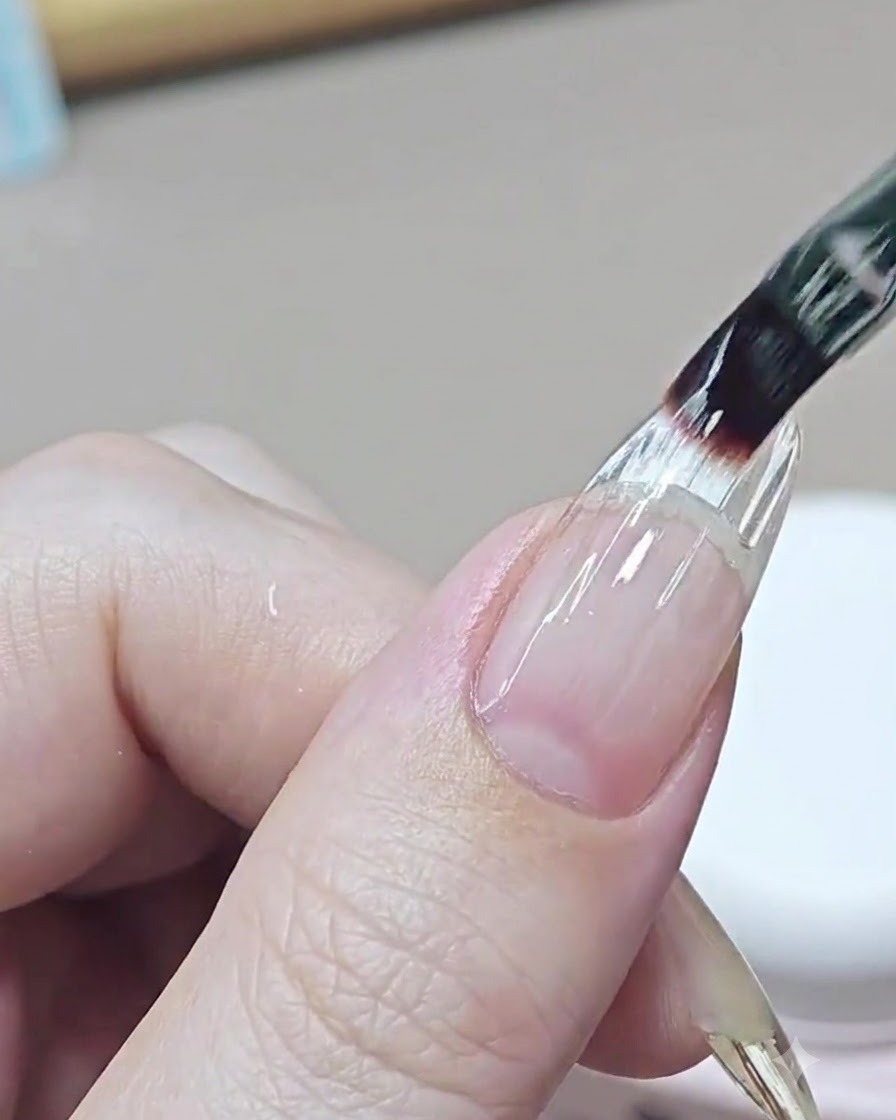
Apply a thin, even layer of clear builder gel across the nail bed and over the filed transition area where the natural nail meets the extension. This self-leveling layer smooths out any bumps or ledges, creating a seamless and uniform foundation for the upcoming nail art steps.
Tip: Keep this layer thin to prevent the nail from looking bulky while still effectively smoothing the junction line. - 14Cure smoothing layer
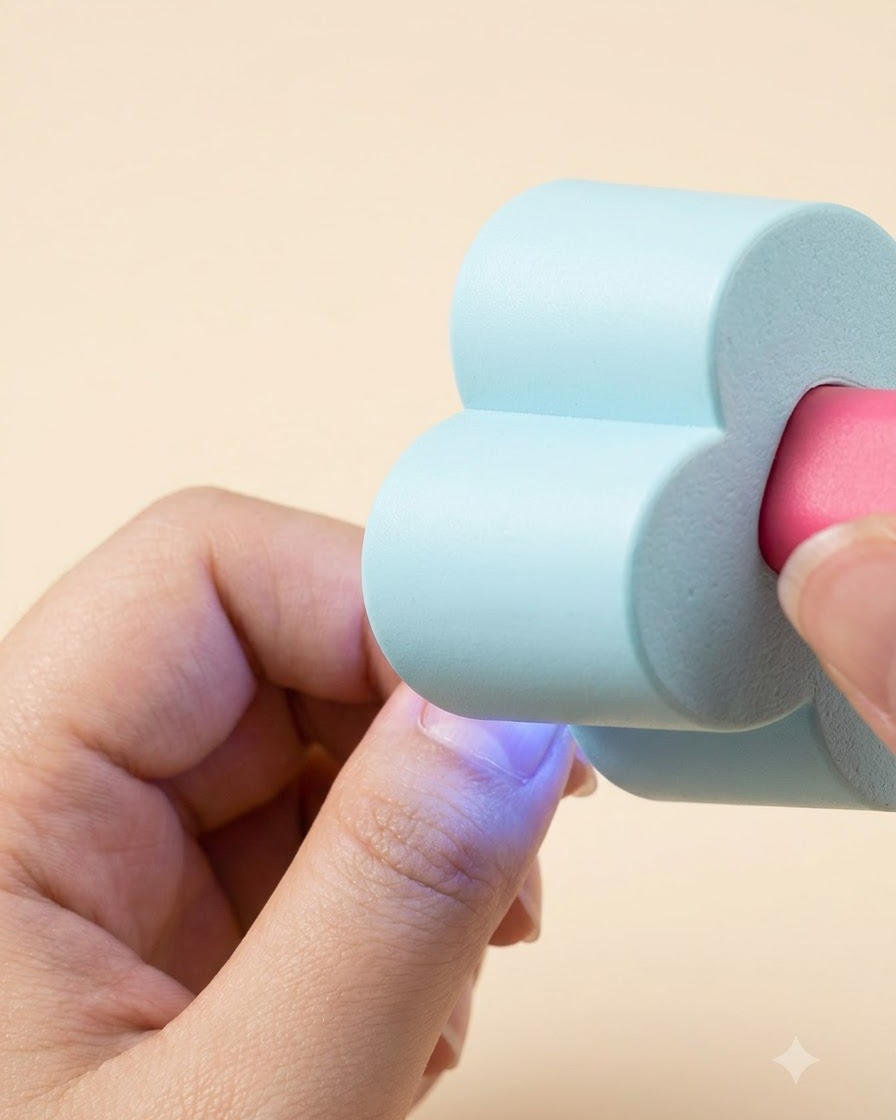
Position the handheld blue mini lamp directly over the nail to cure the newly applied leveling builder gel layer. Ensure the light covers the entire nail surface evenly so the gel hardens completely without shifting.
Tip: Hold the mini lamp steady for the full recommended duration to ensure complete polymerization of the builder gel. - 15Apply French sticker guide
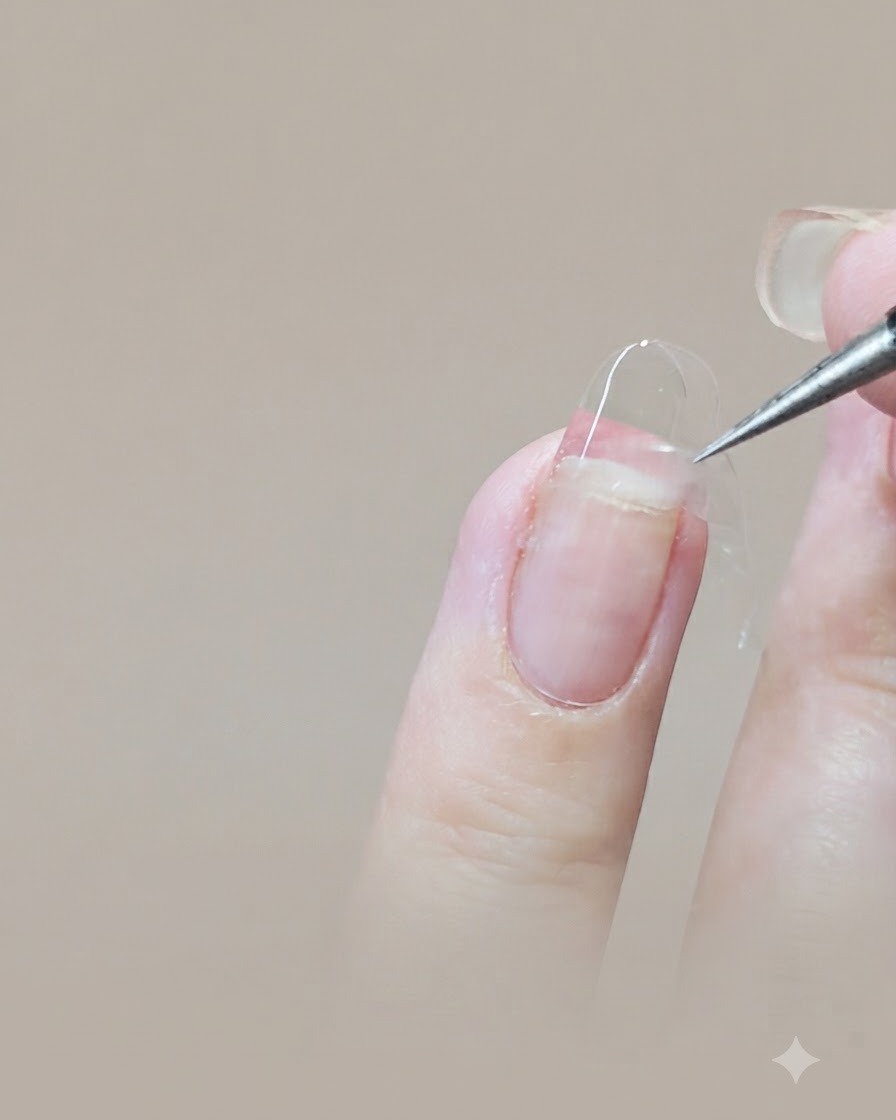
Carefully pick up a curved French smile line sticker guide using precision tweezers. Position and press the guide horizontally across the middle of the clear nail extension to block off the nail bed area for the upcoming sponge application.
Tip: Press down firmly along the edges of the sticker guide to prevent any color from bleeding underneath. - 16Sponge on nude color layer
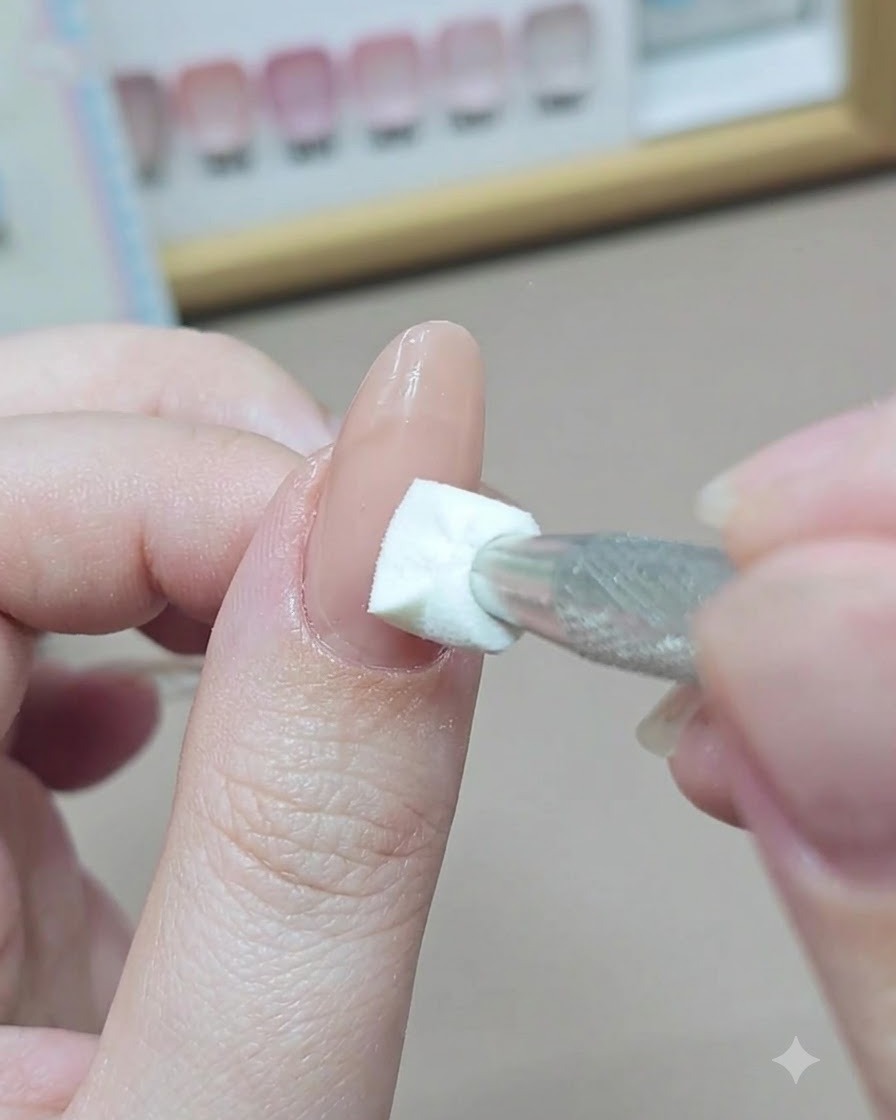
Load a small cosmetic sponge with opaque nude gel polish and gently dab it repeatedly over the nail bed area below the sticker guide. This stippling technique creates a soft, airbrushed gradient effect without leaving brush marks.
Tip: Dab lightly and build up color with multiple thin layers for a smooth, flawless gradient finish. - 17Cure sponged nude layer
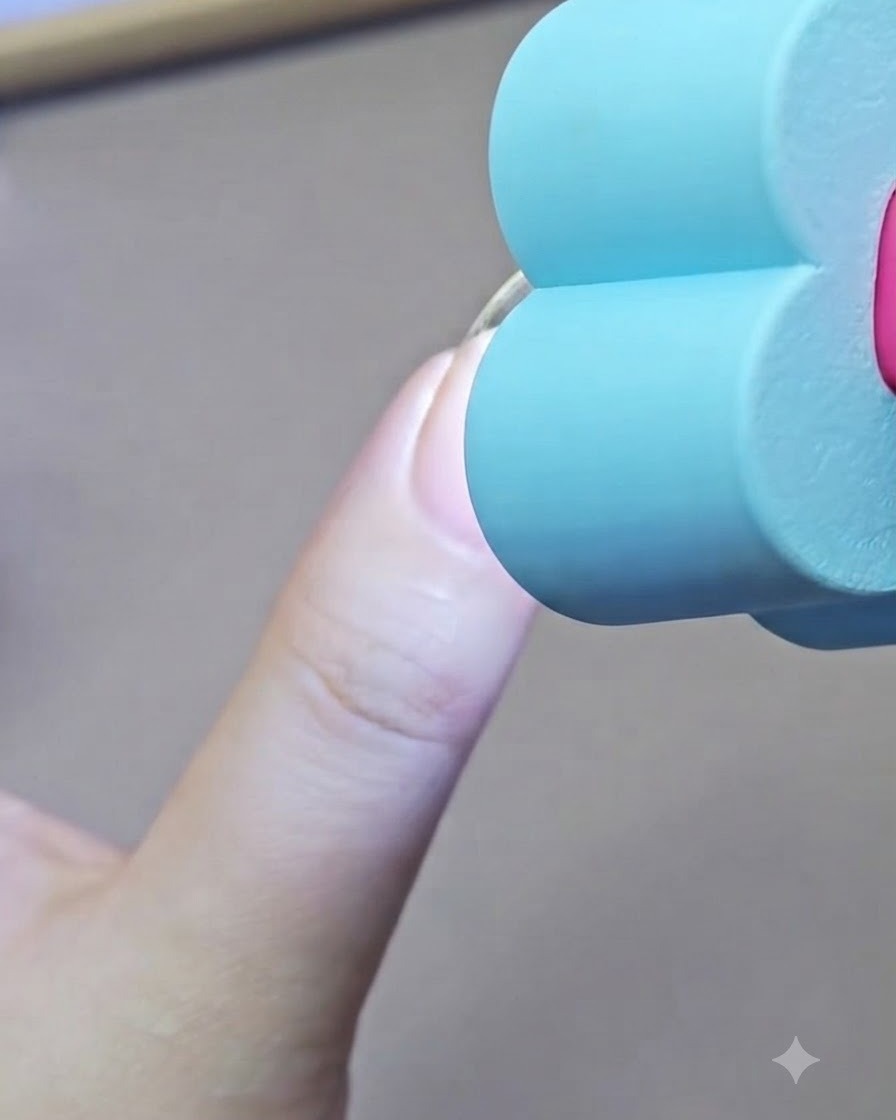
Place the handheld blue mini lamp over the finger to cure the sponged nude color layer. Curing between sponge applications locks the pigment in place and builds opacity without smudging the gradient.
Tip: Ensure the sponge layer is fully cured before removing the guide sticker or applying subsequent coats. - 18Peel away the French sticker guide
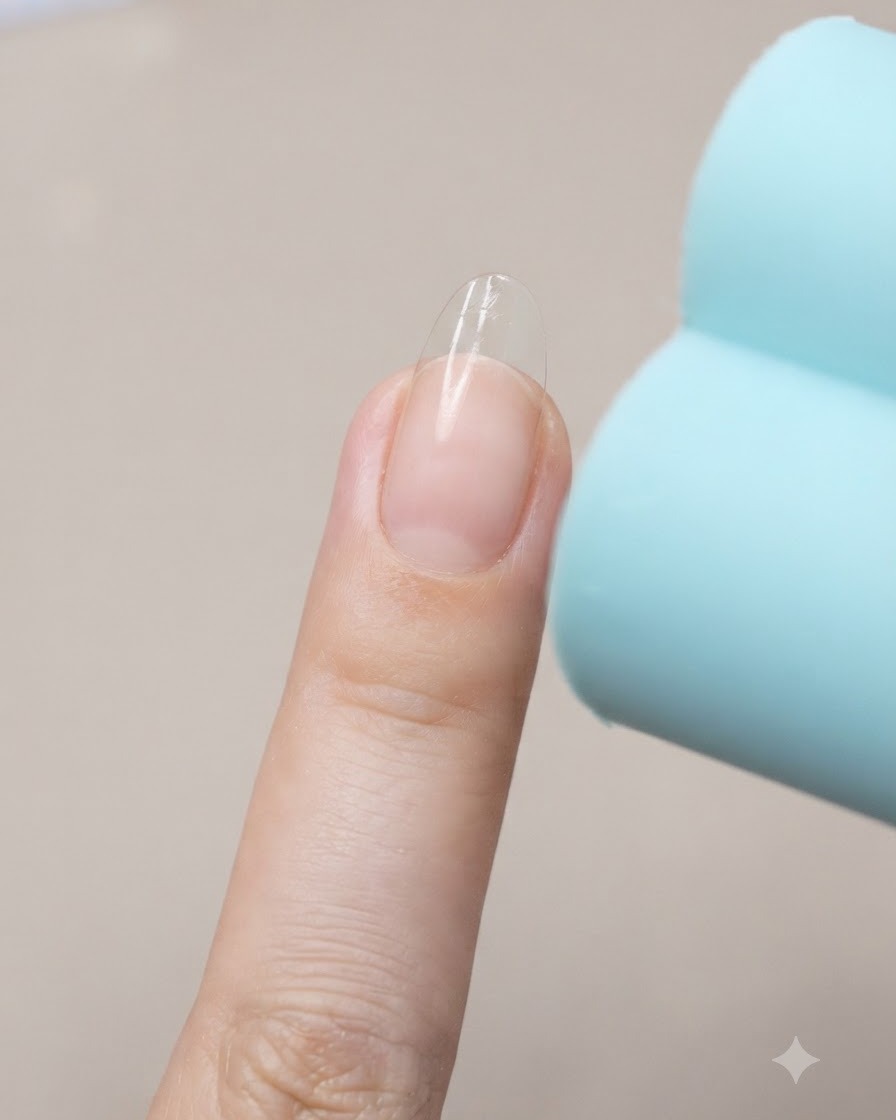
Using tweezers, gently and steadily peel back the French sticker guide from the nail. Pull it away carefully to avoid smudging the fresh polish or disrupting the clean boundary. This reveals a sharp, well-defined smile line that separates the nude nail bed from the transparent tip.
Tip: Peel the sticker off at a shallow angle rather than pulling straight up to keep the paint line crisp. - 19Apply a glossy clear top coat
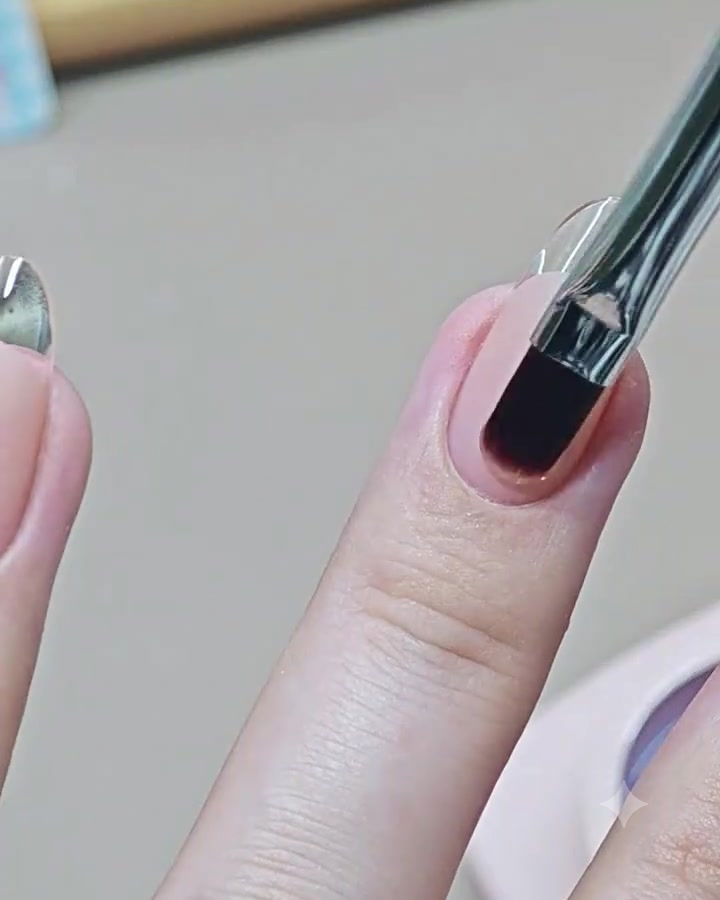
Brush a generous layer of glossy clear top coat over the entire surface of the nail. Ensure it completely covers both the nude nail bed and the transparent tip to seal the design and create a unified, glass-like finish. Cap the free edge to prevent chipping before curing under the lamp.
Tip: Make sure the top coat flows smoothly over the transition edge between the nude polish and the clear tip for an even shine.