Fairy Style Rhinestone Chain Gradient Nails — Step-by-Step Tutorial
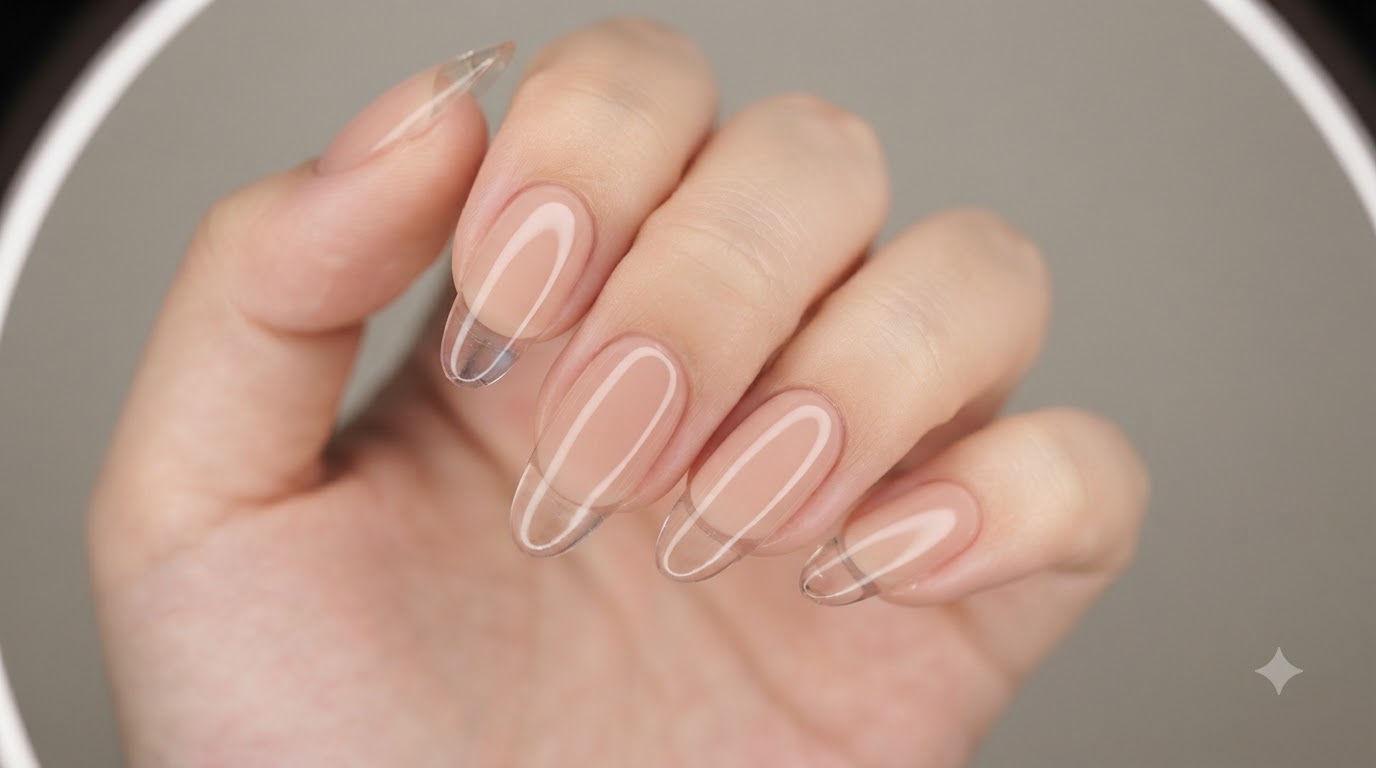
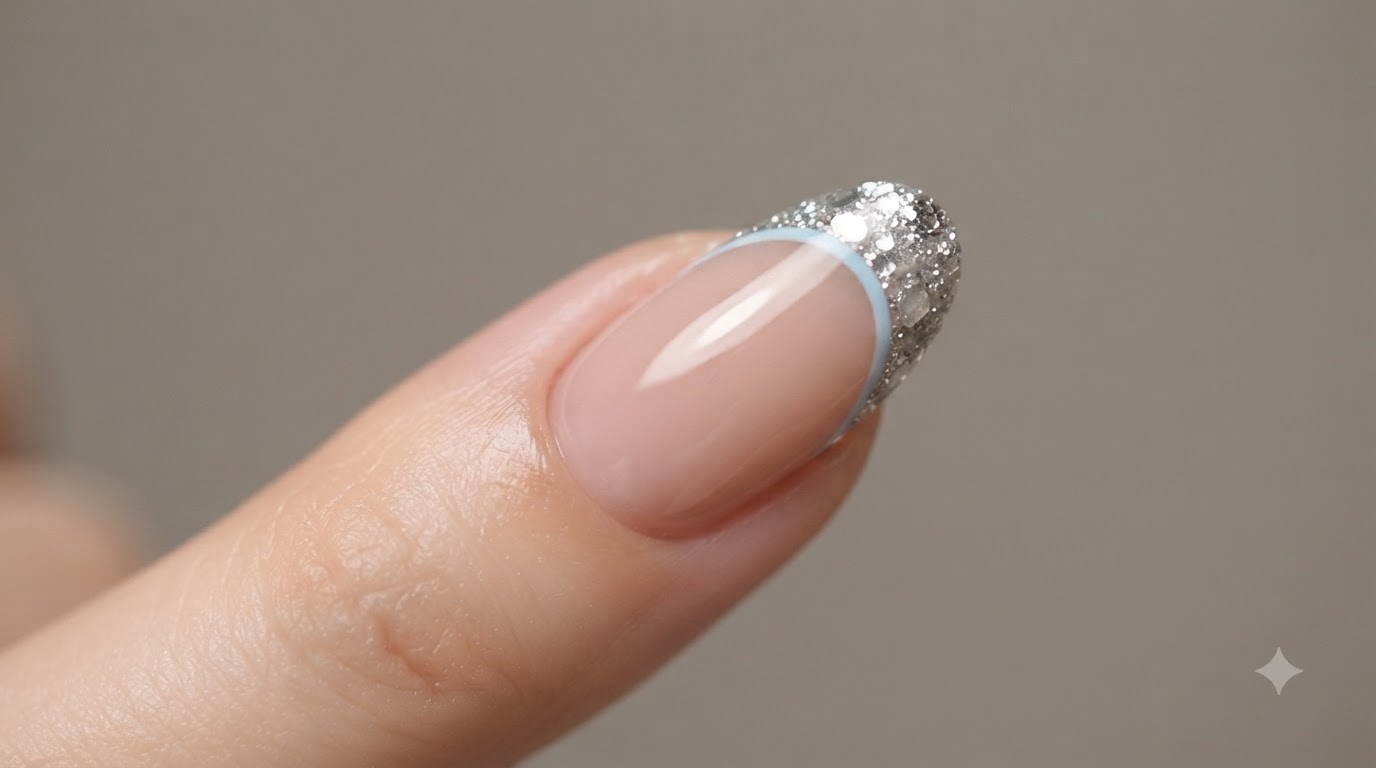
Create enchanting fairy-style nails featuring a translucent nude base, sparkly silver glitter gradient tips, and delicate silver chain and rhinestone heart embellishments.
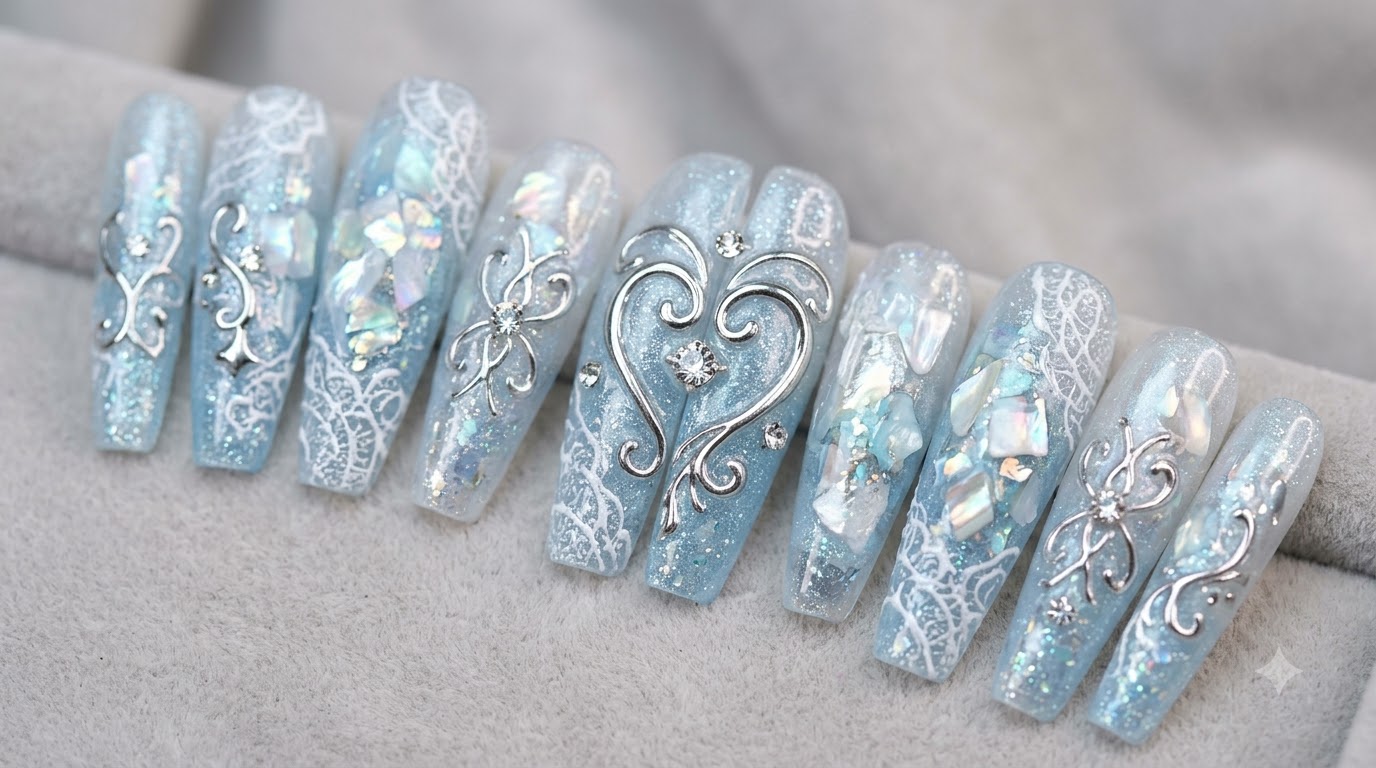
Fairy-core aesthetic meets sophisticated sparkle in this stunning nail design. By pairing a soft translucent nude base with a shimmering silver glitter ombre and delicate metallic chains forming romantic heart motifs, this look delivers major magic while remaining completely achievable at home.
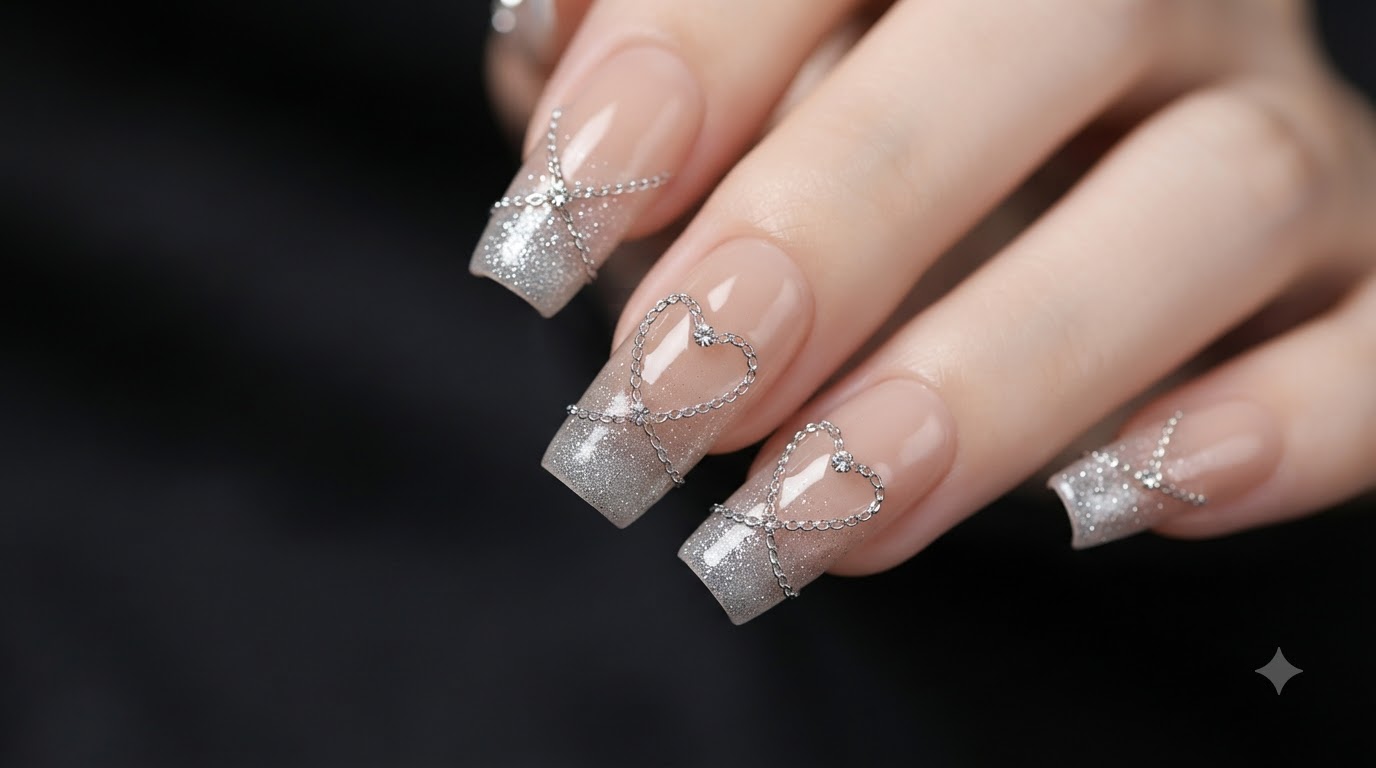
Steps
- 1Apply first sheer nude base coat
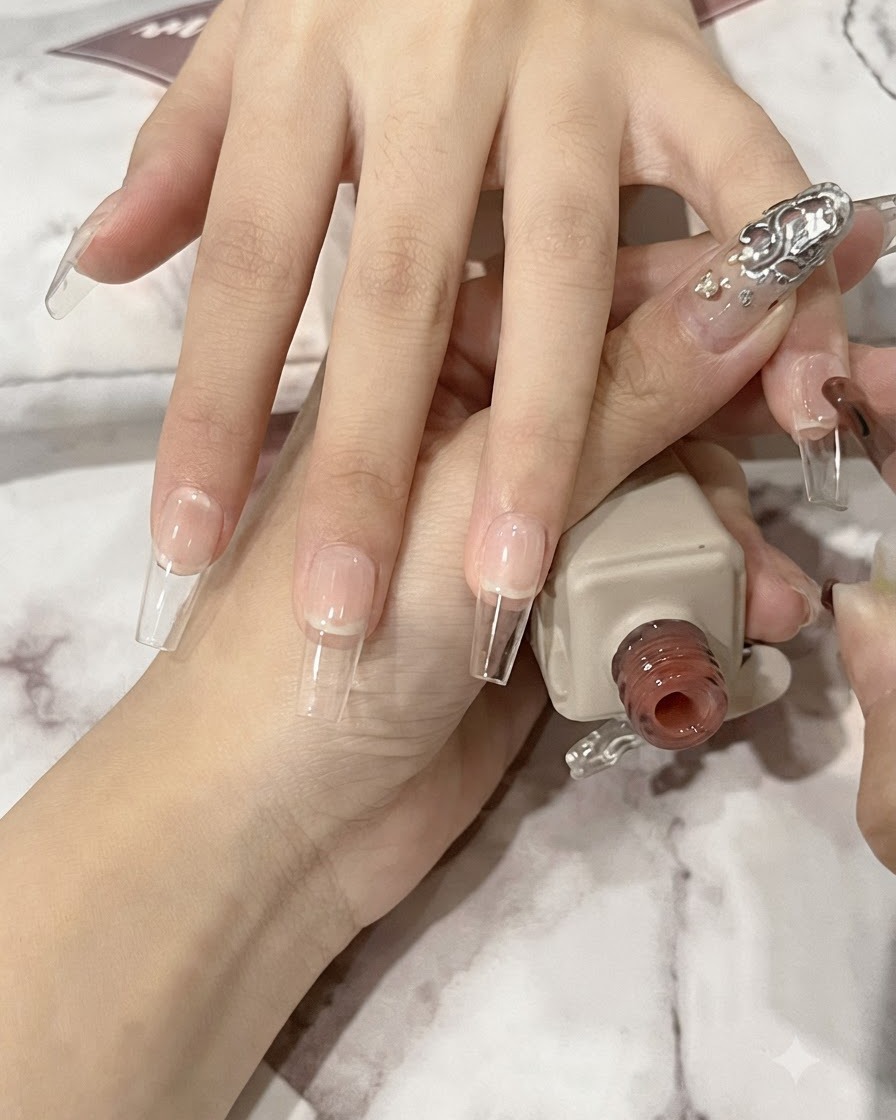
Apply an initial thin layer of ultra-sheer translucent nude base gel across the entire nail plate, ensuring smooth coverage from the cuticle down to the free edge. This first coat establishes a natural, even foundation for the gradient and nail art steps that follow.
Tip: Keep the first layer very thin to prevent pooling around the cuticles and ensure even curing. - 2Apply second coat of nude base gel
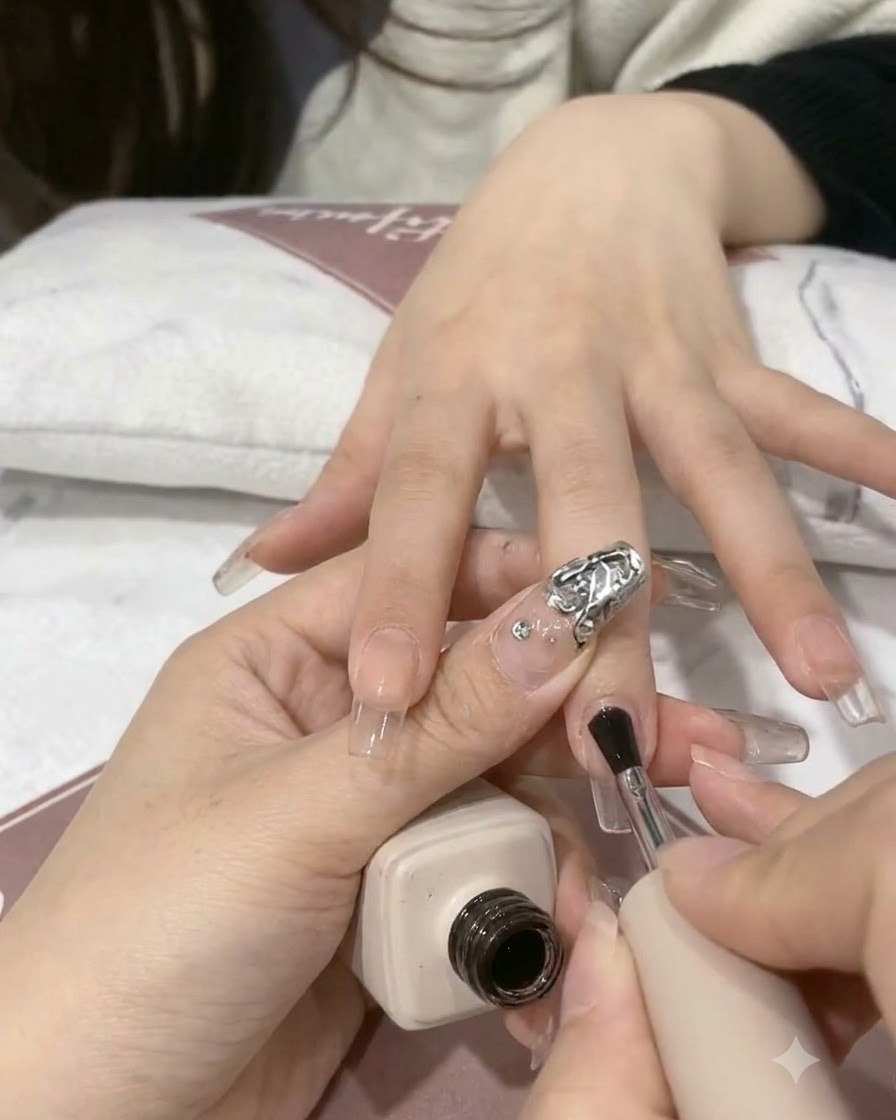
Apply a second coat of the translucent nude base gel to ensure smooth, even coverage across the nail surface. This layer deepens the color softly and provides a uniform foundation for any subsequent nail art or glitter details.
Tip: Keep strokes light and consistent to prevent pooling around the cuticles. - 3Prepare silver glitter gel application
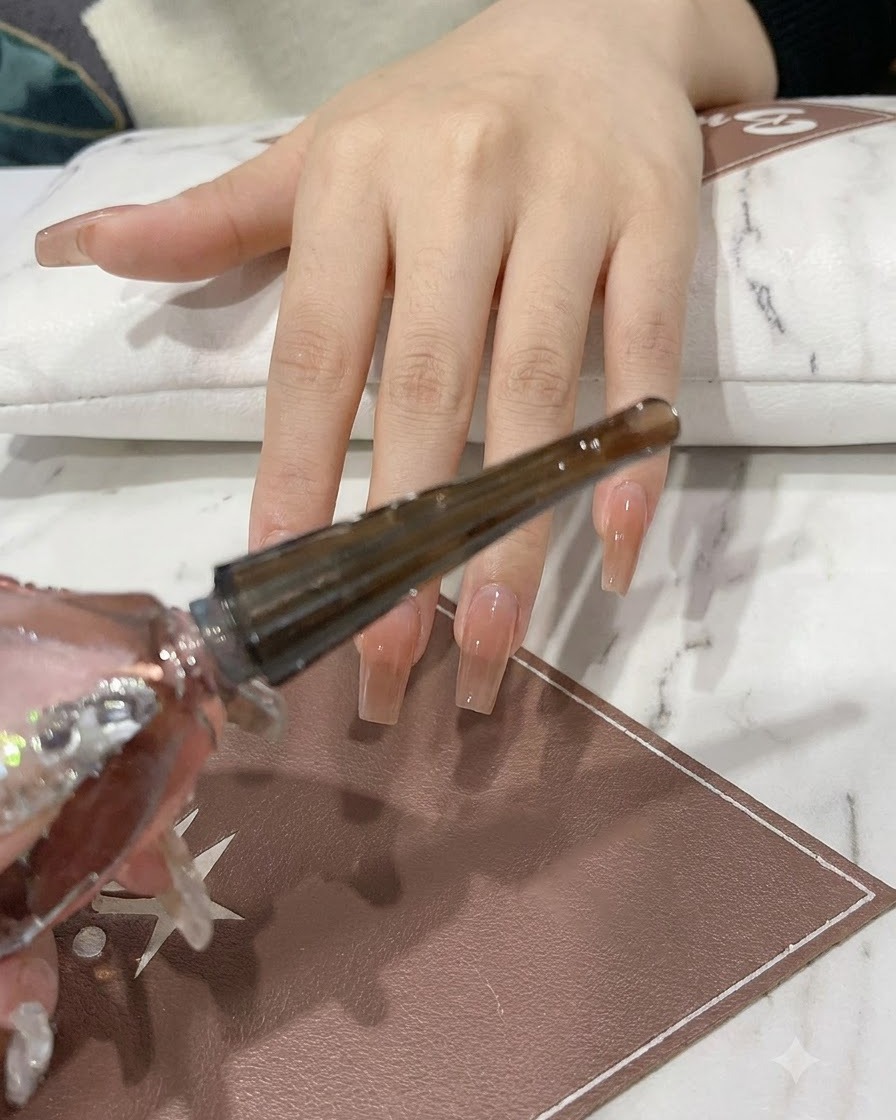
Take the silver glitter gel bottle and prepare the brush by wiping off any excess product on the neck of the bottle. Ensure the brush bristles are neatly fanned out for precise placement of the sparkling glitter particles onto the nail tips.
Tip: Wiping the brush prevents heavy globs of glitter from clustering unevenly on the first stroke. - 4Apply silver glitter to nail tips
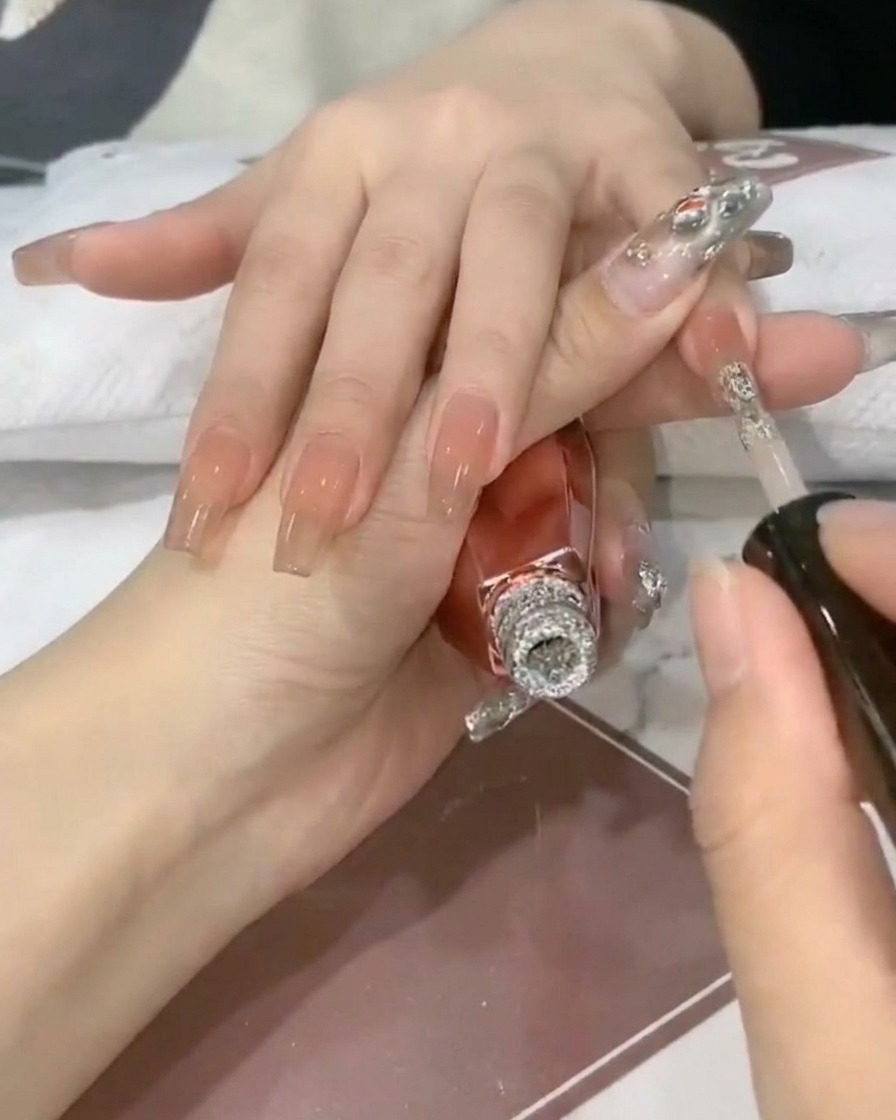
Carefully brush the silver glitter gel onto the upper portion of the nail tips, layering it over the cured or set nude base. Focus the concentration of the glitter particles near the free edge to build the foundation for the ombre effect.
Tip: Tap the brush lightly rather than dragging it to distribute the glitter flakes evenly across the tip area. - 5Blend glitter for an ombre effect
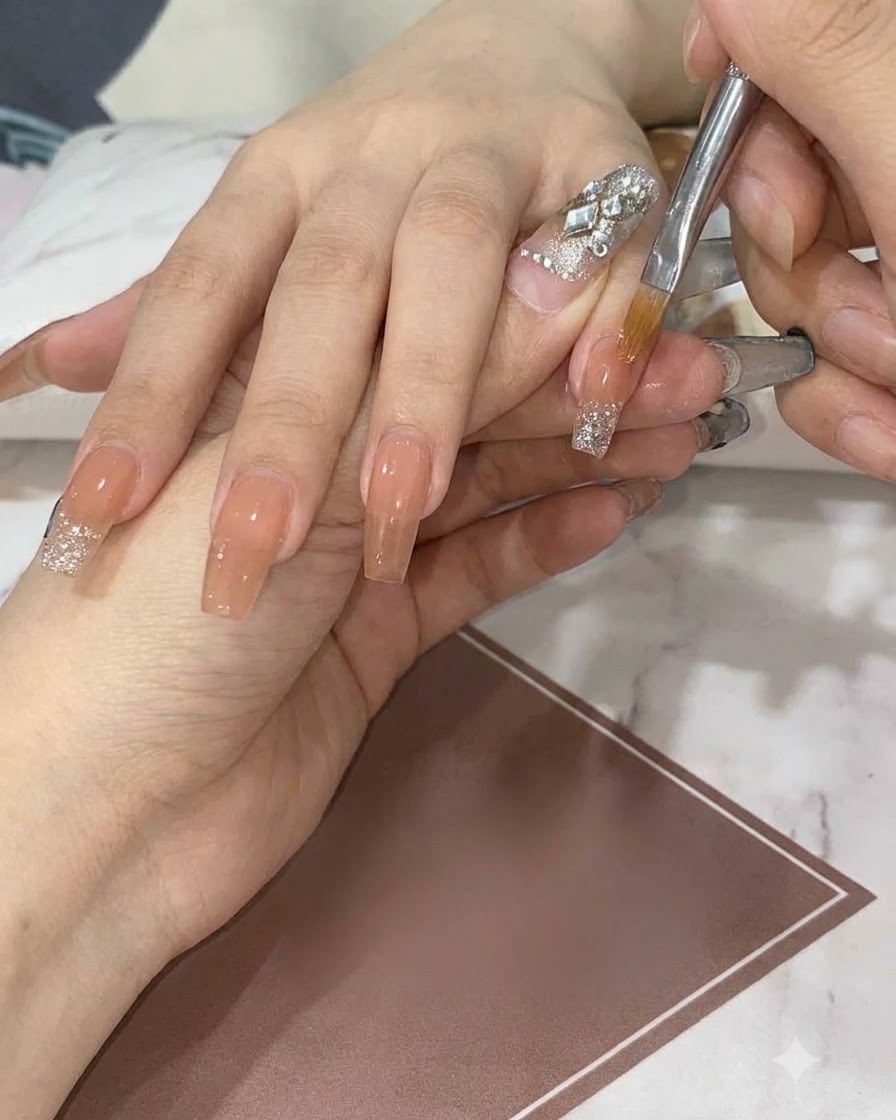
Take a clean flat gel brush and gently feather, blend, and drag the silver glitter downward toward the center of the nail. This technique diffuses the dense glitter line into a soft, seamless gradient ombre effect.
Tip: Use very light pressure with the blending brush so you disperse the glitter particles without wiping them off completely. - 6Intensify glitter at the fingertips
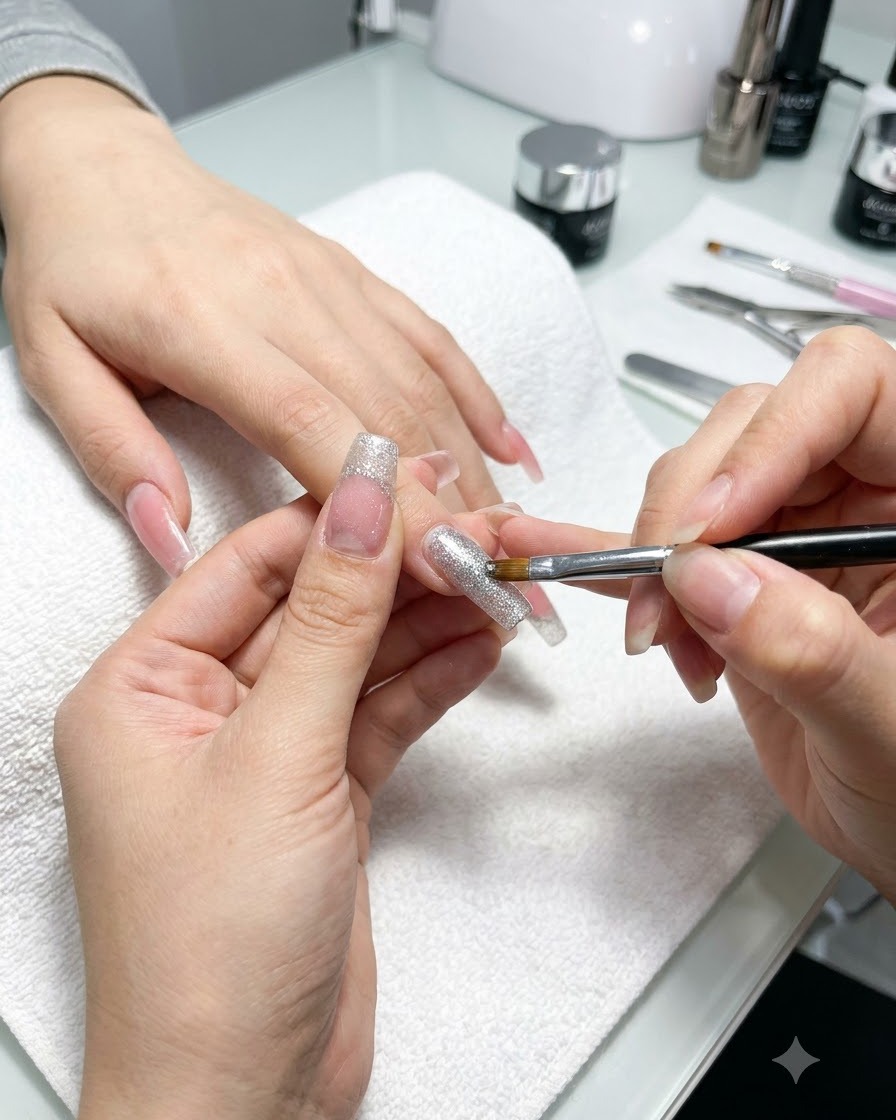
Apply an additional concentrated layer of silver glitter directly at the very edge of the fingertip. This extra application increases density and sparkle at the apex of the gradient, making the ombre effect pop with maximum brilliance.
Tip: Concentrate this extra layer right along the free edge so the fade upward remains clean and gradual. - 7Cut silver chain strip
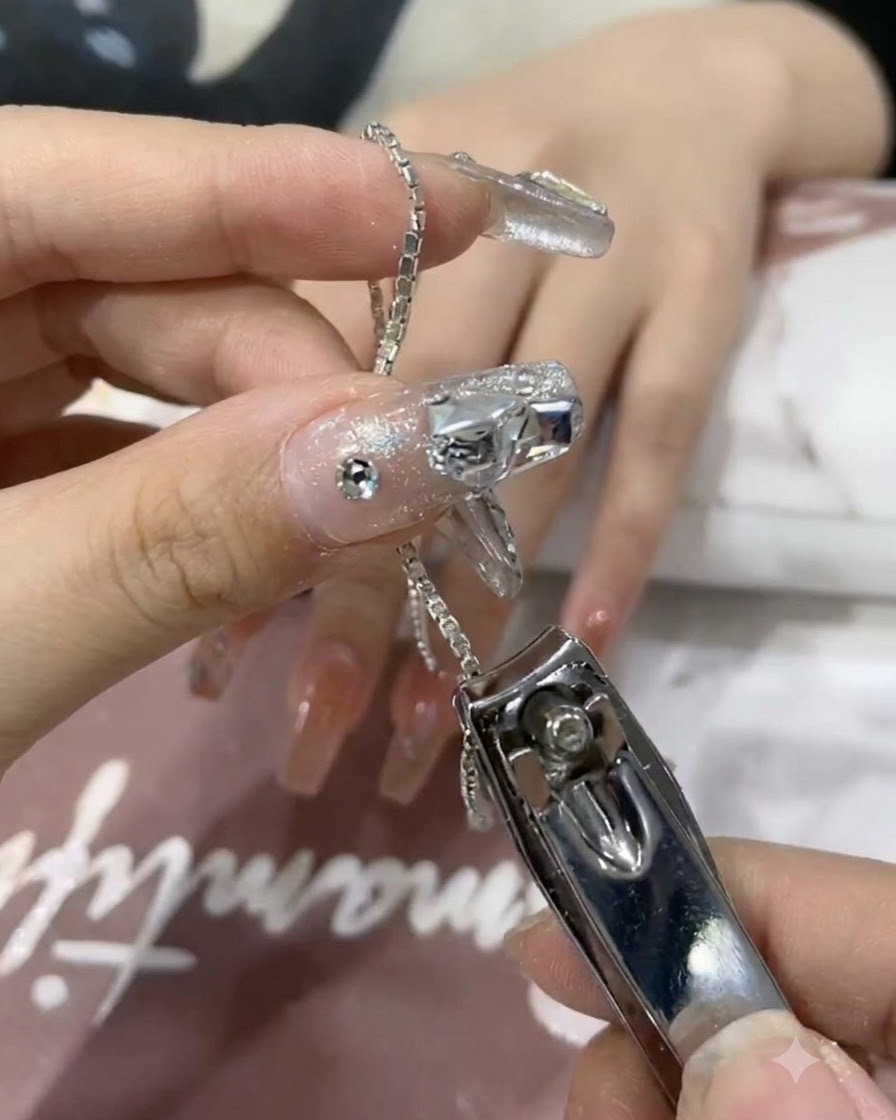
Use a pair of nail clippers to carefully measure and cut an appropriate length of silver chain strip. This piece will be used to form the curved outline of the heart decoration on the nail.
Tip: Make sure to cut the chain slightly longer than needed so you can trim or adjust the fit precisely on the nail. - 8Apply adhesive for nail art
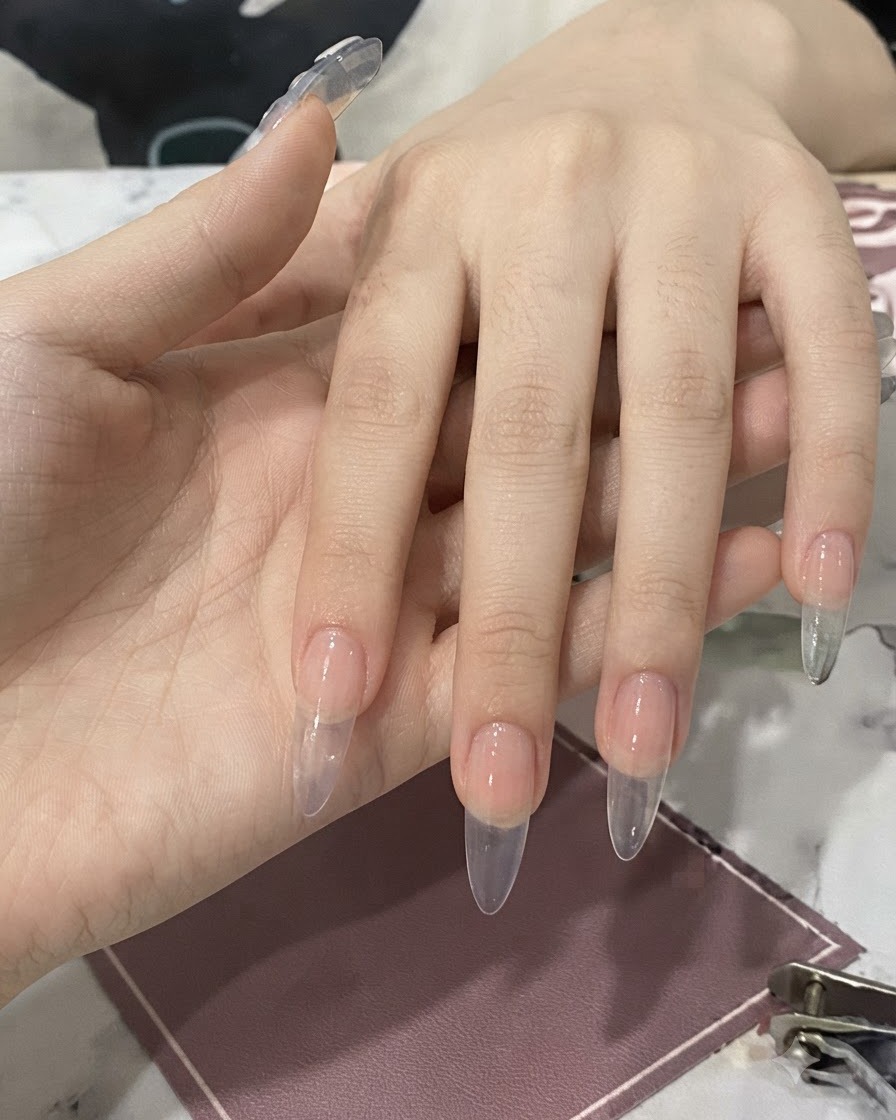
Apply a precise amount of nail glue or thick rhinestone gel onto the designated area of the nail where the chain design will sit. Ensure the glue is placed neatly along the planned outline to secure the chain firmly.
Tip: Do not use too much glue to prevent it from spilling over and blurring the clean appearance of the nail art. - 9Place silver chain strip in half-heart shape
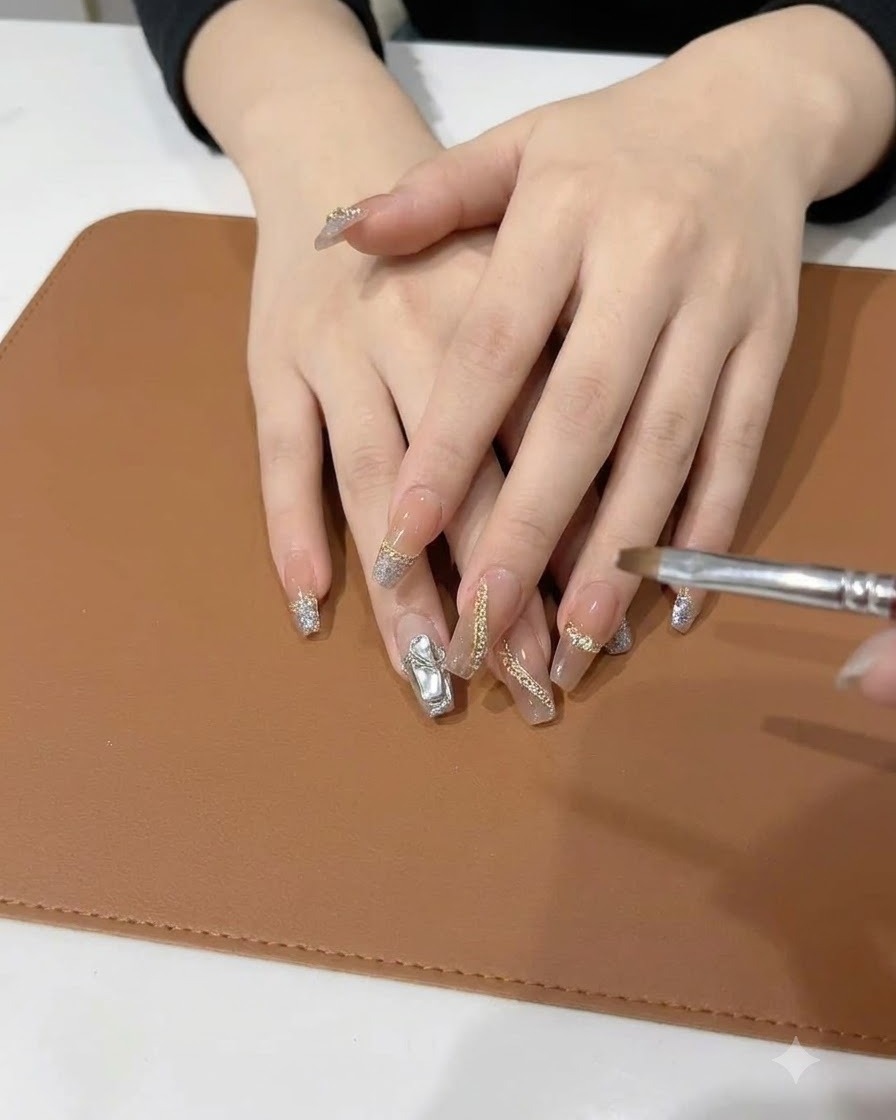
Using precision tweezers, carefully pick up the pre-cut silver chain strip and position it onto the nail in a curved half-heart shape. Secure it onto the tacky surface or a small dot of nail glue to keep it firmly in place.
Tip: Pre-measure and cut your chain strips before application to ensure they fit neatly within the nail dimensions. - 10Add rhinestones inside the half-heart design
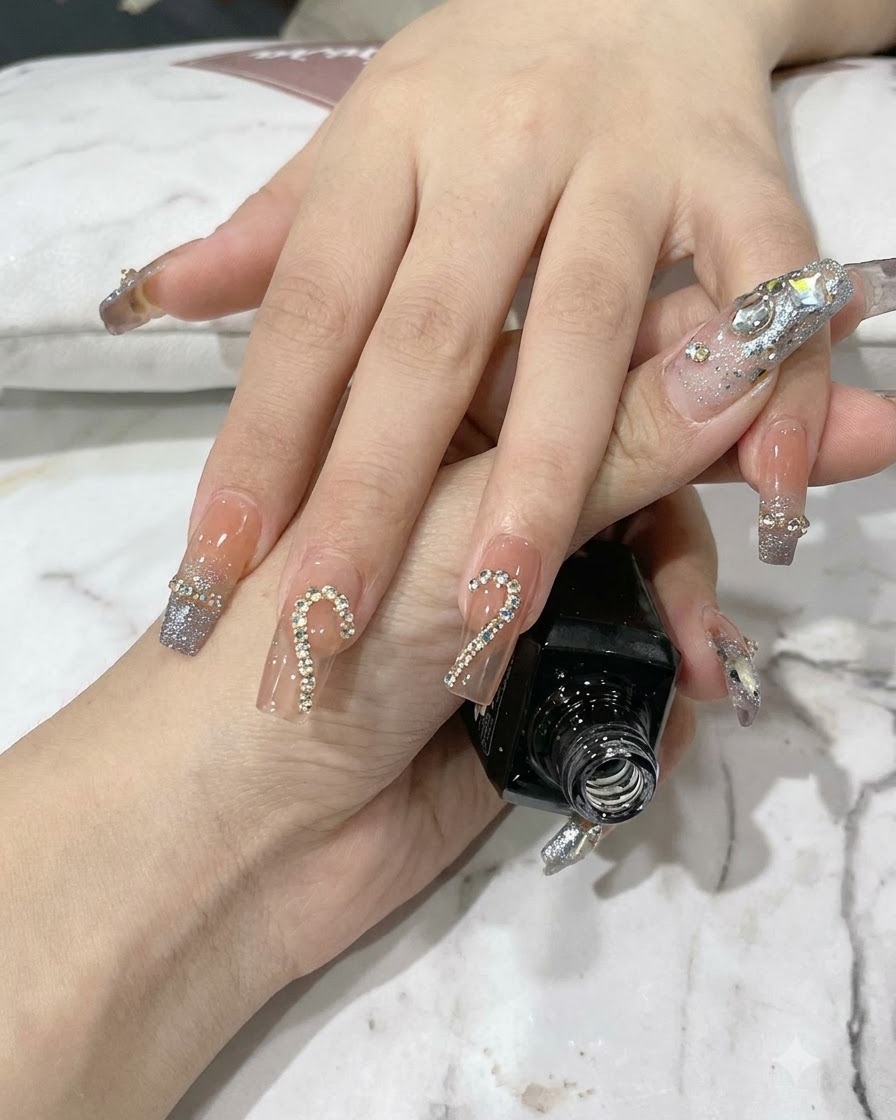
Using tweezers or a wax dotting pen, pick up individual small rhinestones and place them neatly inside the boundary of the silver chain half-heart shape. Arrange them closely together to fill the space with sparkle.
Tip: Dab a tiny amount of clear gel or nail glue inside the shape beforehand to anchor the rhinestones securely. - 11Cure rhinestones and chains
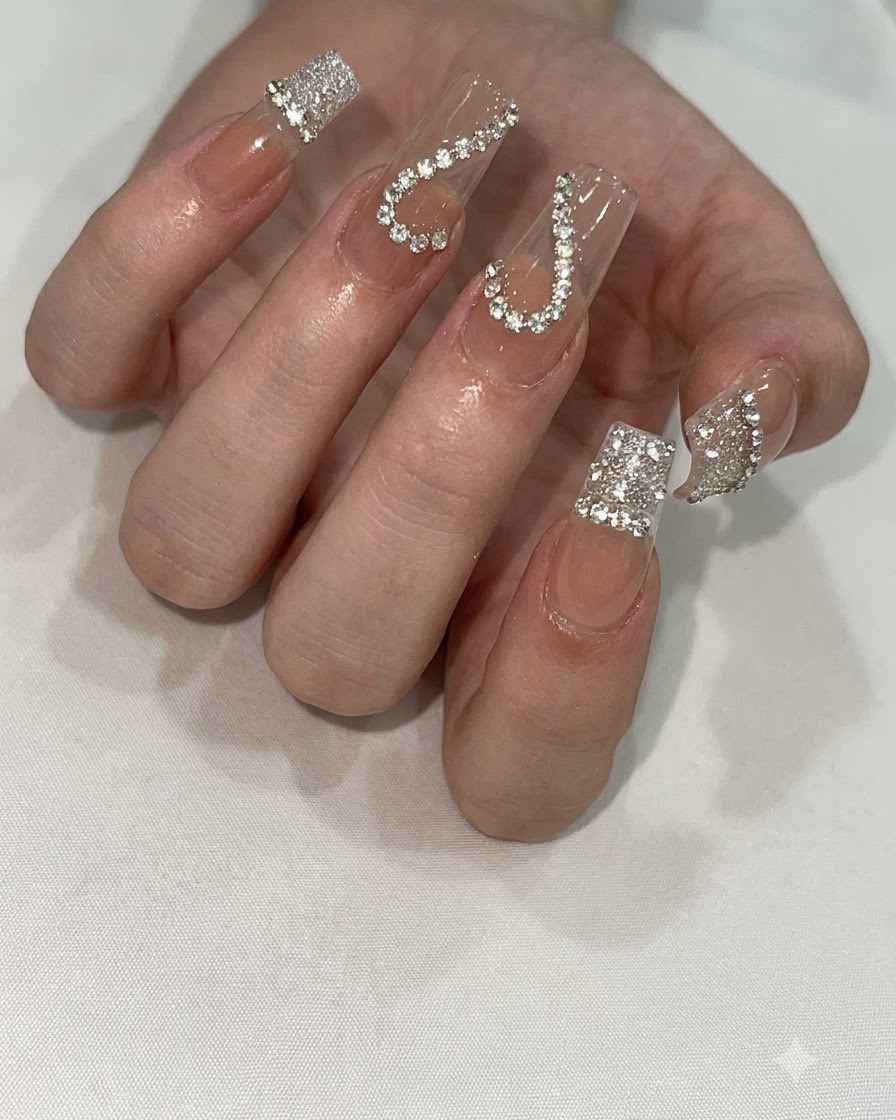
Place your hand under a mini UV or LED lamp to flash cure the applied chains and rhinestones. Curing locks the embellishments securely in place so they wont shift during the final top coat application.
Tip: Use a mini handheld lamp for a quick initial cure to prevent decorations from sliding before a full cure. - 12Complete the matching heart design on the middle finger

Apply the matching second half of the heart chain and corresponding rhinestones onto the middle finger nail to mirror or complement the design. Ensure symmetry and alignment before curing under the lamp.
Tip: Check the placement from multiple angles to ensure the paired nails look balanced and proportional.