Silver Starry Aurora Cat-Eye Nails — Step-by-Step Celestial Tutorial
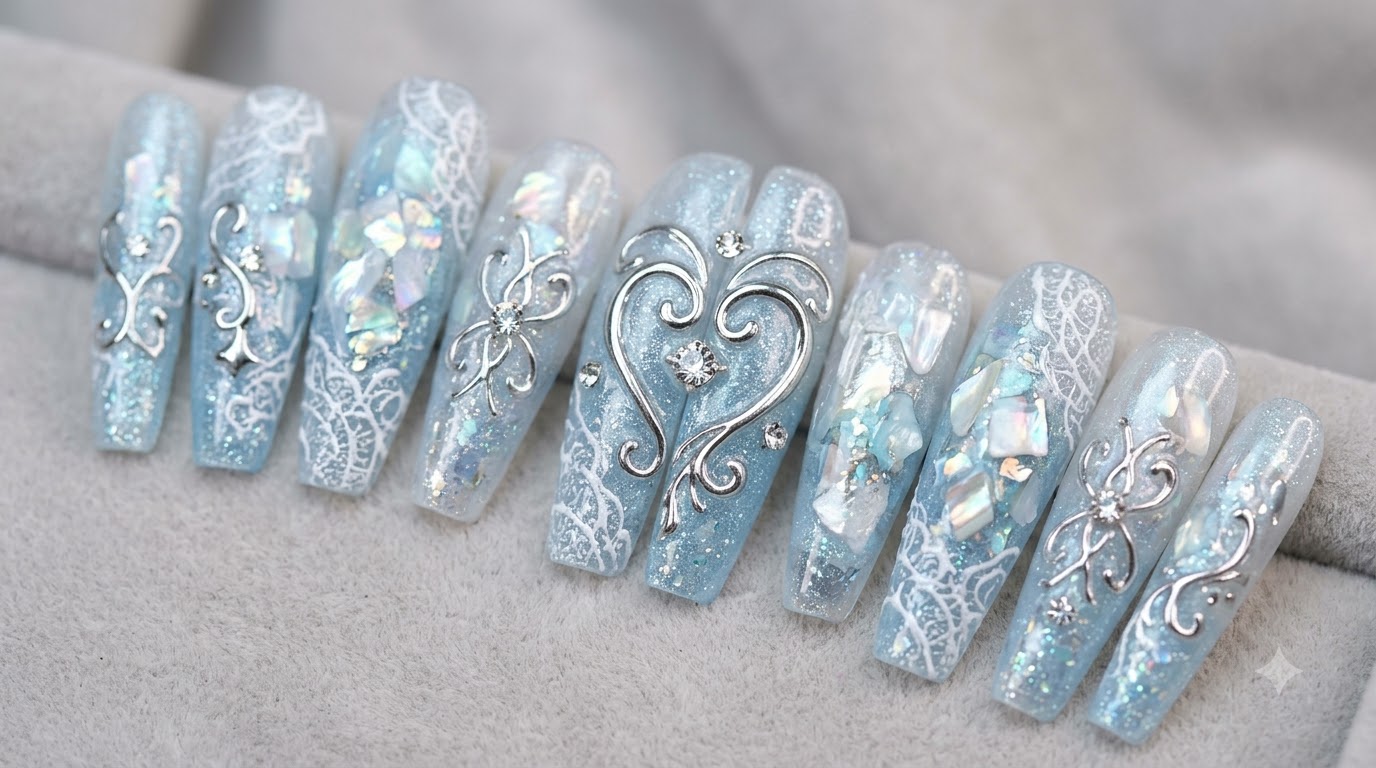
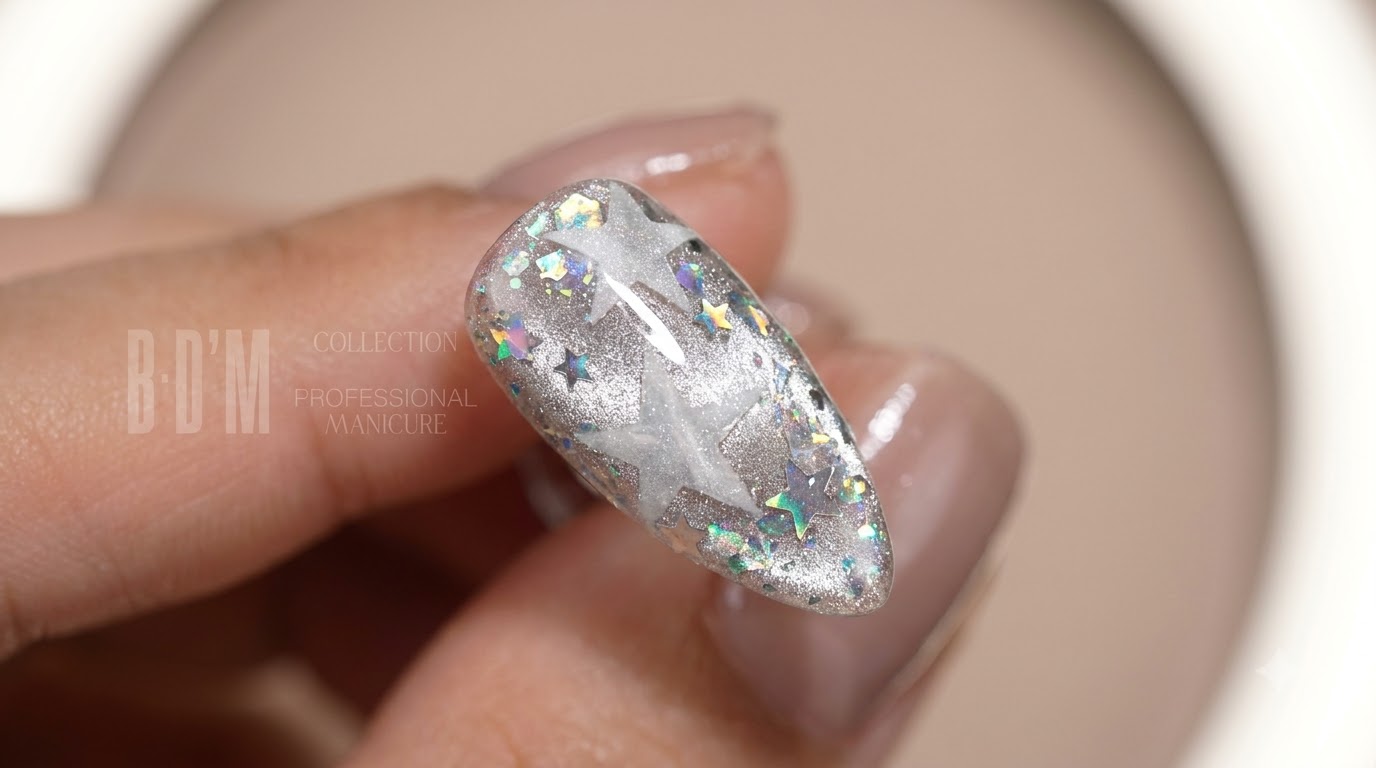
Create a mesmerizing celestial manicure featuring magnetic silver cat-eye gel, aurora mirror powder, holographic star glitters, and layered blooming white star motifs.
Celestial nail art continues to captivate with its dreamy, out-of-this-world appeal, and this silver starry aurora look takes the trend to the next level. By combining magnetic cat-eye dimension, reflective chrome powder, and delicate layered blooming star designs, this manicure offers incredible depth and sparkle. Follow this comprehensive step-by-step tutorial to recreate the ultimate cosmic nail look right at home.
Steps
- 1Apply cat-eye gel polish
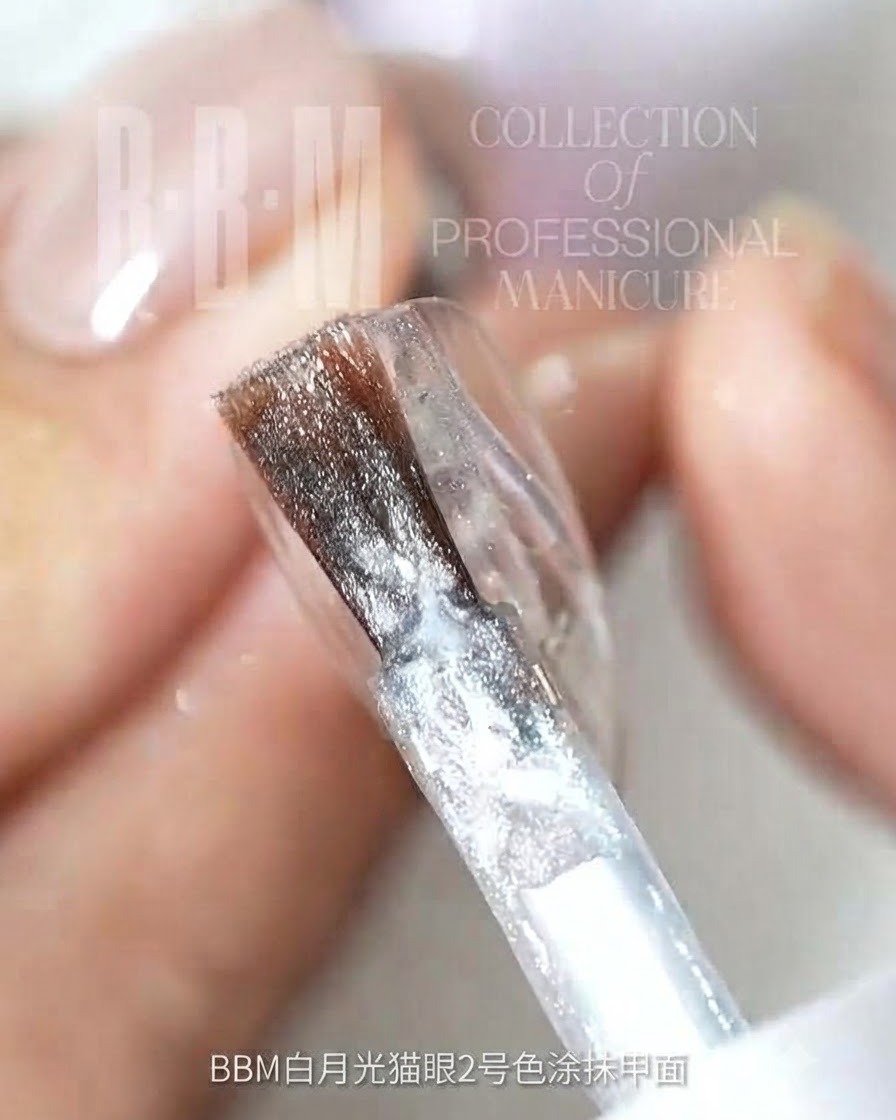
Apply BBM Moon Star Cat-Eye Gel No. 2 evenly onto the clear nail surface using the application brush to create a smooth base layer for the magnetic effect.
Tip: Ensure an even coat is applied across the entire nail plate to allow the magnetic particles to move uniformly. - 2Activate cat-eye light effect
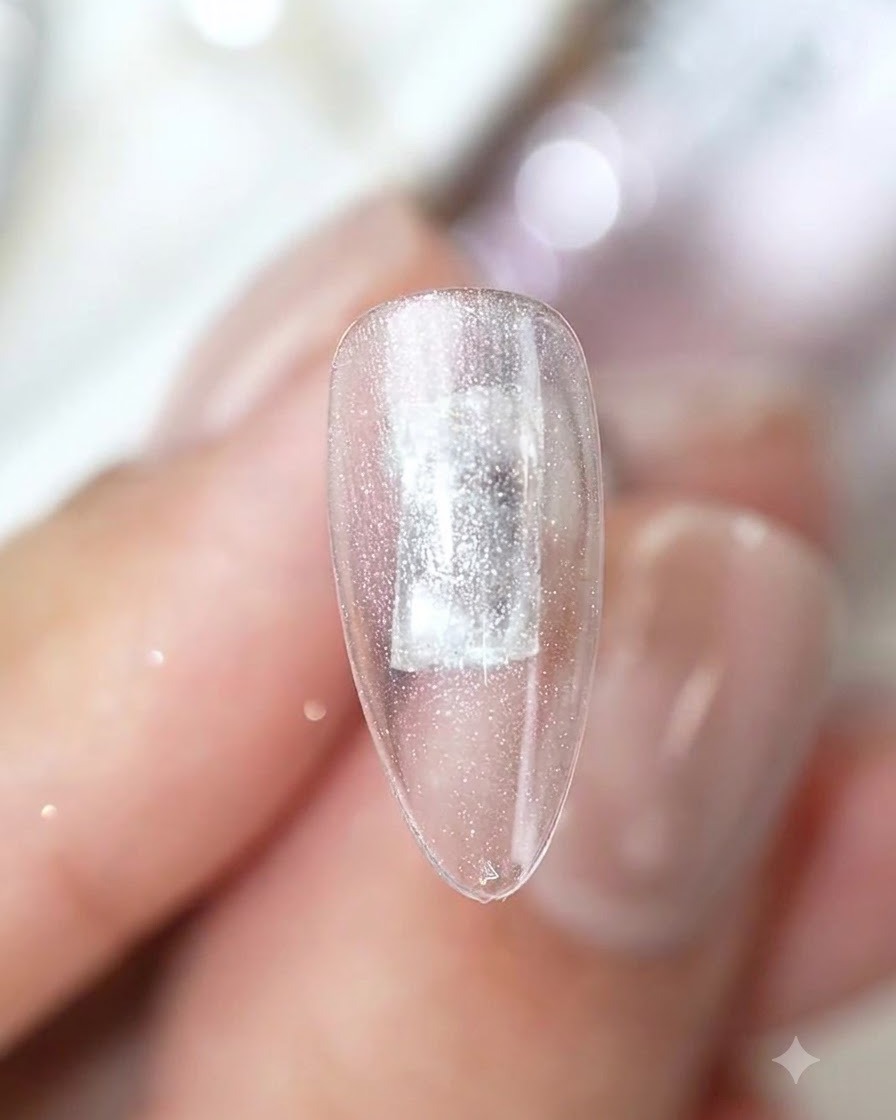
Position a magnet tool close to the wet cat-eye gel surface to pull and concentrate the magnetic particles into a sharp light beam effect, then cure under the lamp.
Tip: Hold the magnet steady and close to the nail for a few seconds to get a crisp, defined light line. - 3Apply magic mirror powder CP top coat
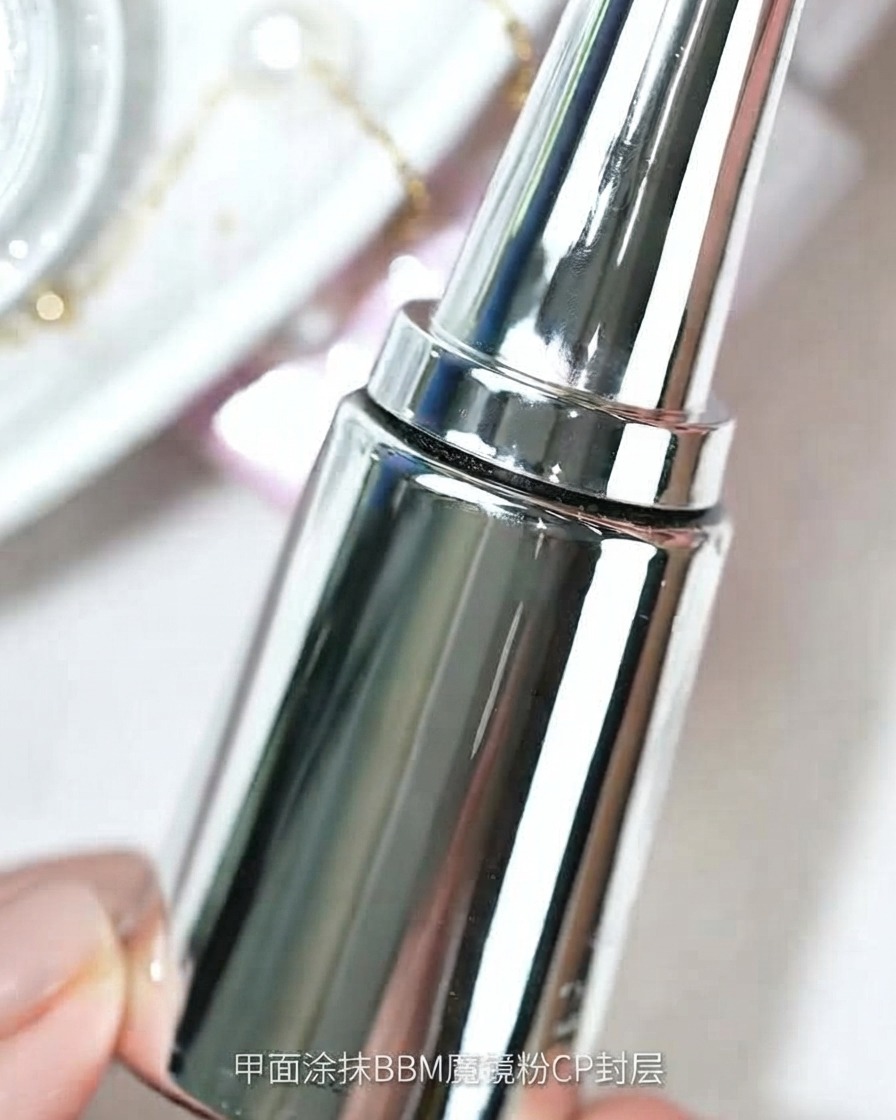
Apply a layer of BBM Magic Mirror Powder CP Top Coat over the fully cured nail surface to prepare it for chrome powder application. This specialized top coat cures to a smooth, tack-free or tacky finish designed specifically to grip mirror powders evenly. Cure the coat under your UV or LED lamp according to the product guidelines.
Tip: Ensure the top coat is cured for the exact recommended time so the mirror powder buffs onto a perfectly smooth, reflective surface without smudging. - 4Rub mirror powder
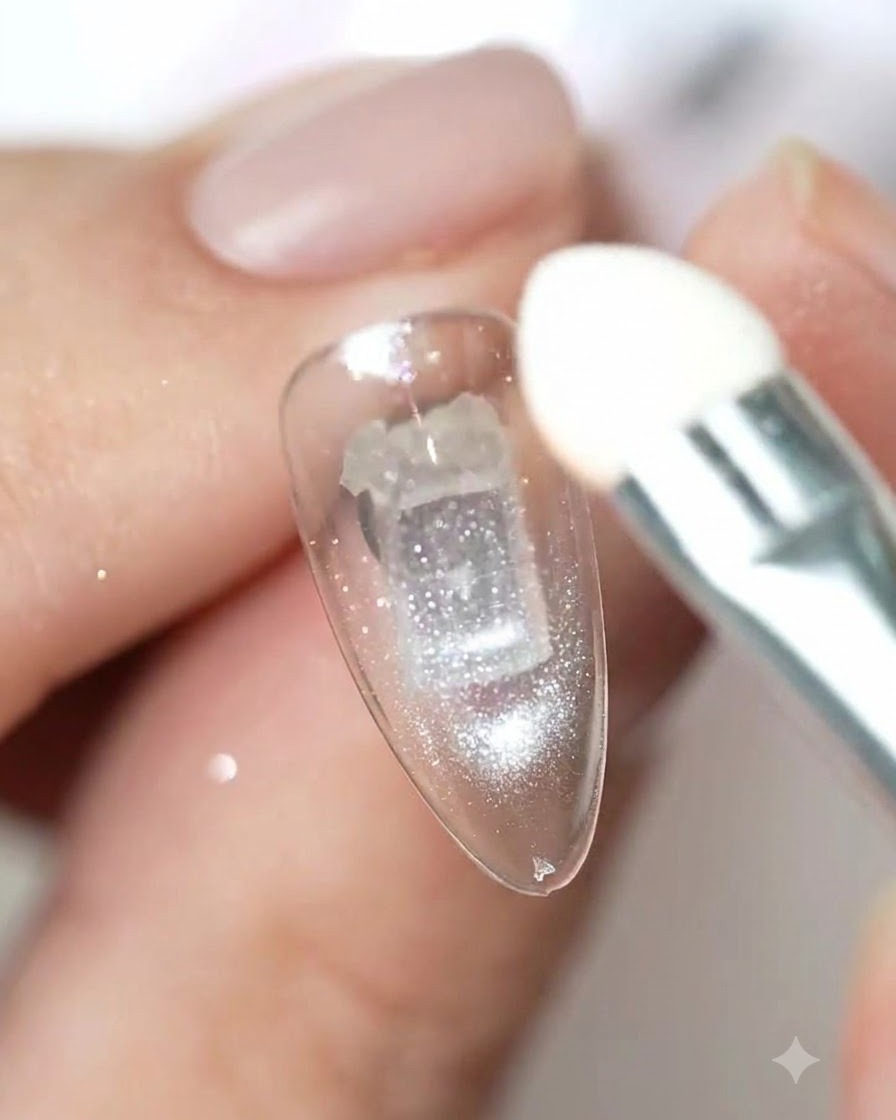
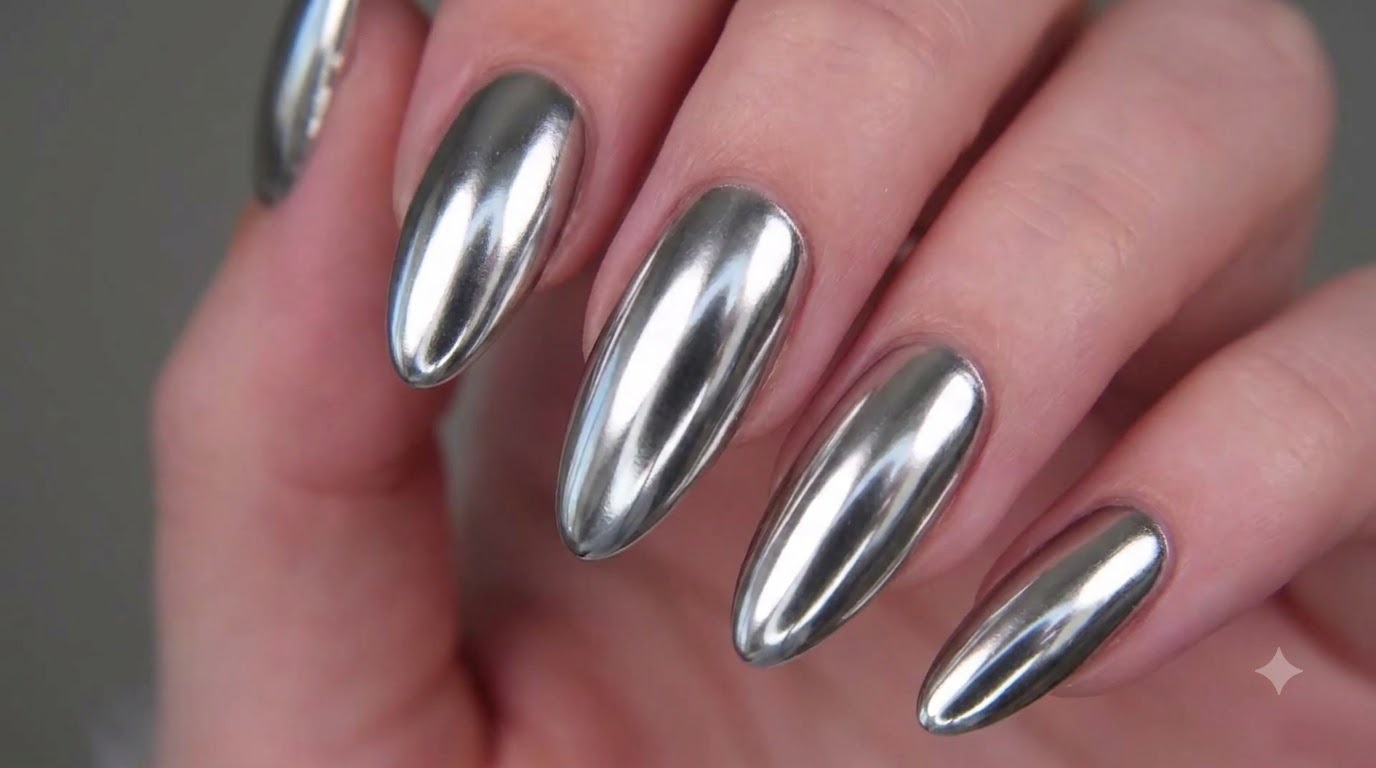
Take a sponge applicator and gently rub Magic Mirror Powder No. 31 onto the cured top coat surface until a uniform chrome shine appears.
Tip: Buff the powder in light, circular motions for an even, flawless mirror finish. - 5Apply edge glitter gel
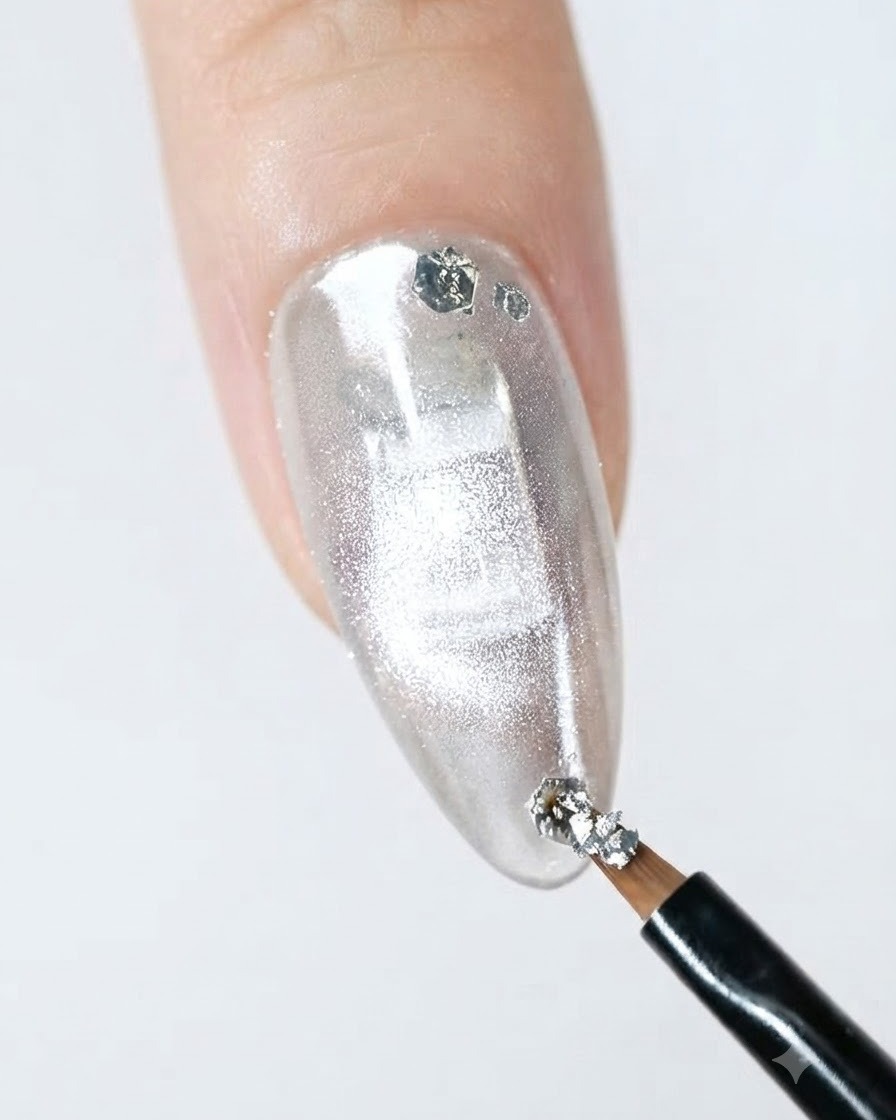
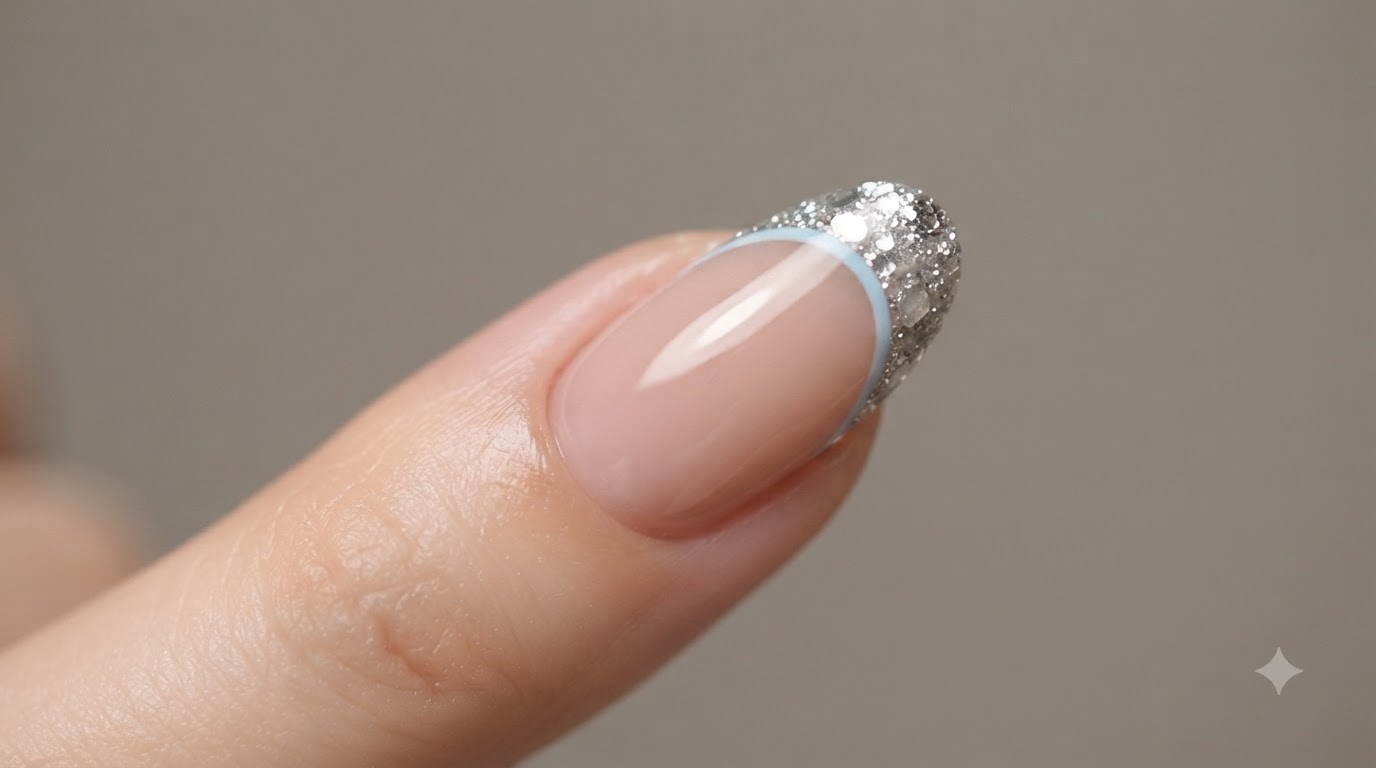
Using a fine detail brush, apply Circus Glitter Gel No. 1 along the perimeter or edge of the nail to create a sparkling border detail.
Tip: Use a steady hand and a fine liner brush to keep the glitter lines clean and precise along the edges. - 6Apply amber powder flakes
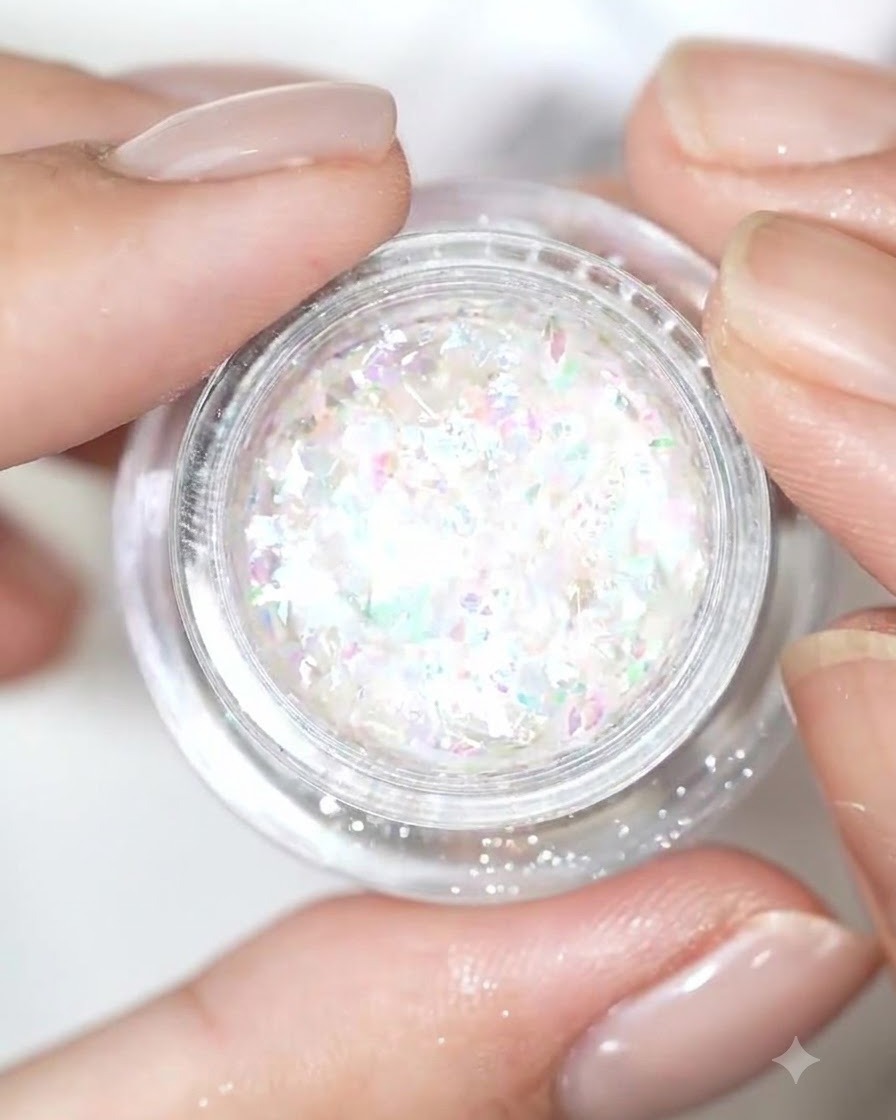
Dot Amber Powder No. 11 along the edge of the nail surface, placing iridescent flake elements carefully to create a textured, multi-dimensional boundary effect.
Tip: Use a fine detail brush or a wax picker tool to place the flakes precisely where you want them along the nail perimeter. - 7Apply matte top coat
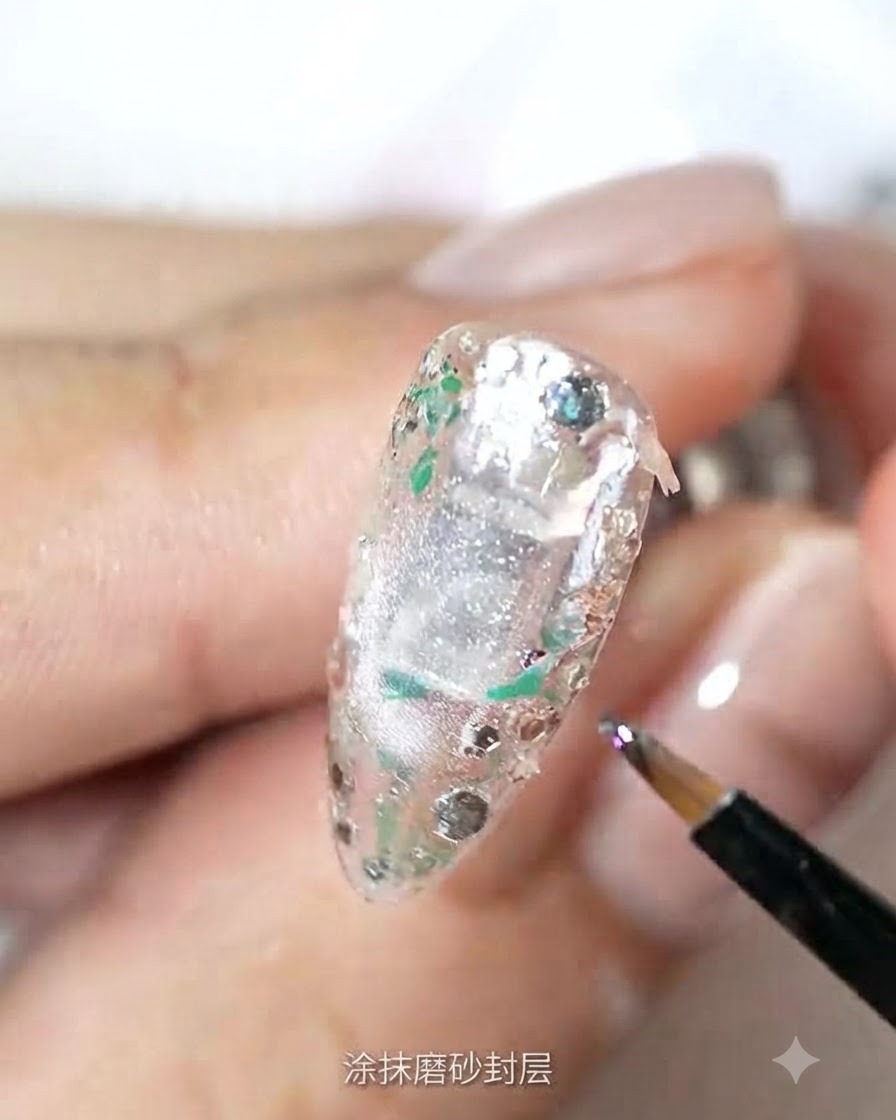
Apply a layer of matte top coat over the decorated nail surface to flatten the gloss finish and provide a velvety texture that contrasts with subsequent glossy elements.
Tip: Make sure the matte top coat covers all areas evenly before curing to prevent patchy shiny spots. - 8Apply pentagram sticker stencil
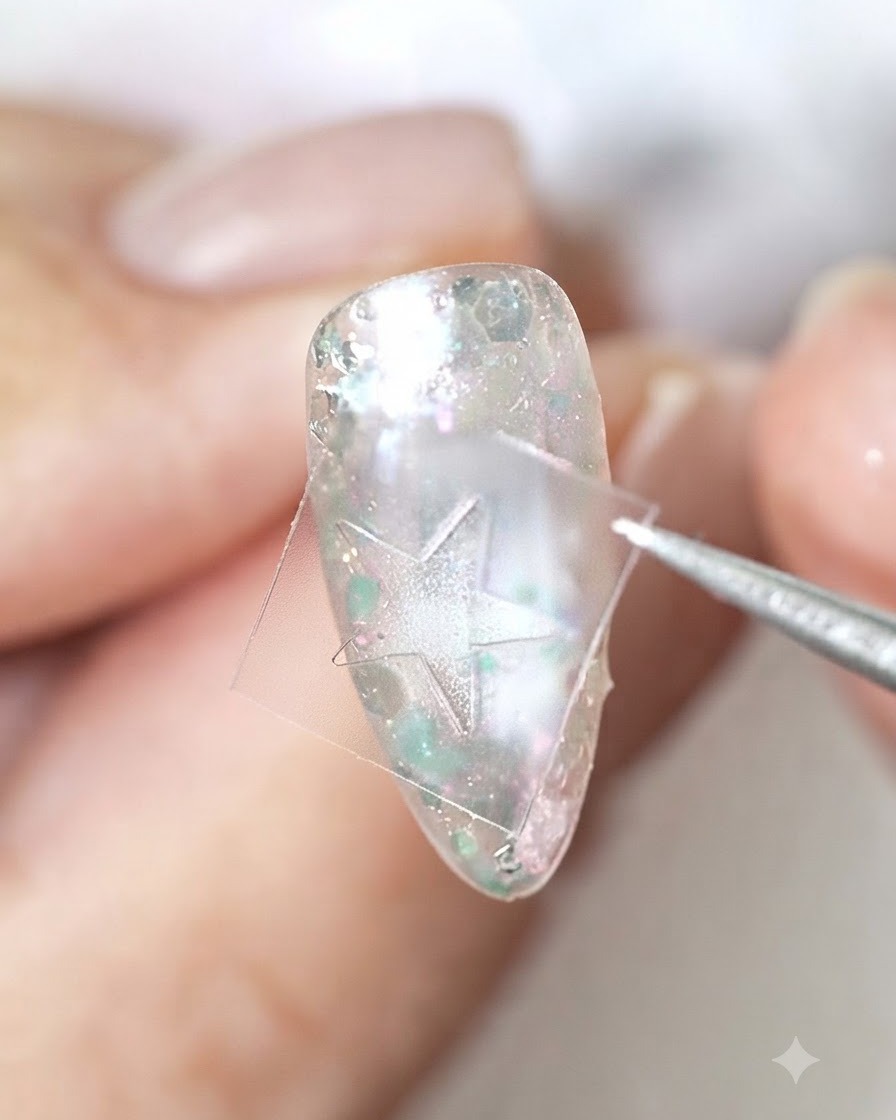
Place a pentagram sticker carefully on the nail surface and gently pat white color gel over it to create a precise star-shaped negative space design once removed.
Tip: Press down the edges of the sticker firmly to prevent white gel from bleeding underneath the stencil lines. - 9Apply pearl white blooming dye
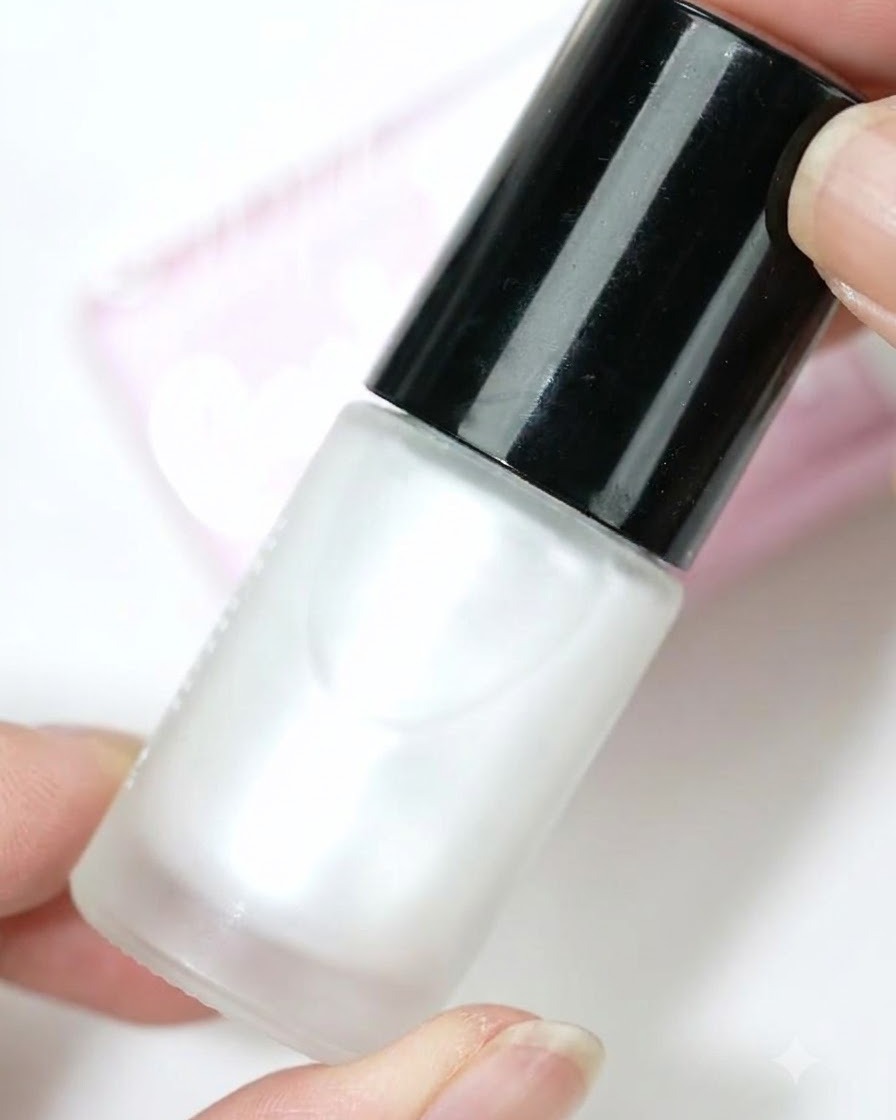
Apply pearl white blooming dye over the nail surface to create soft, diffused watercolor or marble effects. The blooming formula allows the pigment to spread and feather organically across the base layer. Work efficiently to achieve the desired dispersion pattern before it sets.
Tip: Control the spread of the blooming dye by applying a clear base or lighter background layer first to guide how far the color flows. - 10Remove Pentagram Sticker
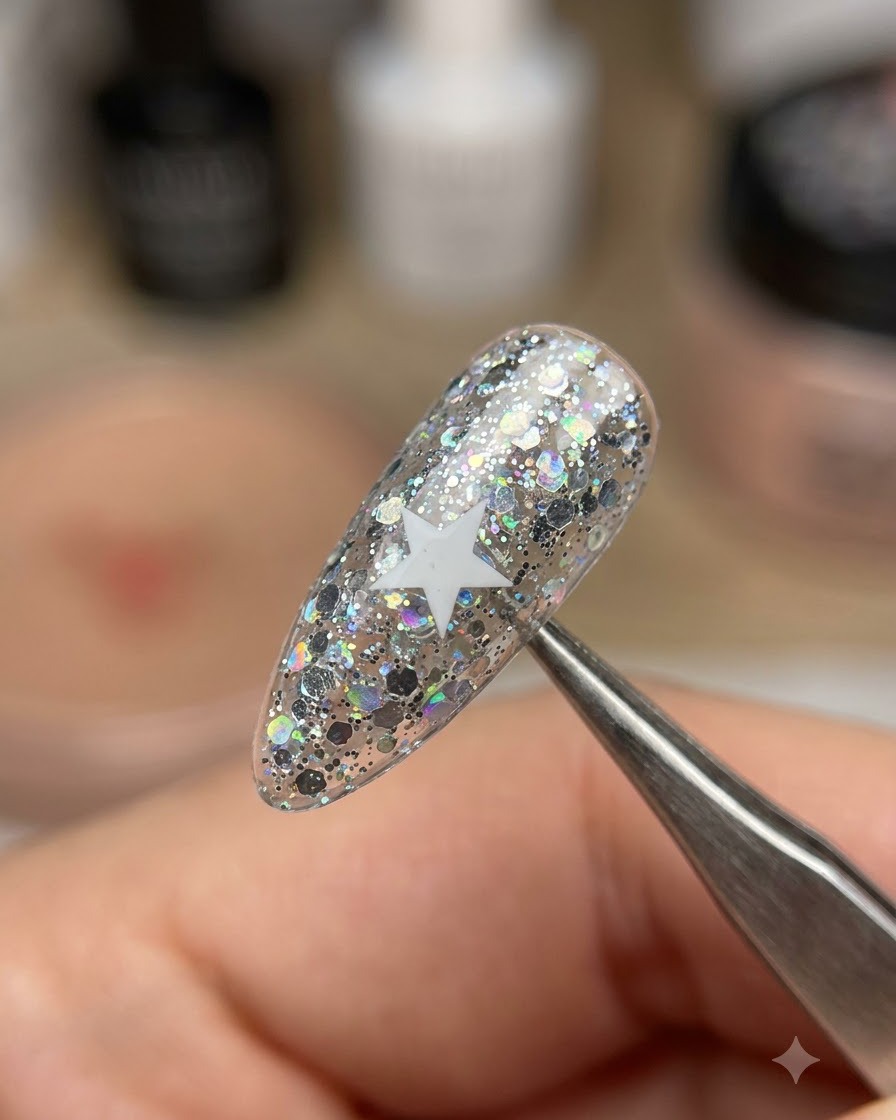
Carefully peel off the pentagram sticker from the nail surface using a pair of precision tweezerscite: 1. Pull gently to reveal the clean, untouched design layer underneath.
Tip: Use sharp tweezers and pull at a low angle close to the nail surface to prevent tearing the sticker or damaging the uncured gel layers. - 11Reapply White Color Gel
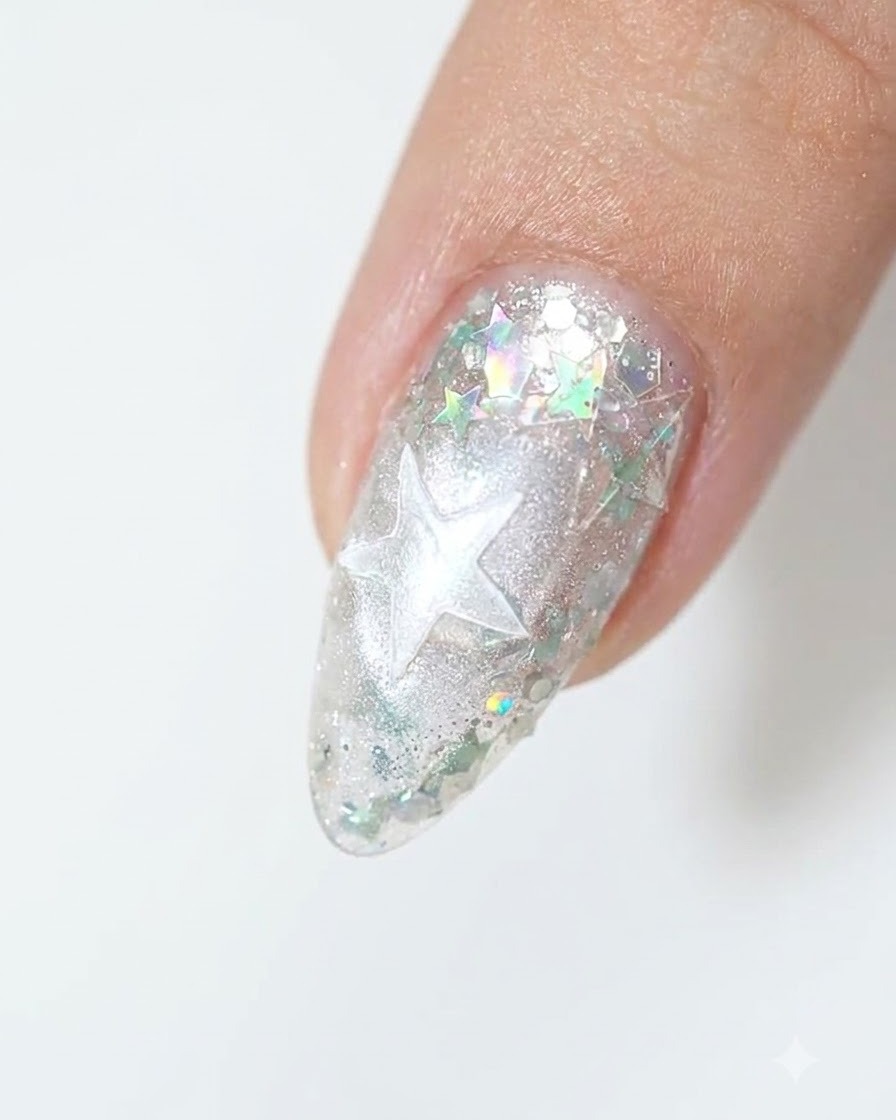
Gently pat white color gel over the designated design area once morecite: 1. This builds opacity and depth around the pattern layers.
Tip: Lightly dab with a sponge or brush tool to create a soft, diffused texture instead of thick, opaque brush lines. - 12Reapply pearl white blooming dye
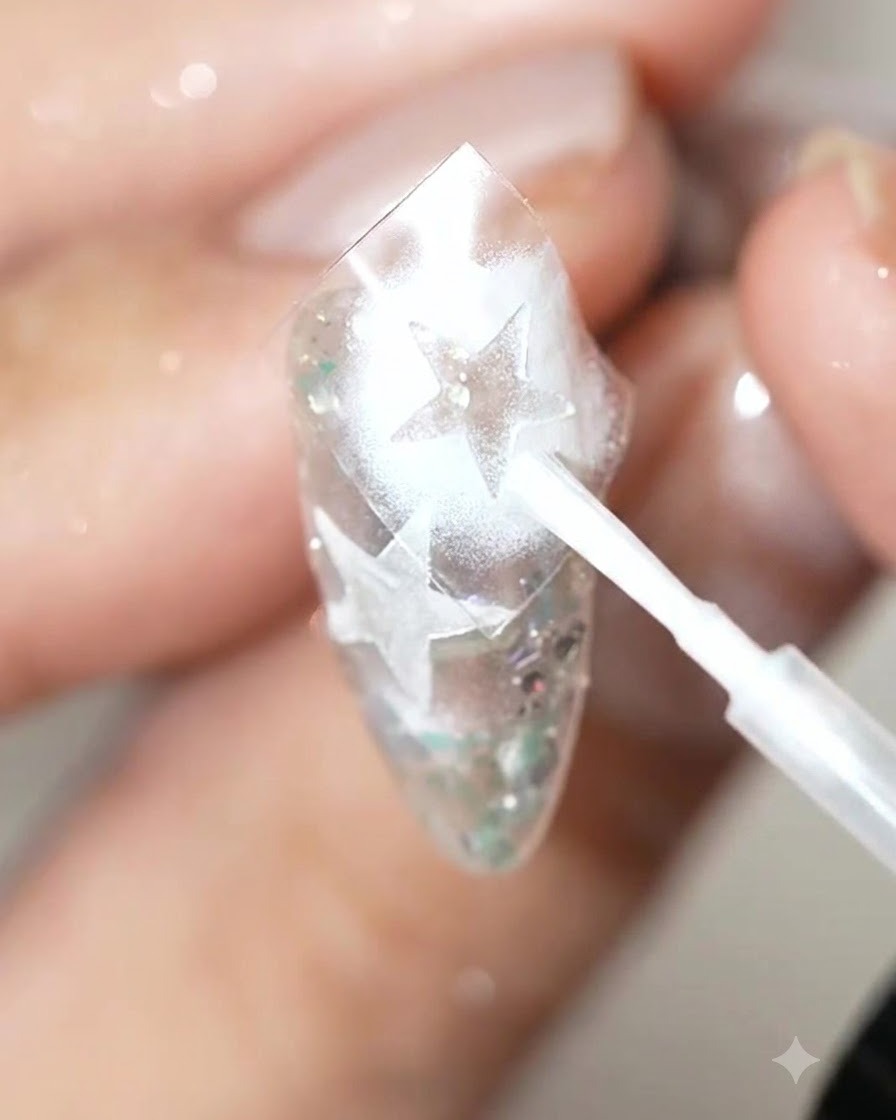
Apply a second layer of pearl white blooming dye onto the nail surface to deepen the dimensional effect and enhance the pearlescent contrast. Carefully brush the liquid over the designated areas where additional texture and softness are needed. Allow the blooming effect to develop fully before moving on to the next hardening or styling step.
Tip: Layering blooming dye in successive thin applications gives you more control over opacity than trying to saturate the area all at once. - 13Remove Remaining Sticker Elements
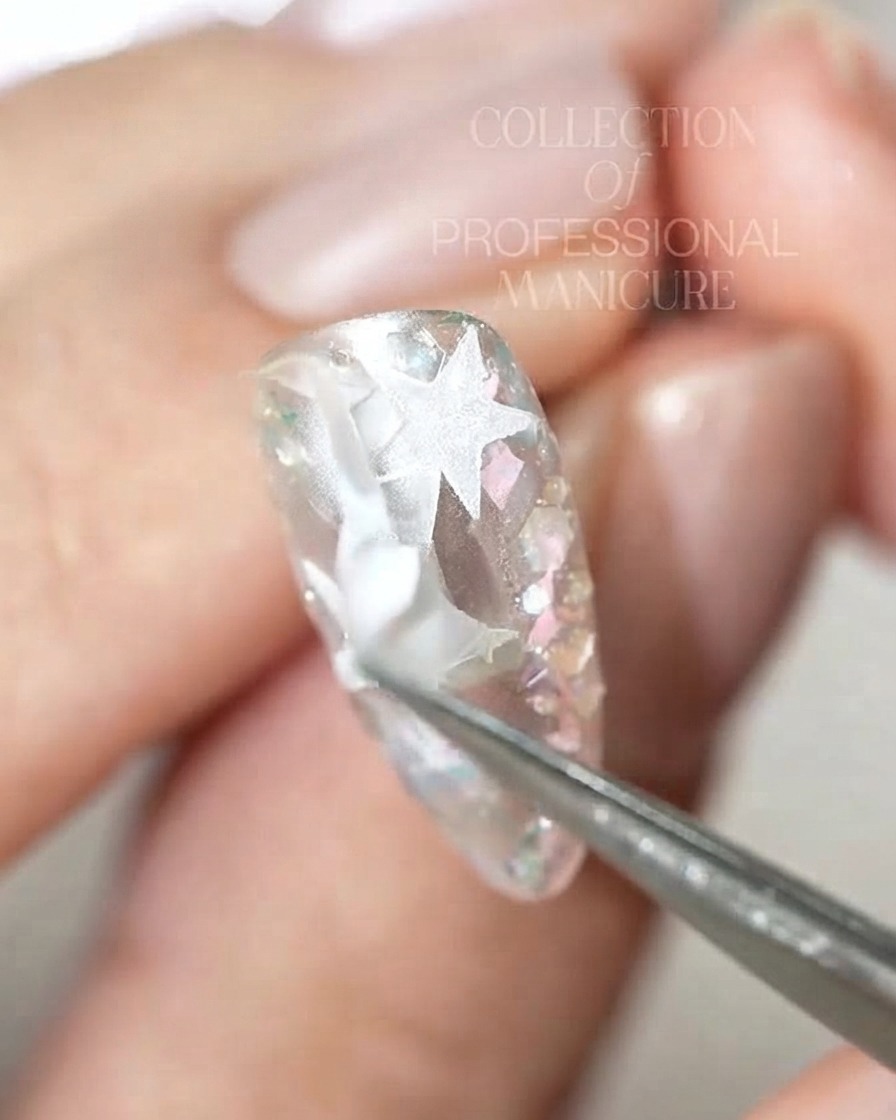
Use precision tweezers to gently peel away any remaining sticker components and remnants from the nail surfacecite: 1.
Tip: Check the edges carefully under good lighting to ensure all backing film or sticker residue is completely removed before sealing. - 14Dot five-pointed star sequins locally
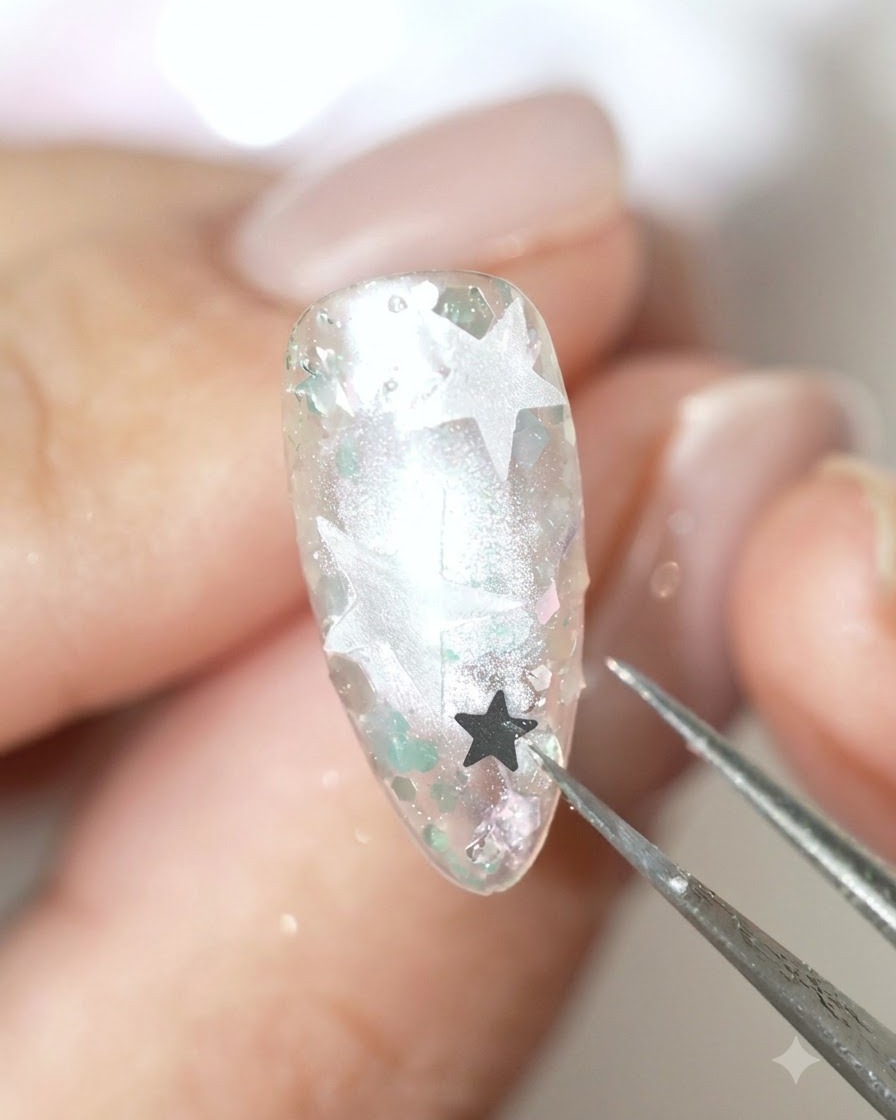
Pick up and place five-pointed star sequins locally onto specific areas of the nail design using a detail tool or wax picker. Position them carefully to accent the celestial theme of the manicure. Gently press each sequin down so it sits flat against the surface before sealing.
Tip: Dab a tiny bit of clear gel or top coat onto the placement spot beforehand to act as an adhesive glue for loose sequins.