Icy Blue Chrome Heart Nails — Step-by-Step Press-On Tutorial
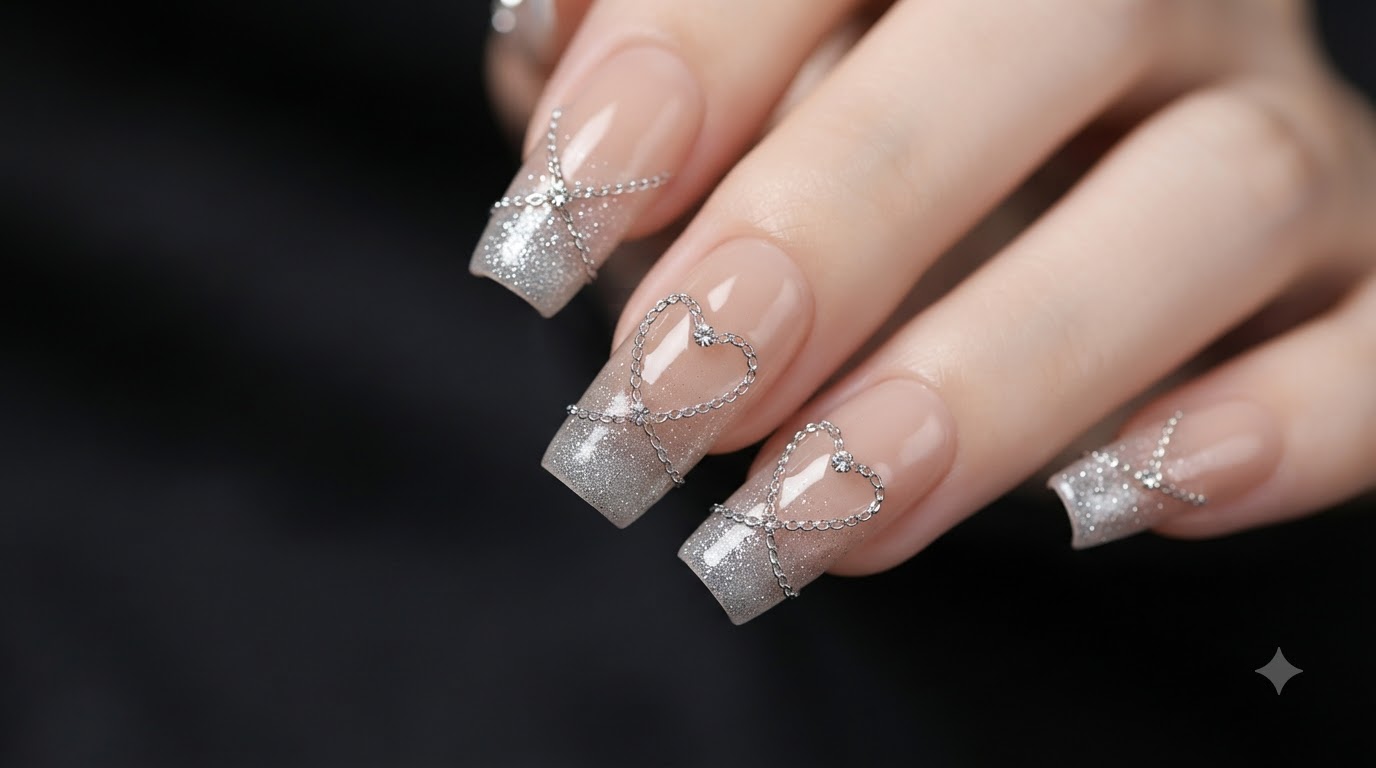
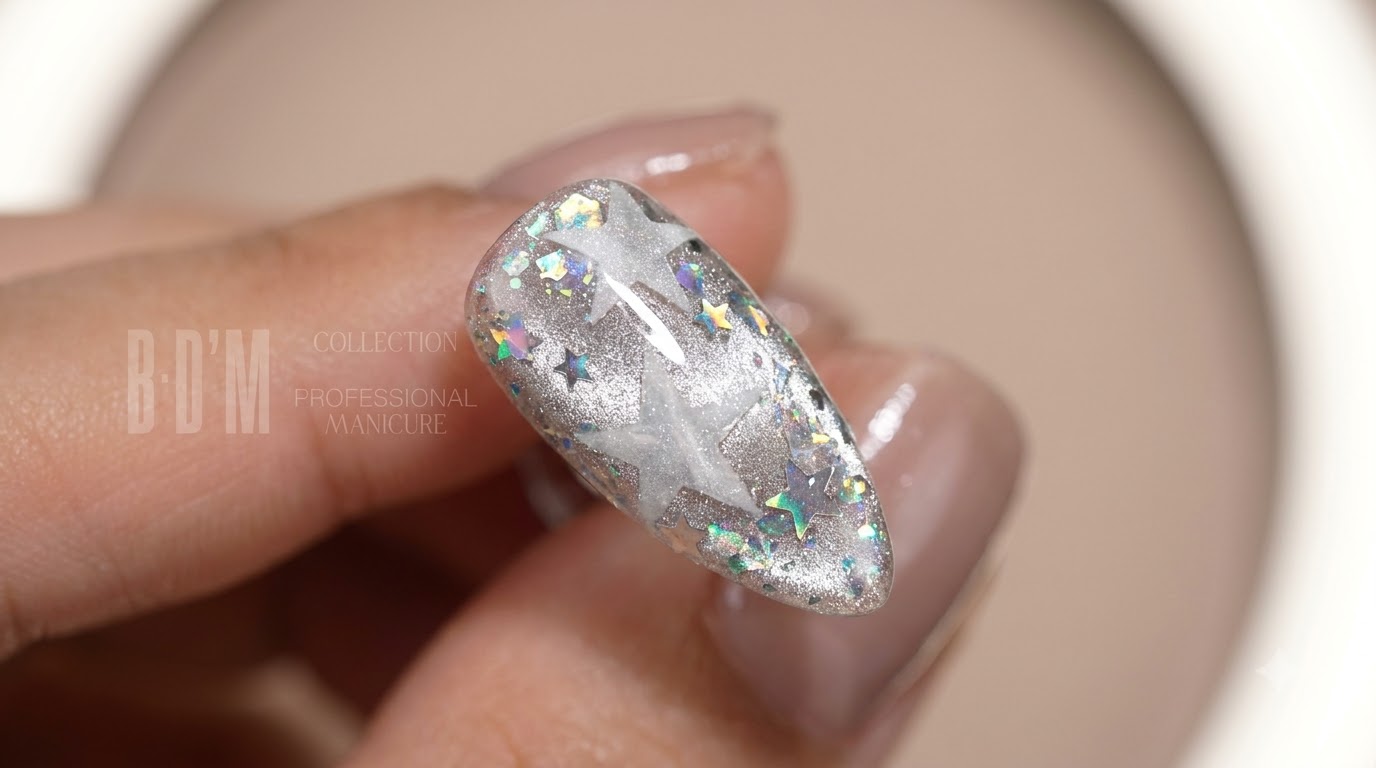
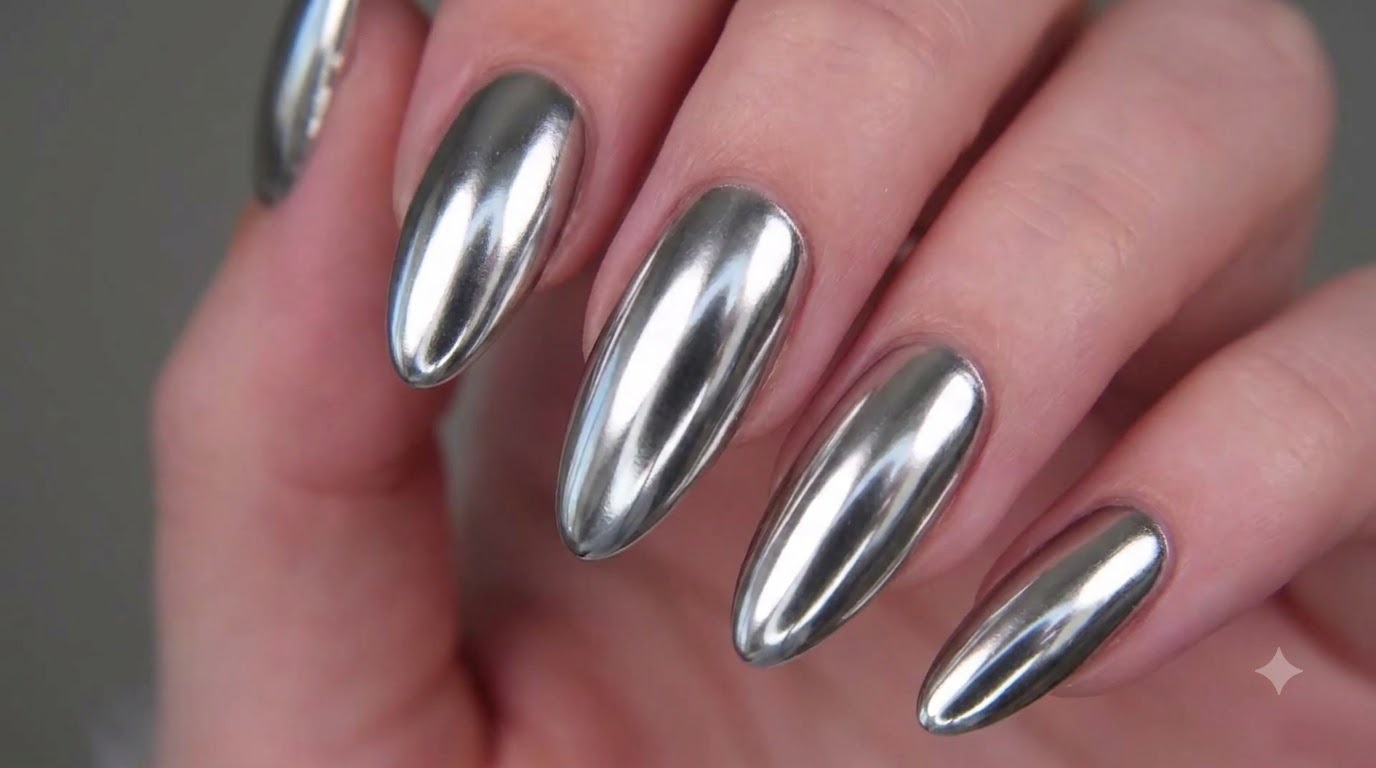
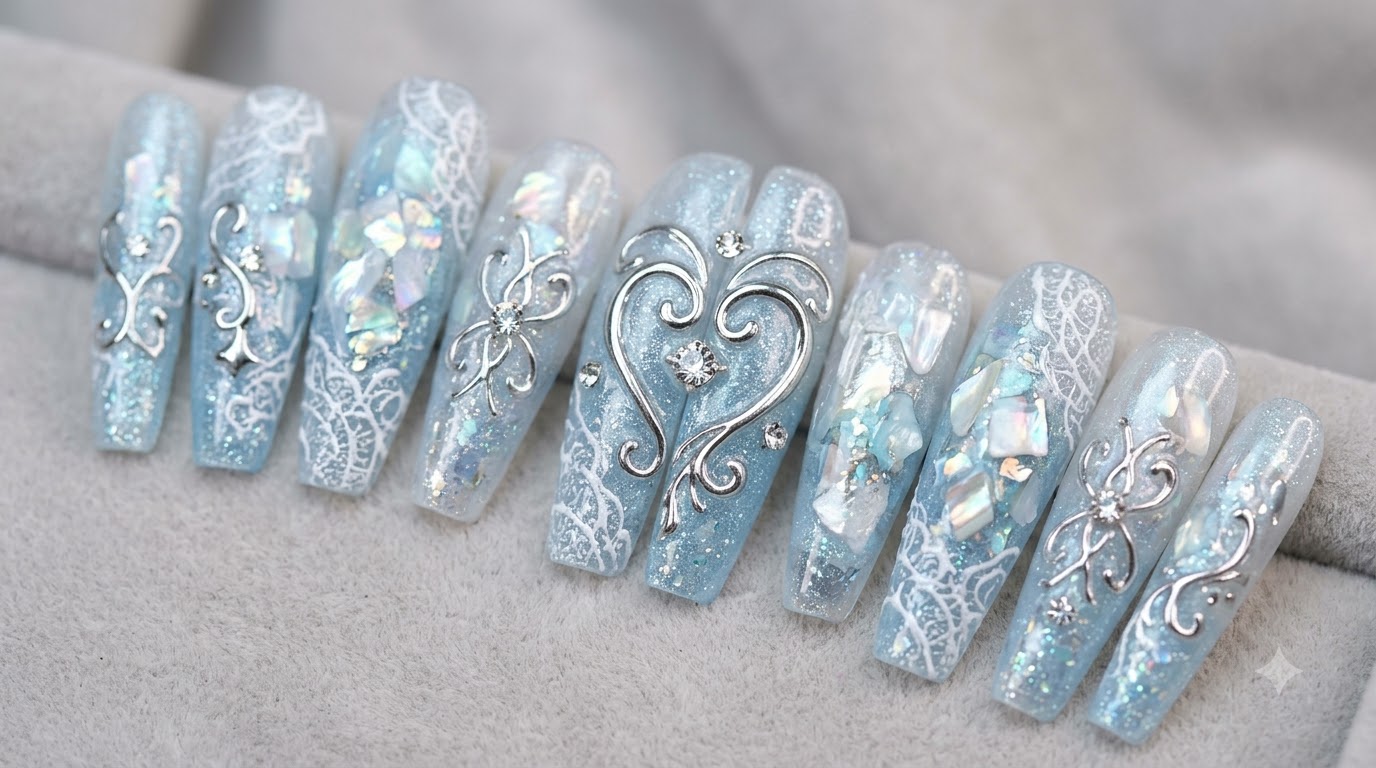
Create a stunning 3D icy blue nail design featuring encapsulated shell fragments, sparkling fairy powder, and bold silver Chrome Heart accents.
This icy blue design merges delicate ethereal elements with edgy streetwear aesthetics. By combining layered shell fragments, sparkling shimmers, and an airbrushed gradient, the base achieves incredible depth. The addition of a 3D glass ball cat-eye effect and iconic silver Chrome Heart details brings a bold, textured finish to this stunning press-on nail look.
Steps
- 1Apply base and prep nail surface
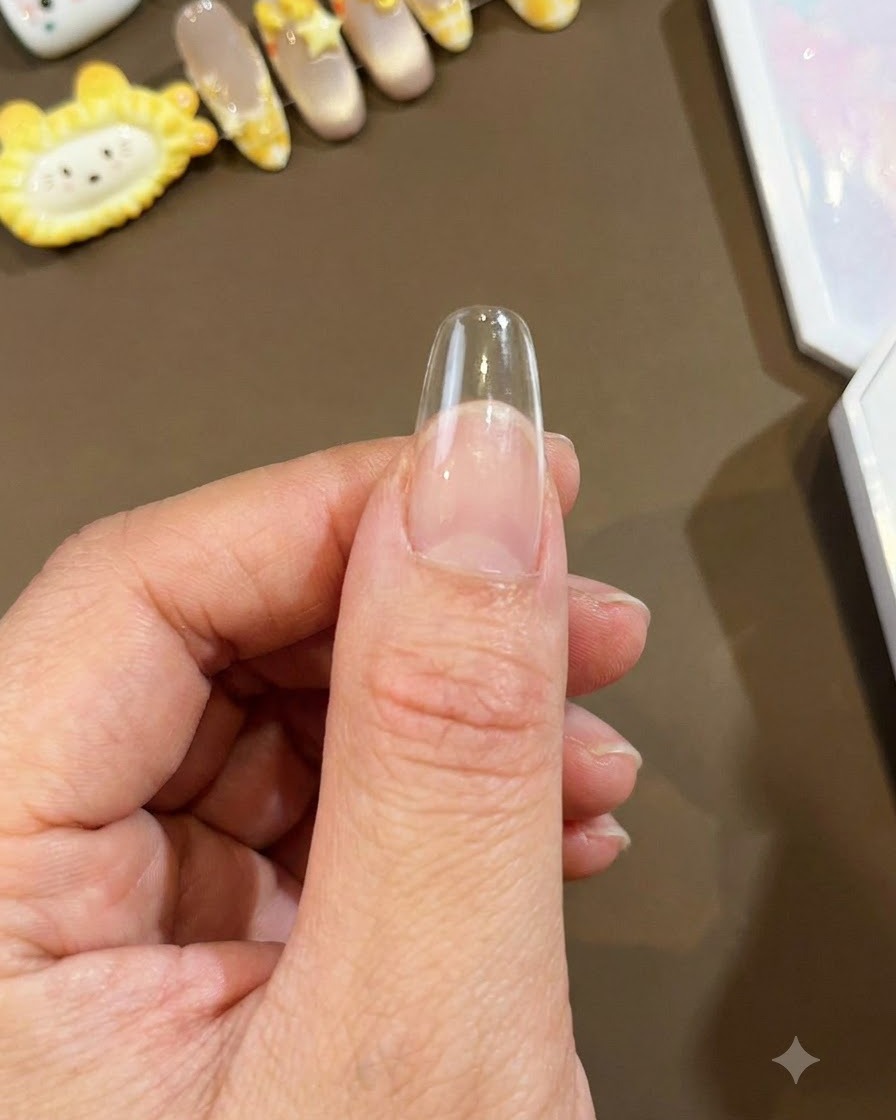
Begin with a clean, clear nail display stand or prepped natural nail surface. Ensure the nail is free of dust and oils to allow proper adhesion for the subsequent layers of gel art and decorative elements.
Tip: Make sure the surface is completely dry and clean before starting your detailed nail art design. - 2Add light blue shimmer
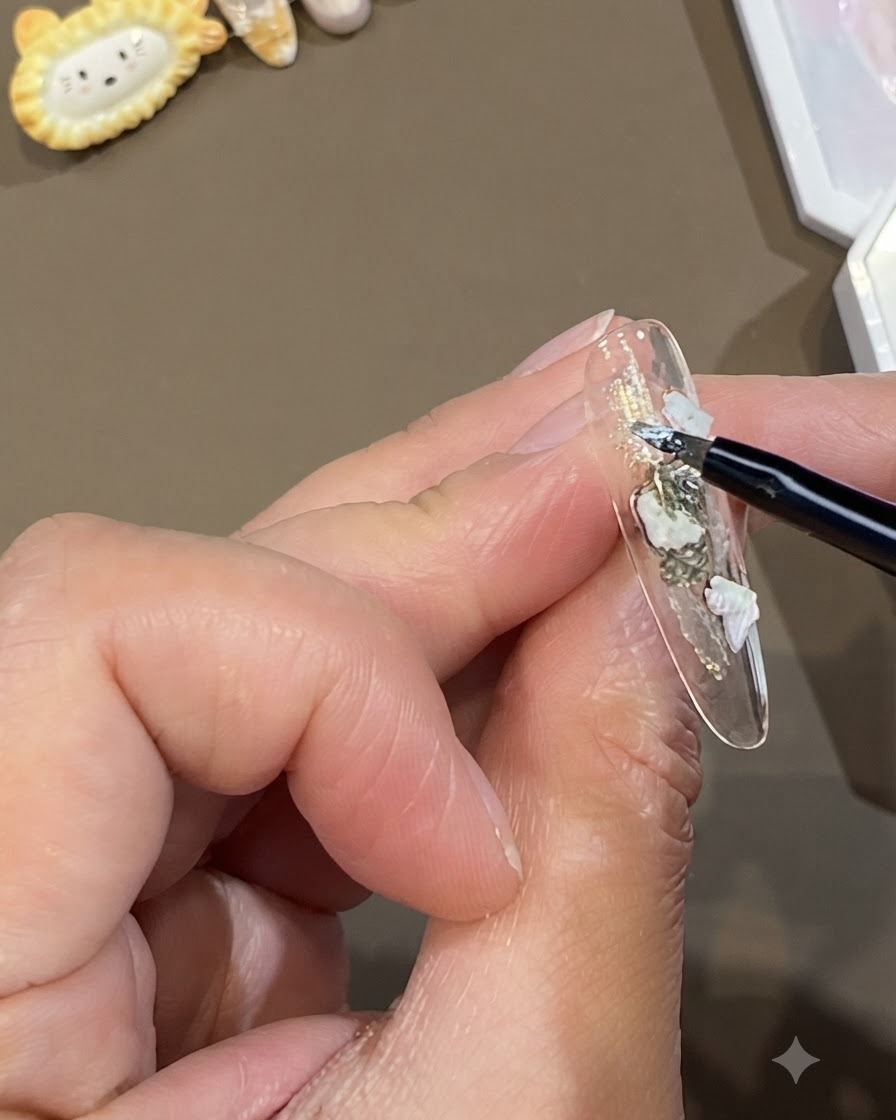
Using a fine detail brush, delicately apply light blue shimmer over the textured areas and around the previously placed shell fragments to create an icy, luminous dimension.
Tip: Apply the shimmer sparingly with a fine brush to maintain control over placement and avoid muddying the design. - 3Layer dark blue fine shimmer
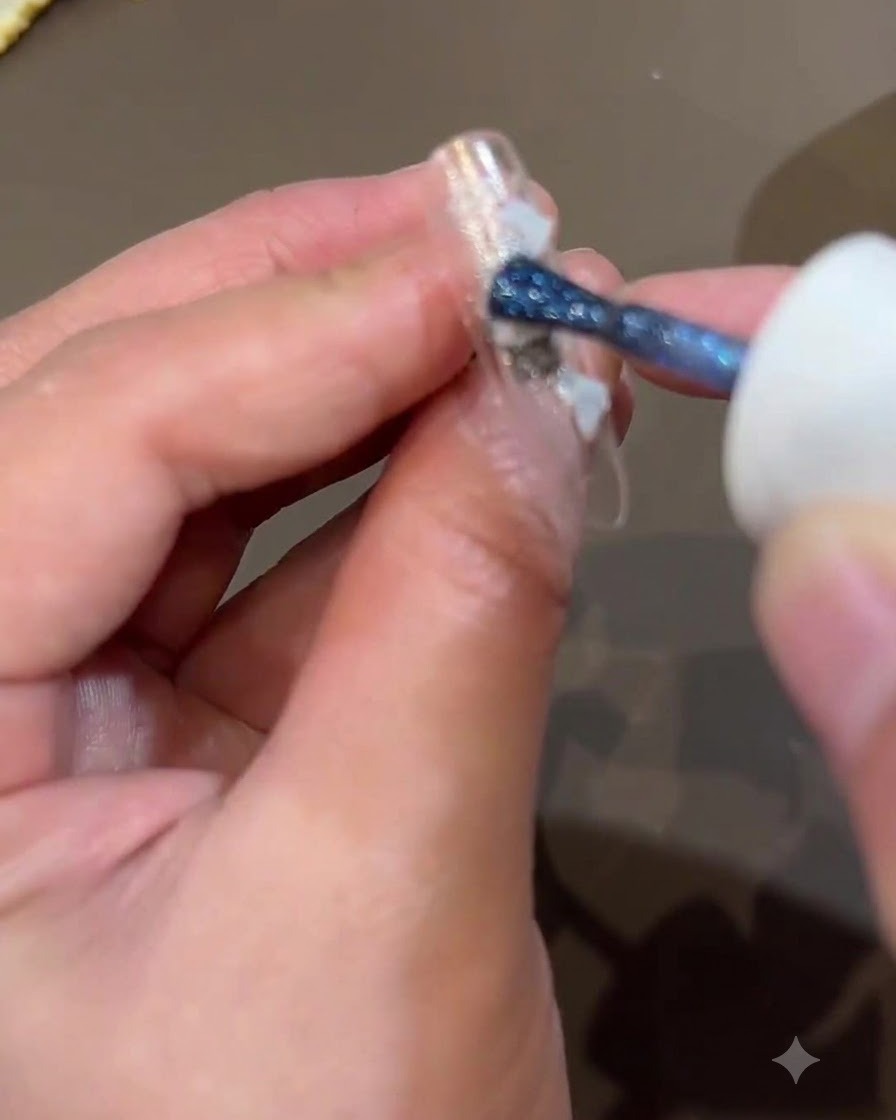
Layer a small amount of dark blue fine shimmer selectively over the design to introduce depth, shadow, and contrast against the lighter icy elements.
Tip: Focus the dark shimmer on specific focal points to create a rich, multi-dimensional effect. - 4Dot translucent blue gel
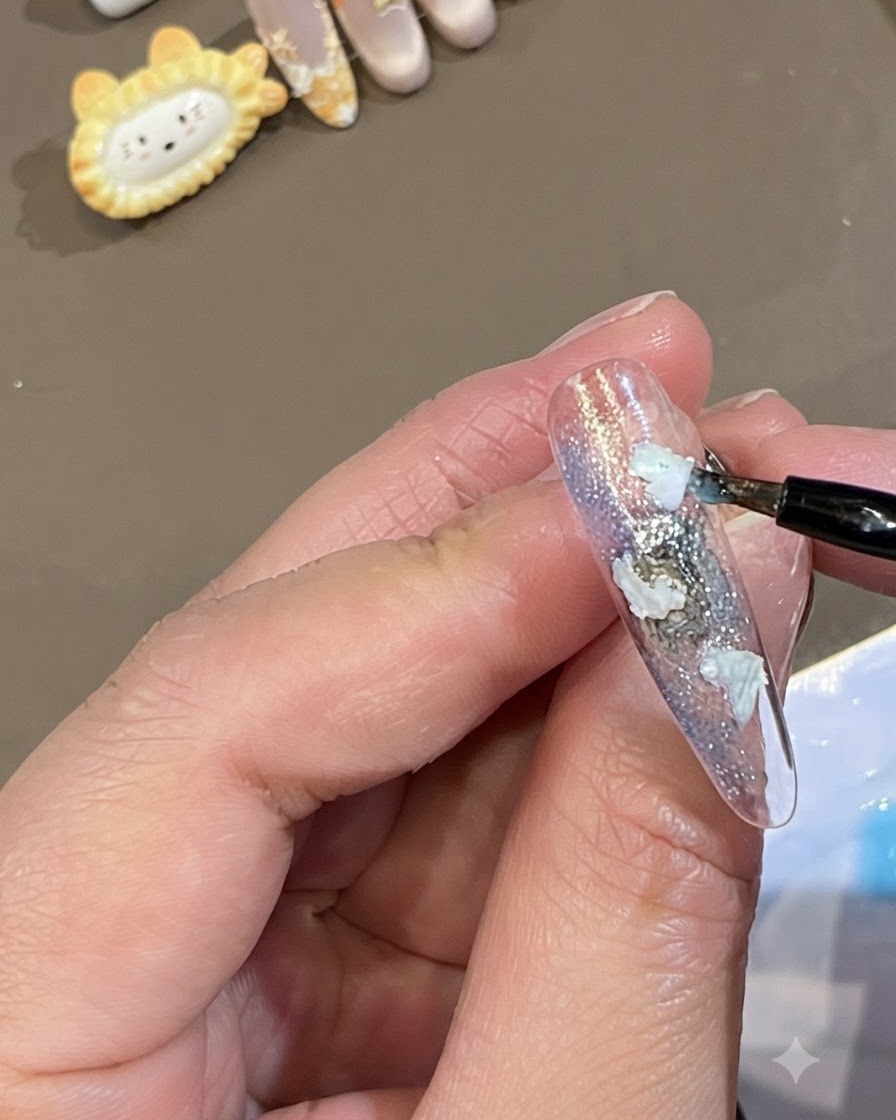
Carefully apply small dots of translucent blue gel around the outer edges of the embedded shell pieces to soften their borders and blend them into the surrounding background.
Tip: Use a fine liner brush to control the size of each translucent dot for an organic, natural look. - 5Apply white airbrush gradient
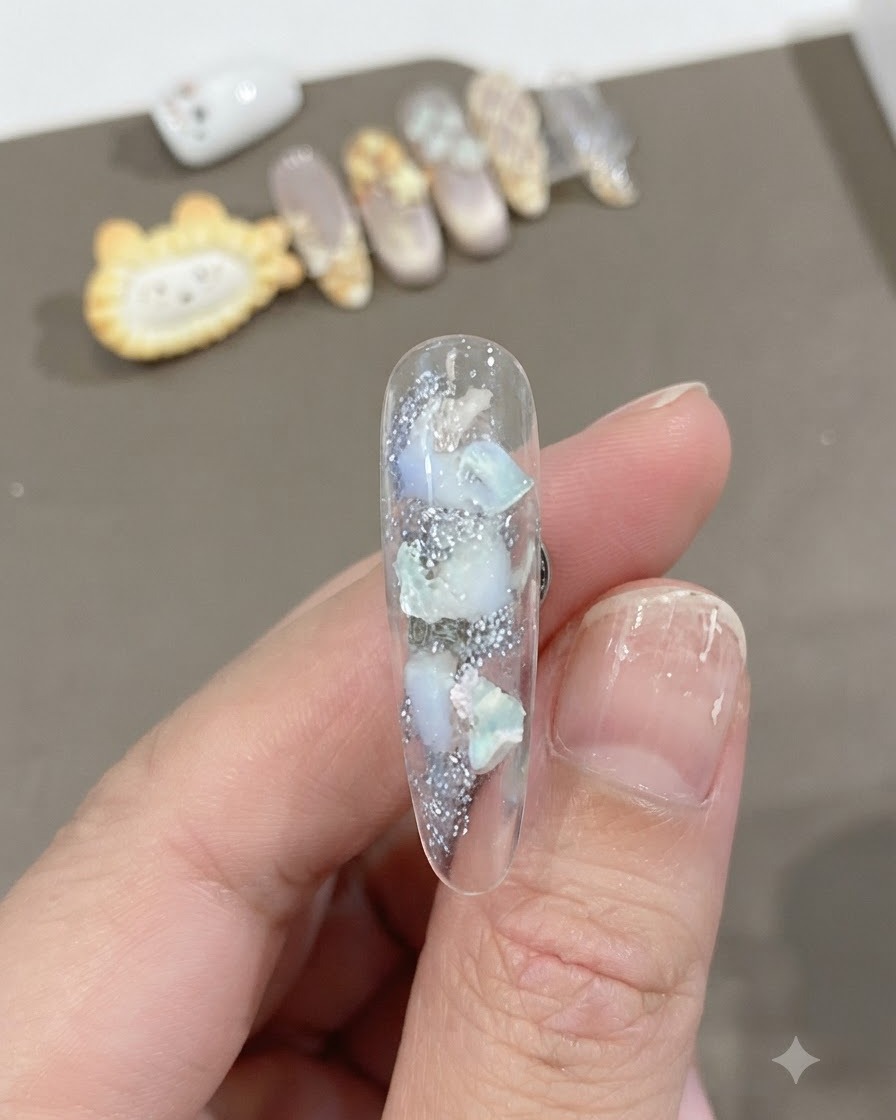
Apply a subtle white airbrush-gradient shading to lightly veil the shell pieces and surrounding details, achieving a seamless and harmonious color transition across the nail.
Tip: Keep the airbrush spray light and controlled so the underlying texture and shimmer remain partially visible. - 6Dot fairy powder highlights
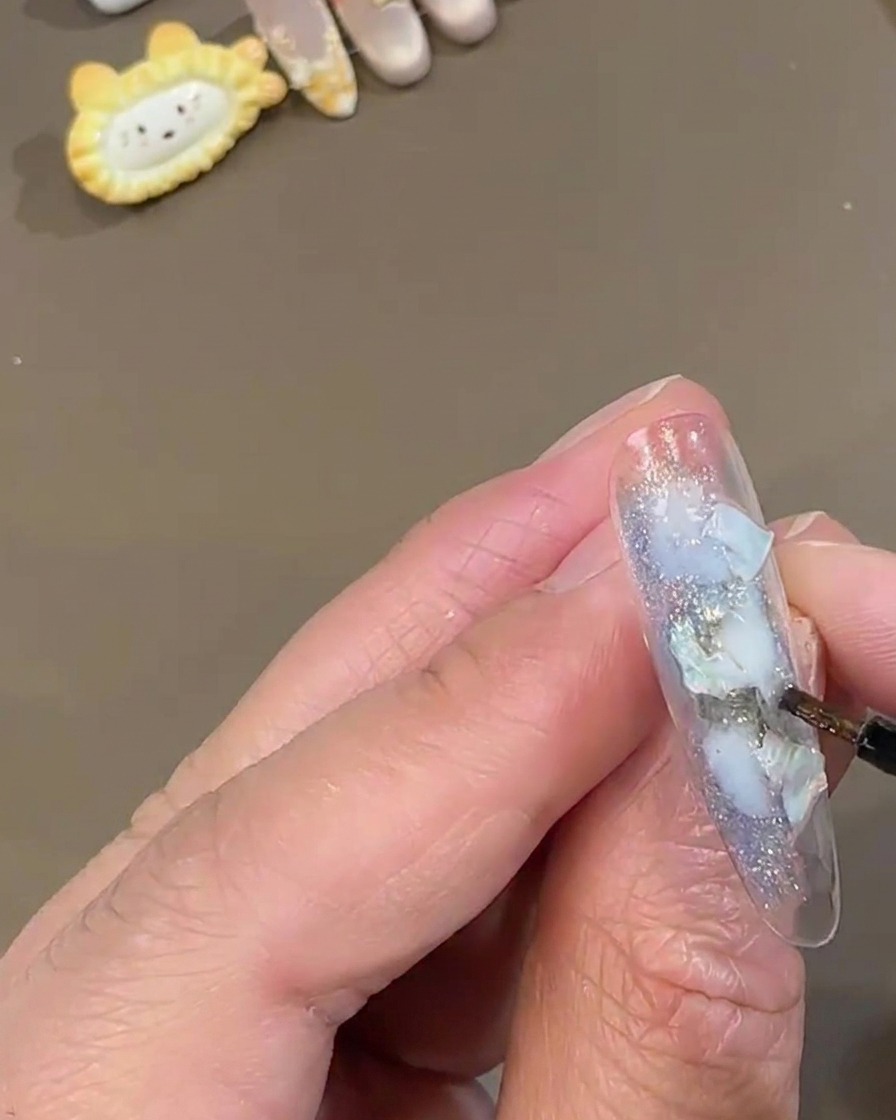
Use a fine detail brush to carefully dot white fairy powder or shimmer gel onto the blank spaces around the shell pieces. This adds a subtle, magical sparkle and highlights the icy blue tones of the nail design without overpowering the main elements.
Tip: Apply the fairy powder sparingly; you want it to look like scattered stardust, not a solid block of glitter. - 7Apply encapsulation gel
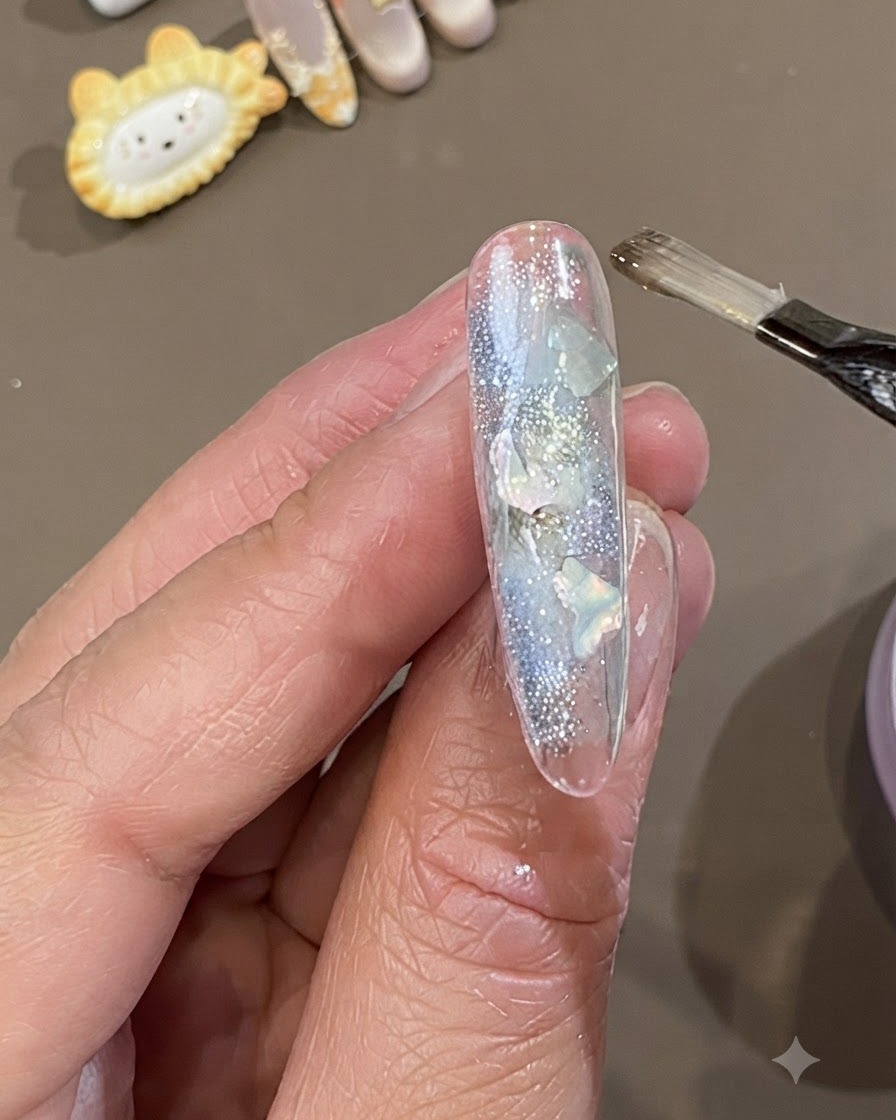
Use a flat gel brush to apply a thick layer of soft encapsulation gel or builder gel over the entire nail. Make sure to completely cover the shell pieces and fairy powder. This step seals the 3D elements and creates a smooth, even surface for the rest of the design.
Tip: Float the gel over the nail rather than brushing it hard to prevent moving the delicate glitter and shell pieces underneath. - 8Level and seal with top coat
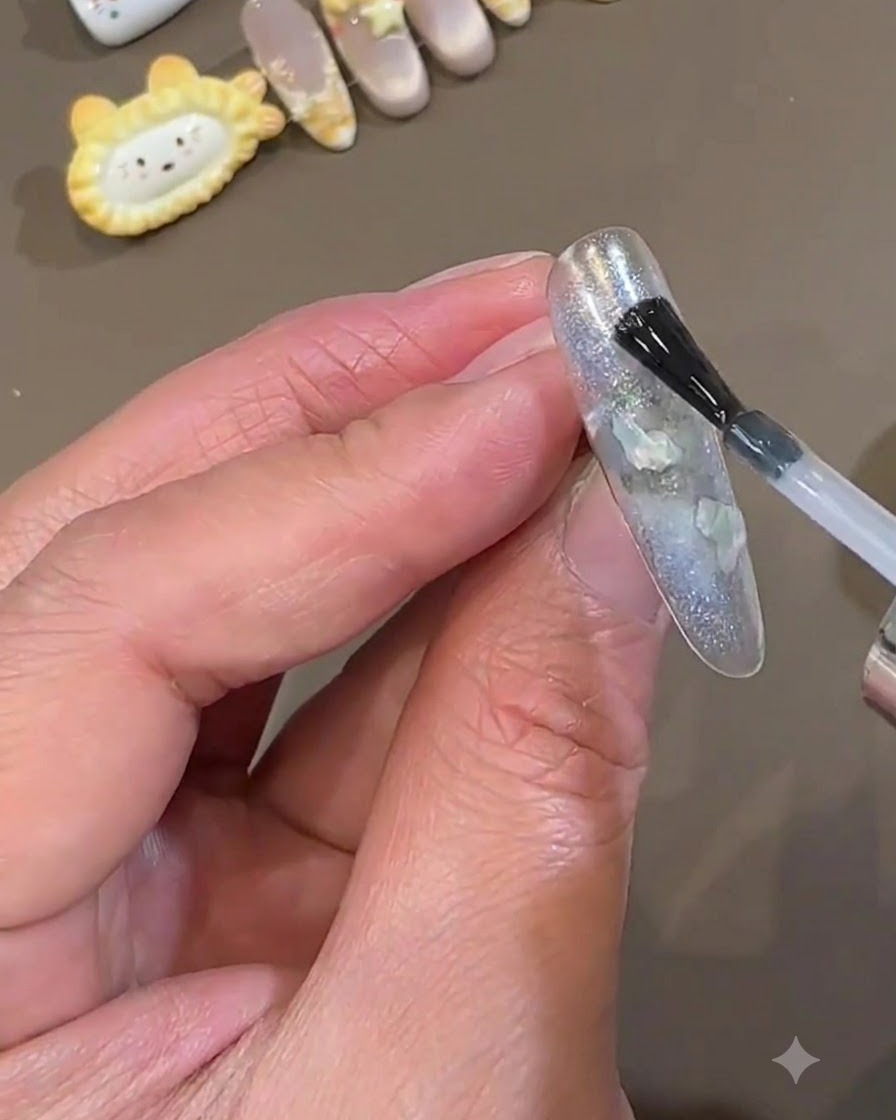
Once the encapsulation gel is cured, apply a layer of clear top coat or leveling gel to ensure the nail surface is perfectly smooth. Brush it evenly from the cuticle area down to the free edge. This creates a flawless base for the upcoming art application.
Tip: If the nail surface is still slightly bumpy after encapsulation, you can gently buff it smooth before applying this leveling top coat layer. - 9Apply Chrome Heart sticker
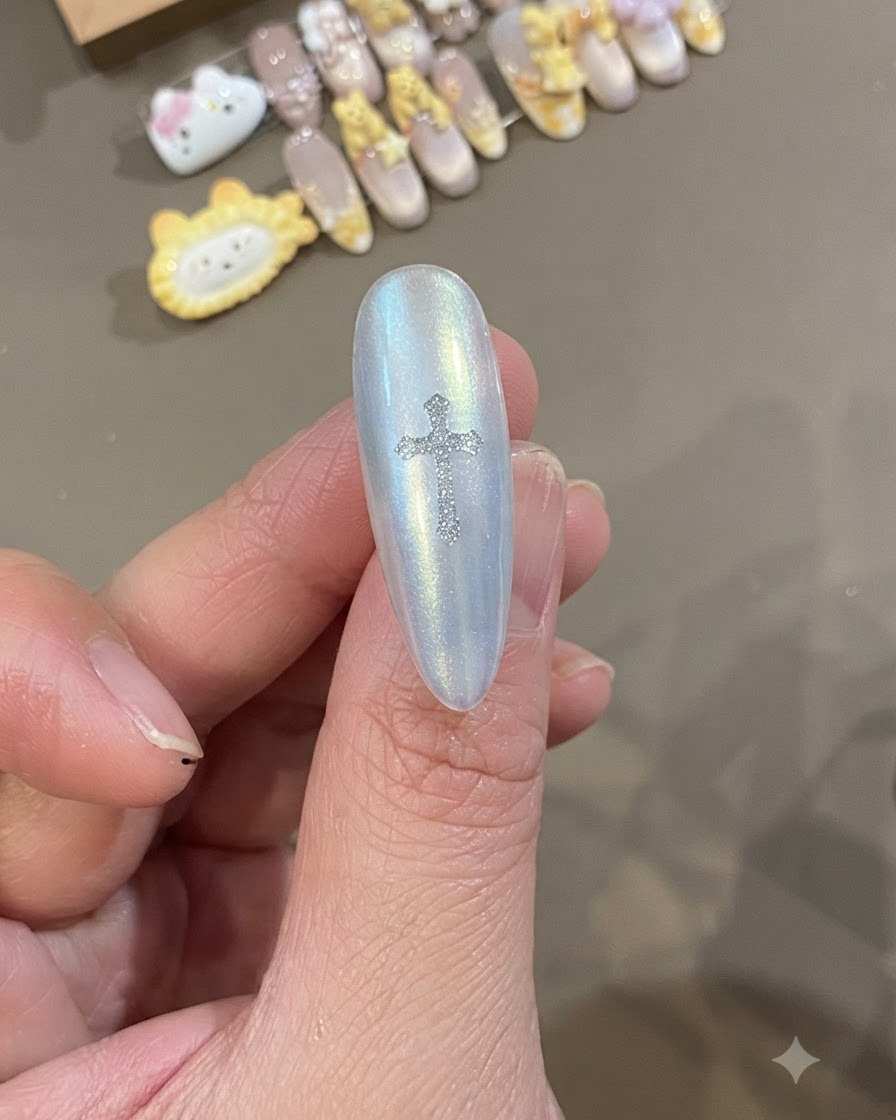
Carefully use tweezers to pick up a silver Chrome Heart cross sticker and place it onto the center of the cured, smooth nail surface. Press it down firmly, making sure all the edges are lying completely flat against the curve of the nail to prevent lifting.
Tip: Using a silicone tool or your finger to gently rub over the sticker helps smooth out any tiny air bubbles underneath. - 10Apply matte coat over stencil
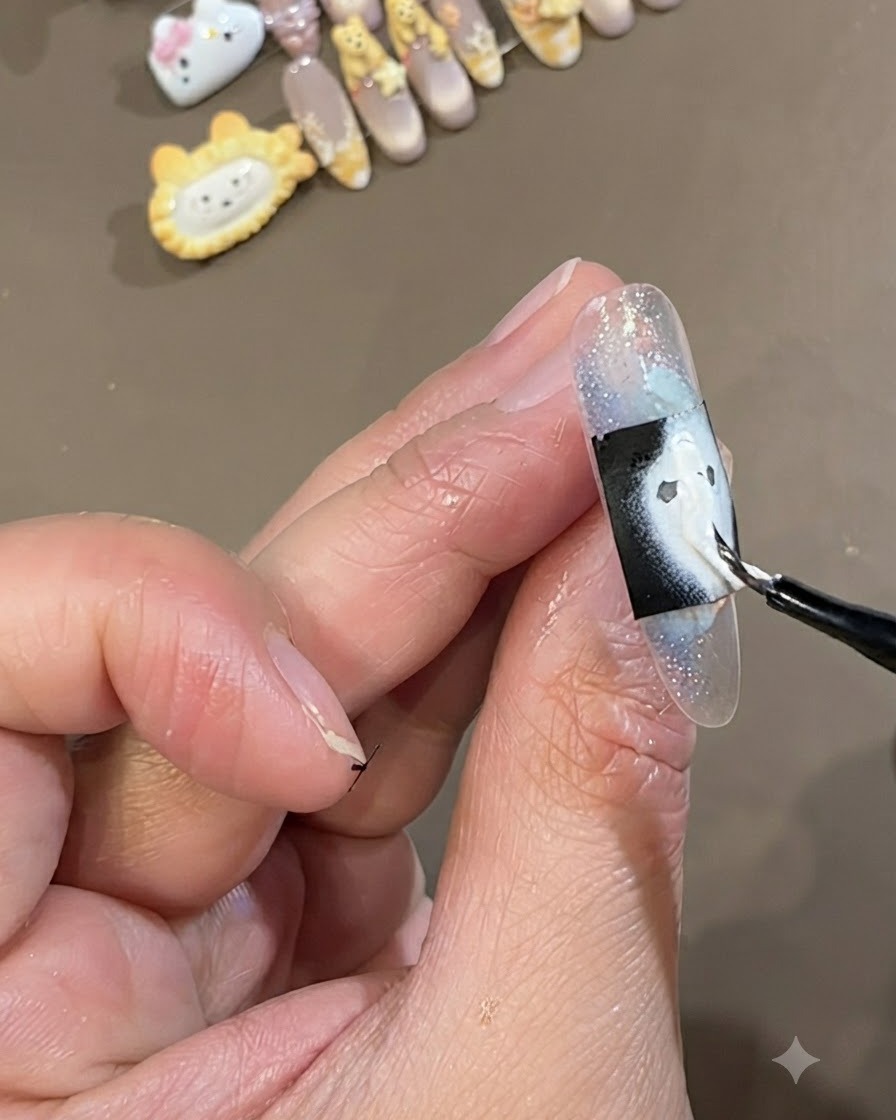
Place your masking tape or stencil securely across the nail. Paint your self-mixed matte top coat or color gel over the exposed area within the stencil. This acts as an adhesive base for the powder and prevents the upcoming color or powder from sticking to the rest of the glossy nail surface.
Tip: Ensure the edges of your stencil or tape are pressed down firmly so the polish doesnt bleed underneath. - 11Dust with chrome powder
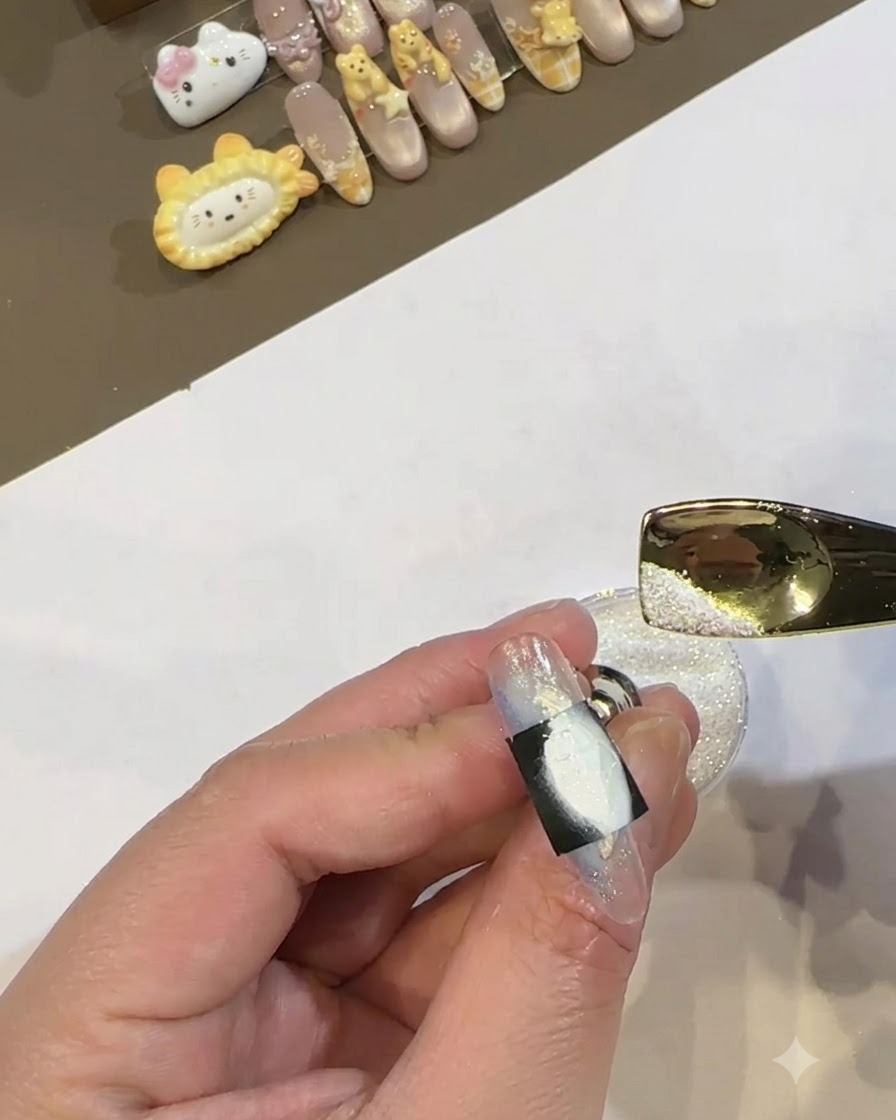
While the stenciled gel layer is still uncured or perfectly tacky, use a small spoon or scoop to generously dust your chrome or fairy powder over the area. Tap off any excess powder. This will bind to the wet or tacky layer to create a stunning, frosted chrome effect exactly in the shape of your stencil.
Tip: Catch the excess powder in a small jar or paper crease underneath so you can pour it back into the container and avoid wasting product. - 12Apply slip line gel
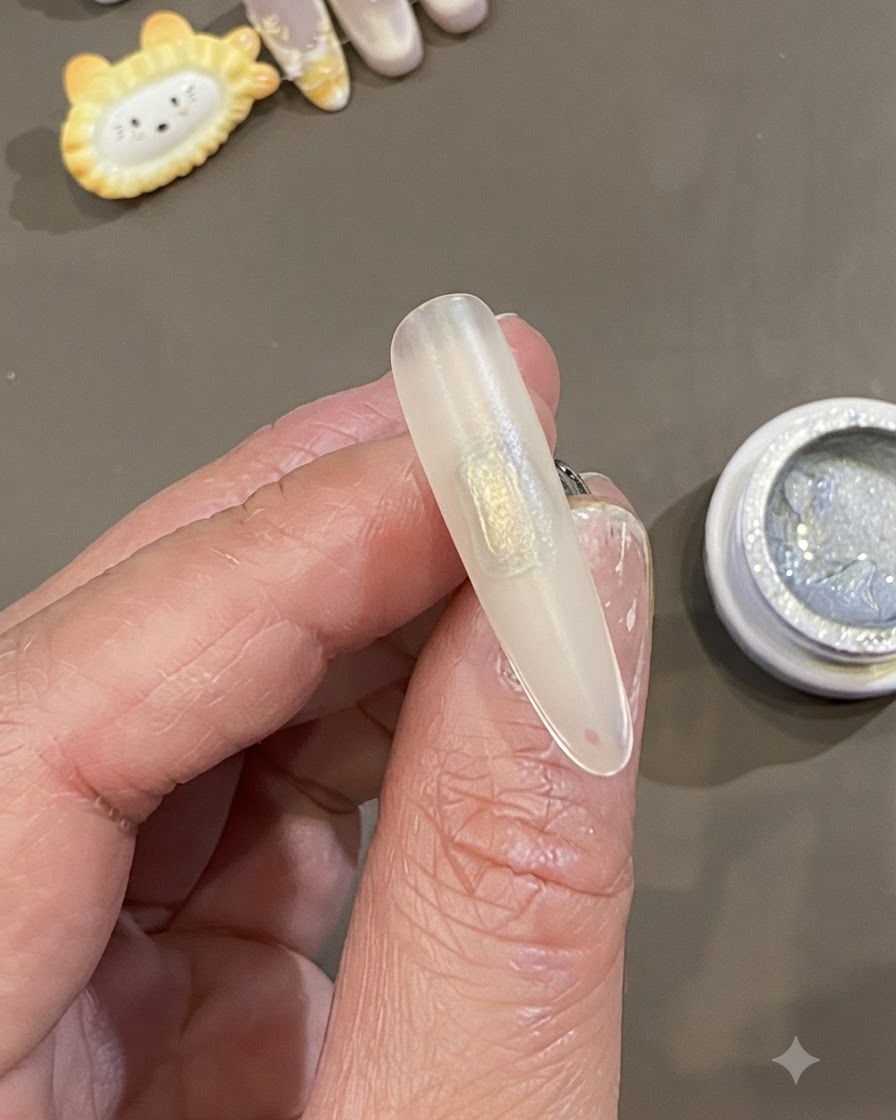
Apply a smooth, even layer of slip line gel over the matte nail surface. This clear foundation acts as a slick base that will allow the magnetic particles in the following cat-eye gel step to glide and gather cleanly.
Tip: Keep the layer thin so the subsequent gels dont pool or flood the edges of the nail. - 13Create a glass ball effect
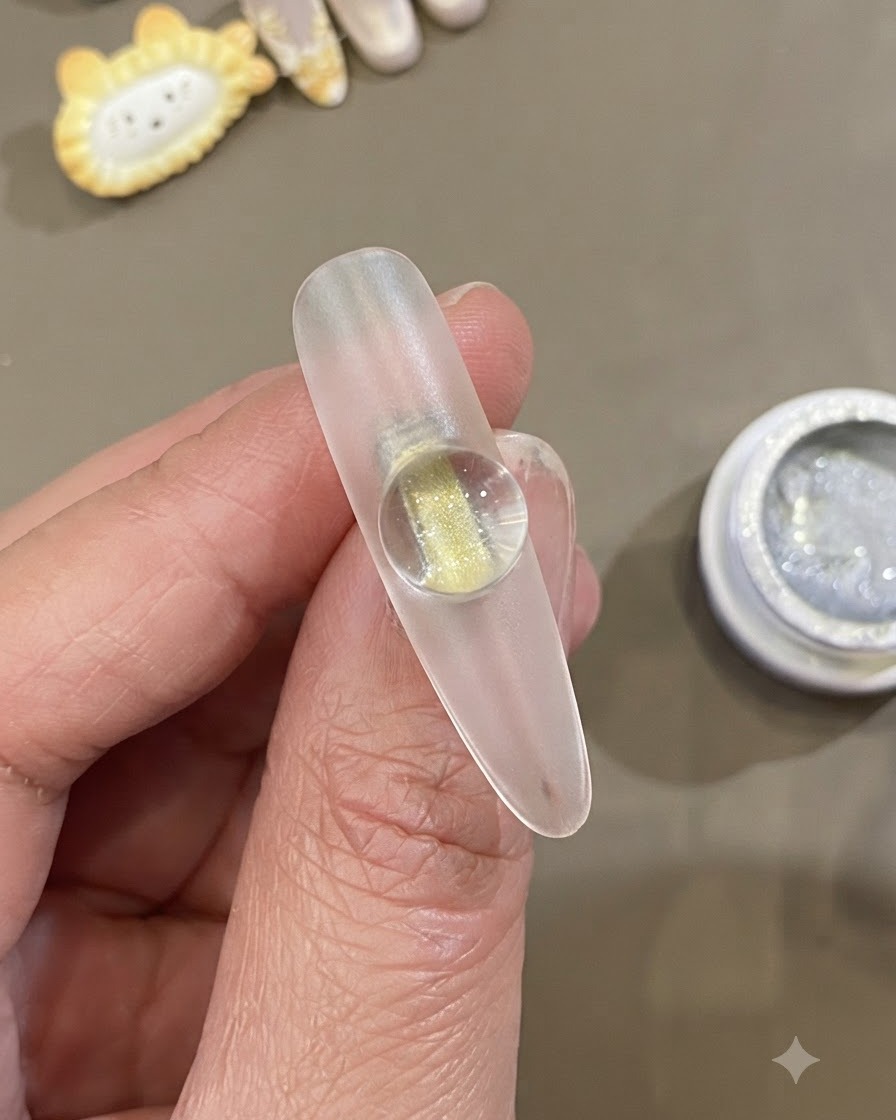
Apply your cat-eye gel over the slip layer. Immediately hover a strong magnet over the nail to manipulate the magnetic particles, drawing them into a tight, highly reflective circle that mimics a 3D glass ball. Cure it fully once the shape is perfect.
Tip: Hold the magnet as close to the nail as possible without touching the wet gel for the sharpest, brightest effect. - 14Add a shattered diamond gradient
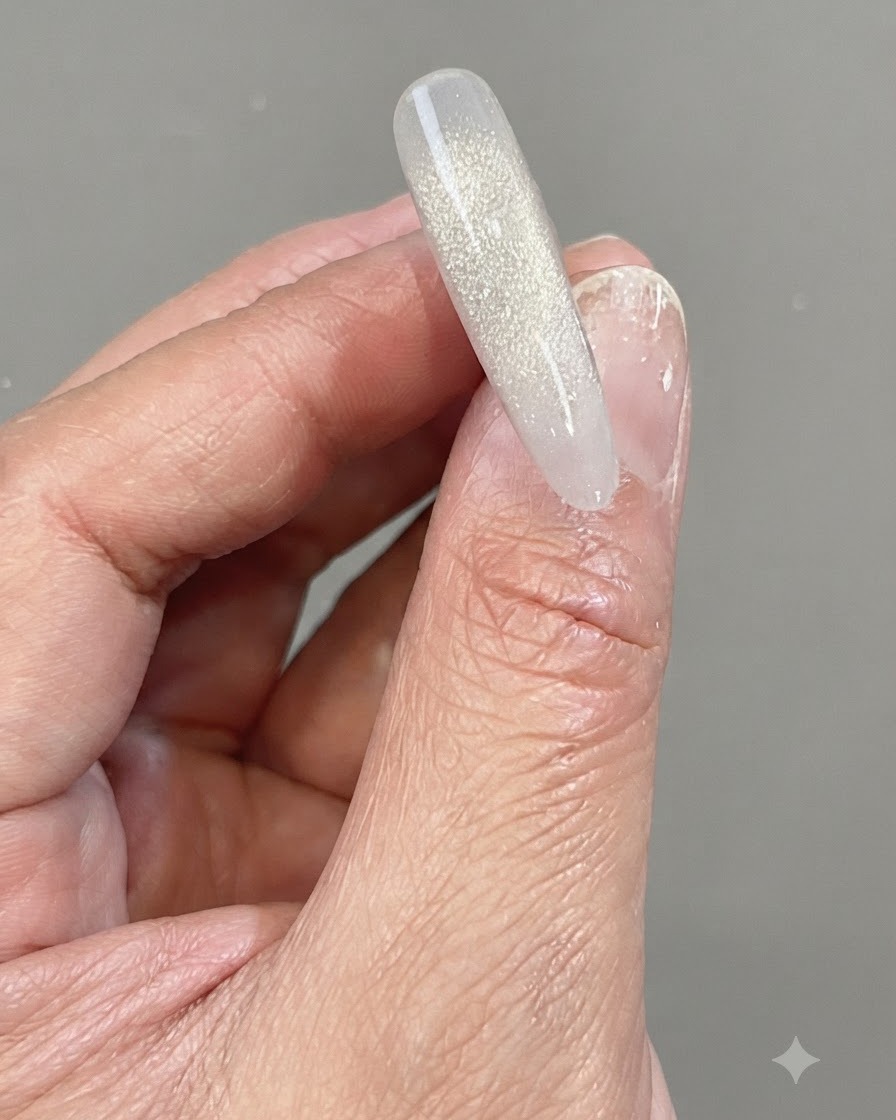
Apply blue shattered diamond gel down the length of the nail to create a striking vertical gradient. Gently feather the edges of the glitter outwards so it fades seamlessly into the sheer base for a sparkling, dispersed finish.
Tip: Use a fine detail brush to tap individual glitter particles into place for a smoother fade. - 15Stamp the lettering design
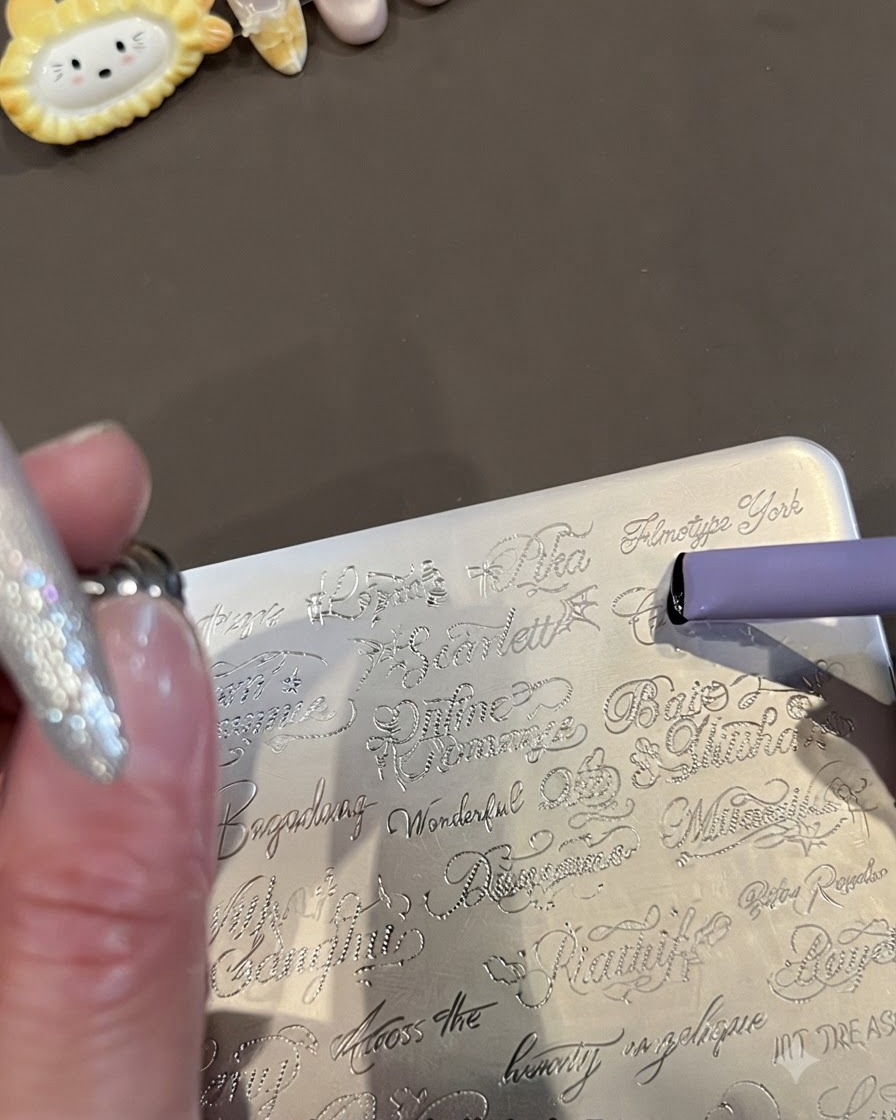
Apply your stamping polish to the desired English word or letter on the metal stamping plate, and scrape away the excess. Swiftly roll your jelly stamper over the plate to pick up the design, then align and press it onto the nail.
Tip: Work quickly during this step, as stamping polish air-dries very fast and may not transfer if it sits on the stamper too long. - 16Clean up excess stamped pattern
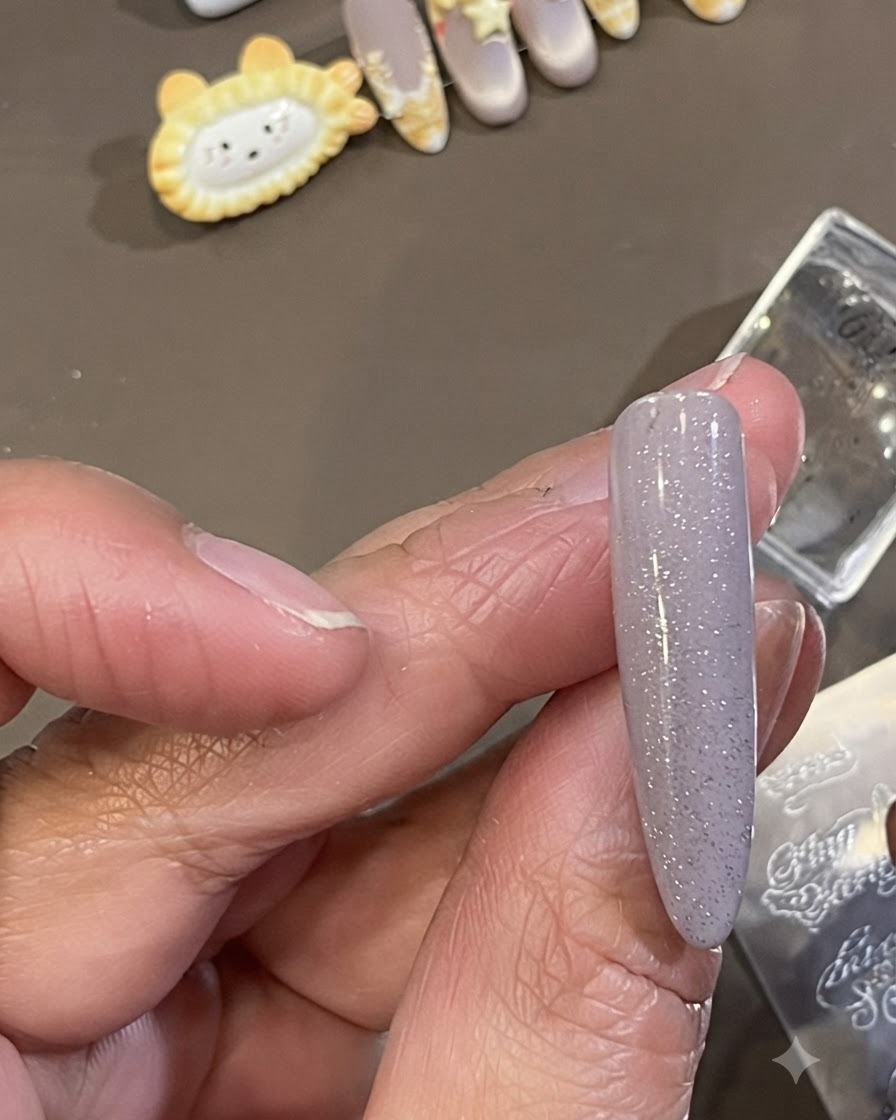
Carefully wipe away any excess stamped pattern from the skin and edges around the nail using a small brush dipped in nail polish remover or cleanser. Ensure the design lines remain sharp and intact on the nail surface before applying the final sealant layer.
Tip: Work quickly and use a fine cleanup brush to avoid accidentally smudging the delicate stamped lines. - 17Apply final top coat
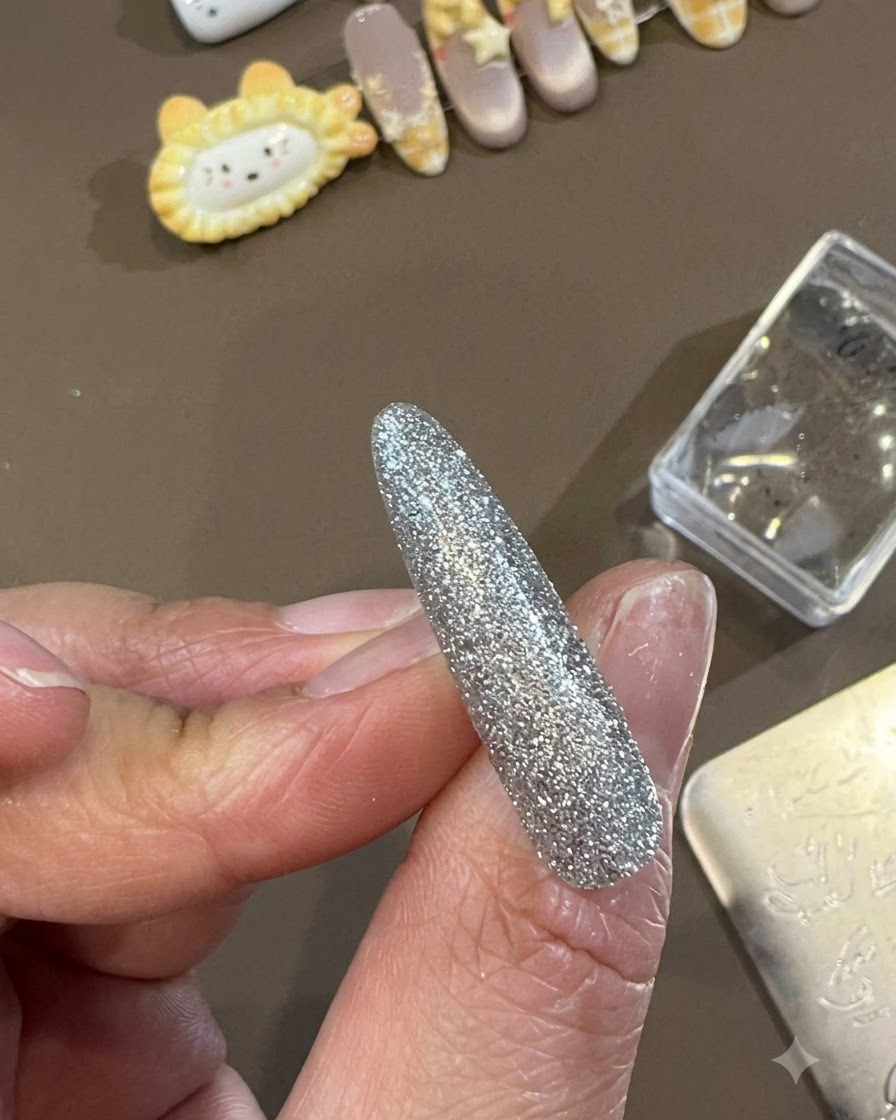
Apply a generous, even layer of final gloss top coat over the entire nail surface, fully sealing the stamped design and decorations. Cap the free edge to lock in the nail art and protect against chipping. Cure completely under the UV or LED lamp to finish the manicure.
Tip: Make sure the top coat covers all edges completely to prevent the embedded art and stickers from lifting over time.