Silver Texture
Gem Embellished Black Metallic Nail Art Tutorial
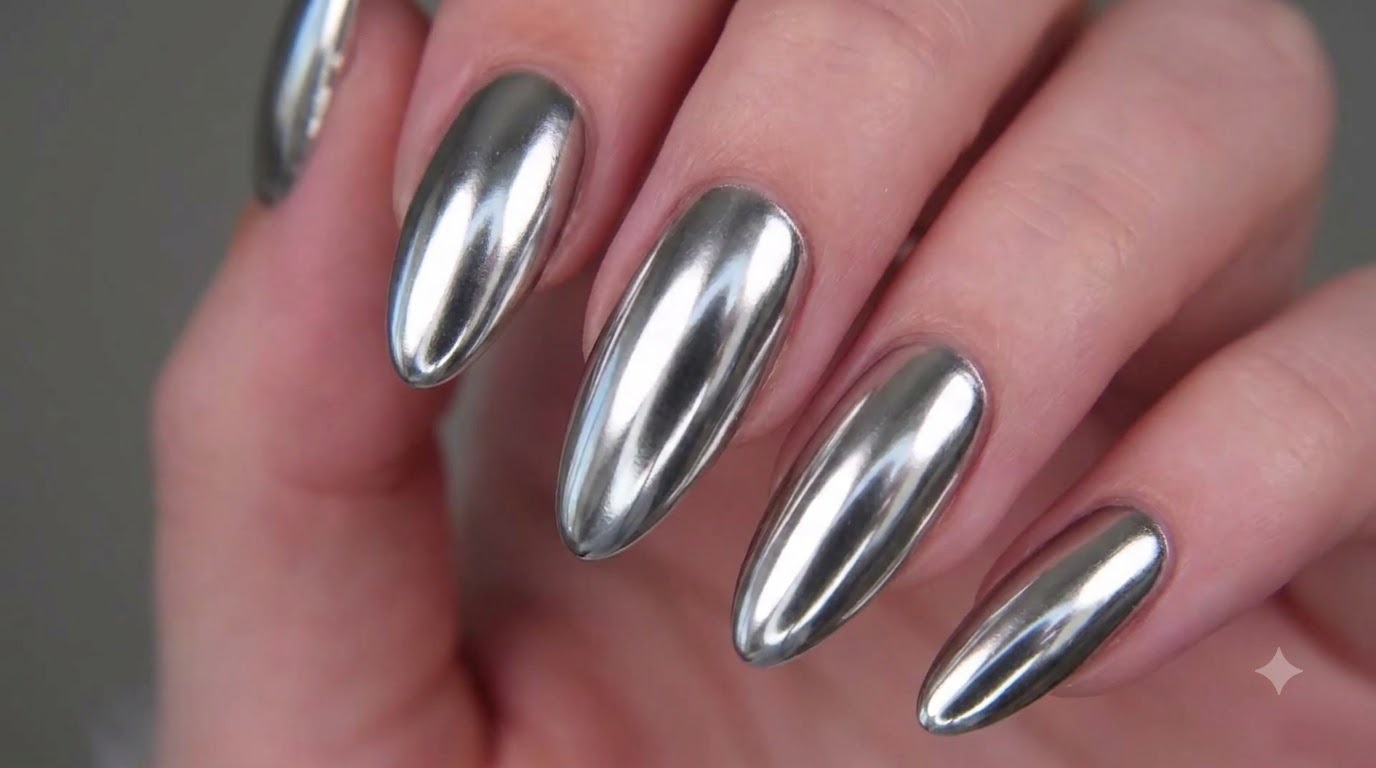
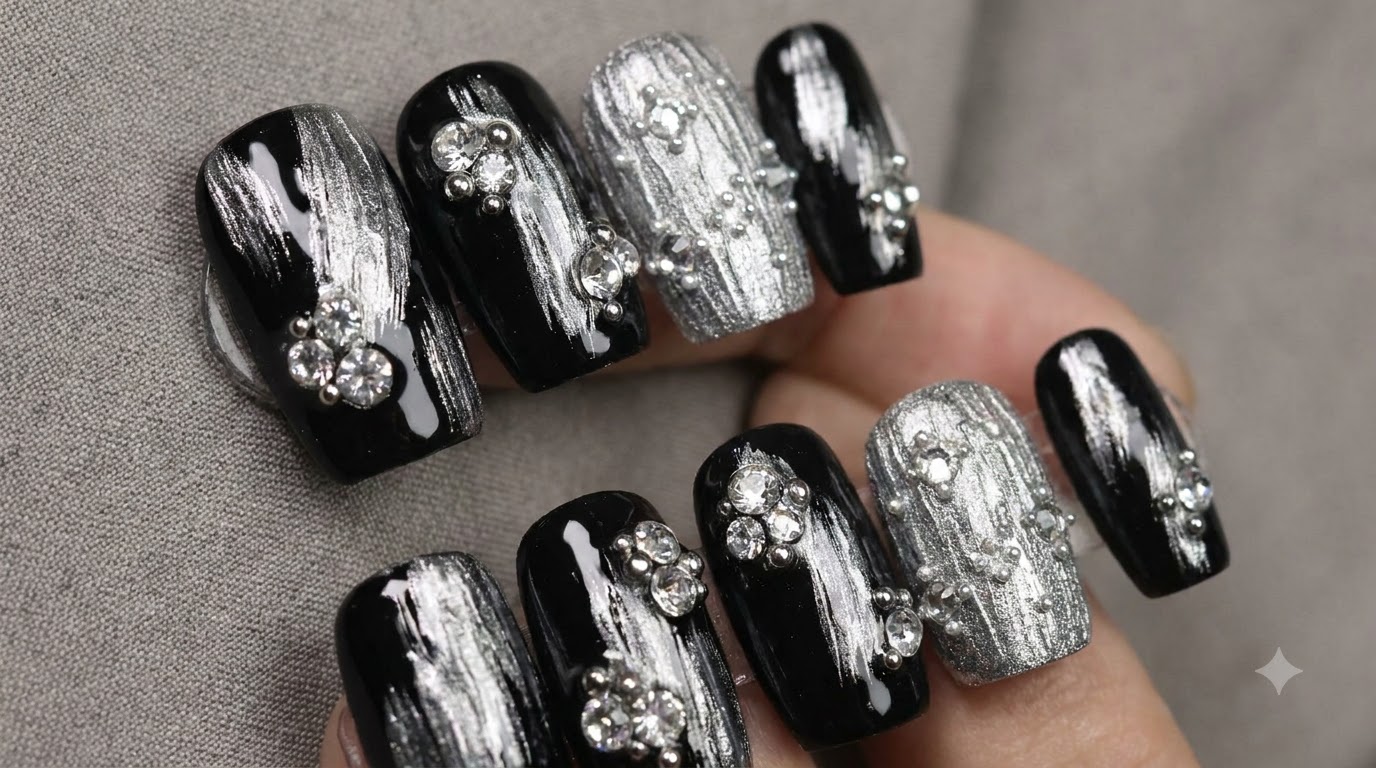
Discover a niche, Burqin-style black and silver metallic textured nail design featuring dynamic brushstrokes, chrome mirror powder, and sparkling rhinestones.
If you are tired of everyday basic styles, this niche Burqin-style nail design delivers unmatched personality and heavy design sense. Combining a deep black base with abstract silver chrome textures, dimensional liner art, and carefully placed rhinestones and steel beads, this tutorial guides you step-by-step through creating a striking avant-garde manicure.
Steps
- 1Apply black base color layer
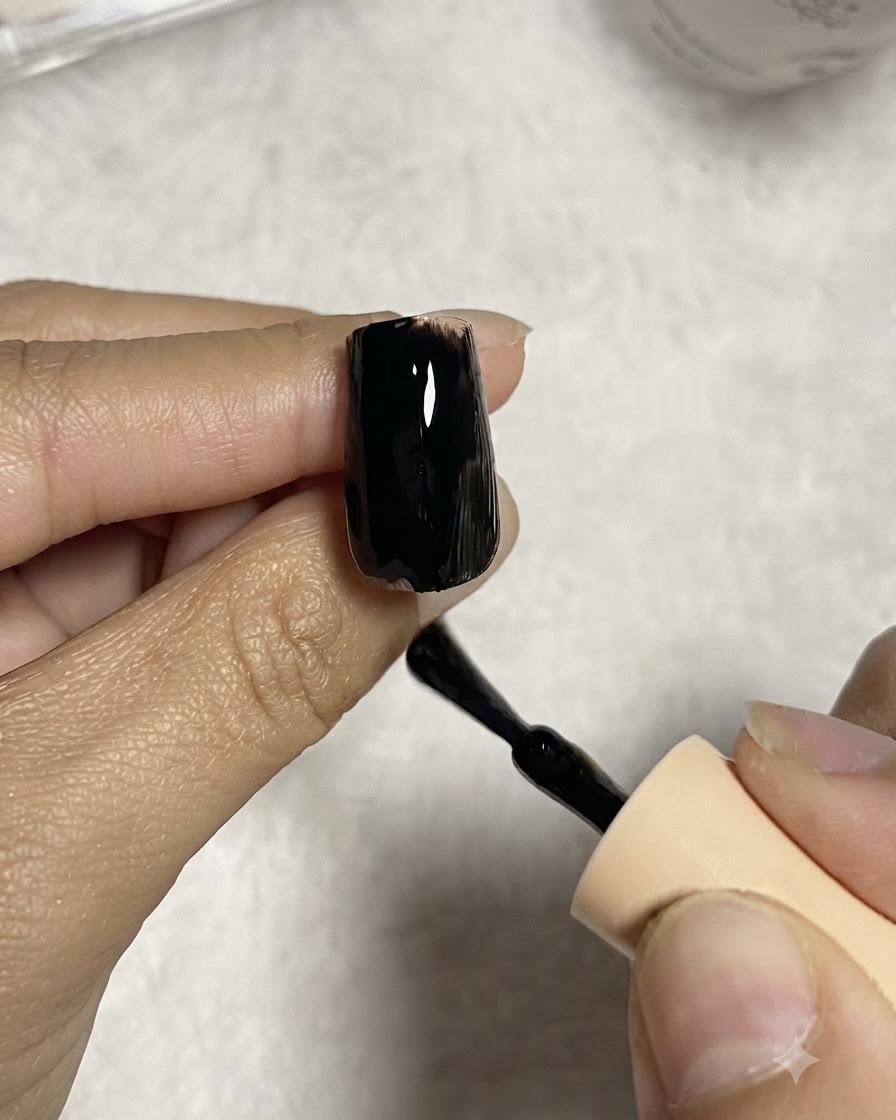
Apply a smooth, even layer of black gel polish over the clear nail extension to build a rich, opaque base. This dark base coat provides the deep background color necessary to make the metallic mirror powder pop brilliantly during application.
Tip: Ensure the black color is applied evenly without streaks before curing, as imperfections will show through the final design. - 2Create textured lines with glue
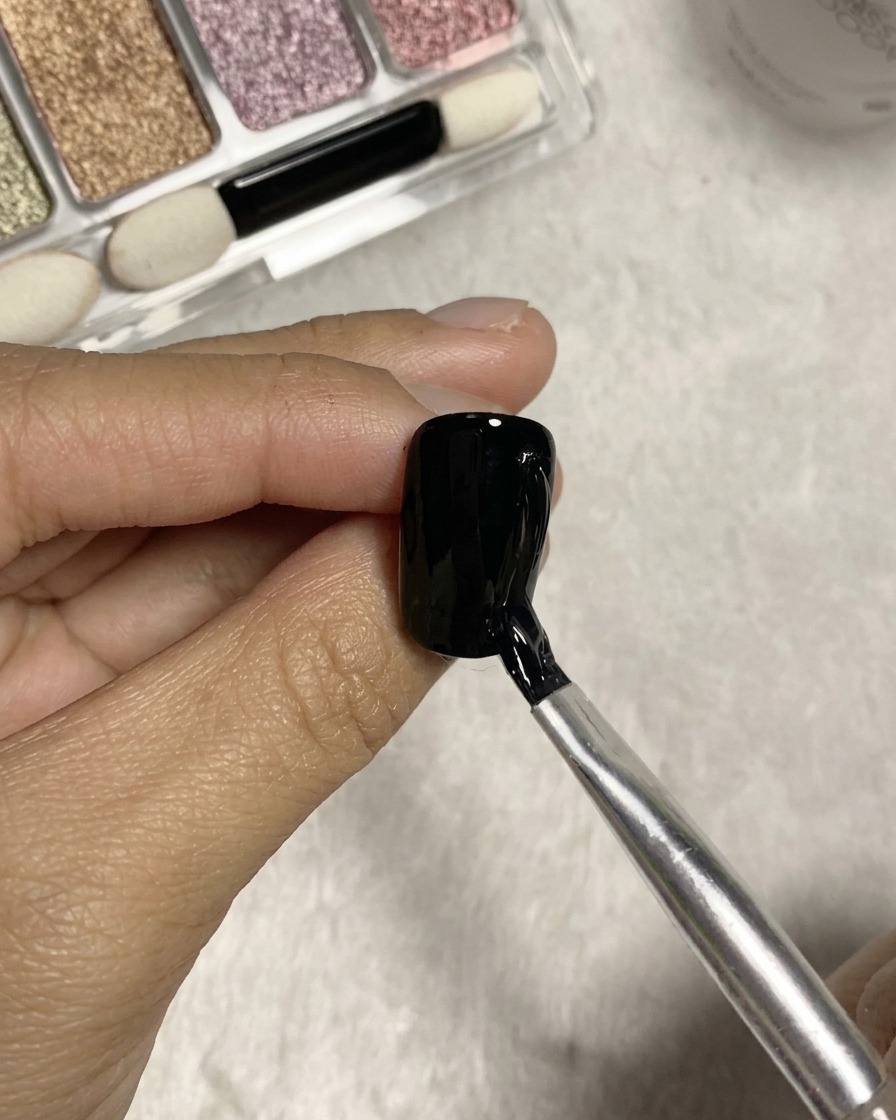
Using a split-head brush dipped in no-wipe rhinestone glue, pull casual, irregular vertical strokes across the cured black base surface. These raised lines will form the dimensional framework for the silver mirror powder effect.
Tip: Keep strokes freehand and varied to give the Burqin-style design its characteristic niche, organic texture. - 3Refine dimensional lines
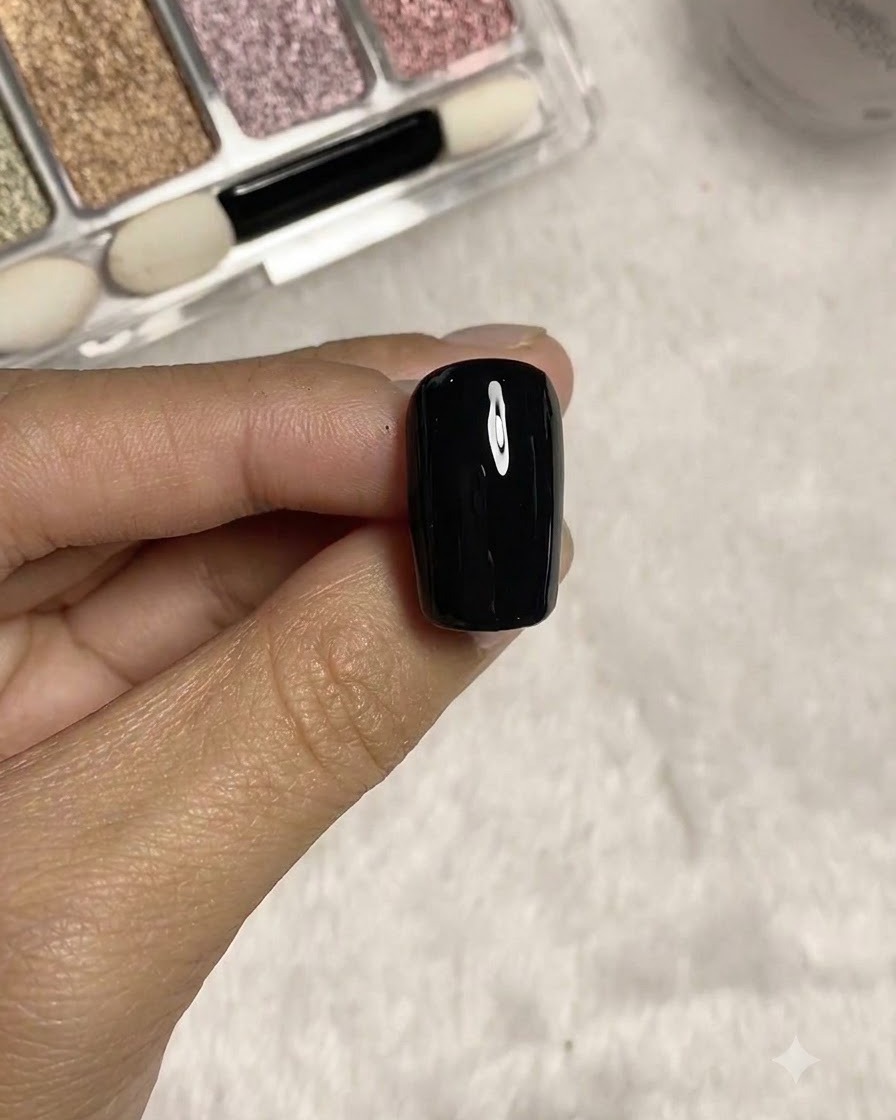
Take a long liner brush and draw fine, distinct three-dimensional lines over the nail surface to complement the existing texture. You can draw freely to add personal character and complexity to the abstract pattern.
Tip: Do not cure the gel lines yet, as they need to remain wet and sticky to catch the magic mirror powder directly. - 4Rub on silver mirror powder
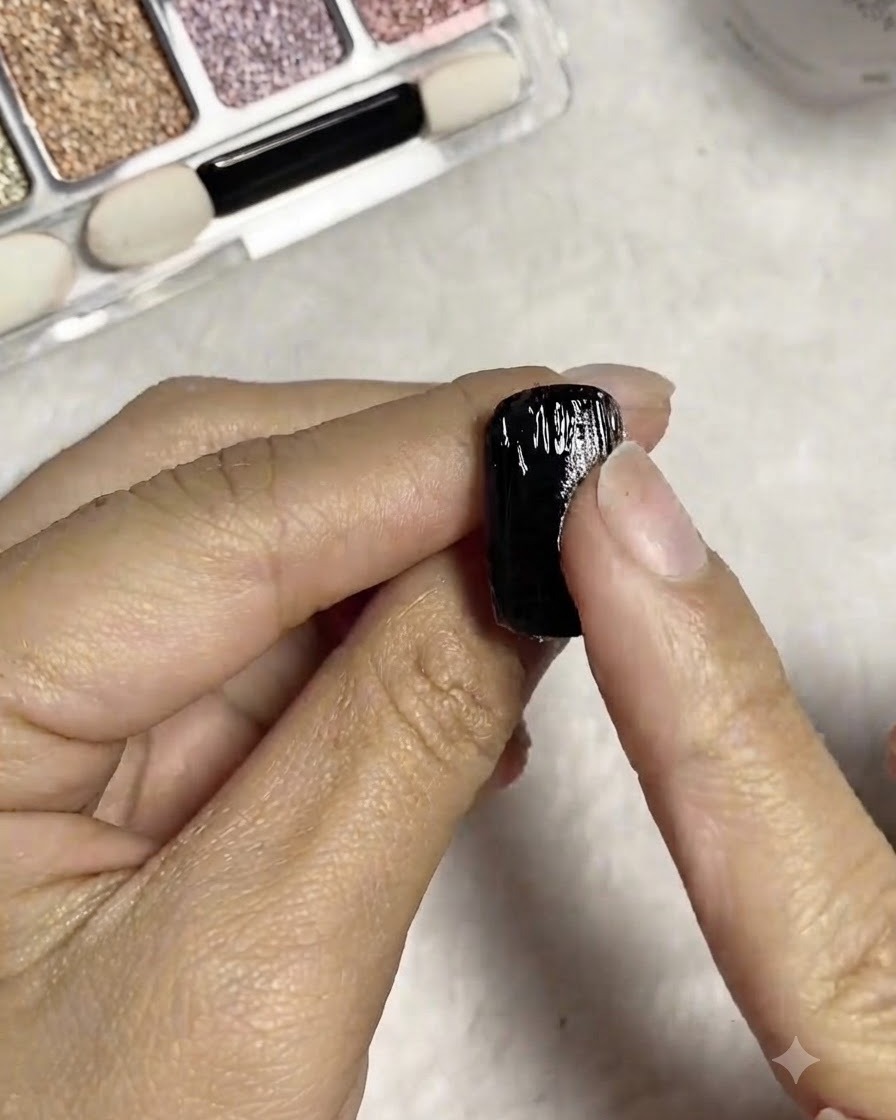
Directly rub silver magic mirror powder onto the uncured textured lines using your finger. The powder will adhere exclusively to the tacky adhesive lines, instantly revealing the metallic pattern against the black background.
Tip: Rub gently along the raised lines to ensure complete metallic coverage without smudging onto the negative space. - 5Clean excess powder
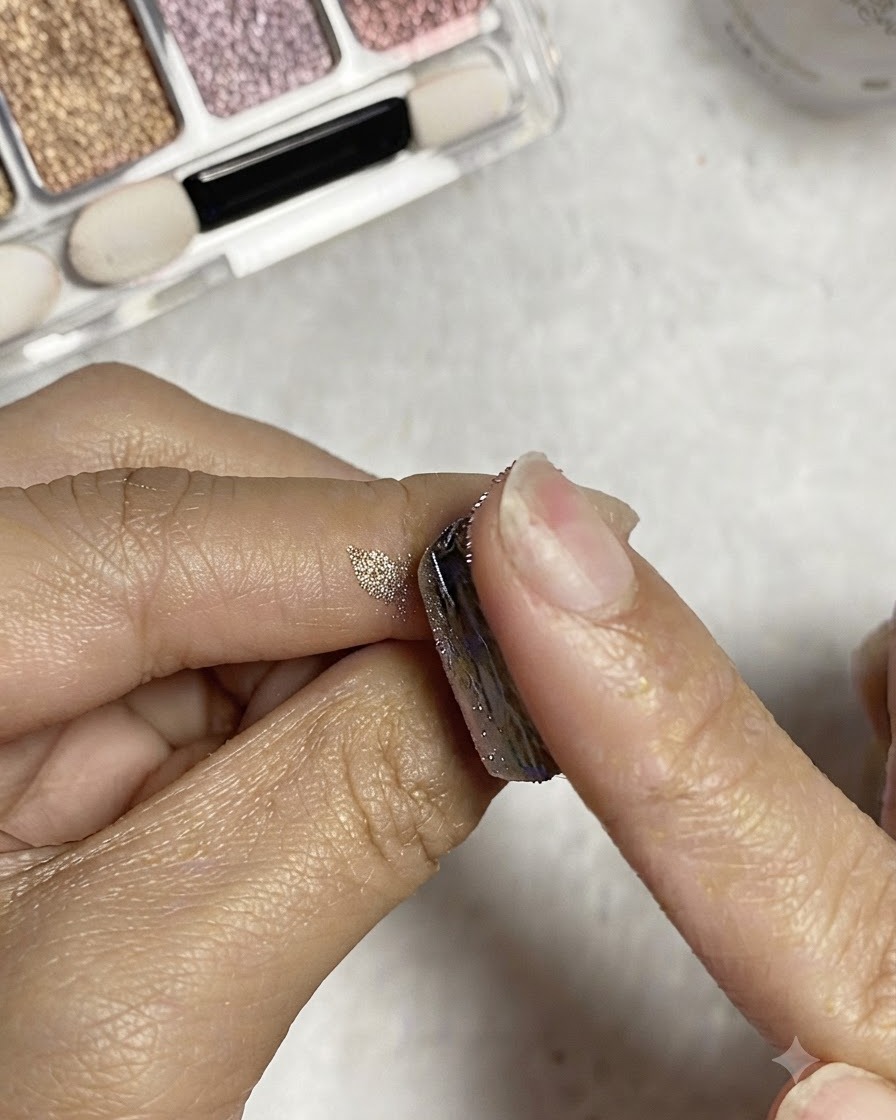
Wipe the nail surface clean with alcohol using your finger or a clean tool, then brush away any stray excess mirror powder. This ensures the background remains a deep, clean black while the chrome lines stay bright and sharp.
Tip: Wiping carefully with alcohol prevents powder residue from dulling the contrast between the black base and chrome lines. - 6Encapsulate the metallic texture with base gel
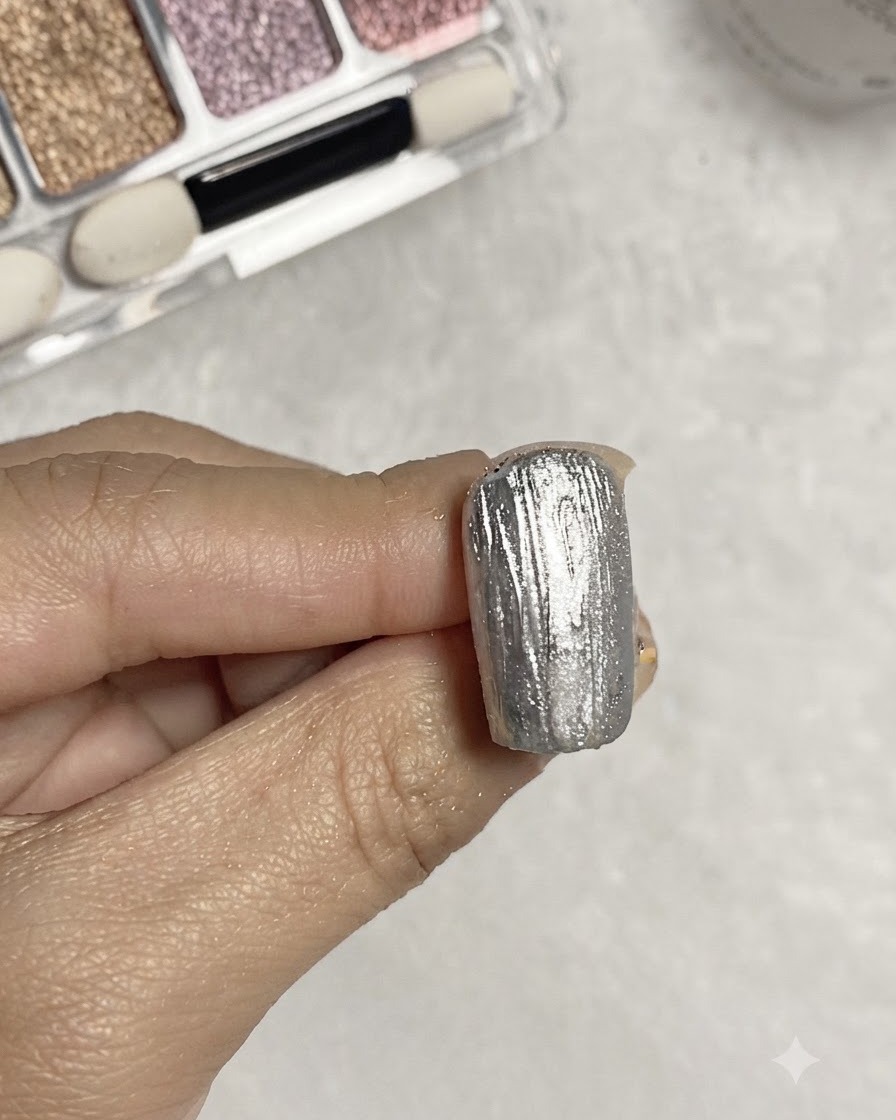
Brush a layer of clear base gel evenly over the cured silver metallic textured design. This step seals the chrome powder and protects the textured surface underneath while creating a smooth foundation for placing subsequent rhinestones and embellishments. Cure under the UV or LED lamp as required.
Tip: Ensure the entire textured area is fully coated and sealed so the metallic finish does not chip or dull when handled. - 7Position the round rhinestones
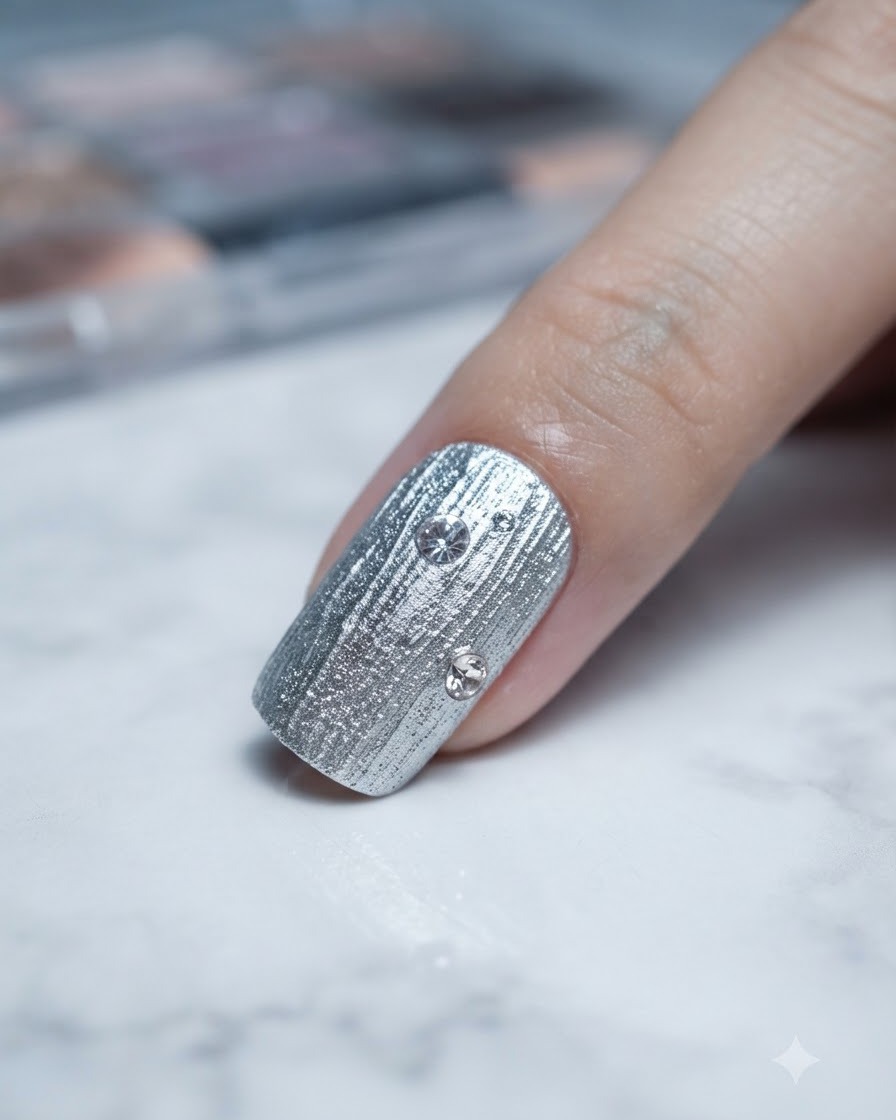
Using a fine picking tool or a liner brush dipped in rhinestone glue, carefully place three round rhinestones onto the designated spots on the nail surface. Arrange them according to your composition plan before proceeding to add surrounding beads.
Tip: Place a tiny dot of rhinestone glue on the exact spot where each rhinestone will sit to secure it firmly in place. - 8Add surrounding steel beads
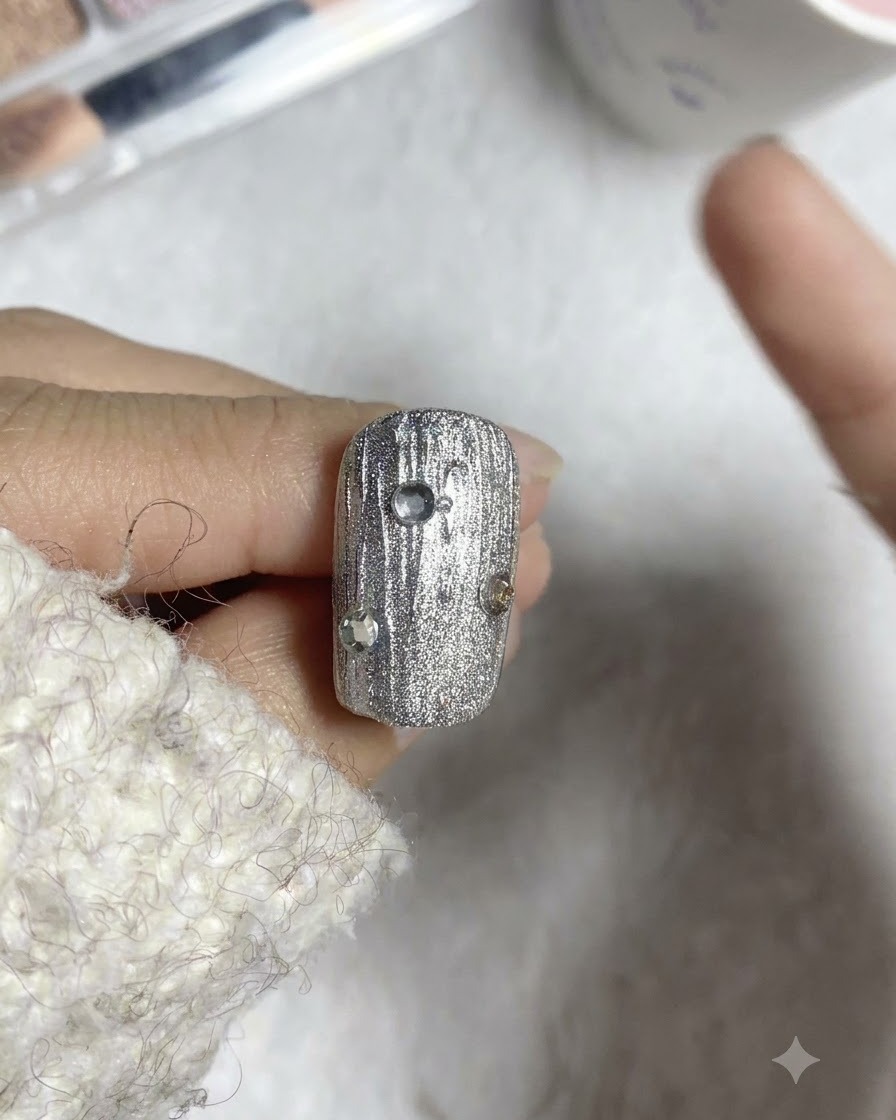
Dip a fine liner brush into rhinestone glue and use it to pick up and place small steel beads around the sides of the previously placed round rhinestones. You can apply the glue dots first and then stick the beads, or pick them up directly with the glue-dipped brush for maximum convenience.
Tip: Working with a liner brush dipped in rhinestone glue makes picking up micro steel beads much faster and more precise. - 9Place the central square steel bead
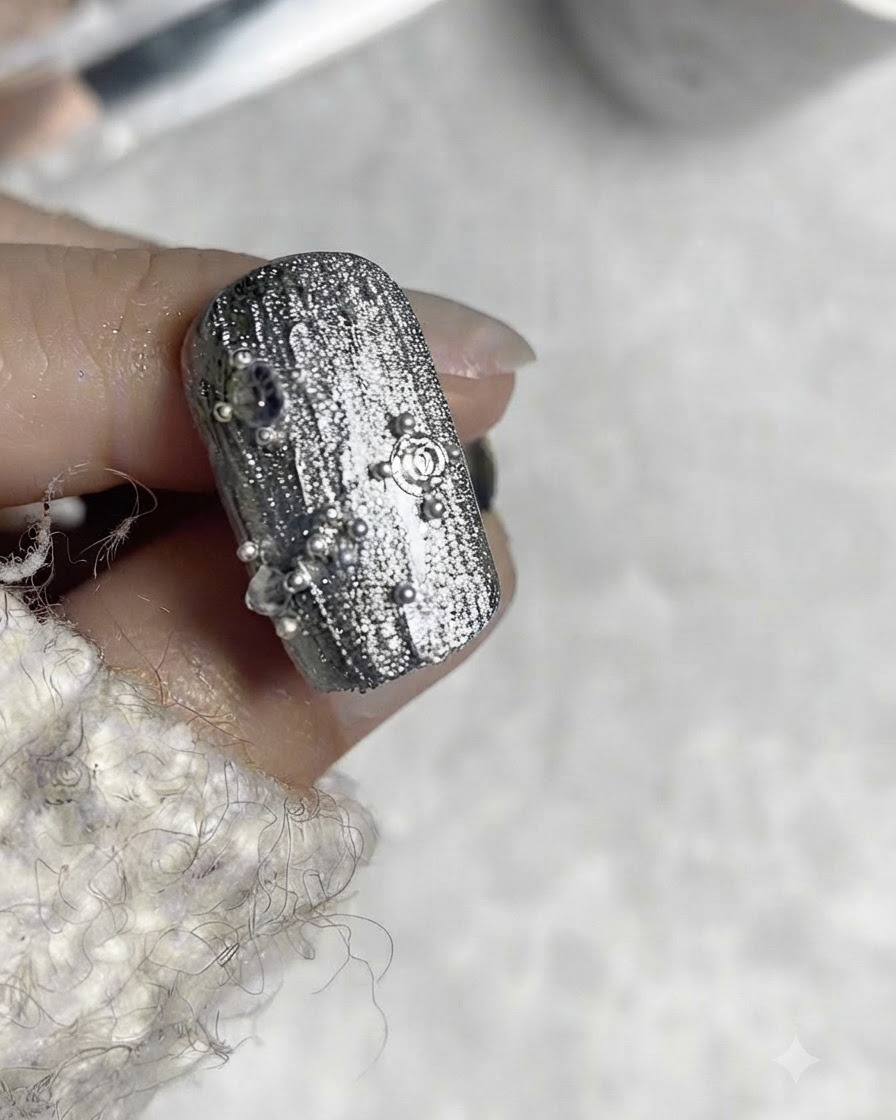
In the middle portion of the nail design where there is no round rhinestone, place a square small steel bead to add an interesting geometric accent. Surround it with a few randomly placed small steel beads to balance out the overall embellishment layout.
Tip: Varying shapes like adding a square bead amongst round elements creates a unique, designer look reminiscent of niche styles. - 10Apply final top coat sealant
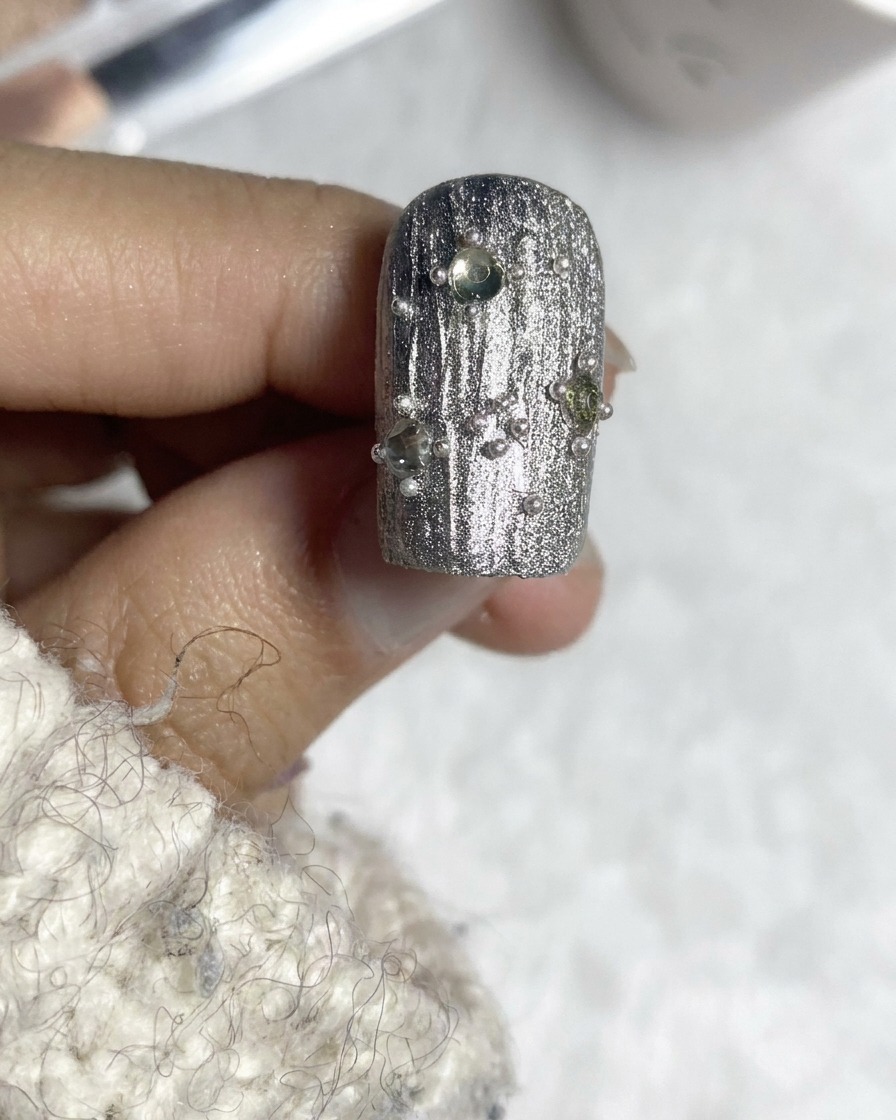
Finish the complete nail design by applying a final top coat sealant over the entire surface, taking care to seal around the embedded rhinestones and steel beads without completely burying their facets. Cure thoroughly under the lamp to lock everything in place.
Tip: Be careful not to flood the rhinestones with too much top coat, which can dull their sparkle and shine.