Teacher Lian Style 3D Lily Flower Gradient Nail Art — Step-by-Step Tutorial
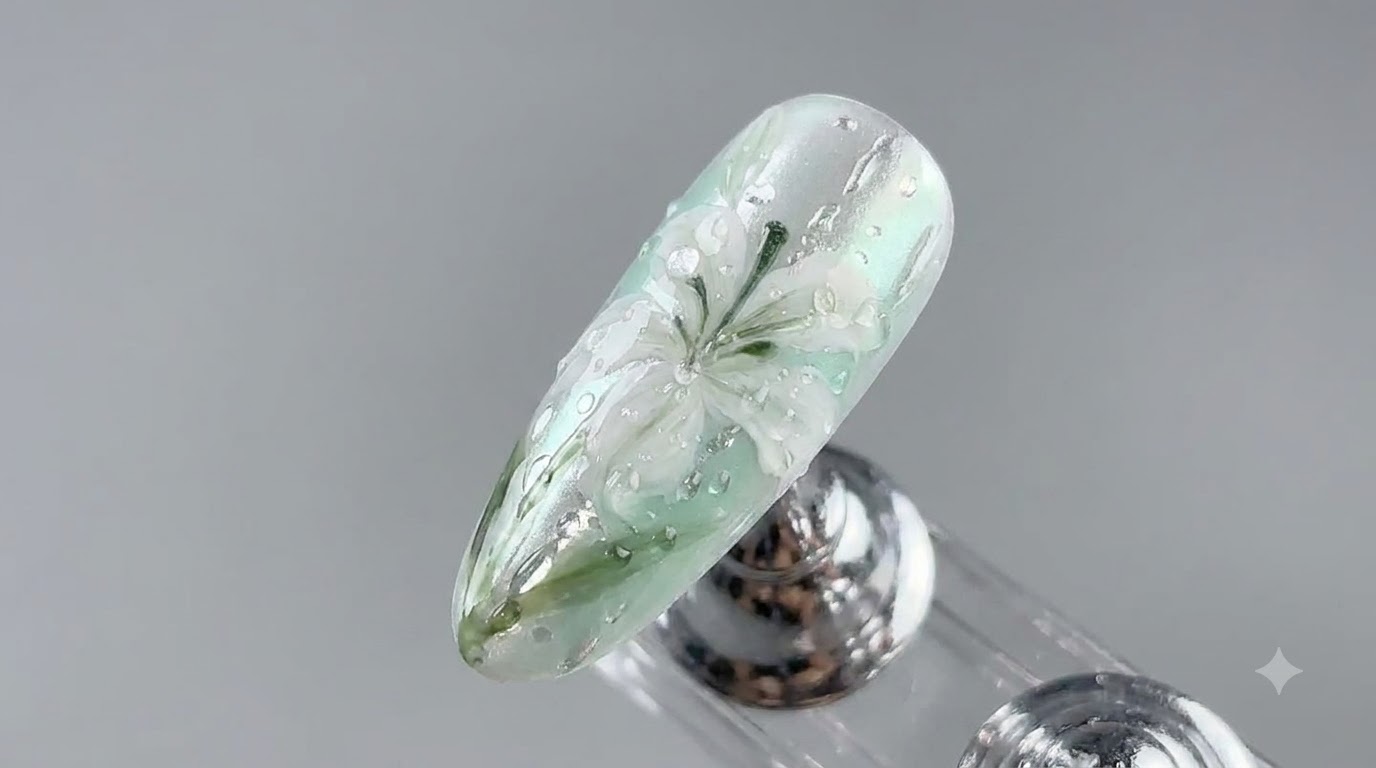
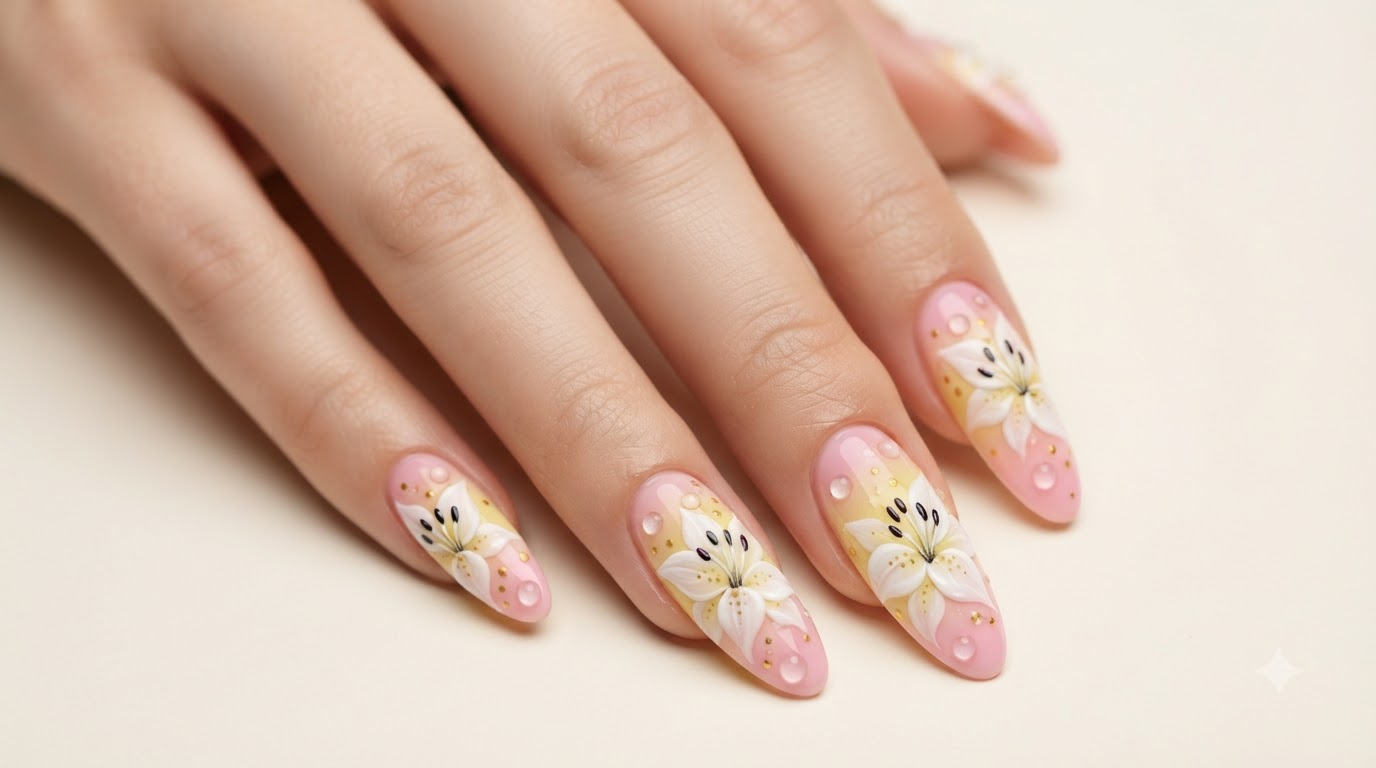
Master Teacher Lian's signature 3D lily flower nail art featuring a delicate plum wine and yellow gradient, detailed hand-painted petals, and glistening water drop accents.
Bring salon-quality artistry to your fingertips with this exquisite 3D lily flower design inspired by Teacher Lian. Combining sponge-tapped gradients, intricate hand-painted petals, textured line work, and realistic water droplet details, this tutorial guides you through each sophisticated layer to create a stunning dimensional masterpiece.
Steps
- 1Apply nude base color
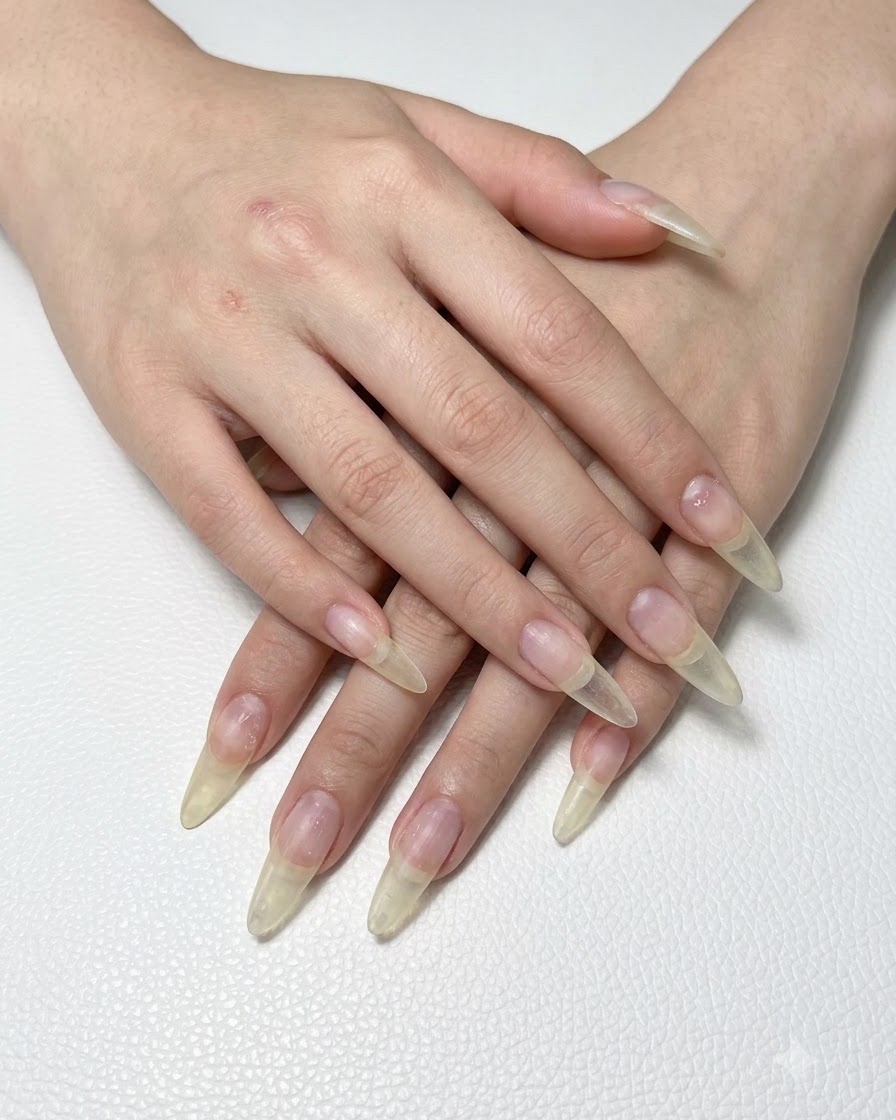
Apply a smooth layer of nude base color gel evenly across the prepped long almond nail plates, ensuring complete coverage from cuticle to free edge before curing under a lamp.
Tip: Keep the base layer thin and uniform to maintain a natural look and prevent bubbling during the cure. - 2Tap yellow gradient on nail tips
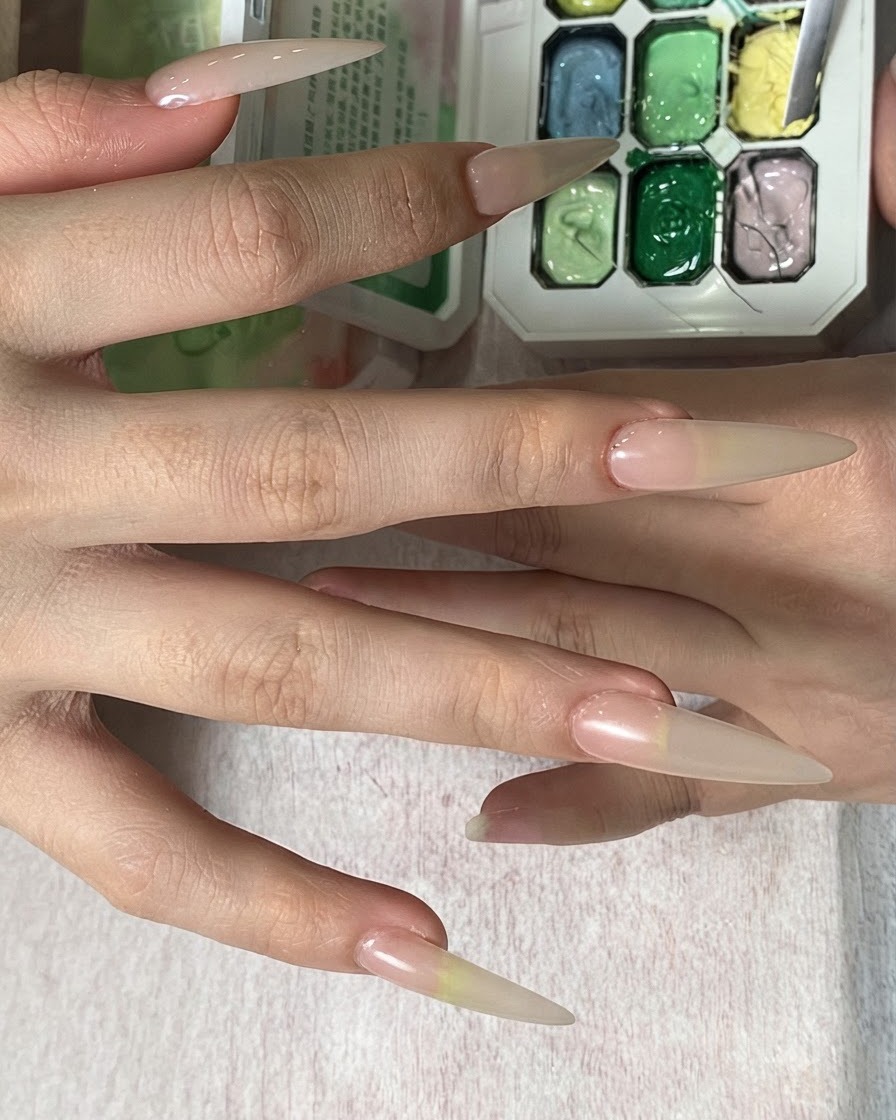
Take a makeup sponge, pick up Principal Hua plum wine No. 8 color, and gently tap it onto the nail tips to build a soft yellow gradient effect.
Tip: Use light tapping motions with the sponge to avoid heavy lines and achieve a seamless, natural color fade. - 3Deepen gradient with second layer
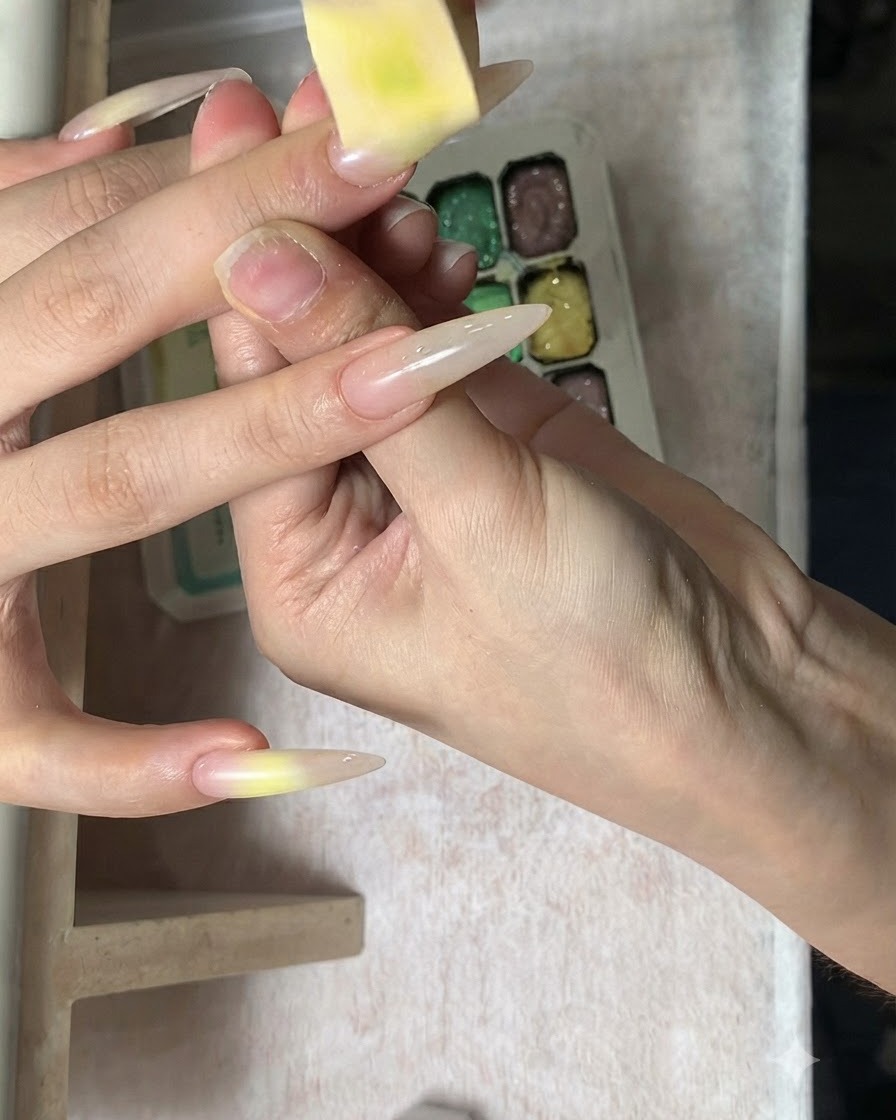
Apply a second layer of color No. 3 using the sponge technique to intensify the gradient and deepen the area where the flower center will be placed.
Tip: Build the color gradually with light taps to maintain control over the gradient intensity. - 4Create multi-tone gradient on specific fingers
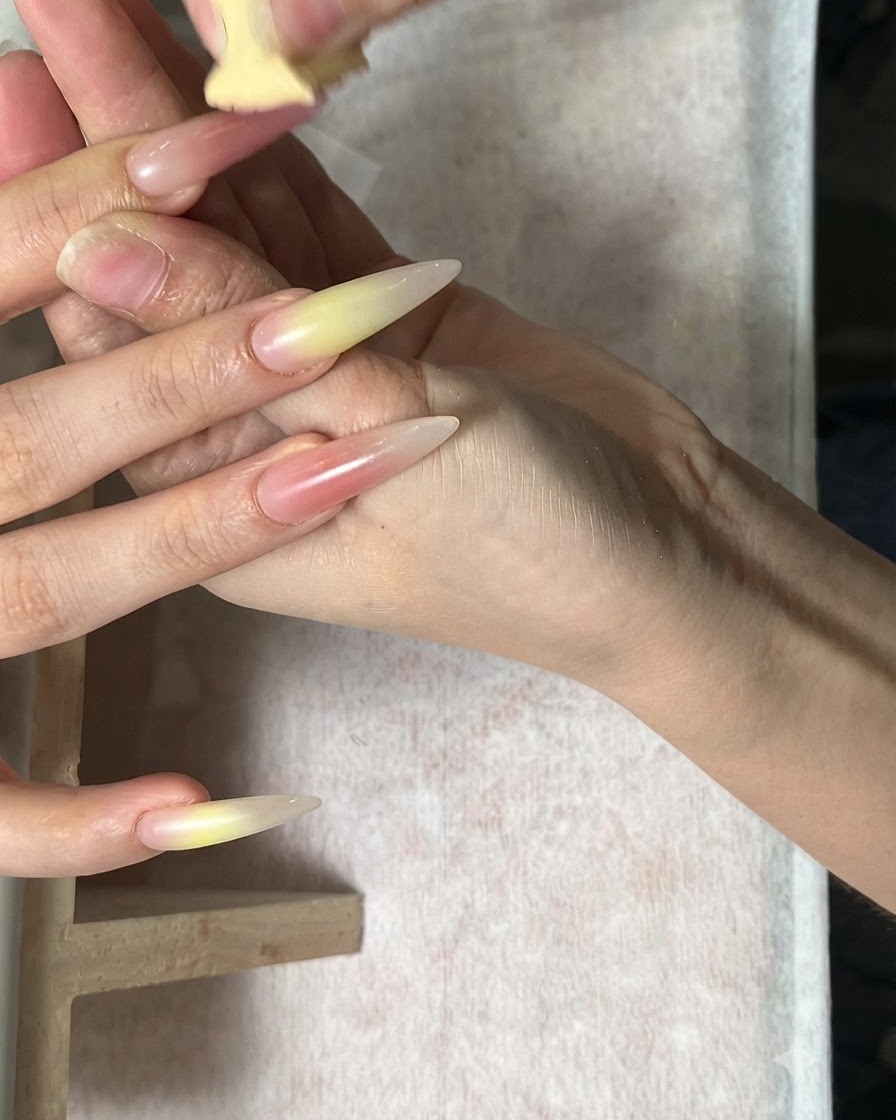
On designated fingers like the ring and index fingers, apply gradient green No. 8 color and coral red using a sponge to create a rich, multi-toned gradient look.
Tip: Blend the transition zones carefully with light dabbing motions so the green and coral red merge smoothly. - 5Draw thick lines with mixed pink
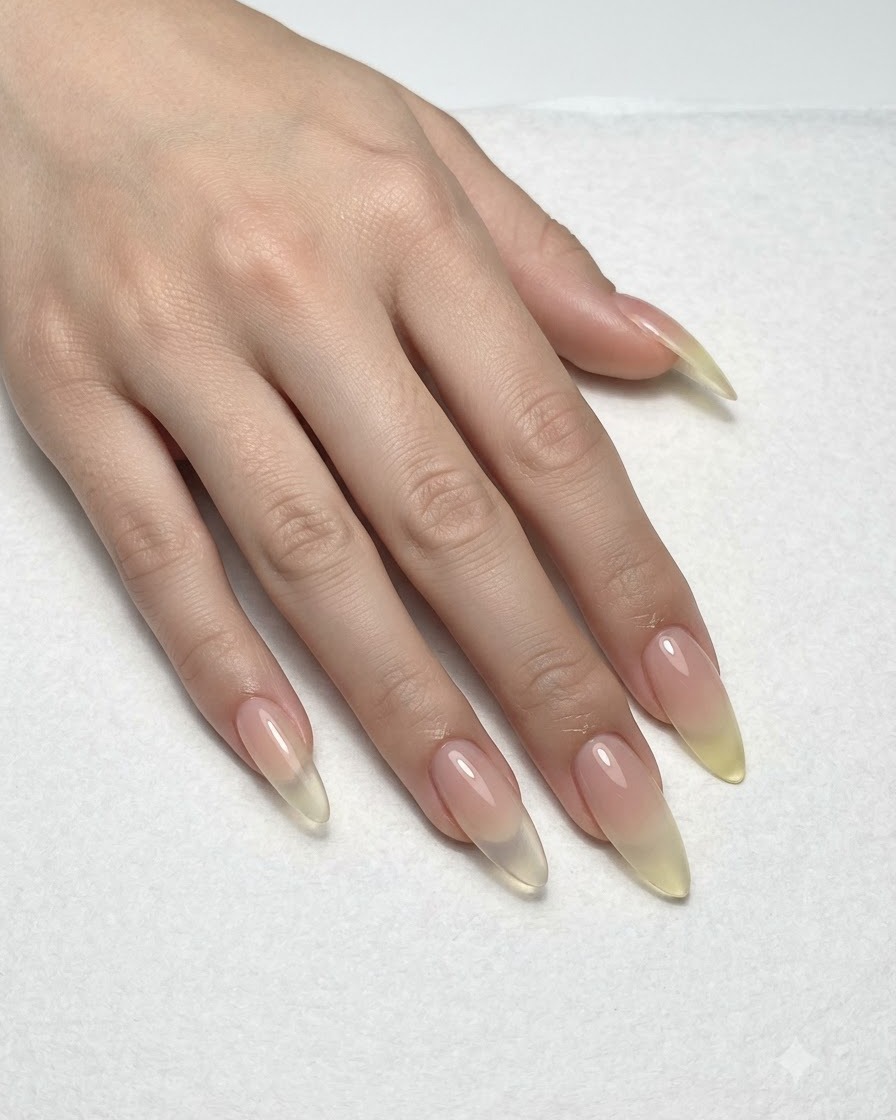
Mix a custom pink shade and use a fine liner brush to paint thick structural lines on the nail surface to guide the upcoming nail art design.
Tip: Keep your hand steady when drawing lines to ensure even width across the design elements. - 6Pat Pink Lines with a Sponge
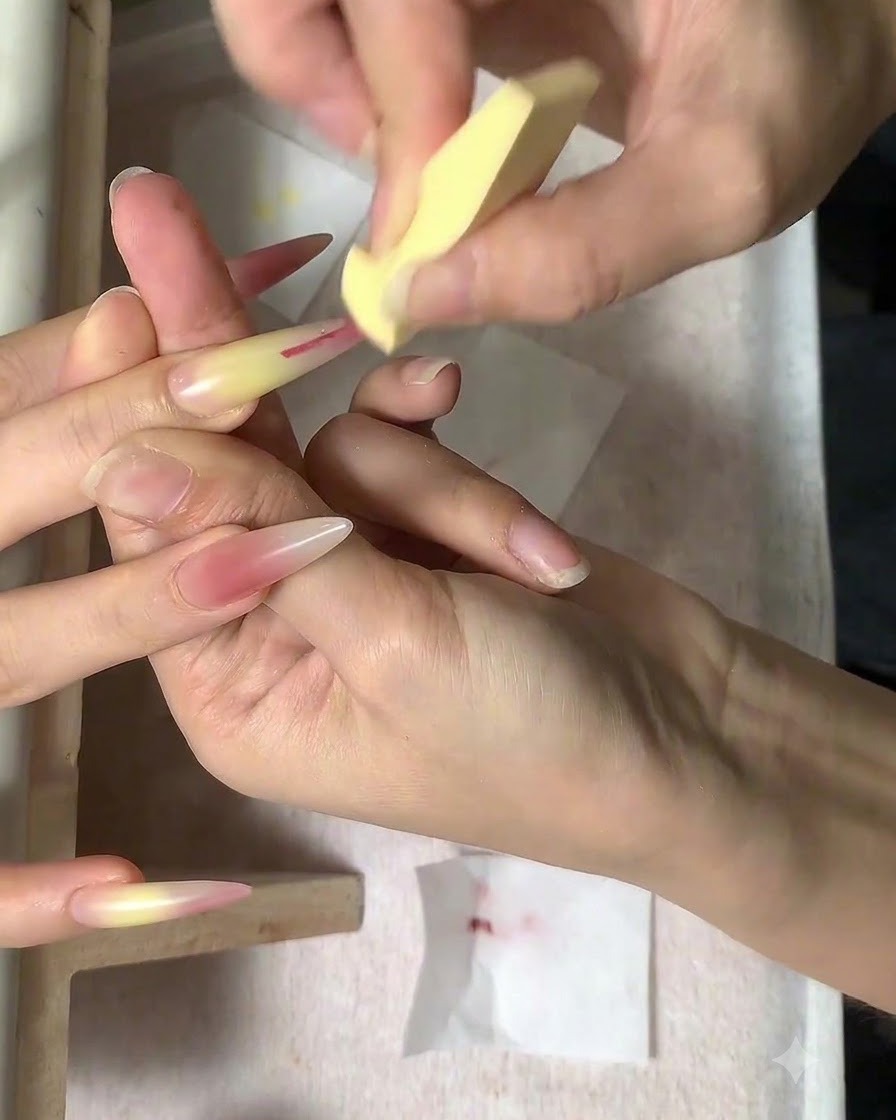
Take a small sponge and gently pat the newly drawn pink lines. Use light pressure to preserve the distinct line texture and particle feel without fully erasing or blurring the design. Applying too much force will easily pat away the delicate lines.
Tip: Keep your touch very light; heavy force will flatten the lines and ruin the texture. - 7Paint Flower Stamens
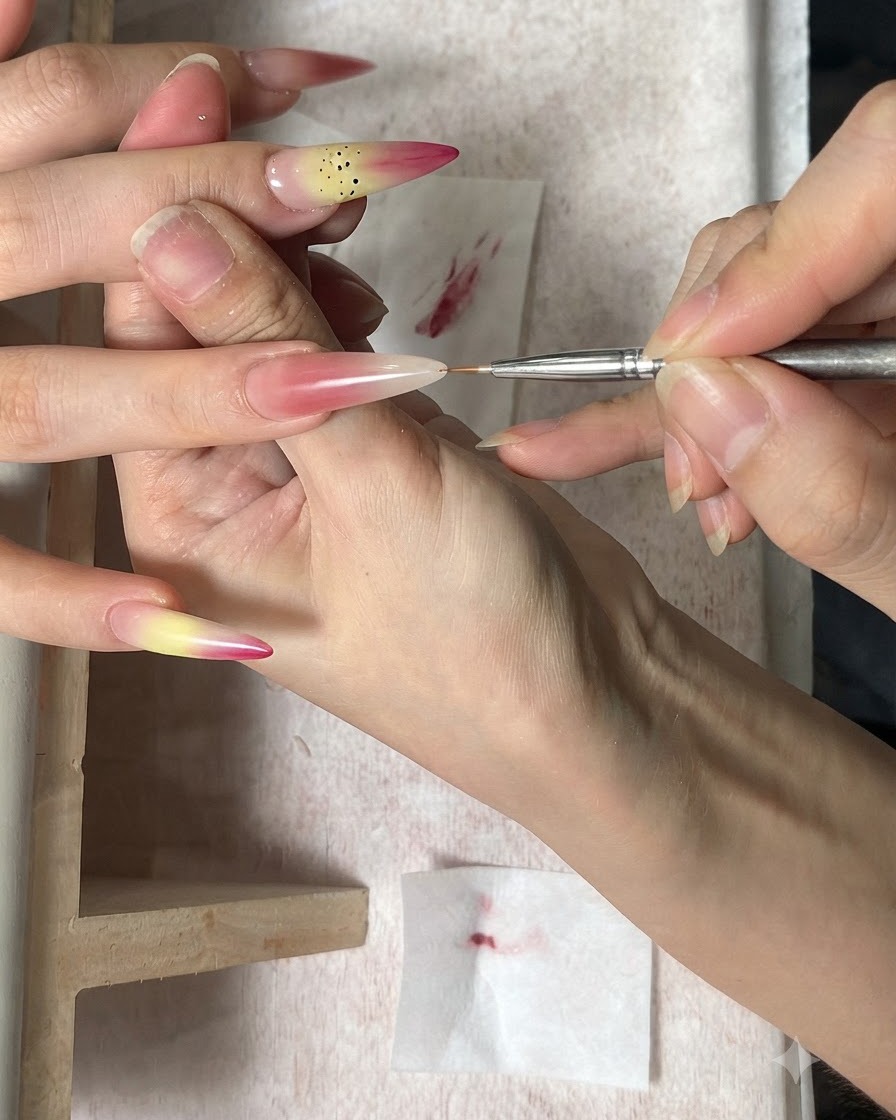
Using a fine detailing brush dipped in brown gel, carefully dot small points onto the center of the prepped gradient area to form realistic flower stamens. Keep the dots varied in placement and size for a natural look.
Tip: Hold the brush perpendicular to the nail surface for precise control over dot size. - 8Hand-Paint White Five-Petal Flowers
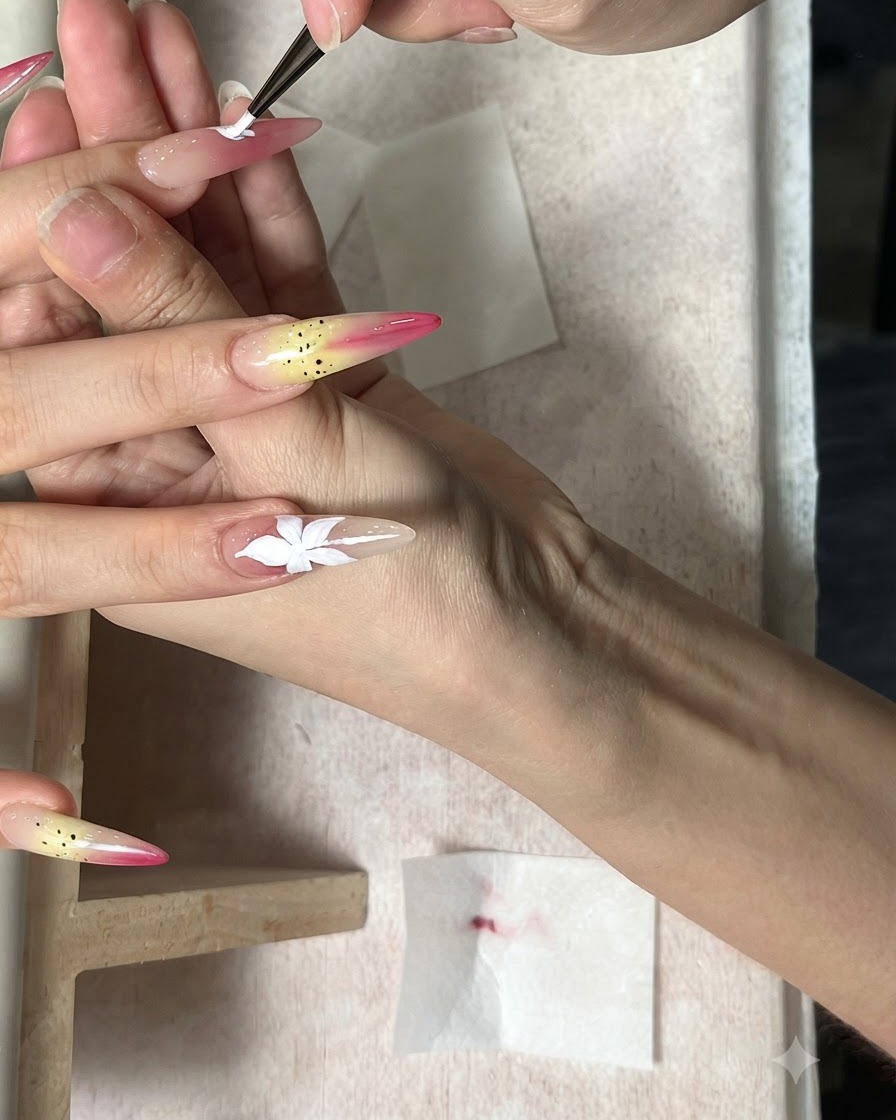
Using a fine brush and white gel, hand-paint a delicate five-petal flower directly over the gradient background. Form each petal carefully outward from the center point to create a clean, distinct floral outline.
Tip: Ensure the background layer is fully set or cured before painting crisp white details over it. - 9Tap Flower Center with Plum Wine Color
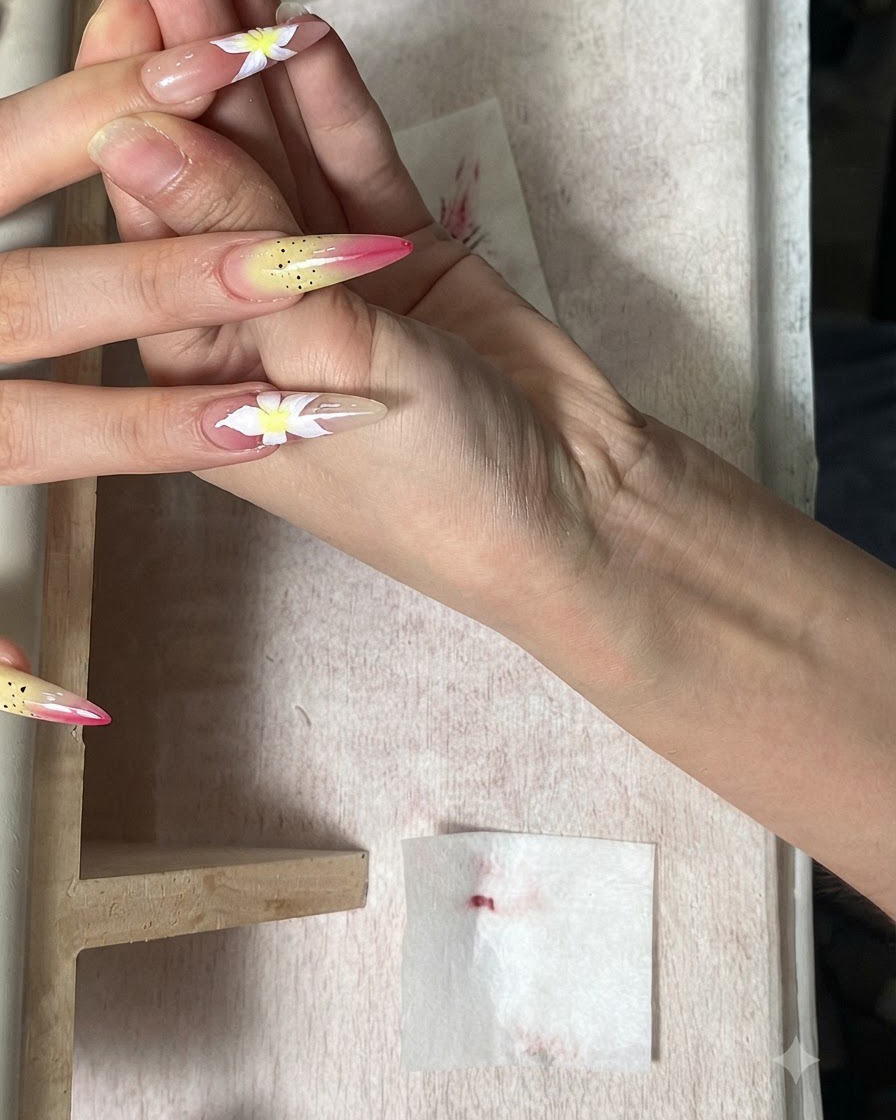
Using a fine brush with Principal Huas plum wine No. 8 color, gently tap out the center of the painted flower. This adds depth and a rich multi-toned base to the core of the floral design.
Tip: Tap lightly to blend the color softly into the inner edges of the white petals. - 10Apply Magenta and Create Gradient Lines
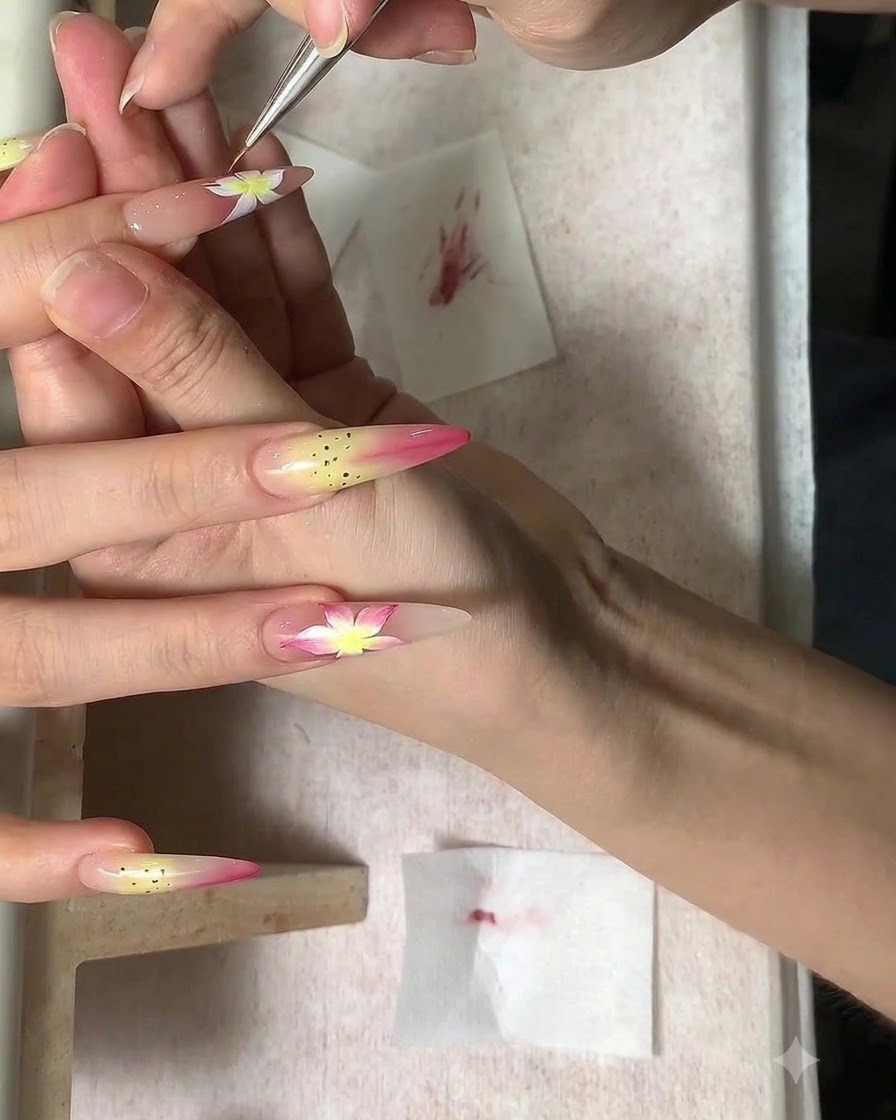
Apply magenta color to the middle of the flower petals and pull lines outward, using a gentle sponge pat to achieve a seamless gradient texture. Maintain a light touch to preserve the unique line texture and particle feel.
Tip: Use very light motions with the sponge to avoid removing the underlying pigment. - 11Add Fine Stamen Details
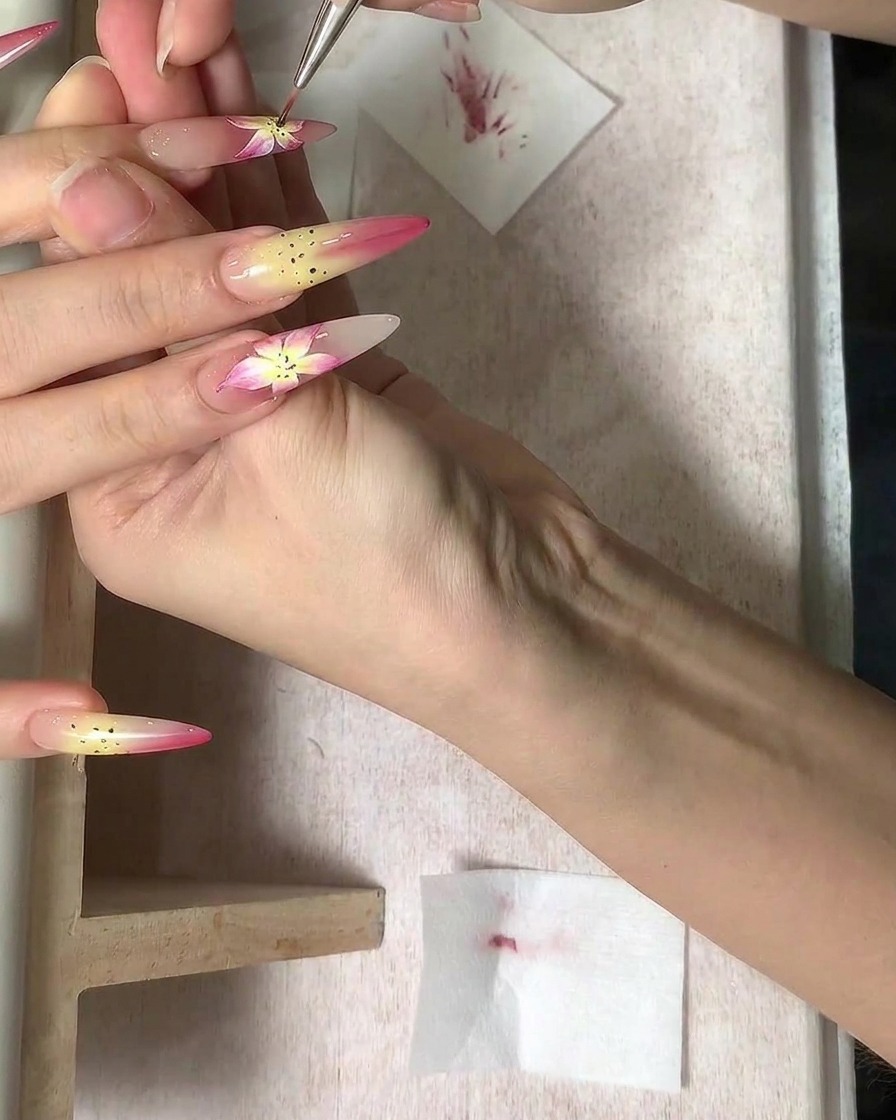
Using a fine detailing brush, dot fine brown stamen details precisely onto the center of the newly painted and gradient-shaded flowers. This final painting step enhances definition and realism.
Tip: Clean your brush tip frequently to keep the stamen dots sharp and small. - 12Sculpt 3D petals using transparent soft candy gel
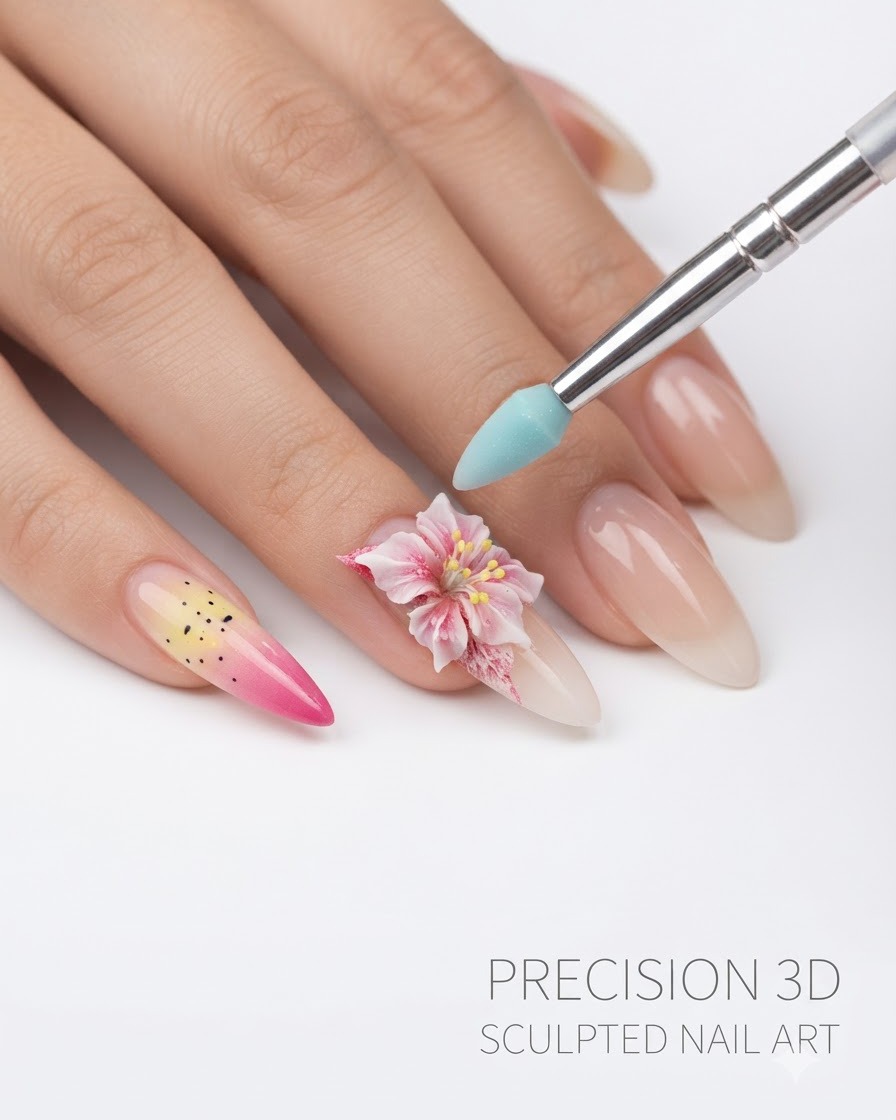
Take a small amount of transparent soft candy gel and use a silicone shaping tool to form 3D petals directly onto the flowers. Shape them to create a half up and half down dimension that gives the nail art a realistic, layered floral appearance. Cure under the lamp once the 3D structure is properly positioned and balanced.
Tip: Keep your silicone tool lightly wiped clean so the soft candy gel doesnt stick or distort while youre shaping the fine details.