Silver Cat Eye Magnetic Gel Nails — Shimmering Step-by-Step Tutorial
Create stunning dimensional silver cat-eye magnetic gel nails over a dark base with this easy, step-by-step professional tutorial.
Cat-eye magnetic nail designs continue to captivate with their mesmerizing, light-reflective depth and liquid-metal finish. By layering shimmering silver magnetic particles over a deep black base, you create an intense contrast that looks like a starry night sky or polished gemstone on your fingertips. This technique relies on precise magnet placement to shift and shape the particles into sharp, glowing reflections.
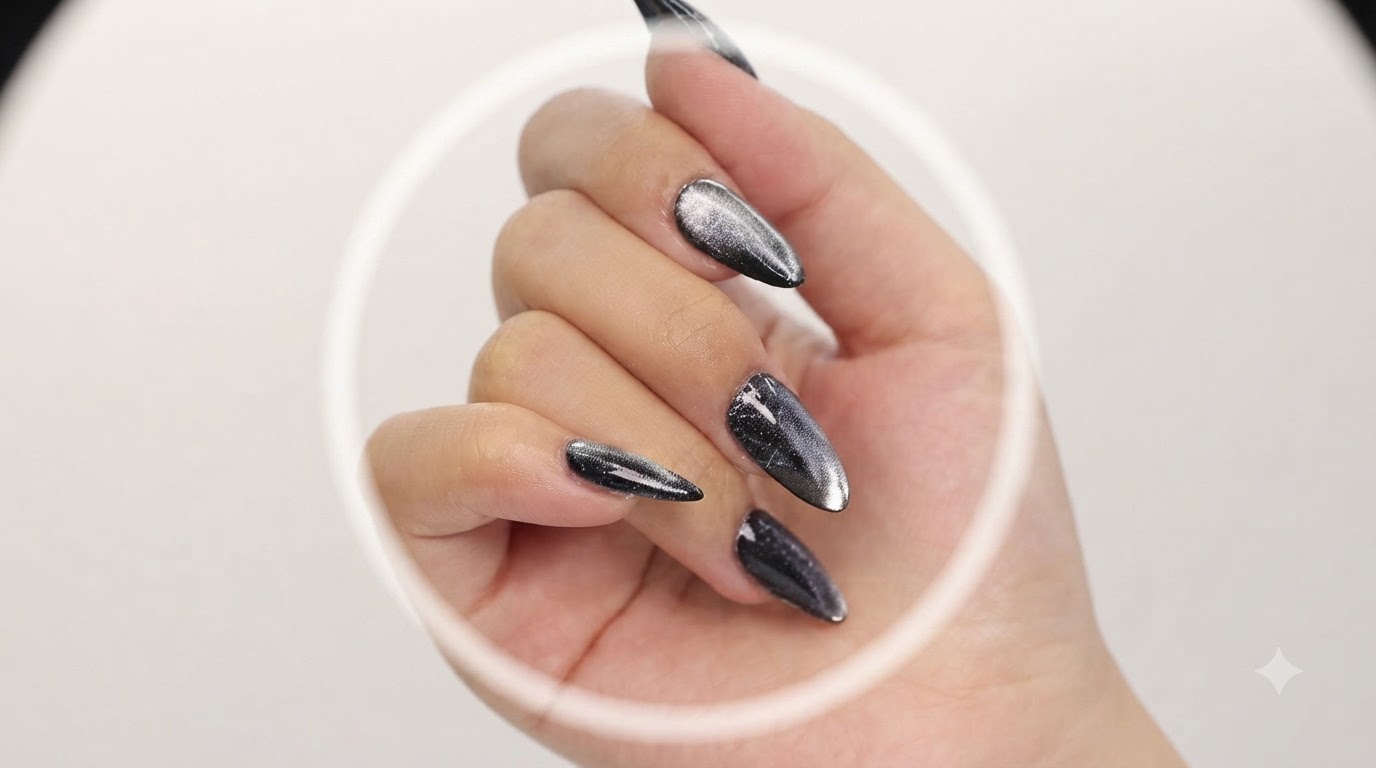
Steps
- 1Open the silver cat eye gel polish
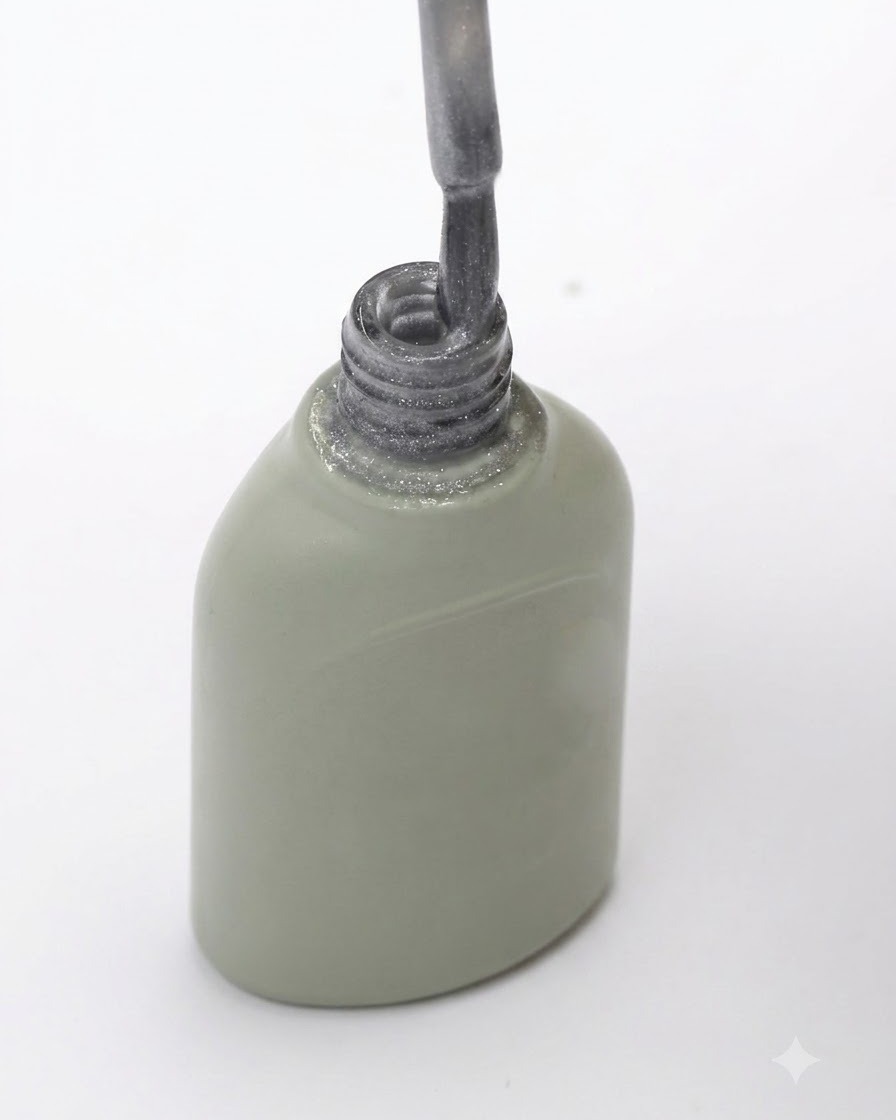
Unscrew the cap of the silver cat eye gel polish bottle. Gently wipe the excess gel polish from the brush against the inner neck of the bottle to ensure a controlled, thin application without drips or pooling.
Tip: Removing excess product from the brush helps prevent thick layers that can wrinkle or fail to cure properly under the lamp. - 2Apply silver cat eye gel polish
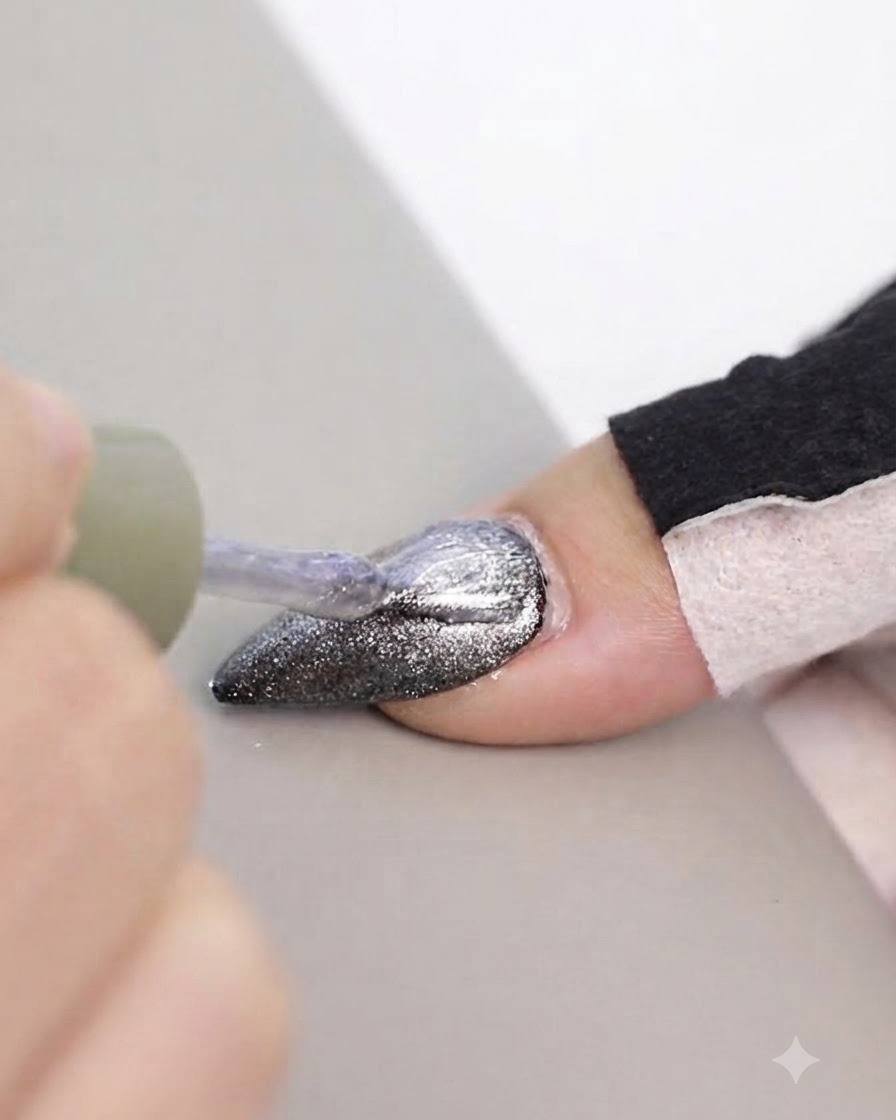
Apply an even layer of silver cat eye gel polish directly over the black-painted false nail tip. Ensure complete and uniform coverage across the entire nail surface before moving on to create the magnetic effect.
Tip: A dark base color like black makes the silver magnetic particles pop with high contrast and dimension. - 3Shape the cat eye pattern with a magnet
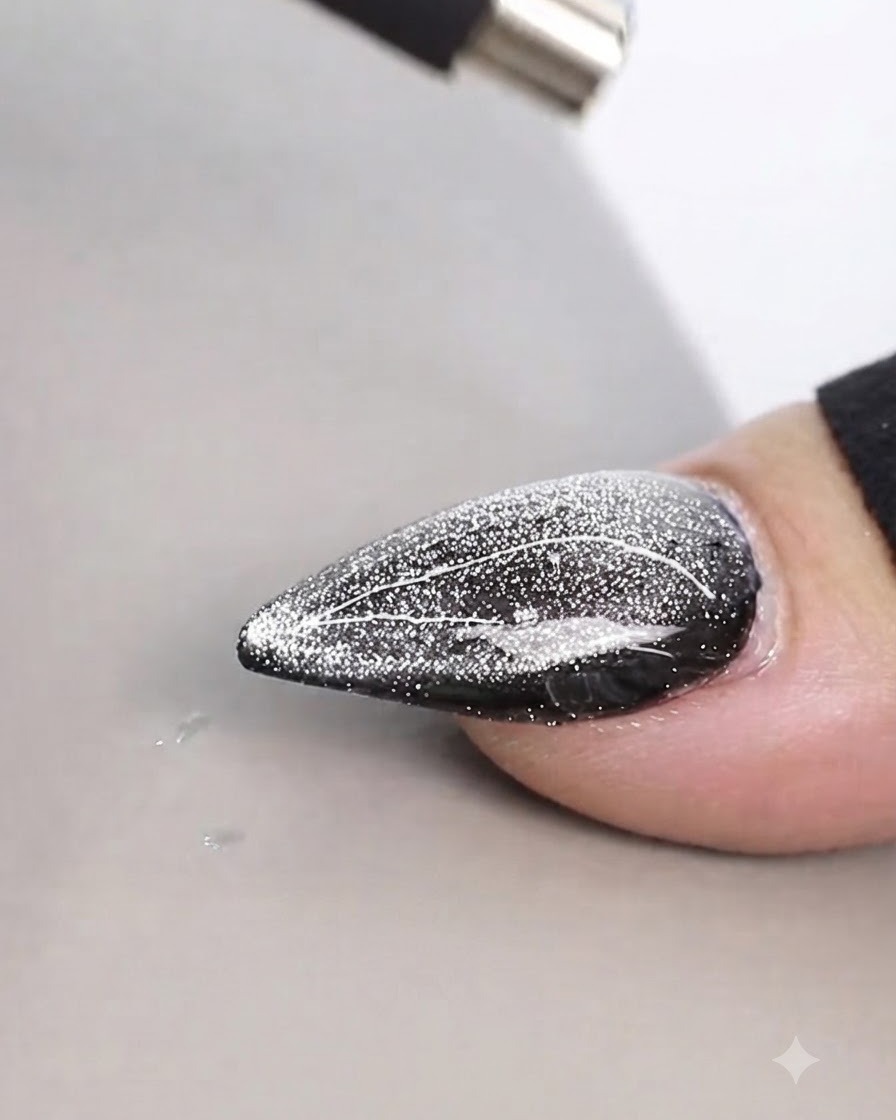
Hover a cylindrical magnetic tool closely over the wet gel polish surface without touching it. Use the magnetic field to draw and push the metallic particles into a distinct, linear cat eye pattern across the nail.
Tip: Keep the magnet steady and close to the surface to get sharp, well-defined lines from the magnetic particles. - 4Refine particle alignment
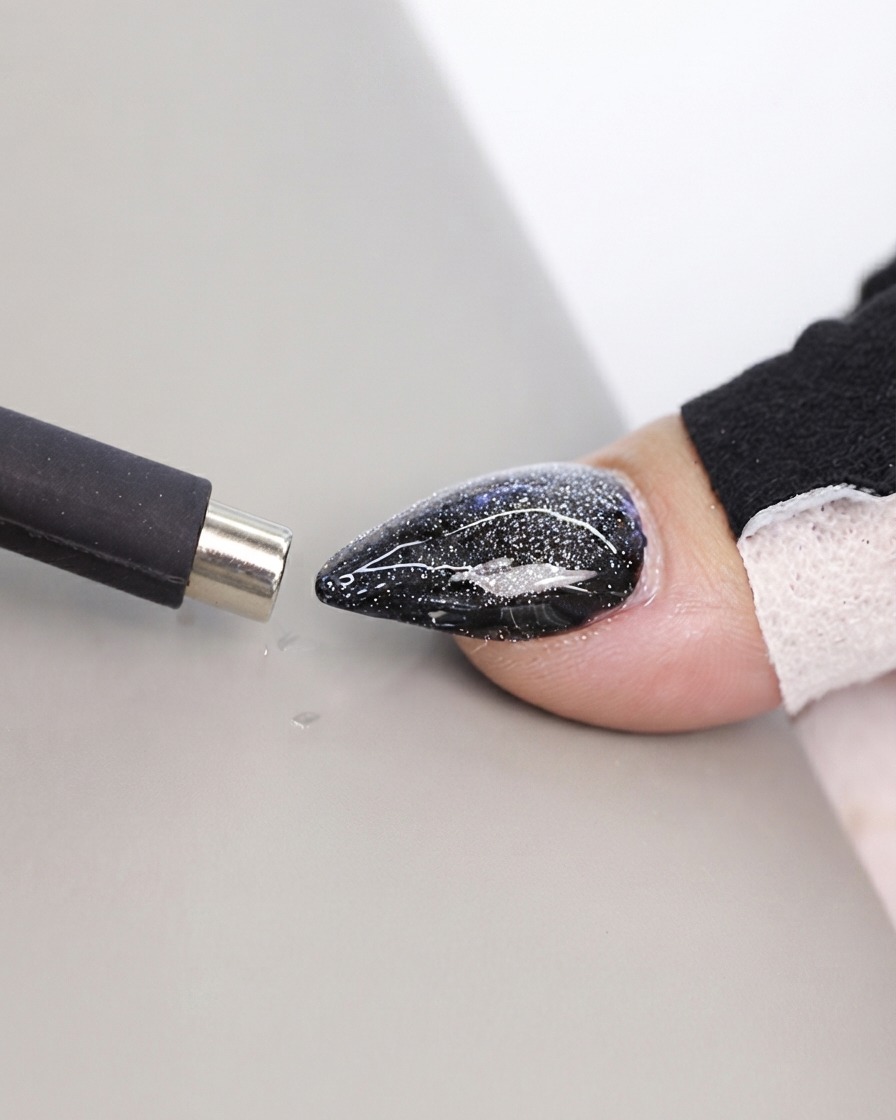
Take a magnet pen tool and use its precision magnetic tip to further refine and adjust the alignment of the particles on the nail surface. Touch up any areas where the line needs more definition or separation.
Tip: Fine-tuning with a pen magnet allows you to create precise geometric lines or localized highlights. - 5Adjust stripe angle and intensity
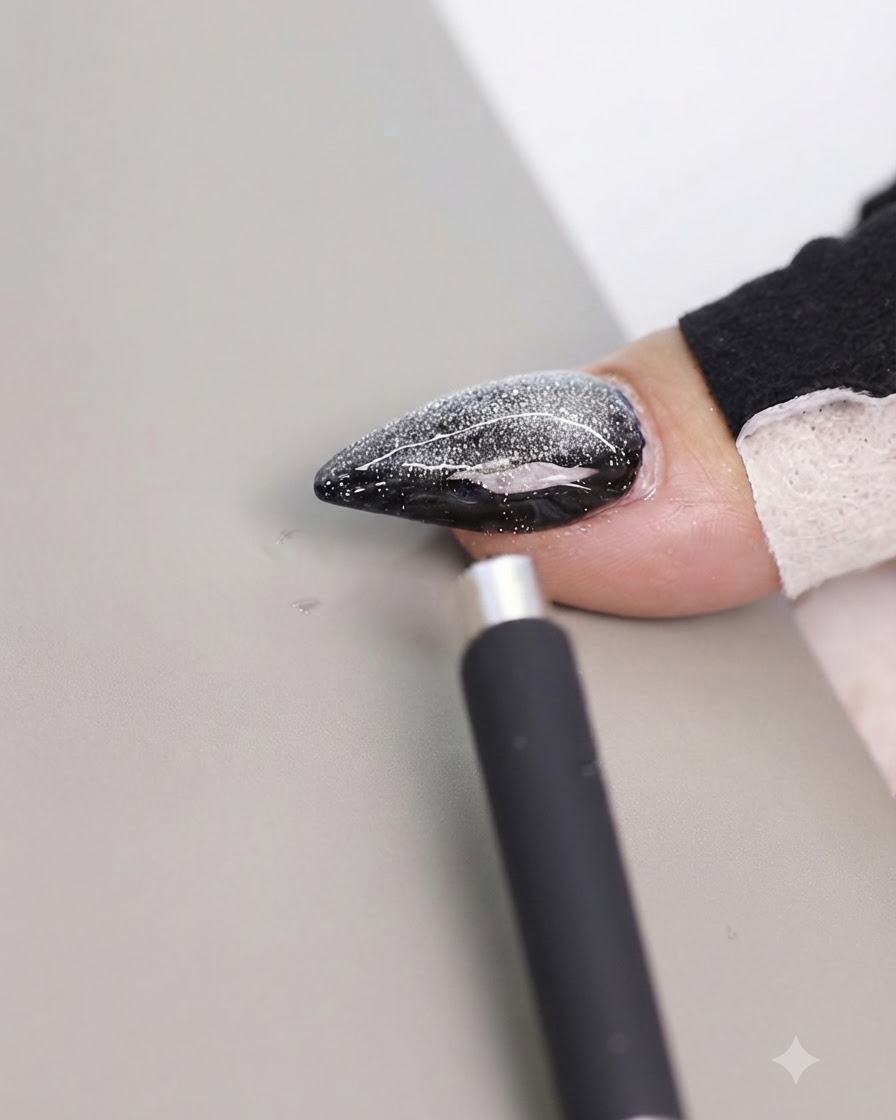
Position the magnet near the edge of the nail to manipulate the angle and brightness of the silver stripe. Pull the particles toward or away from specific zones to achieve the desired reflective intensity.
Tip: Watch how the light reflects off the particles as you move the magnet to find the most flattering angle. - 6Cure gel in UV/LED lamp
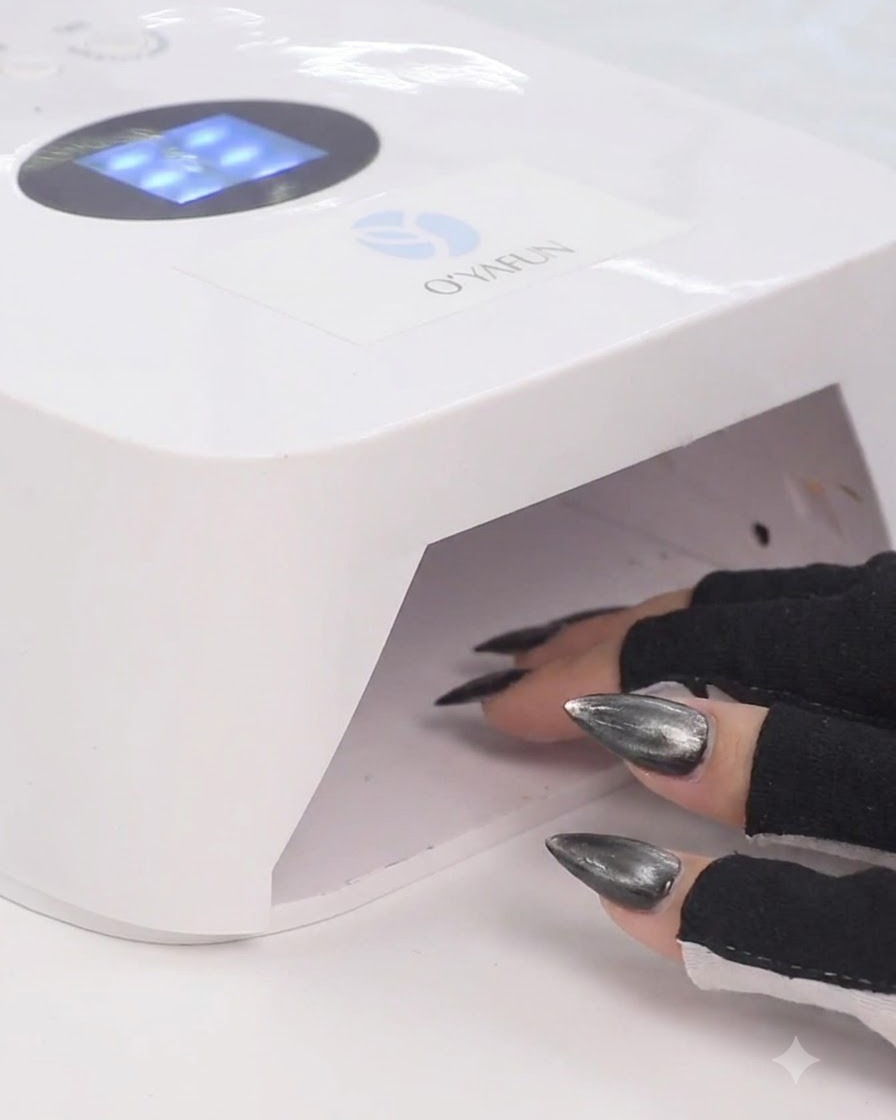
Place your hand inside the UV or LED lamp and cure for 60 seconds to completely set the layer. Ensure all fingers are positioned correctly under the lights for an even cure across the entire hand.
Tip: Do not pull your hand out early, as incomplete curing can cause wrinkling or lifting of the gel layers.