3D Floral French Tip Press-On Nails — Step-by-Step Tutorial
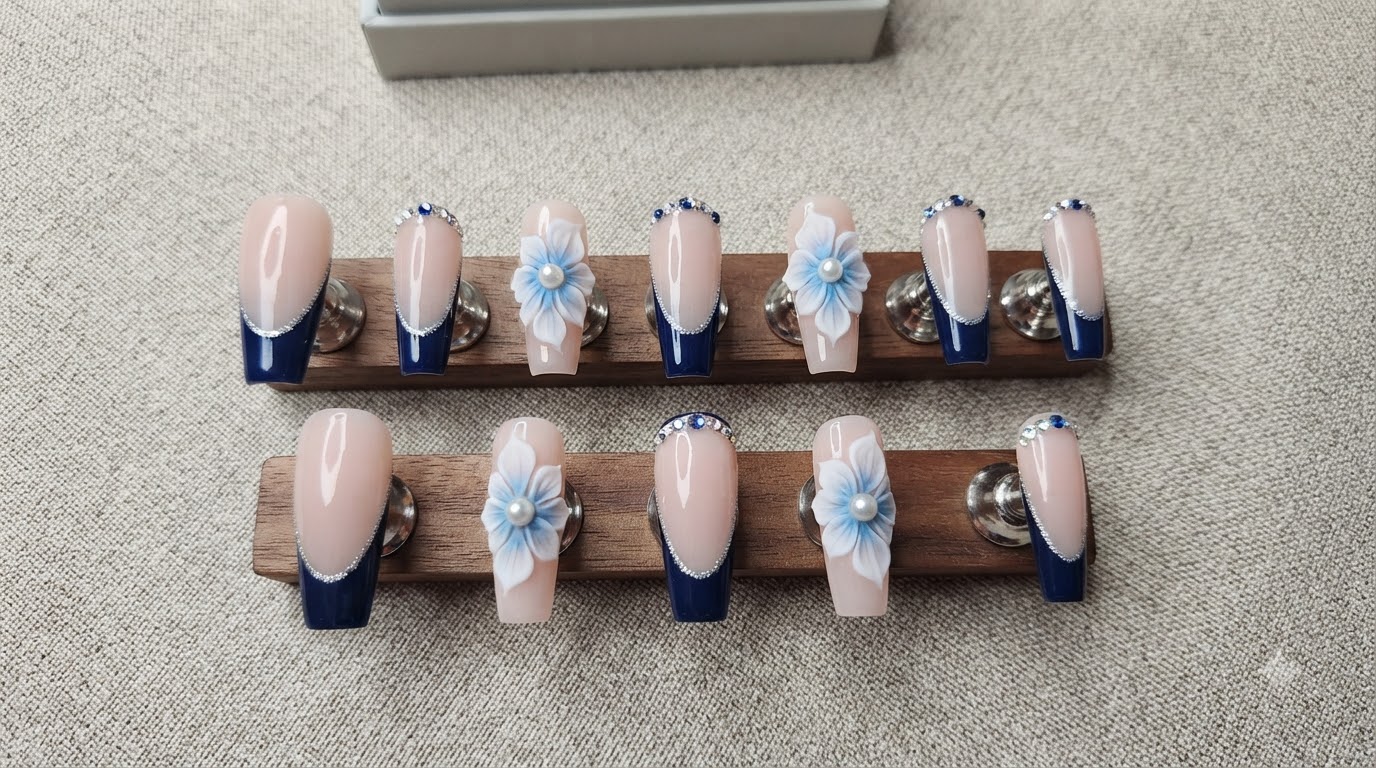
Create a stunning press-on nail set featuring dark blue French tips, sparkling rhinestones, and elegant 3D sculpted flowers with a soft blue gradient.
Press-on nails are having a massive moment, and crafting your own custom sets at home is more popular than ever. This design combines the classic elegance of a dark blue French tip with the intricate beauty of 3D sculpted acrylic flowers. Adding crushed diamond gel and carefully placed rhinestones takes this look to the next level, perfect for special occasions or whenever you want your hands to make a stunning statement.
Steps
- 1Buff the nail tips
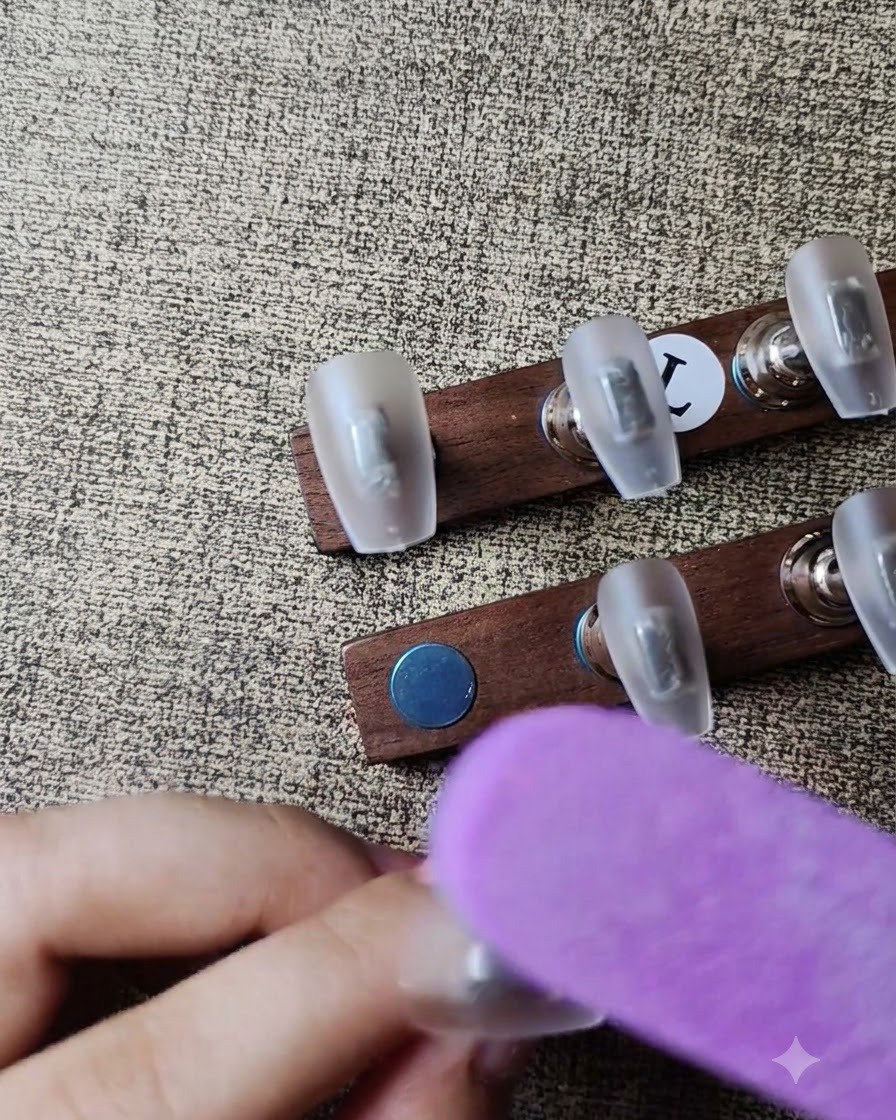
Using a purple rectangular buffer block, gently buff the surface of each clear nail tip to remove shine and create a micro-texture. This prep step is essential for improving the adhesion of the base gel and subsequent layers, preventing premature lifting.
Tip: Buff lightly across the surface without applying excessive pressure to avoid thinning out or damaging the artificial nail tip. - 2Clean nail surface dust
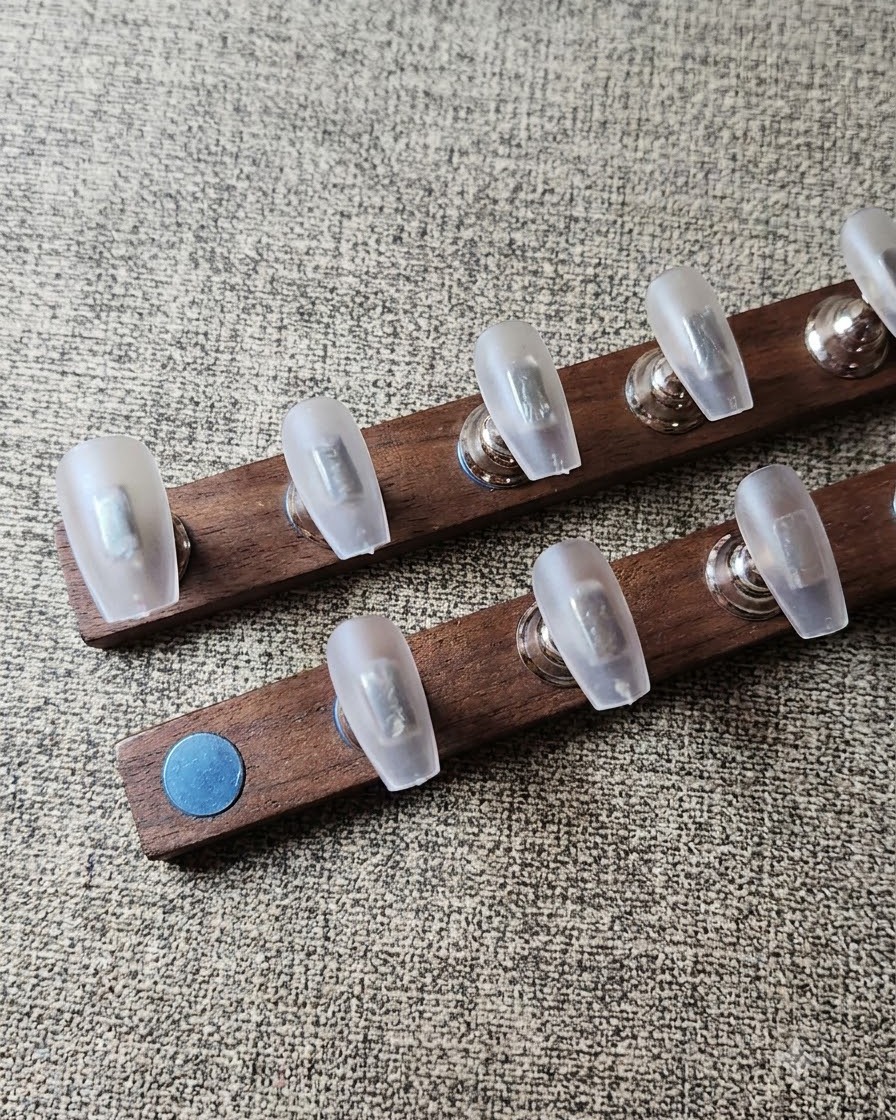
Take a lint-free wipe saturated with nail cleanser and thoroughly wipe down each buffed nail tip. This removes all microscopic filing dust and oil residues left behind from the surface preparation stage, ensuring a pristine canvas for application.
Tip: Make sure the nail surface is completely dry and lint-free before moving on to gel application. - 3Apply clear base gel
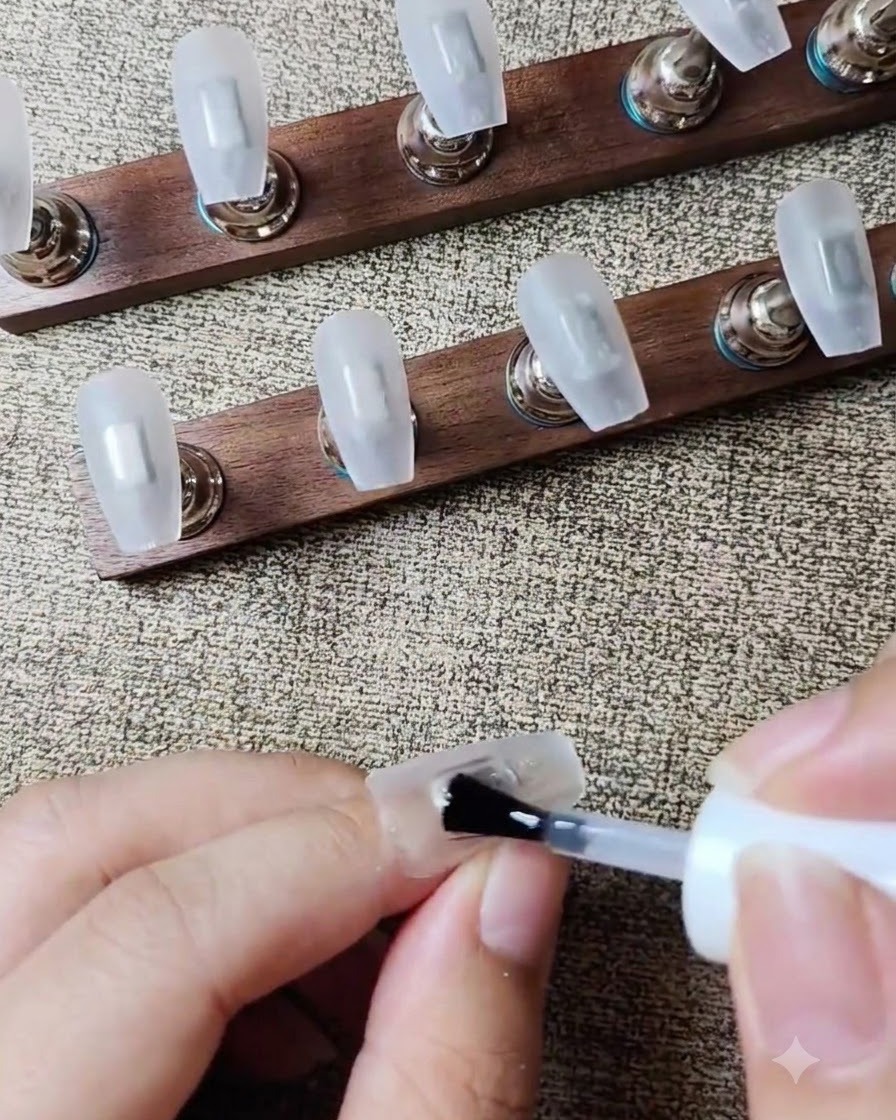
Using the brush straight from the bottle, apply a thin, even coat of clear base gel over the entire surface of the nail tip. Ensure complete coverage from the cuticle area to the free edge while capping the tip for long-lasting wear.
Tip: Keep the layer thin and controlled to prevent pooling around the edges during the curing process. - 4Camouflage free edge line
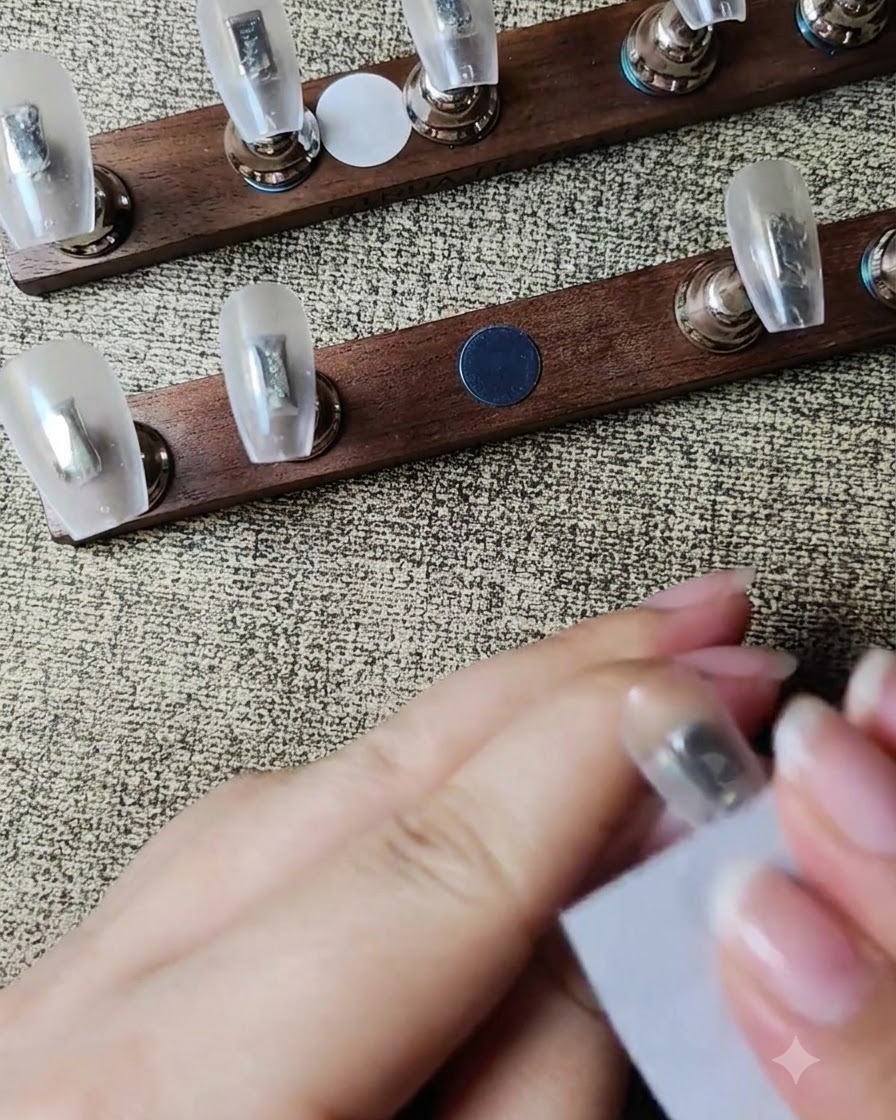
Using a small sponge tool, gently dab a milky white gel near the base area of the nail tip. This technique helps camouflage and blur the harsh natural free edge line, creating a seamless transition for the upcoming nude pink color coats.
Tip: Dab lightly and evenly with the sponge to avoid heavy texture or patchy concentration of the milky gel. - 5Apply first coat of nude pink
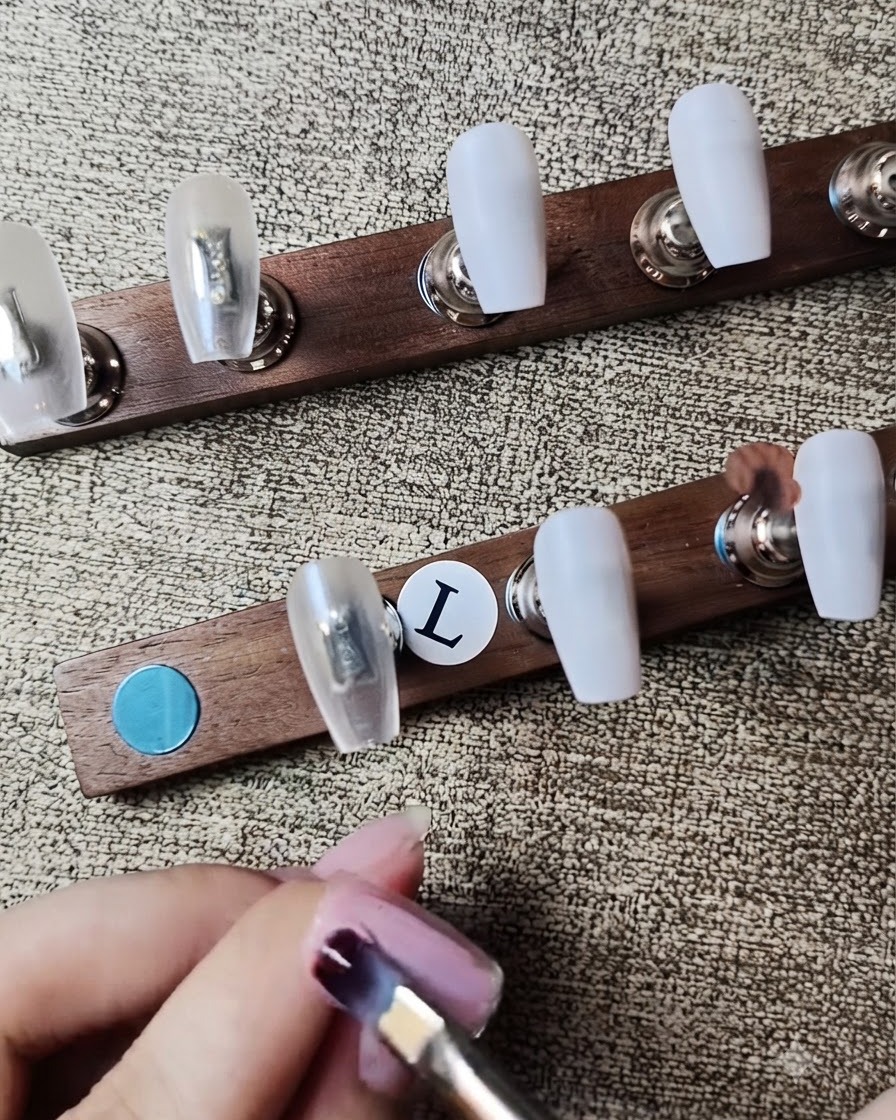
Using a flat gel brush, carefully apply the first thin coat of sheer nude pink gel polish over the nail. Smooth the polish evenly from the base to the tip, maintaining a clean cuticle line and a streak-free finish.
Tip: Apply in light, thin strokes to ensure the color cures evenly without wrinkling. - 6Apply second coat of nude pink
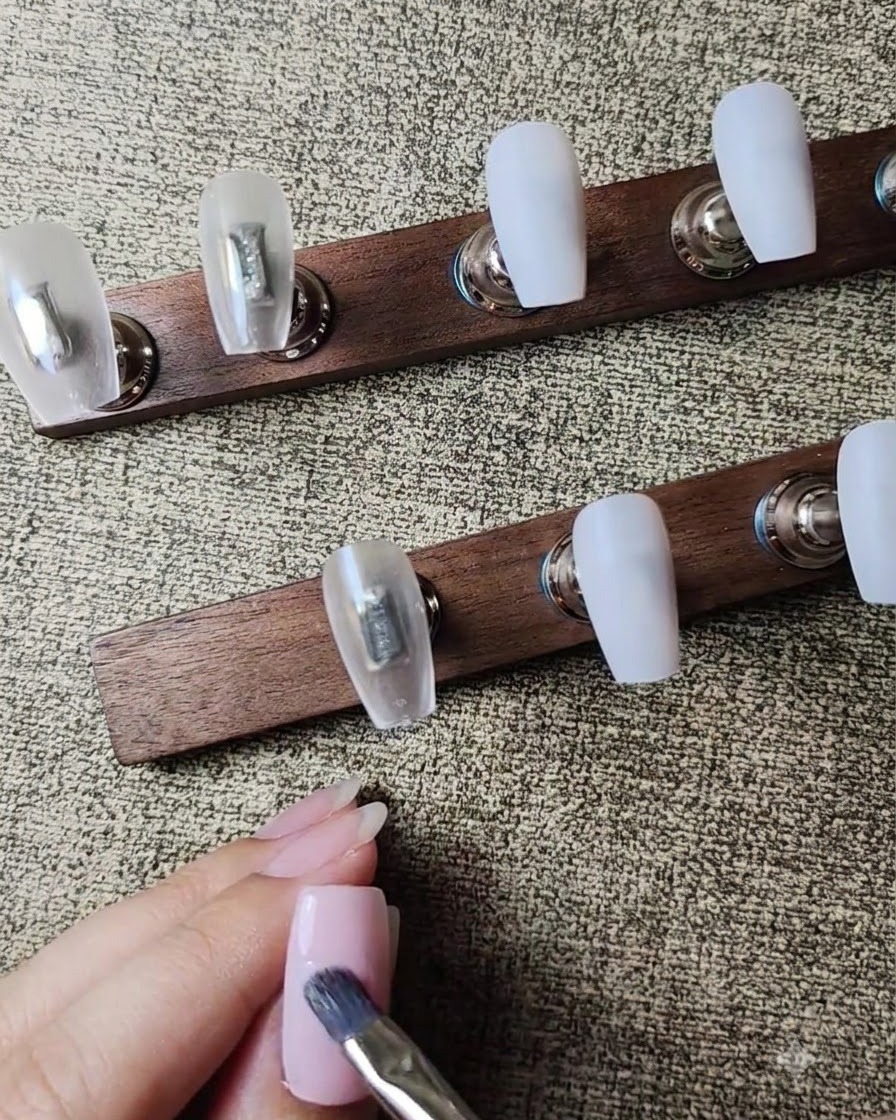
Apply a second layer of sheer nude pink gel polish to build up a rich, uniform color depth and achieve full opacity. Ensure the edges are neat and cure the layer under a UV or LED lamp once finished.
Tip: Double-check coverage along the side walls and tip before curing under the lamp. - 7Draw dark blue French tip outline
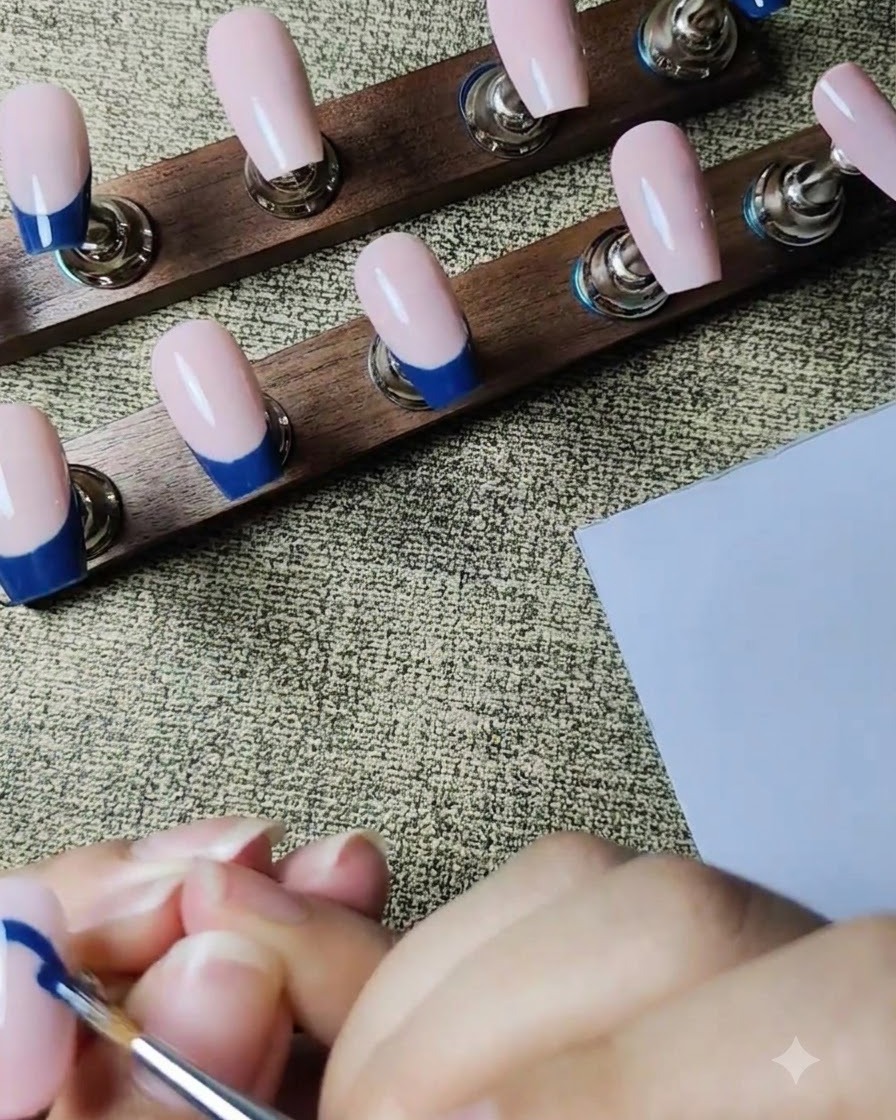
Using a fine liner brush dipped in dark blue gel polish, carefully outline the French tip shape along the smile line of the nail. Take your time to ensure the curve is symmetrical and clean before filling it in.
Tip: Anchor your pinky finger on the table or your opposite hand for stability while drawing intricate lines. - 8Fill in the French tip
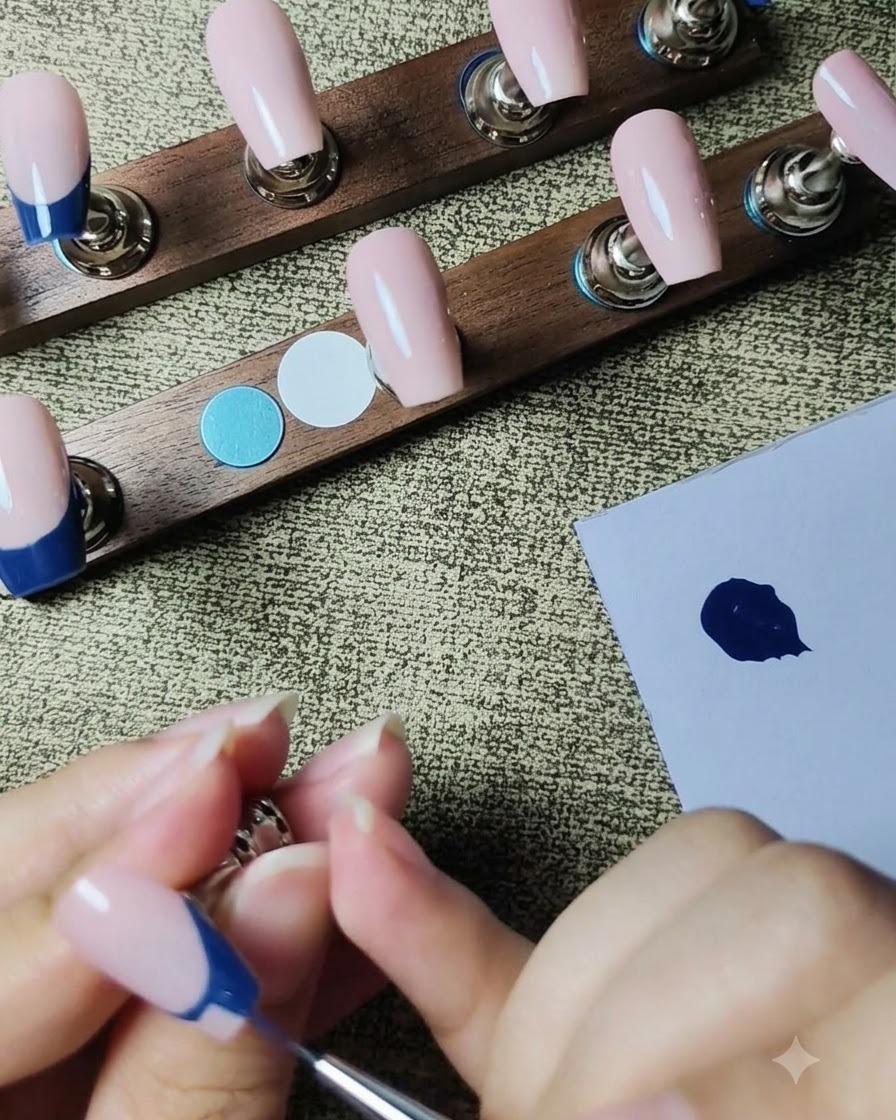
Using the liner brush, fill in the remaining area of the French tip below your outline with the dark blue gel polish. Ensure an even, opaque coat without pooling at the edges, then cure under the UV/LED lamp.
Tip: Apply thin layers of pigmented gel to prevent wrinkling during the curing process. - 9Apply silver crushed diamond gel
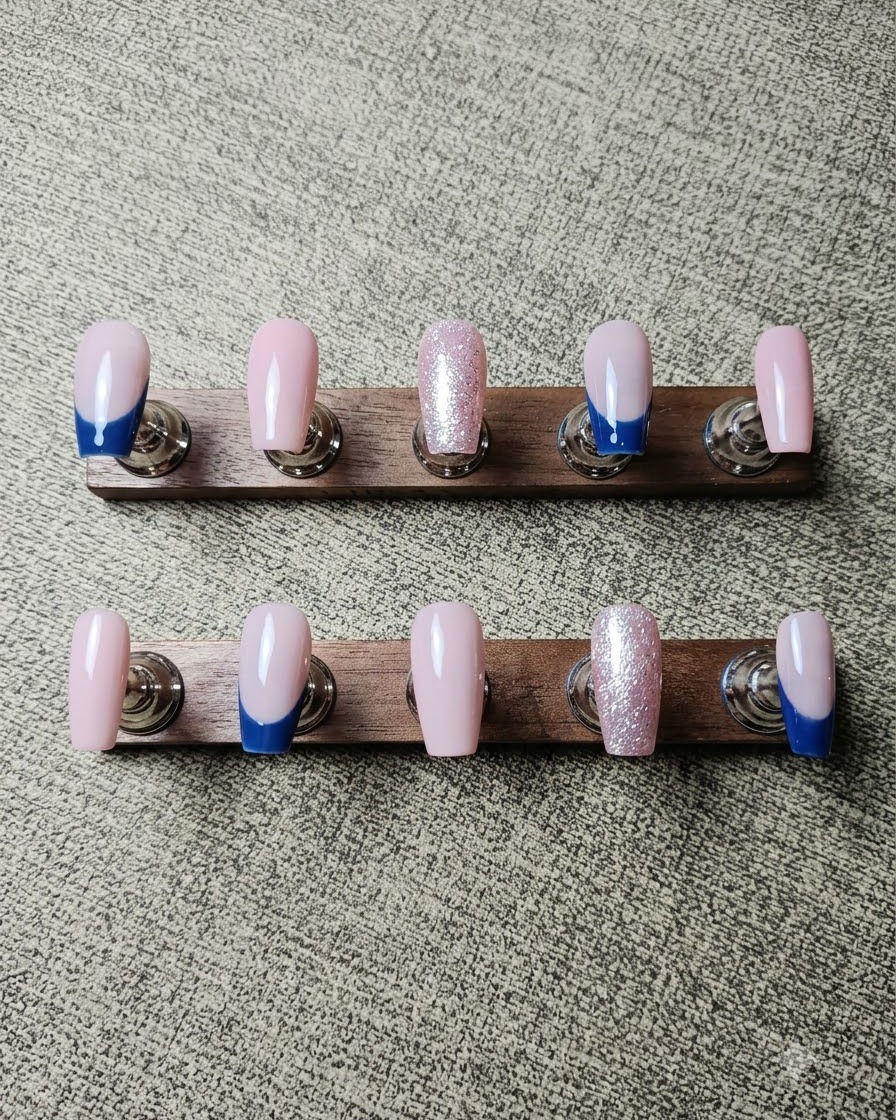
Select a nail with a dark blue French tip and apply a thin line of silver crushed diamond gel precisely along the smile line edge. This adds a textured, glittering border that elevates the classic French design.
Tip: Use a glitter gel with high particle density so you get a full sparkle effect in a single stroke. - 10Place rhinestones on glitter line
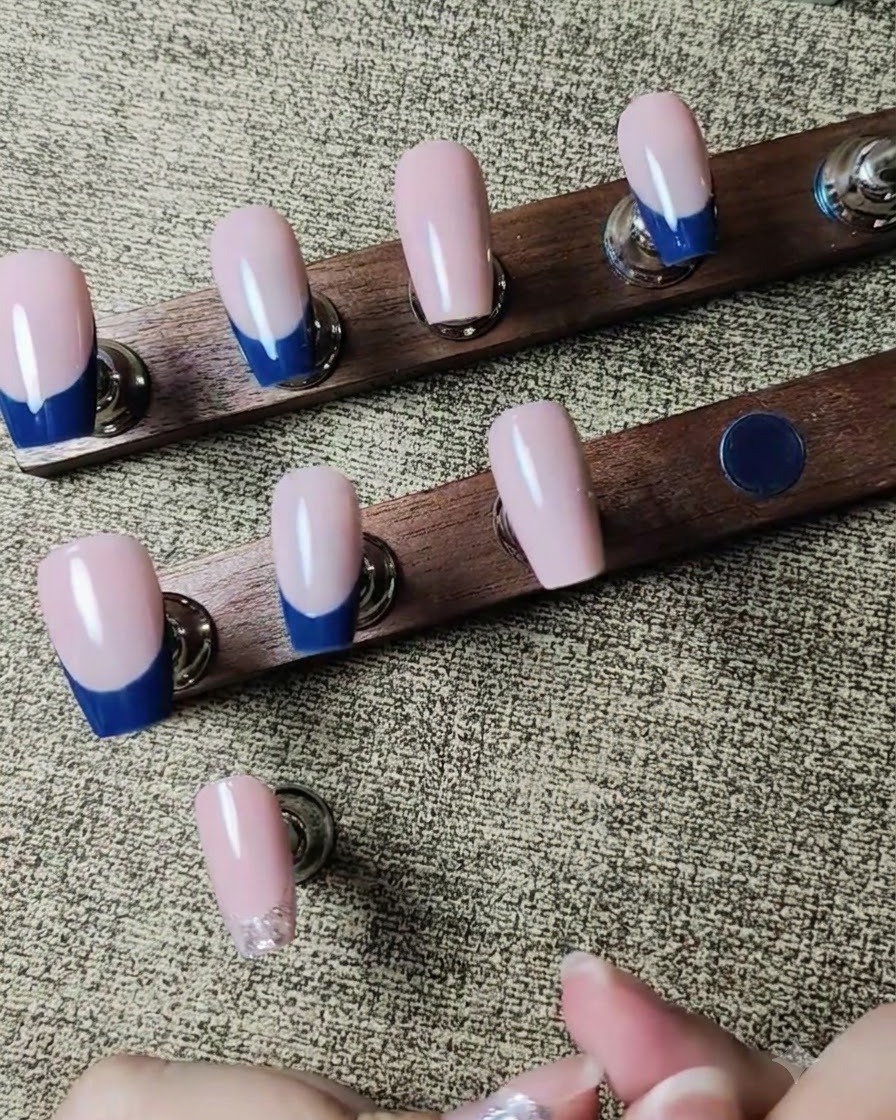
Using a wax picker or a fine dotting tool, pick up small clear rhinestones and press them randomly into the wet silver glitter gel line. The glitter gel acts as an adhesive base to hold the crystals in place before curing.
Tip: Lightly tap each crystal down to ensure it is fully embedded into the gel matrix so it wont pop off. - 11Add a silver glitter border
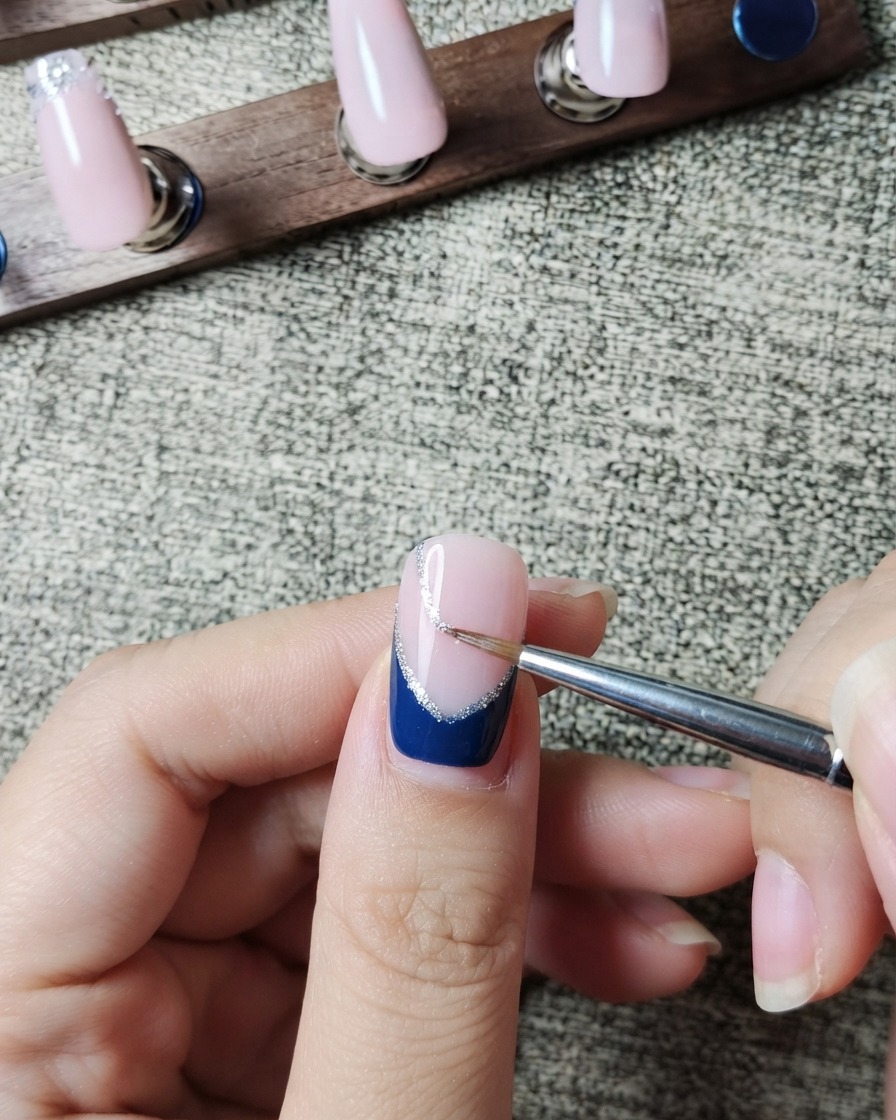
Enhance the solid dark blue French tips by drawing a thin, precise line of silver glitter gel exactly along the smile line border. This delicate accent line seamlessly separates the dark blue from the nude pink base.
Tip: Use a very light touch and a minimal amount of product on your liner brush to keep the glitter line thin and elegant. - 12Stack blue and white rhinestones
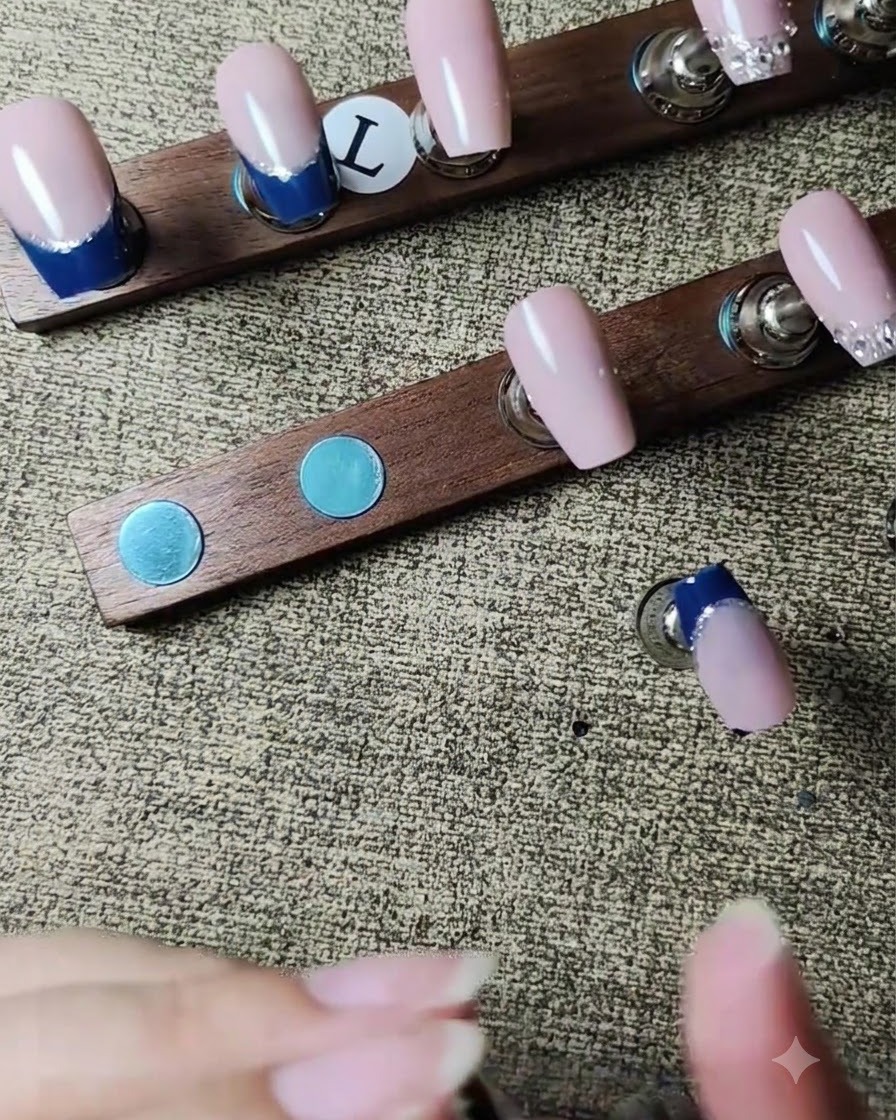
On another French tip nail, place alternating blue and white rhinestones closely together along one half of the smile line. Arrange them tightly in a neat row to create a luxurious, jeweled accent.
Tip: Work under a desk lamp with good lighting to easily alternate colors and align the rhinestones neatly. - 13Sculpt 3D white flower petals
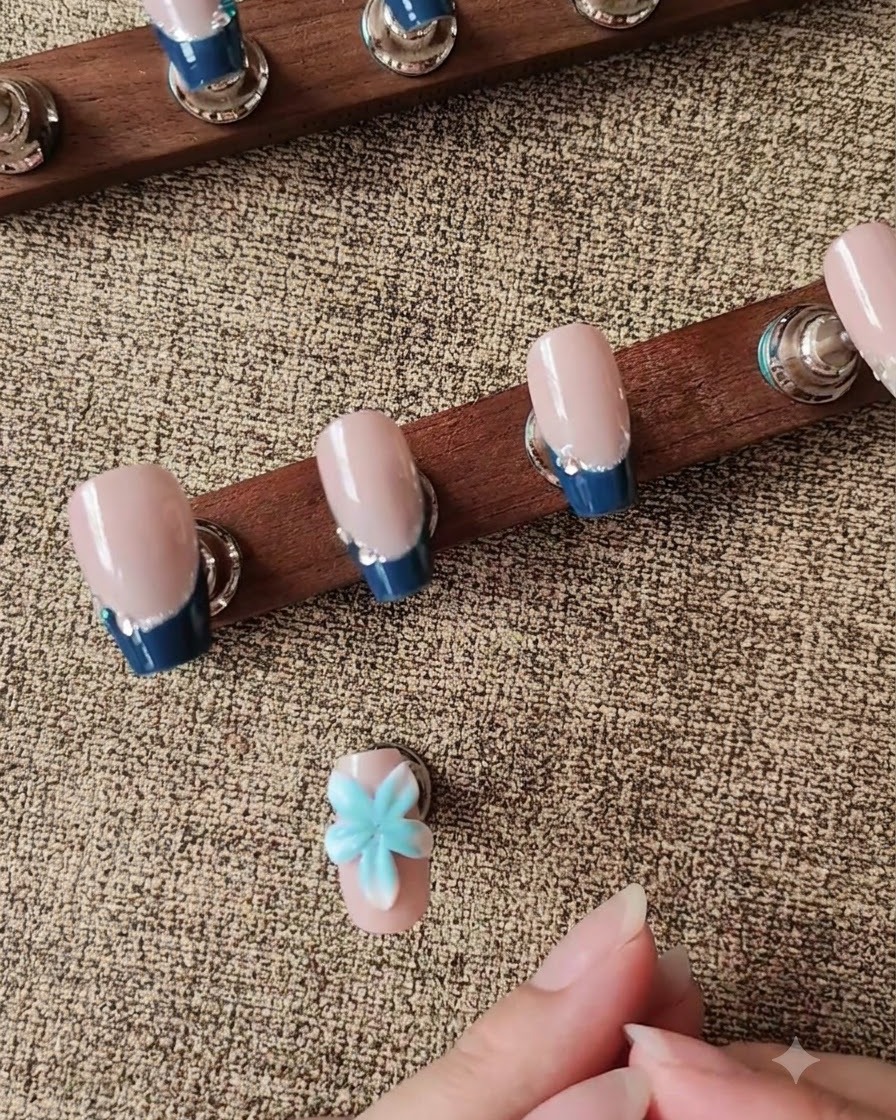
Take a small bead of 3D acrylic gel and place it onto the nude nail base. Using a silicone carving tool, flatten and shape the material into individual white flower petals radiating outward.
Tip: Clean your silicone tool with a tiny bit of alcohol if the 3D gel starts sticking to it during sculpting. - 14Sculpt additional white petals
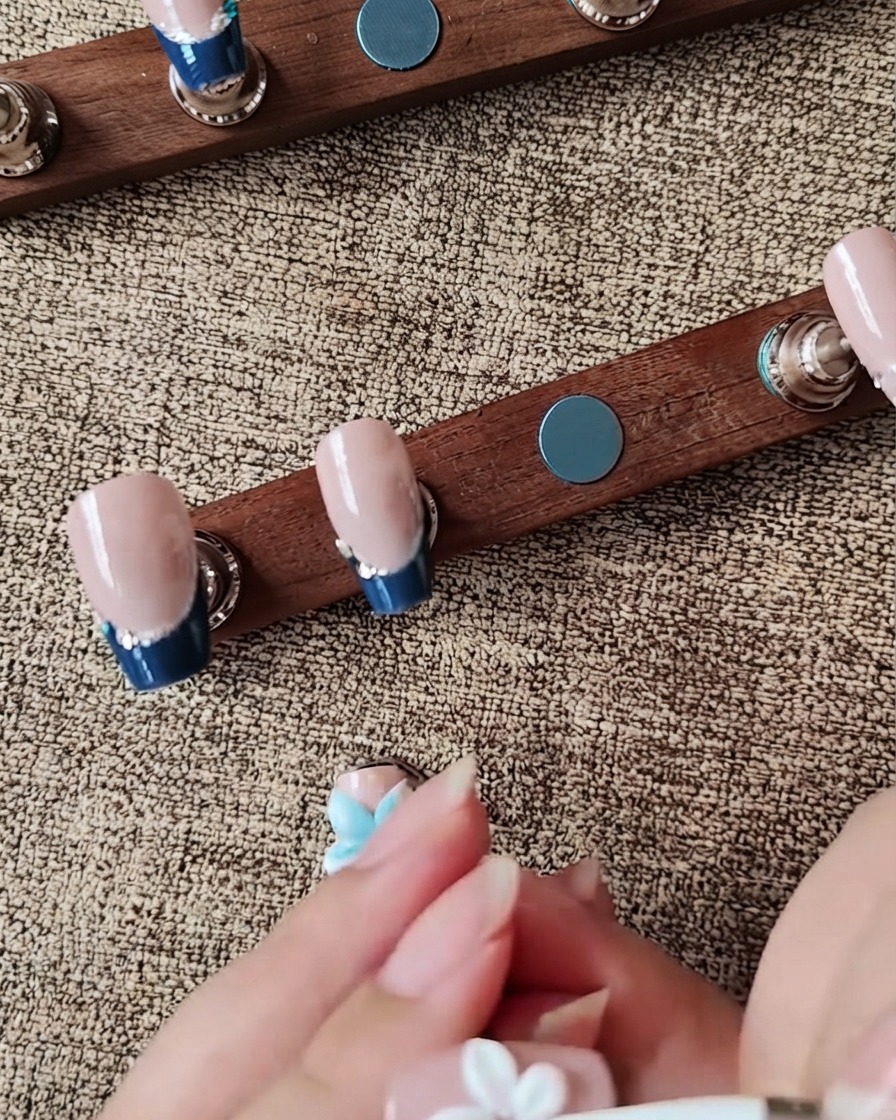
Using a silicone tool, carefully sculpt and shape additional white petals to complete the multi-dimensional look of the 3D flower. Press and blend the acrylic or hard gel gently to give each petal natural dimension and definition.
Tip: Keep your silicone tool slightly wiped or clean to prevent sticking while smoothing out the 3D gel petals. - 15Add light blue gradient to flower center
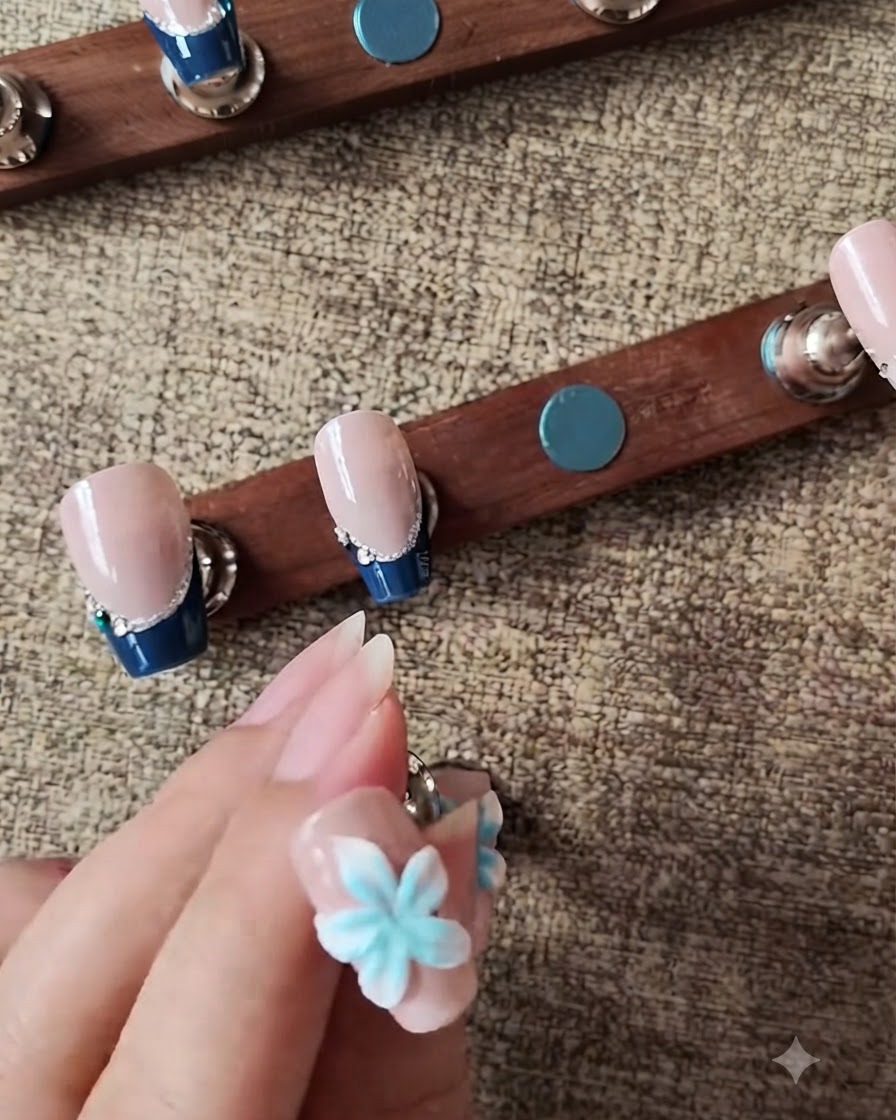
Take a small sponge tool and dab light blue gel color gently into the center of the white 3D flower. This technique builds a soft, seamless color gradient that adds depth and vibrancy to the floral design.
Tip: Use a light tapping motion with the sponge to avoid overloading pigment onto the textured petals. - 16Place a white pearl in the flower center
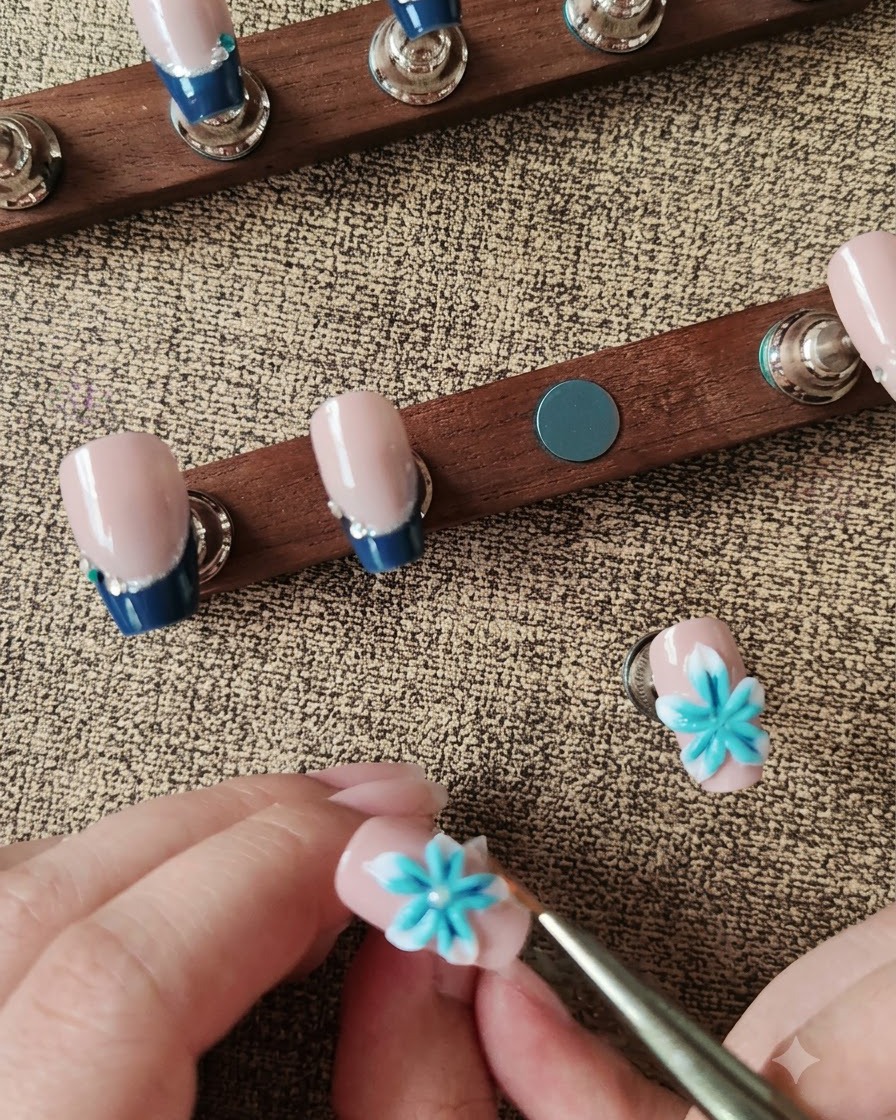
Pick up a small white pearl using a wax pickup pen and carefully place it right into the colored center of the 3D flower. Ensure there is a small dot of gel or glue underneath to secure the pearl firmly in place before curing.
Tip: A wax pickup pen allows for precision placement of tiny gems and pearls without them sticking to your fingers. - 17Apply glossy top coat around the 3D flower
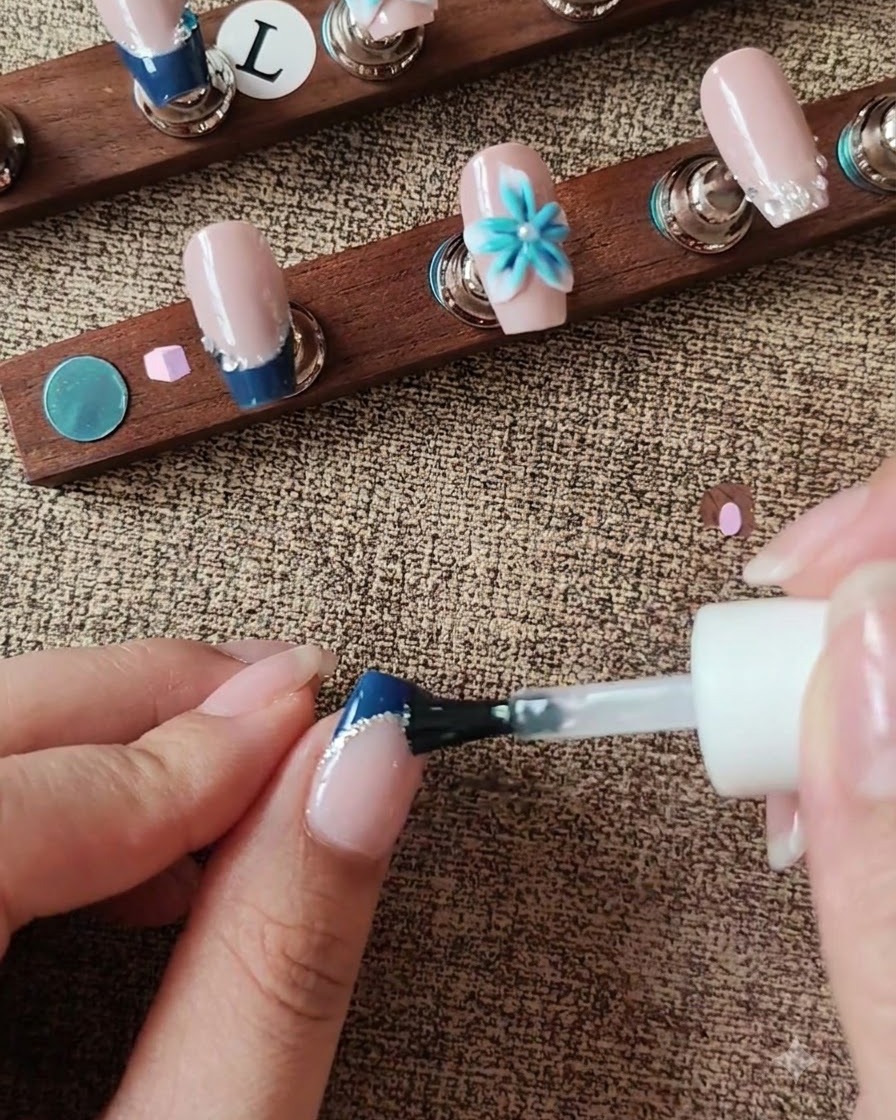
Carefully brush a glossy top coat over the exposed nail and French tip areas, taking great care to avoid covering the textured matte 3D flower. This preserves the unique dual-finish contrast of the design before final curing.
Tip: Use a fine detail brush around the edges of the 3D flower to ensure clean lines without accidentally getting top coat on the petals.