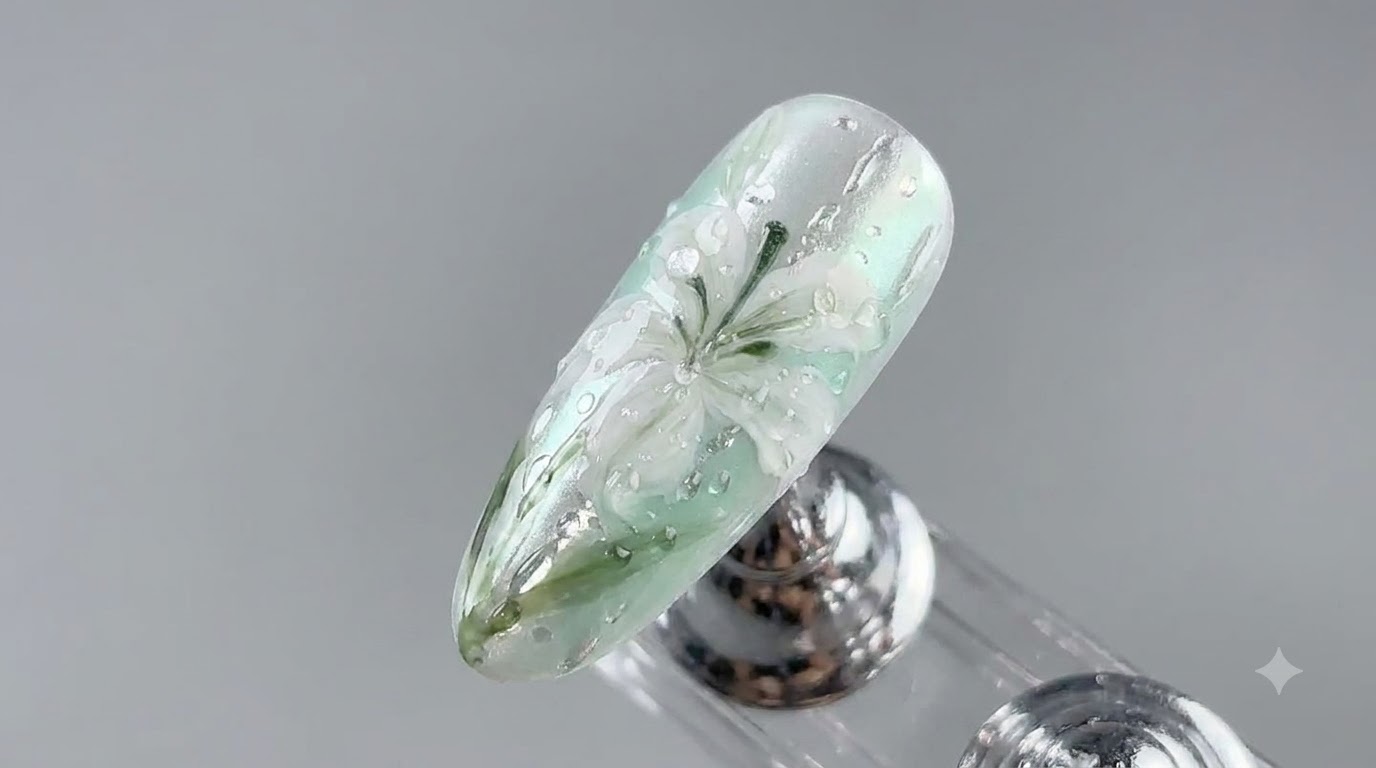
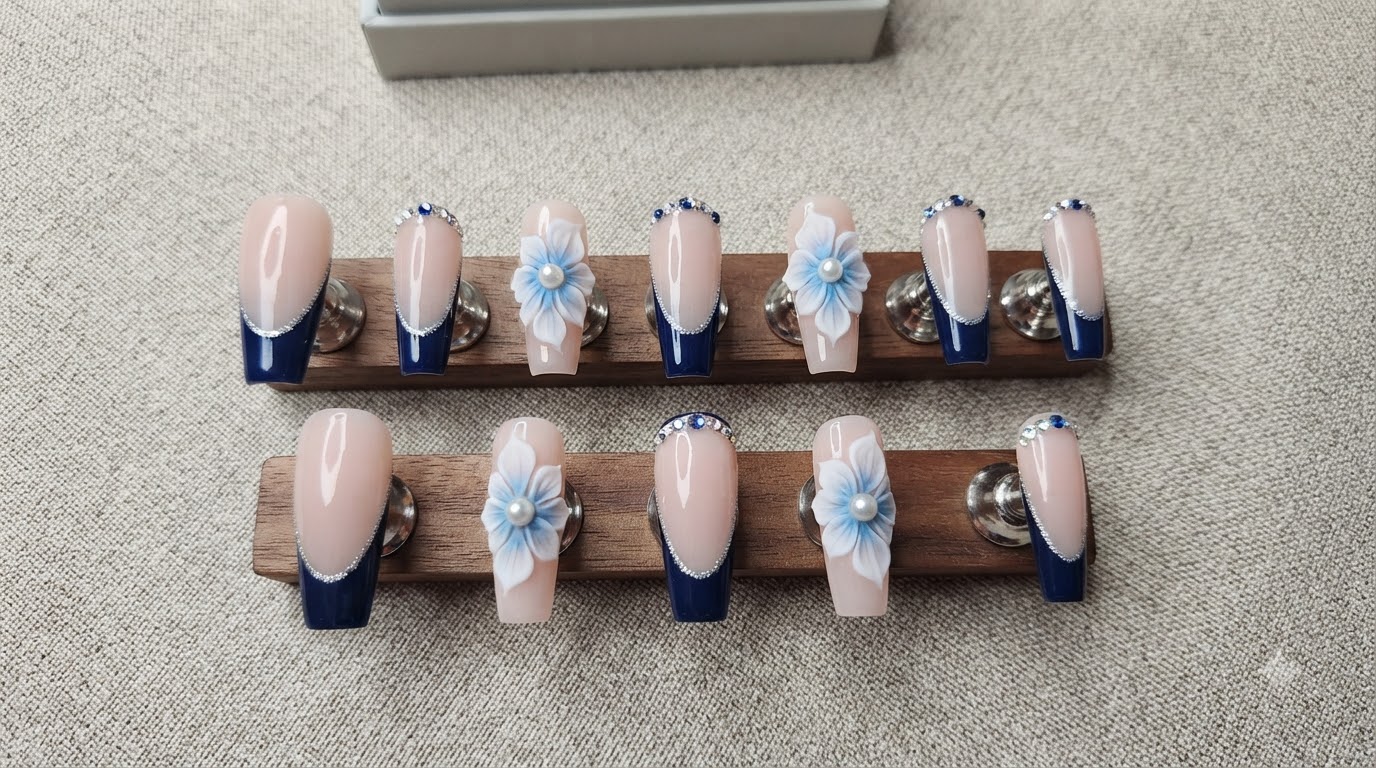
3D Floral and Rhinestone Gel Nail Art — Step-by-Step Tutorial
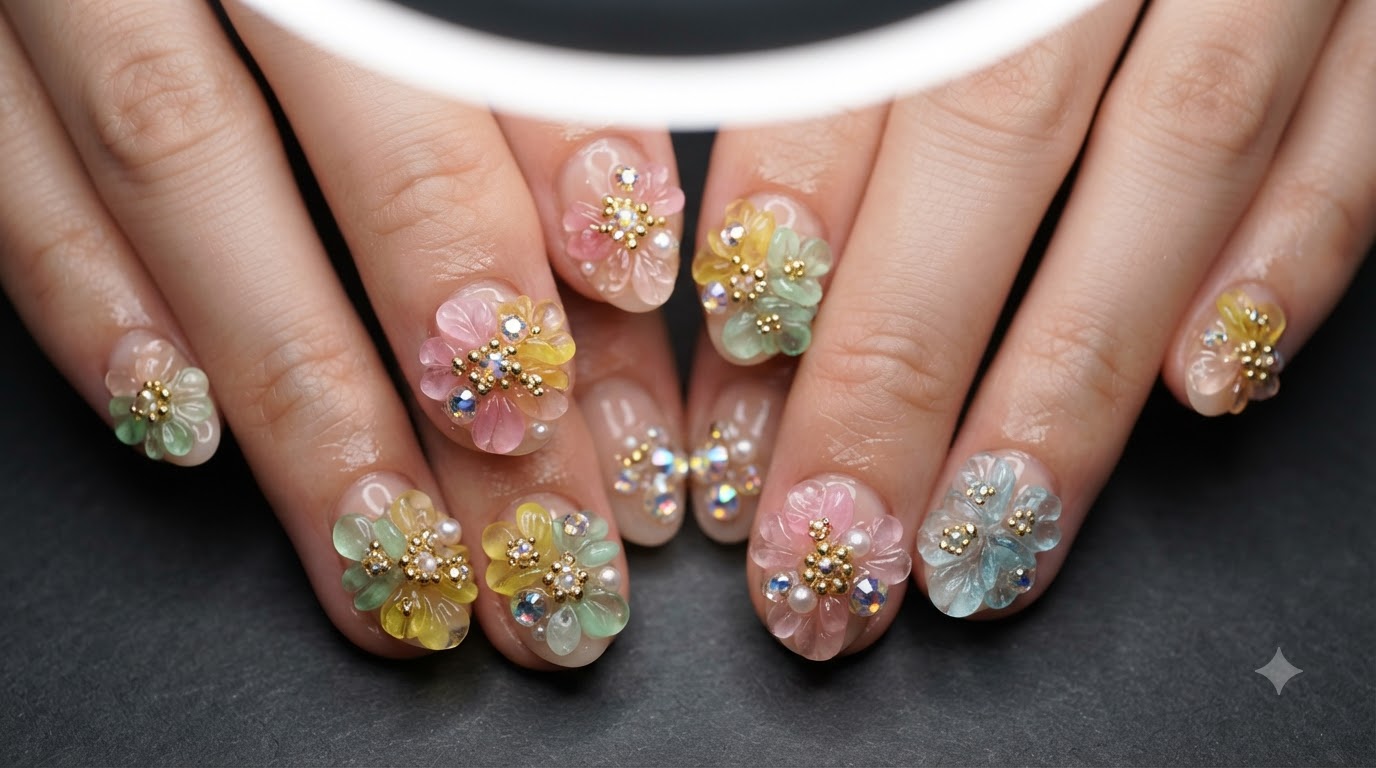
Create breathtaking multi-layered 3D gel flowers, delicate microbeads, and sparkling holographic rhinestones on a sheer nude base with this advanced nail art tutorial.
Dimensional floral nail art combined with high-shine rhinestones and metallic accents creates an opulent, statement-making manicure. This tutorial walks you through sculpting custom 3D petals, layering translucent colored gels, and anchoring intricate crystal clusters for a stunning professional finish.
Steps
- 1Apply first flower petal
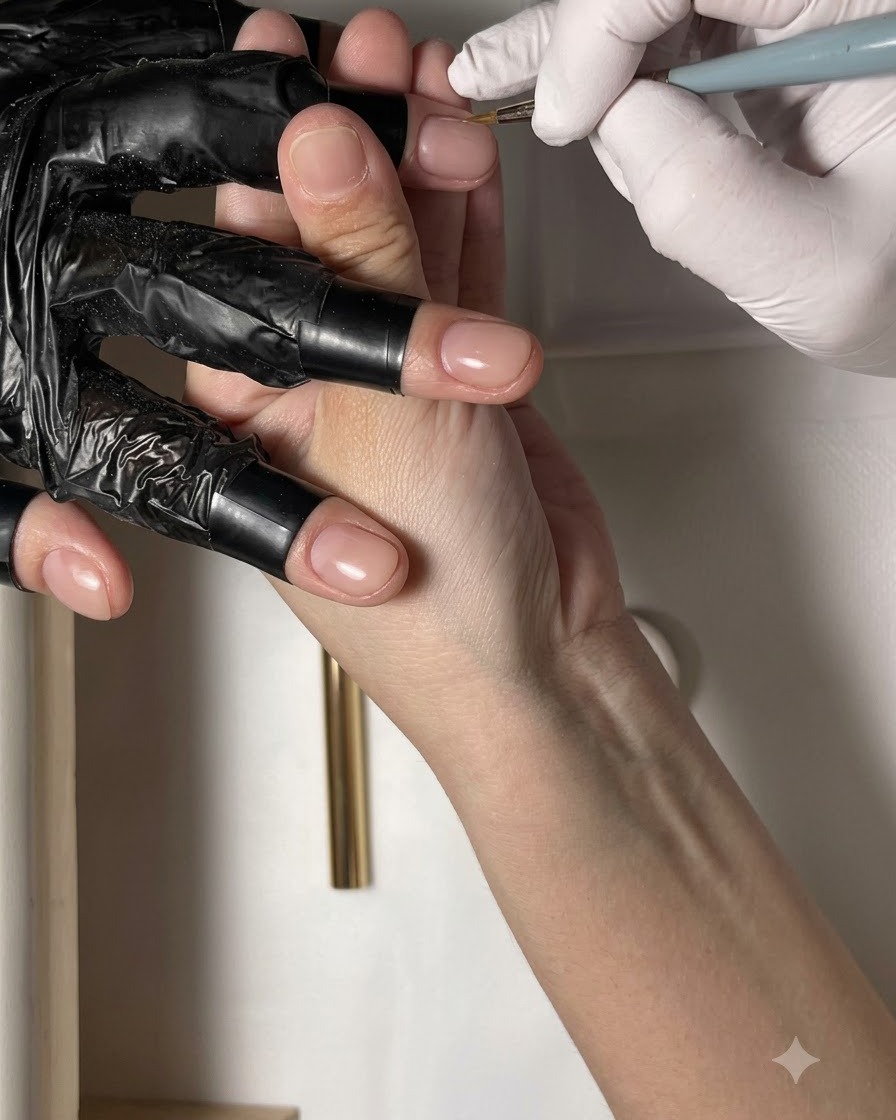
Using a fine detail brush and white gel, carefully paint the first petal shape onto the prepped nude nail base. Keep the lines clean and define the edges to shape the floral design properly before curing or proceeding.
Tip: Keep your hand steady and use a very light touch with the tip of the brush to ensure crisp lines. - 2Paint second white petal
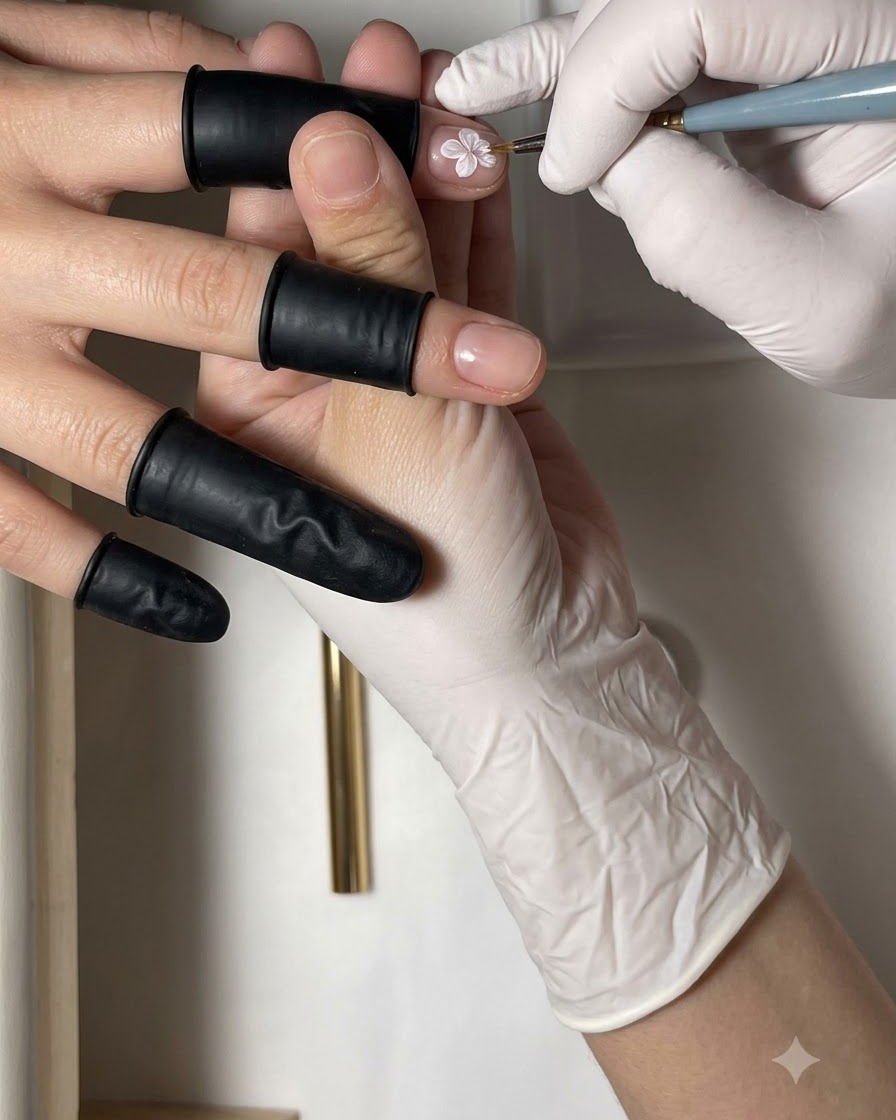
With the fine detail brush, paint a second white petal directly opposite the first one to build the symmetrical structure of the flower. Maintain balanced spacing between the petals for a neat composition.
Tip: Check the balance and symmetry relative to the first petal before moving on to the next one. - 3Add blue gel to petals
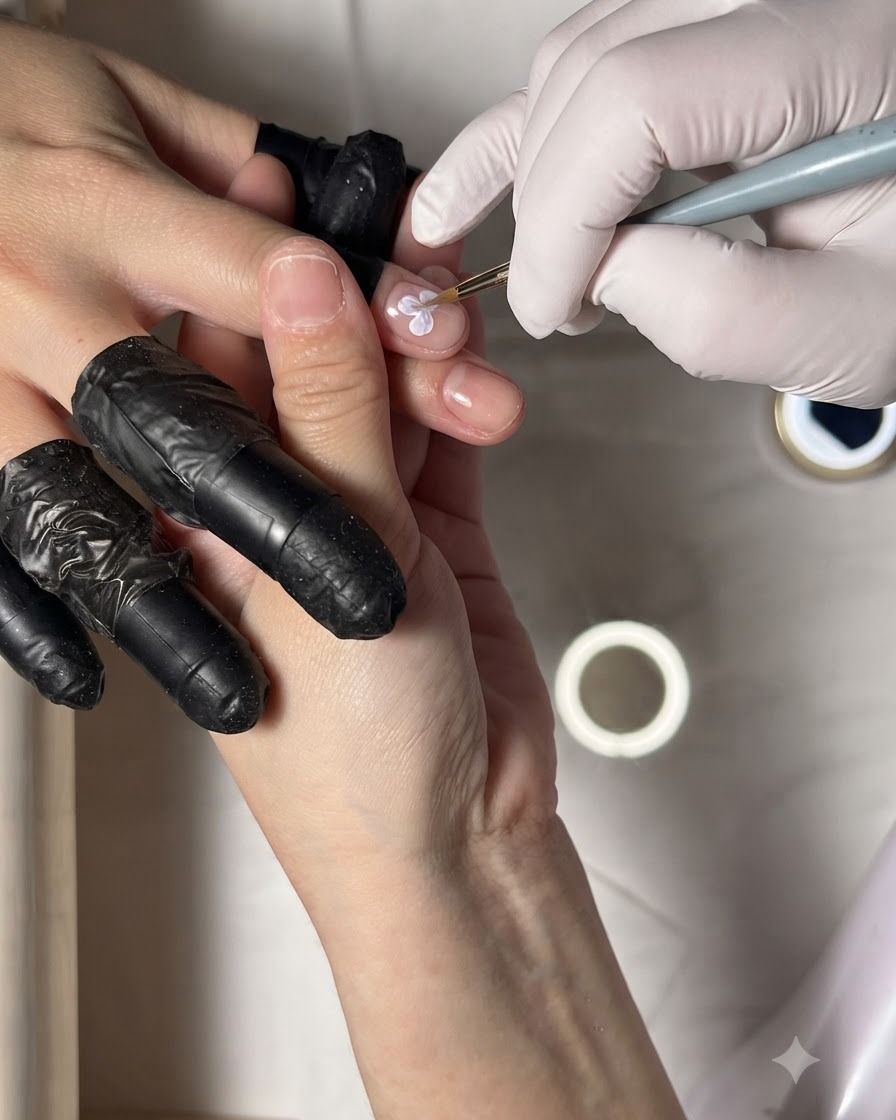
Dip the fine brush into blue gel and delicately apply a small amount along the inner edge of the white petals. This creates depth and a watercolor shading effect inside the flower design.
Tip: Use a minimal amount of blue gel to avoid overwhelming the white petals. - 4Prepare black detailing
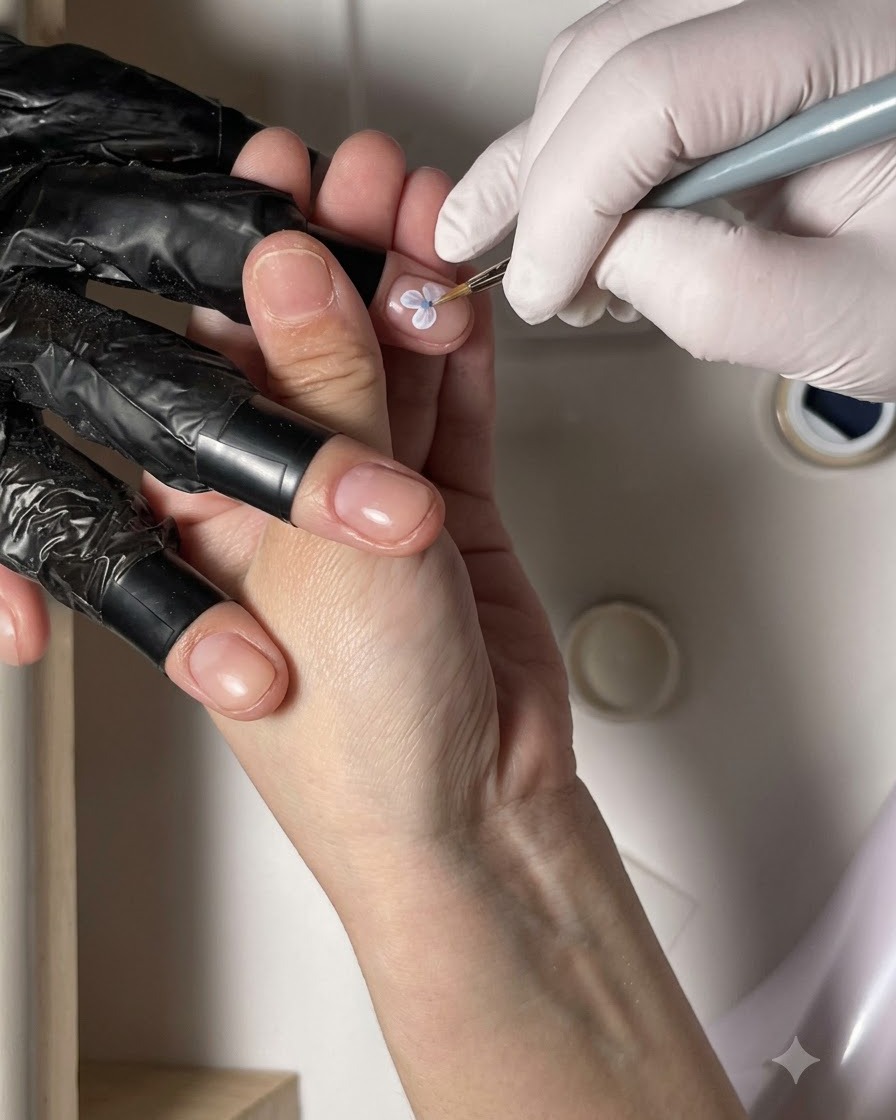
Dip the tip of a fine detail brush into black gel to prepare for accenting the flower. This step adds contrast and definition to the inner lines of the petal artwork.
Tip: Wipe off excess gel on a palette so the brush has only a microscopic amount of pigment. - 5Add dots to flower center
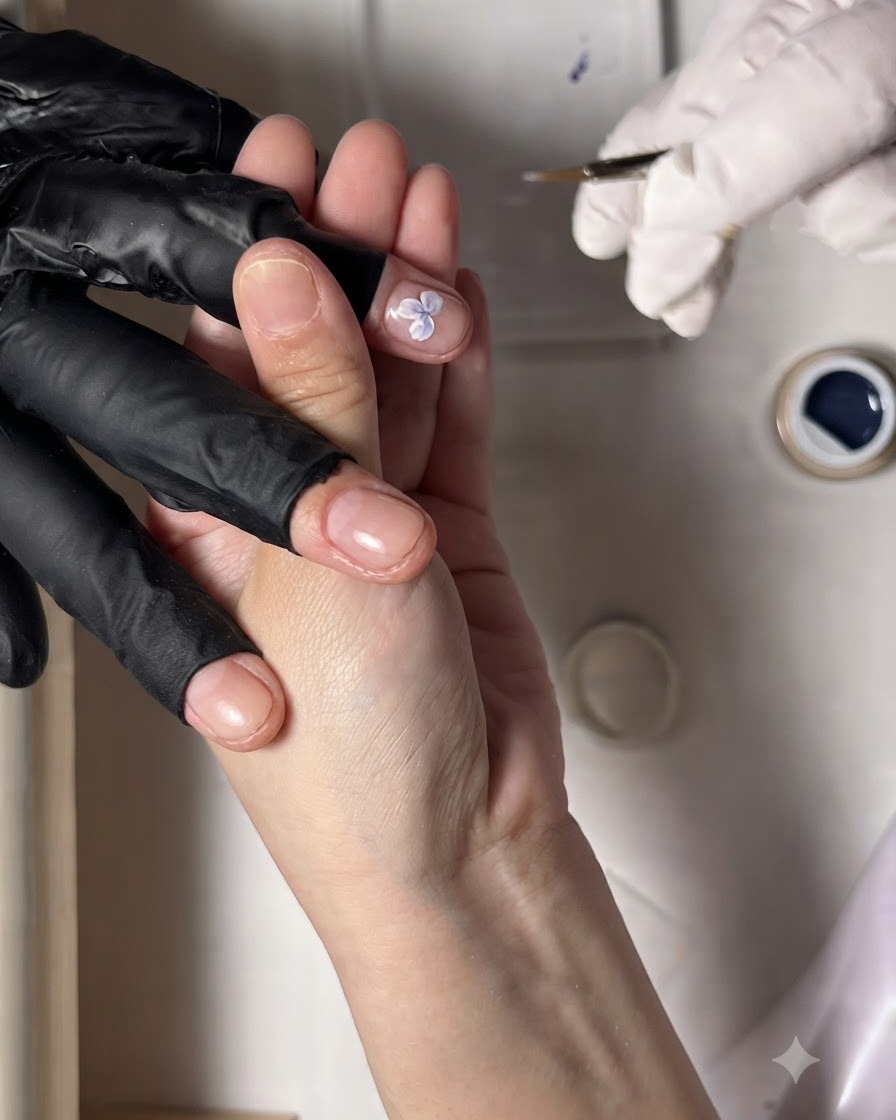
Carefully place tiny dots of black gel right onto the blue center of the flower petal. These delicate accents give the floral design realistic depth and center definition.
Tip: Use the very tip of the fine brush to keep the dots uniform and extremely small. - 6Dip wax pencil into clear gel
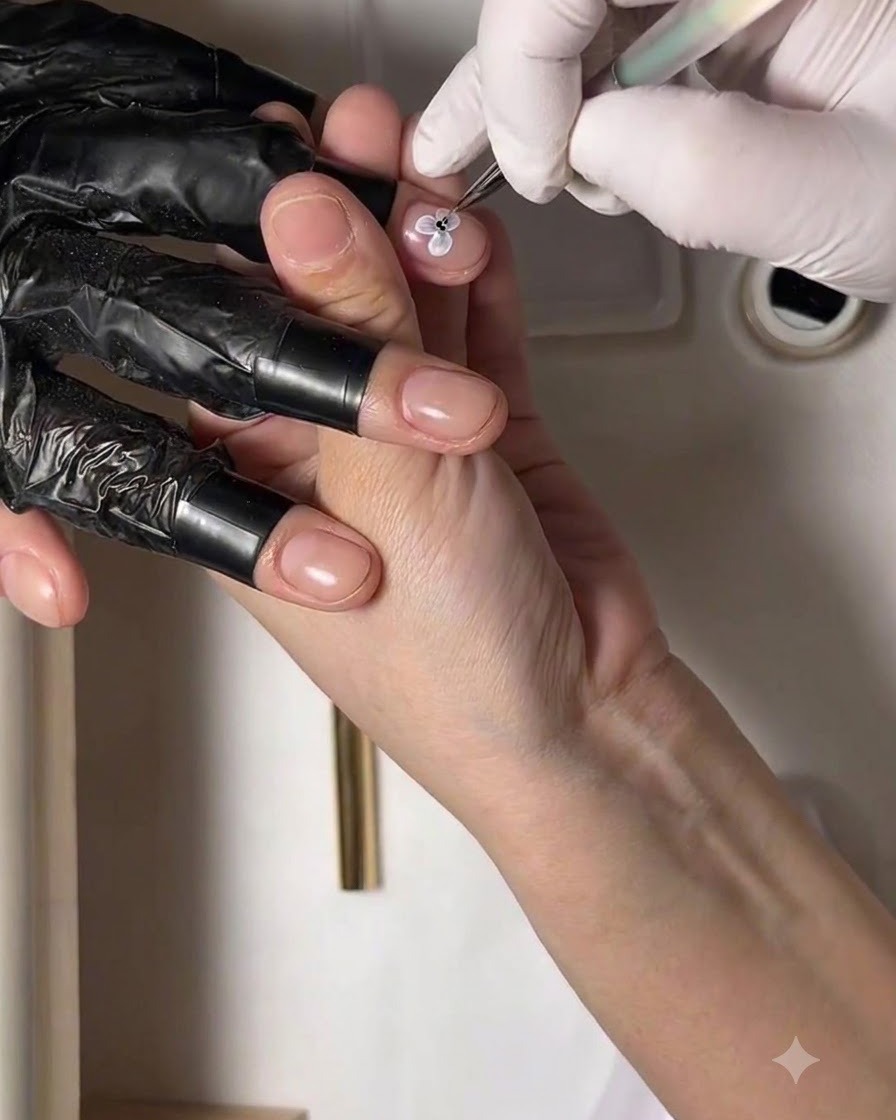
Take a wax pencil tool and gently dip its tip into a small pot of clear gel. This tool and gel combination will be used to pick up and position small nail decorations or create precise gel drops.
Tip: Ensure you only pick up a controlled dab of clear gel to keep placement neat. - 7Place a rhinestone in the center
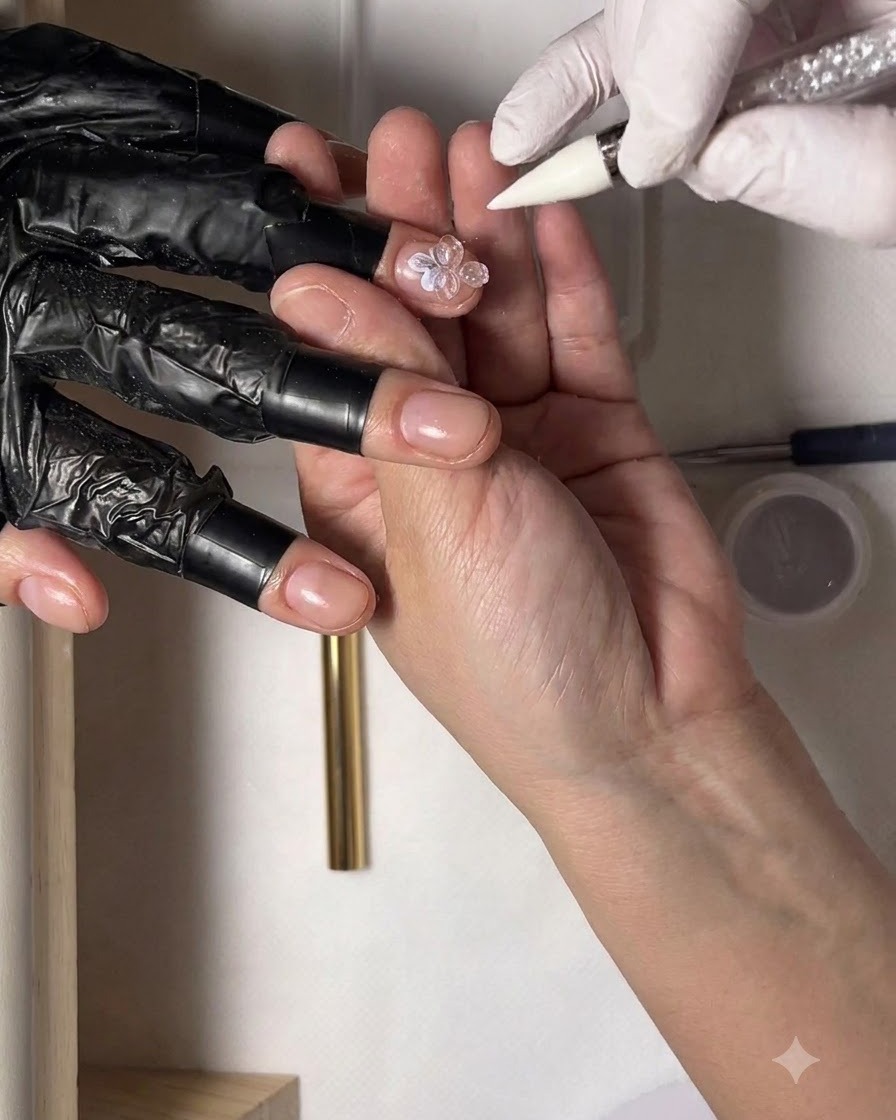
Using a wax pencil to pick up a small holographic rhinestone, carefully position it right in the center of the previously formed flower petals. Press it gently into the uncured gel or adhesive layer so it sits securely.
Tip: A wax pencil offers much more precision and control than metal tweezers when handling tiny nail gems. - 8Cure the nail with a mini lamp
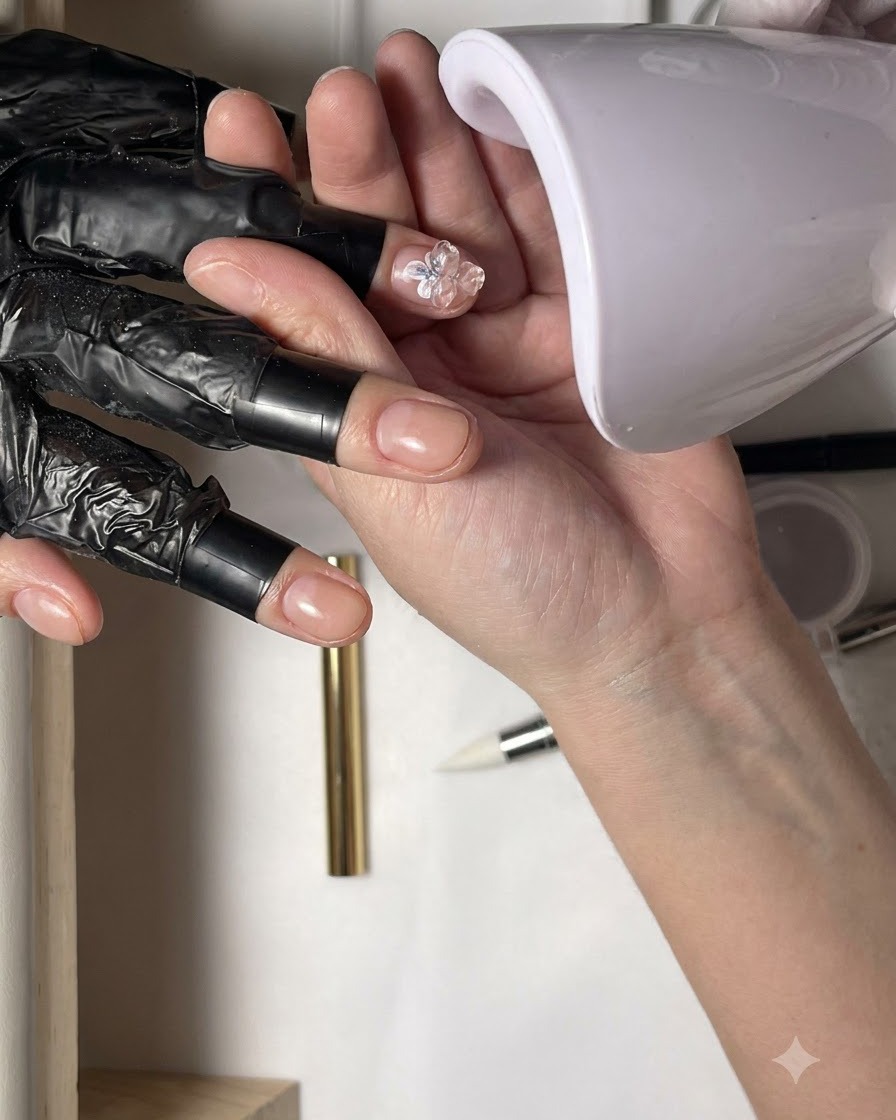
Position a handheld mini UV or LED lamp directly over the embellished nail to flash-cure the 3D gel and secure the rhinestone in place. Hold it steady for the recommended duration to prevent any shifting before a full cure.
Tip: Flash-curing with a mini lamp is ideal for 3D elements and gems because it locks them into position instantly. - 9Sculpt the first clear 3D petal
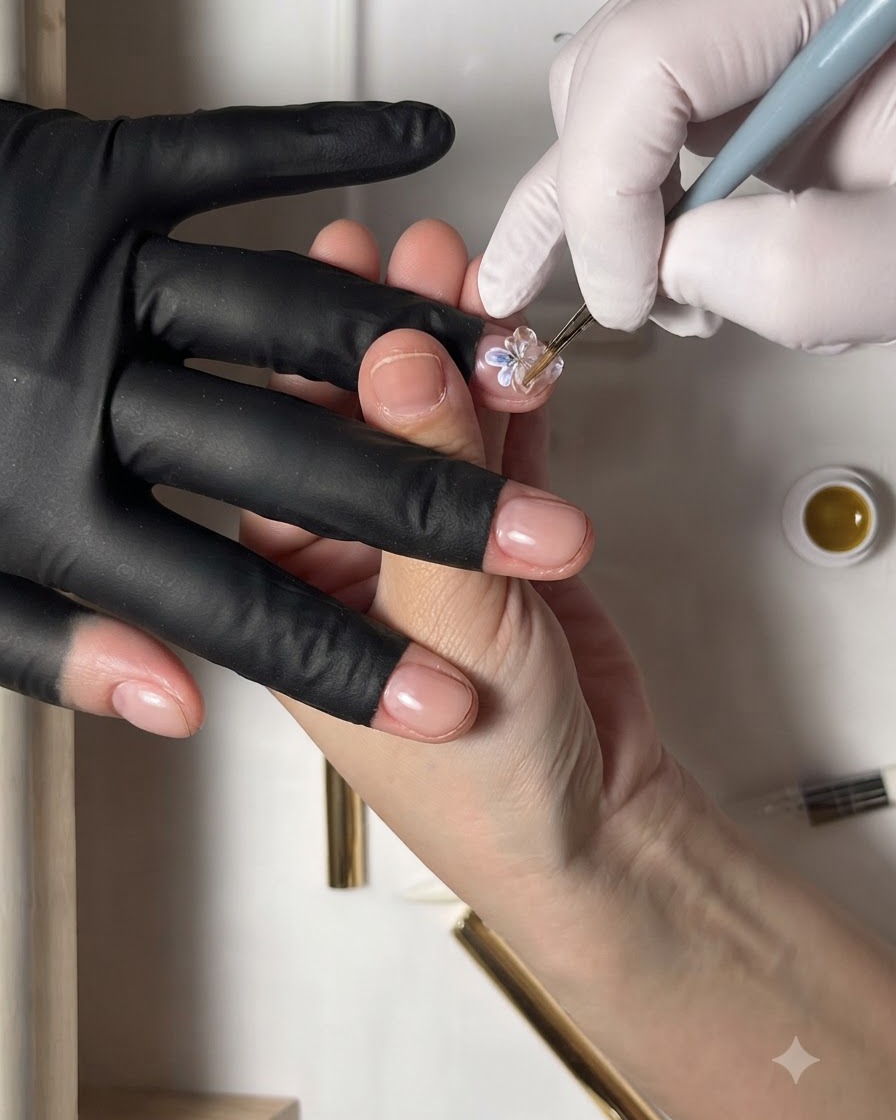
Dip a fine detailing brush into clear 3D gel and sculpt a thick, dimensional petal shape directly onto the middle finger nail. Pull and taper the gel carefully to create a defined, raised petal structure.
Tip: Work with a thick consistency gel so the sculpted petal holds its shape without running or flattening out. - 10Form a second clear 3D petal
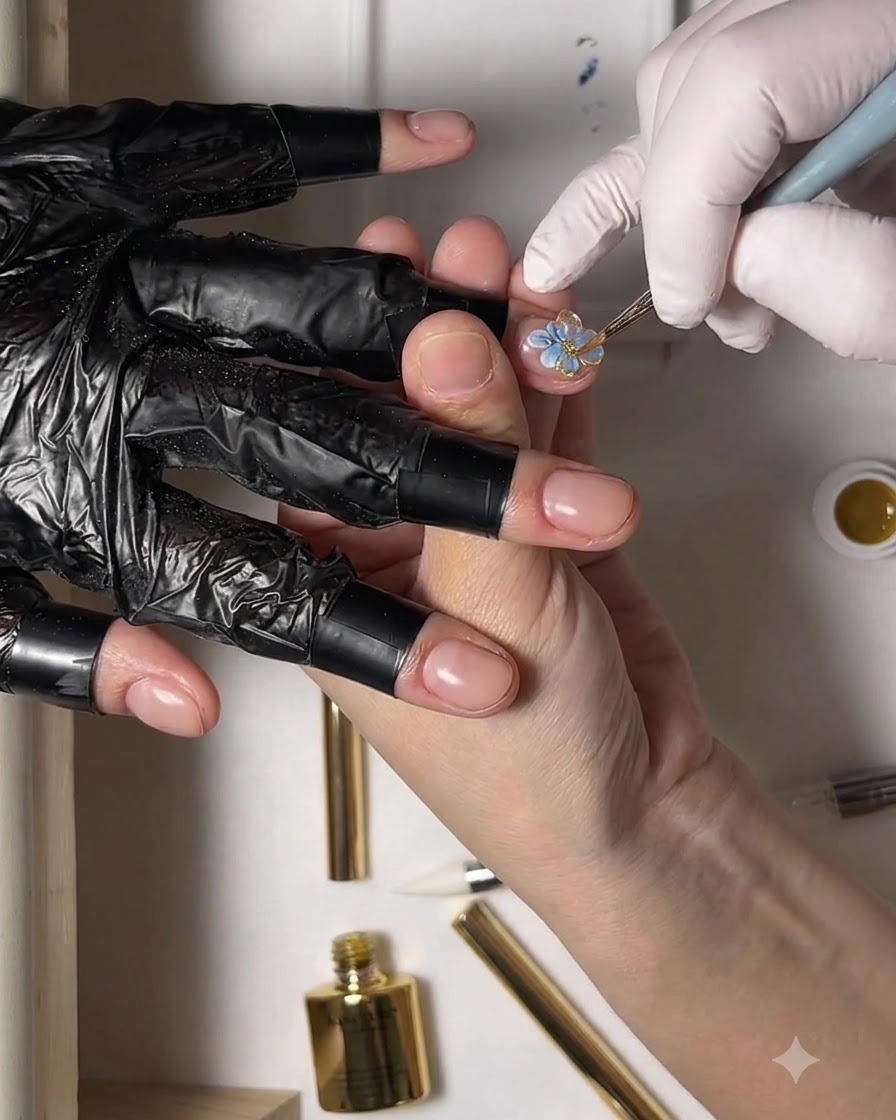
Pick up another small bead of clear 3D gel and form a second petal shape right next to the first one using the fine brush. Ensure both petals connect smoothly at the center to build a cohesive flower foundation.
Tip: Keep your brush clean and lightly wiped with alcohol or cleanser if the clear gel starts sticking to the bristles. - 11Outline petals with gold glitter gel
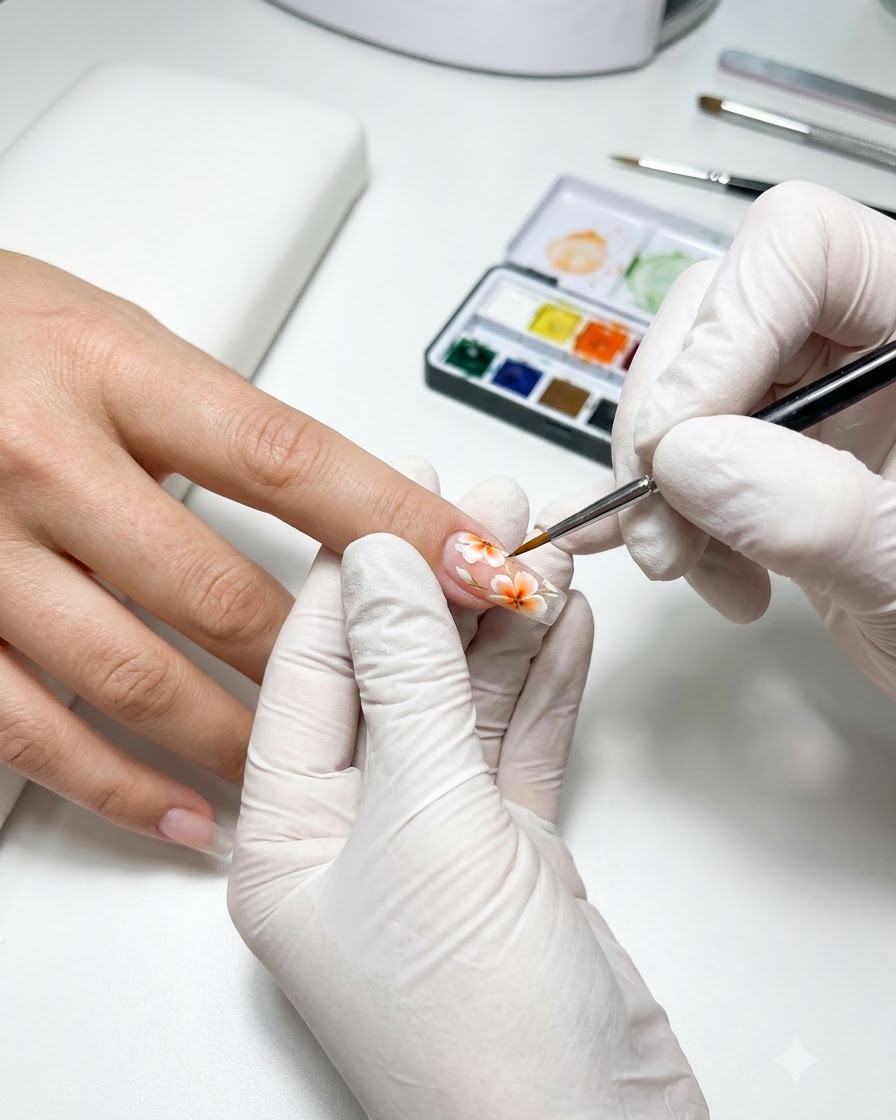
Load a fine liner brush with gold glitter gel and carefully trace the outer edges of the clear 3D gel petals. This outlining technique highlights the dimensional flower shape and adds an elegant metallic accent.
Tip: Use a light touch and the very tip of the liner brush to achieve clean, crisp, and uniform metallic lines. - 12Continue outlining the flower
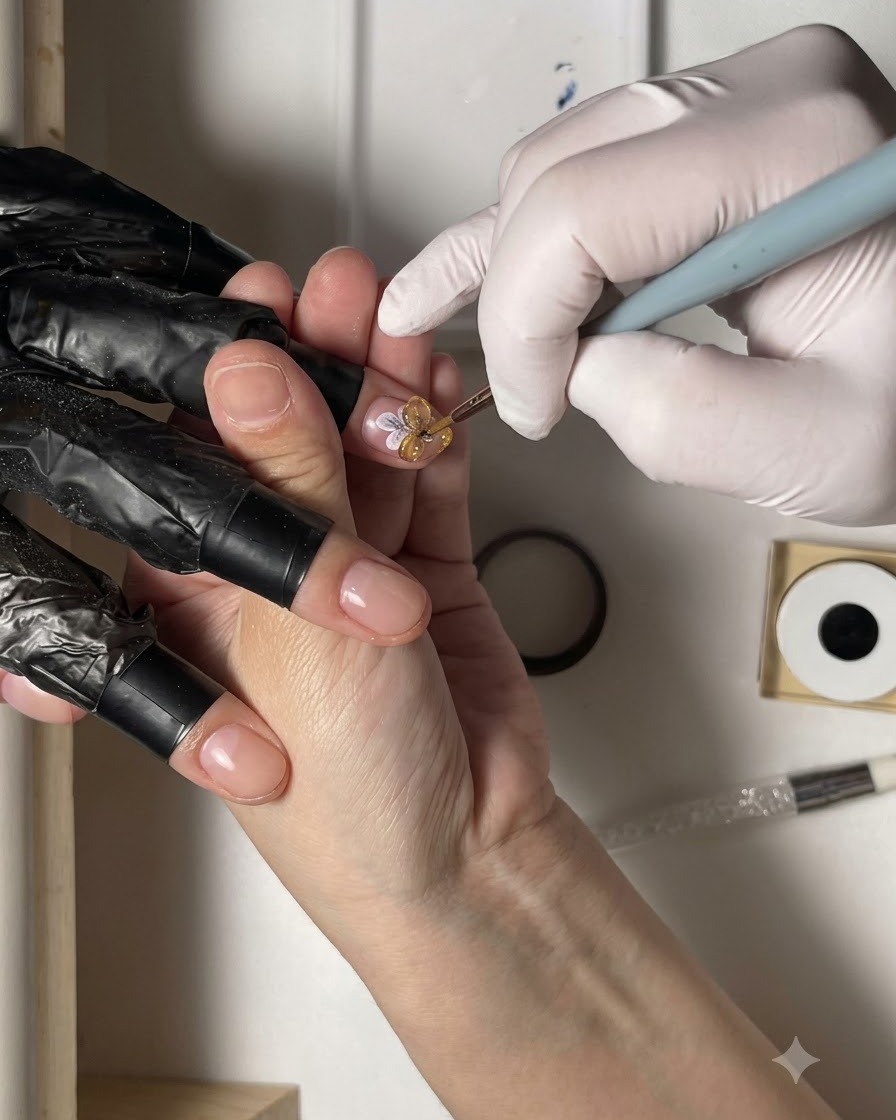
Rotate or reposition your brush to continue outlining the remaining petals on the opposite side of the clear 3D flower using the gold gel. Maintain consistent line thickness to ensure a balanced and polished finish.
Tip: Take your time on tight curves, resting your pinky finger against your hand for stability while lining. - 13Pick up microbeads
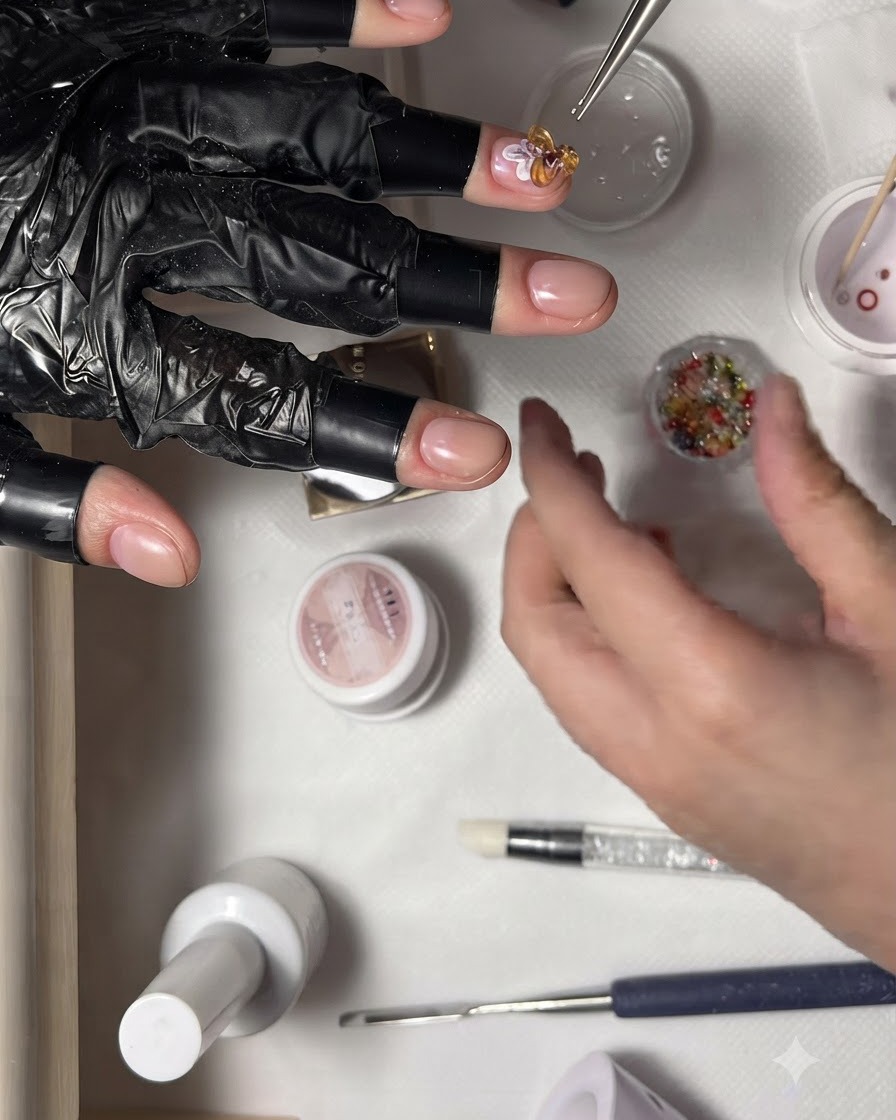
Using a pair of precision tweezers, carefully pick up tiny multi-colored microbeads from a small container. Ensure a secure grip on the beads to prepare them for placement on the nail surface.
Tip: Keep your hand steady when using tweezers to pick up micro-sized embellishments to avoid spilling the container. - 14Arrange microbeads in flower center
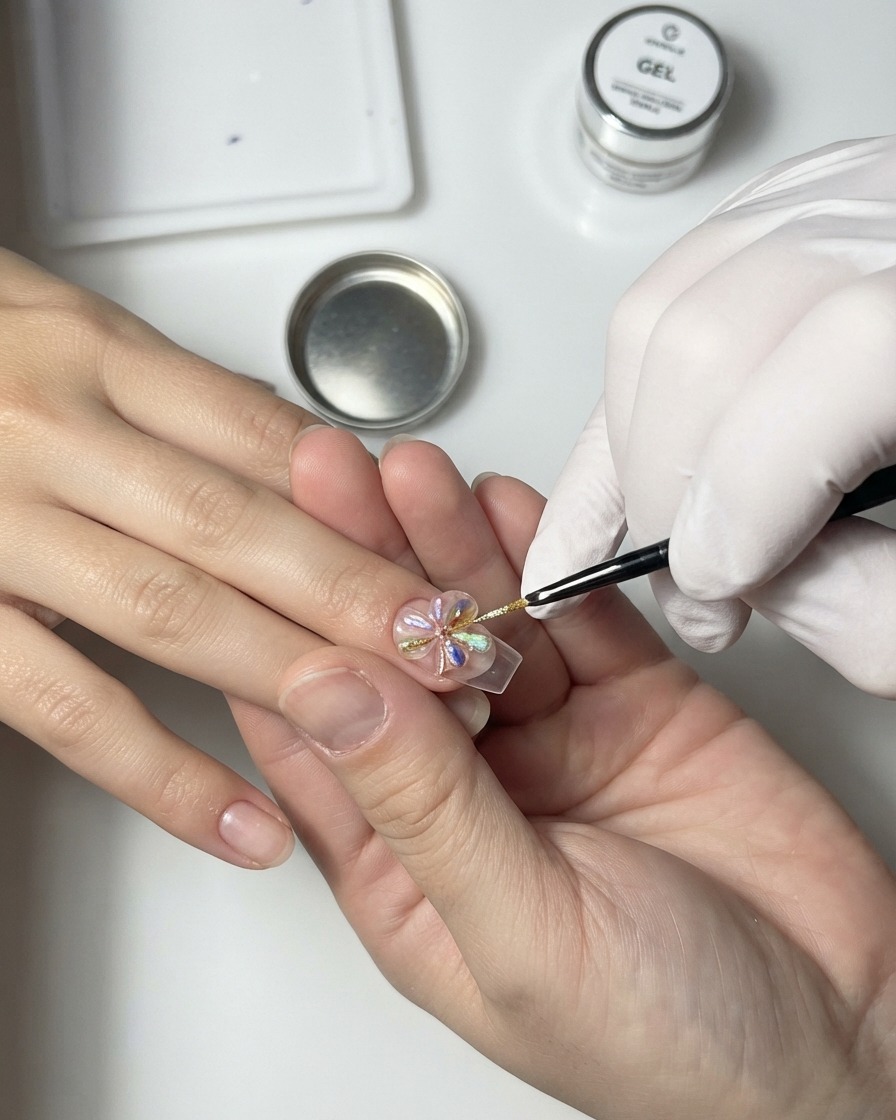
Using a fine detail brush, arrange the collected colored microbeads neatly in the center of the 3D flower nail art design. Position each bead precisely to create a dense, colorful cluster that complements the surrounding petals.
Tip: A slightly damp brush tip can help guide and shift tiny microbeads into place if they stick. - 15Adjust microbead cluster shape
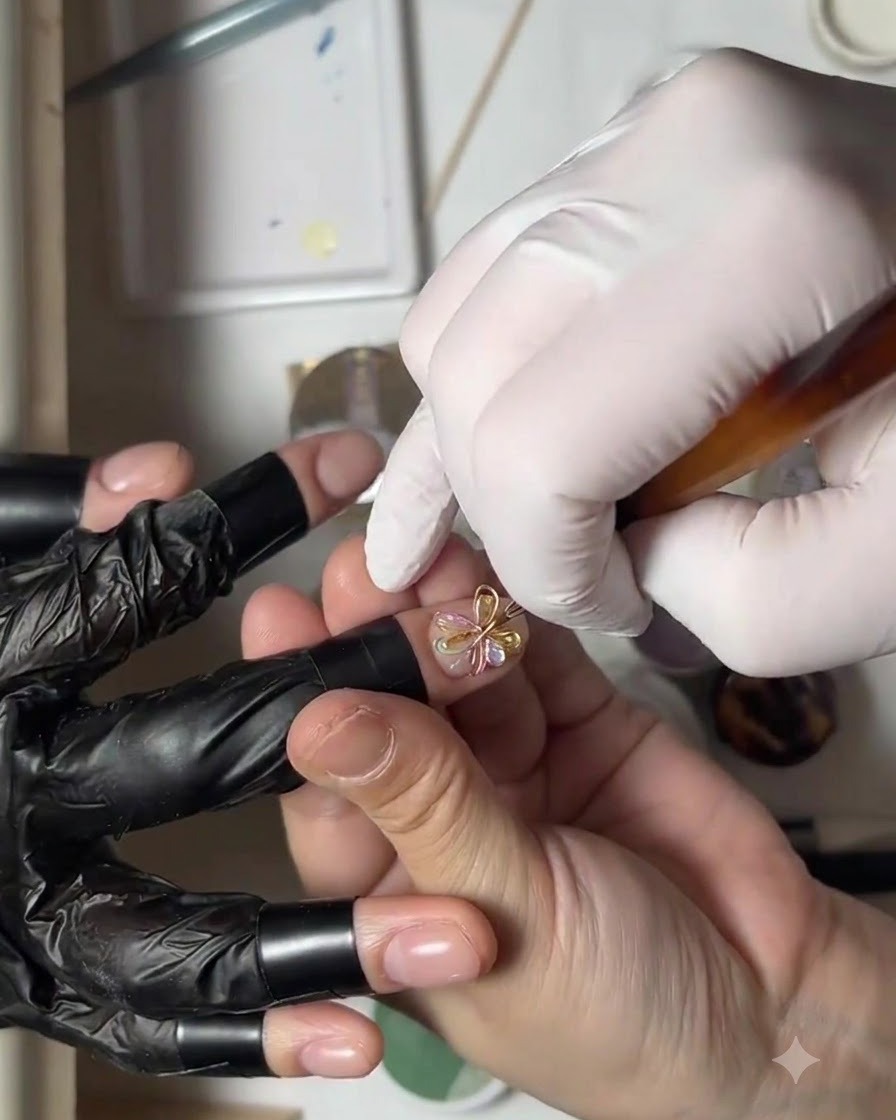
Gently nudge and adjust the placed microbead cluster using the tip of the fine brush to form a neat, perfect circle in the flower center. Ensure all beads are tightly packed and evenly distributed before curing.
Tip: Check the symmetry of the cluster from multiple angles before setting the gel. - 16Pick up a silver rhinestone
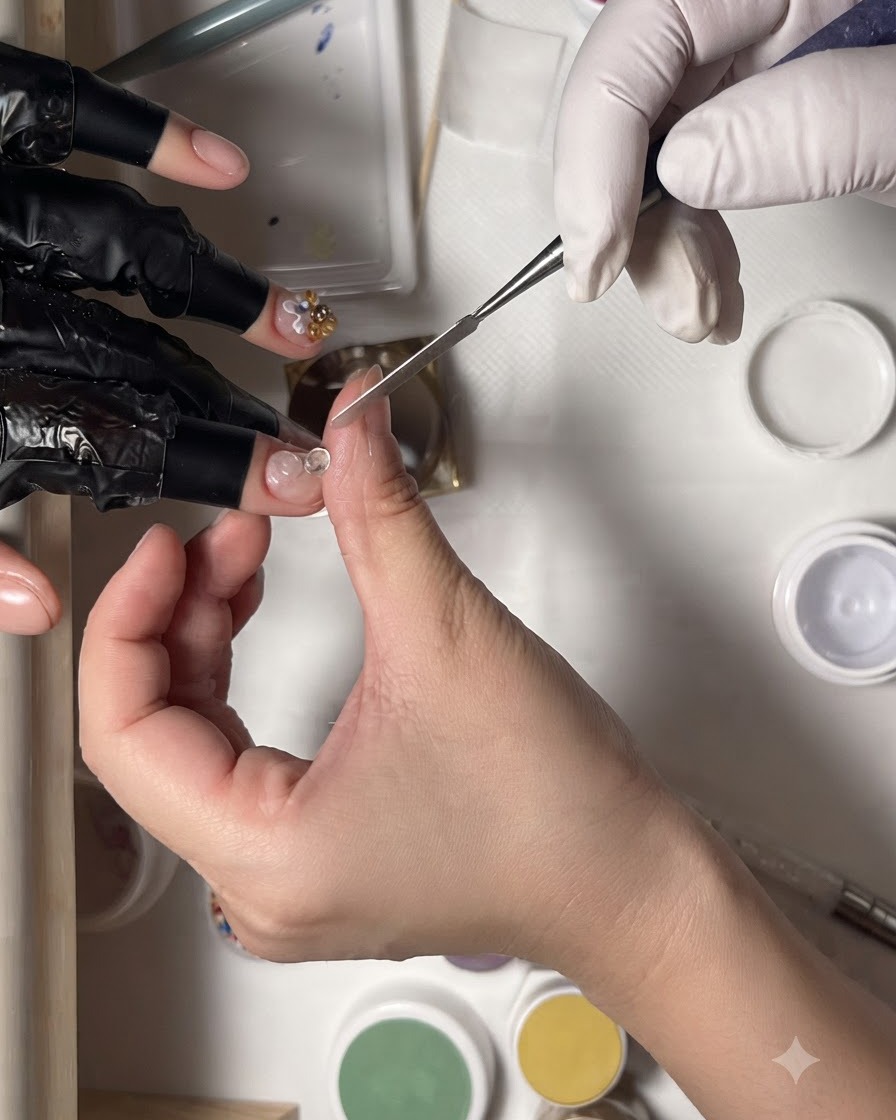
Use precision tweezers to pick up a single small silver rhinestone from a sorting tray. Handle the rhinestone carefully by its edges to keep its reflective surface clean and ready for application.
Tip: Hold the tweezers at a comfortable angle for better control when lifting small gems. - 17Paint a 3D gel loop
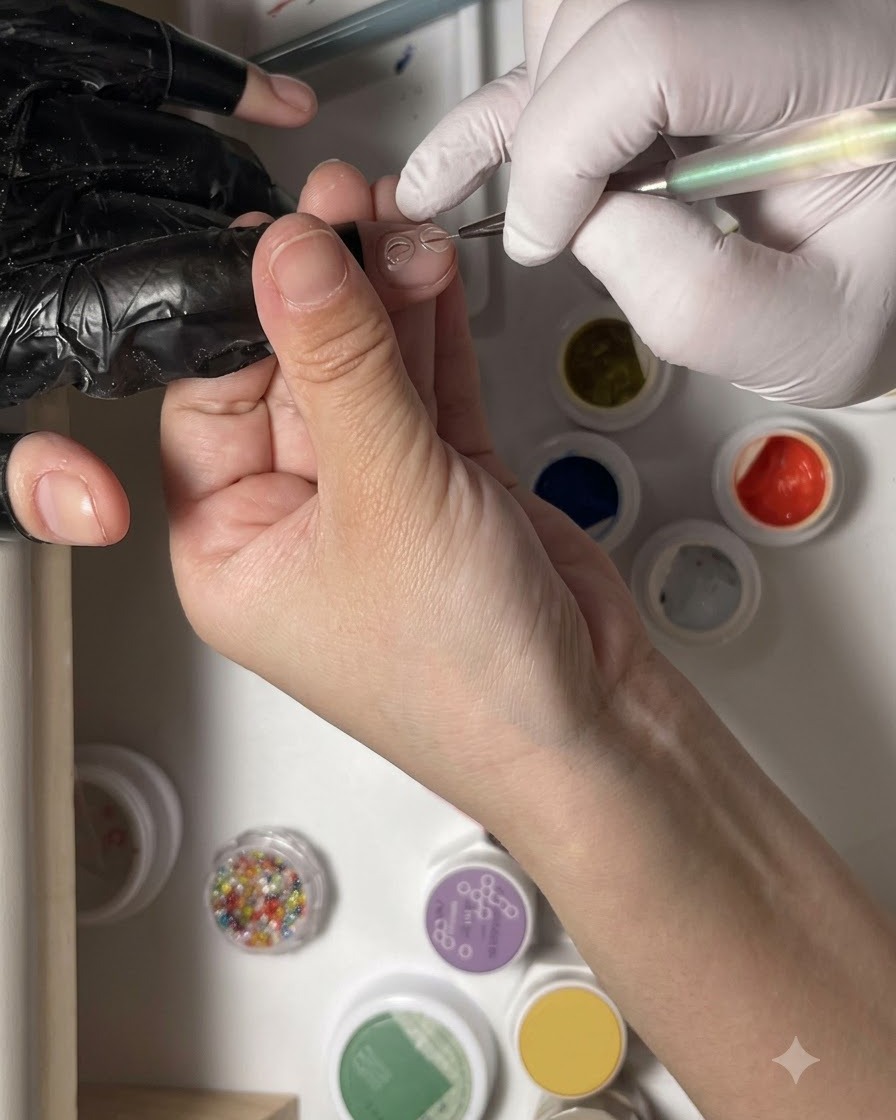
Using a fine liner brush, paint a curved clear 3D gel loop on the index finger nail. Keep the stroke consistent and controlled to create a raised, dimensional outline that holds its shape.
Tip: Use a thick-viscosity 3D gel so the loop maintains its height without spreading or flattening out. - 18Paint an interlocking gel loop
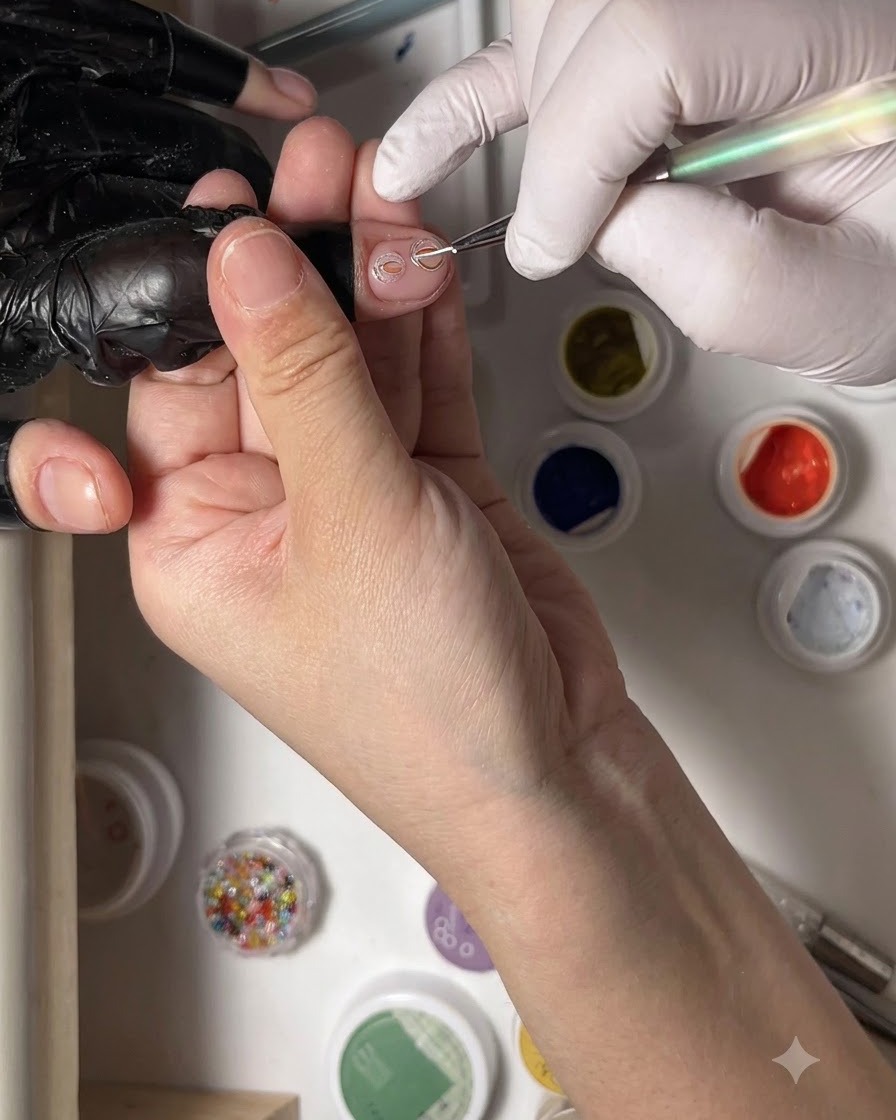
Paint a second clear 3D gel loop right next to the first one, making sure it interlocks neatly to build out the dimensional design. Maintain clean lines and consistent thickness across both loops.
Tip: Flash-cure the first loop briefly if needed to prevent the gel lines from bleeding into each other. - 19Place rhinestone in gel loop
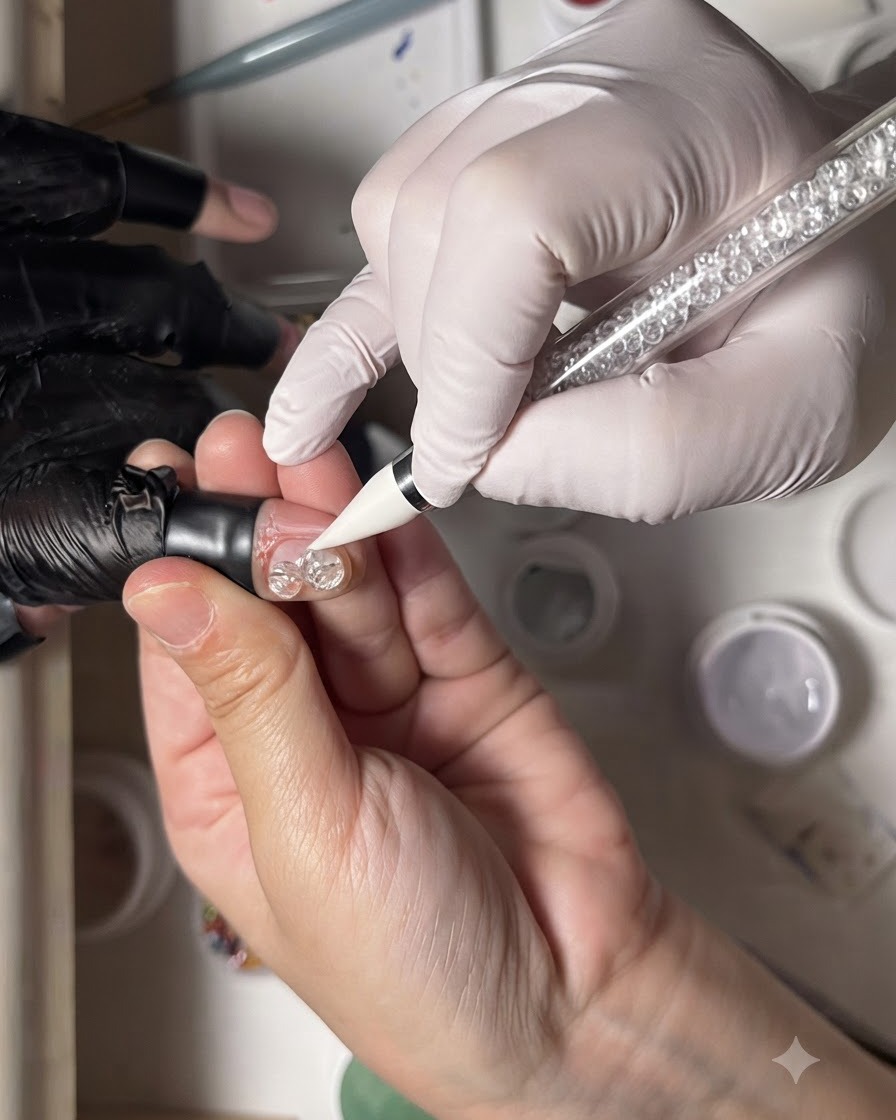
Using a wax pencil tool, carefully pick up a small rhinestone and place it directly inside the center of the previously created clear gel loops. Ensure the rhinestone sits securely in the wet gel before moving on to the next step, as this anchors the embellishment for the subsequent color application.
Tip: A wax pencil tool provides the precision needed for placing tiny embellishments without sticking to your gloves. - 20Apply blue tinted gel
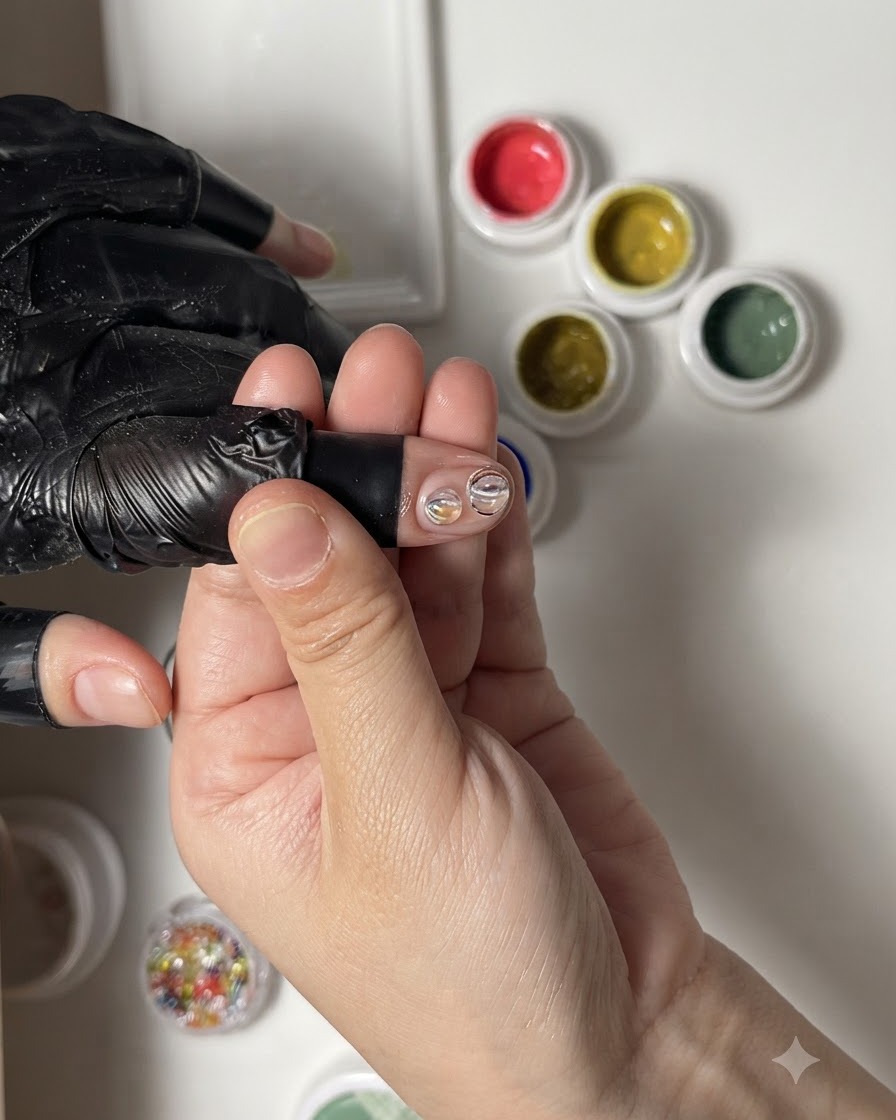
Dip a fine detail brush into the blue tinted gel and gently fill the top clear loop on the nail. Work carefully to stay within the boundaries of the raised gel border, ensuring an even distribution of color without spilling over the edges.
Tip: Keep your brush strokes light and controlled to avoid displacing the underlying clear gel structure. - 21Fill lower loop with pink gel
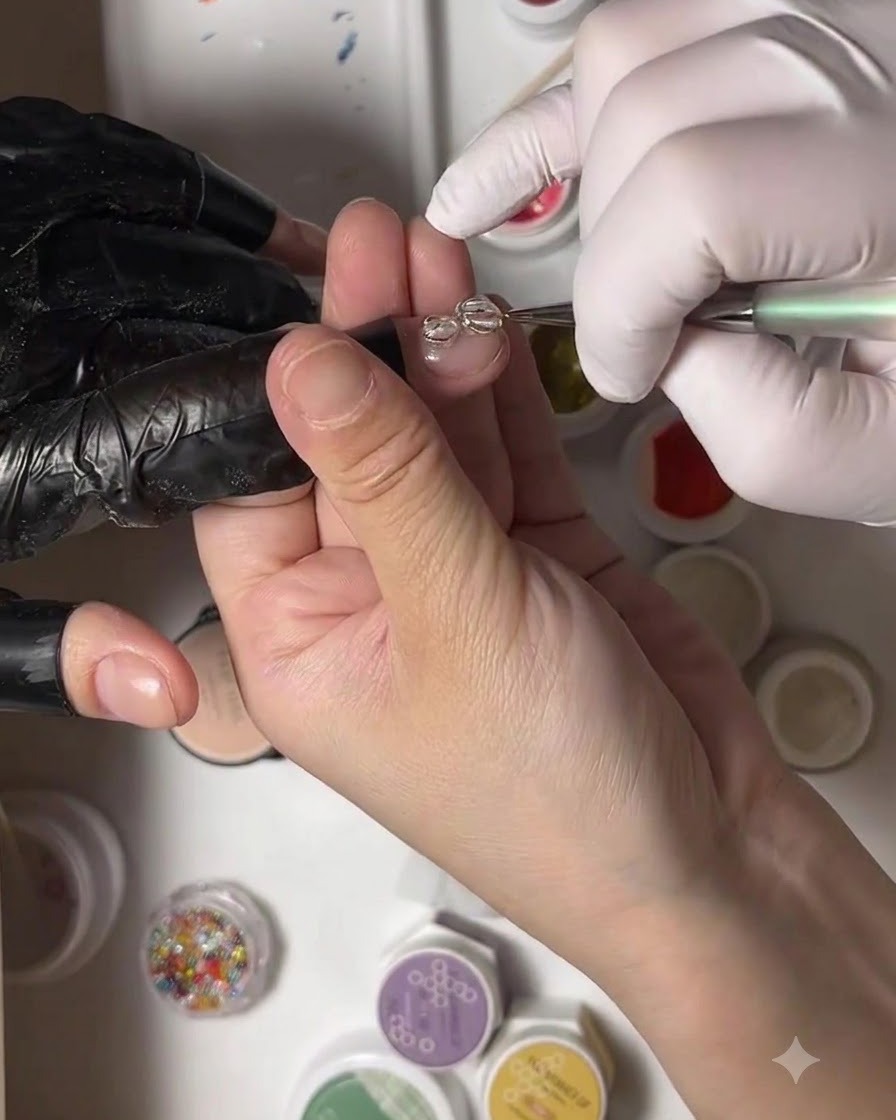
Using the fine detail brush, load a small amount of pink tinted gel and fill the lower clear loop on the nail. Carefully blend the gel to fill the entire enclosed space evenly, complementing the blue section above it.
Tip: Wipe your brush clean between color applications to prevent muddying the hues. - 22Add center rhinestone cluster
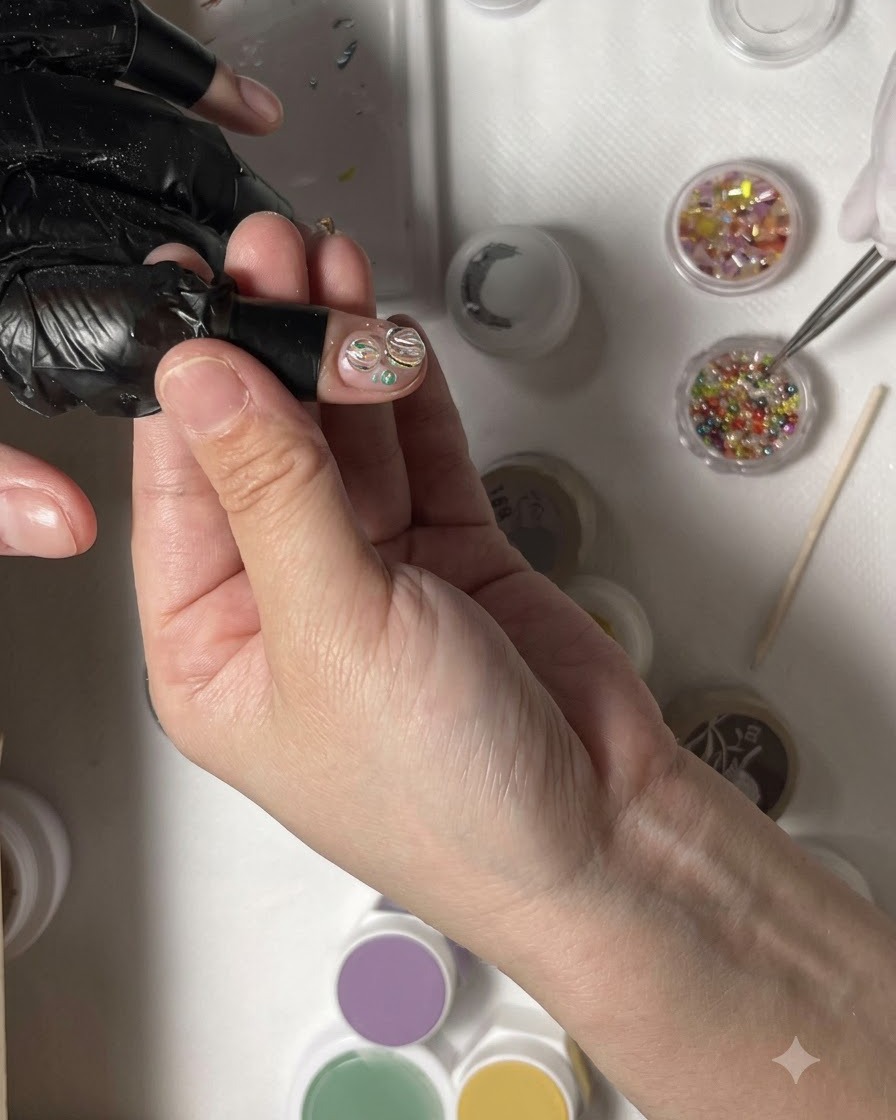
Take a pair of precision tweezers and pick up a cluster of tiny rhinestones. Position them accurately into the center of the nail design where the tinted gel loops meet, pressing them lightly into the wet product to secure their placement.
Tip: Use fine-tipped tweezers for optimal control when handling miniature nail charms and stones. - 23Paint white gel flower
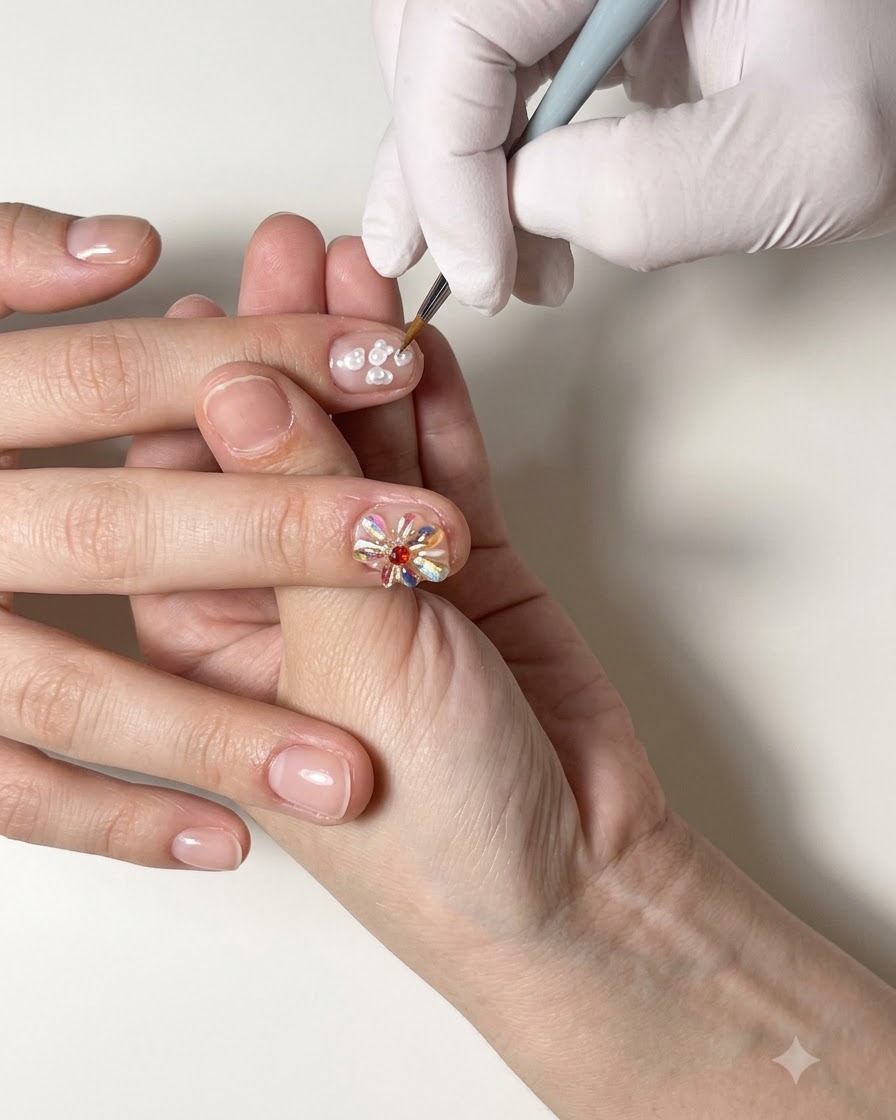
Dip a fine detail brush into white gel polish and begin painting a multi-petal flower design onto the prepped ring finger nail. Form individual rounded strokes radiating outward to build out the floral petals with clean definition.
Tip: Load just a small bead of gel on the tip of your brush to keep each petal sharp and prevent bleeding. - 24Complete white flower base
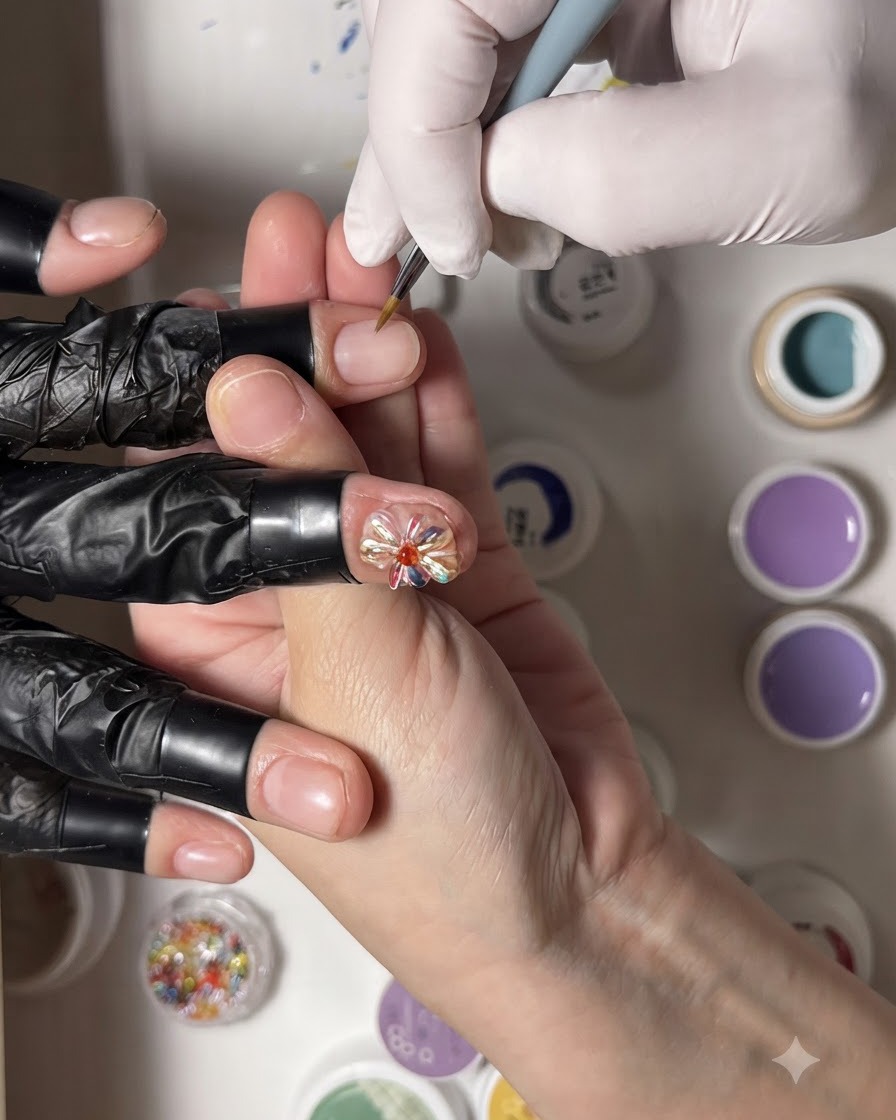
Continue using the fine detail brush and white gel to add smaller accent petals around the initial flower structure. Fill in any gaps to ensure the flower base looks full, balanced, and ready for any final detailing.
Tip: Work in thin applications so the white gel retains its shape without pooling or running. - 25Add red gel center
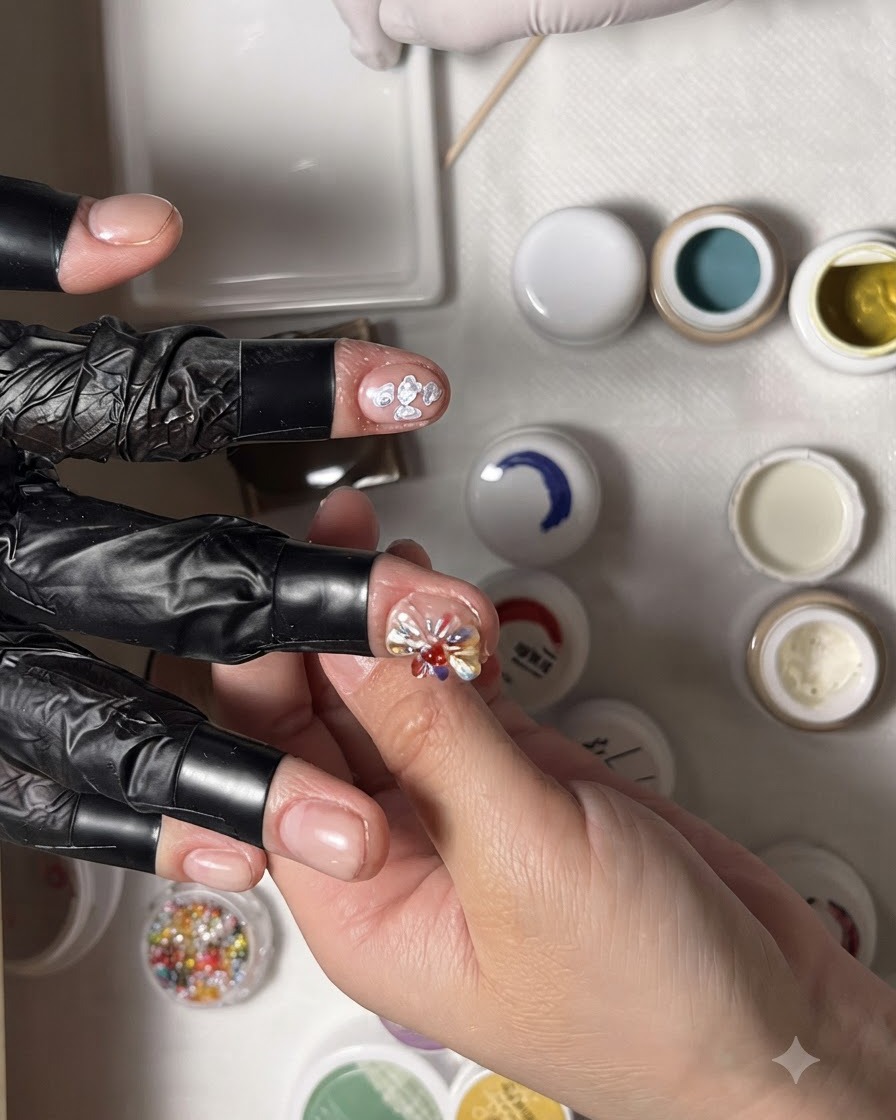
Apply a drop of red tinted gel directly into the center of the white petal design to begin building a gradient flower effect. The translucent red pigment blends with the base layer, creating depth within the petal structure. Ensure the drop is contained within the center before moving on to subsequent color additions.
Tip: Keep the gel drop small to avoid overflowing onto the surrounding white petals. - 26Add yellow gel for gradient
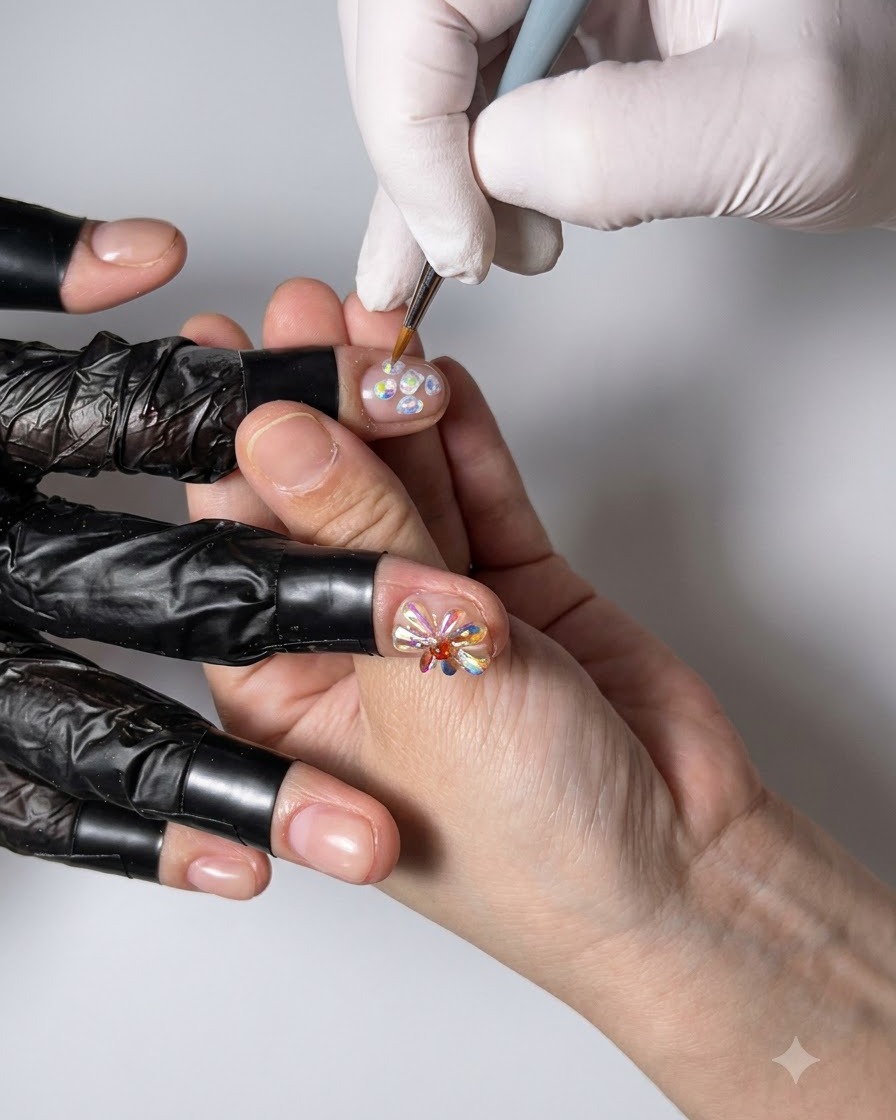
Using a fine detail brush, place yellow tinted gel directly beside the red drop in the flowers center. Allow the red and yellow pigments to softly blend together, forming a vibrant, multi-toned gradient core. This multi-color layering adds dimension and realism to the floral nail design.
Tip: Work quickly while the gel is fresh to achieve a smooth color transition between the red and yellow. - 27Place rhinestone cluster
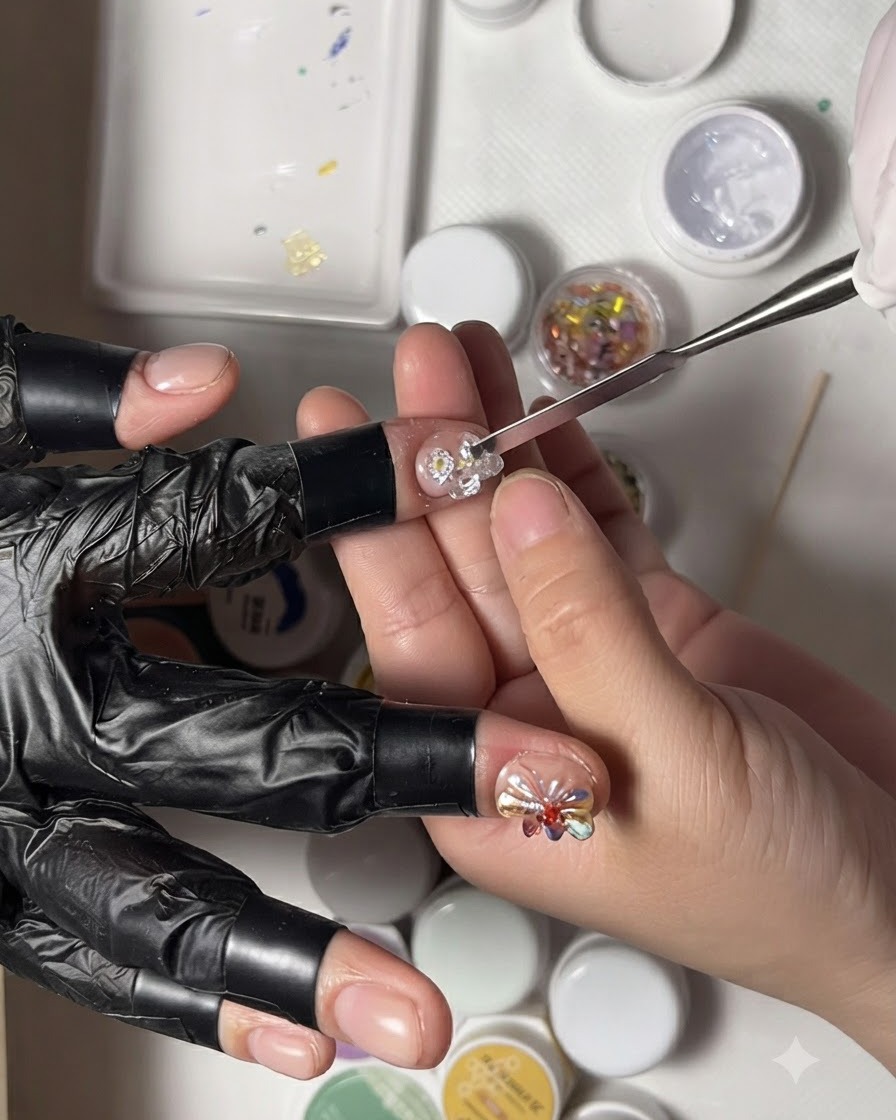
Pick up a large silver diamond-shaped rhinestone cluster using precision tweezers and position it squarely in the center of the multi-colored flower. Press gently into the uncured gel base to secure its placement. This sparkling centerpiece anchors the floral artwork and elevates the overall look.
Tip: Use a steady hand and tweezers to place heavy embellishments precisely without disturbing the surrounding gel. - 28Cure ring finger nail
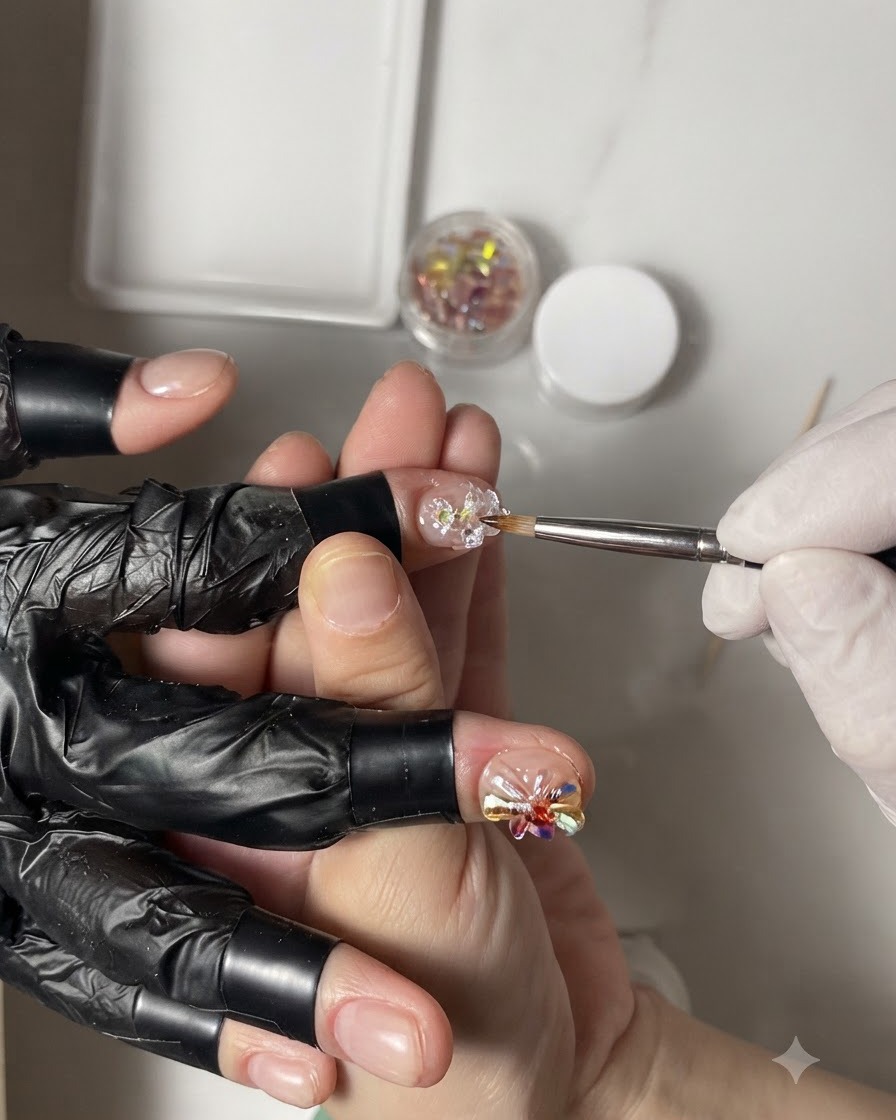
Position a handheld mini UV/LED lamp directly over the ring finger nail to flash-cure the newly placed rhinestone cluster and gel elements. Hold the lamp steady for the recommended duration to lock the embellishments firmly in place before proceeding. This prevents shifting during subsequent steps.
Tip: Flash-cure heavy embellishments immediately after placement to prevent them from sliding out of position. - 29Embellish pinky nail
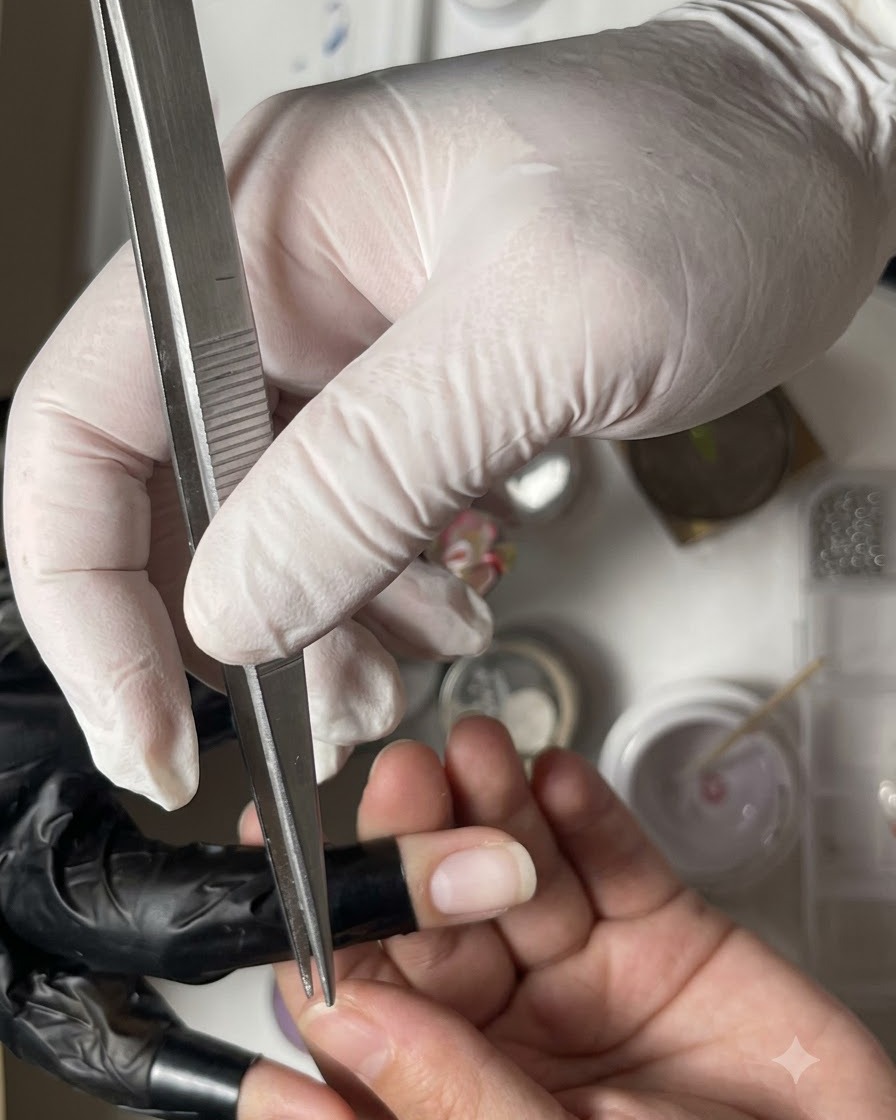
Use precision tweezers to pick up a light green gel dot or flat embellishment and place it onto the prepped pinky nail surface. Position the accent piece according to the design layout and press down gently to embed it into the base layer. This adds a subtle complementary accent to the matching fingers.
Tip: Apply a tiny bead of clear gel first if the surface needs extra adhesive support for the embellishment. - 30Place pearl on thumb
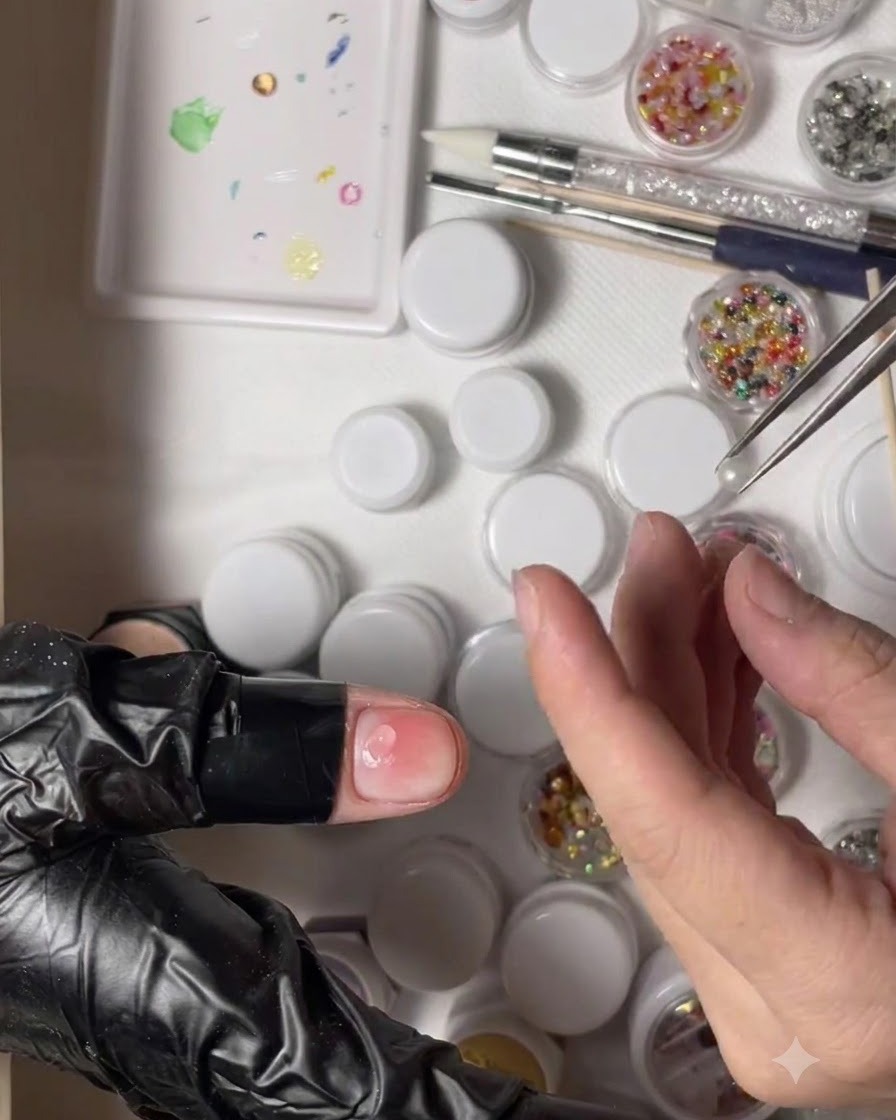
Pick up a large white pearl using tweezers and set it onto the designated spot on the thumb nail. Ensure the placement aligns with the style and balance of the rest of the manicure. Press lightly into the wet gel layer to anchor the pearl securely before final curing.
Tip: Double-check the alignment of large pearls from multiple angles before curing to ensure a balanced composition. - 31Add a smaller gold bead
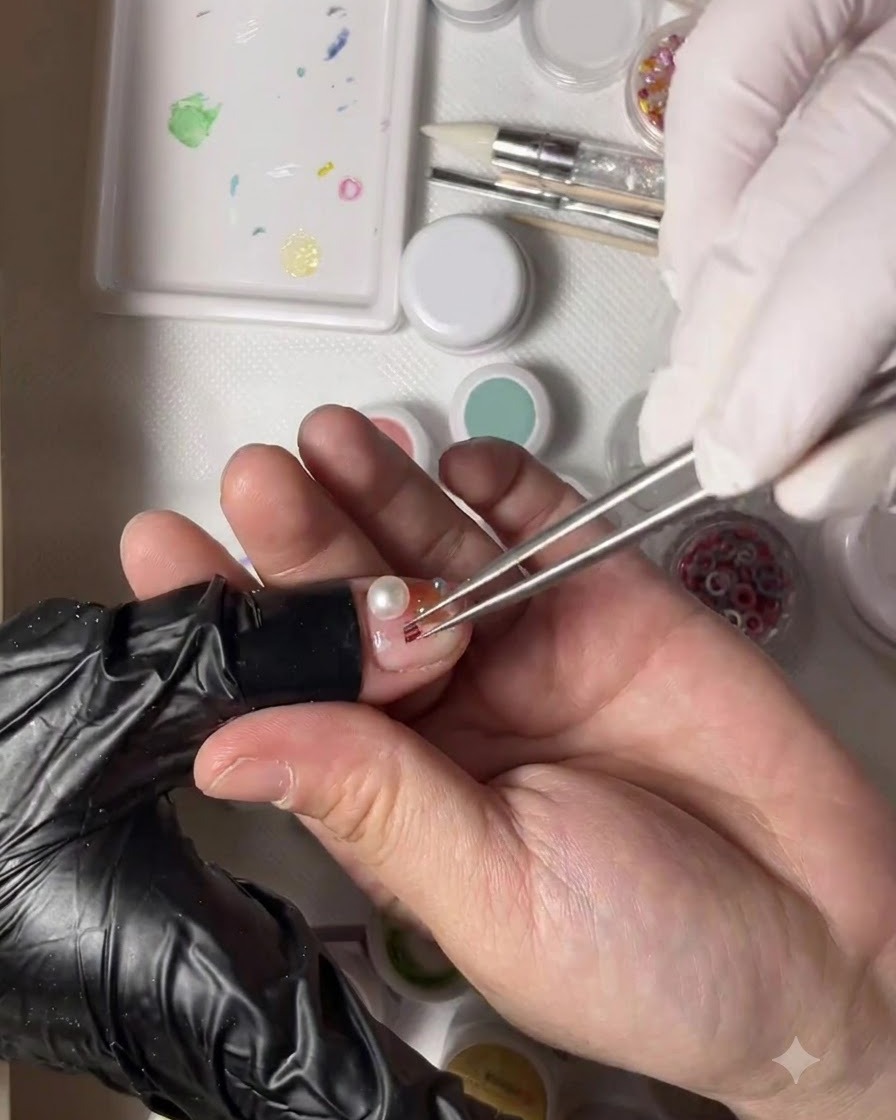
Using tweezers, carefully pick up a smaller gold bead and place it right next to the pearl on the thumb nail. Ensure the placement is precise and press it gently into the uncured gel or adhesive layer so it stays securely in place before curing.
Tip: Work with a fine-tipped tweezer to have maximum precision when handling tiny metallic embellishments.