Metallic Lily Nail Art — Detailed Step-by-Step Tutorial
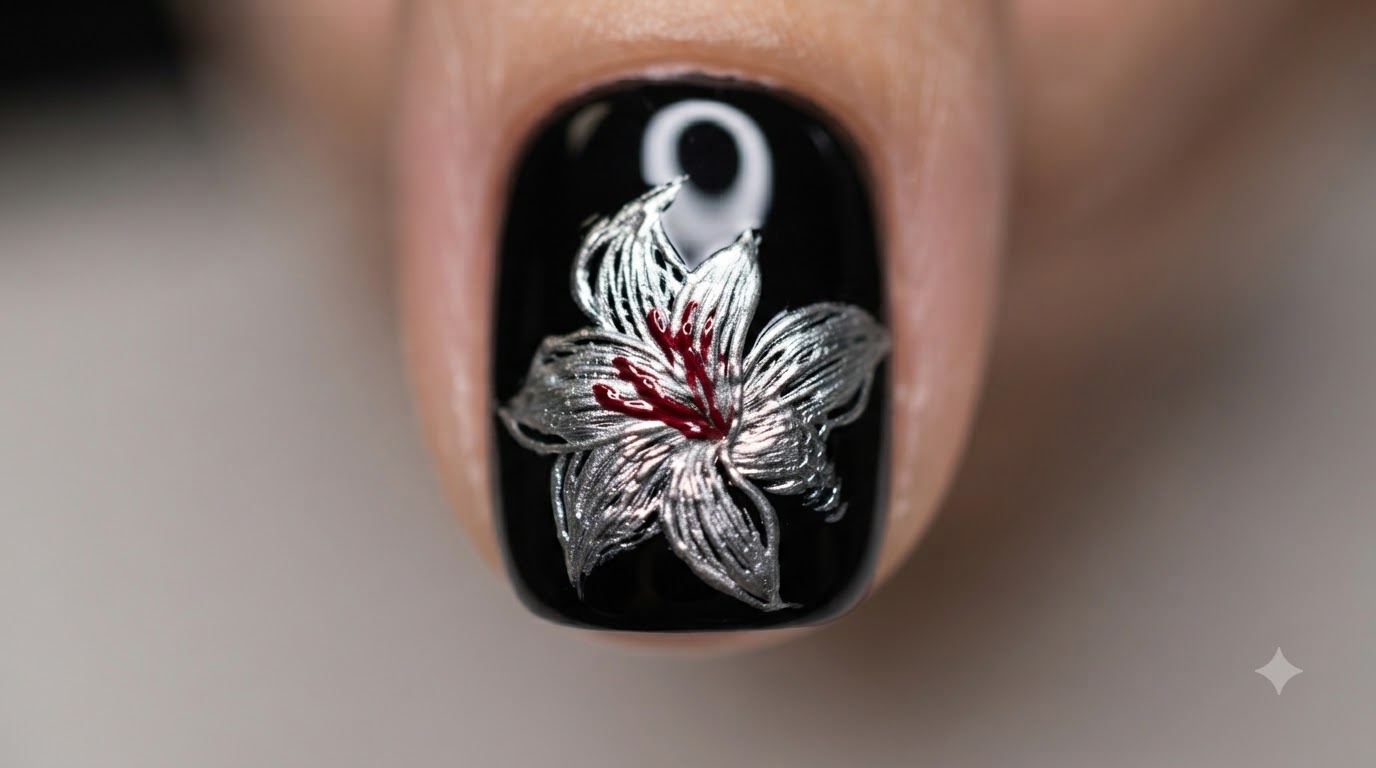
Create an intricate 3D metallic silver lily design over a sleek black gel base with striking white and red accents in this detailed tutorial.
Metallic nail art continues to captivate with its striking reflective qualities and high-fashion edge. This tutorial guides you through crafting a dimensional silver lily flower on a dramatic black base, complete with fine detailing and a bold red center accent.
Steps
- 1Apply black base coat
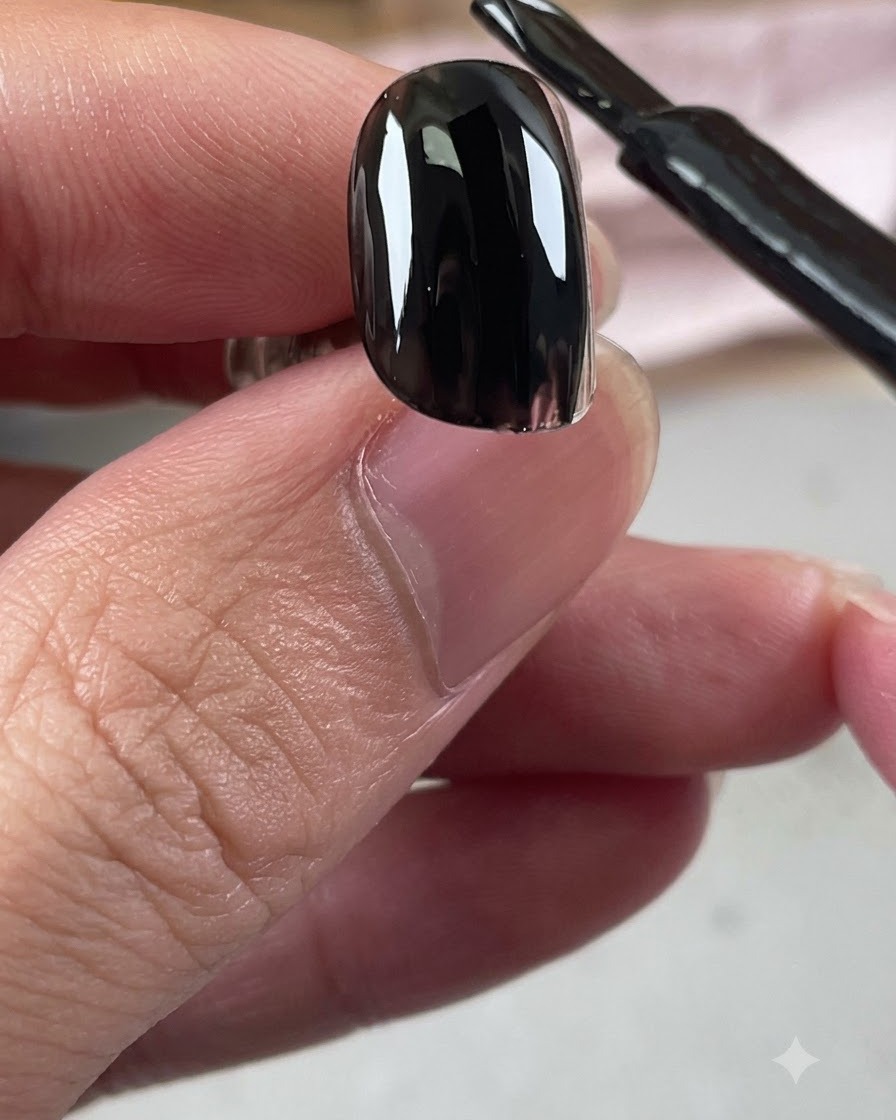
Apply a smooth and even layer of black gel base coat onto the prepped nail surface, ensuring complete coverage. Cap the free edge to prevent lifting, and cure under your UV or LED lamp according to the product guidelines to establish a solid dark foundation for the metallic nail art.
Tip: Make sure the black base coat is applied thinly and evenly to avoid wrinkling during the curing process. - 2Outline the lily flower shape
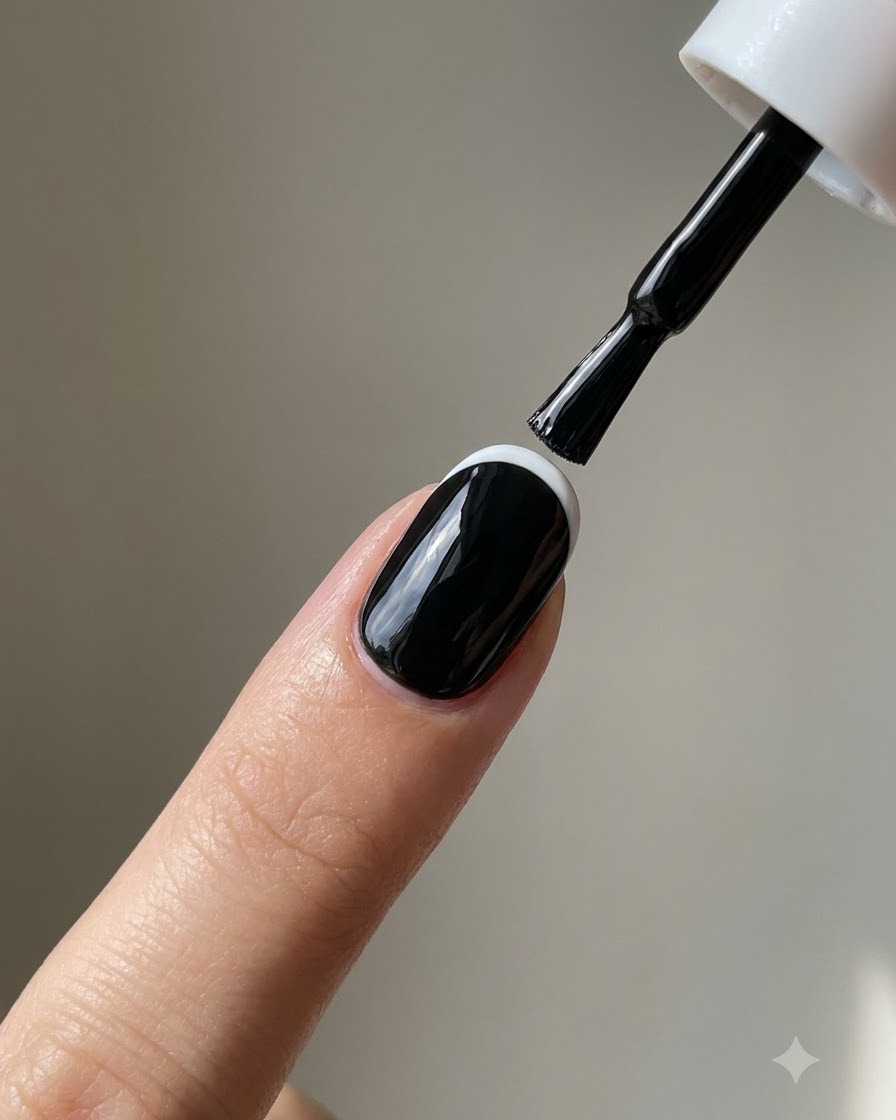
Dip a fine liner pen into metallic silver gel and carefully sketch the initial outline of the lily flower petals directly onto the cured black base. Keep the lines delicate and precise to map out the composition of the floral design.
Tip: Keep a light hand when sketching with metallic silver gel to maintain crisp, thin contour lines. - 3Outline petal contours
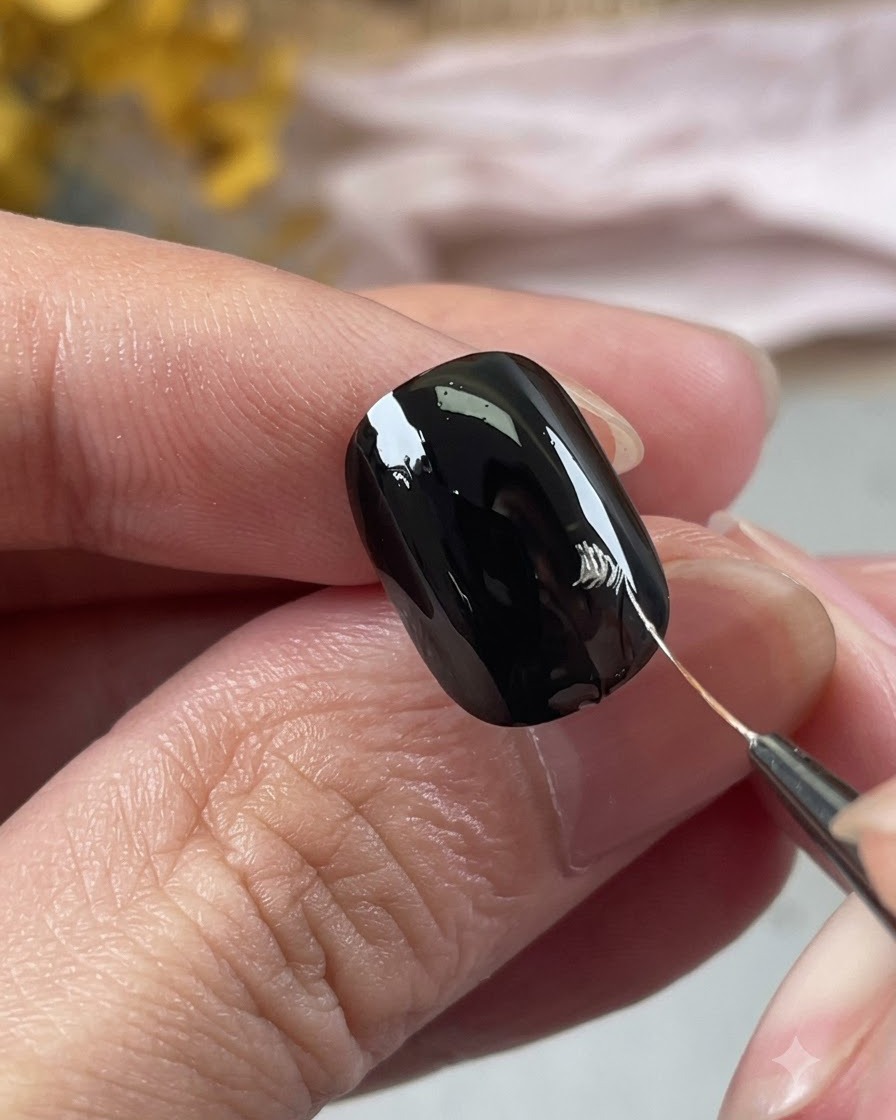
Using the metallic silver gel and liner brush, carefully trace and outline the delicate contours of the initial petals to build the shape of the lily.
Tip: Work slowly and follow the natural curve of the petals for an organic look. - 4Structure the first petal forms
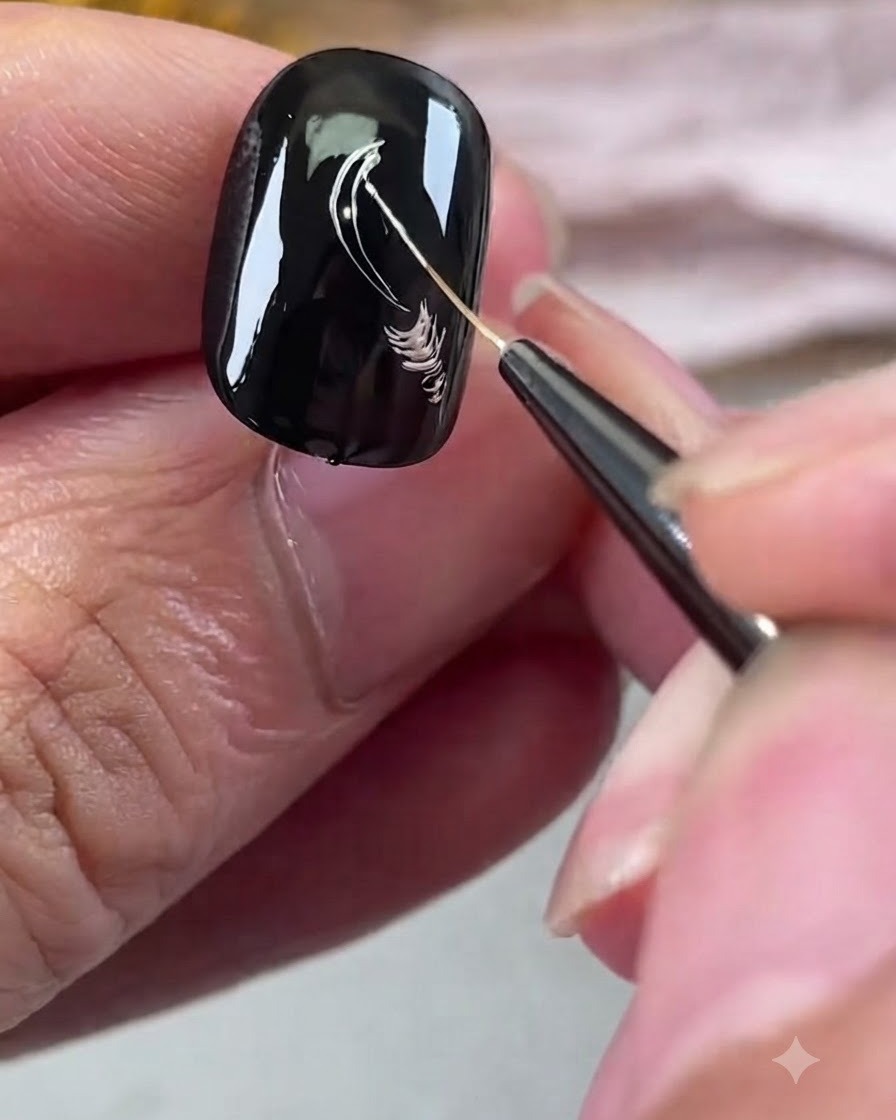
Using a fine liner brush dipped in metallic silver gel, outline the initial petal contours of the lily. Fill in the lines carefully to structure the first layer of three petals, creating a defined metallic framework against the black base.
Tip: Maintain a light touch with the liner pen to keep the metallic silver lines crisp and sharp. - 5Draw subsequent petals
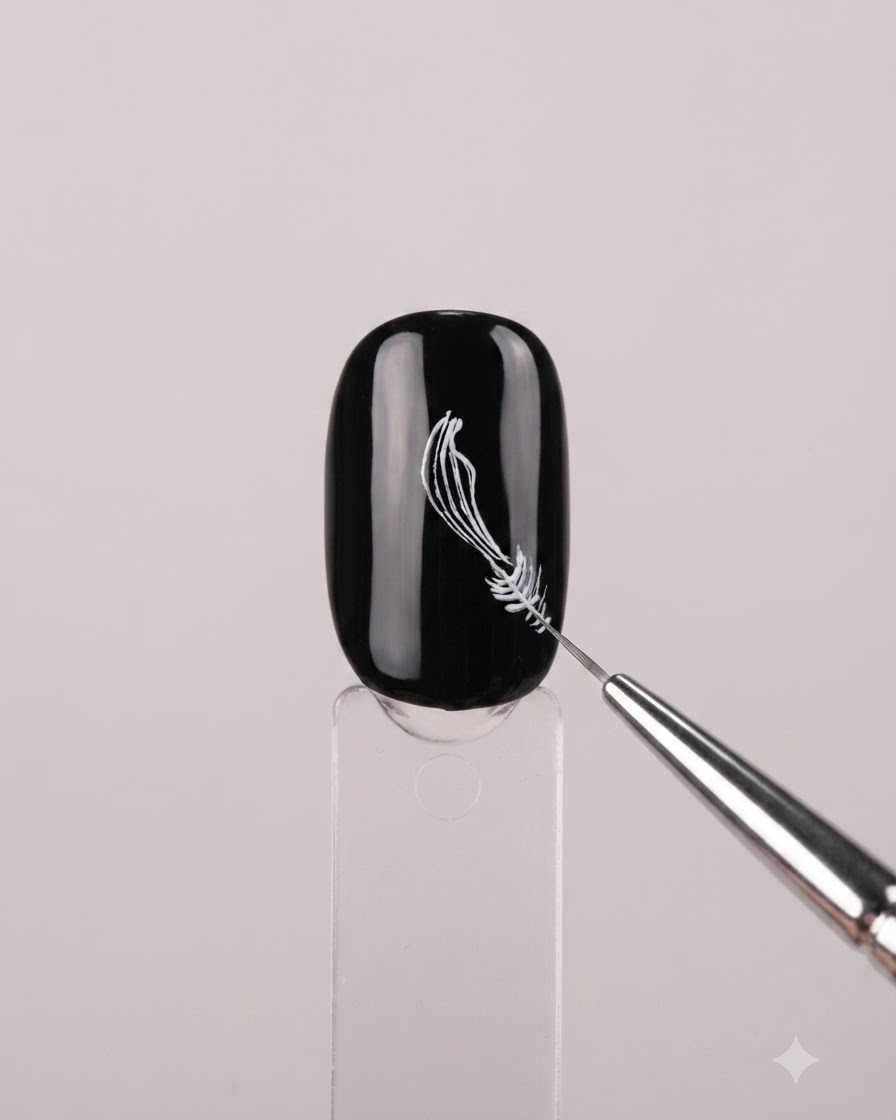
Continue applying the metallic silver gel with the liner brush to draw the rest of the petals for the first layer, maintaining consistent spacing and line work.
Tip: Consistent pressure on the liner brush ensures uniform line thickness. - 6Complete the first petal layer
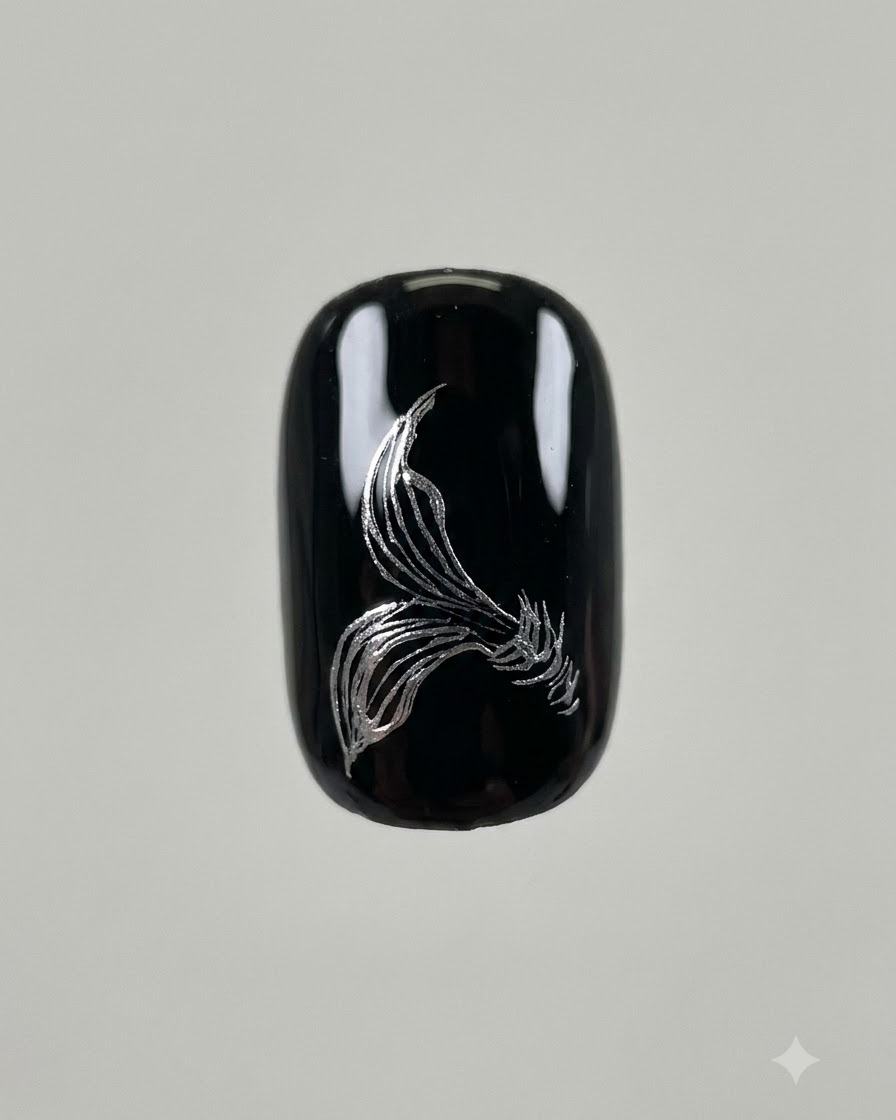
Finish the first set of three petals using the metallic silver gel, establishing the base framework for the lily flower design.
Tip: Check symmetry across the three petals before curing or moving to the next step. - 7Apply reinforcing gel and cure
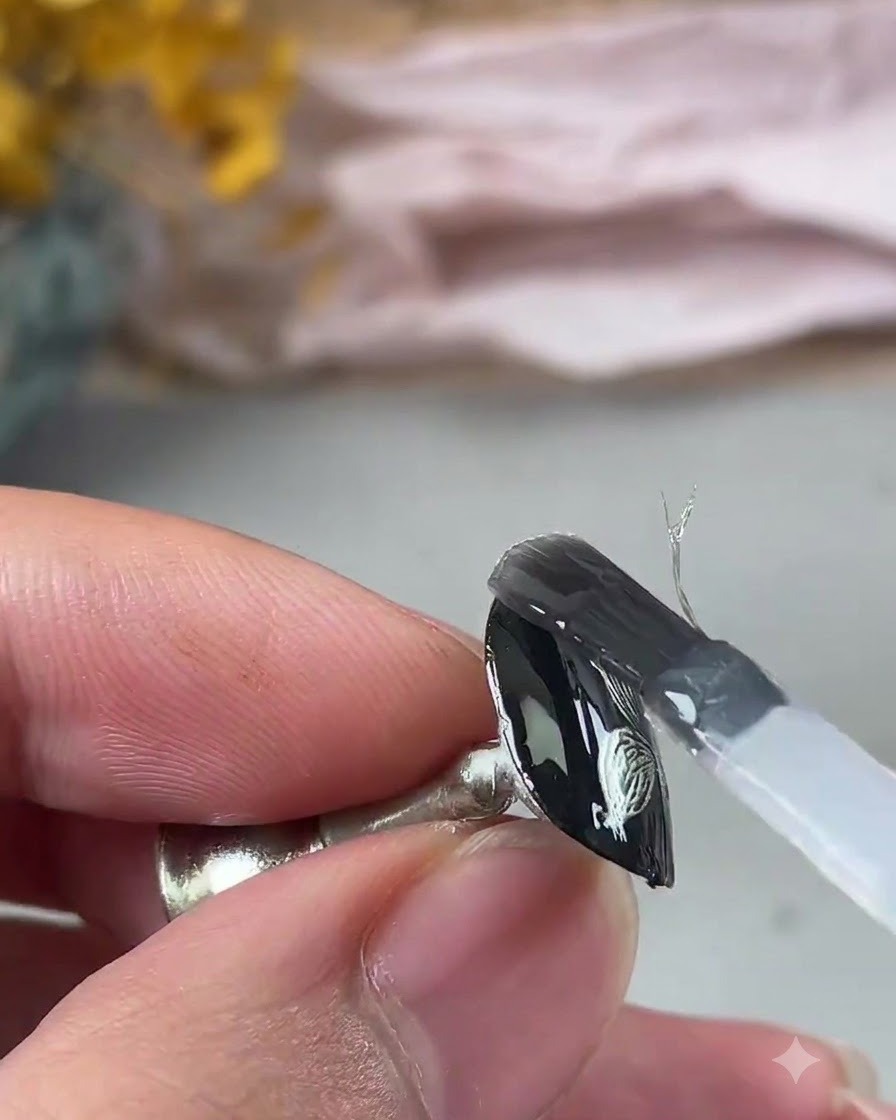
Apply a layer of reinforcing gel over the completed work to protect the design and smooth out the surface. Cure the nail under a UV/LED lamp, then use a cleanser to wipe away the sticky inhibition layer.
Tip: Ensure the sticky residue is completely wiped off before moving on to the next layer of painting to prevent smudging. - 8Draw the second layer of petals
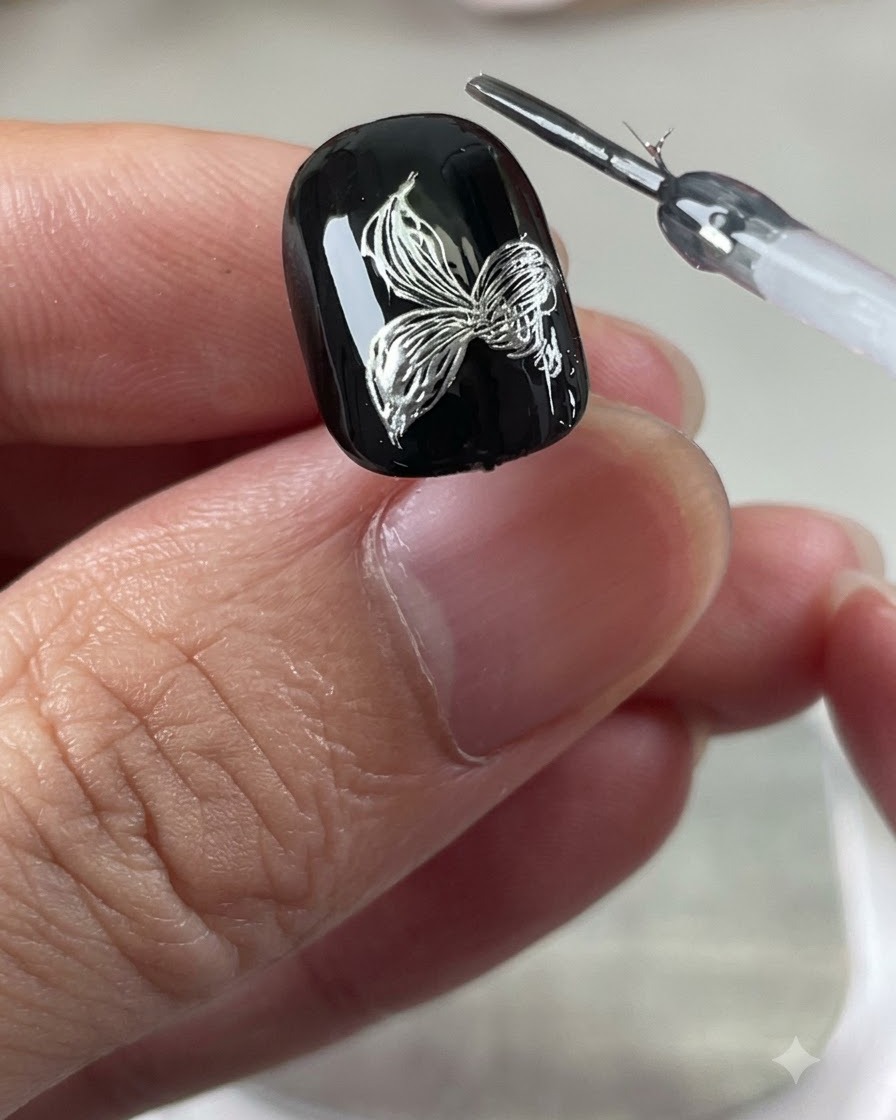
After curing the initial application and wiping off any sticky residue if necessary, use the metallic silver gel to draw a second layer of petals directly in between the first layer. This creates a full six-petal lily blossom structure.
Tip: Vary the length and angle slightly when placing the second layer to give the flower a natural, dimensional look. - 9Complete the six-petal design
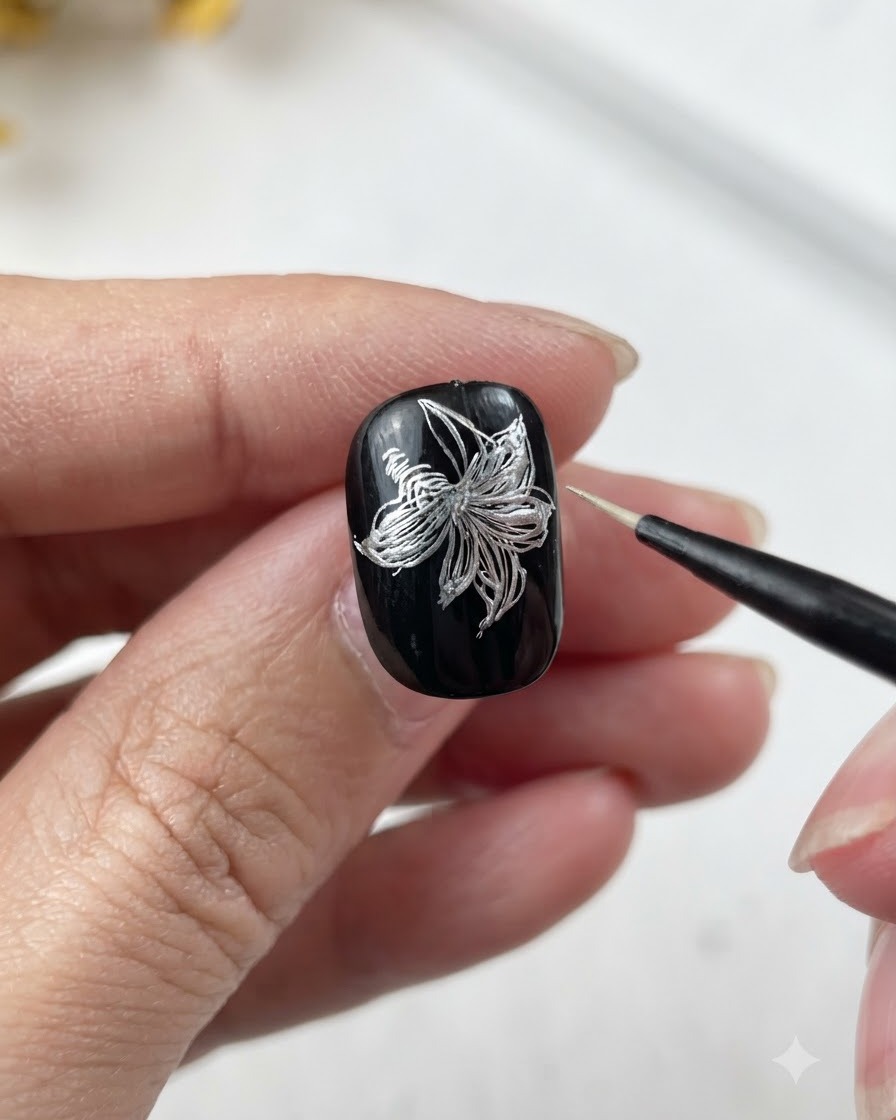
Refine and finish all six petals of the metallic lily flower design, ensuring the overall shape is well-balanced and intricate. Check that all lines are crisp and the metallic sheen stands out prominently against the black background.
Tip: Double-check symmetry across the petal structure to ensure a harmonious and realistic floral composition. - 10Deepen the flower center with black gel
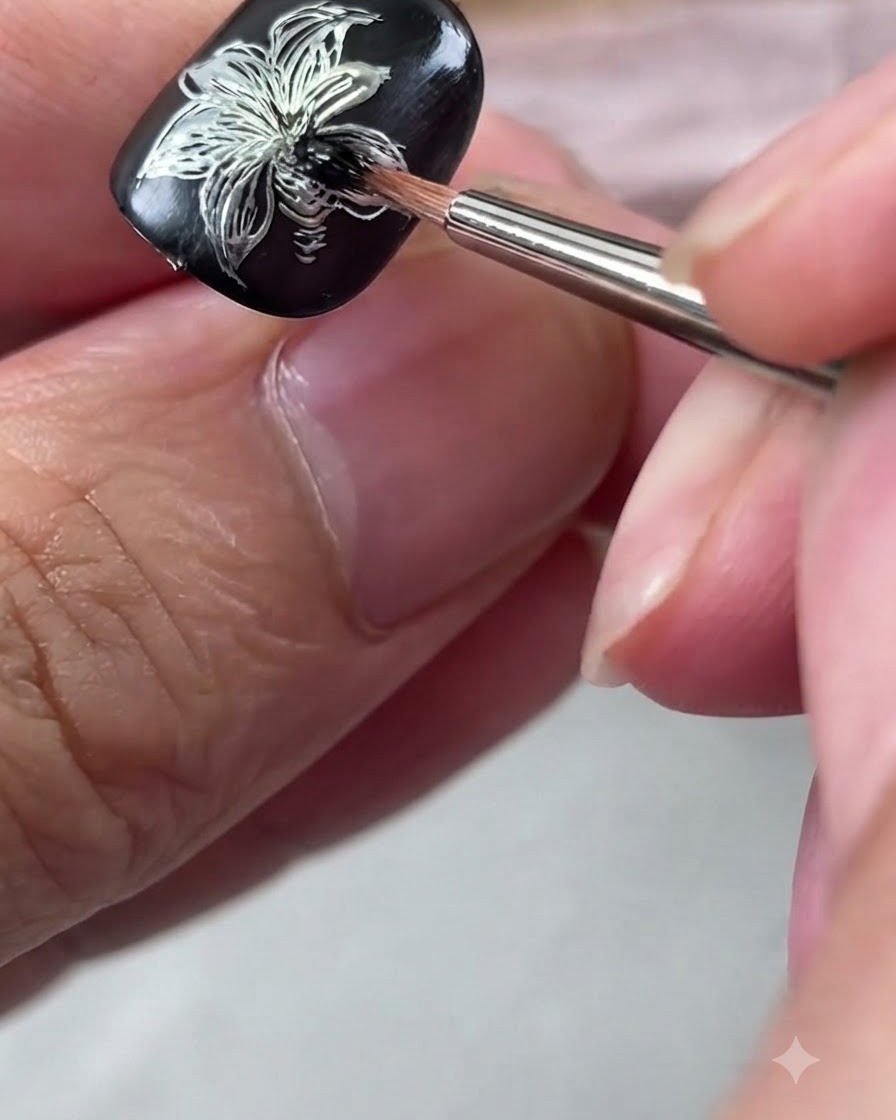
Take black gel polish on a fine liner brush and dab it gently at the center of the lily flower. Blend the dark gel outward into the petals to create natural contrast, depth, and distinct light and dark layers.
Tip: Use light dabbing motions to control the spread of the black gel so it enhances the dimension without covering the silver lines. - 11Outline petals with white painting gel
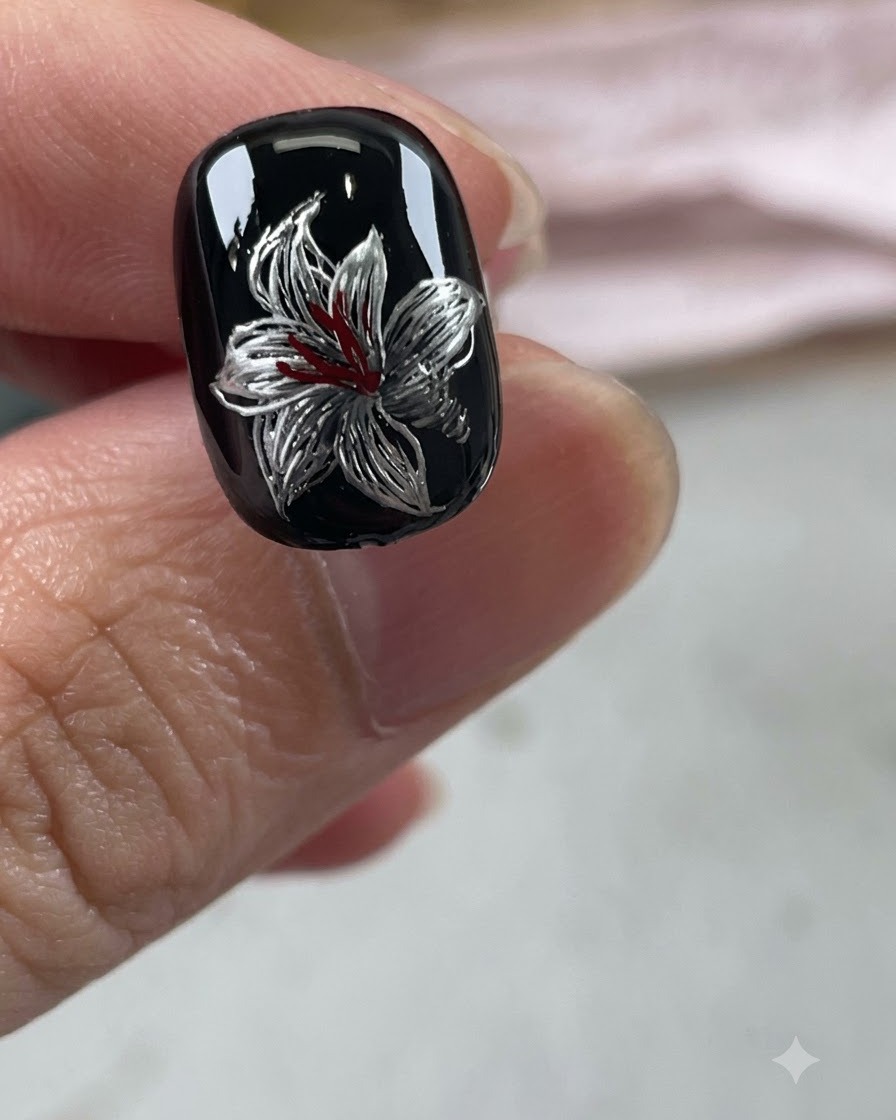
Take a liner brush loaded with white painting gel and carefully trace along the contours of the silver petals. This accentuates the highlights and enriches the overall visual depth and contrast of the nail art.
Tip: Keep the white highlights thin and concentrated on the upper edges of the petals for a realistic light reflection effect. - 12Add red details to the flower center
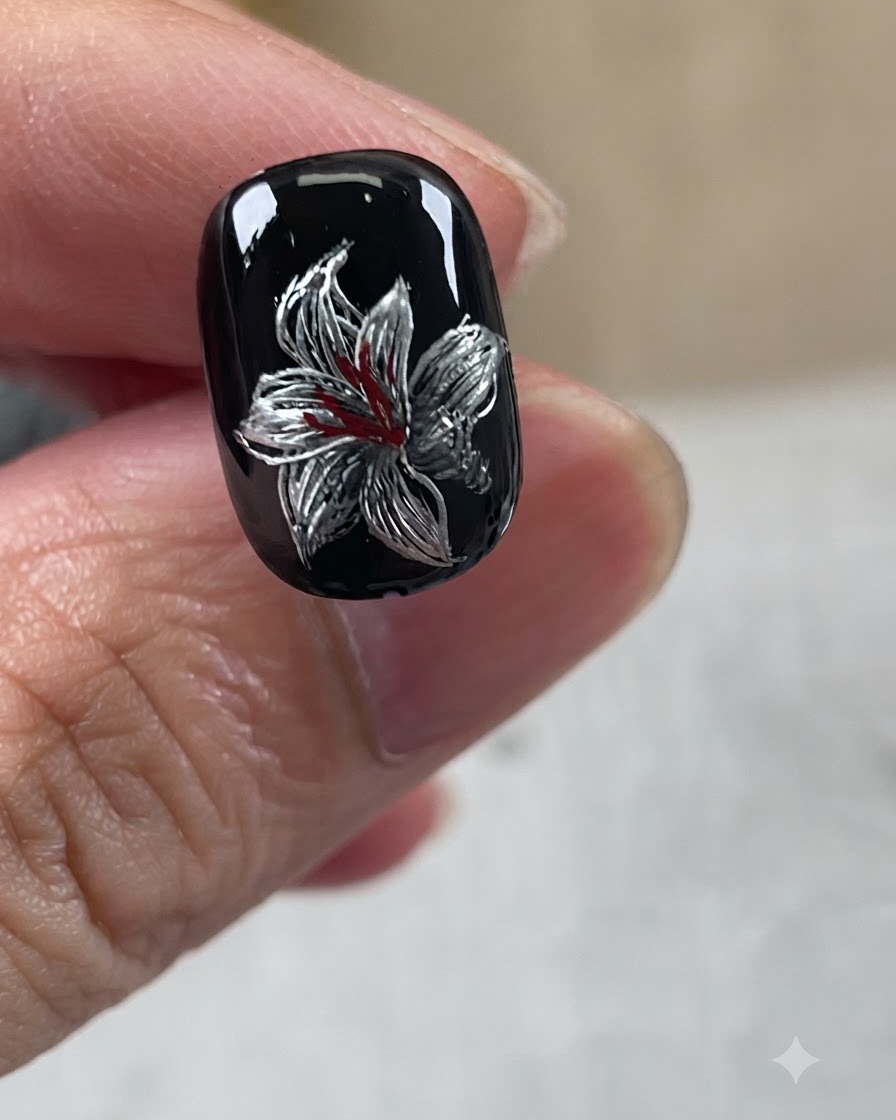
Using a fine brush and red painting gel, draw delicate stamen details radiating outward from the center of the flower. This introduces a realistic pop of color that completes the botanical appearance of the lily.
Tip: Keep your hand steady and draw short, fine strokes outward from the core for clean stamen lines. - 13Apply final top coat
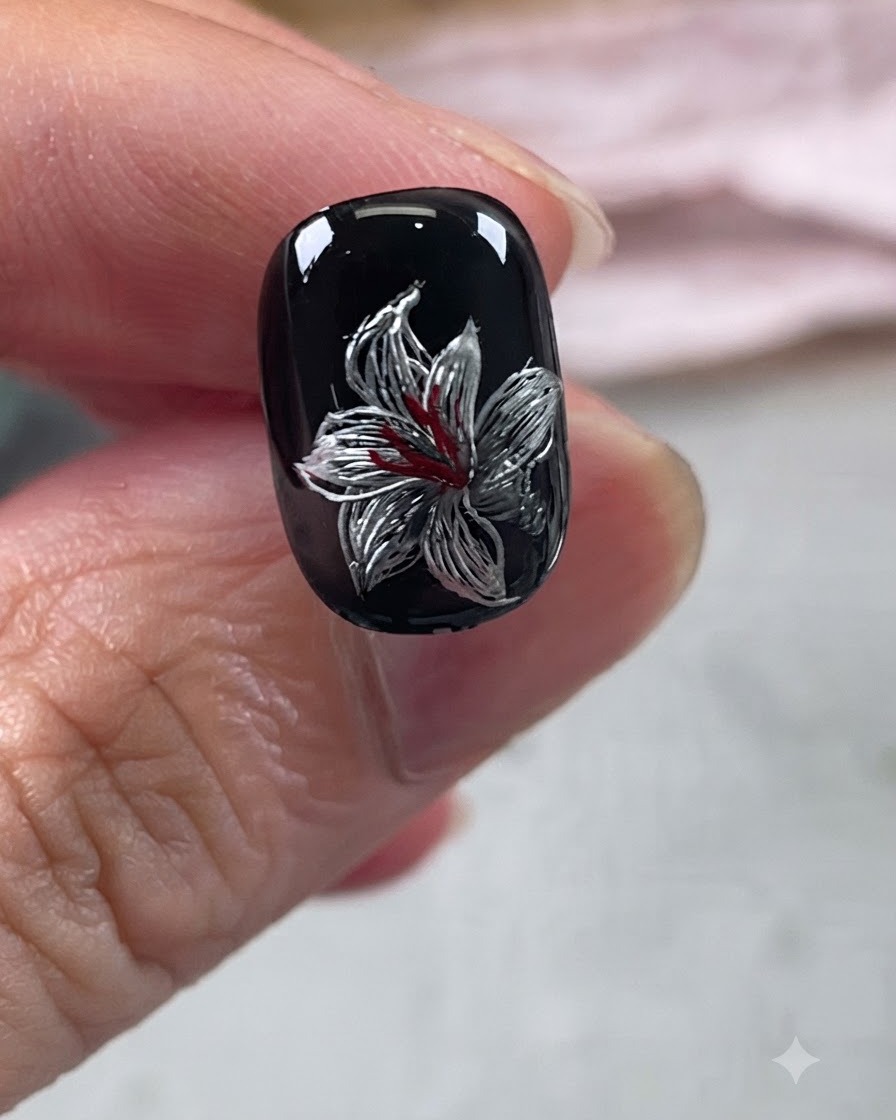
Apply a final layer of glossy top coat over the entire nail surface to seal and protect the metallic lily design. Cure completely under the UV or LED lamp to finish the nail art with a brilliant shine.
Tip: Ensure the top coat fully encapsulates the painted design to prevent chipping and maintain the glossy finish.