Early Summer Watercolor Ripple Cat-Eye Nail Art Tutorial
Create stunning 3D watercolor ripple cat-eye nails with delicate white floral art and sparkly accents using this easy step-by-step beginner guide.
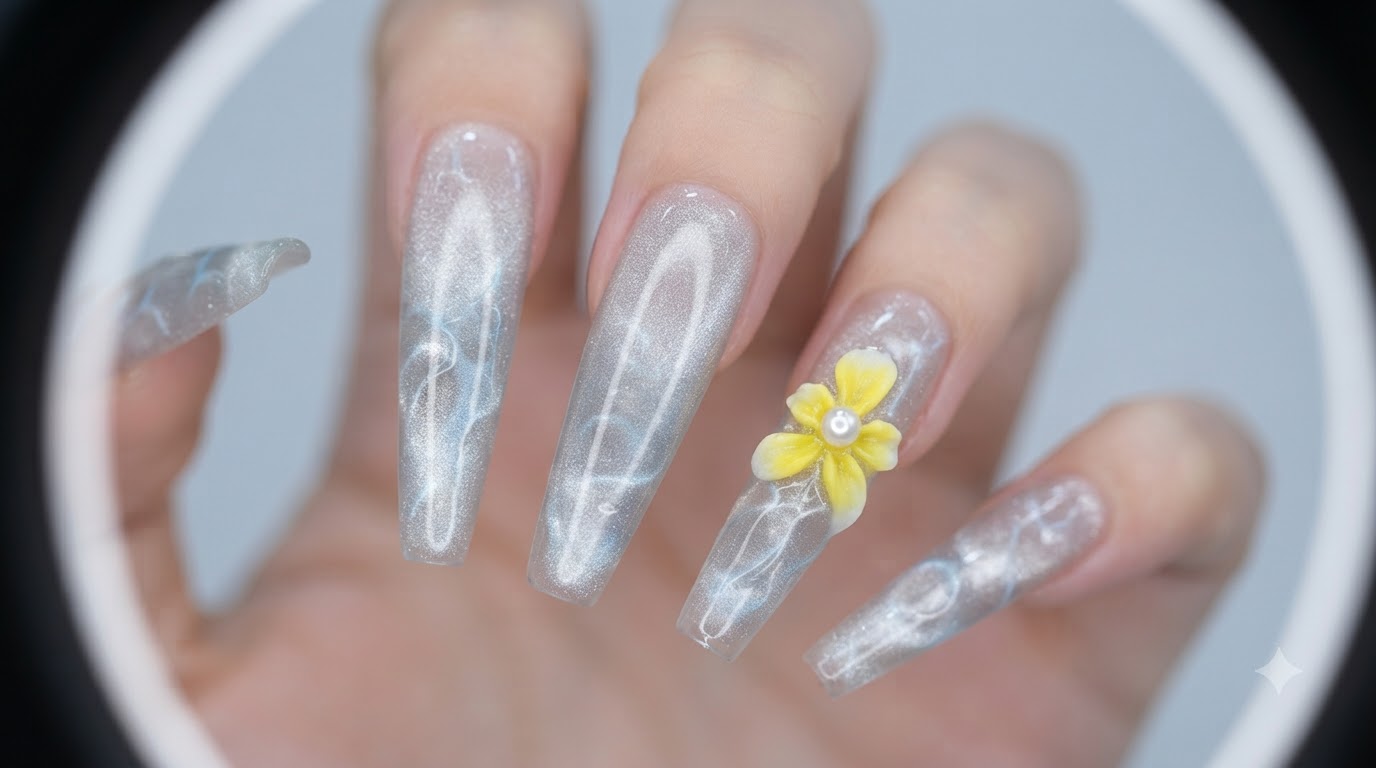
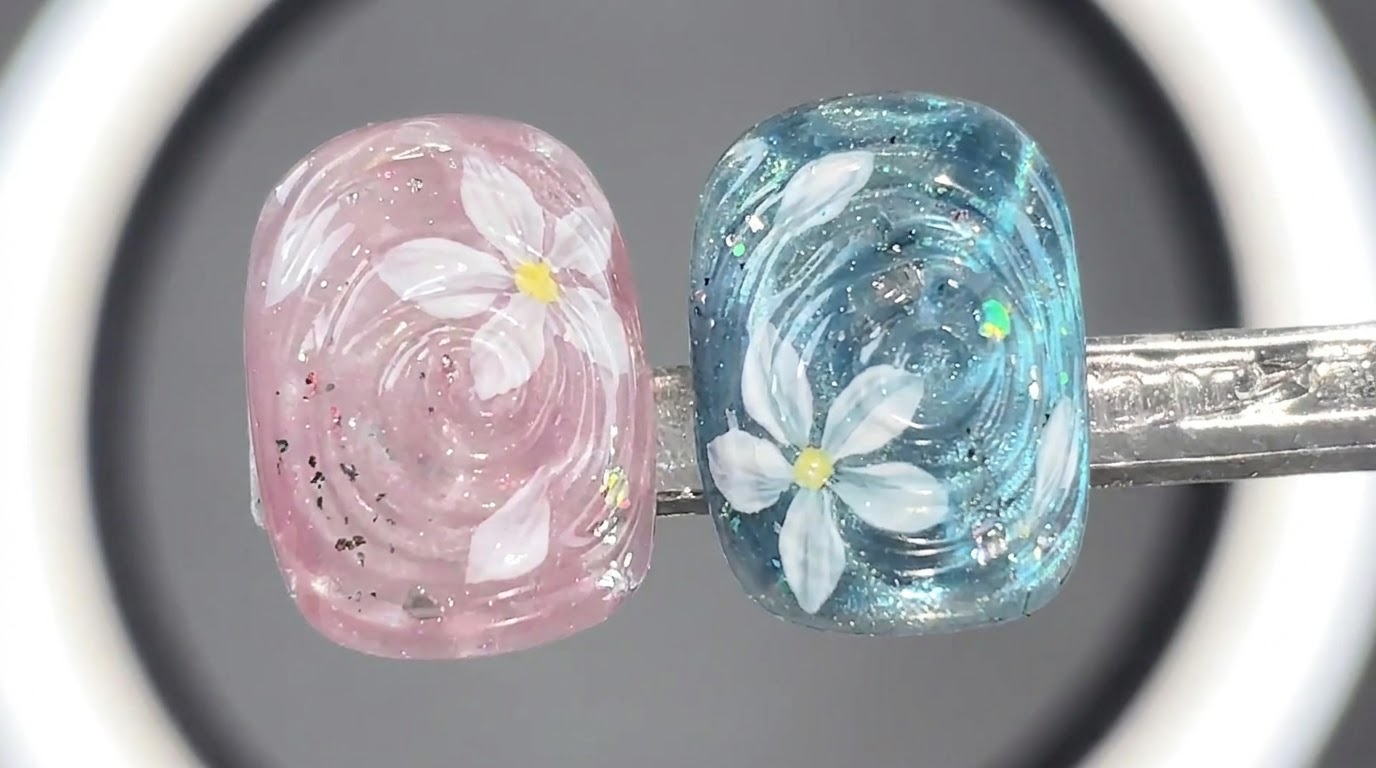
Watercolor ripple cat-eye nails combine fluid, multi-dimensional light effects with delicate hand-painted florals for a dreamy, high-end finish. This trend captures the essence of clear summer water paired with sophisticated textures. Perfect for anyone looking to elevate their gel art skills with simple magnetic techniques.
Steps
- 1Apply Water Light Clear Gel
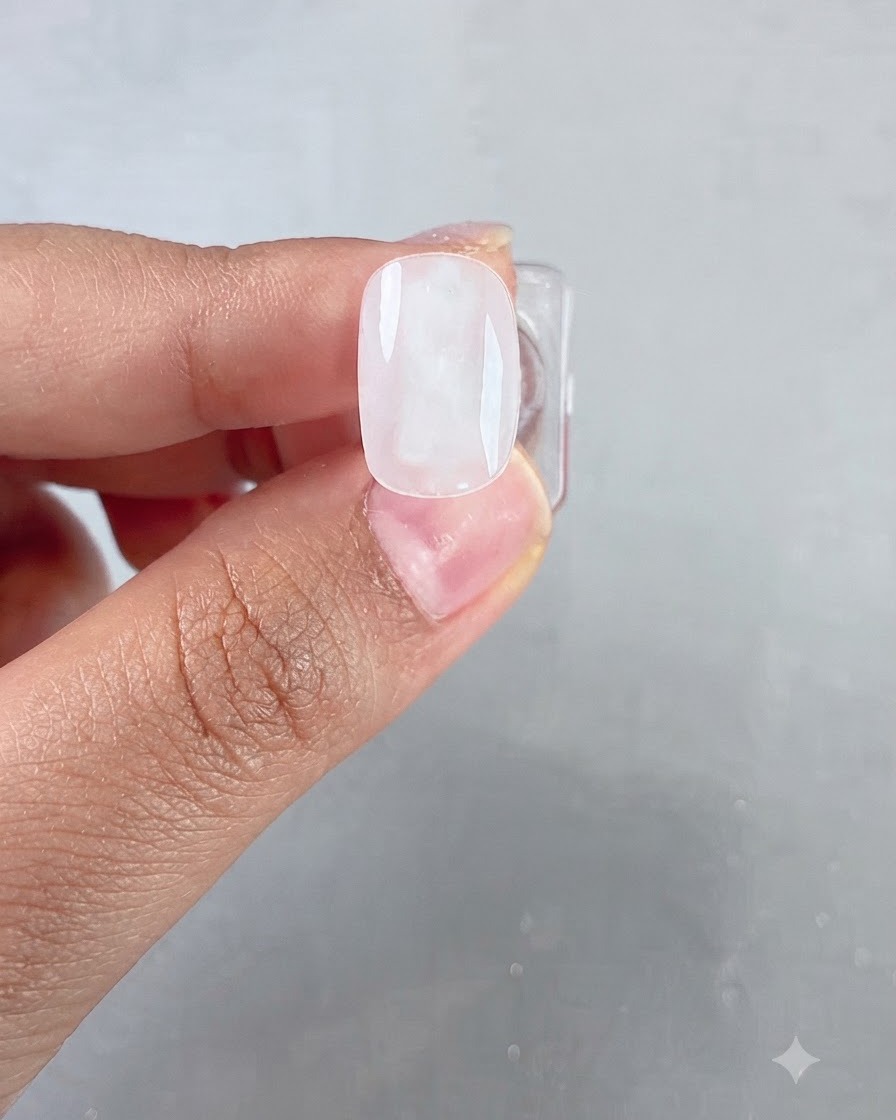
Brush a smooth and even layer of Style Valley Valley Water Light Clear gel over the prepped nail base. This clear gel acts as the fluid medium for creating the 3D watercolor ripple effect. Ensure the entire nail plate is covered evenly before moving on to the magnetization step.
Tip: Keep the gel layer consistent in thickness so the cat-eye magnetic pigment flows and disperses evenly. - 2Create Watercolor Ripple Effect with Magnets
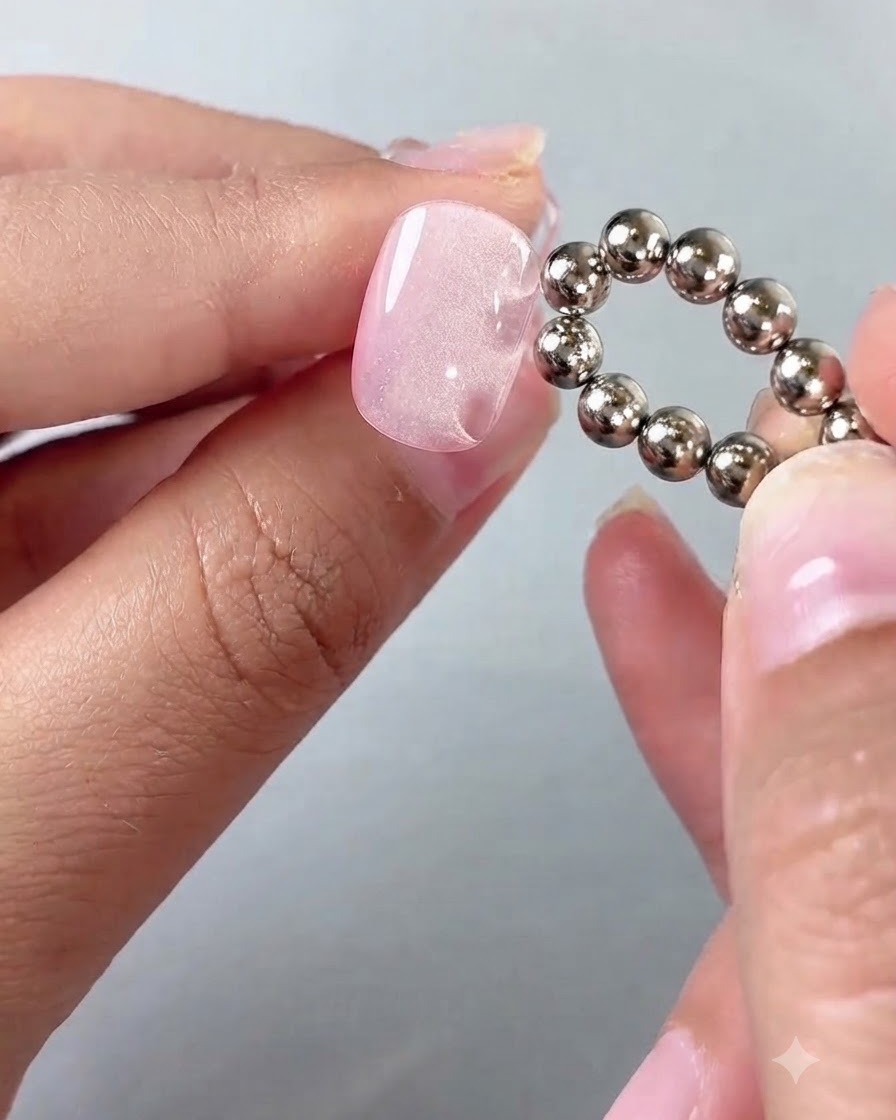
Take a string of small magnetic balls and hold it closely over the uncured clear gel layer. Move and position the magnets randomly around the nail to pull and shift the cat-eye particles, forming a unique 3D watercolor ripple effect that looks clear and advanced.
Tip: Varying the proximity and angles of the small magnetic balls creates organic, flowing water-like ripples instead of a rigid line. - 3Draw the flower petals
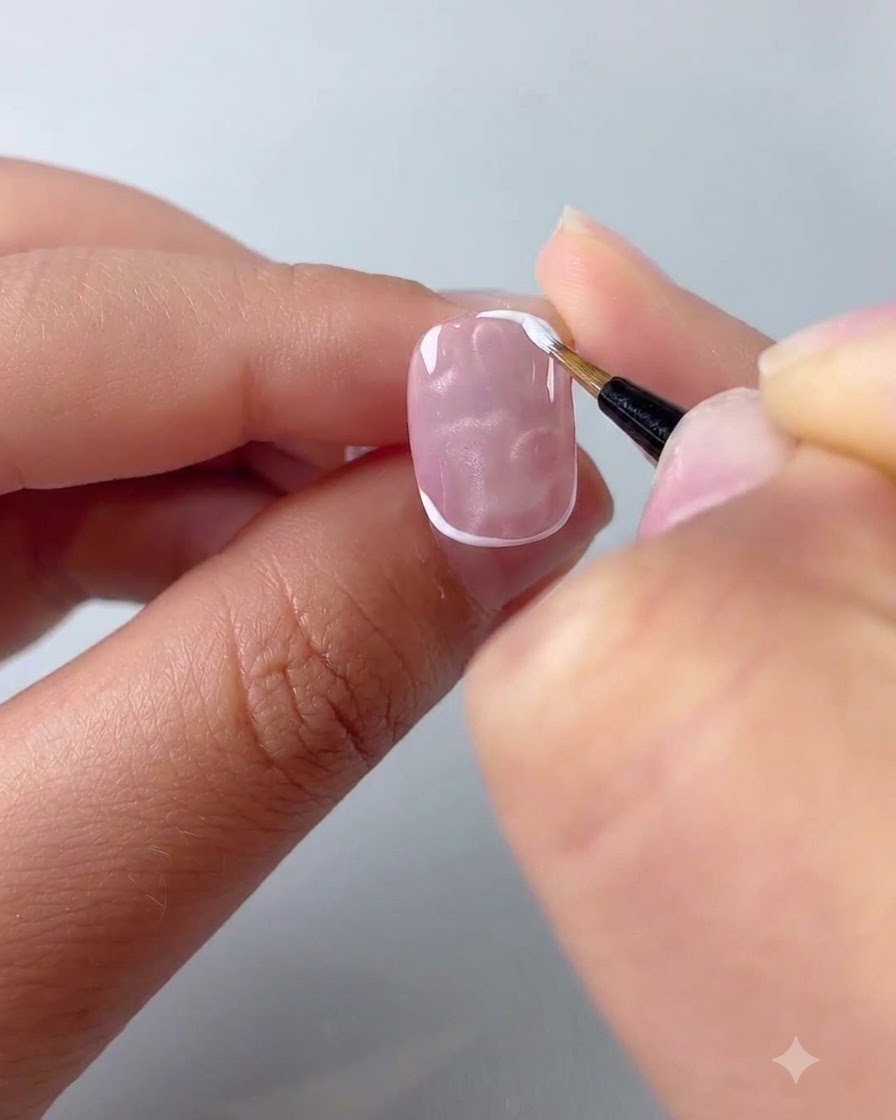
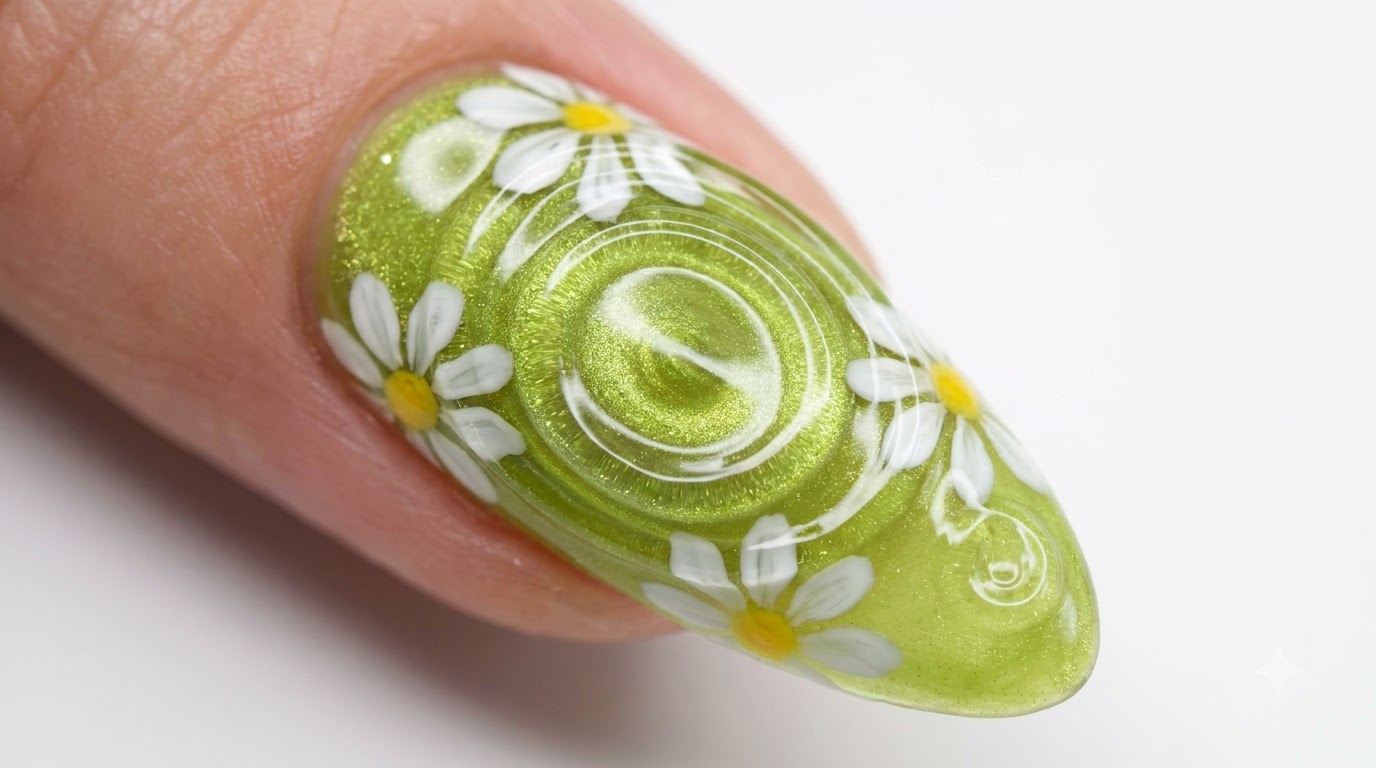
Using white colored drawing gel and a fine liner brush, begin drawing the flower petals. Apply a gentle dot-press technique to carefully form the rounded edges of each petal over your cat-eye base.
Tip: Keep your brush relatively loaded but control your pressure to ensure each petal is opaque and crisp without spreading too much. - 4Color the flower centers
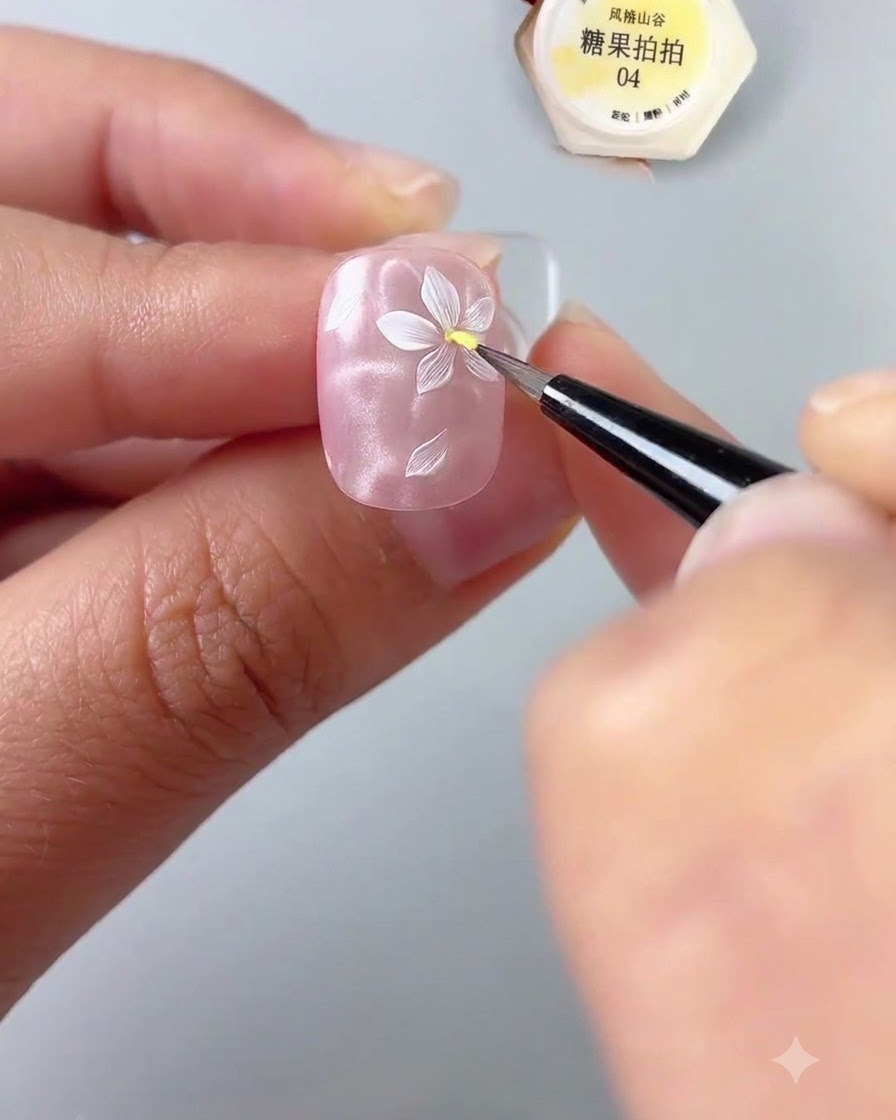
Using a fine detailing brush, pick up a tiny amount of yellow gel and carefully dab it directly into the center of your white petals. This vibrant pop of color brings the floral design to life and adds a realistic focal point to the delicate watercolor aesthetic.
Tip: Keep the yellow dot small and contained to ensure the flower center remains proportional to the delicate petals. - 5Add delicate glitter accents
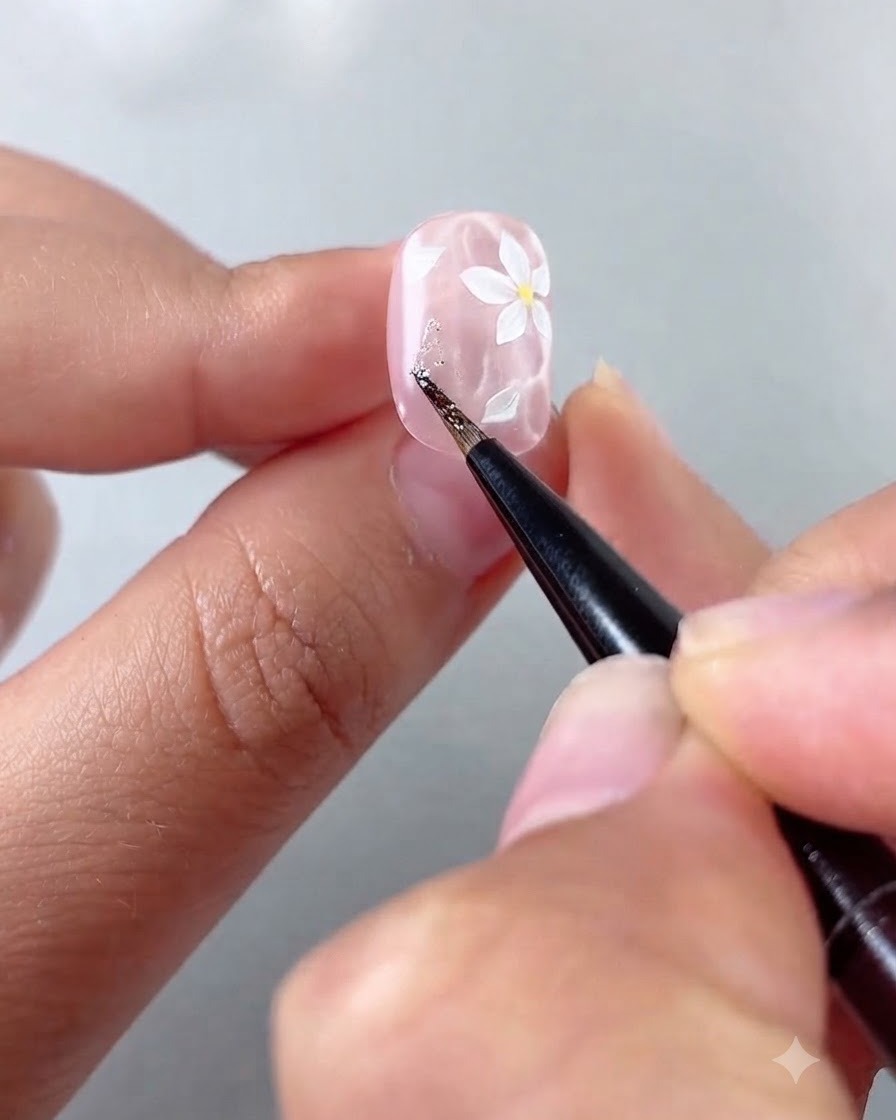
Take a fine brush and lightly dab silver glitter and cloud shadow powder into the blank spaces around your floral design. Distribute the glitter randomly across the nail surface to enhance the 3D ripple effect without overcrowding the painted flowers.
Tip: Apply the glitter sparingly; the goal is to create subtle, twinkling highlights rather than full glitter coverage. - 6Apply Texture Shaping Gel
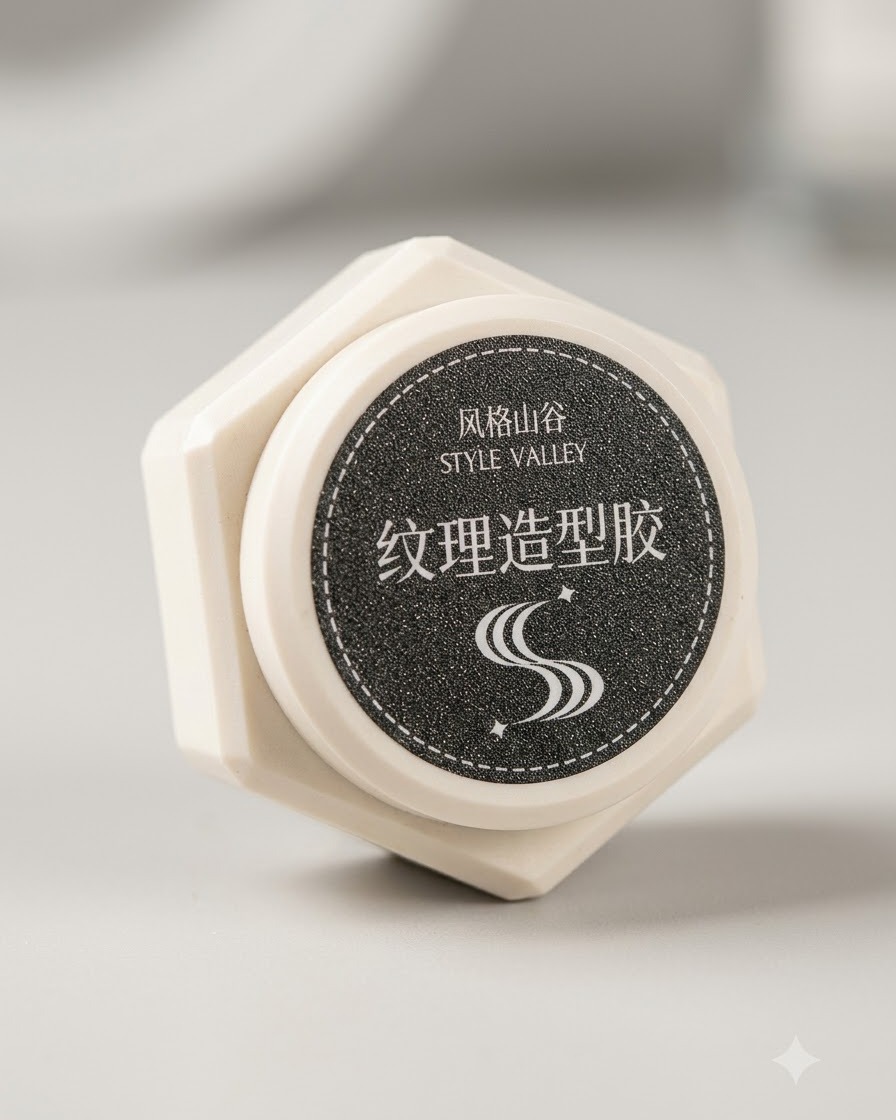
Take the Style Valley texture shaping gel and brush a slightly thicker layer directly over the nail plate. This high-viscosity gel provides the necessary dimension and body needed to sculpt surface textures and swirling patterns.
Tip: Do not cure this layer yet, as you need the wet surface to draw and swirl the texture into place. - 7Form Wide Cat-Eye Band and Cure
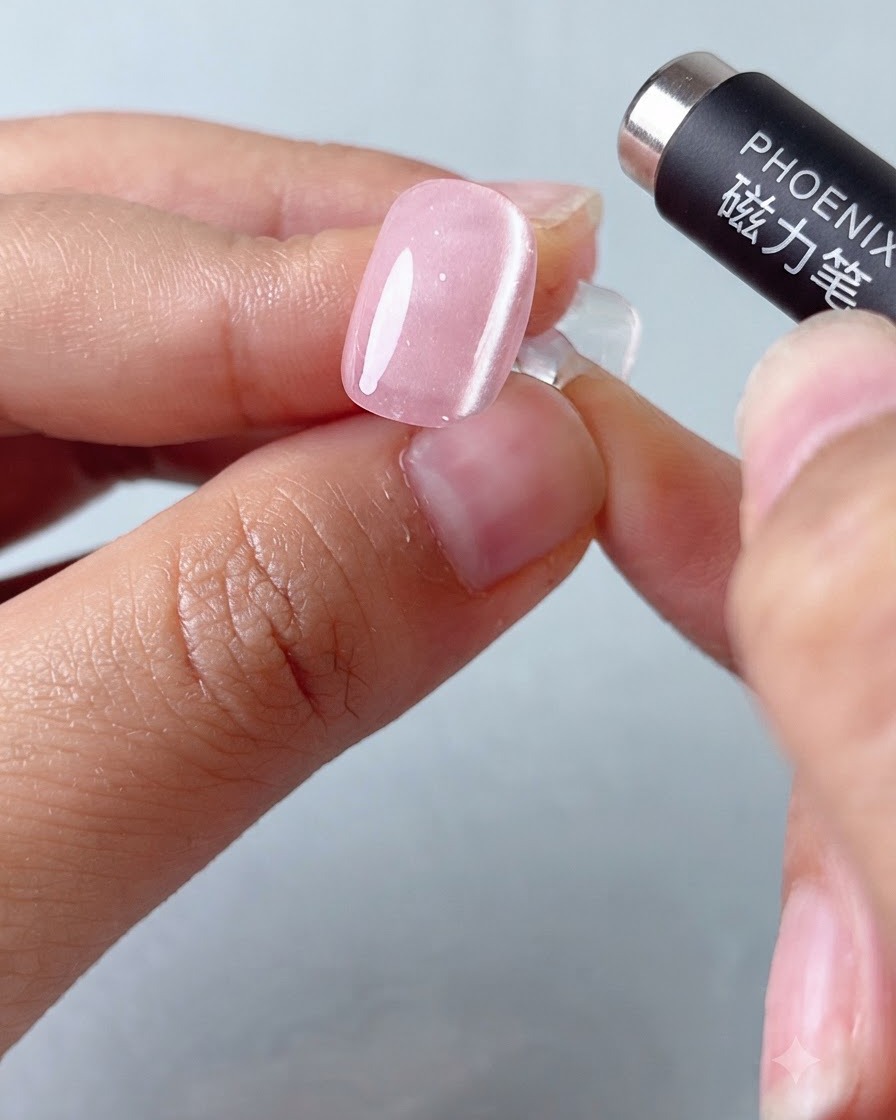
Take a small magnetic ball ring and move it back and forth over the nail surface to gather the light particles into a wide cat-eye light band. Once the desired reflection is achieved, place the nail under the UV or LED lamp to cure and lock the design in place.
Tip: Hold the magnetic ring steady for a few seconds right before curing to prevent the magnetic particles from shifting back. - 8Apply Second Nail Base Color
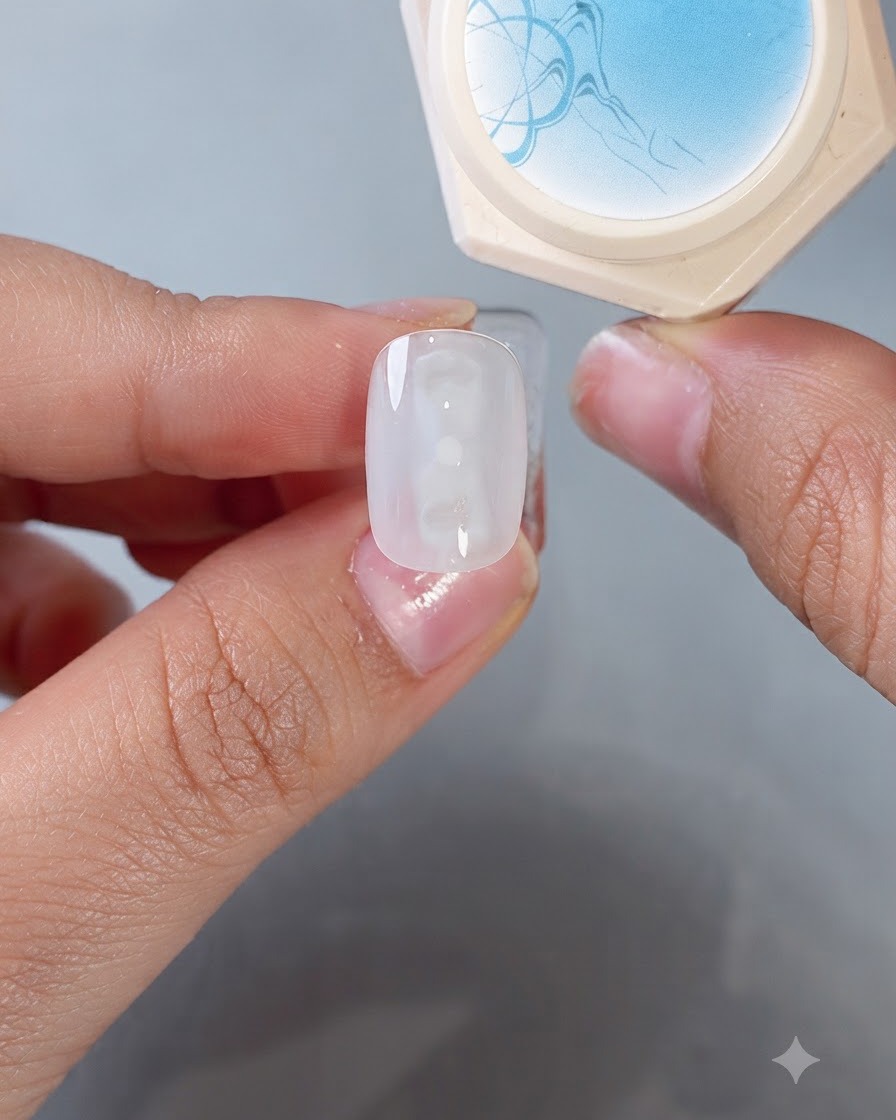
Switch over to the second nail and apply Rain and Fog Sunny Day cat-eye gel No. 06 as the base coat to establish the blue color scheme for this nail design. Prepare the surface for subsequent cat-eye styling and detailing.
Tip: Ensure an even coat across the nail to provide a consistent base for the blue cat-eye magnetic effects.