Ocean Water Ripple Marble Gel Nail Art — Step-by-Step Tutorial
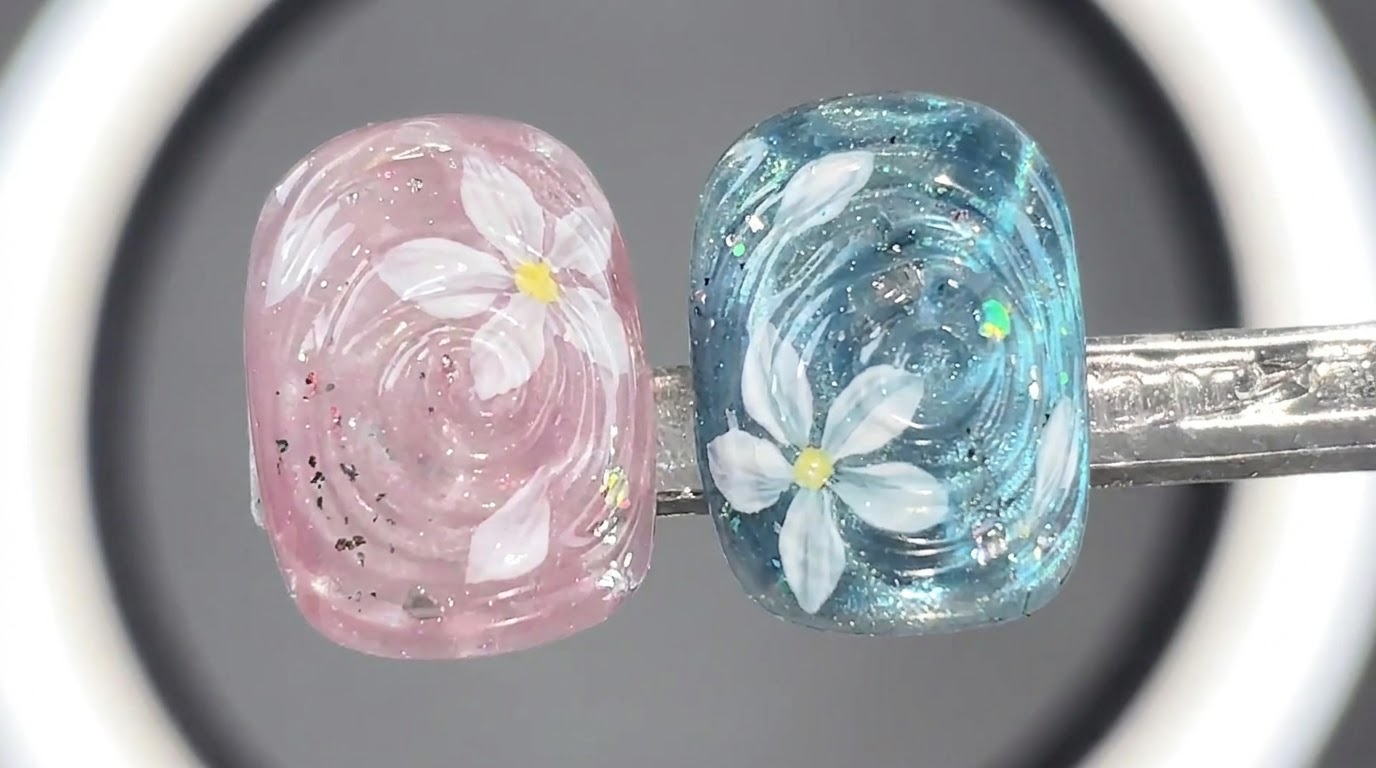
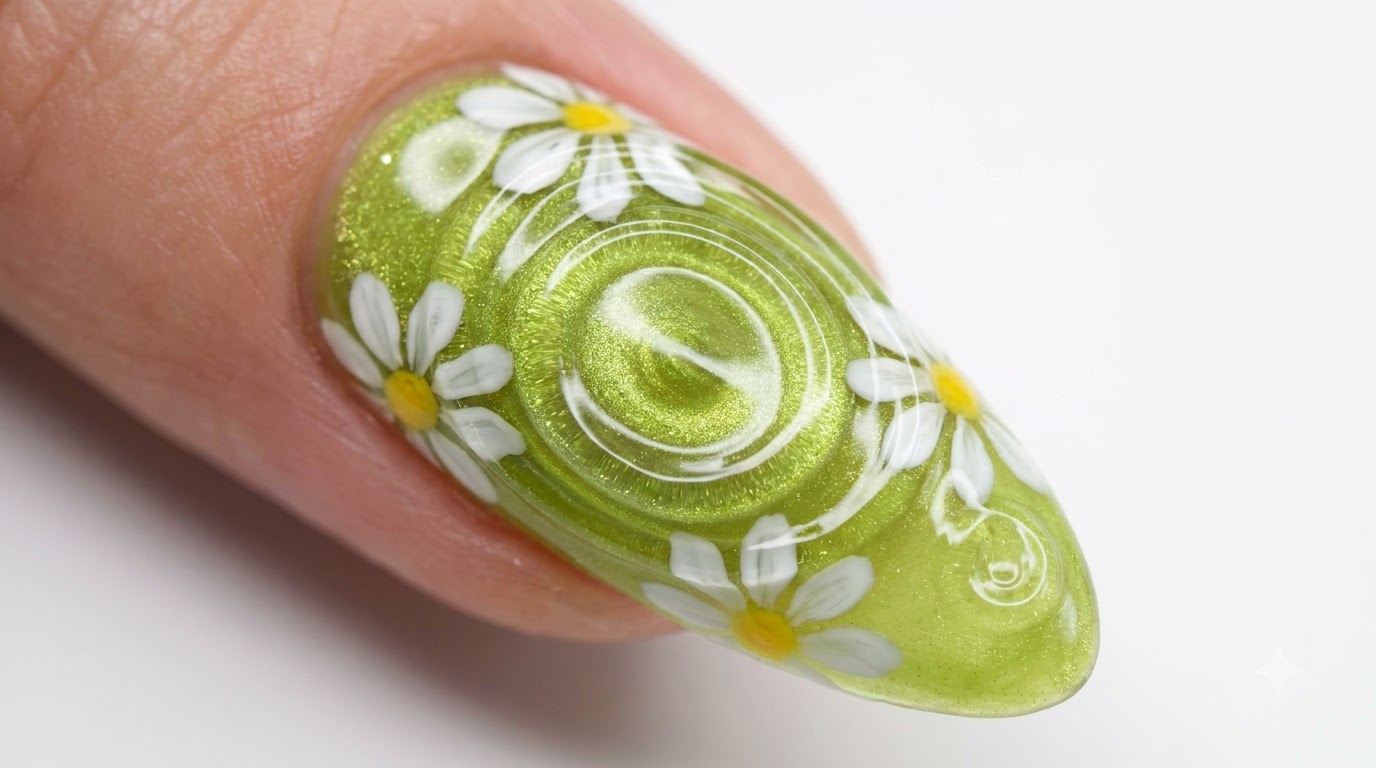
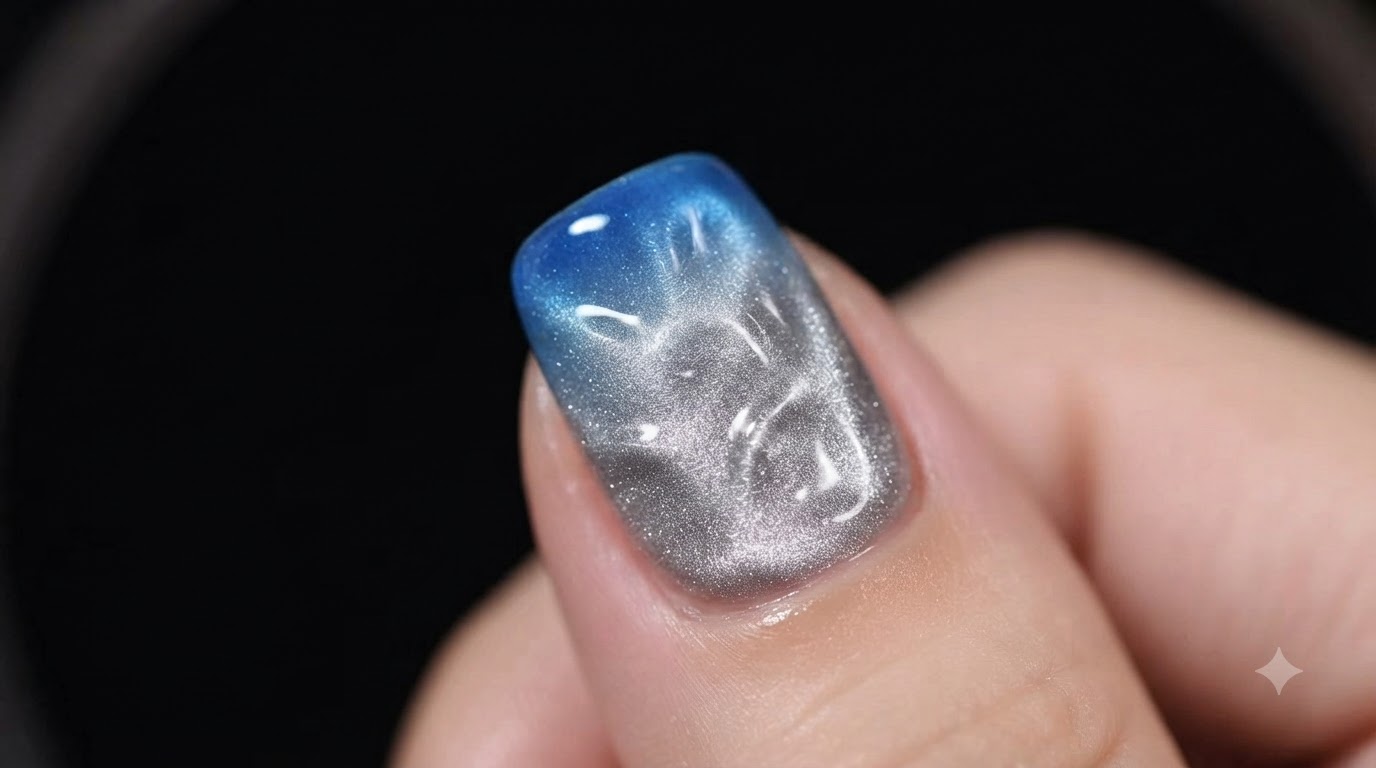
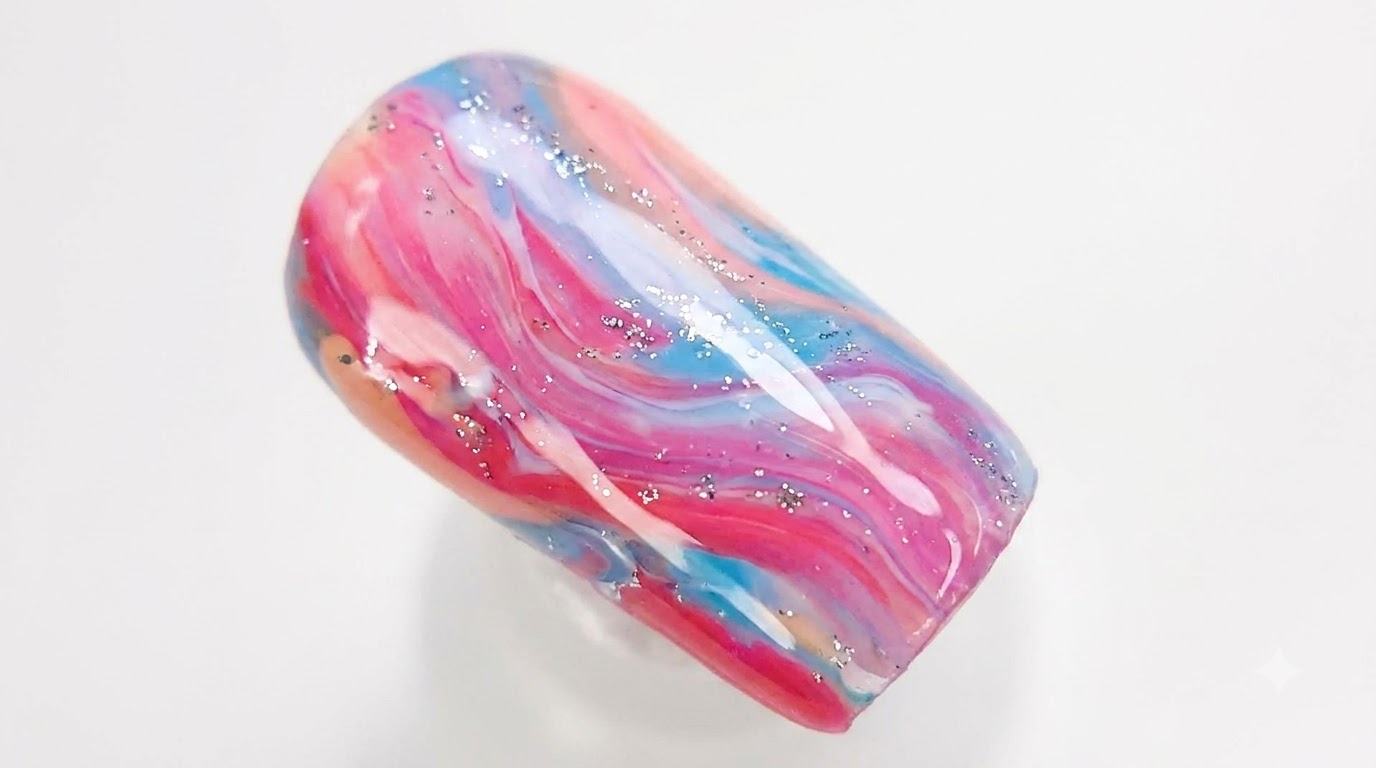
Create stunning ocean water ripple marble nails featuring vibrant pink, blue, and white gel polishes, shimmering silver glitter, and a 3D sculpted texture.
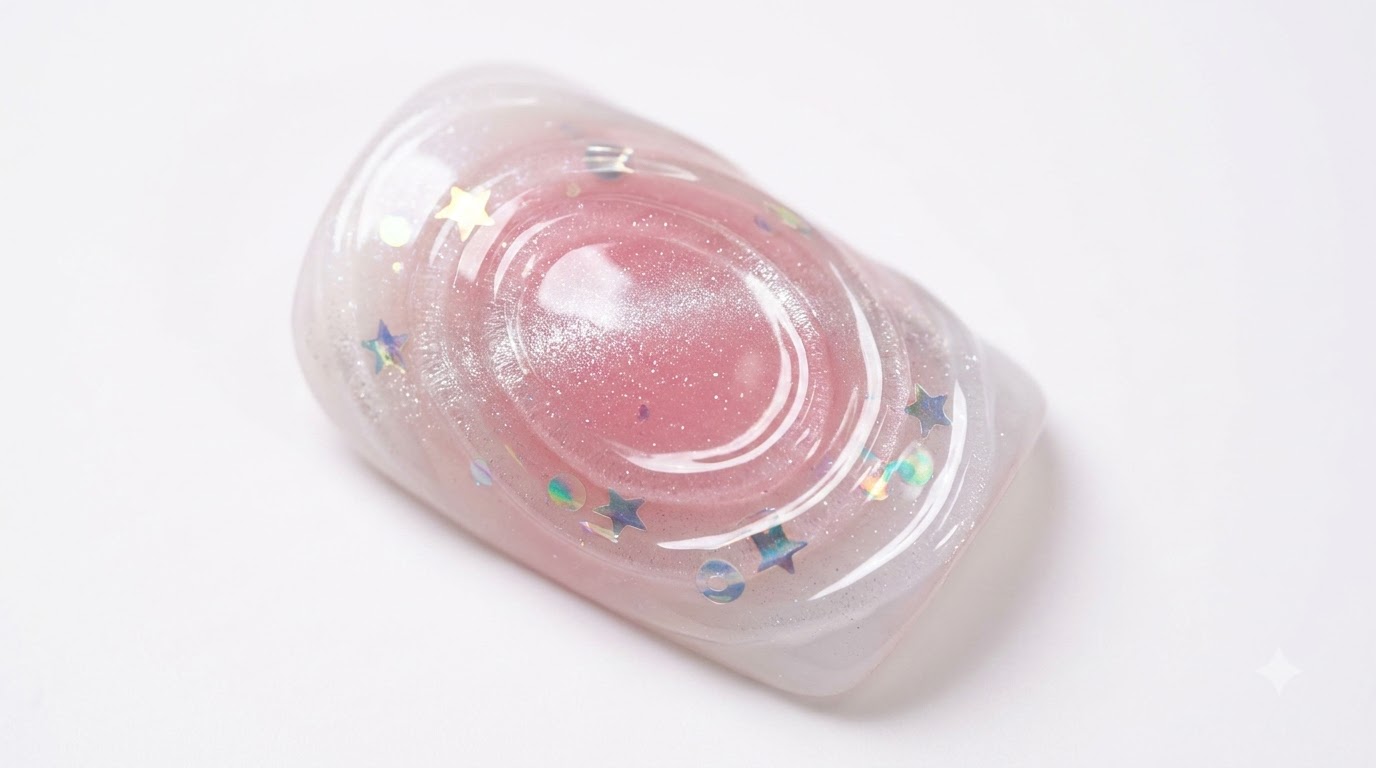
The ocean water ripple trend brings a mesmerizing, multidimensional look to your fingertips by combining fluid watercolor marble gradients with tactile 3D gel sculpting. This detailed guide walks you through building a colorful pastel and vivid base, adding delicate silver accents, and shaping realistic water currents that catch the light from every angle.
Steps
- 1Apply blue and white gel dots
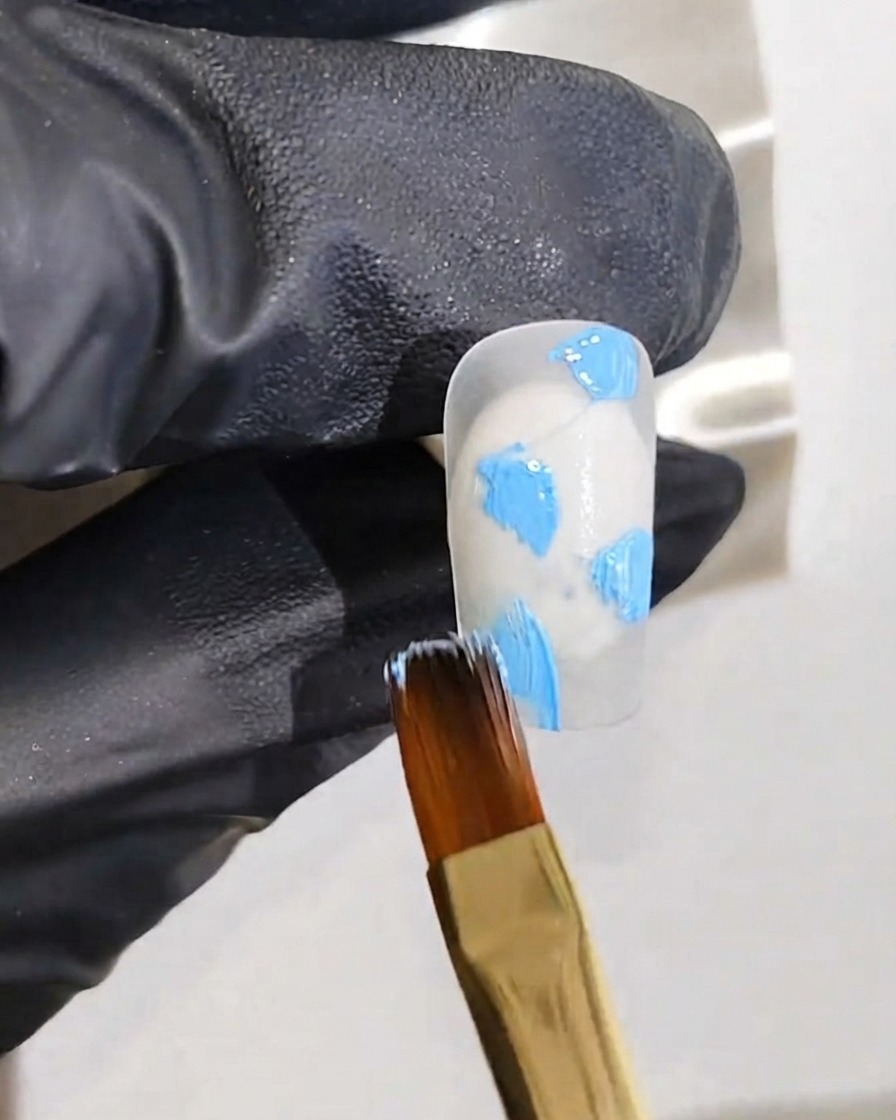
Using a fine art brush, apply light blue gel polish dots onto the white nail base. Follow by adding white gel polish dots adjacent to the blue dots on the nail surface to build the multi-colored foundation for the marble effect.
Tip: Keep the dots relatively small and consistent to ensure proper blending later. - 2Incorporate vivid pink gel polish
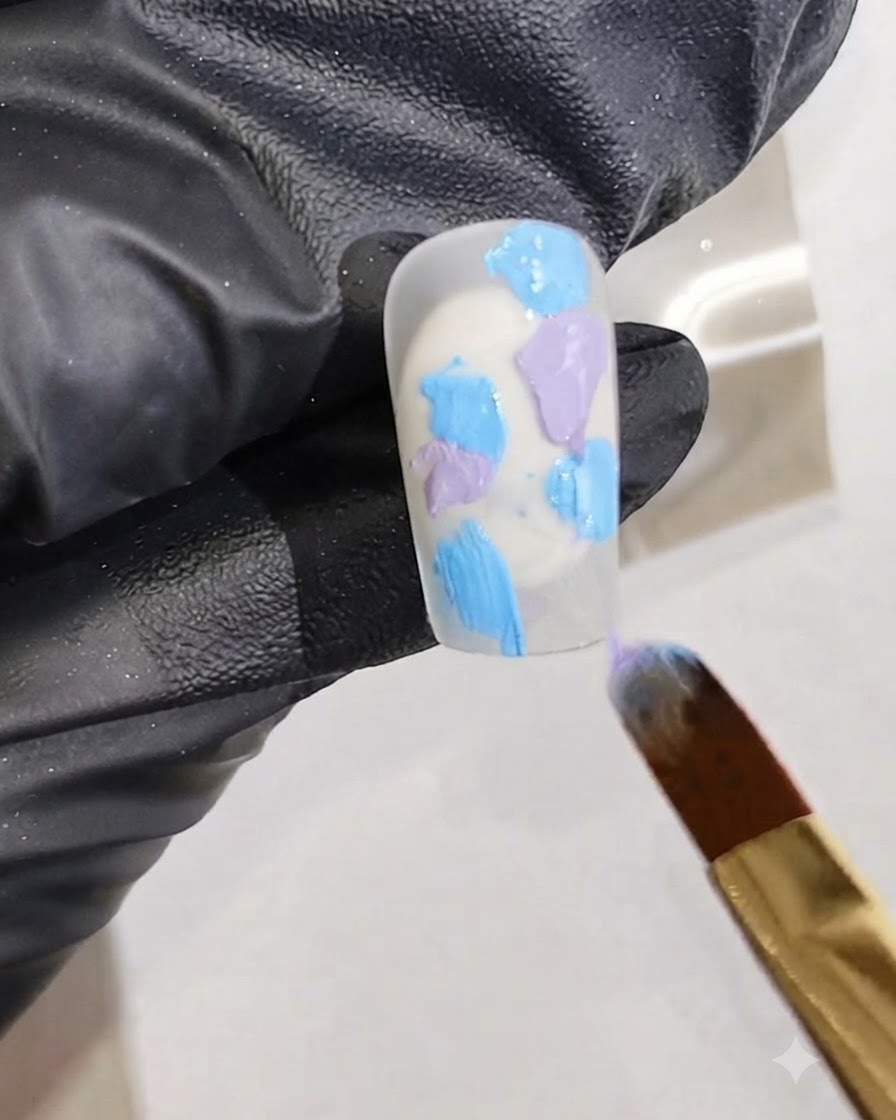
Apply vivid pink gel polish dots and streaks directly into the wet gel mixture on the nail surface. This adds depth and vibrancy to the watercolor marble gradient background.
Tip: Work while the gel is still wet and uncured so the colors can blend seamlessly together. - 3Add a vibrant red gel line
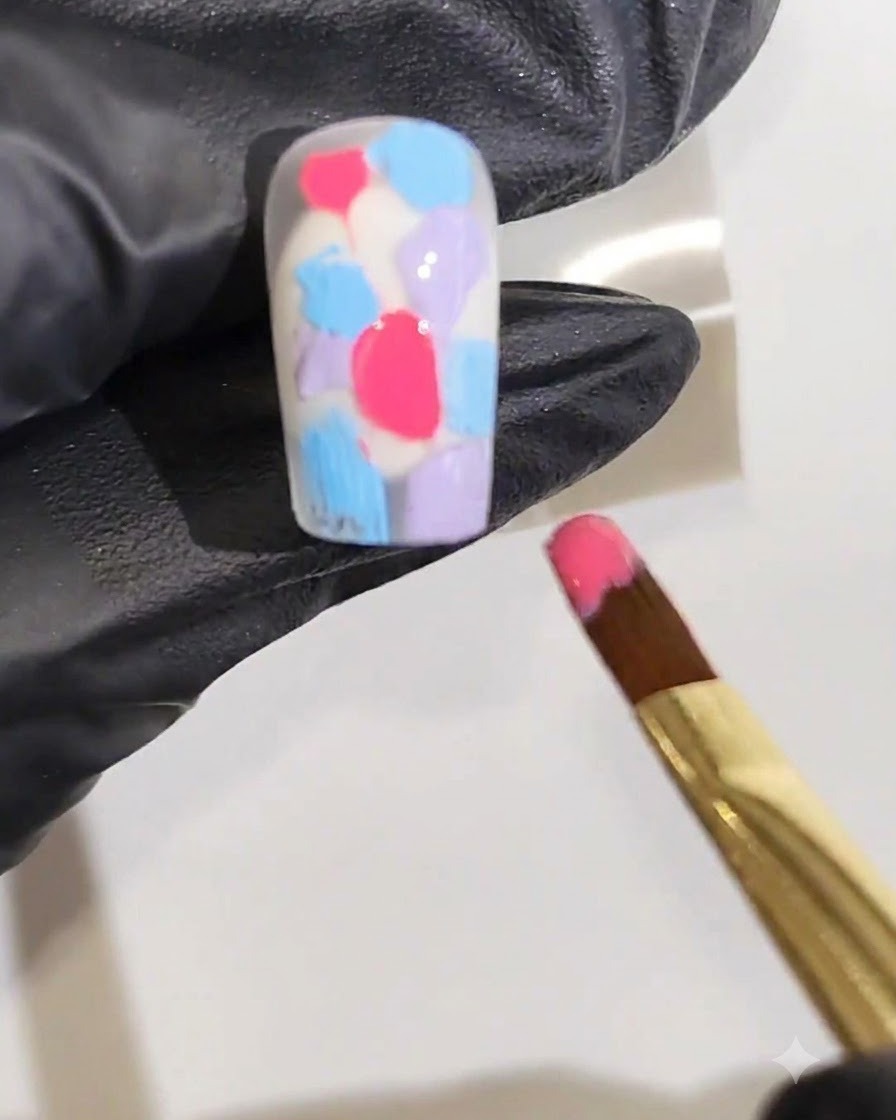
Apply a vibrant red gel line extending down the center of the nail over the existing wet color mixture. This central line provides a rich focal point for the marble gradient design.
Tip: Use a light hand when drawing the line to avoid disrupting the underlying dots. - 4Blend colors for a watercolor gradient
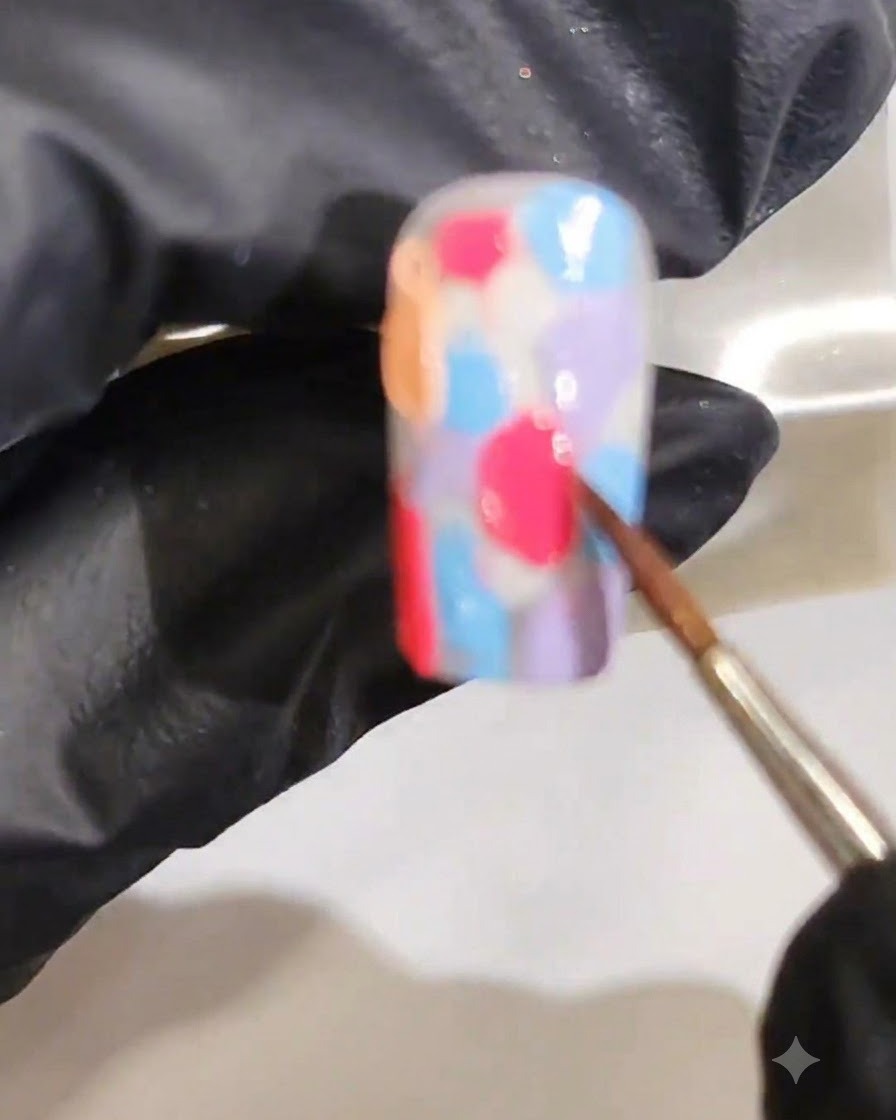
Blend the colors together using the brush to create a smooth marbled watercolor gradient effect. Gently sweep and feather the wet gel polish layers across the nail until the colors merge fluidly.
Tip: Clean your brush on a lint-free wipe if it picks up too much excess product while blending. - 5Add scattered silver glitter flecks
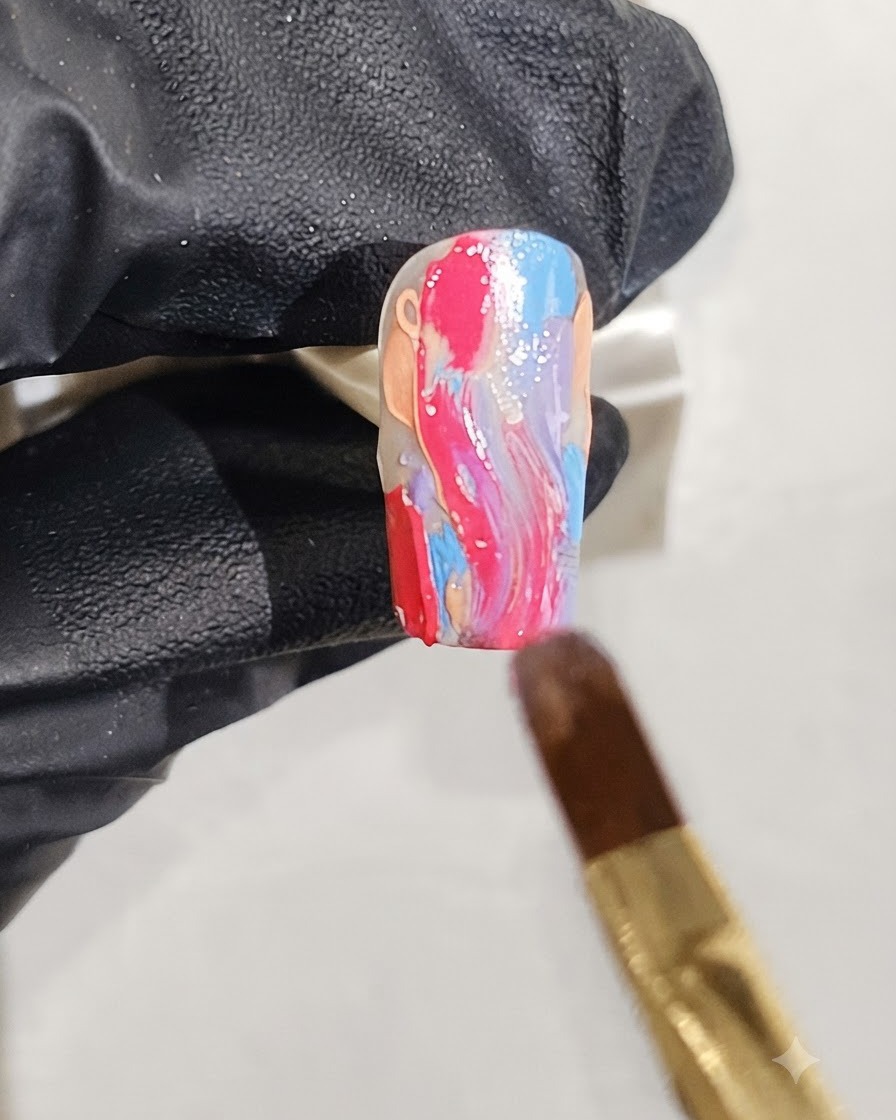
Apply scattered silver glitter flecks over the wet marble background using a fine brush. Distribute the glitter delicately to catch the light and enhance the finished ocean water ripple look.
Tip: A sparse distribution of glitter looks more elegant and mimics light catching water ripples. - 6Dispense clear 3D shaping gel
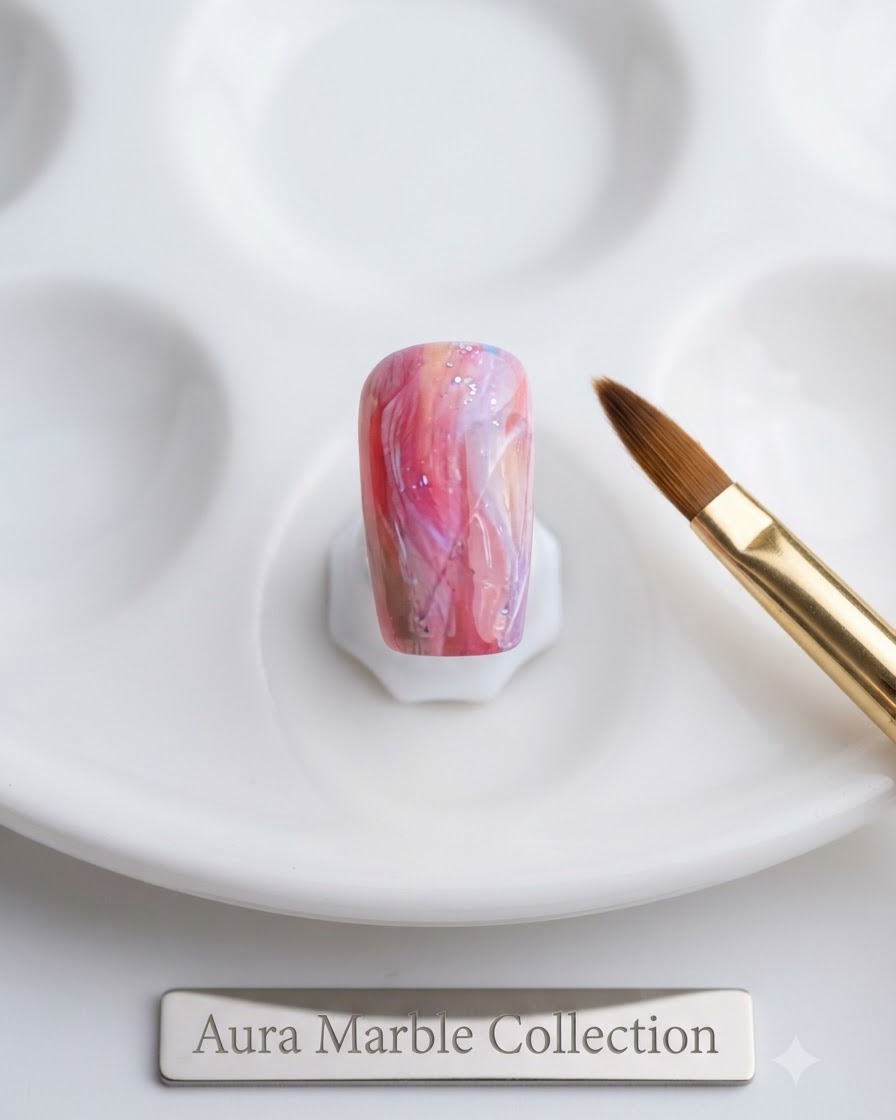
Using a fine brush, dispense a small amount of clear 3D shaping gel from jar #008 onto your palette or working surface. Ensure you have complete control over the product amount so you can easily pick up the precise volume needed for sculpting the water ripple texture.
Tip: Keep your jar tightly closed when not in use to prevent ambient UV light from curing the gel. - 7Sculpt 3D water ripple texture
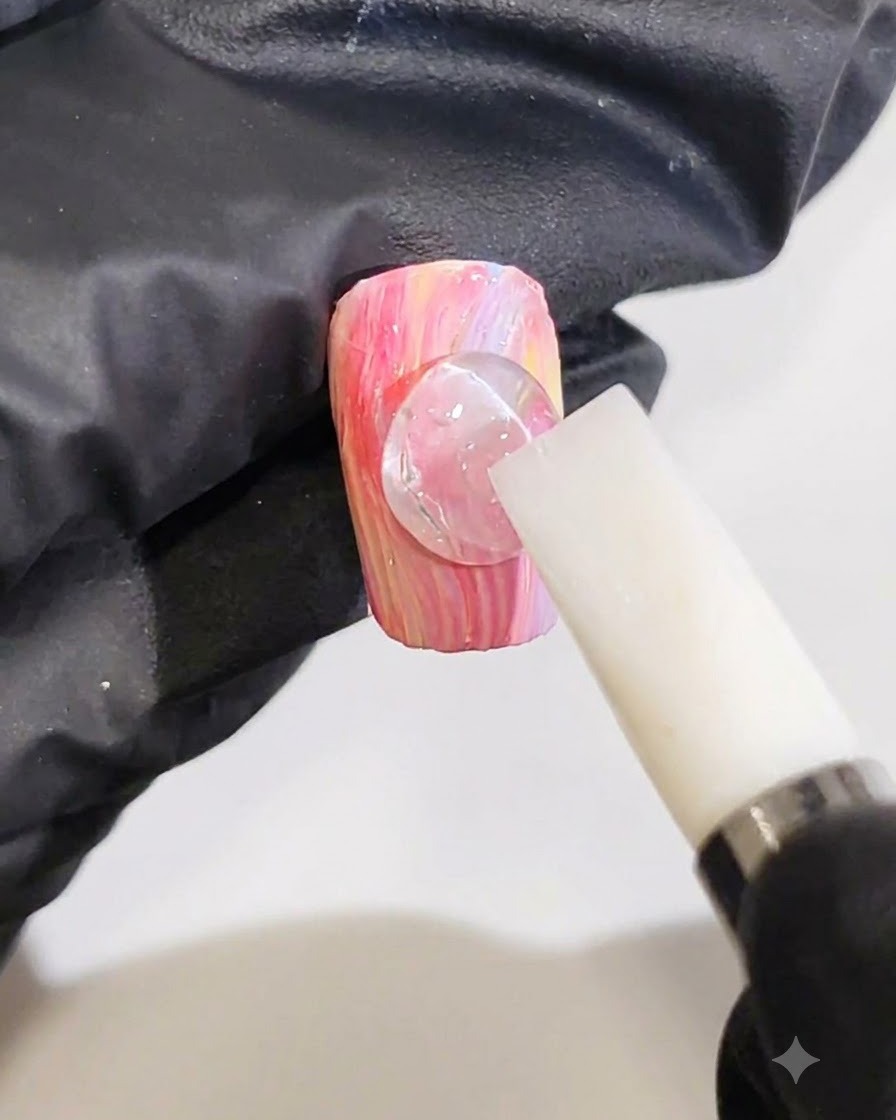
Using a clear 3D shaping gel, apply a bead onto the cured marble nail surface. Take a silicone sculpting tool and gently press and pull the gel to create organic, flowing water ripple lines. Flash cure as needed to hold the dimension before final full curing.
Tip: Keep your silicone tool clean and work with light pressure to ensure smooth, crisp ripples without dragging the underlying colors.