Lime Green Cat Eye Water Ripple Nails
Daisies — Step-by-Step Tutorial
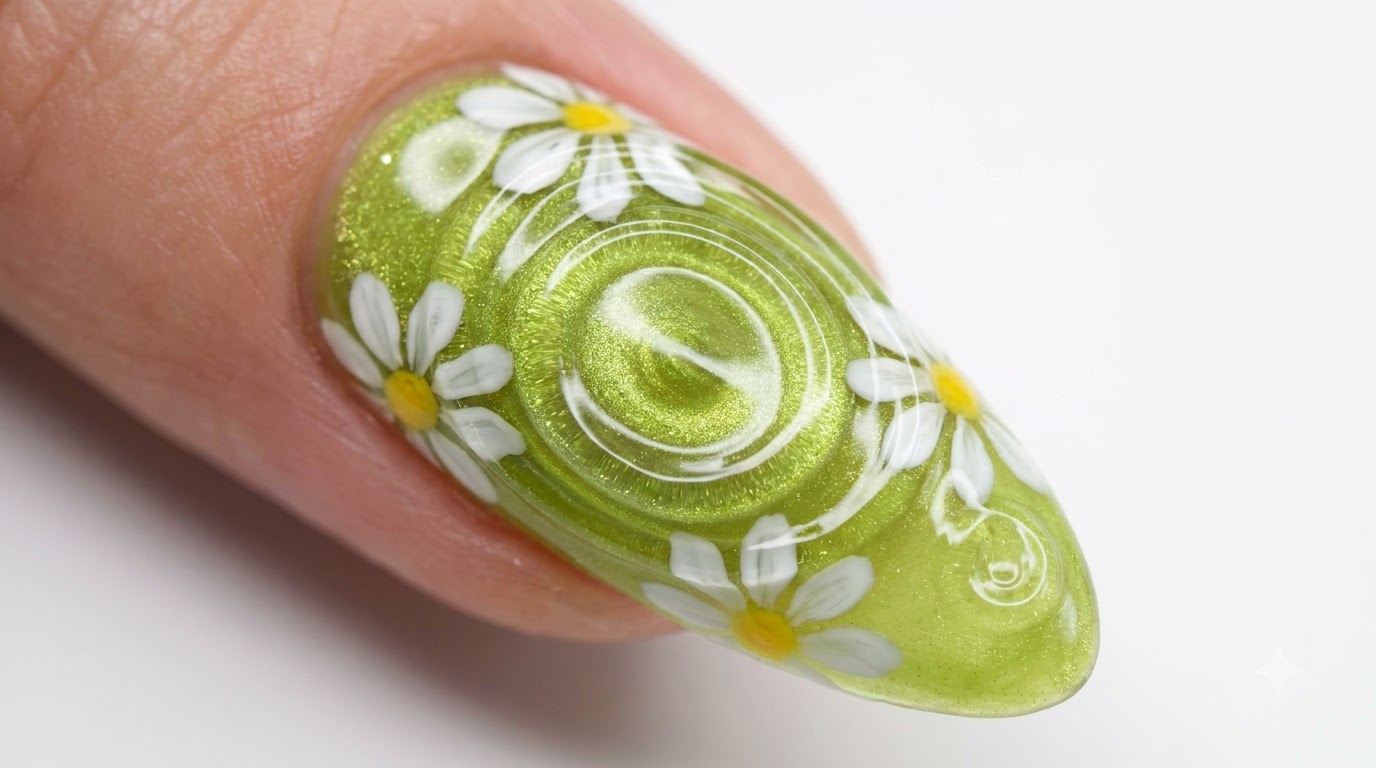
Create a mesmerizing summer nail look featuring a glowing lime green cat eye base, delicate hand-painted daisies, and realistic 3D water ripples.
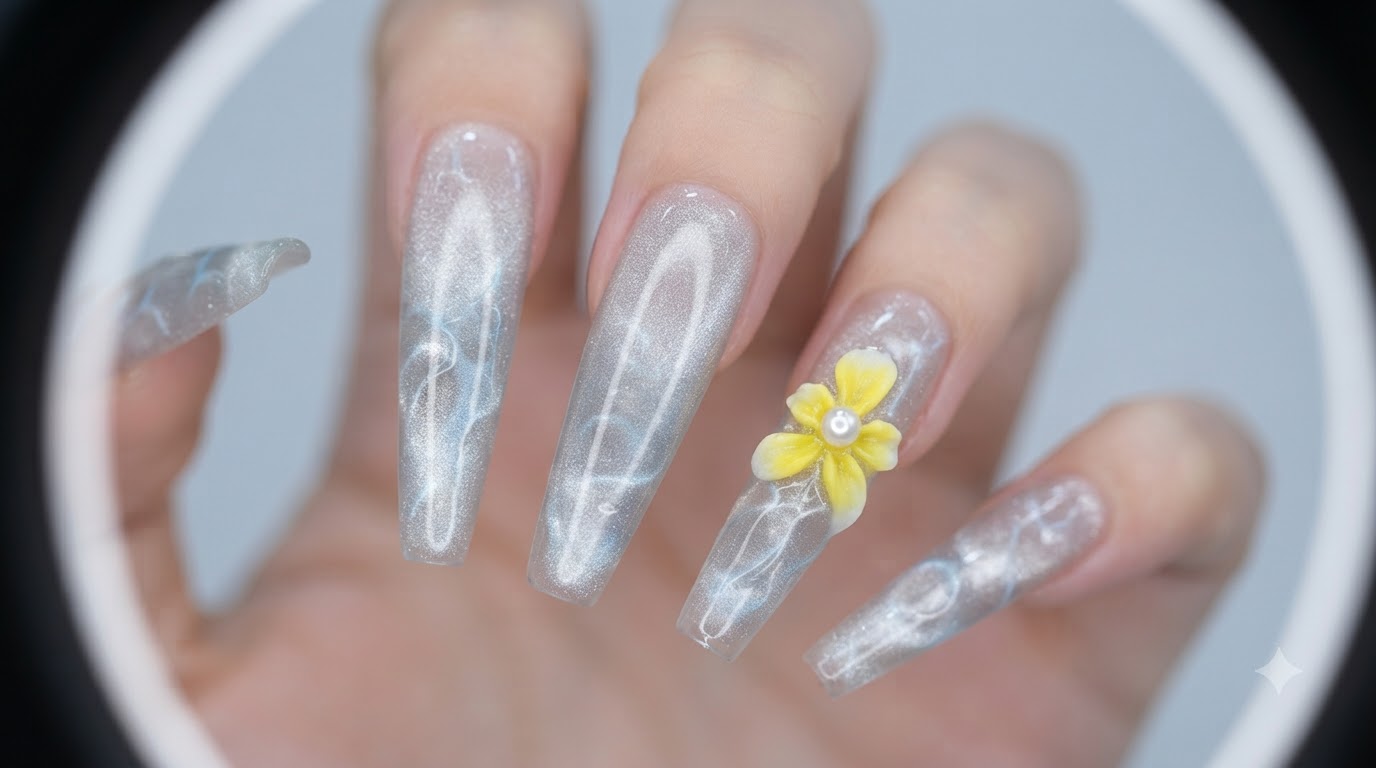
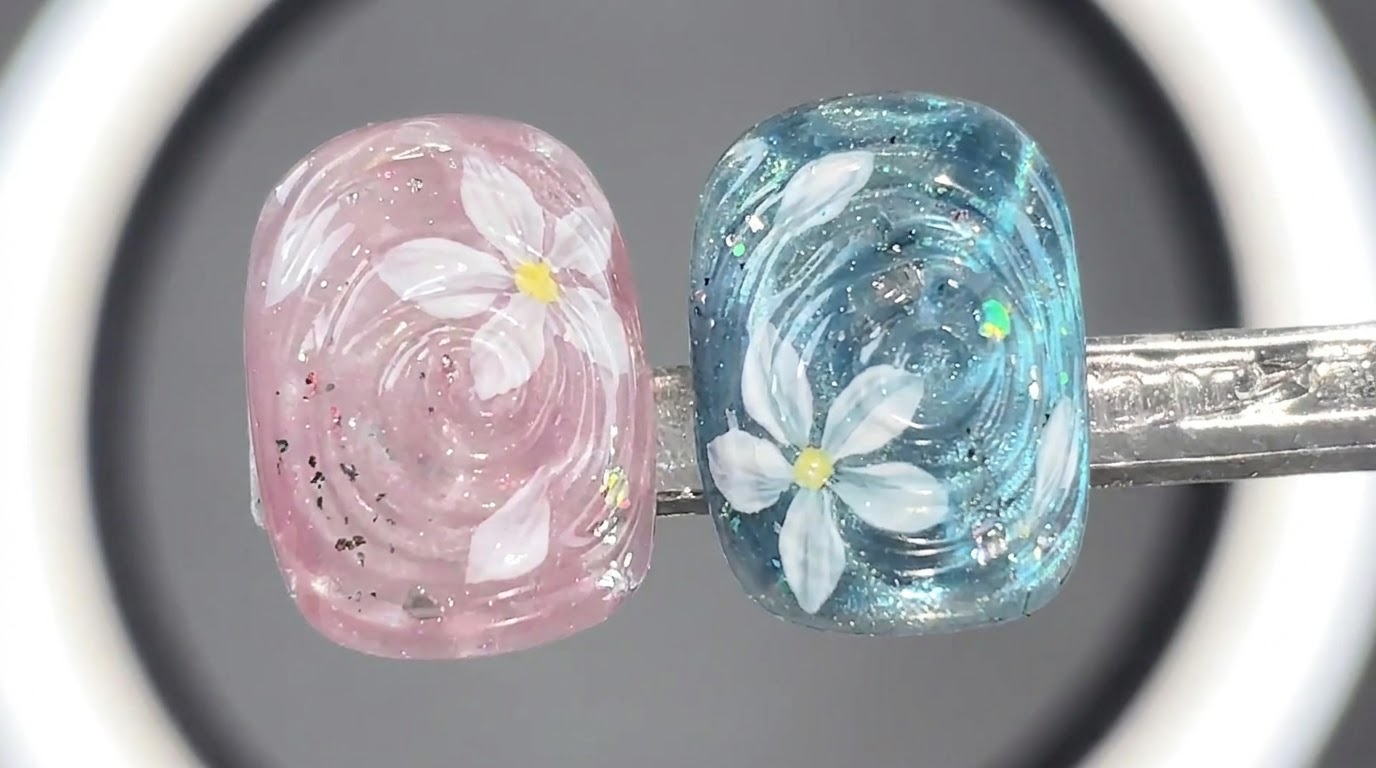
We were summer afternoon, someday into summer, we were moments we could be, slipping through like sand. This luminous lime green cat eye design captures that fleeting summer magic. By layering a translucent green tint over a magnetized silver cat eye base, you achieve incredible depth. The addition of hand-painted daisies and 3D clear gel water ripples creates a realistic, dewy finish that looks like a fresh puddle on your fingertips.
Steps
- 1Apply silver magnetic cat eye gel polish
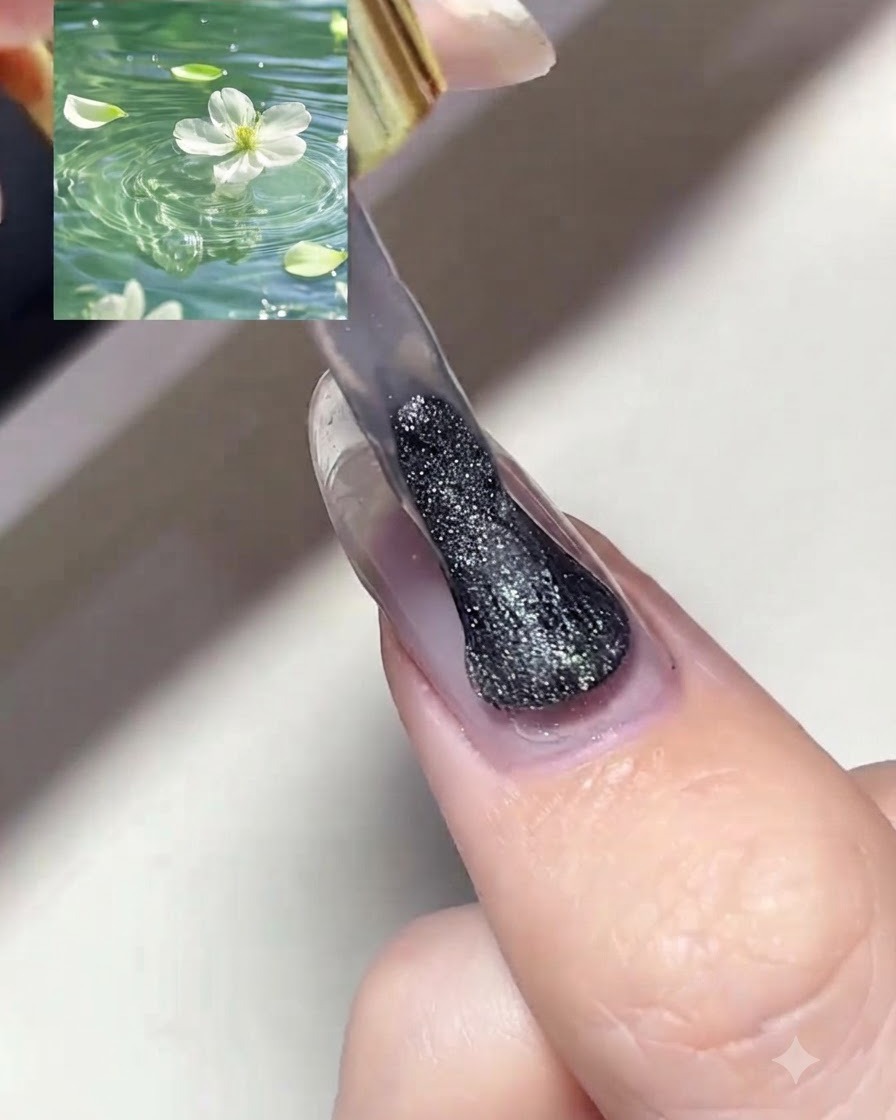
Apply a coat of silver magnetic cat eye gel polish evenly across the prepped nail plate using the application brush. Ensure the coverage is smooth and extends to the edges without flooding the cuticles. Do not cure the gel yet, as the magnetic particles need to be manipulated while the polish is still wet.
Tip: Keep the gel layer even to ensure the magnetic particles move fluidly and create a clean, uniform band. - 2Magnetize the cat eye shimmer
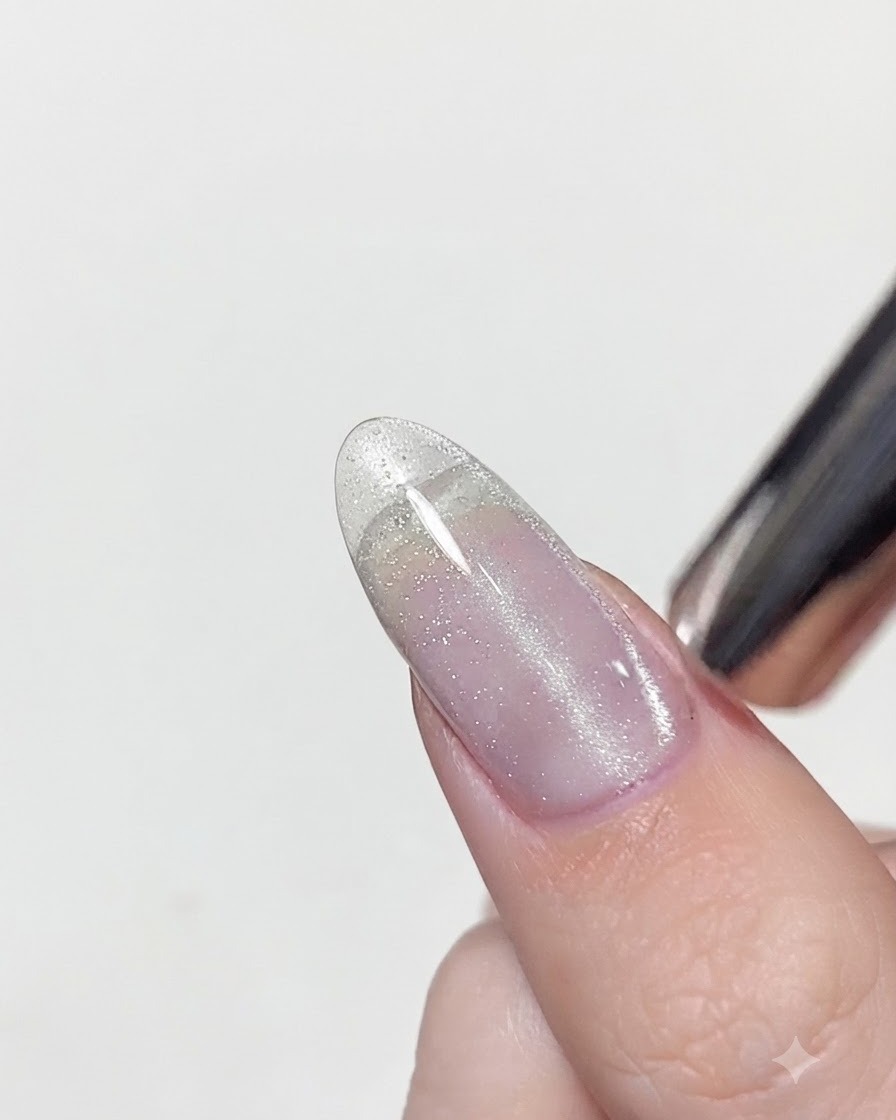
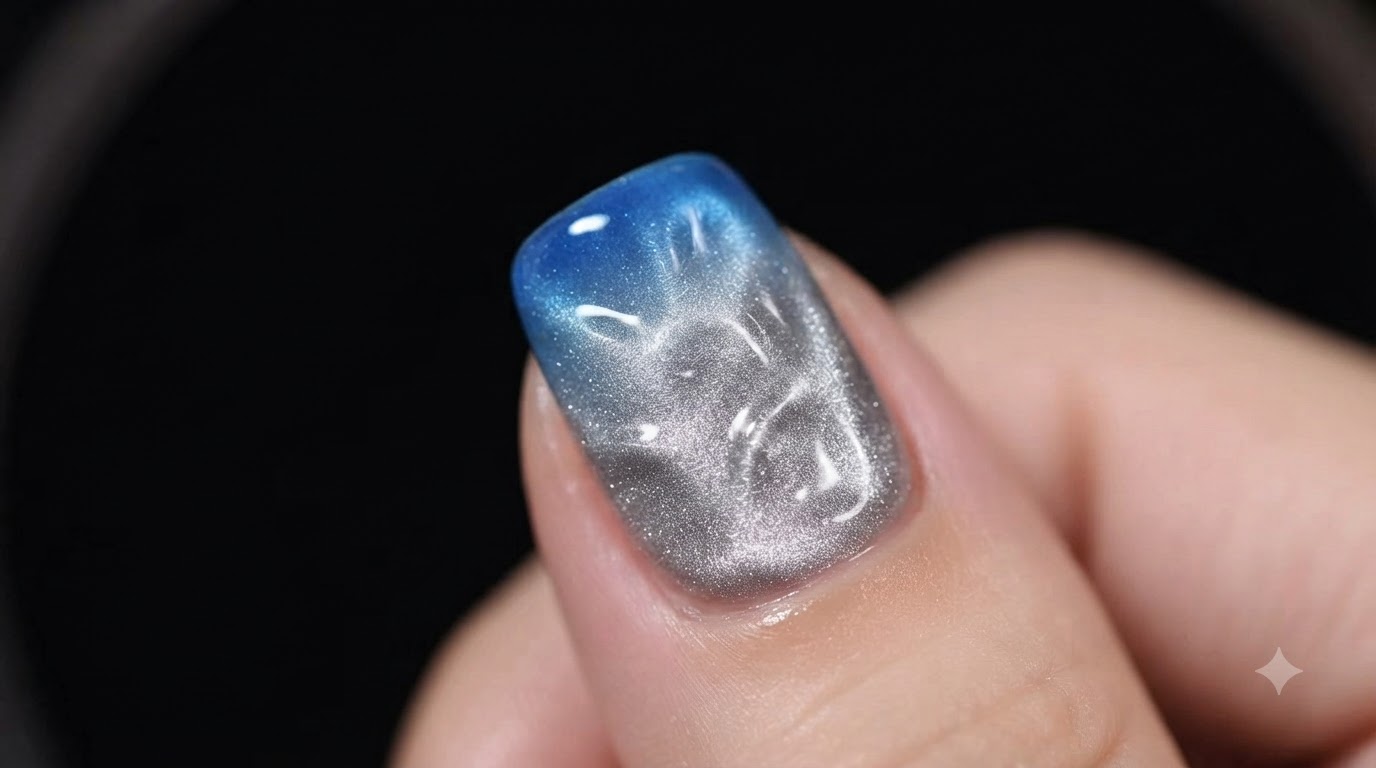
Hold a specialized magnetic tool close to the wet cat eye gel polish without touching the surface. Guide the magnetic field to pull and concentrate the silver shimmer particles into a sharp, centered vertical band running down the length of the nail. Once the desired effect is achieved, immediately cure the gel under a UV or LED lamp to lock the pattern in place.
Tip: Hold the magnet steady for a few seconds to prevent the particles from shifting before the lamp cure. - 3Cleanse the nail surface
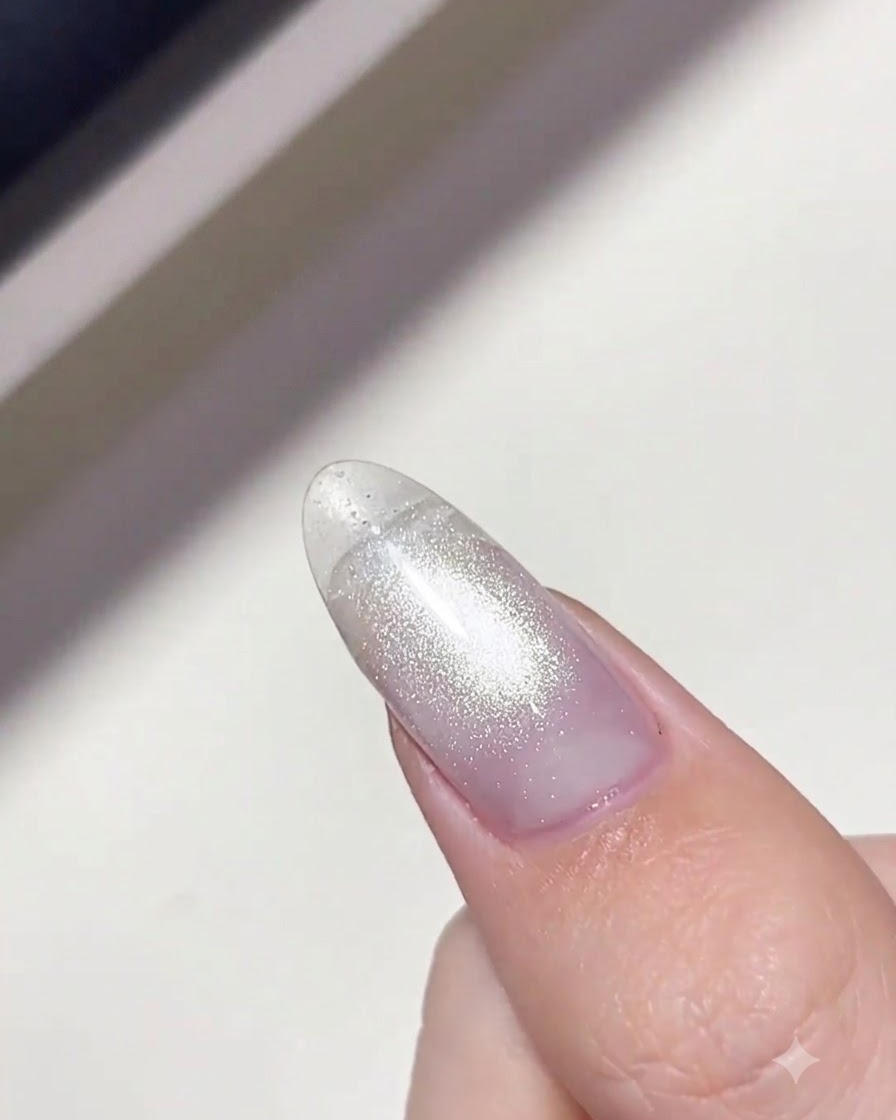
Take a lint-free wipe saturated with nail cleanser and gently wipe down the cured nail surface. This step removes any sticky inhibition layer left behind after curing, leaving a clean base ready for the next layer of nail art or tints.
Tip: Ensure the wipe is fully saturated to clean the surface effectively without smudging the finish. - 4Apply translucent green tint gel
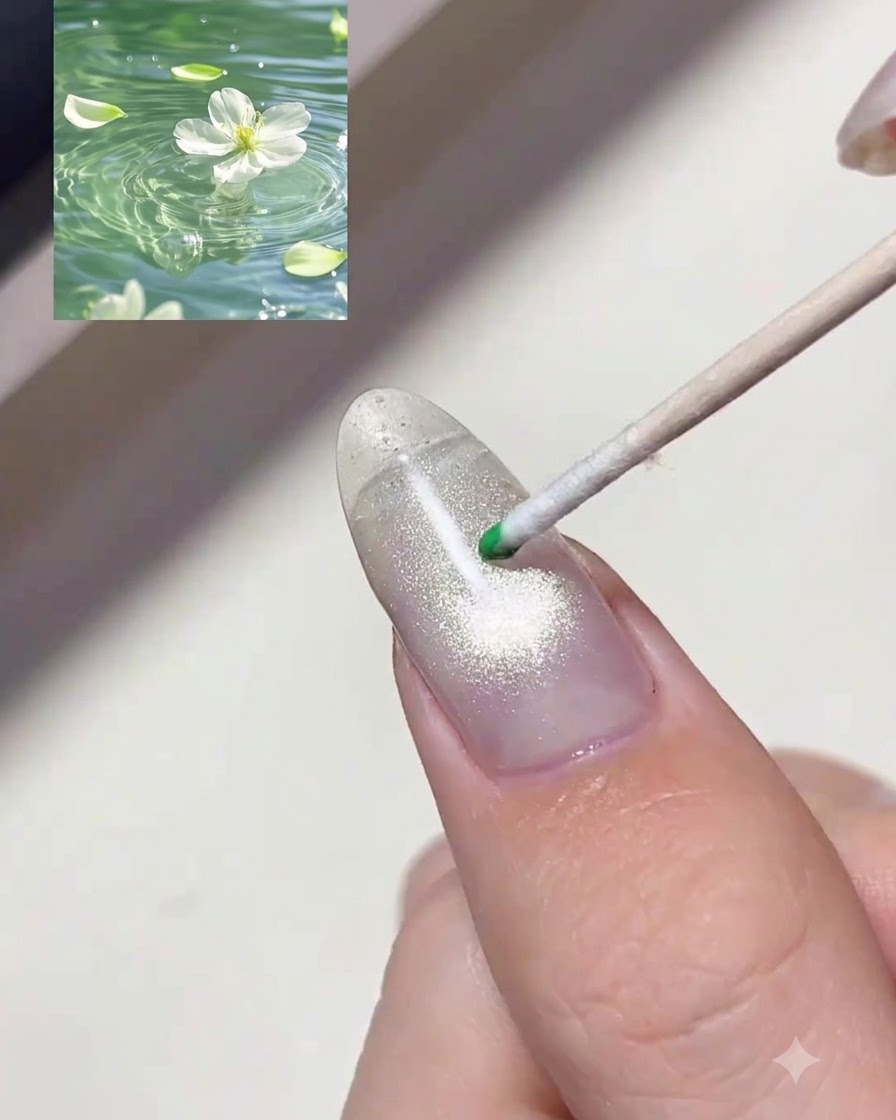
Using a wooden cuticle stick or dotting tool, pick up a small drop of translucent green tint gel and place it onto the nail surface. This tinted gel will layer over the silver cat eye base to create a watery, glowing depth effect.
Tip: Use a controlled amount of product to avoid excess pooling on the nail surface. - 5Blend the green tint gel
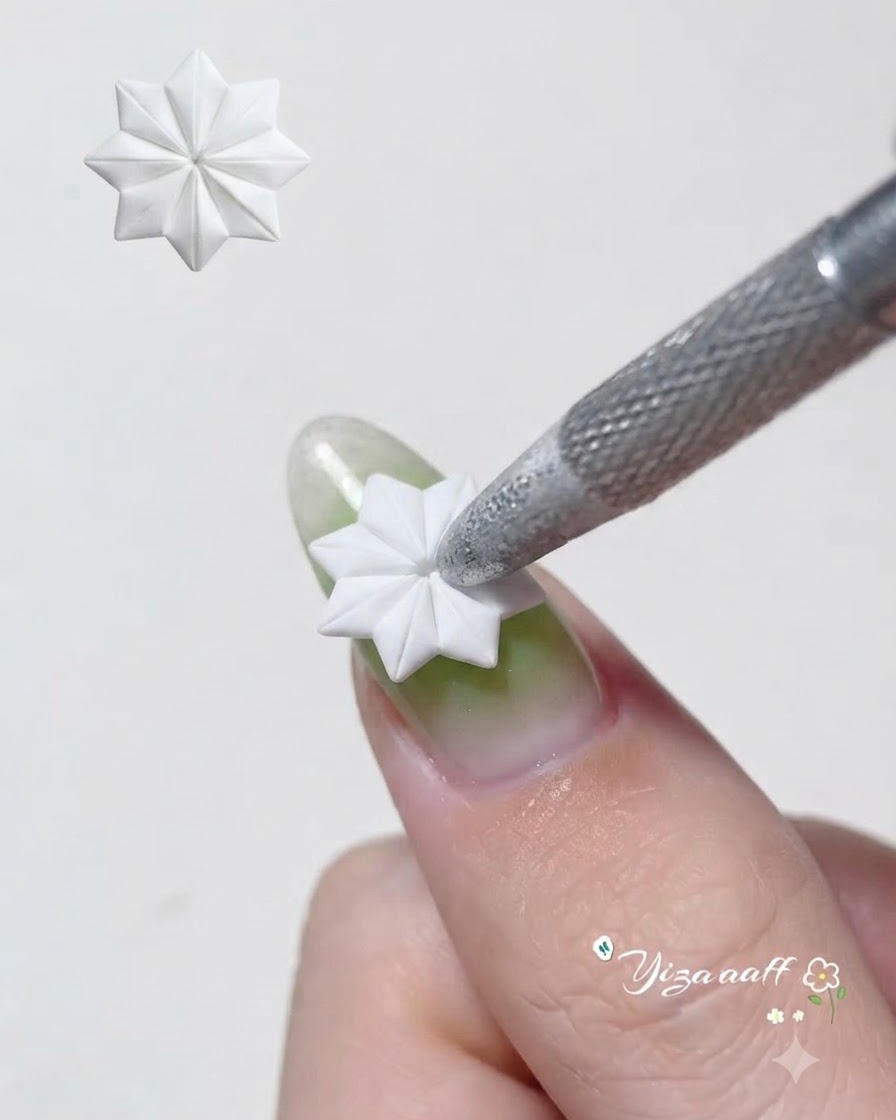
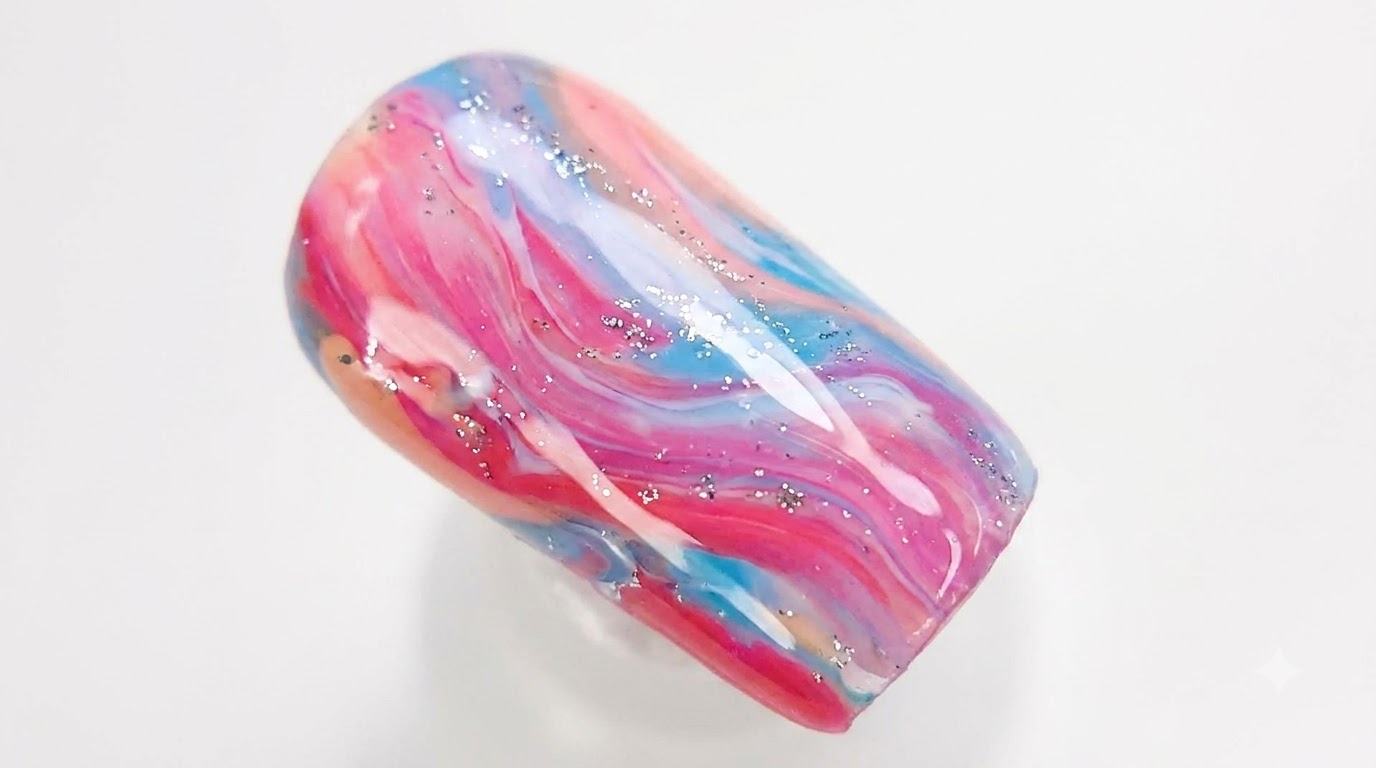
Carefully spread and blend the translucent green gel evenly across the entire nail over the silver cat eye base. This technique creates a luminous, vibrant lime green glow with depth, resembling water or jelly textures. Cure under the lamp once blended smoothly.
Tip: Blend with light strokes to maintain an even distribution of color across the cat eye background. - 6Paint daisy flower petals
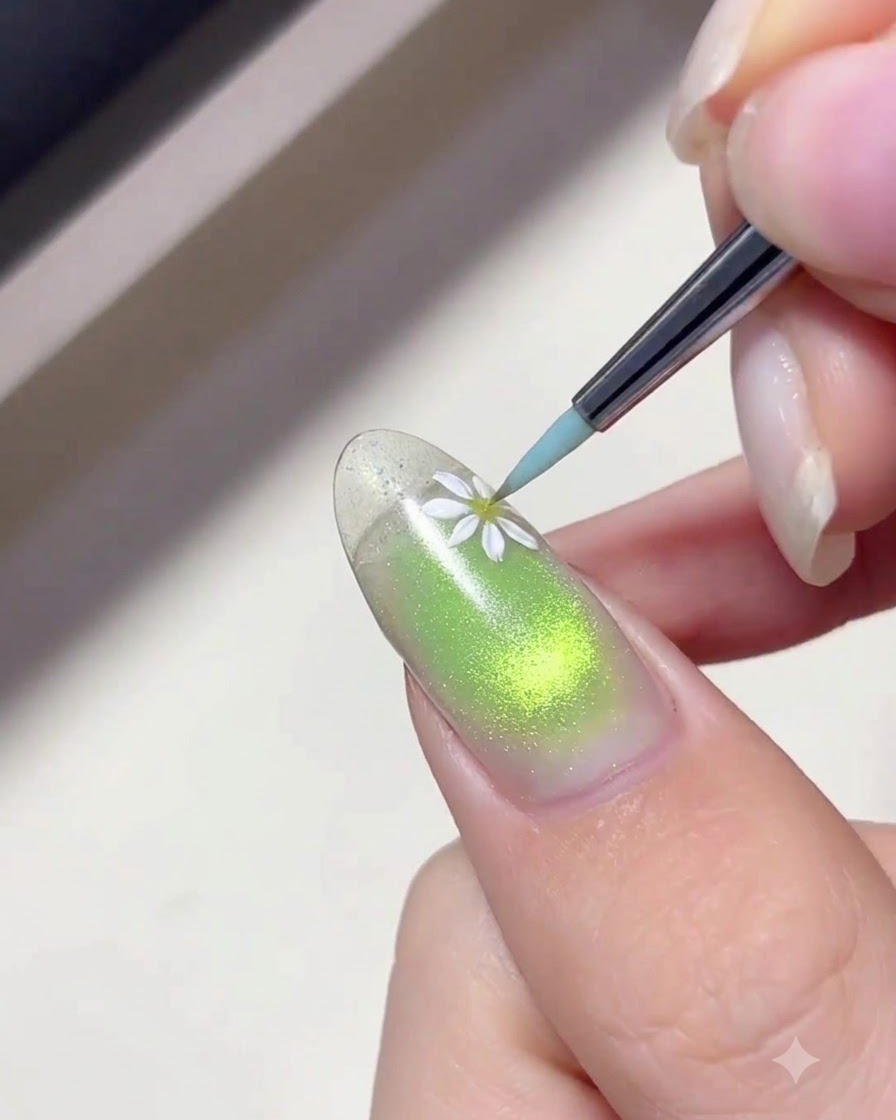
Dip a fine nail art liner brush into opaque white gel and carefully paint delicate daisy flower petals onto the nail surface. Position the petals neatly to contrast against the vibrant green background, then flash cure as needed to secure the design.
Tip: Keep a light hand and wipe your liner brush clean between strokes for crisp, clean petal edges. - 7Add flower centers
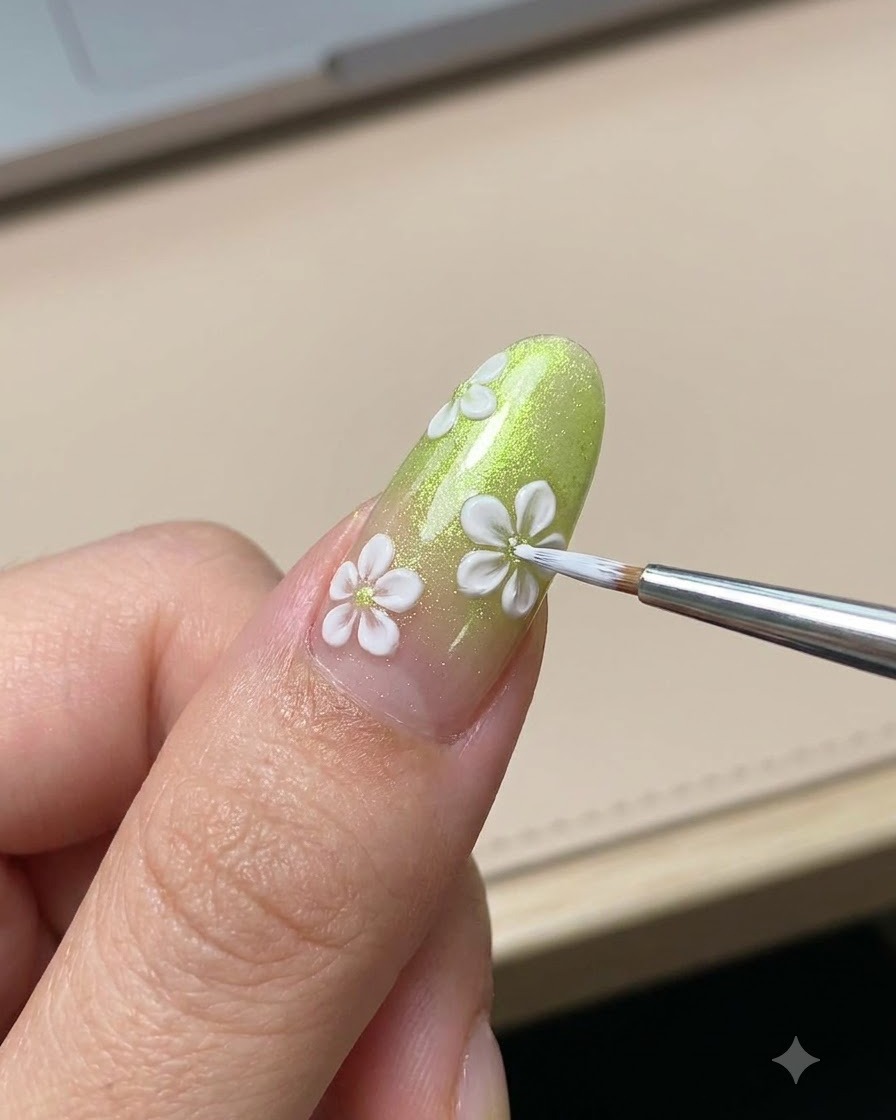
Using a fine detail brush, carefully dot yellow polish into the center of each white daisy flower. Keep the dots small and centered to maintain a realistic and delicate floral appearance. Cure the yellow centers under your UV or LED lamp before proceeding to the next step.
Tip: Use a very light touch with the tip of your detail brush to keep the yellow dots small and well-defined. - 8Pick up clear builder gel
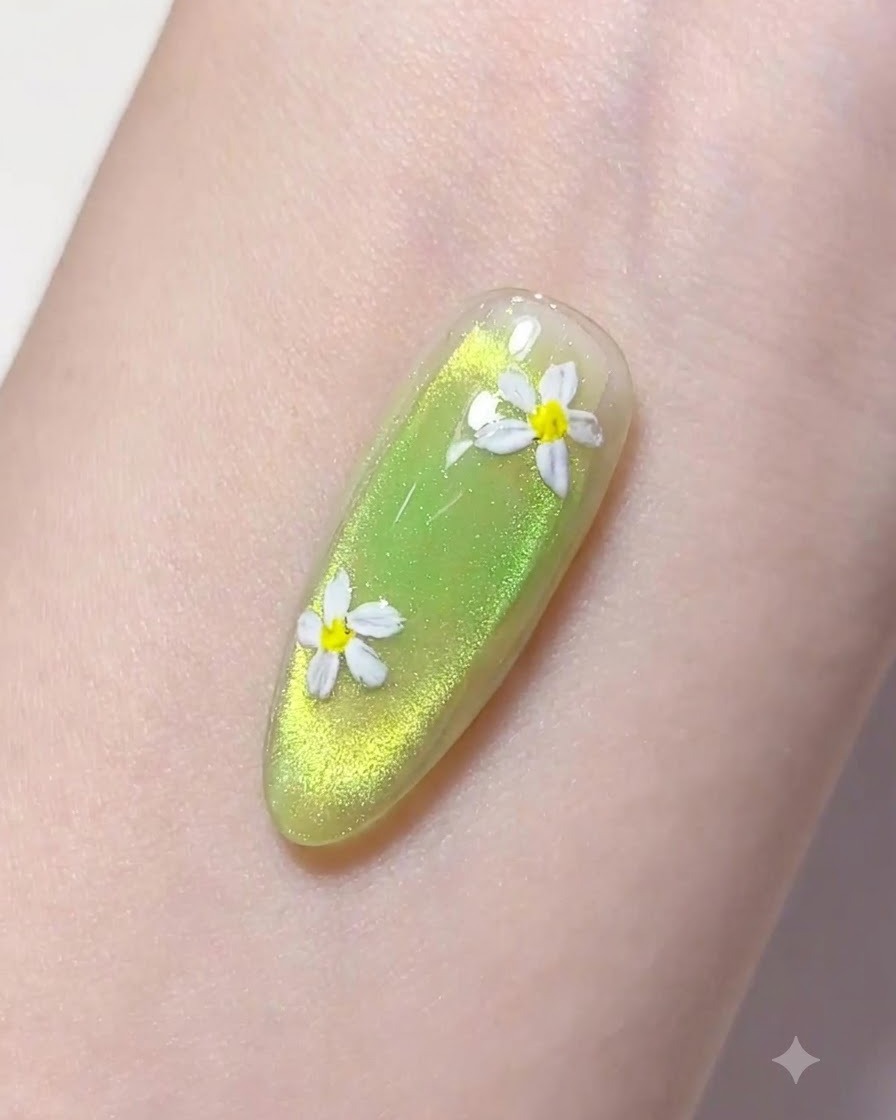
Pick up a small bead of clear builder gel on the tip of a fine liner brush. Ensure the brush is loaded evenly so you can draw smooth, continuous lines for the water ripple effect. Work with a steady hand to control the volume of gel.
Tip: Twirl your fine liner brush slightly as you pull it out of the gel pot to prevent stringy tails and ensure a clean, manageable bead of clear gel. - 9Create water ripple texture
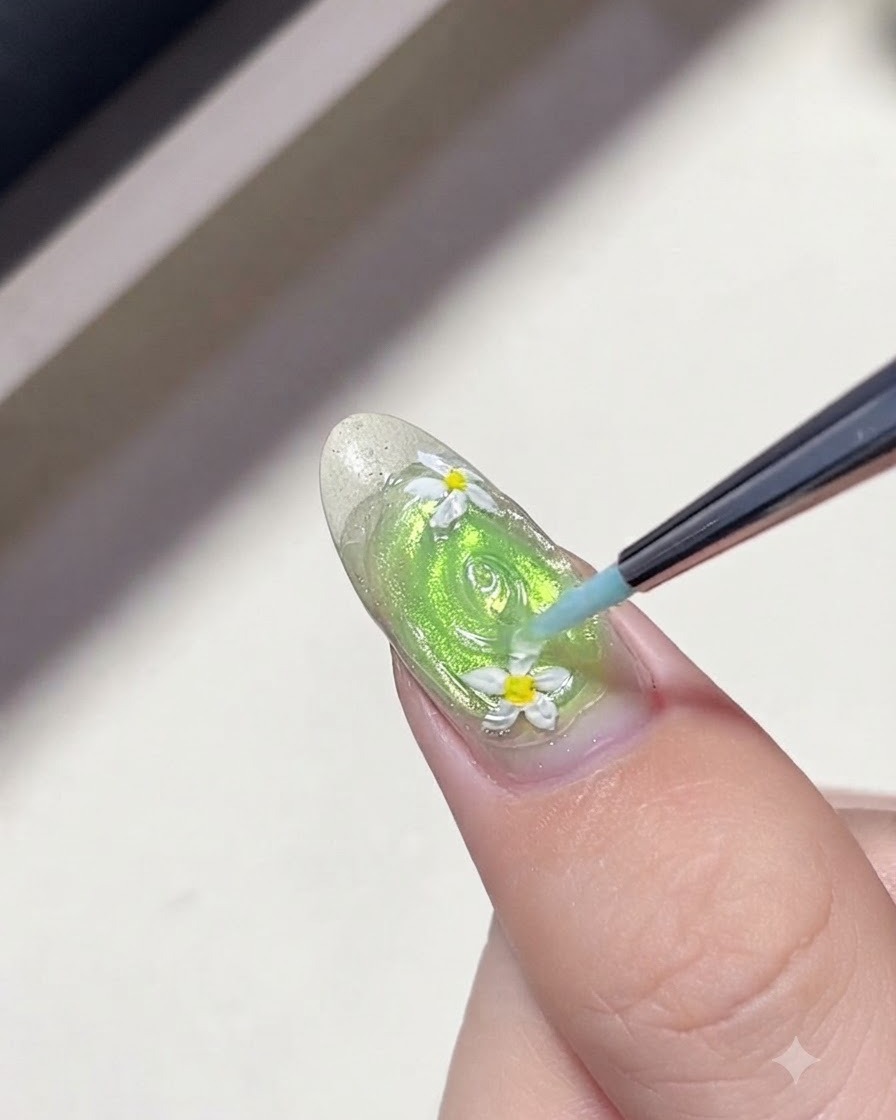
Draw concentric spiral lines of clear builder gel around the flowers to form a realistic water ripple and droplet texture. Gently guide the gel in circular paths that expand outward from the floral center. Flash cure periodically if needed to keep the dimensional ridges from sagging before final curing.
Tip: Keep your hand movements fluid and steady to create natural-looking, uneven ripples like actual water.