Silver Magnetic Cat-Eye
Blue Water Ripple Nails — Step-by-Step Tutorial
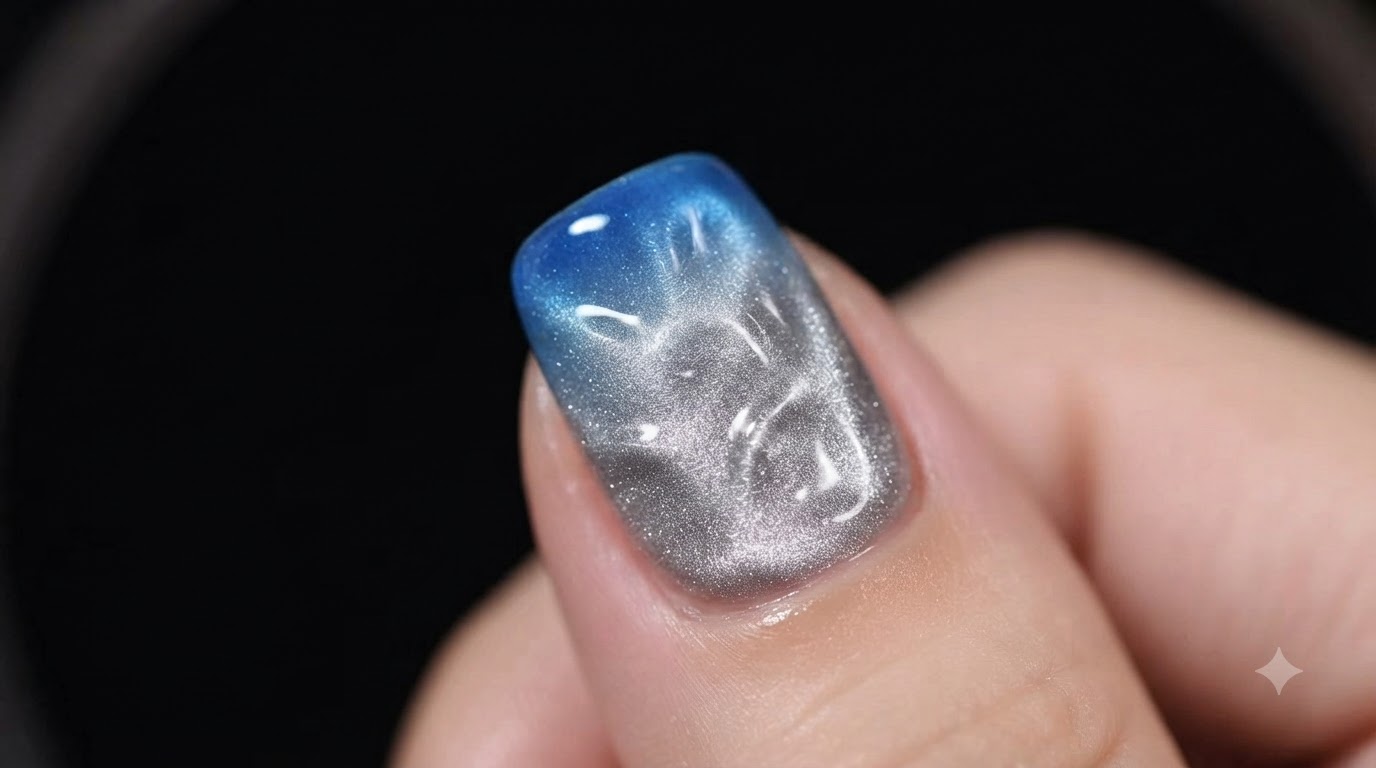
Discover how to create a stunning silver magnetic cat-eye nail art design paired with a 3D water ripple texture and a vibrant blue glass gel ombre tip.
Combining futuristic magnetic textures with ocean-inspired tones, this silver cat-eye and blue water ripple look creates incredible depth and dimension. The unique interplay between the shimmery magnetic particles and the glossy glass gel ombre tip makes it an eye-catching statement piece for any season.
Steps
- 1Apply silver magnetic cat-eye gel
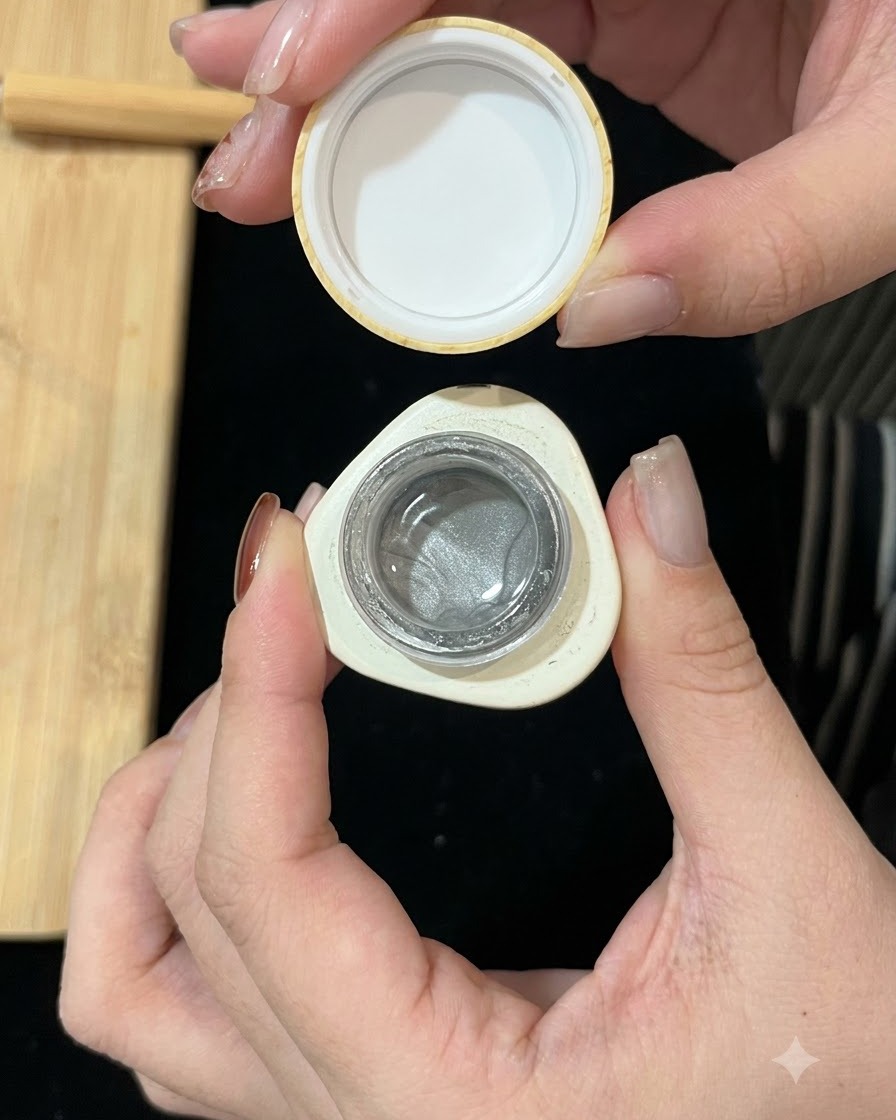
Take the silver magnetic cat-eye brush and apply an even layer of the cat-eye gel onto the nail plate. Ensure full coverage across the entire surface to serve as the base for the magnetic effect.
Tip: Apply a smooth, even coat so the magnetic particles can move freely and create a clean effect. - 2Create wide light cat-eye effect
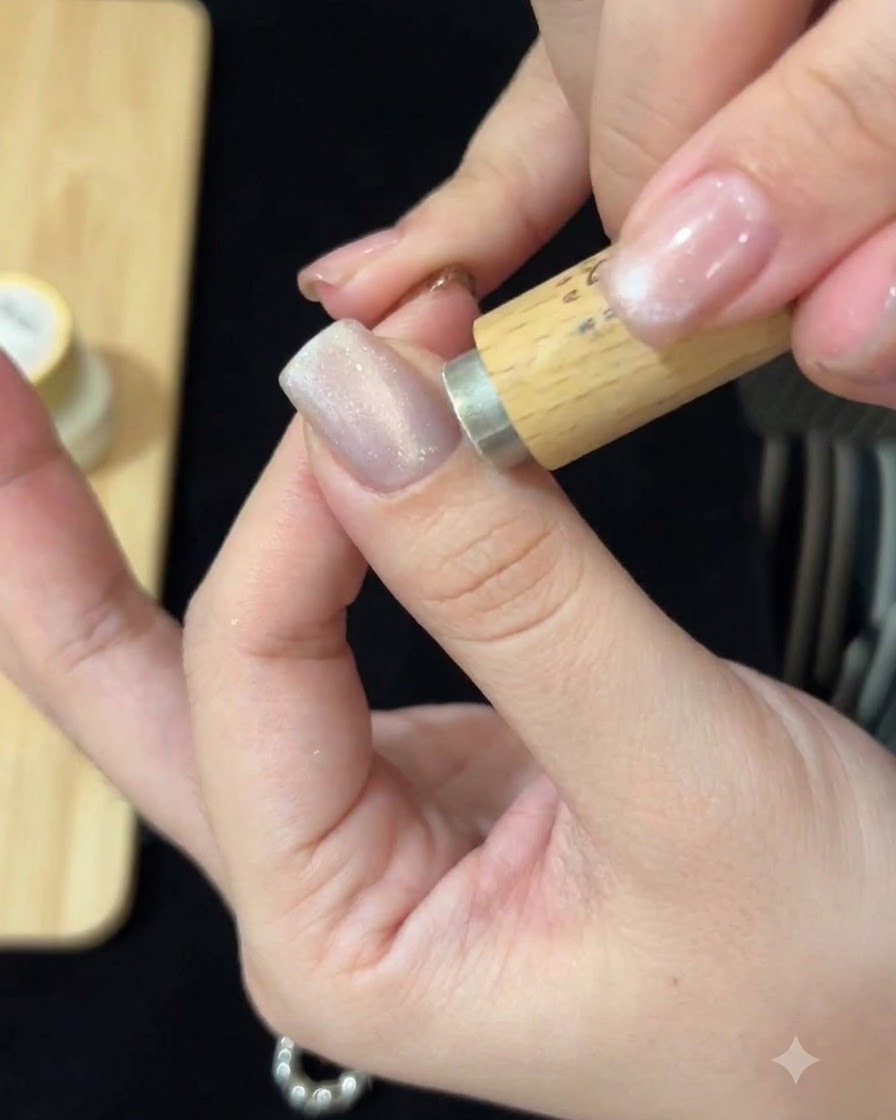
Hold the magnetic stick close to the nail without touching the wet gel. Sweep and guide the magnetic particles to form a wide light cat-eye effect across the surface, then cure under the lamp.
Tip: Keep the magnet steady and close to the nail to quickly concentrate the magnetic shimmer into the desired light band. - 3Position magnetic bead balls
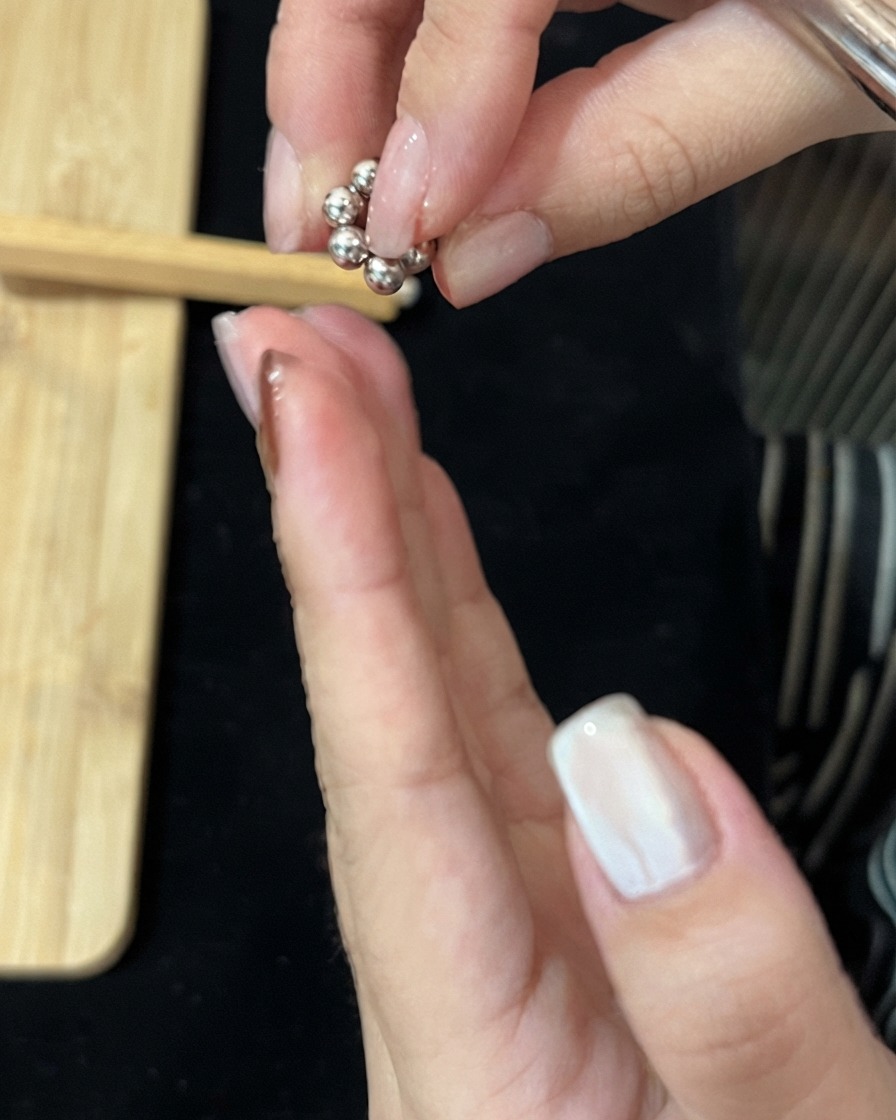
Take a cluster of small magnetic bead balls and bring them close to the nail surface containing the wet gel layer to prepare for shaping the water ripple design.
Tip: Make sure the bead cluster is held steady before using external magnets to pull and mold the texture. - 4Shape the water ripple effect
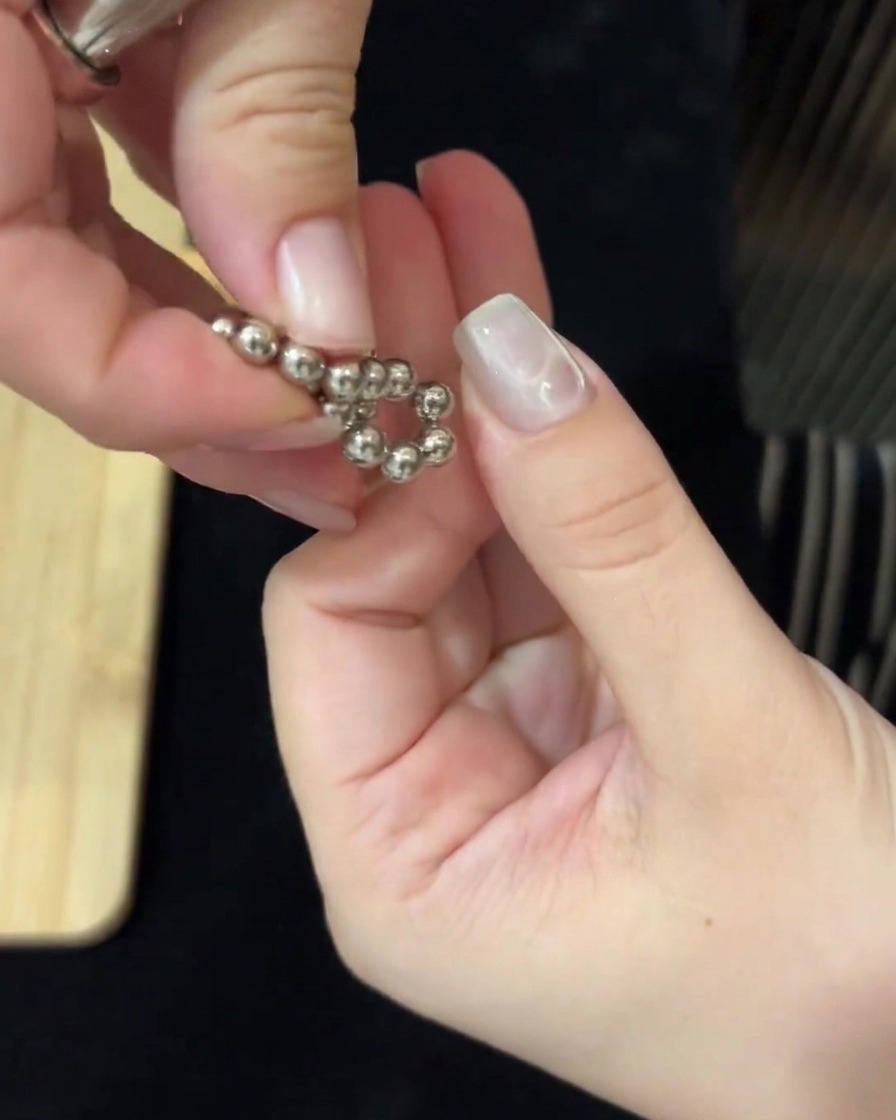
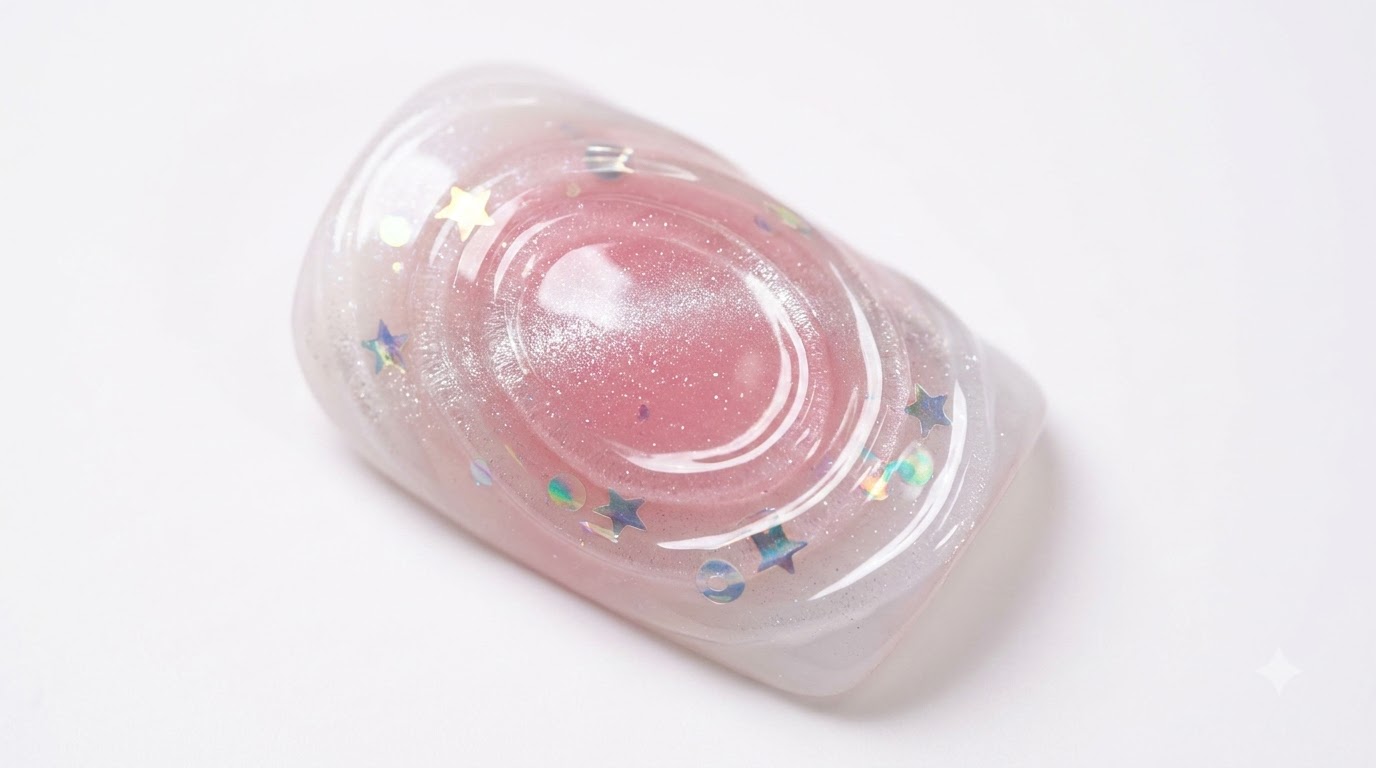
Position magnets on both the left and right sides of the nail to attract the magnetic elements, shaping the gel into a distinct water ripple pattern.
Tip: Balance the pull from both sides to achieve an even and natural-looking ripple texture. - 5Cure the water ripple gel
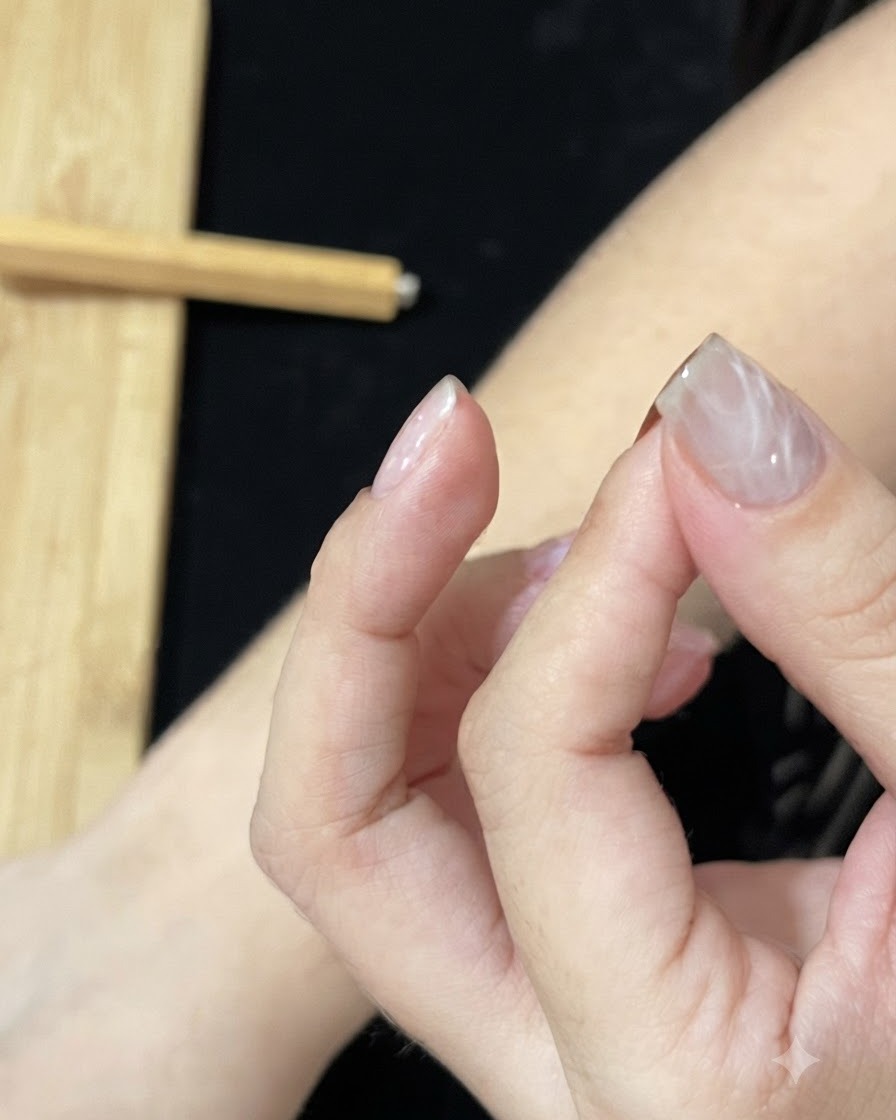
Place the finger under a UV or LED lamp to cure the newly shaped magnetic water ripple gel layer, locking the pattern in place.
Tip: Cure immediately after shaping so the magnetic design does not shift or flatten out. - 6Apply blue glass gel on nail tip
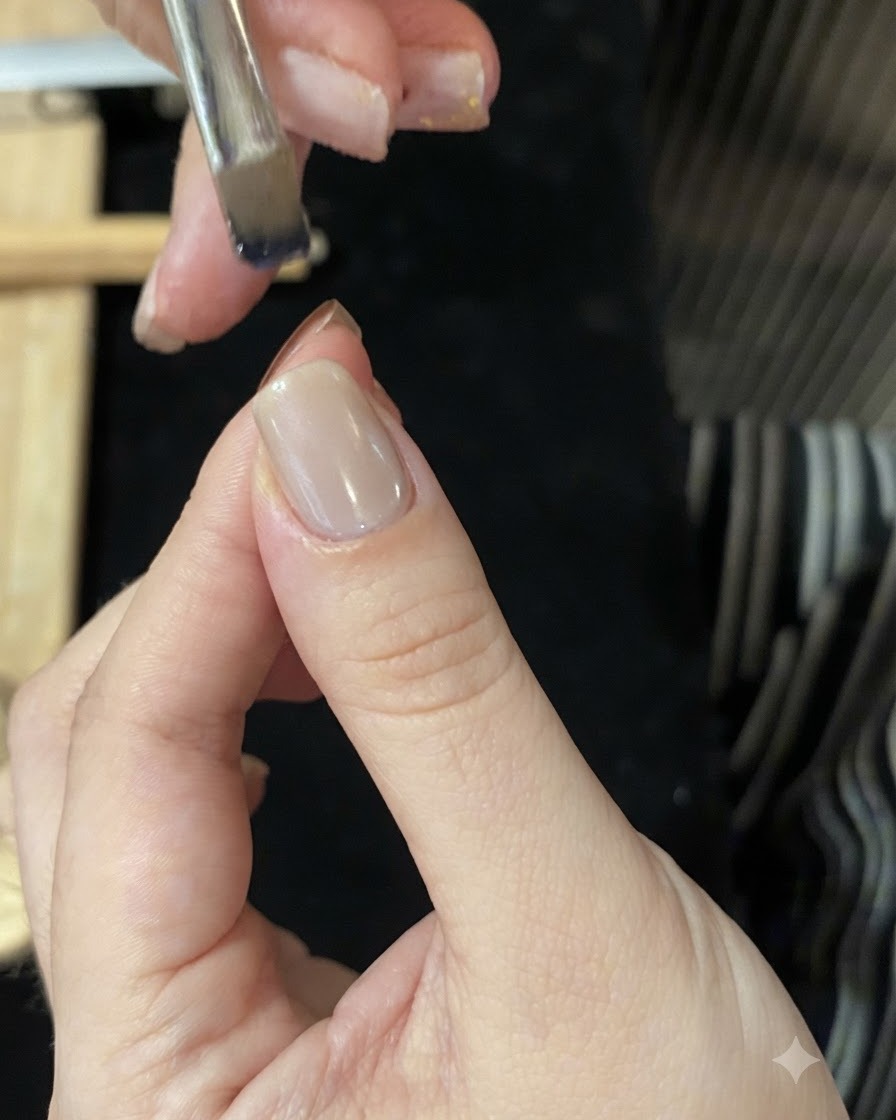
Dip a brush into the blue glass gel and gently apply it onto the tip of the nail, dabbing to create a smooth ombre gradient effect from deep to light.
Tip: Dab lightly with the brush tip to blend the blue glass gel seamlessly into an airy ombre transition. - 7Create blue gradient effect
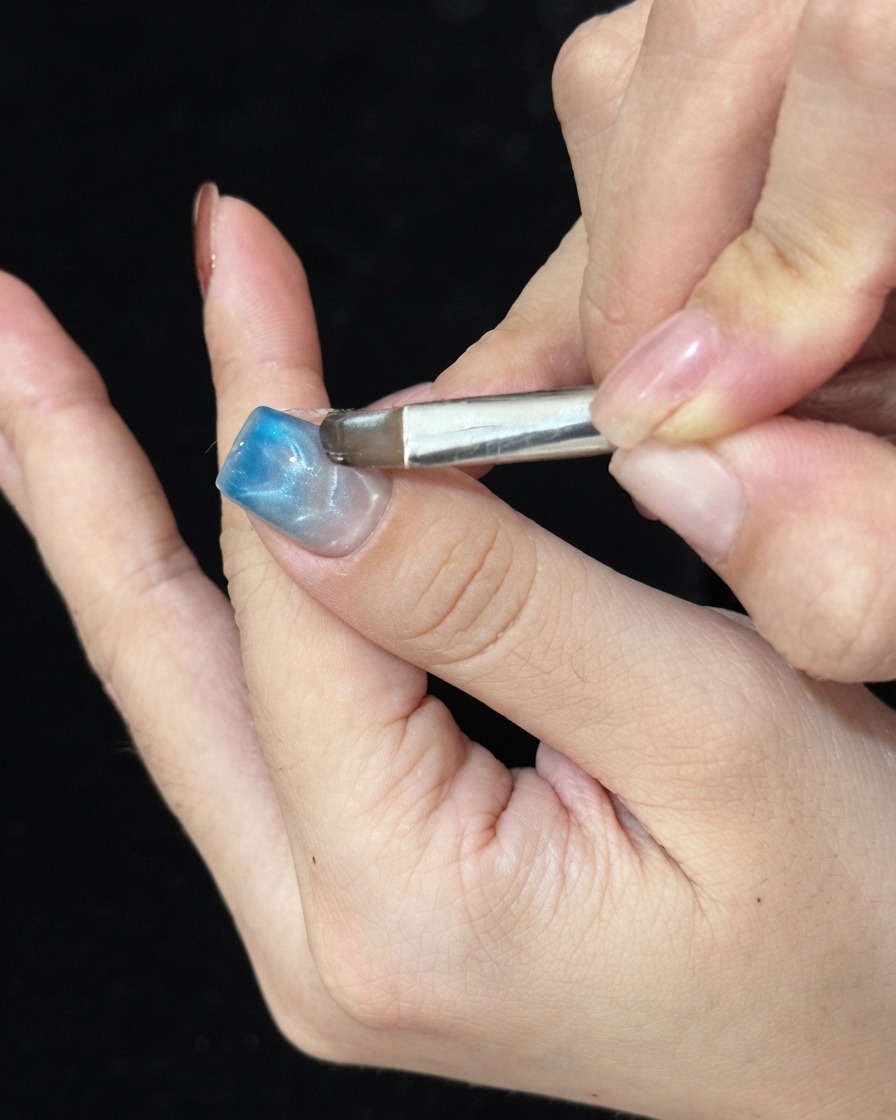
Take a blue glass gel, use a brush to apply it on the tip of the nail, and dab it to create an ombre effect transitioning from deep to light. Carefully blend the edges so the transition looks smooth and natural before curing.
Tip: Dabbing with a sparse brush or sponge technique prevents harsh lines when creating an ombre effect. - 8Cure the gradient layer
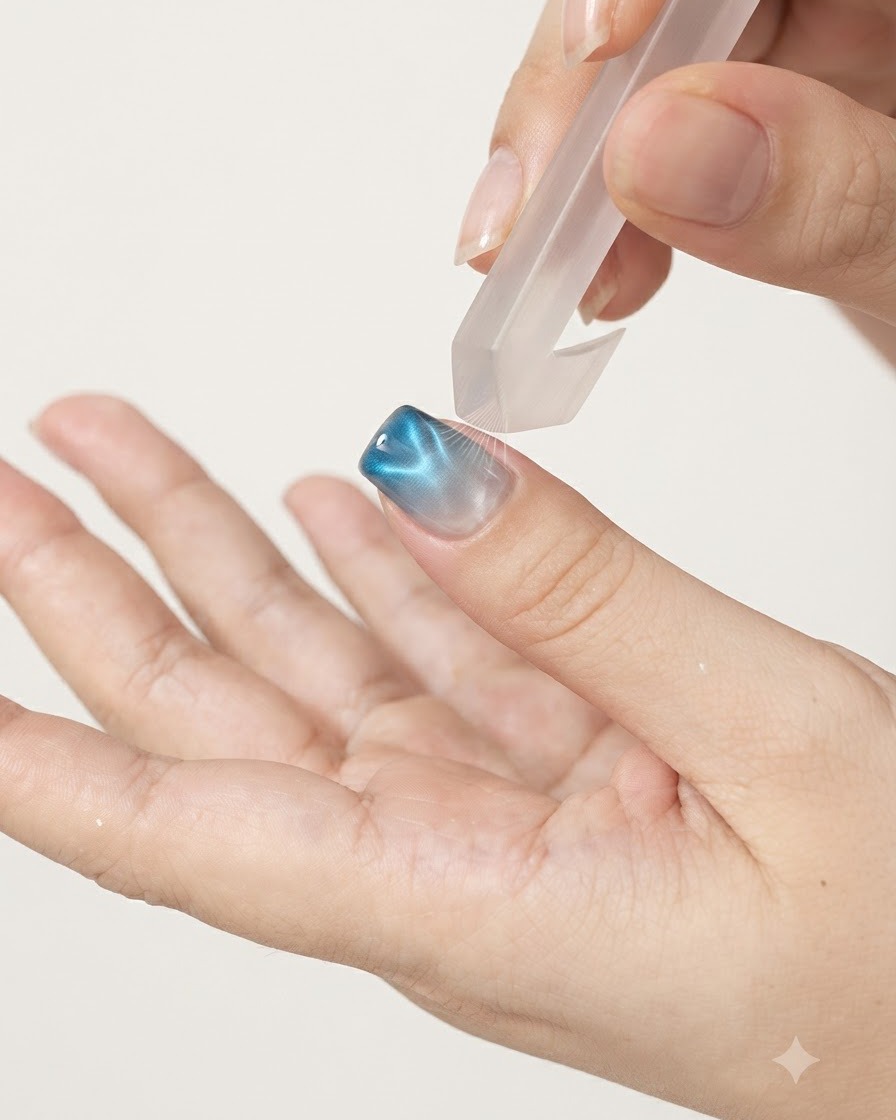
Place the finger under the UV or LED lamp and cure the blue gradient layer thoroughly. Ensure the light covers the entire nail surface to lock the pigment and design in place.
Tip: Keep your finger steady inside the lamp to avoid shifting the uncured gel layers. - 9Apply top coat
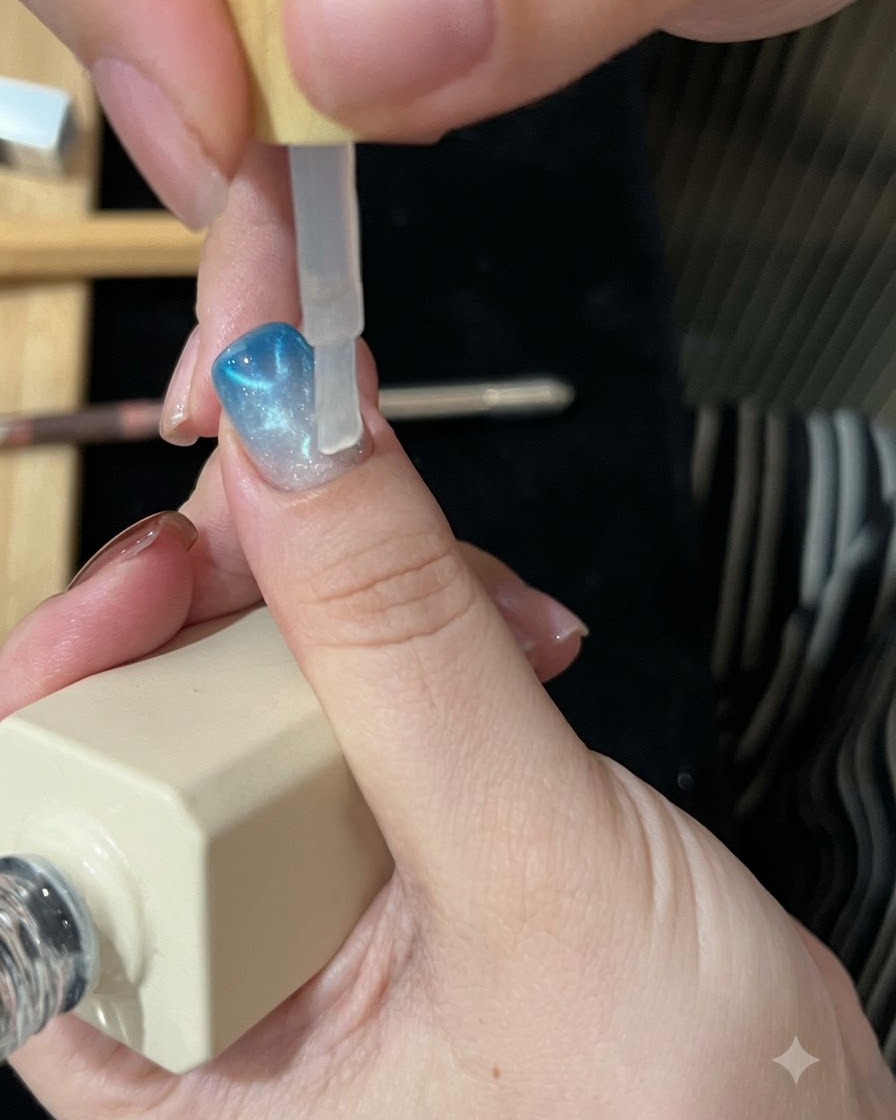
Brush a thin, even layer of top coat over the entire nail, ensuring full coverage over the nail art and gradient design. Cap the free edge to seal the manicure and provide long-lasting shine and protection.
Tip: Be sure to cap the tip of the nail with top coat to prevent premature chipping and peeling. - 10Cure the final top coat
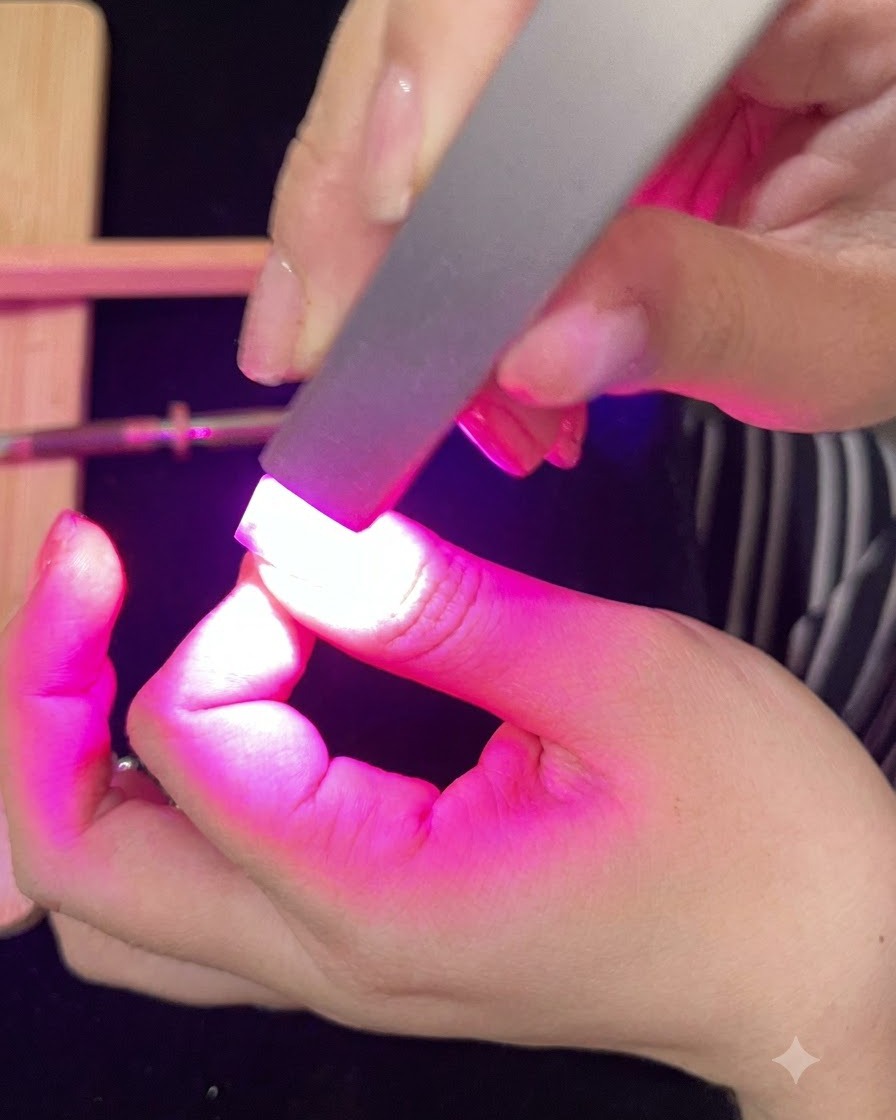
Place the nail under the UV or LED lamp to cure the final top coat layer completely. This final curing step hardens the protection layer, locks in the gloss finish, and completes the entire manicure process.
Tip: Ensure the curing time matches your top coat product instructions to achieve a fully hardened, high-gloss shine.