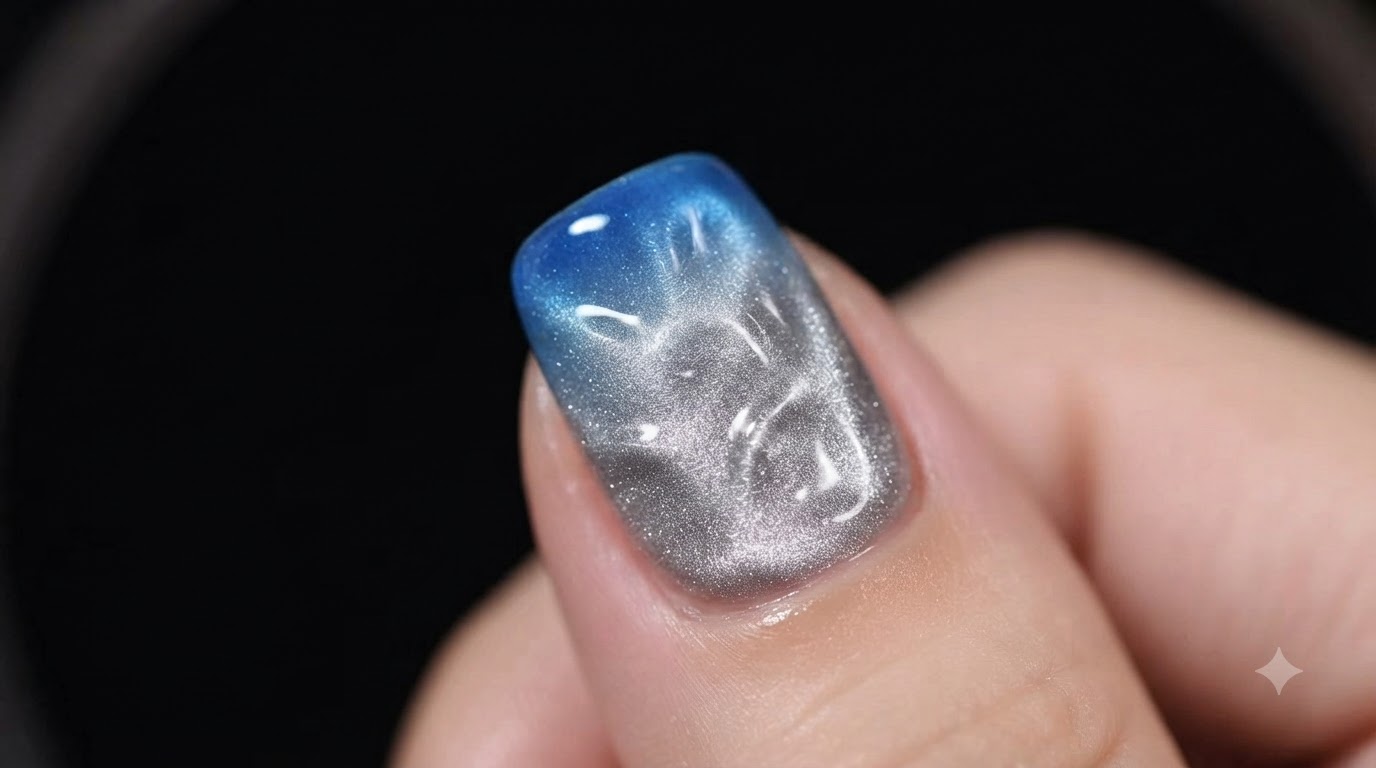
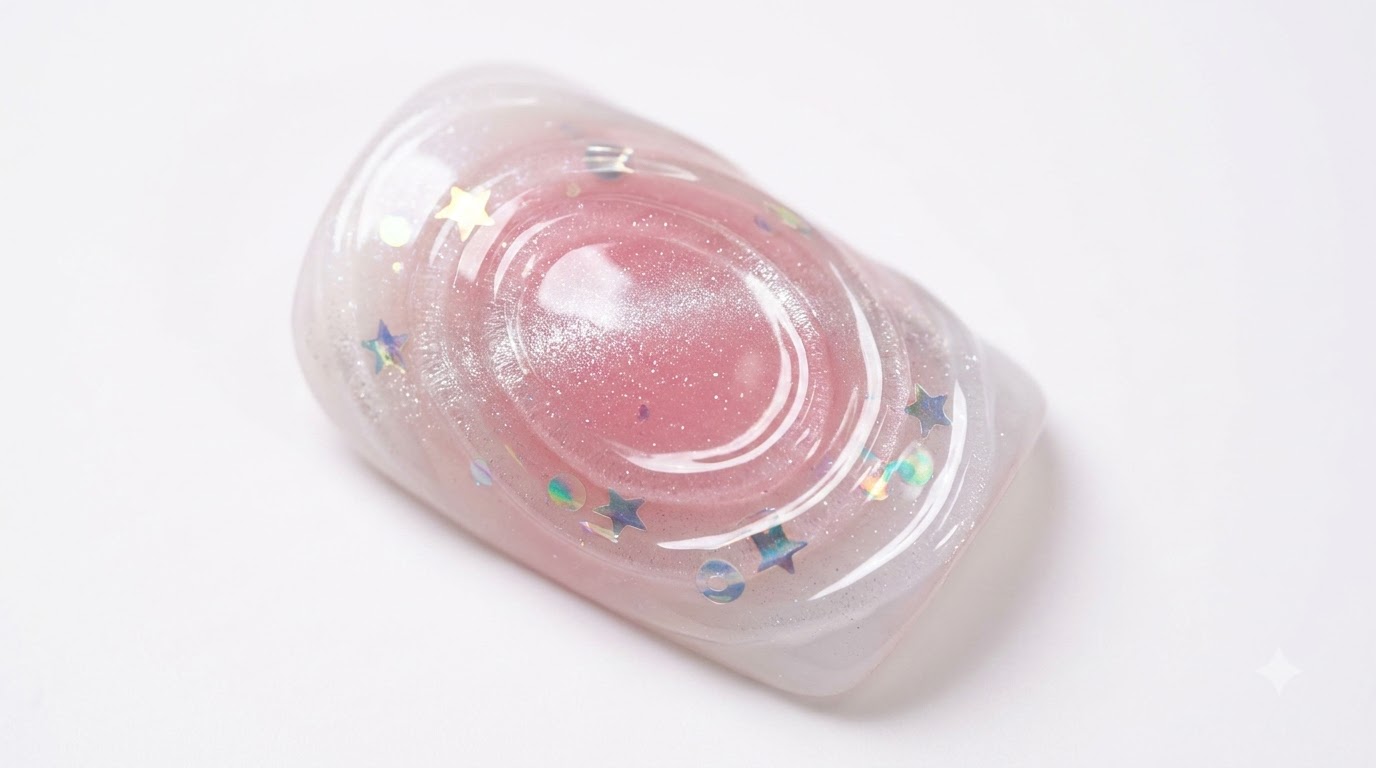
Summer Water Ripple Nail Art
Pink and Green Gradient — Step-by-Step Tutorial
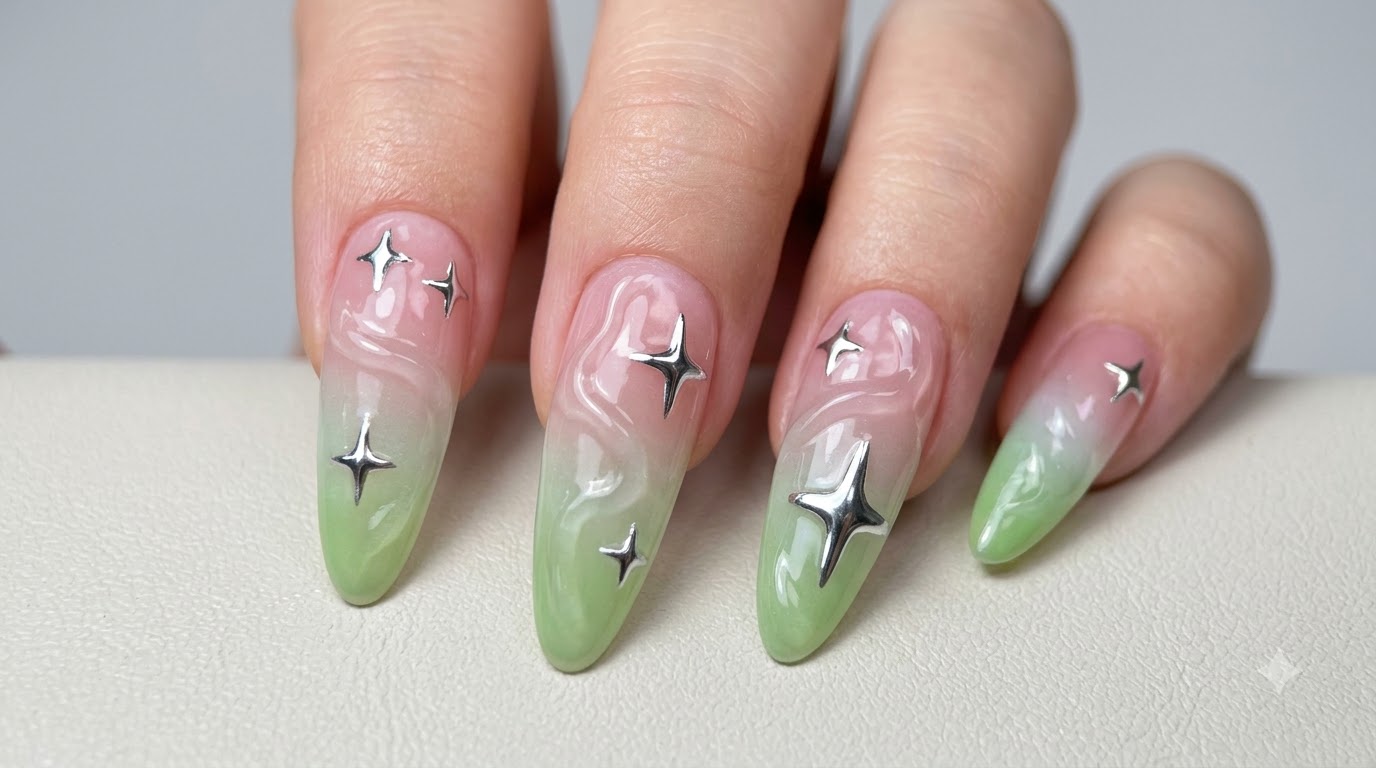
Create stunning summer water ripple nails featuring a soft pink and pastel green gradient paired with shiny silver chrome stars and textured gel dimensions.
Water ripple nail art continues to capture the essence of summer, offering a mesmerizing, fluid texture that plays with light. By combining a soft pink and green pastel gradient with reflective chrome stars and metallic accents, this design brings a refreshing oceanic vibe straight to your fingertips. Whether you are prepping press-on nails or working on natural enhancements, mastering this layered technique creates a multidimensional look that stands out.
Steps
- 1Blend gradient colors on practice nail tips
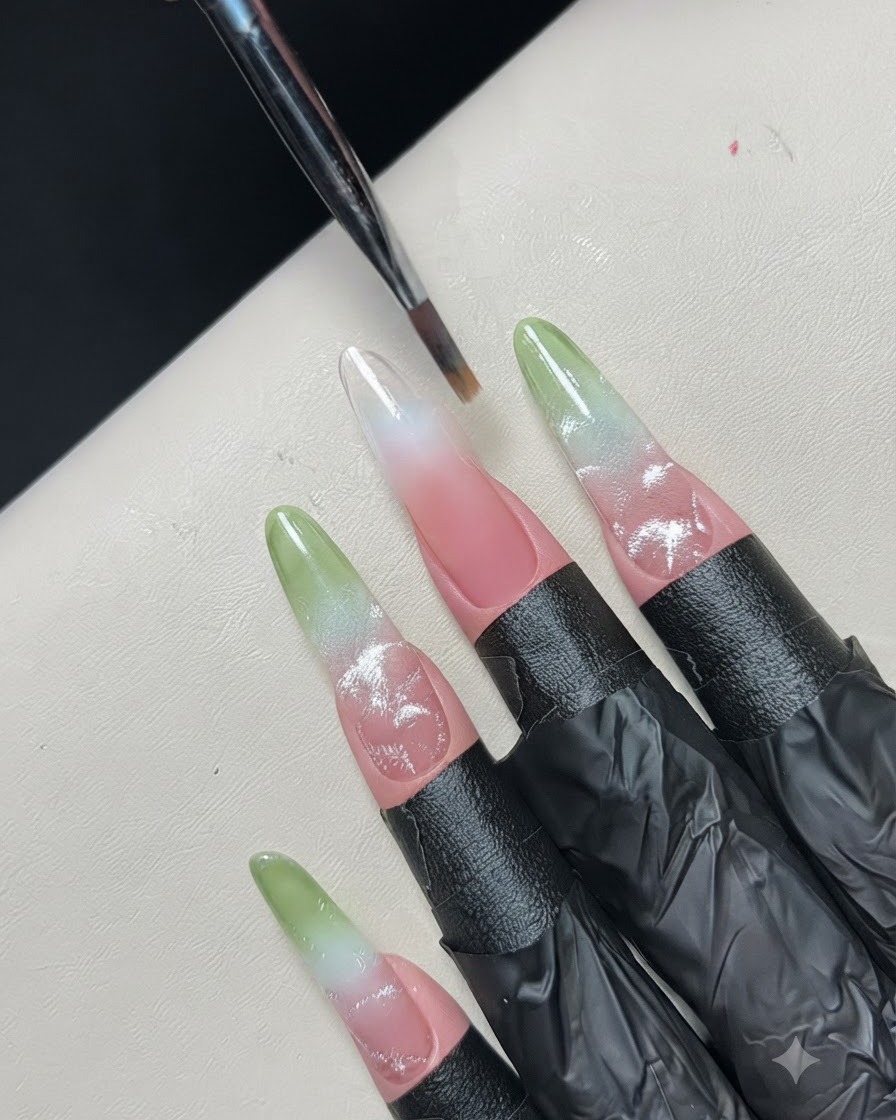
Using a fine nail art brush, carefully blend the colors on the pre-painted gradient nail tips to achieve a seamless ombre transition. Make sure to wipe your brush clean between strokes to avoid muddying the shades. Work gently along the overlapping color boundaries until the transition looks completely smooth and natural.
Tip: Keep your brush strokes light and feathery to blend the gel smoothly without scraping the layers underneath. - 2Select your green gel polish
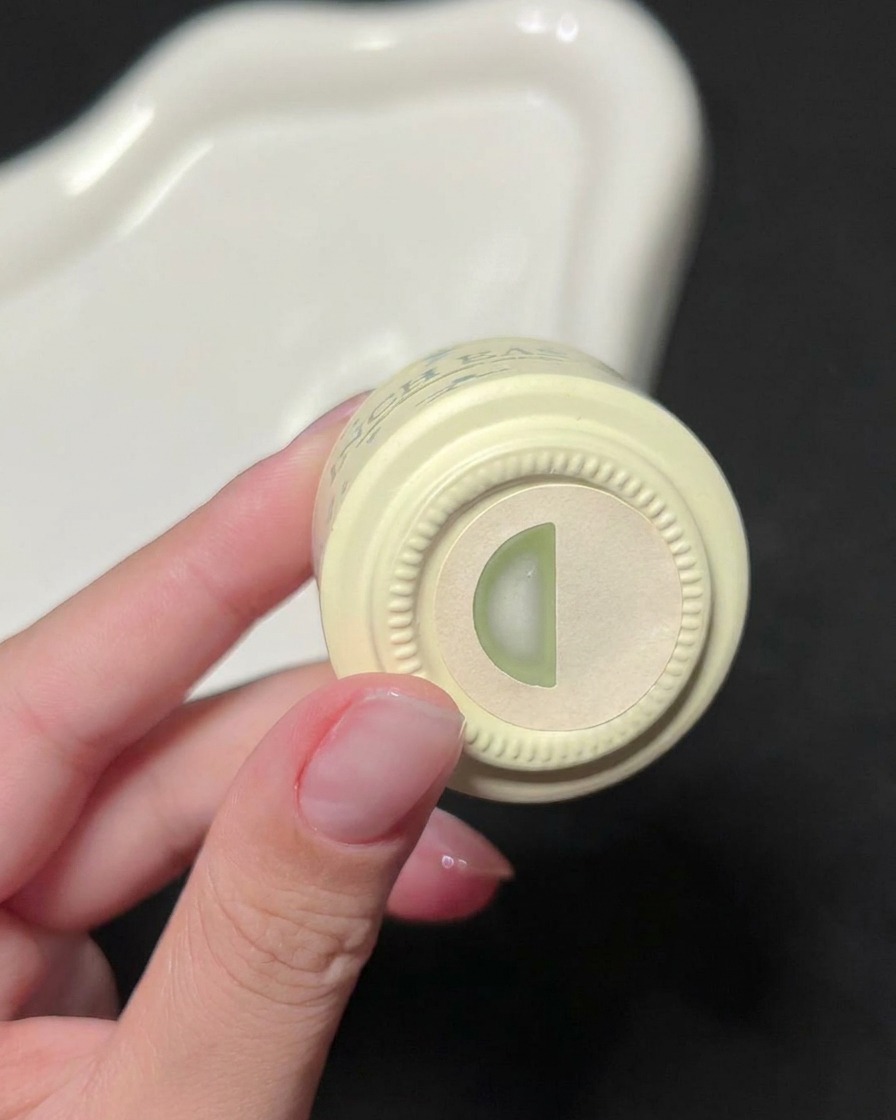
Prepare your green gel polish for the gradient design. We are using a vibrant, jelly-like green from INCH EASY, which blends beautifully for a soft, semi-transparent summer look that resembles water ripples.
Tip: Roll the gel polish bottle between your palms instead of shaking it to prevent creating air bubbles in the polish. - 3Apply green gel polish to the nail tip
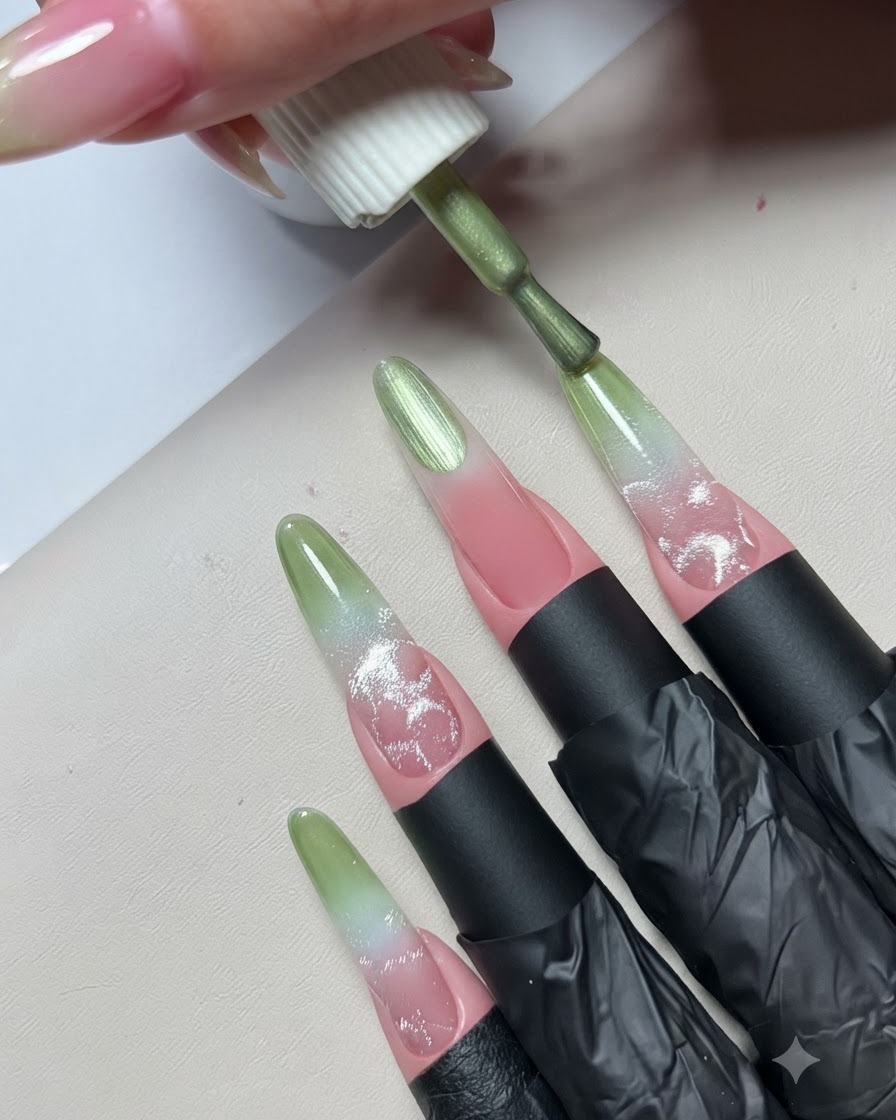
Take the brush applicator and apply a thin amount of green gel polish specifically to the tip area of the practice nail. Focus the product near the very end to build up the color intensity for the summer gradient design. Avoid getting the green polish too close to the cuticle zone.
Tip: Applying product in thin layers prevents wrinkling and ensures the gel cures properly under the lamp. - 4Smooth the green gel polish transition
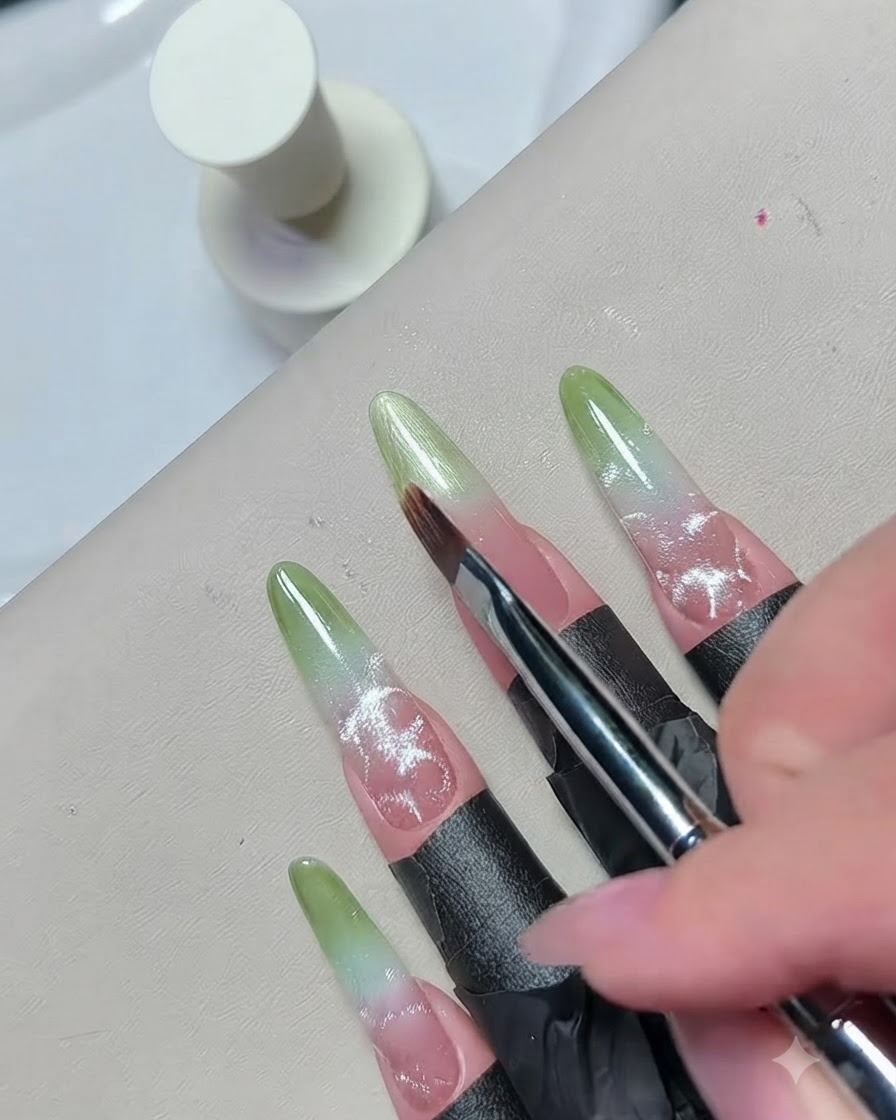
Using a clean fine detailing brush, work over the freshly applied green gel polish to blend and smooth out its boundary line. Feather the color backward slightly so it merges softly into the lighter base shade. Take your time to ensure the transition gradient remains clean and balanced across the nail surface.
Tip: Lightly tapping with the tip of the brush can help disperse pigment evenly for a flawless ombre gradient. - 5Add a touch of green gel polish to the tip
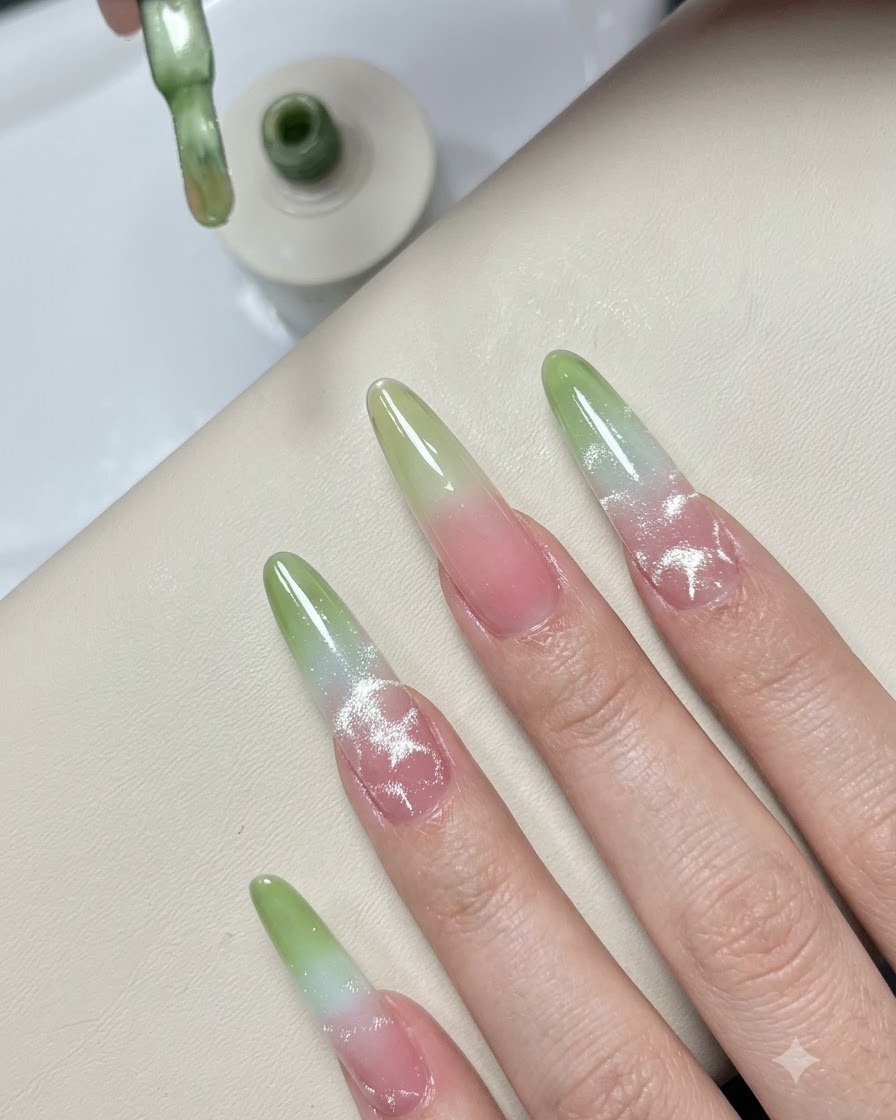
Apply another small amount of green gel polish directly to the nail tip to intensify the color saturation. This extra touch deepens the hue at the very edge of the nail to complete the summer gradient effect. Keep the application concentrated near the free edge before the next blending step.
Tip: Building color in multiple thin layers creates a richer, more vibrant final look than one heavy coat. - 6Blend the green gel polish further
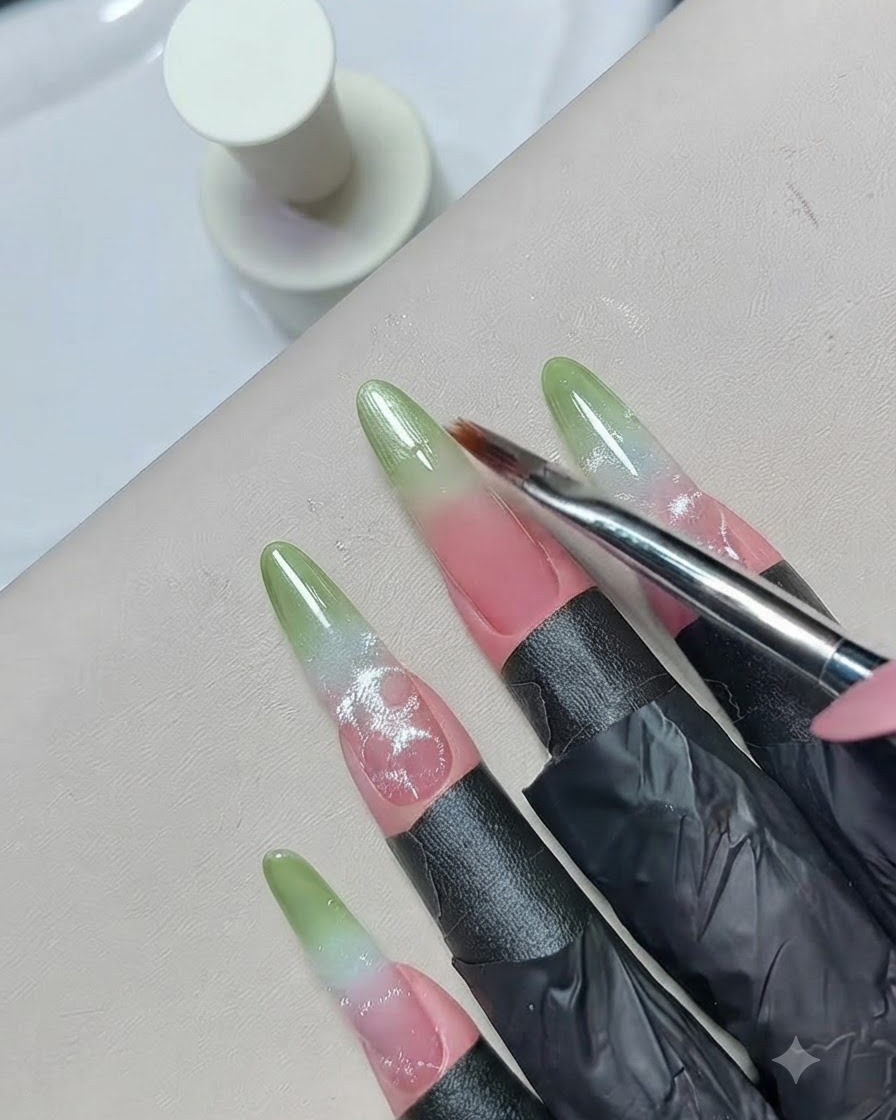
Take the fine detailing brush once more and blend the newly added green gel polish further down the nail. Work the bristles in gentle strokes to eliminate any harsh lines and ensure a smooth, professional gradient finish. Check that the color fades evenly toward the center of the nail.
Tip: Always clean your brush on a lint-free wipe dampened with cleanser if it picks up too much excess pigment. - 7Display the INCH EASY silver gel bottle
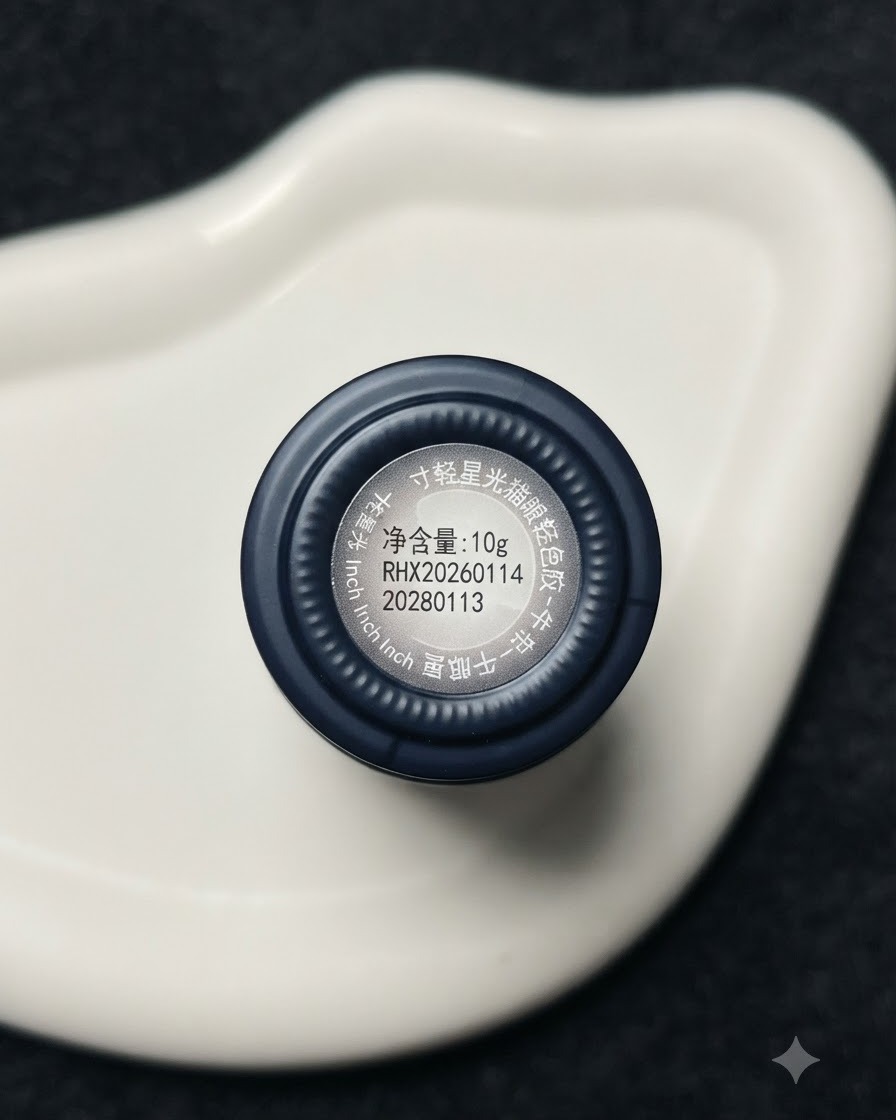
Hold up and display the bottle of INCH EASY silver magnetic or metallic gel polish to introduce the product used for the star details. Ensure the label and bottle markings are clearly visible to the viewer for product reference. This special gel will provide the sparkling chrome accents for the summer nail art design.
Tip: Check product labels and shake well before application if the metallic pigments have settled at the bottom. - 8Apply silver metallic gel
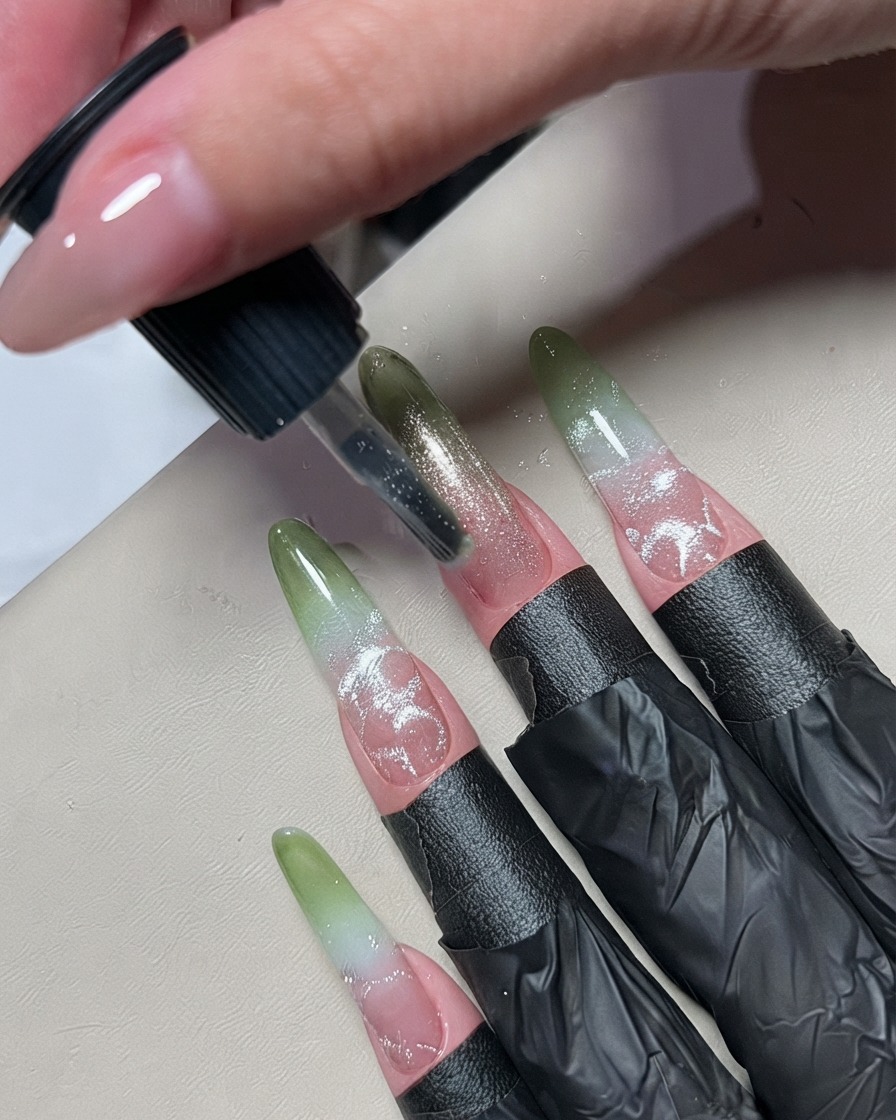
Using a fine brush, apply silver metallic gel polish onto the center of the nail to create details for the water ripple effect. Carefully place the product where you want the light to reflect, ensuring smooth and even lines.
Tip: Keep the gel layer thin and precise so it holds its shape without spreading. - 9Shape the silver gel details
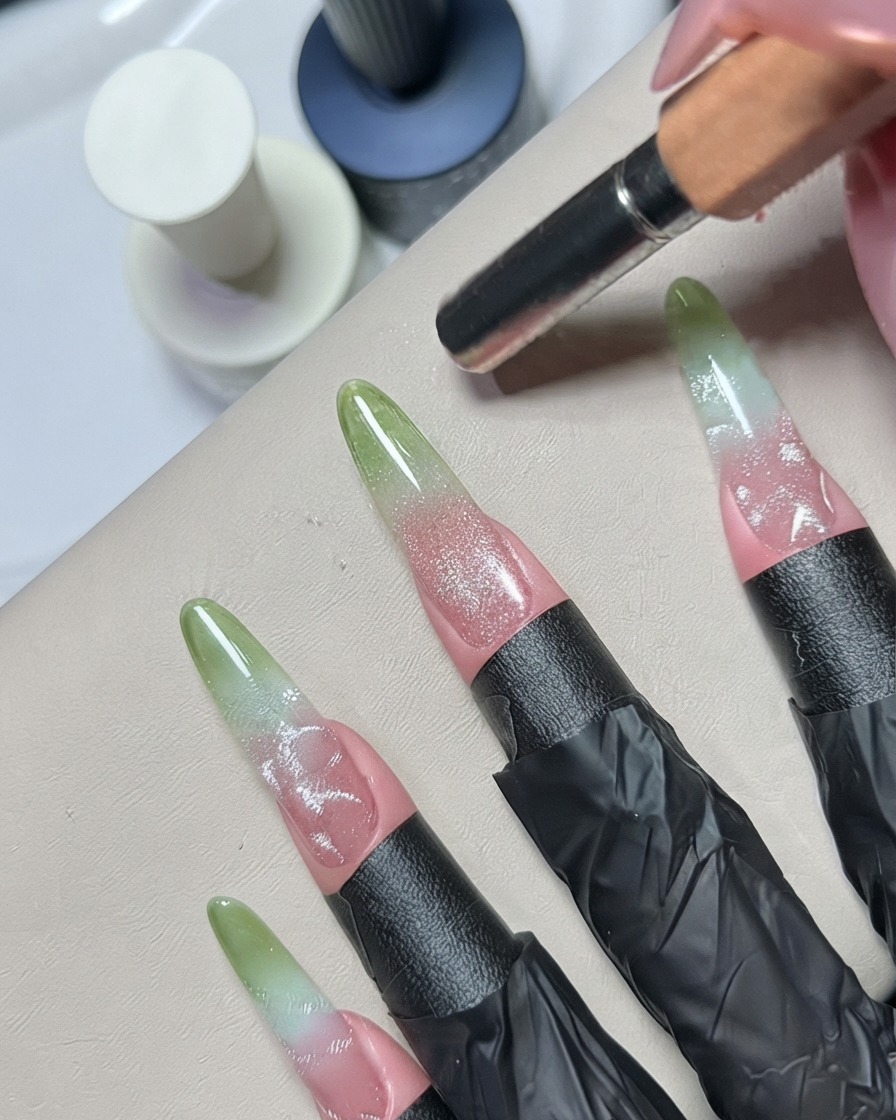
Take a detailing tool or silicone brush to gently blend and shape the silver gel lines on the nail. Feather the edges to create a natural, fluid water ripple dimension before curing.
Tip: Light pressure is key when shaping gel to avoid wiping it away completely. - 10Add metal bead accessories
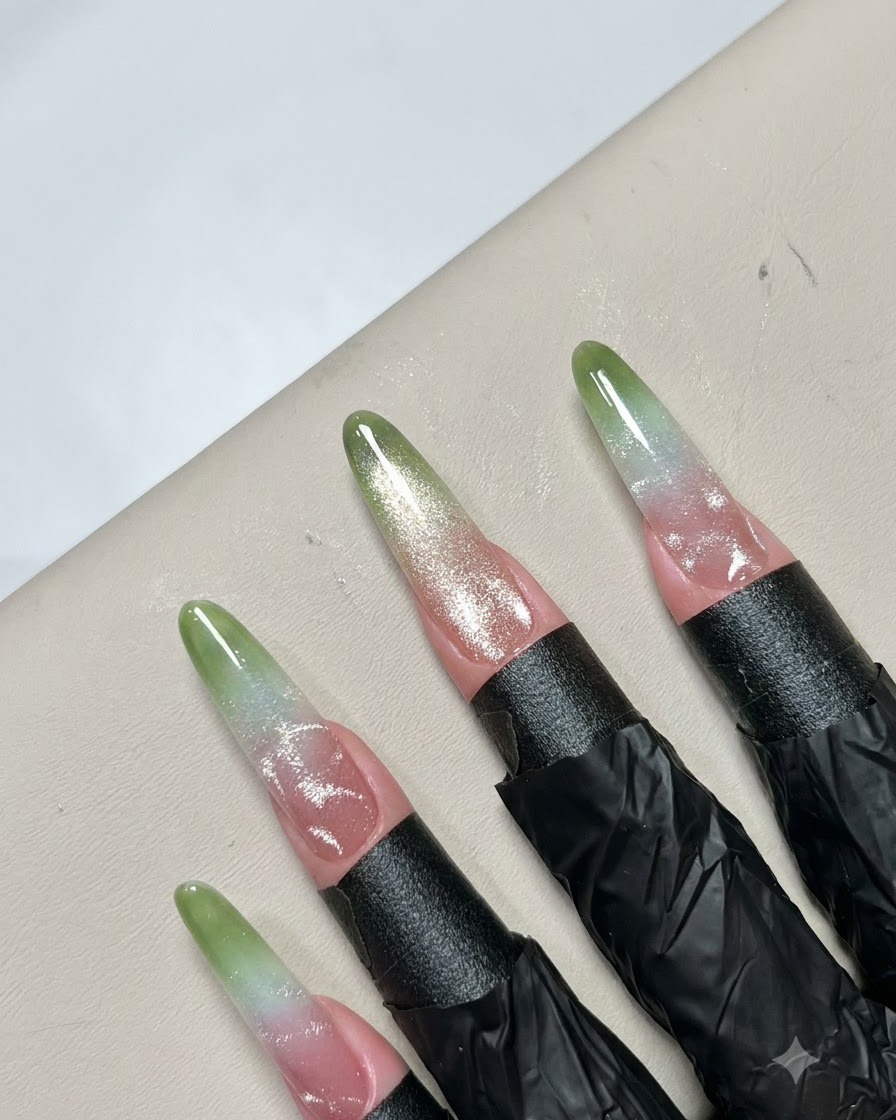
Carefully place metal bead accessories onto the wet gel design on the nail. Use a wax picker or tweezers to position the beads accurately to complement the water ripple aesthetic.
Tip: Place beads into uncured top coat or gel so they stay anchored before setting. - 11Cure with a mini UV/LED light
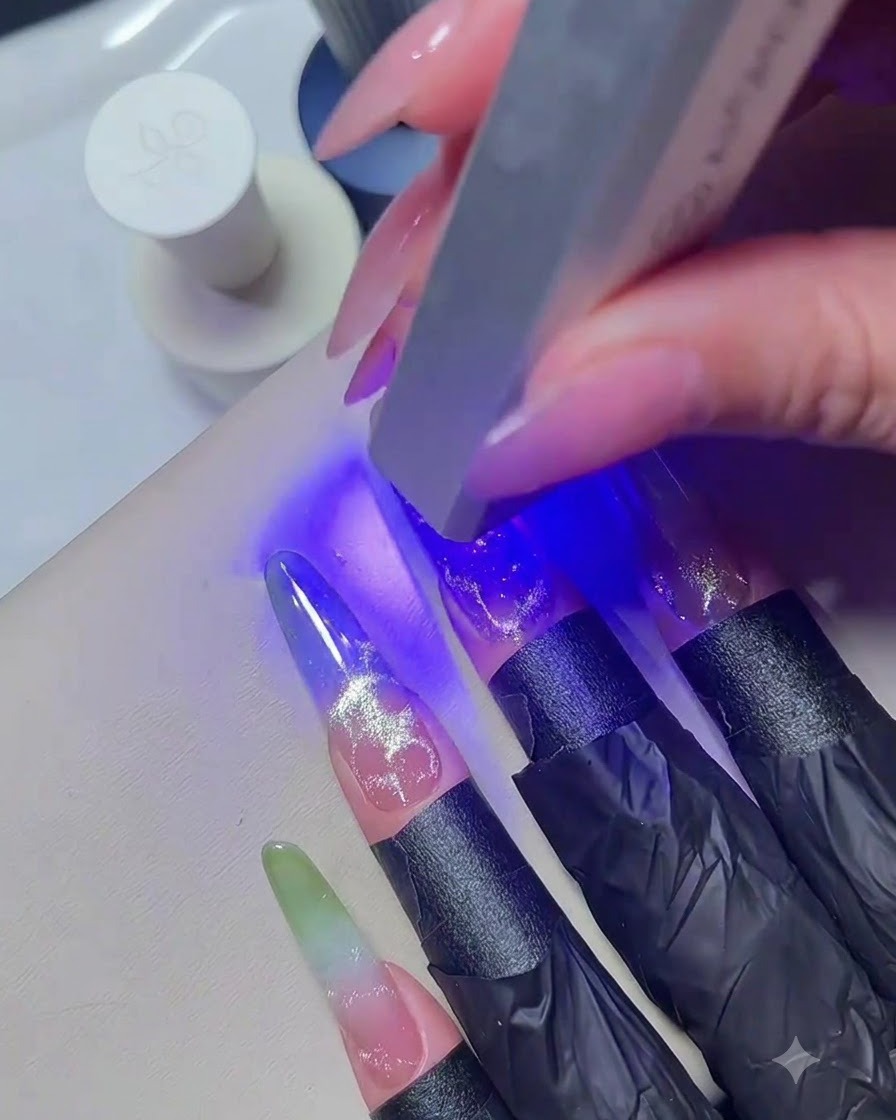
Hold a mini UV or LED flashlight over the nail application to flash-cure the gel and secure the metal bead placement. This prevents the design elements from shifting before the full cure.
Tip: Flash-cure for 10 to 15 seconds to lock intricate designs in place. - 12Check texture and finish
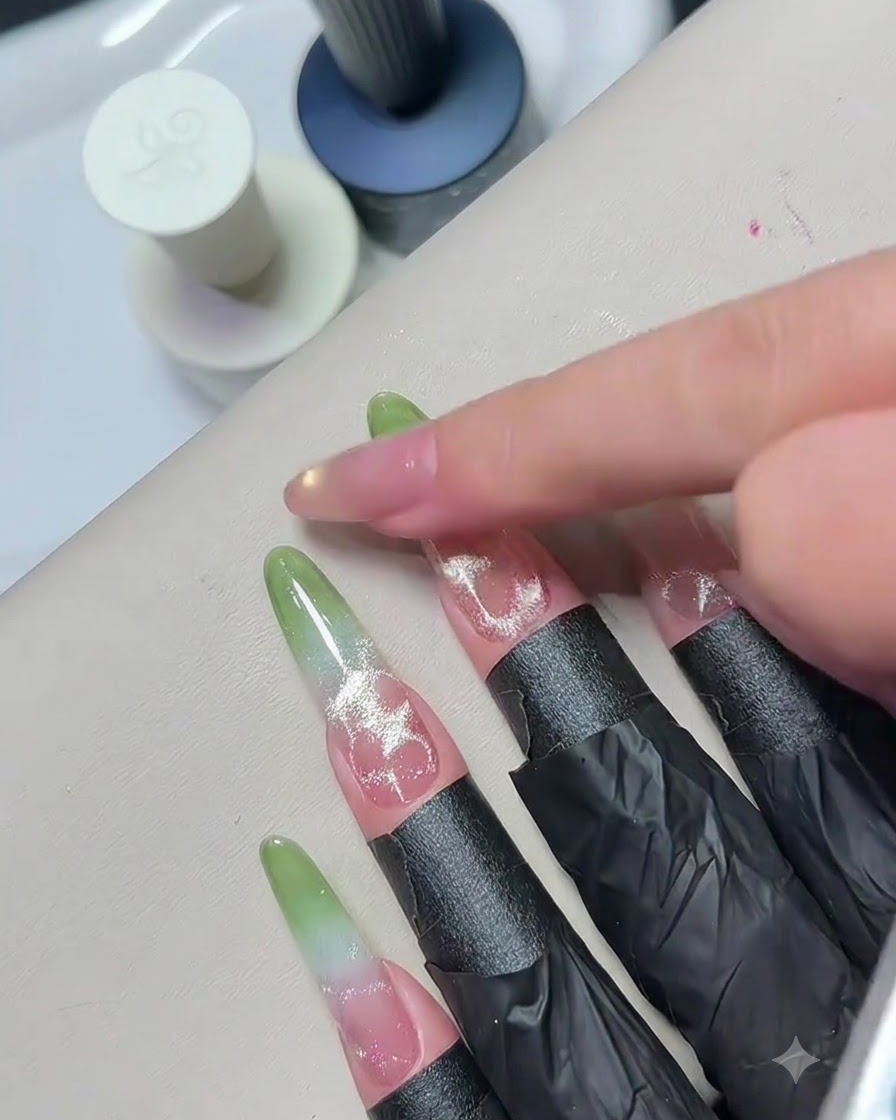
Gently touch the cured nail surface to check the texture and ensure the gel and accessories are fully set. Verify that there are no sharp edges or tacky spots remaining.
Tip: Always double-check that the cured top layer is completely smooth and hard.