Aurora Water Ripple Nail Art — Holographic Cat-Eye
3D Gel Tutorial
Master the trending aurora water ripple nail design featuring iridescent sequins, magnetic silver cat-eye sparkle, and high-shine 3D chrome waves.
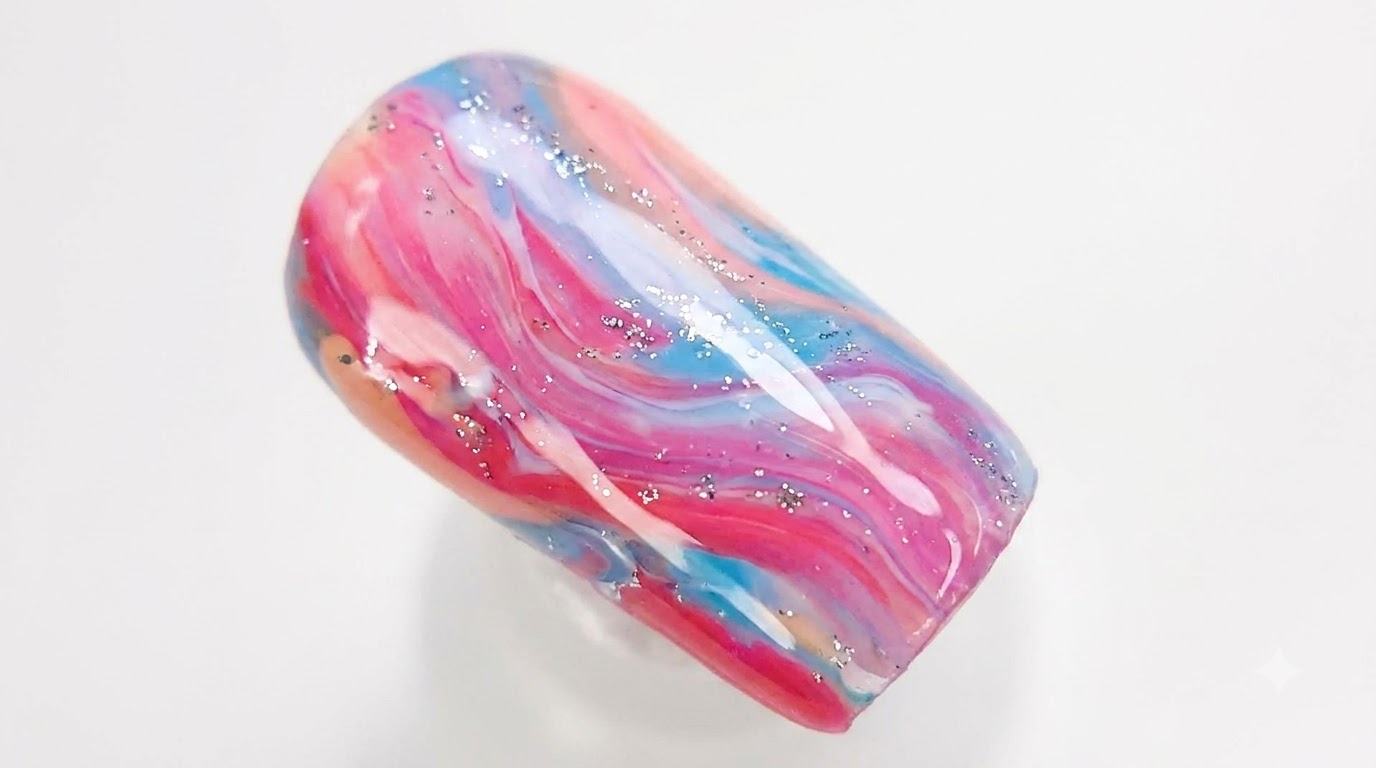
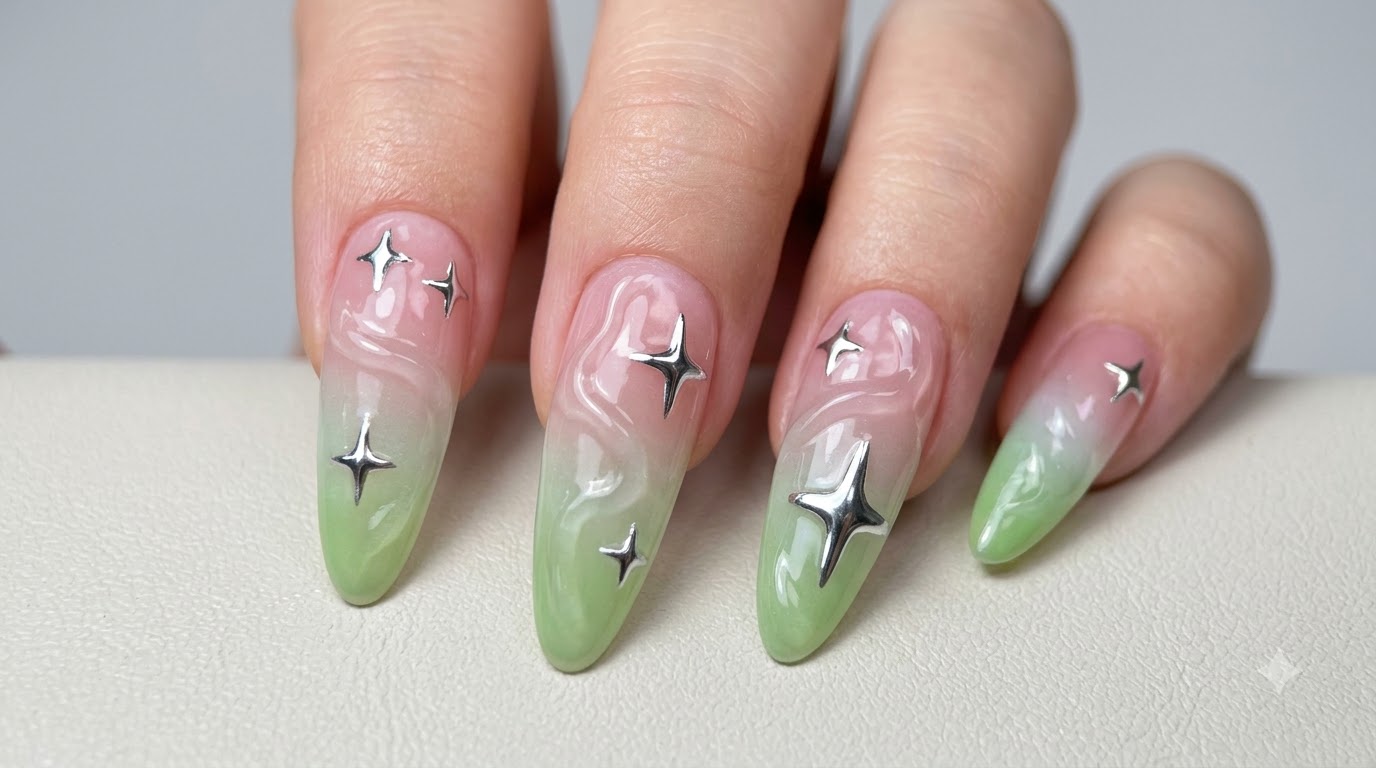
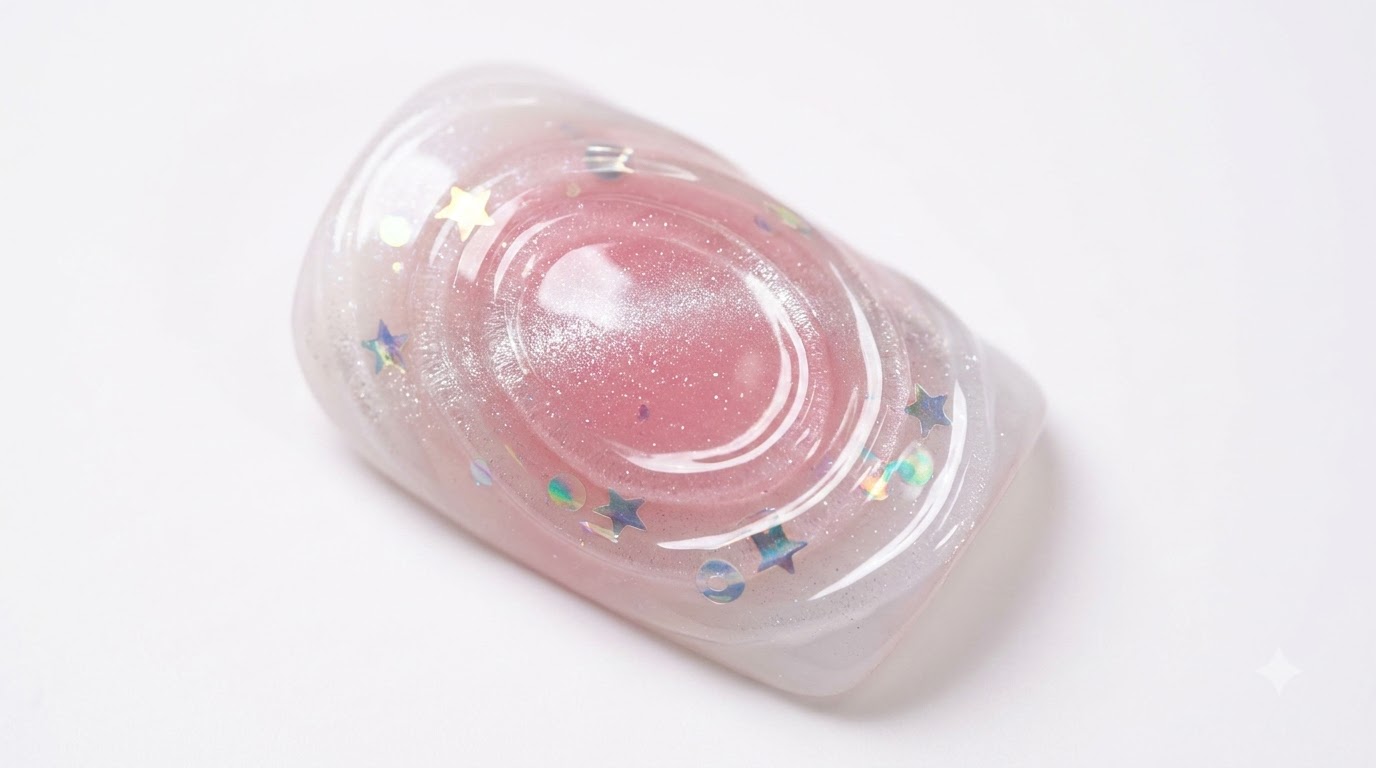
The aurora water ripple trend combines mesmerizing depth with touchable texture, blending magnetic cat-eye brilliance with encapsulated holographic elements. This multi-dimensional style creates a glass-like illusion reminiscent of shimmering ocean currents catching the light. By pairing a soft milky white and pink gradient base with sculpted 3D chrome details, you can achieve a sophisticated salon-quality look right at home.
Steps
- 1Apply milky white gel
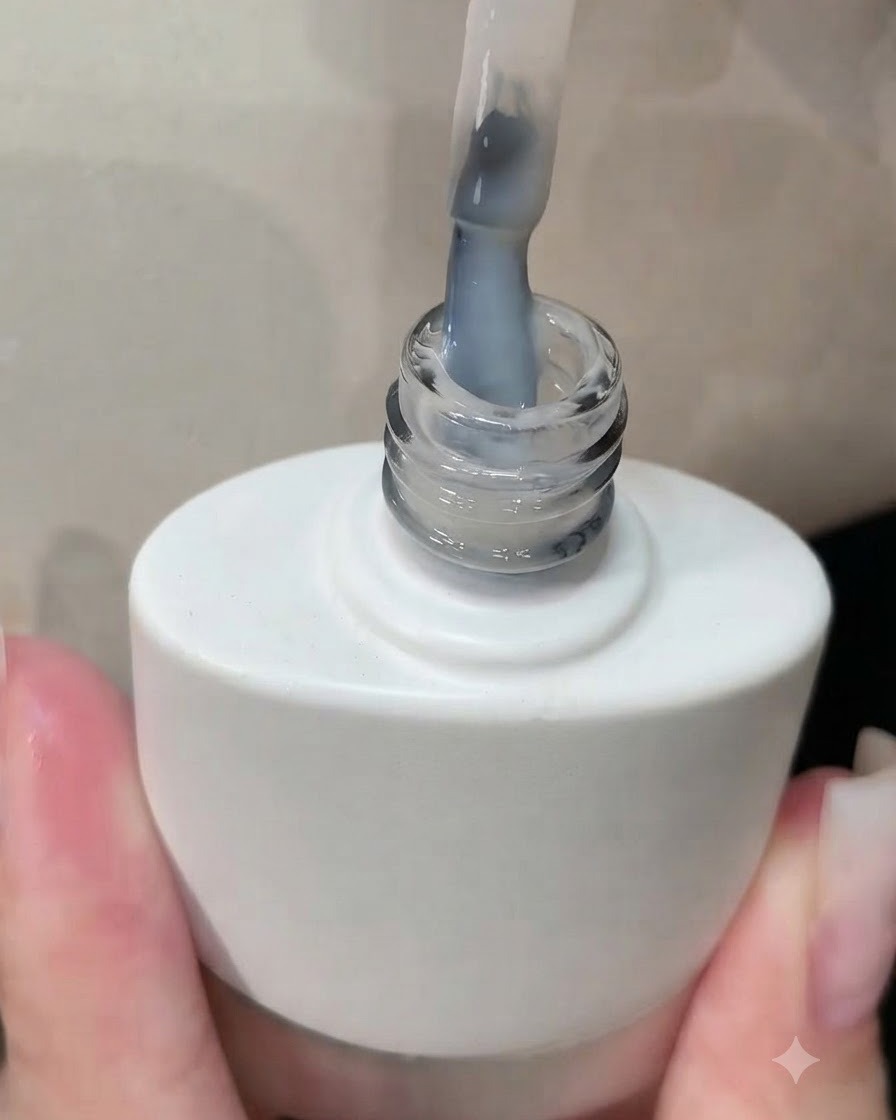
Apply an even coat of milky white gel polish directly onto the prepped nail plate, ensuring smooth coverage from cuticle to free edge without pooling. This semi-translucent shade serves as the soft, neutral base layer for the gradient blush and encapsulated elements.
Tip: Cap the free edge with your gel brush to prevent premature chipping and lifting along the tips. - 2Cure the milky white gel
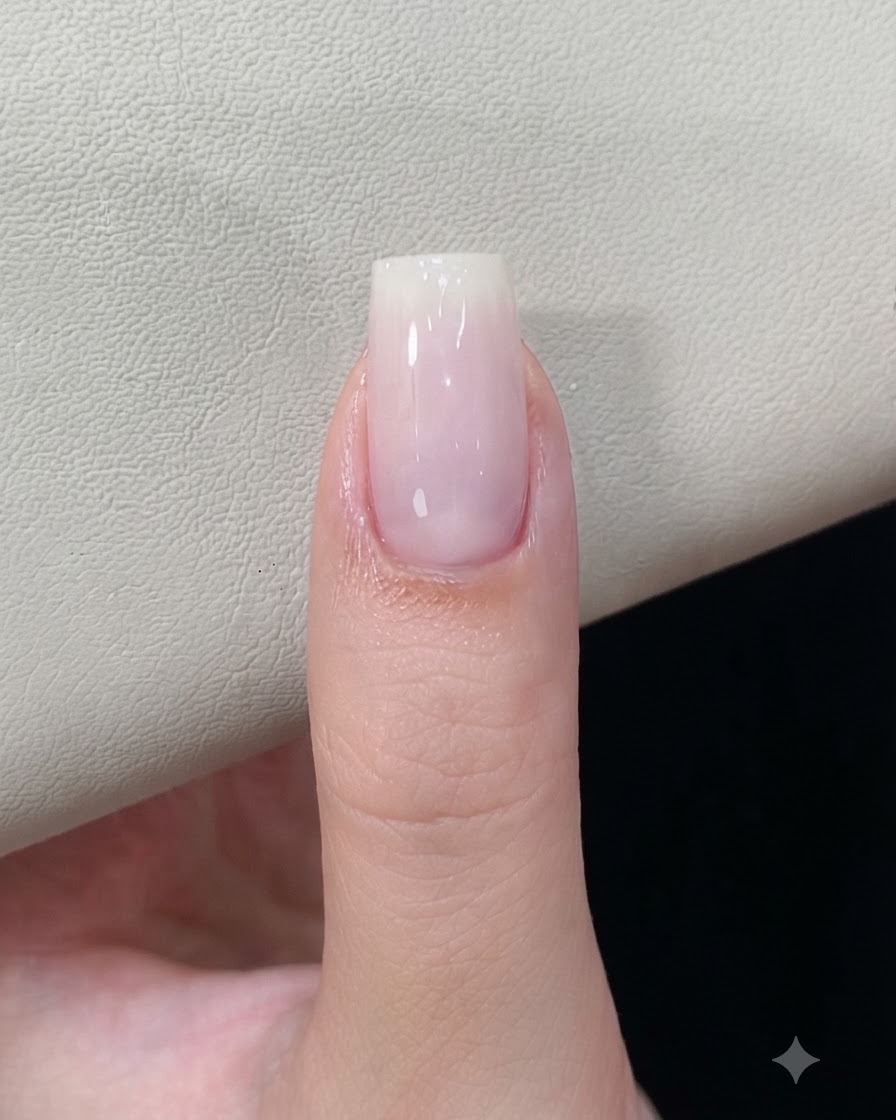
Position the finger directly under the UV/LED nail lamp to cure the milky white gel layer. Allow it to cure completely according to the gel manufacturers recommended time.
Tip: Ensure your hand is centered under the lamp lights for an even, thorough cure across the entire nail surface. - 3Wipe away sticky layer
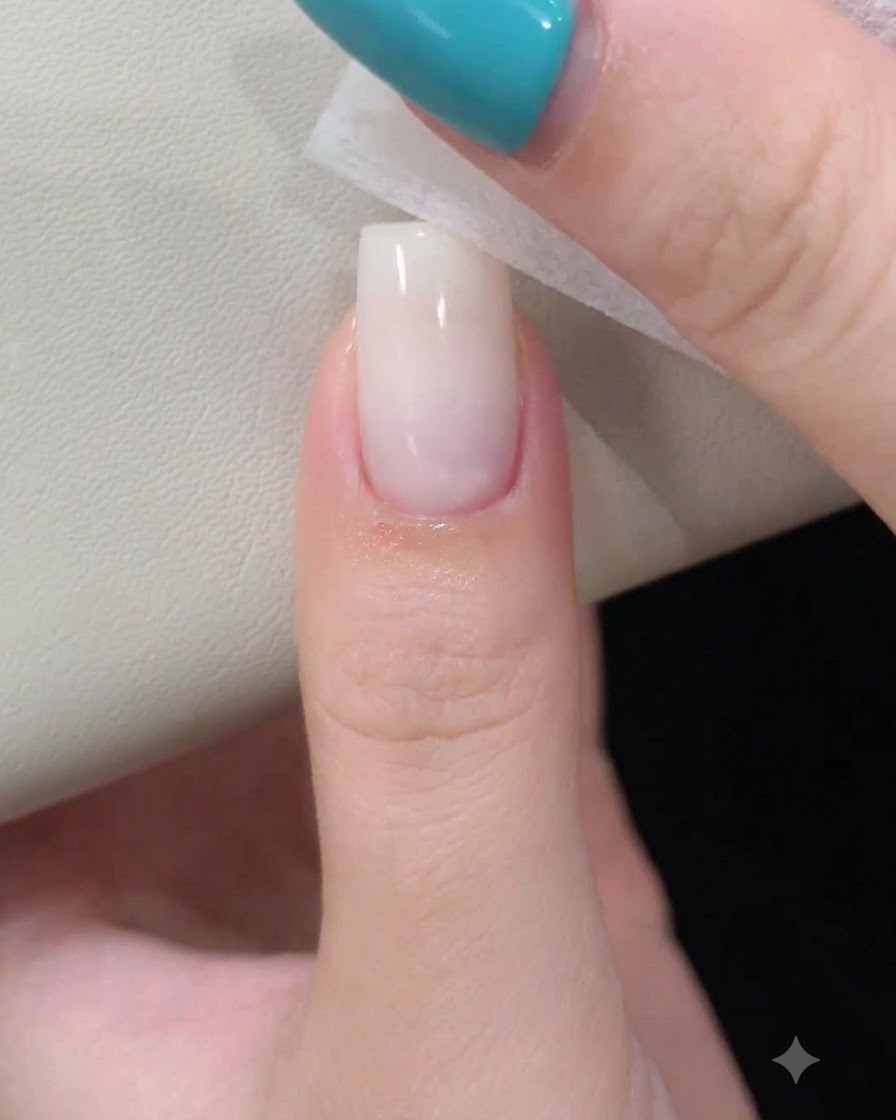
Take a lint-free cleansing wipe saturated with nail cleanser or alcohol and gently wipe down the surface of the cured nail to remove the tacky inhibition layer. This cleans the surface and prepares it for the subsequent powder application.
Tip: Ensure the wipe is clean and lint-free so no fibers get stuck onto the tacky or freshly wiped surface. - 4Apply pink blush powder gradient
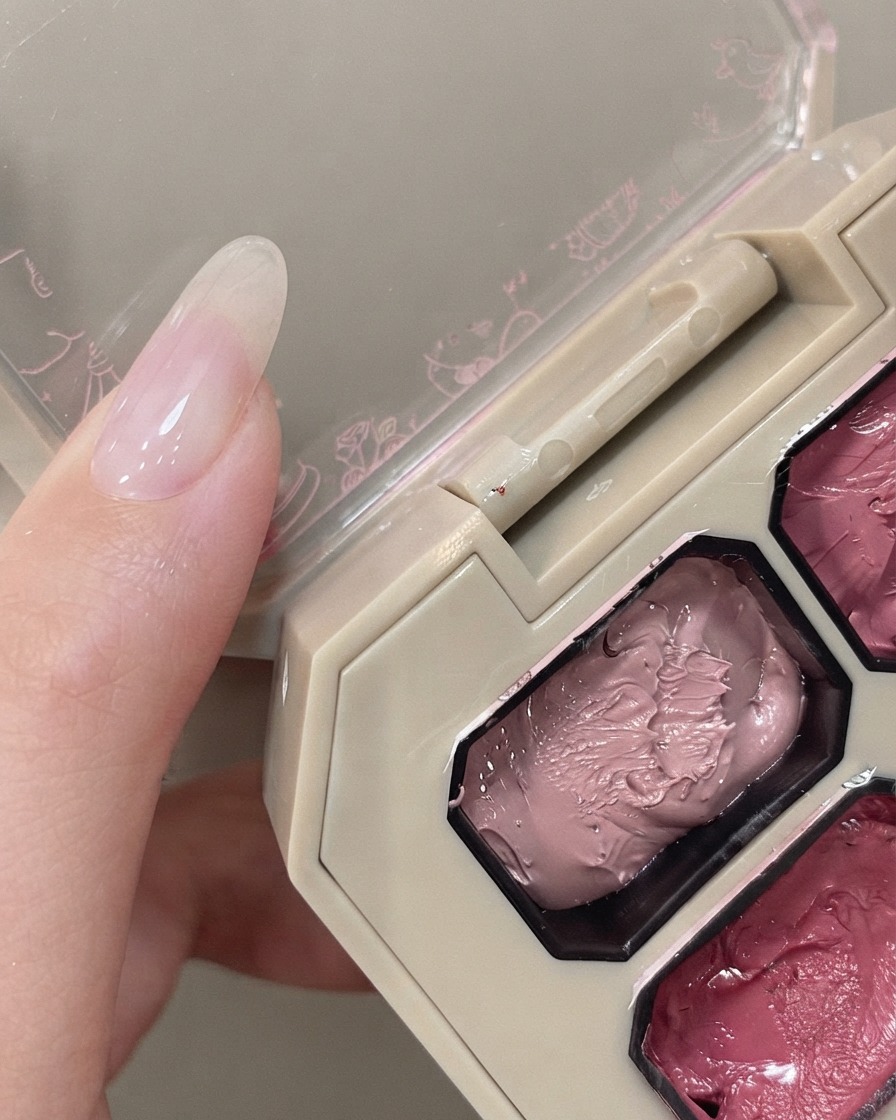
Dip a sponge applicator into the pink blush powder from the makeup palette. Gently dab the powder onto the center of the nail plate, building up color intensity to create a soft, diffused gradient effect.
Tip: Tap off excess powder from the sponge before applying to avoid heavy patches and ensure a smooth ombre transition. - 5Apply silver magnetic cat-eye gel
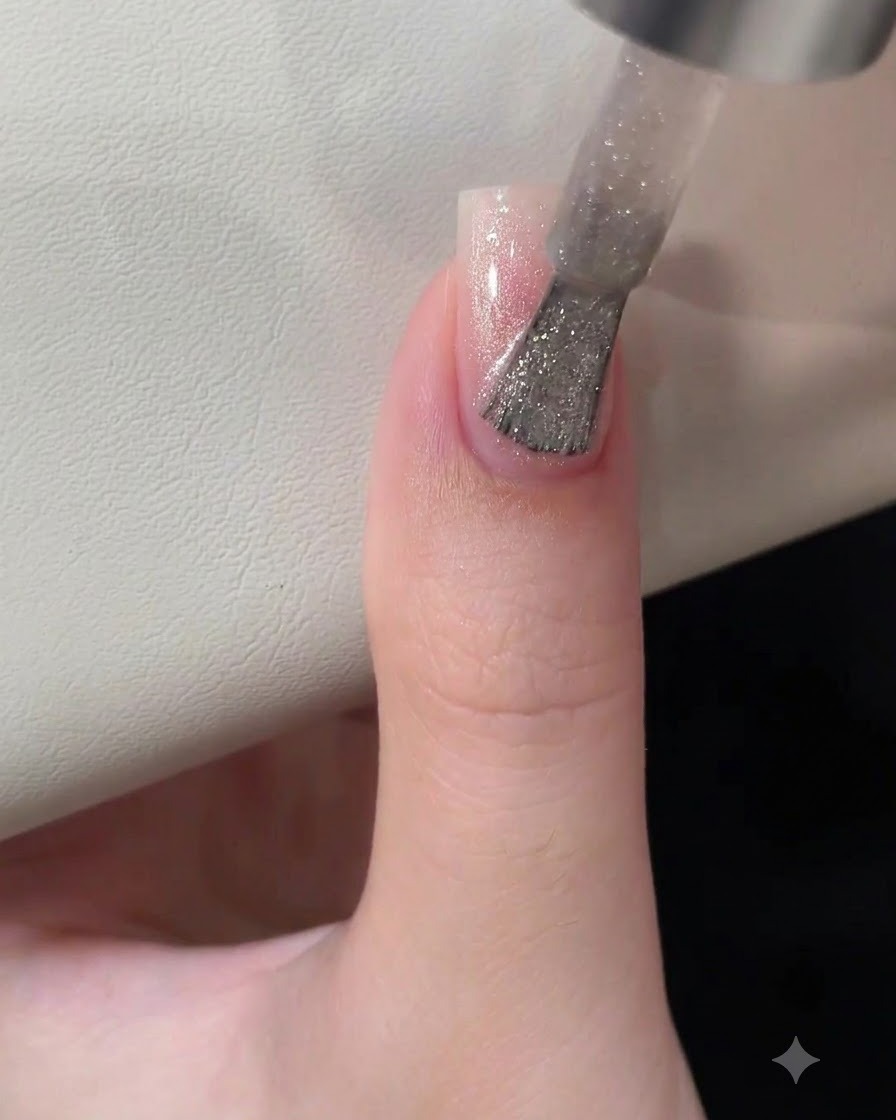
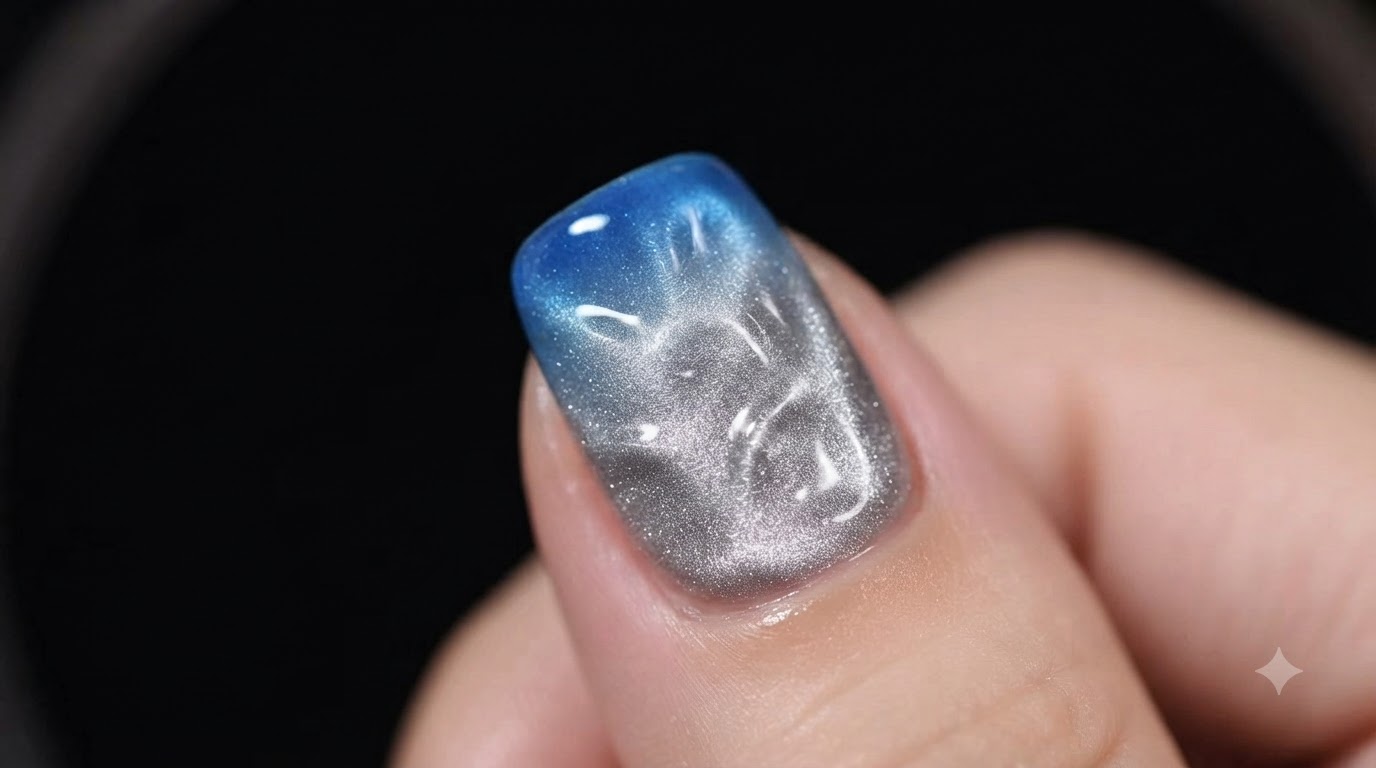
Apply a thin layer of silver magnetic cat-eye gel evenly over the entire gradient nail base. Do not cure yet, as the magnetic particles need to be manipulated while the gel is still wet.
Tip: Apply an even, moderate amount of cat-eye gel so the magnetic particles can move freely and create a sharp highlight. - 6Create cat-eye highlight
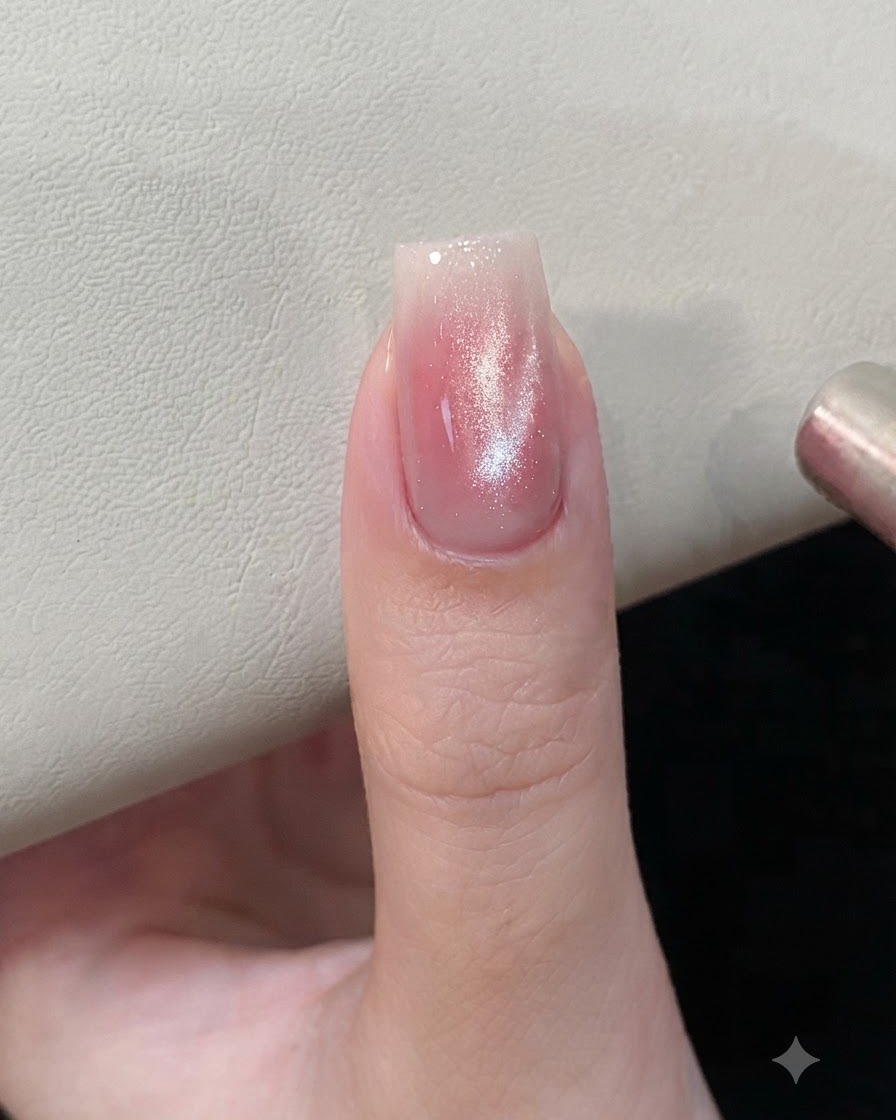
Hover a strong magnetic wand closely over the uncured magnetic gel layer without touching the surface. Hold it steady for a few seconds to draw the suspended silver metallic particles into a sharp, concentrated cat-eye beam down the center of the nail.
Tip: Keep your hand completely steady while magnetizing, as any slight movement can scatter the reflective particles. - 7Cure cat-eye gel
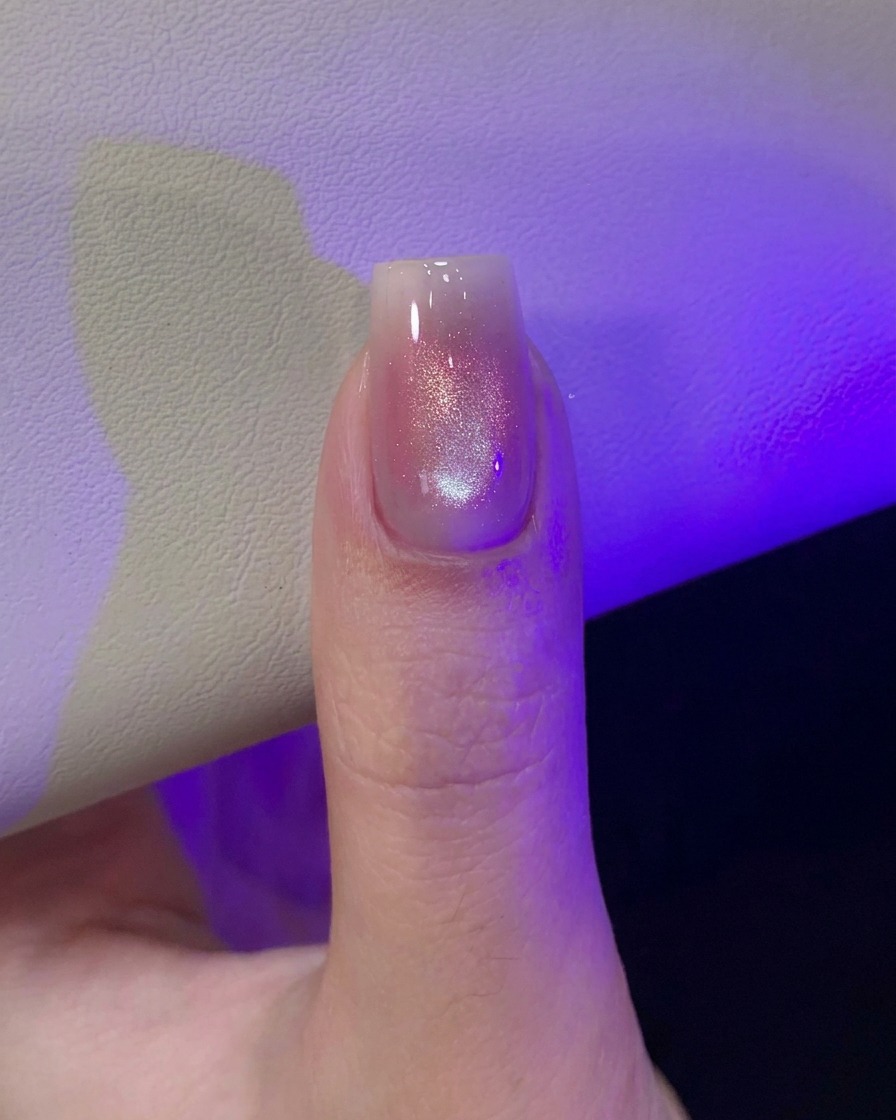
Place the finger into the UV or LED lamp immediately after achieving the desired magnetic effect to lock the metallic particles in place. Cure for the full recommended duration to ensure the cat-eye design is completely hardened.
Tip: Do not wait too long before curing after magnetizing, because the magnetic particles will slowly disperse back out. - 8Place glitter pieces
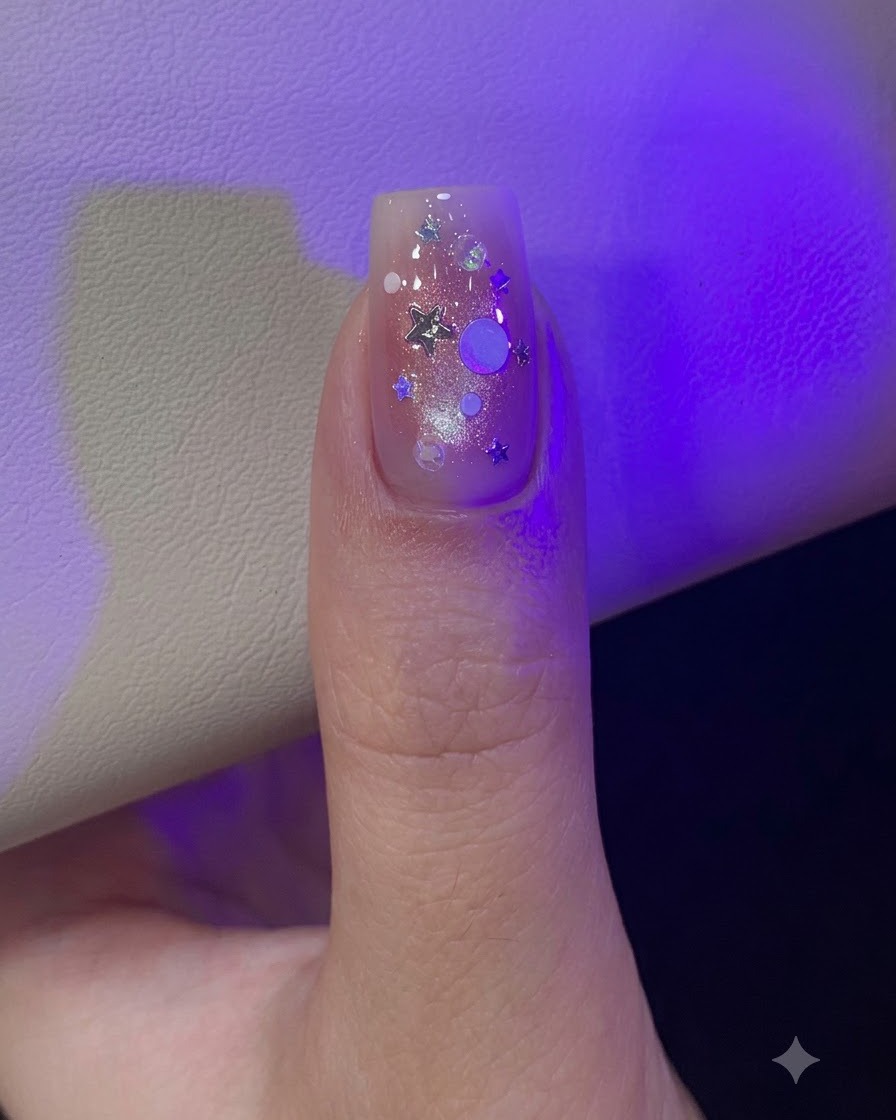
Using a fine detail brush or a wax picker tool, carefully pick up small star-shaped and round holographic glitter sequins and embed them into the tacky layer or a thin base gel. Arrange them artfully across the nail to complement the cat-eye background.
Tip: Press each glitter piece flat against the nail surface so the edges do not stick up through subsequent top layers. - 9Draw 3D water ripples
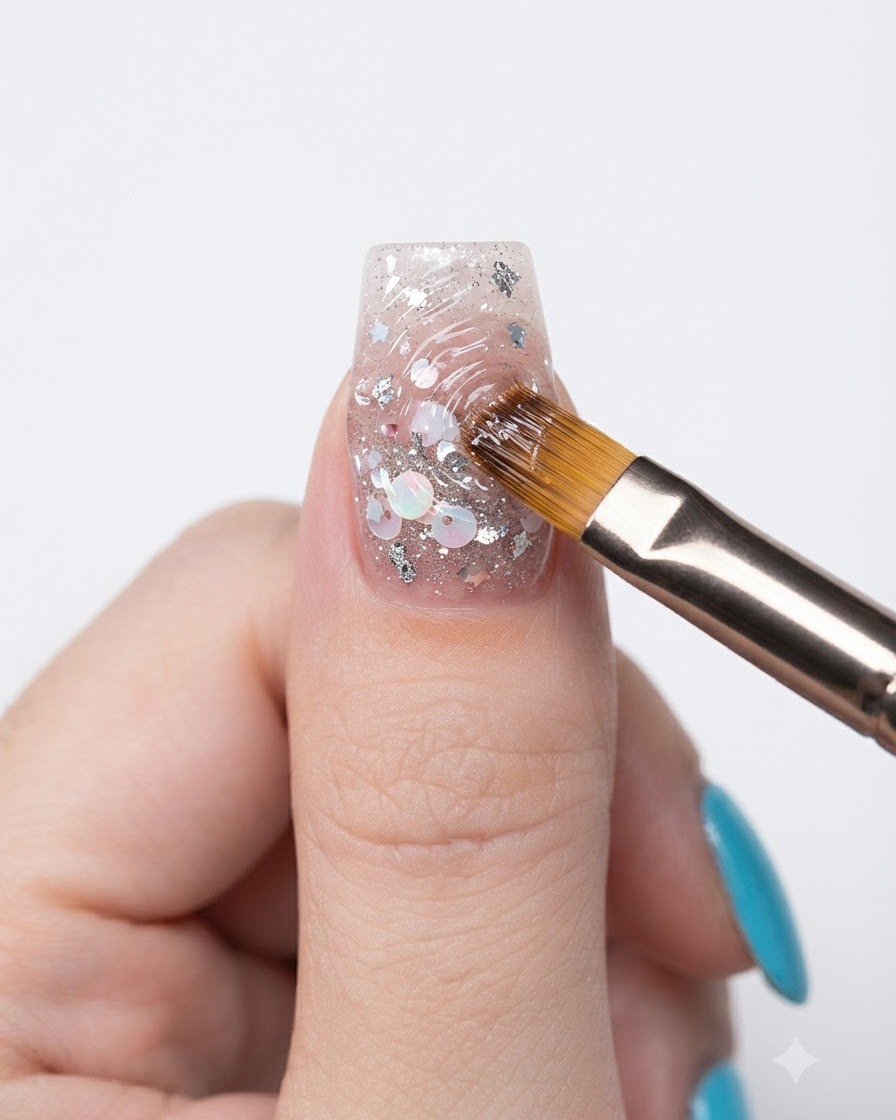
Scoop a small bead of semi-solid non-flowing clear sculpting gel using a fine nail art brush and draw curved, wavy lines across the nail surface. This creates raised, dimensional textures that mimic organic water ripples over the glitter and cat-eye effects.
Tip: Use a light touch with a non-flowing gel to maintain sharp, distinct ridges without flattening out. - 10Cure the 3D water ripple gel design
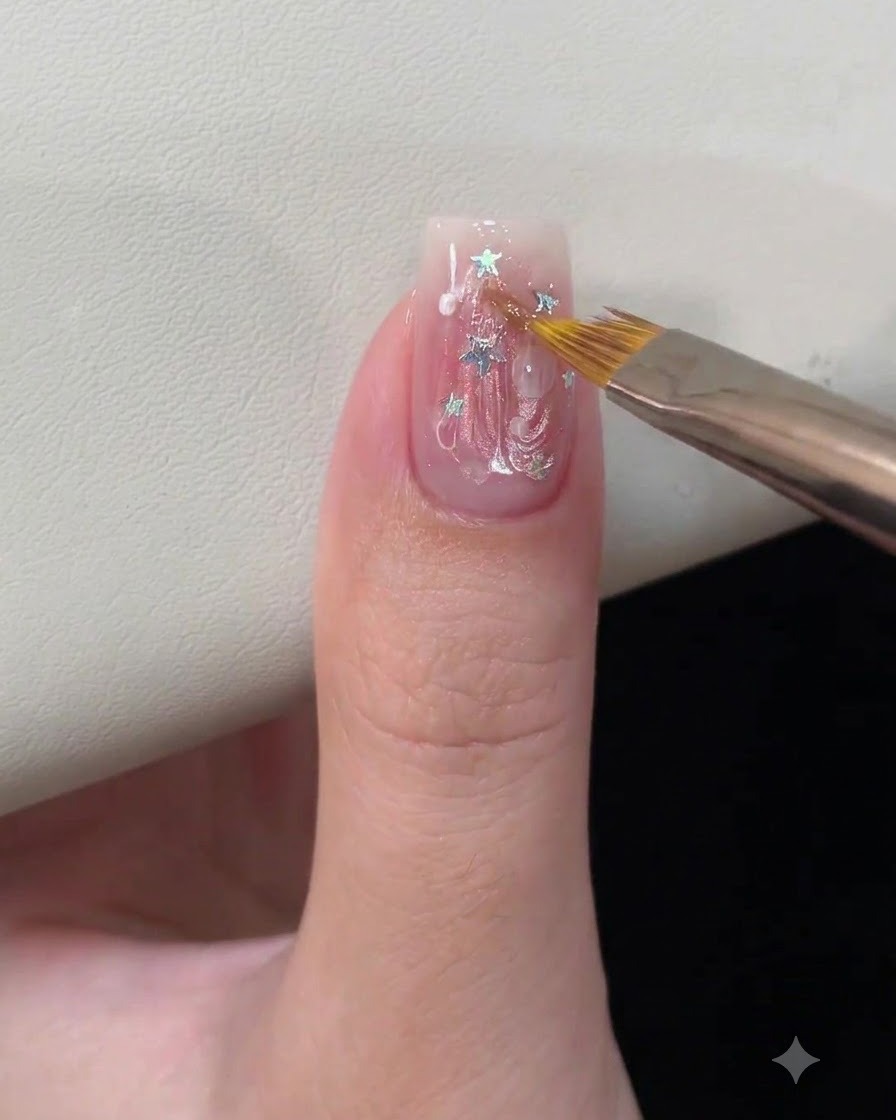
Place the hand under the UV or LED lamp to cure the freshly drawn 3D water ripple sculpture. Curing ensures that the sculpted gel hardens completely and maintains its dimensional shape before applying chrome powder over the top. Follow your lamp manufacturers recommended cure time.
Tip: Make sure the hand is placed evenly under the light so all parts of the textured design cure thoroughly without shifting. - 11Apply aurora chrome powder
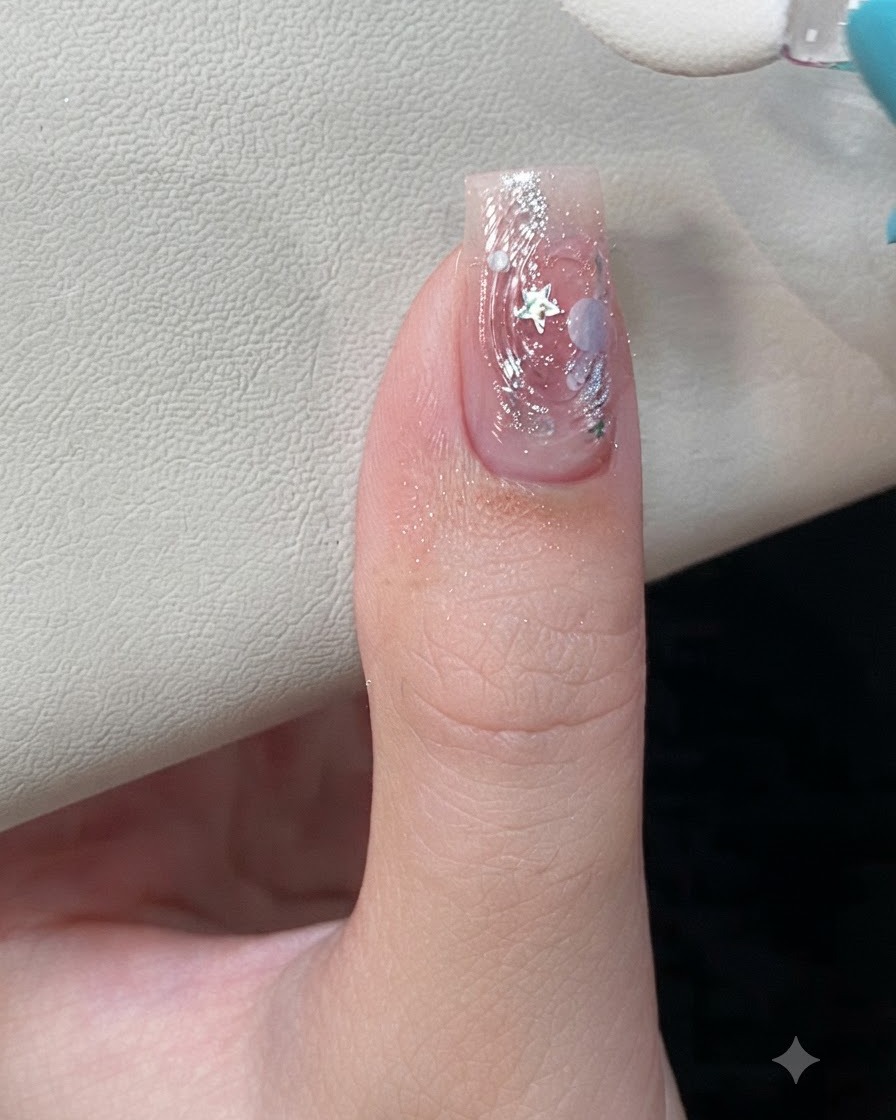
Using a sponge applicator, gently rub aurora chrome powder directly over the cured 3D water ripple textures. The fine powder will instantly adhere to the raised clear gel, transforming the ripples with a highly reflective, glossy metallic finish that catches the light and emphasizes the 3D effect.
Tip: Apply the powder with a light touch so it only sticks to the raised textures. If any powder falls onto the flat surface, gently dust it away with a soft brush. - 12Apply cuticle oil
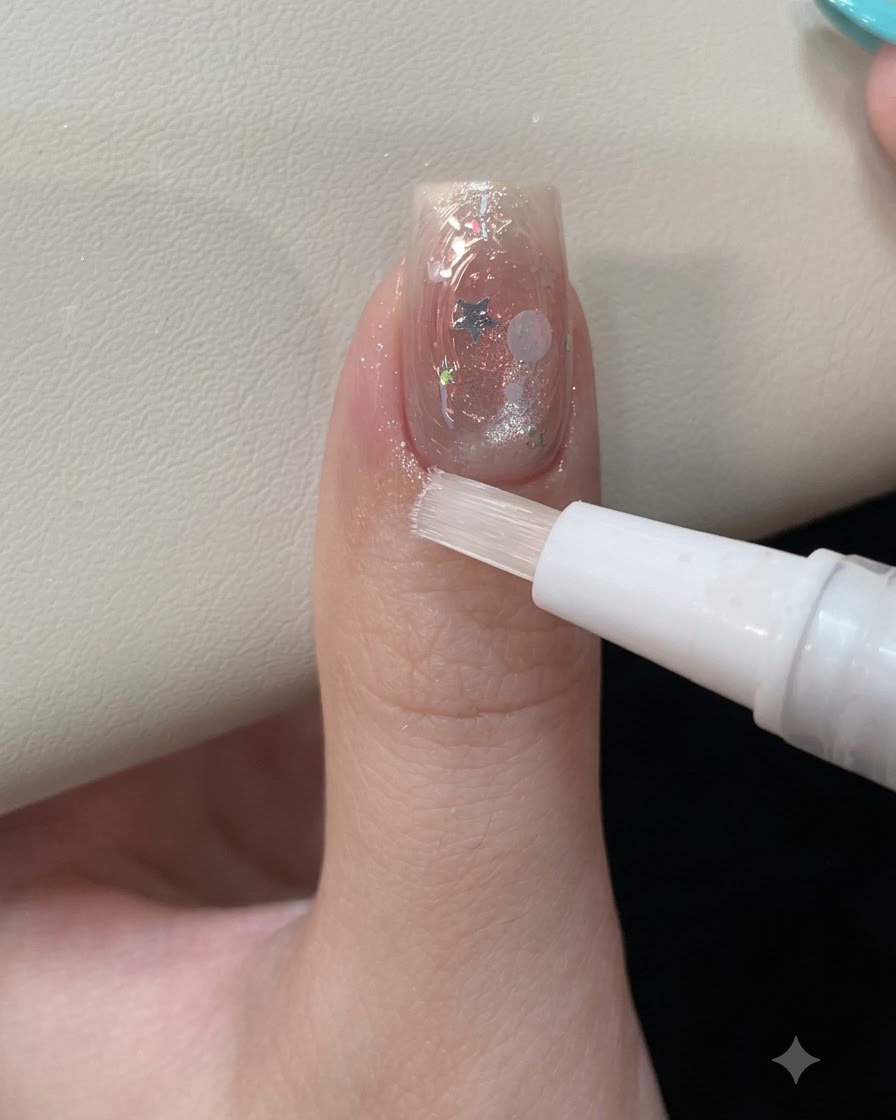
Finish the manicure by applying a nourishing cuticle oil around the edges of the nail using a revitalizing brush pen. Gently massage the hydrating oil into the surrounding skin to soothe and rehydrate the cuticle area after the curing and cleansing process, leaving your fingers looking perfectly healthy and polished.
Tip: Applying cuticle oil daily not only keeps the skin hydrated but also helps maintain the flexibility of your gel polish, which can prevent premature chipping.