Water Ripple Gel Nails
Cat Eye Base — Step-by-Step Tutorial
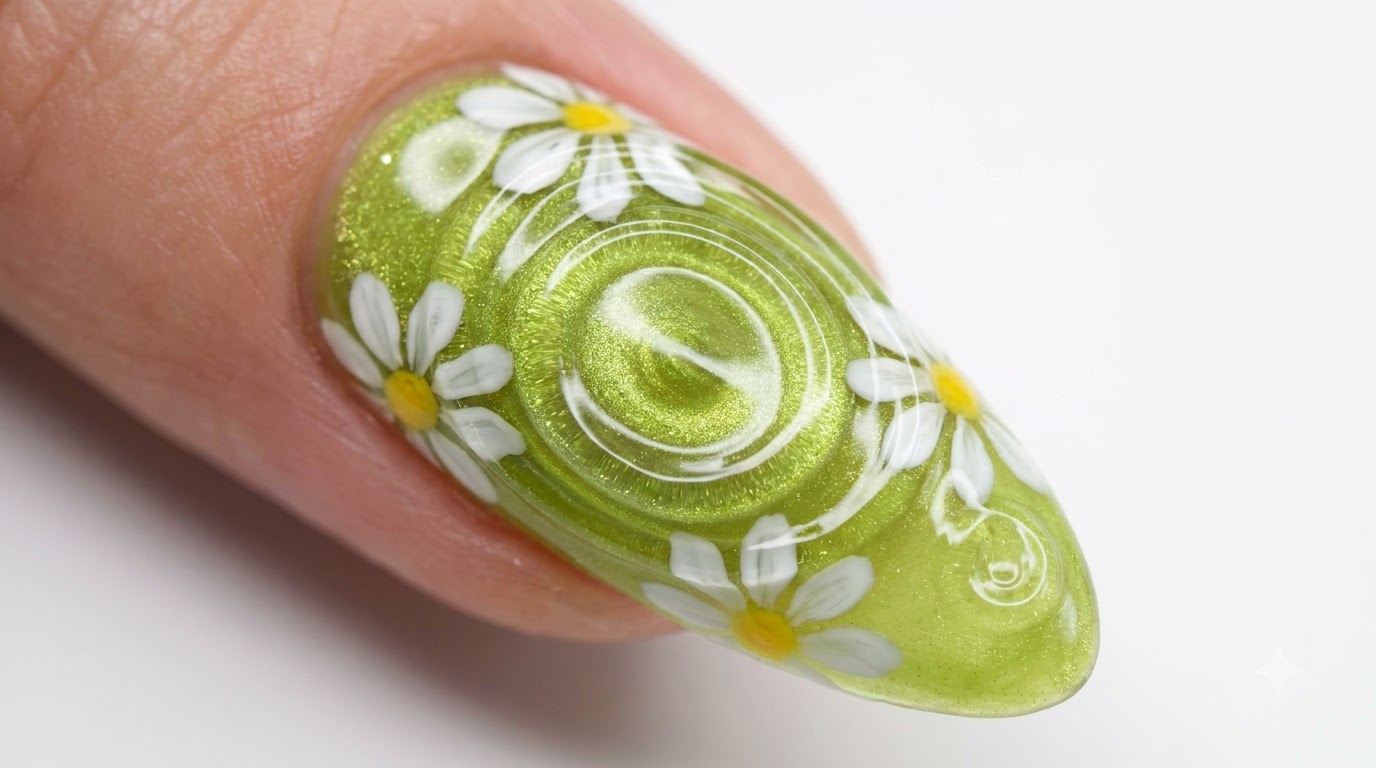
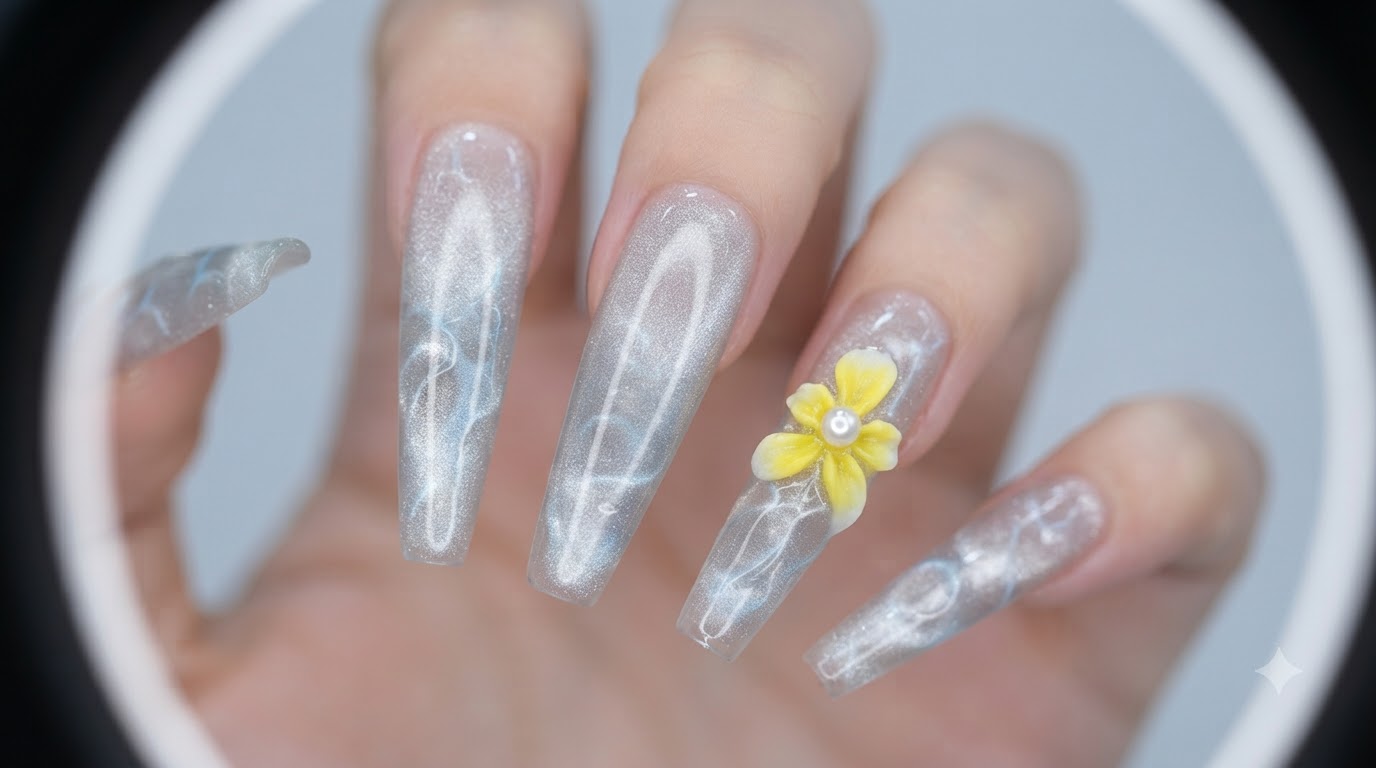
Create mesmerizing water ripple gel nails with a shimmering cat eye base and a 3D yellow flower. This tutorial shows you exactly how to imprint perfect ripples.
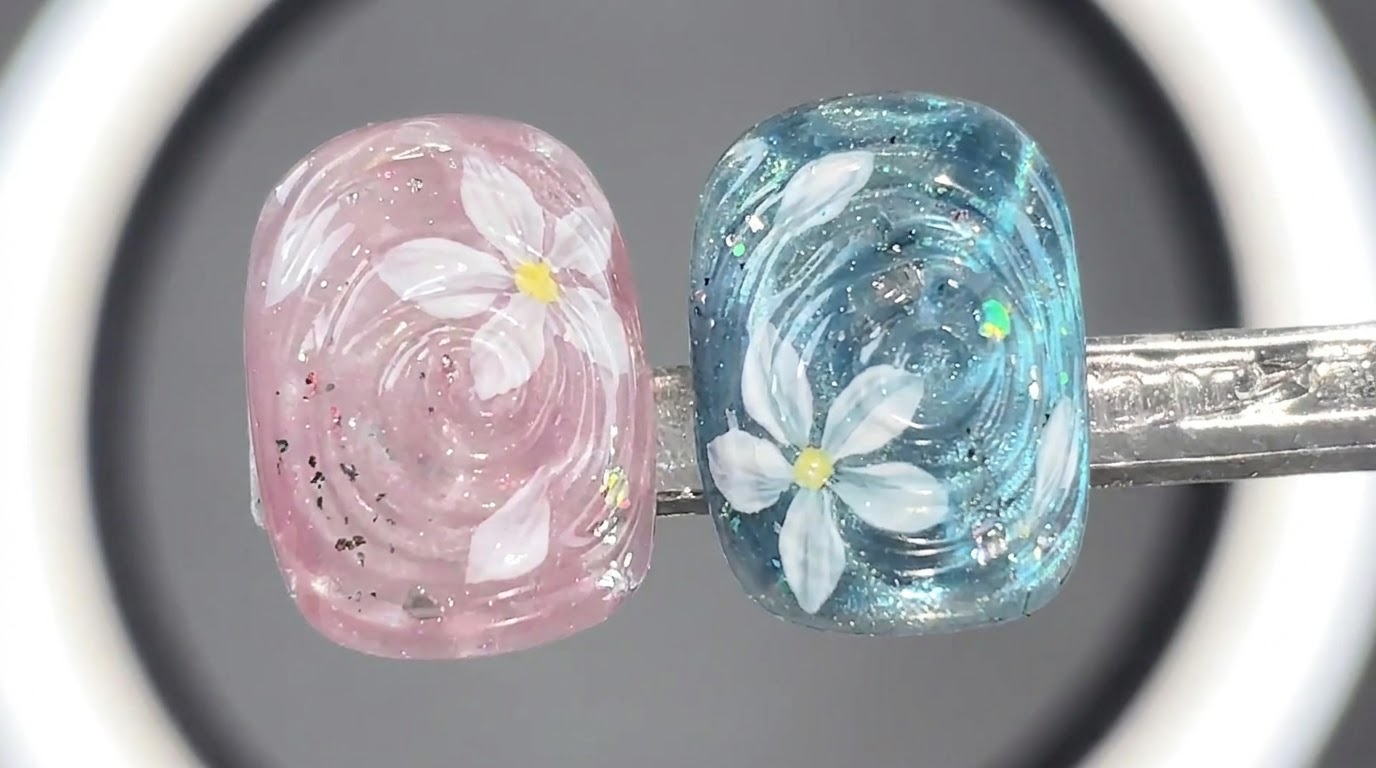
Water ripple textures layered over magnetic cat eye gels create an incredible illusion of depth that moves with the light. By using a magnetic bead tool to physically imprint the uncured gel, you can achieve hyper-realistic waves without intricate hand-painting. Complete the ethereal look with a vibrant 3D flower embellishment for a striking statement.
Steps
- 1Create magnetic effects with beads
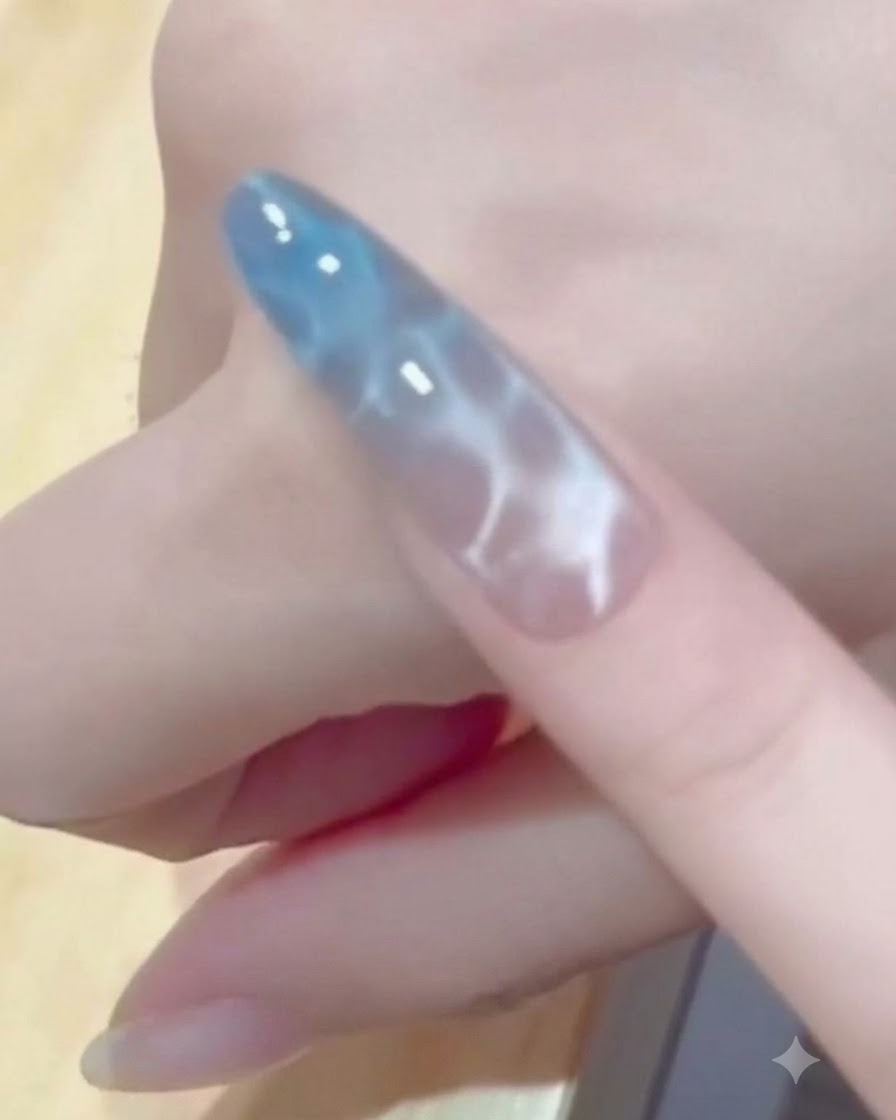
Hold the magnetic tool equipped with metallic beads over the uncured cat eye gel without touching the surface. Hover it closely to pull the magnetic particles into the desired clustered or patterned shape, creating a dimensional multi-spot look. Once the effect is achieved, immediately cure under the lamp to lock the design in place.
Tip: Keep your hand steady while holding the magnetic tool to prevent the particles from shifting before you can cure them. - 2Imprint the water ripple pattern
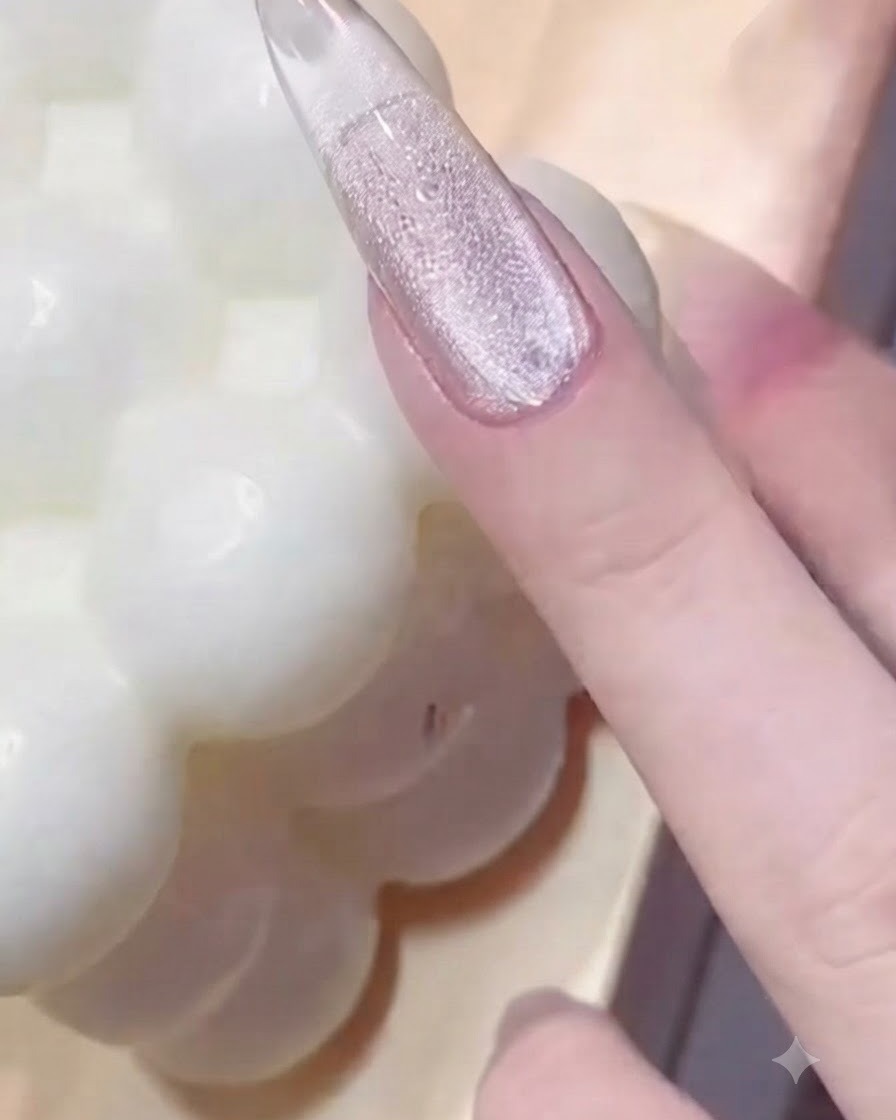
Position the magnetic bead ring tool directly over the prepared nail and gently press it onto the uncured gel surface. This action indents the gel to create the signature dimensional water ripple texture before curing.
Tip: Apply steady, even pressure so the indentations form cleanly without completely flattening the gel layer. - 3Cure the gel under a lamp
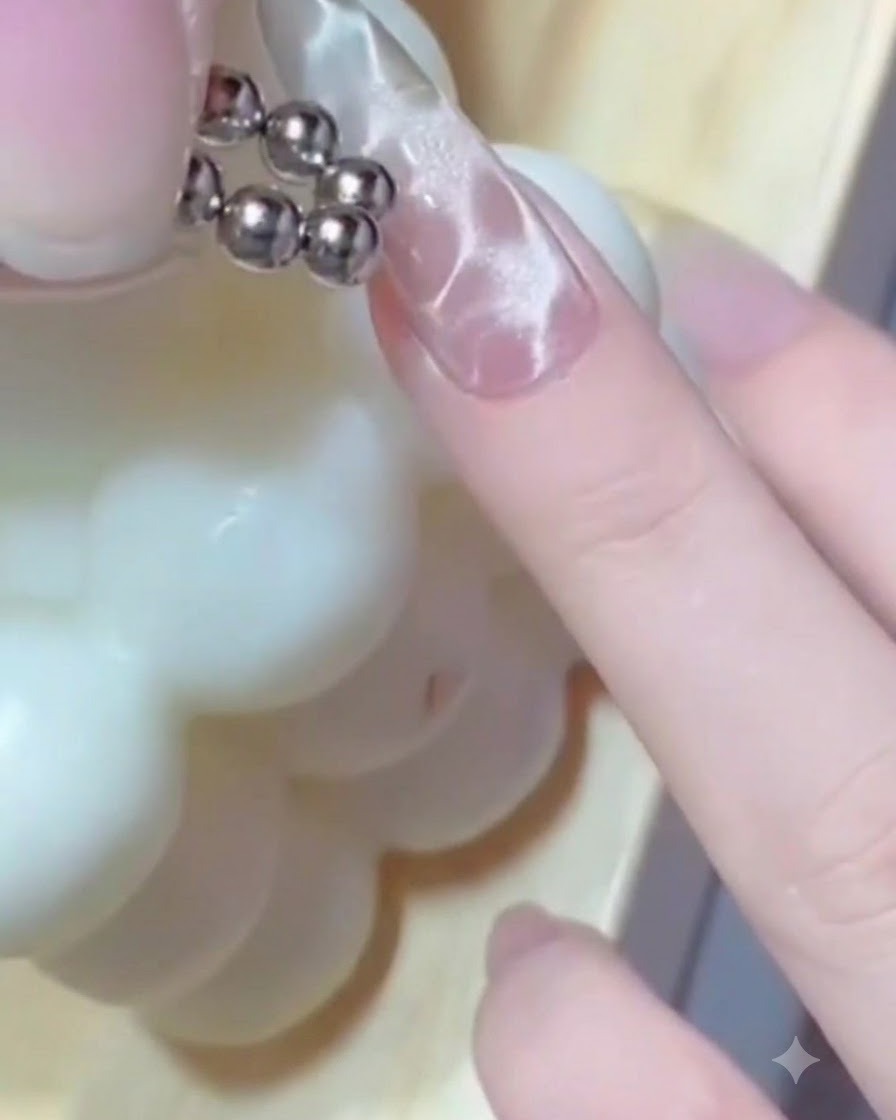
Place the finger under a mini UV or LED lamp to flash-cure and lock in the water ripple texture and magnetic effects. Ensure the light covers the entire nail evenly to prevent the gel from shifting.
Tip: Flash-cure textured designs for a few seconds first if needed to prevent them from leveling out before full curing. - 4Pick up translucent blue gel
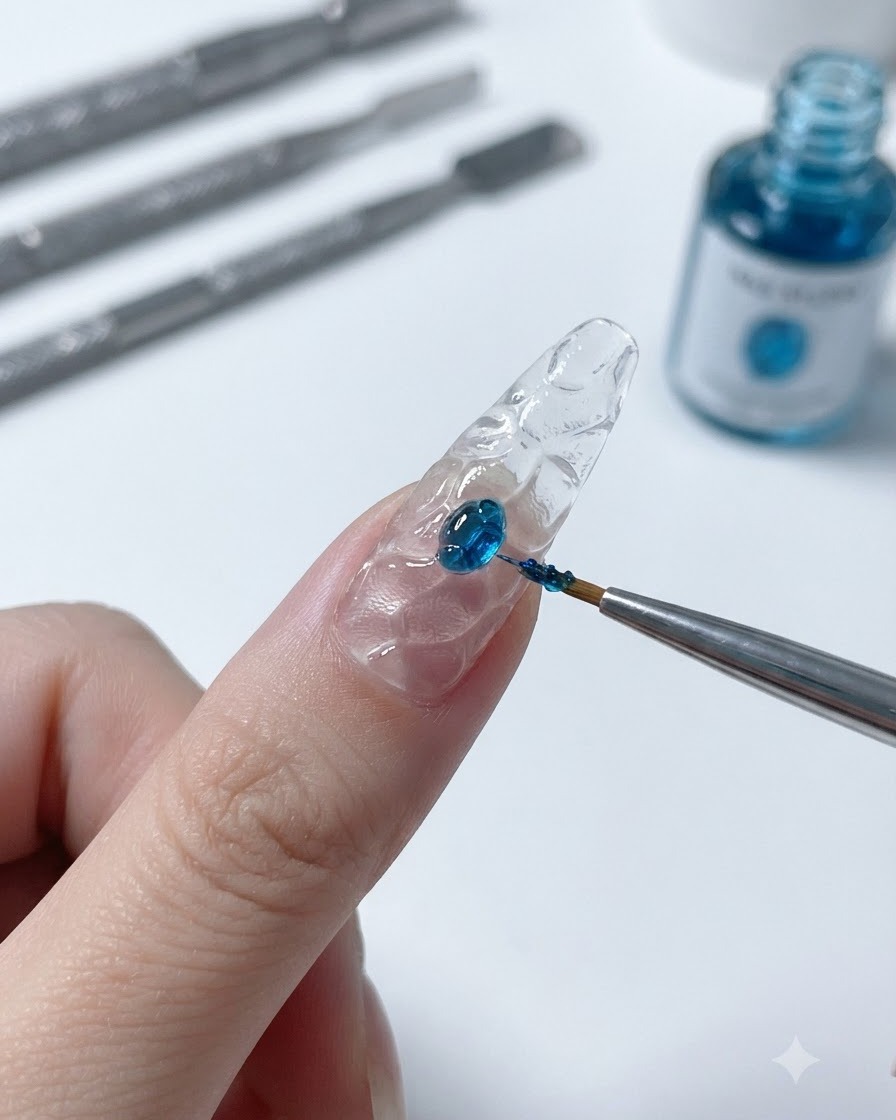
Dip a fine-detail nail art brush into the jar of blue translucent glass gel to pick up a small, controlled amount of product. A minimal amount on the tip ensures smooth blending and prevents pooling.
Tip: Wipe excess gel on the edge of the container to keep the brush tip sharp and precise. - 5Apply color gradient
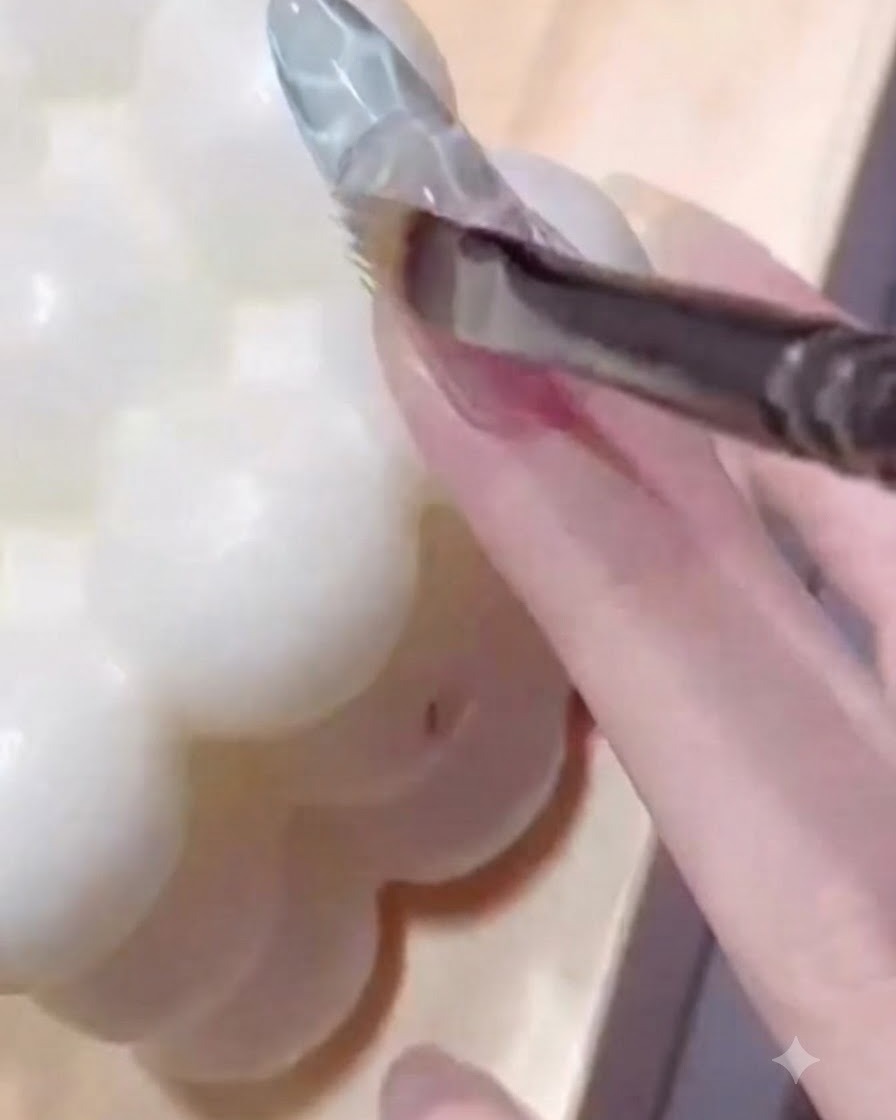
Lightly sweep the blue translucent glass gel across the upper portion of the textured nail. Use soft strokes to build a seamless color gradient that fades gracefully into the lower base shade.
Tip: Keep your brush strokes feather-light to maintain the dimension of the water ripple indents underneath. - 6Apply top coat sealant and cure
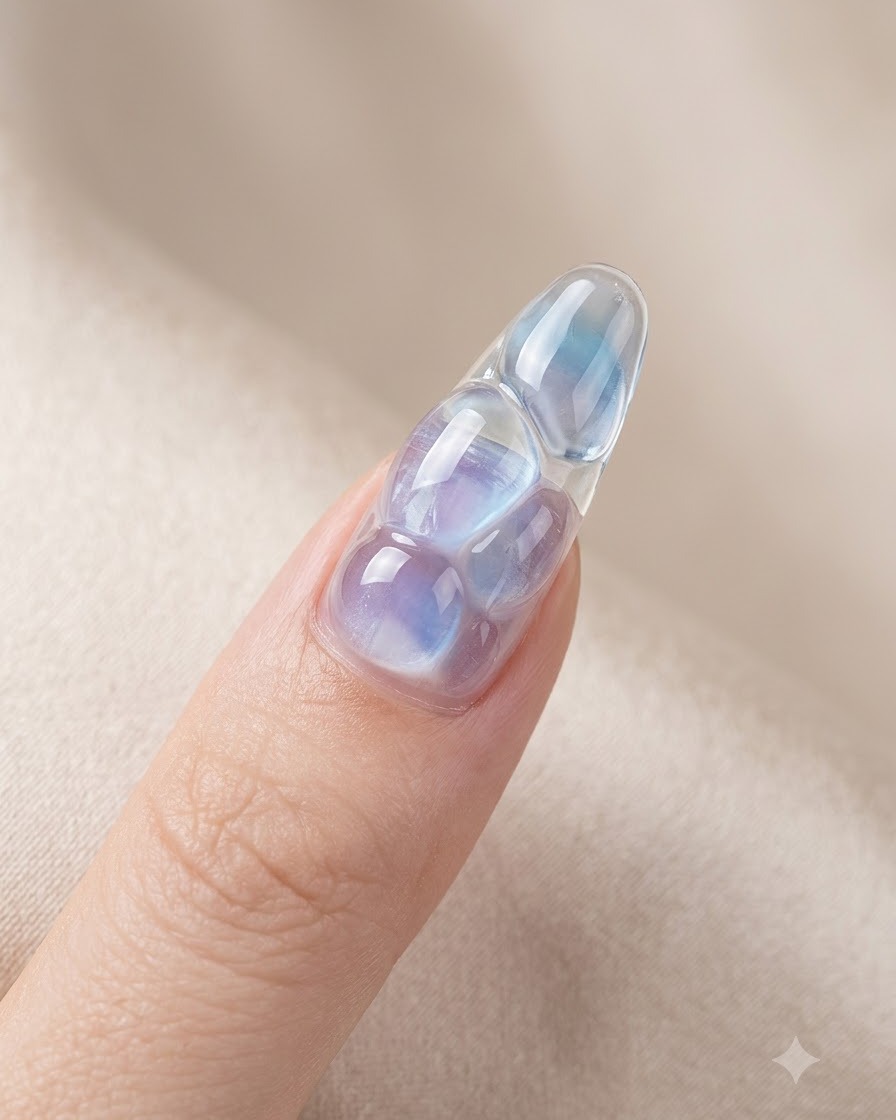
Apply a generous layer of clear top coat sealant over the entire nail design to encapsulate the texture and provide a smooth, high-gloss finish. Ensure you cap the free edge completely to protect against chipping. Place the hand under a UV or LED lamp and cure fully according to the gel instructions.
Tip: A thicker top coat helps emphasize the water ripple and bubble dimension, but make sure it is evenly distributed so it doesnt pool.