French Cat-Eye
3D Floral Nail Art — Step-by-Step Tutorial
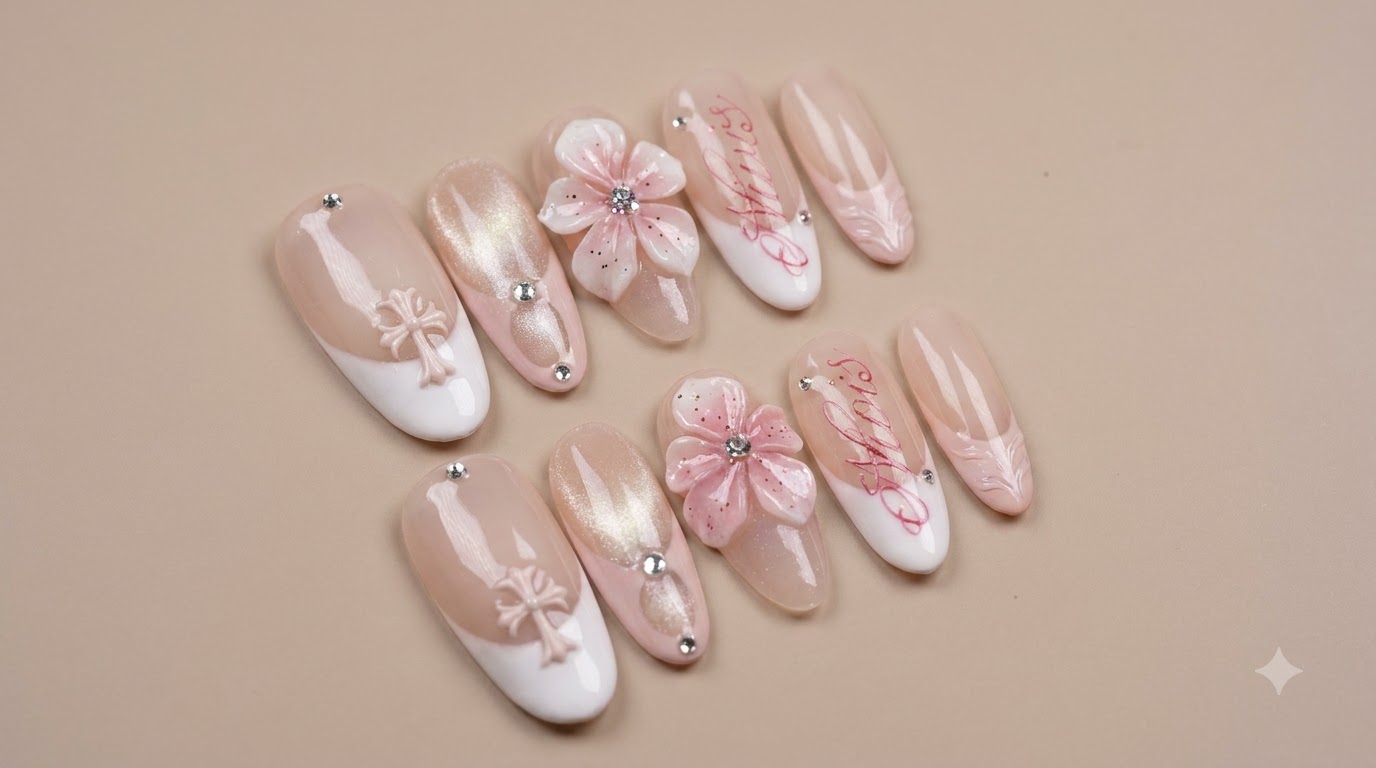
Create an enchanting manicure combining shimmering cat-eye glass beads, delicate French tips, and sculpted 3D floral accents with sparkling crystal details.
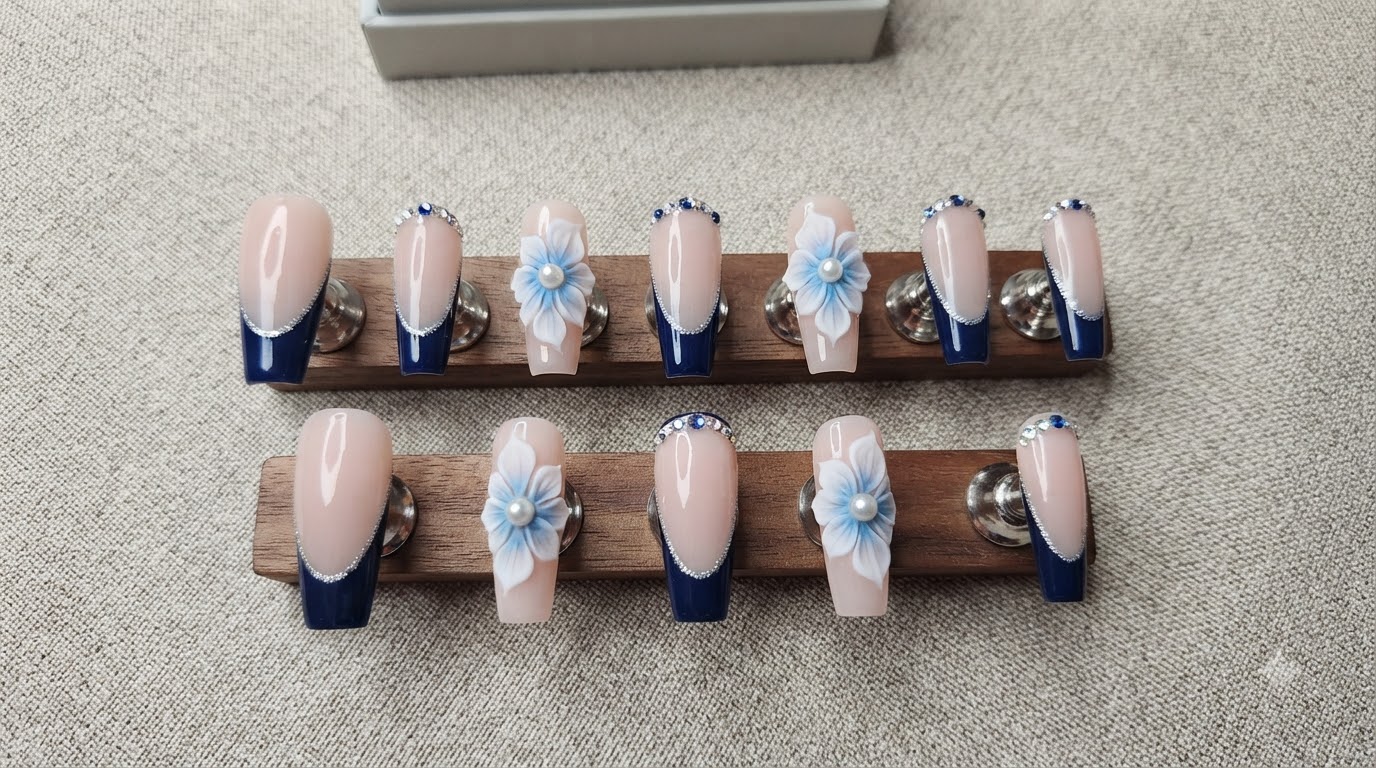
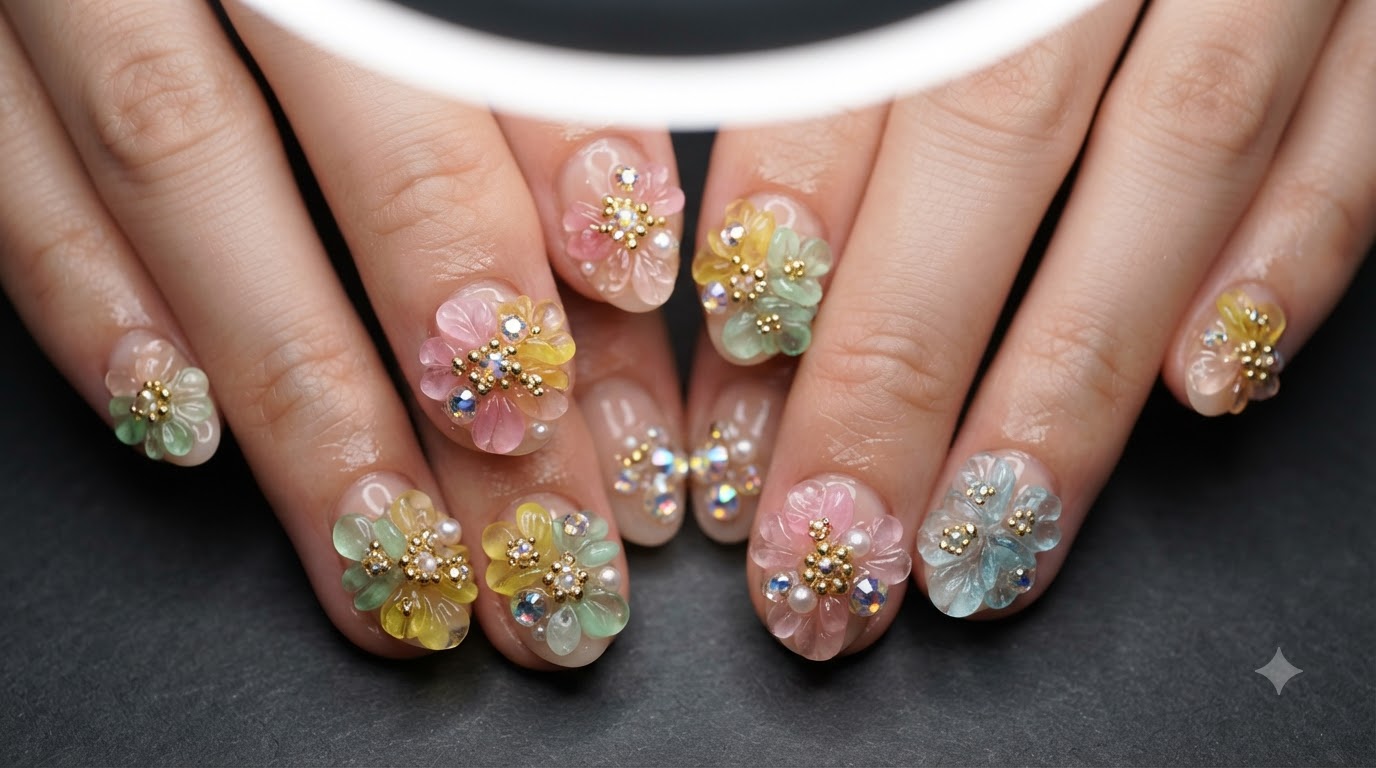
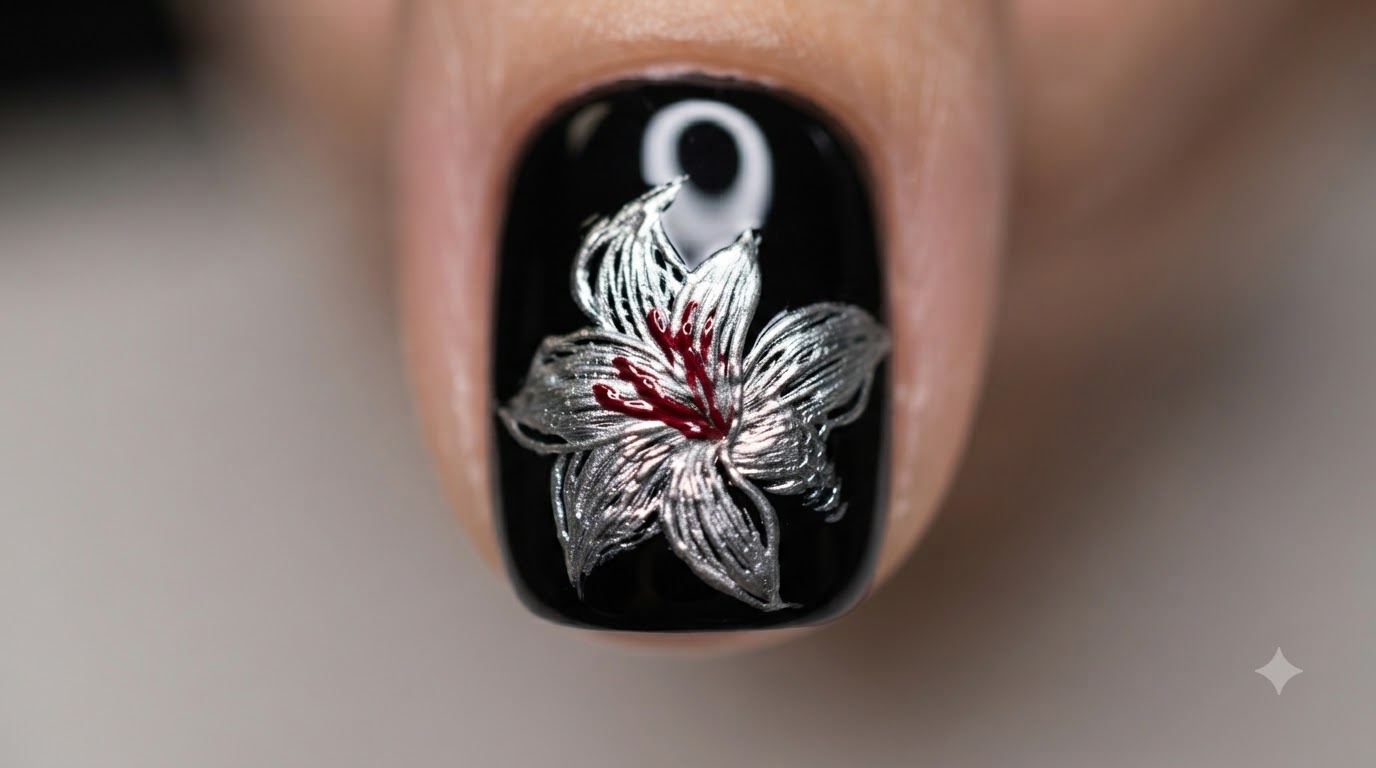
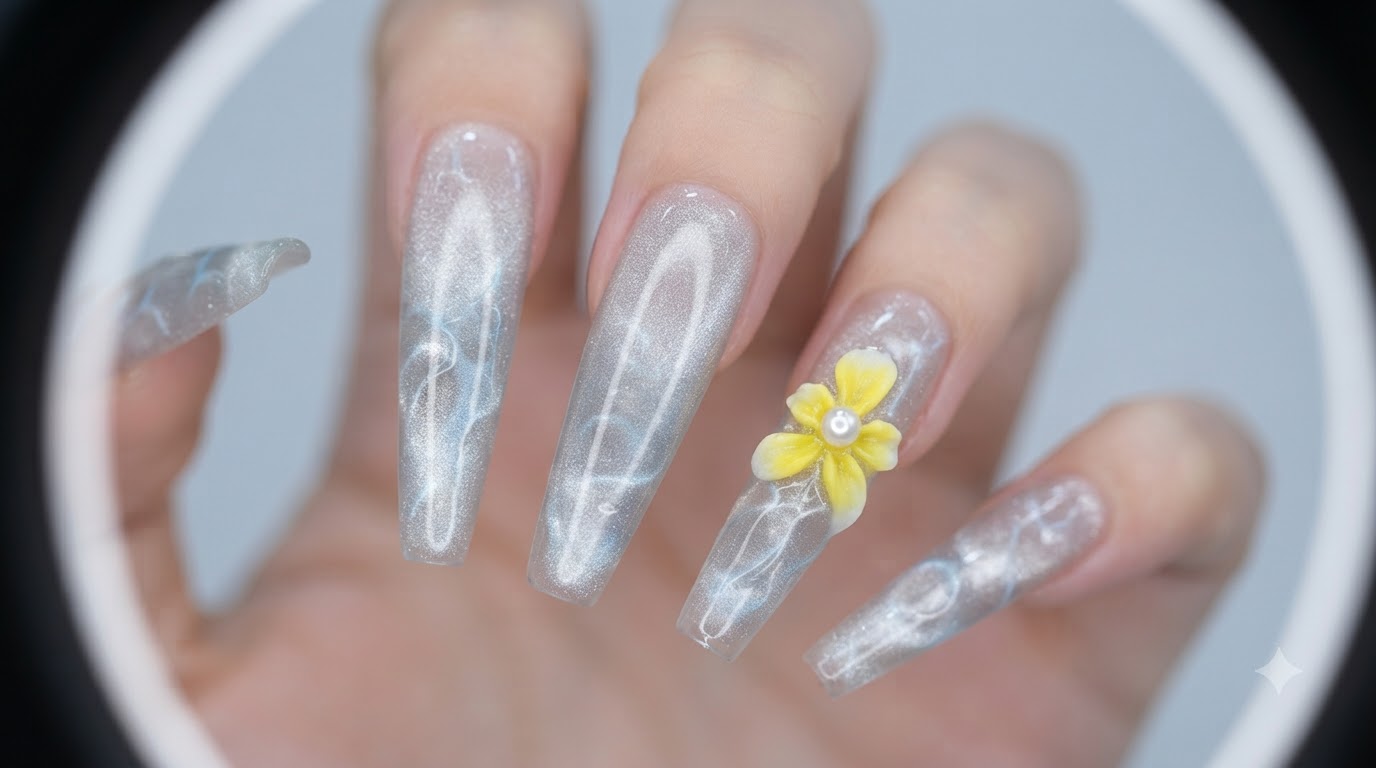
This sophisticated nail art look blends classic elegance with modern textures, featuring glossy French tips contrasted against mesmerizing cat-eye light effects. Hand-sculpted 3D flowers and delicate text stamping bring an artistic couture finish to your fingertips.
Steps
- 1Apply Milky Pink Gel
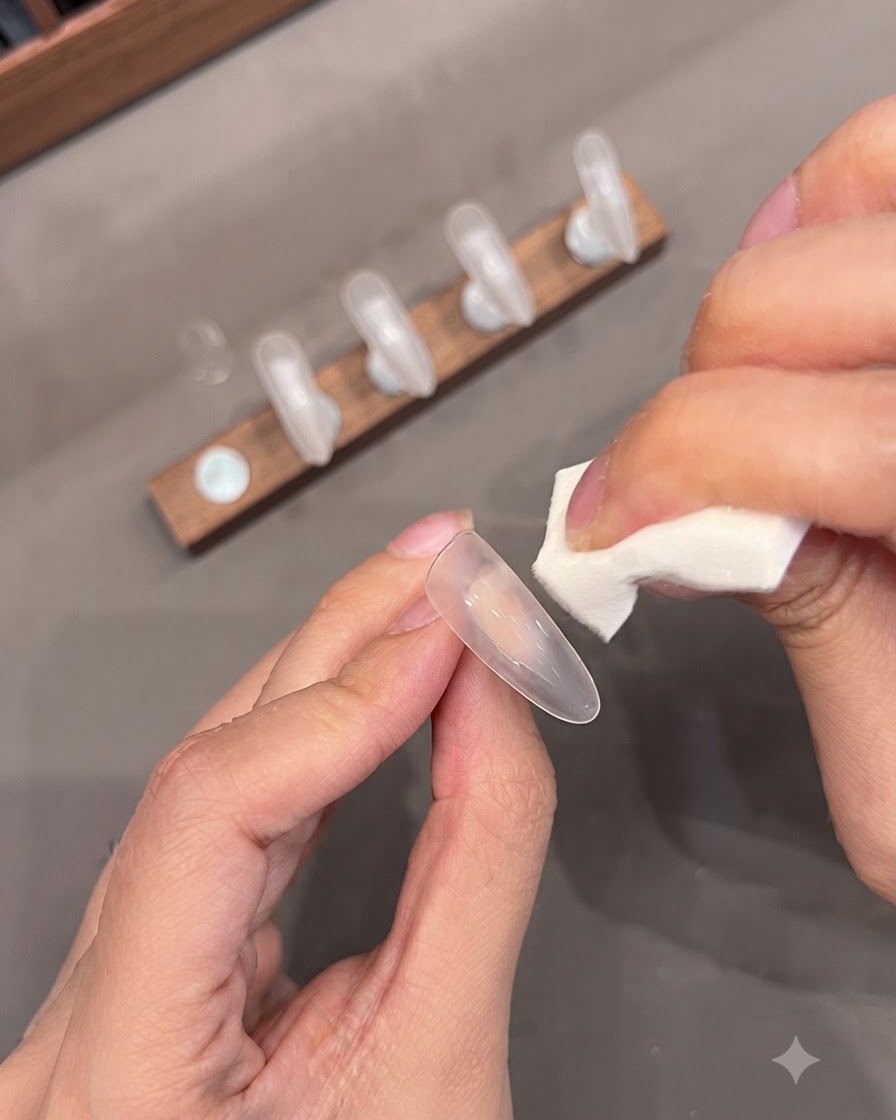
Apply a thin, even layer of milky pink gel over the false nail tip. This creates a soft translucent base color for the design. Ensure the application is smooth and streak-free before curing.
Tip: Keep the layer thin to prevent wrinkling during the curing process. - 2Apply Nude Base Gel
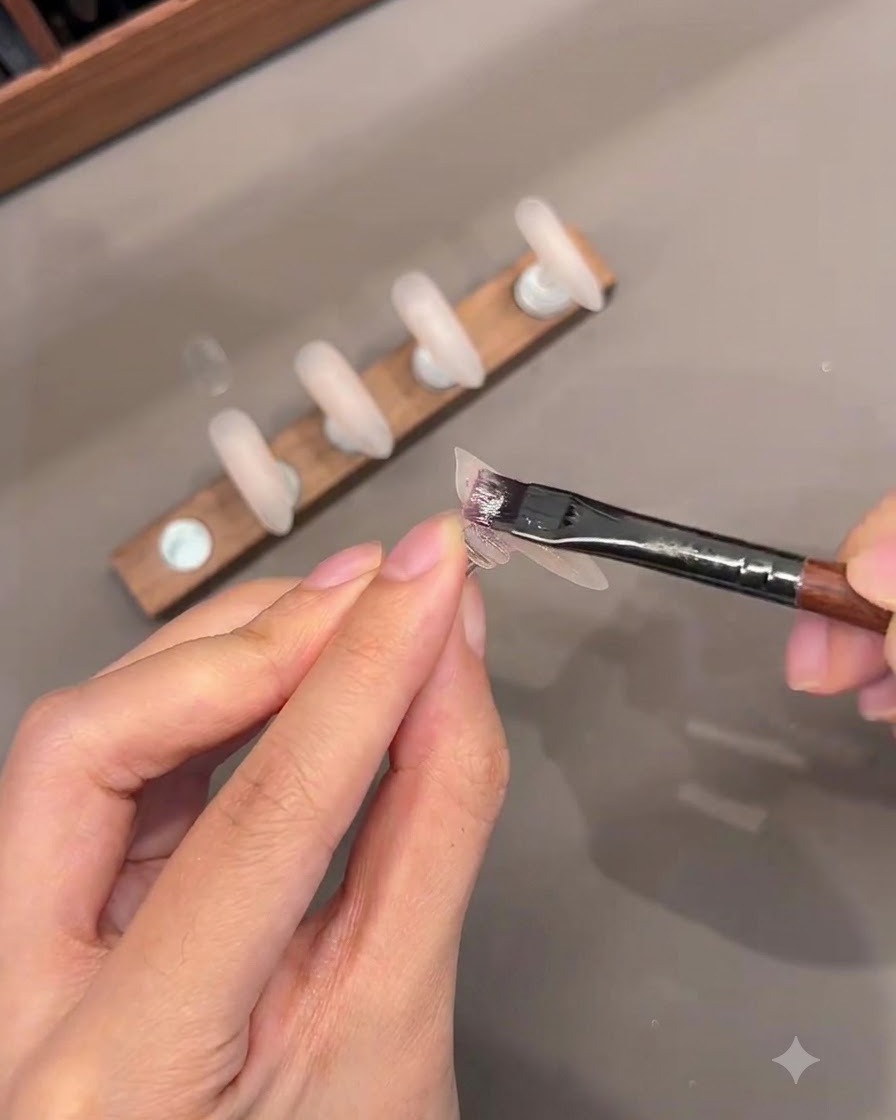
Take a brush and apply a thin layer of nude color base gel over the nail tip. Distribute the product evenly to build a natural-looking foundation for the subsequent nail art steps.
Tip: Clean up any gel on the edges before curing to maintain a crisp border. - 3Apply Cat-Eye Gel
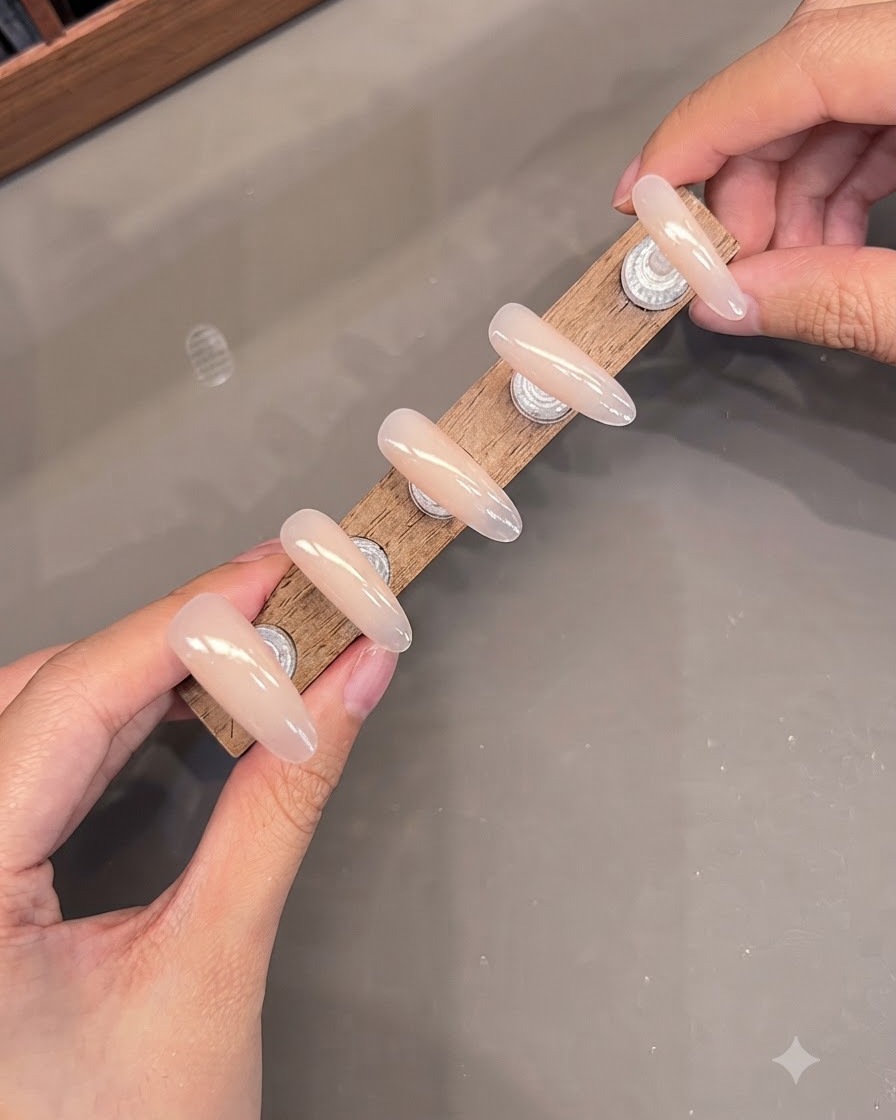
Apply cat-eye gel specifically to the index finger nail tip. The magnetic particles suspended in the gel will be manipulated in the next step to create a dimensional light reflection effect.
Tip: Apply an even coat so the magnetic particles can move freely when the magnet is applied. - 4Create Glass Bead Cat-Eye Effect
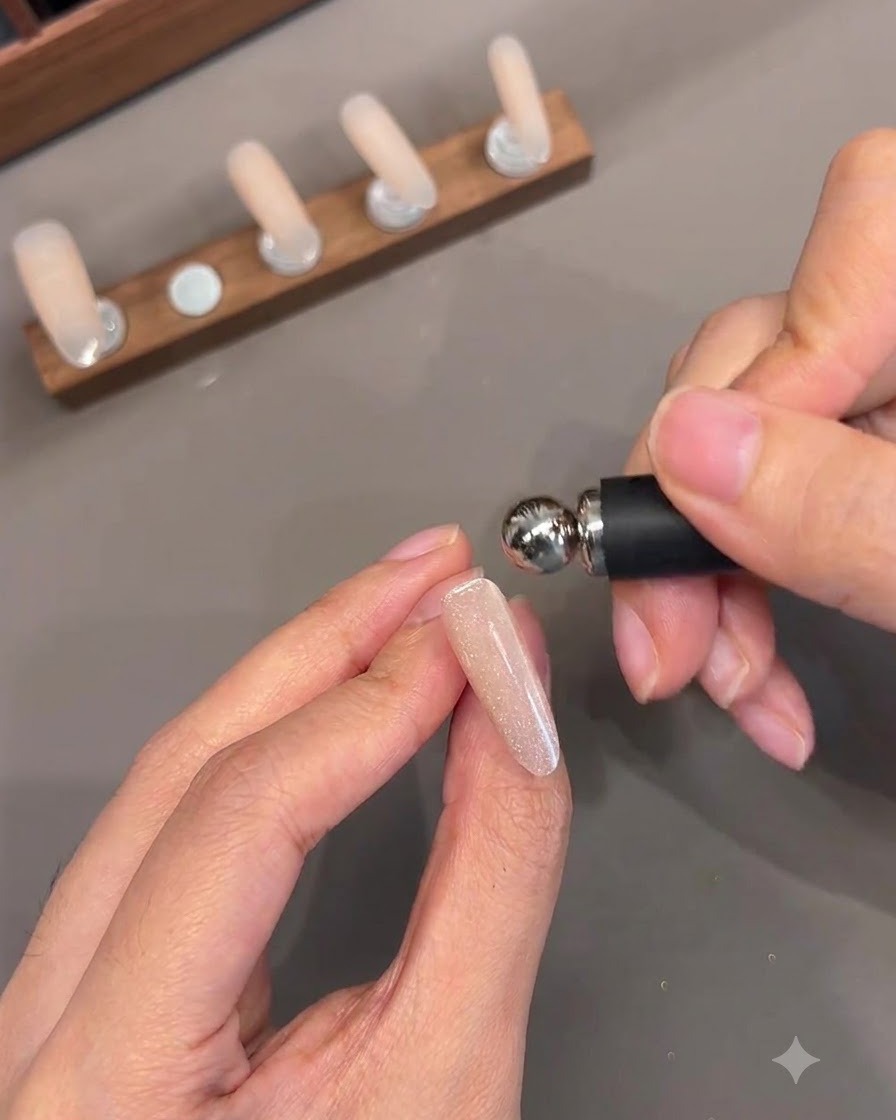
Hold a magnetic tool close to the uncured cat-eye gel on the index finger. Guide the metallic particles into a concentrated glass bead reflection effect in the center of the nail.
Tip: Hold the magnet steady for a few seconds until the desired reflection pattern forms completely. - 5Create Side-Light Wide Glass Bead Effect
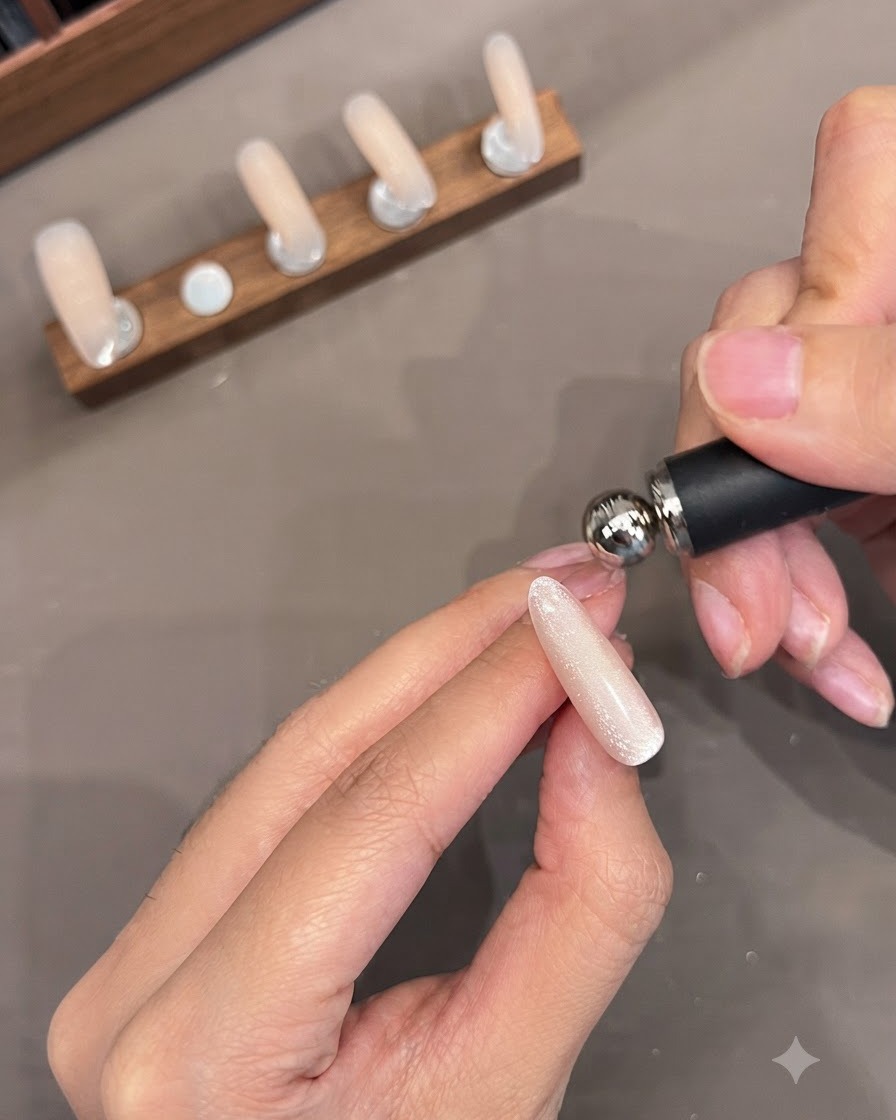
Position the magnetic tool to pull the cat-eye particles toward the sides, creating a wide light cat-eye glass bead effect on the designated nail tip.
Tip: Adjust the angle of the magnet to control the width and brightness of the light band. - 6Draw French tip outlines
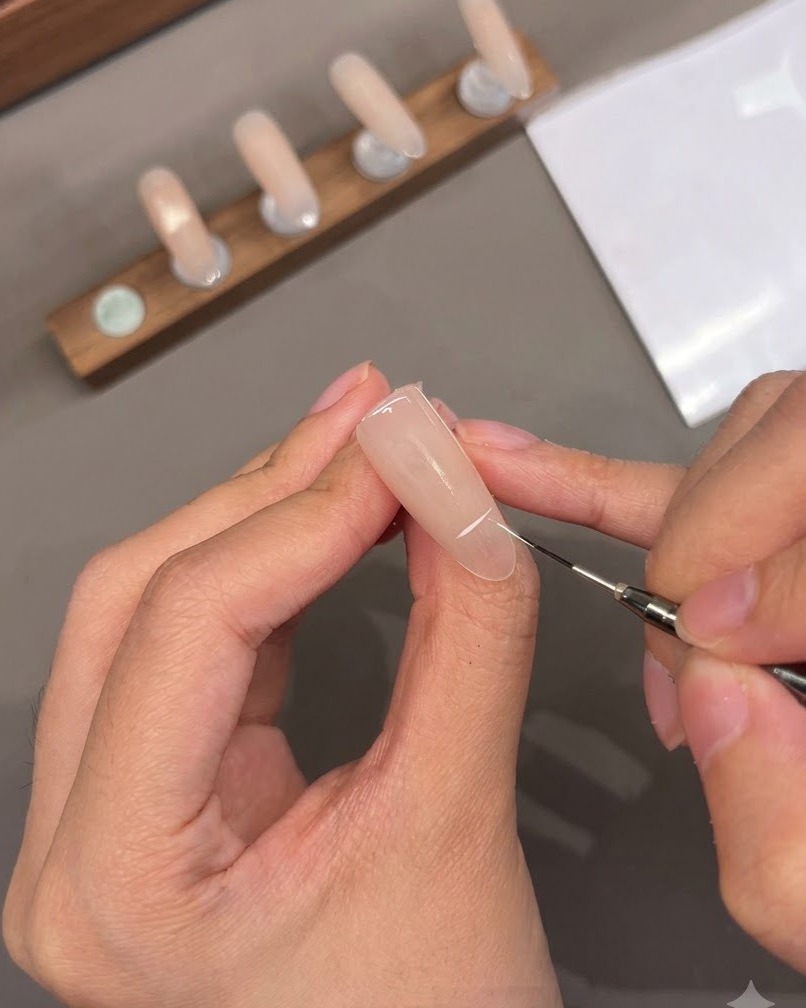
Using a fine liner brush and white gel, carefully outline the curved French tip shape across the upper section of the nail. Take your time to ensure symmetry and clean lines before filling them in.
Tip: Keep a steady hand and anchor your pinky finger for stability when drawing fine lines. - 7Fill in French tips
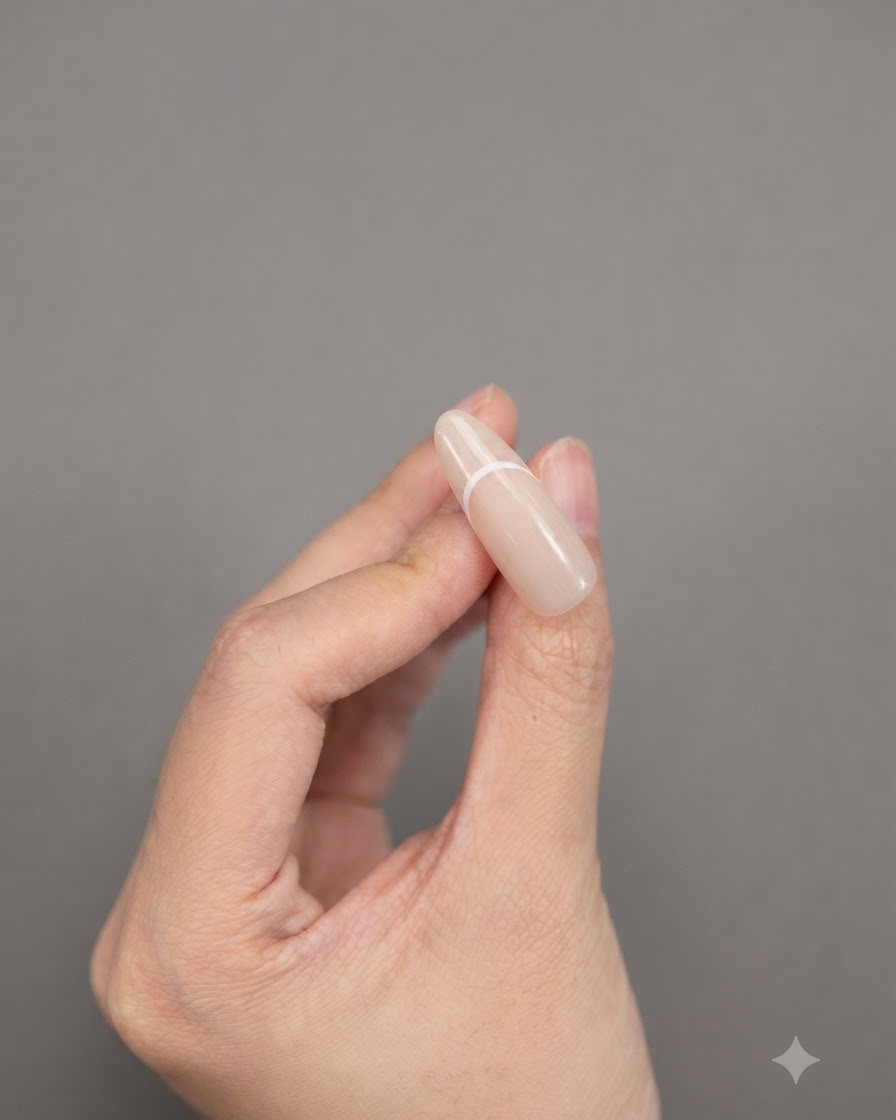
Carefully fill in the outlined area with white gel to create a crisp, solid French tip. Smooth out any uneven patches using the tip of your brush for a clean finish.
Tip: Apply the white gel in thin coats to prevent wrinkling or uneven curing under the lamp. - 8Add white accent details
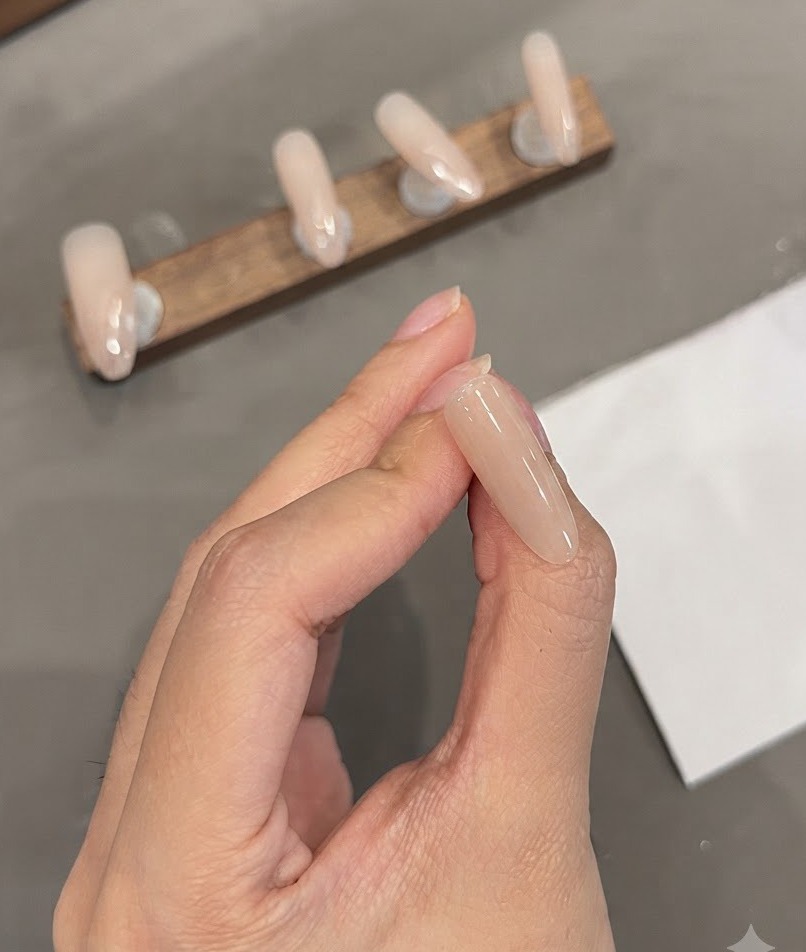
Using a fine liner brush and white gel, paint delicate curved accent lines and decorative details near the base or middle of the nail to complement the overall design structure.
Tip: Wipe excess gel off your brush to maintain an ultra-fine point for detailed accent lines. - 9Apply reinforcing top coat
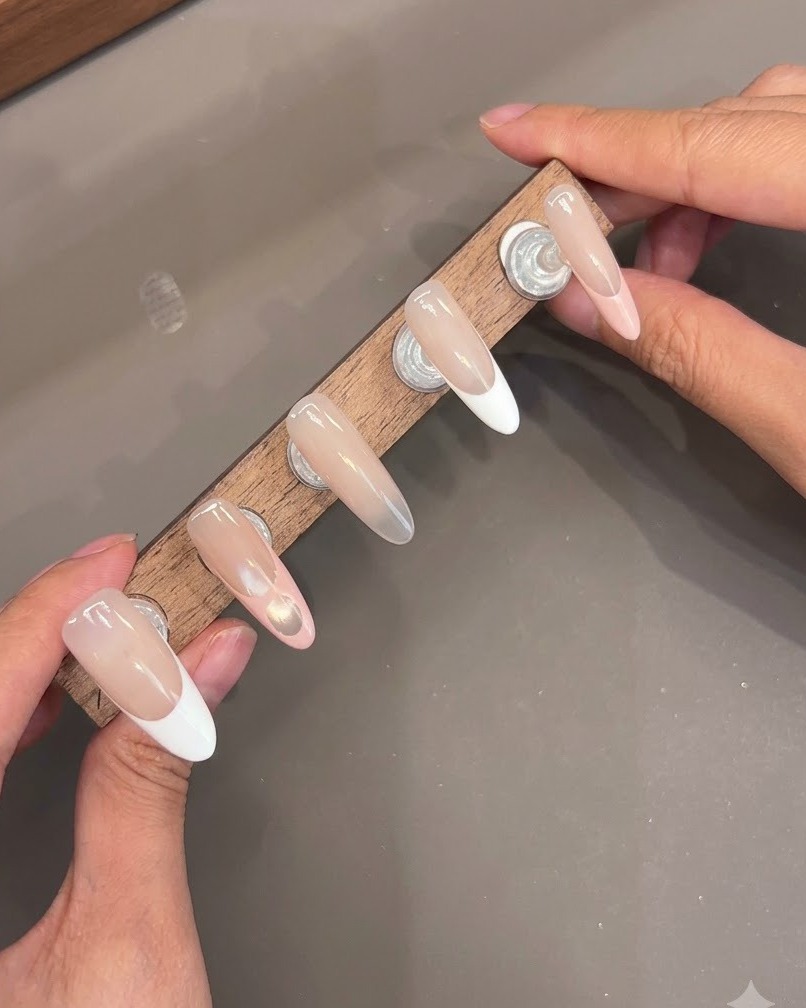
Apply an even layer of reinforcing top coat over the entire nail surface to encapsulate the design elements and add structural strength. Cure thoroughly under a UV or LED lamp.
Tip: Ensure the reinforcing gel is smoothly leveled across the nail to prevent any bumps before curing. - 10Sculpt 3D flower petals
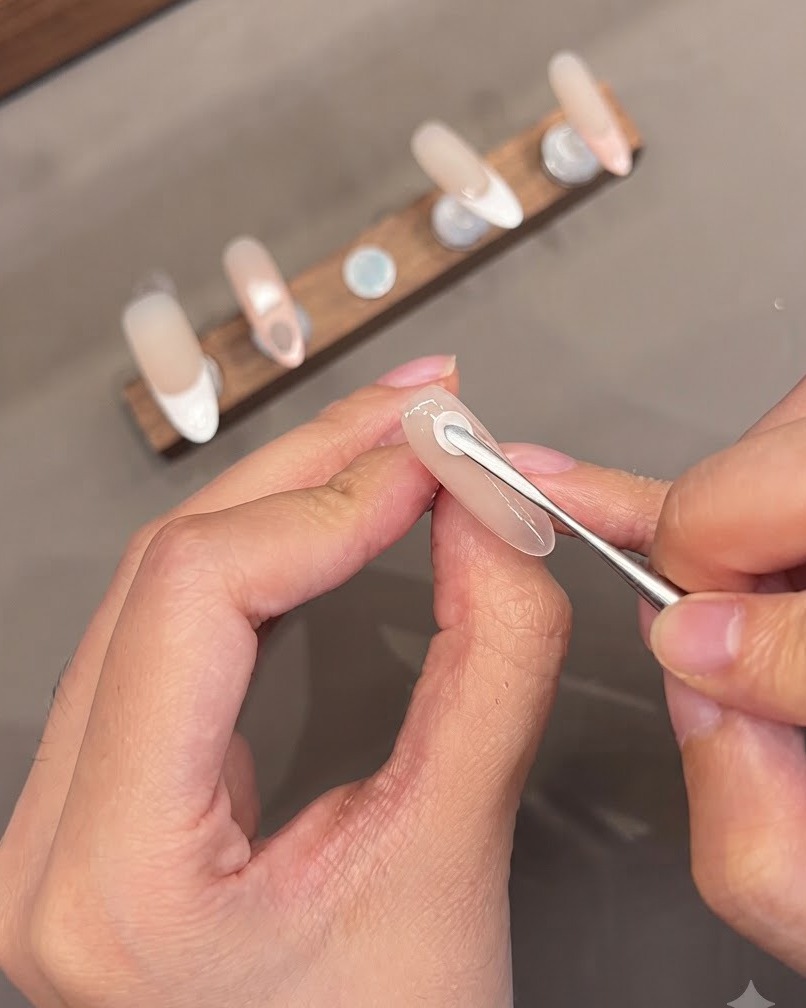
Using a detailing tool and thick white or pink sculpting gel, build and shape dimensional 3D flower petals directly onto the middle finger nail. Press and feather the edges to create a realistic floral look.
Tip: Flash-cure individual petals briefly if needed to prevent them from shifting while you sculpt the rest of the flower. - 11Dot the flower center
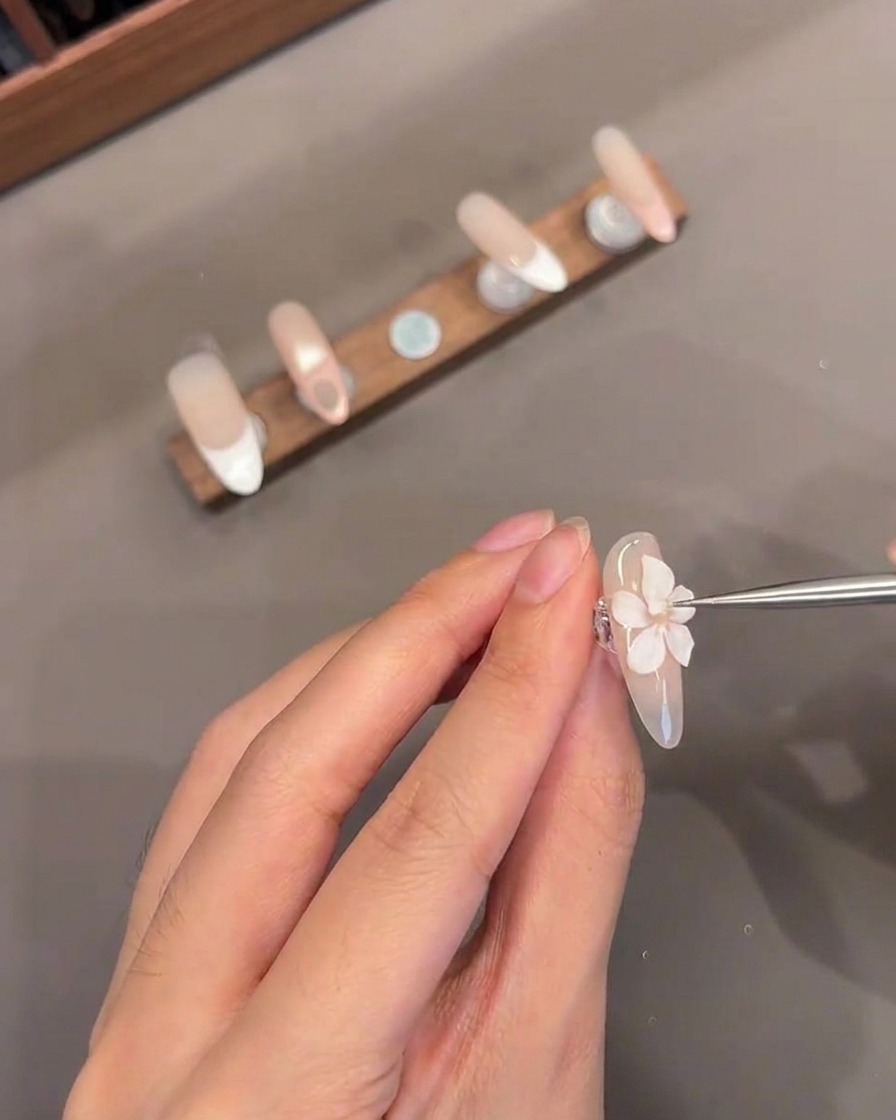
Using a dotting tool or fine brush, carefully place a small drop of white gel into the center of the sculpted 3D flower. This subtle detail adds realistic depth and a polished finish to the floral design. Flash cure the nail briefly to lock the gel in place before moving on to the next decorative elements.
Tip: Keep a steady hand and use a very small amount of white gel to avoid flooding the delicate 3D petals. - 12Add starry dot accents
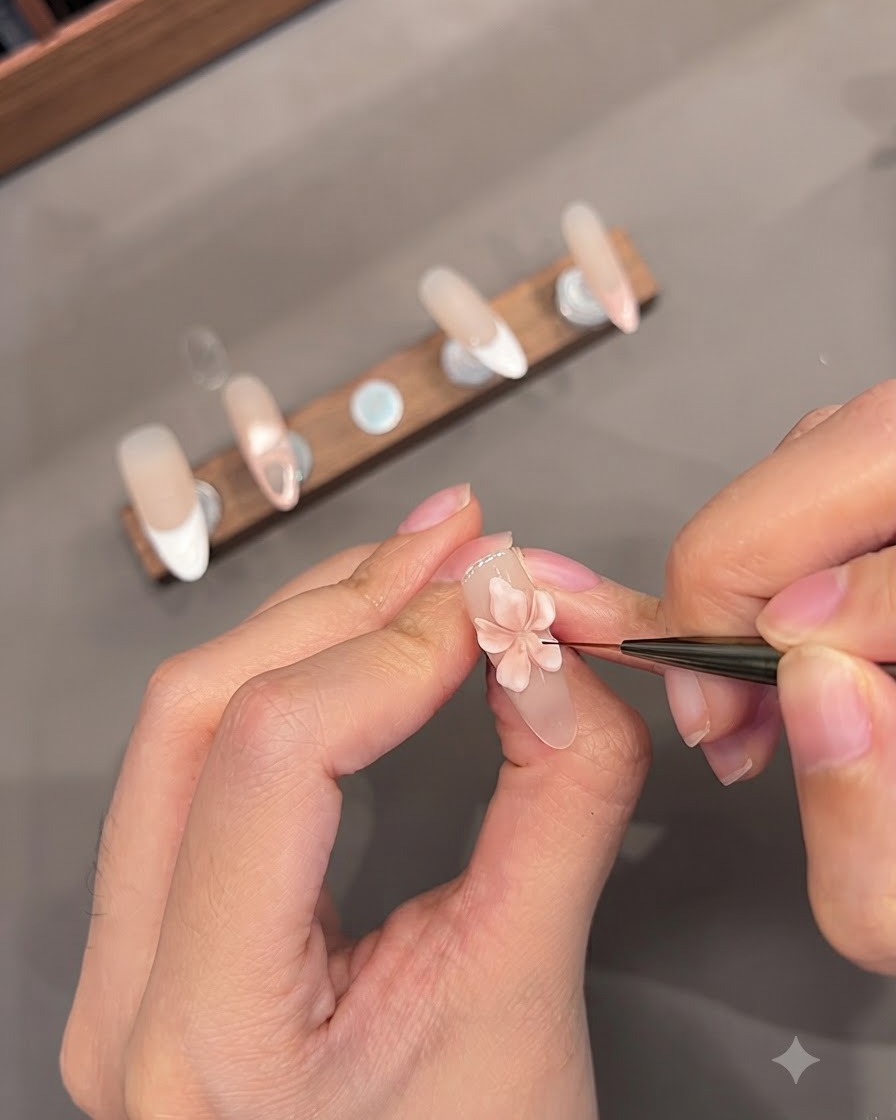
Dip a fine liner brush into dark red sparkling gel and carefully apply tiny dots around the 3D floral design. These delicate starry accents enhance the intricate details of the nail art and add a beautiful touch of contrasting color to the composition. Make sure the dots are evenly spaced for a balanced, elegant look.
Tip: Wipe the excess gel off your fine brush before applying the dots to ensure they remain crisp and tiny. - 13Transfer text stamp
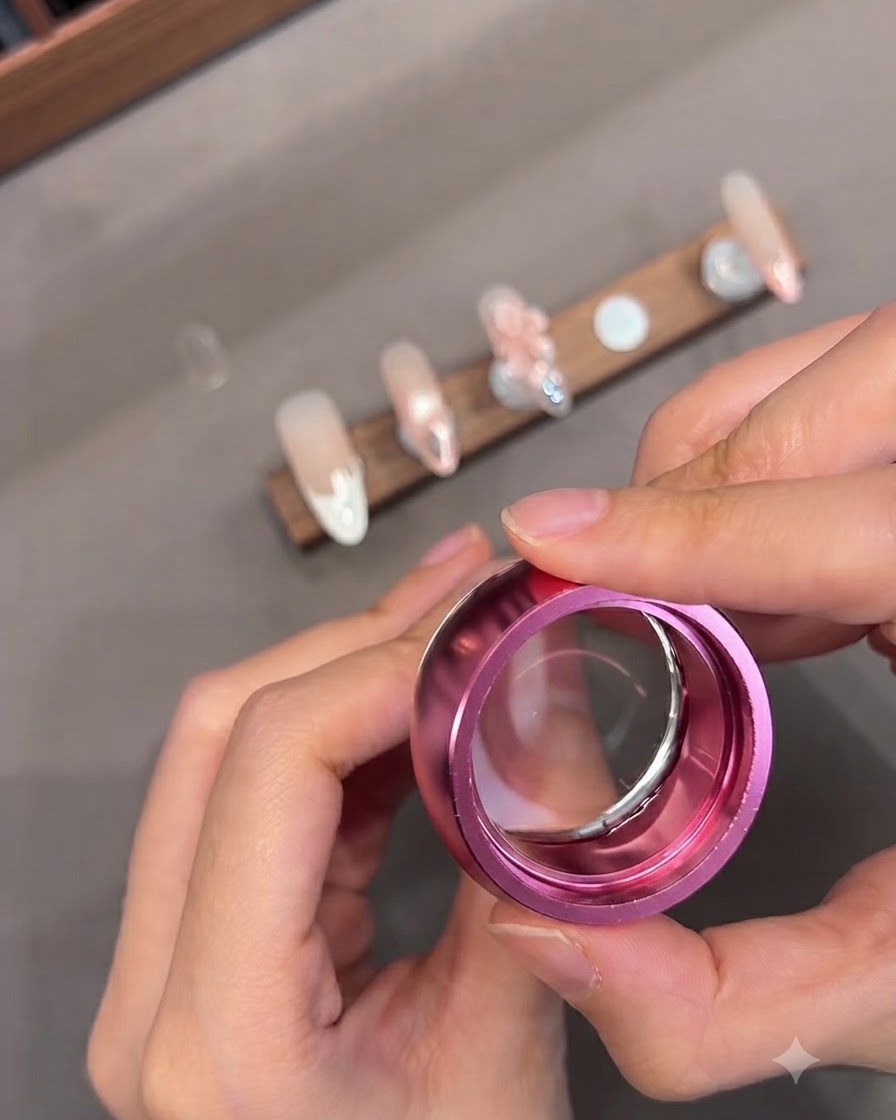
Using a clear silicone stamper, pick up the English text design from your stamping plate. Carefully align the stamper over the ring finger nail and press straight down in a firm, rolling motion to transfer the text seamlessly. The clear jelly stamper allows you to see exactly where the words will be placed for perfect alignment.
Tip: Work quickly when stamping, as the stamping polish dries extremely fast in the air and may not transfer if left too long. - 14Apply rhinestone decorations
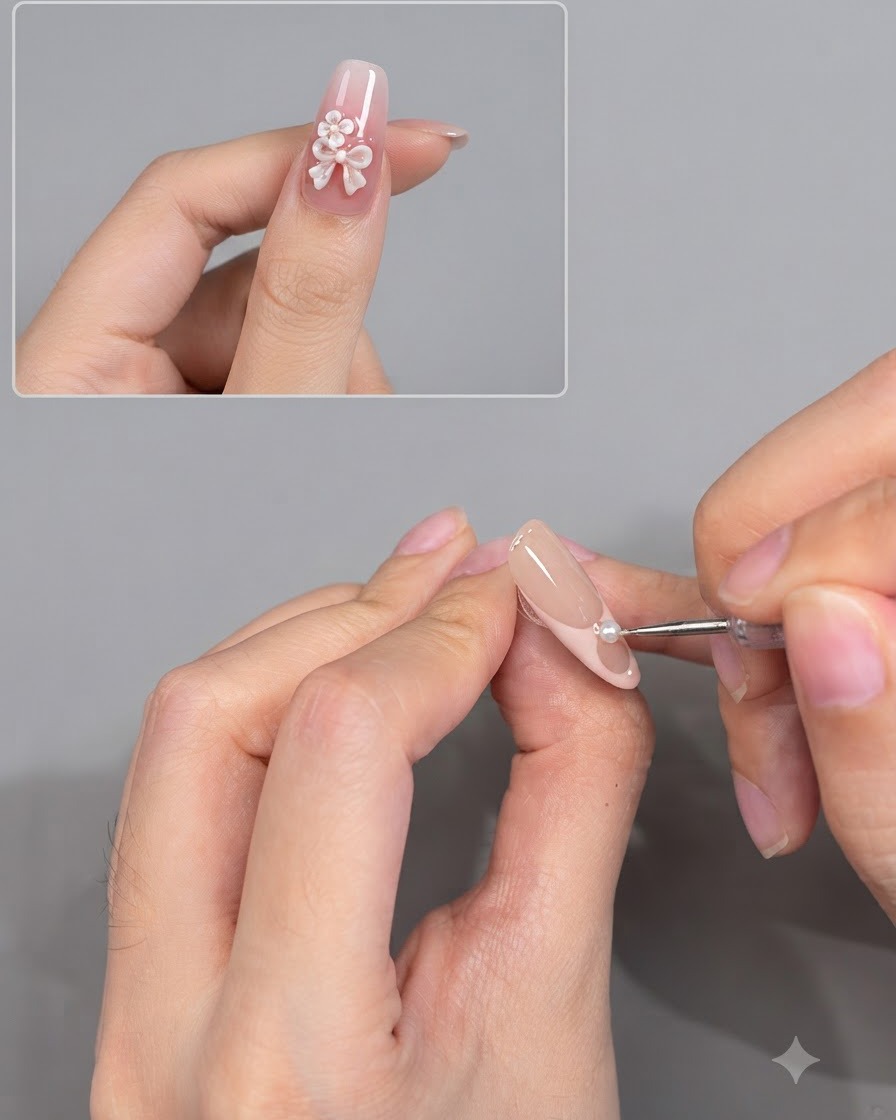
Using a wax picker tool or fine tweezers, pick up small rhinestones or pearl decorations and carefully place them onto the nail surface. Position them strategically along the French smile line or around the floral accents for an extra touch of elegance. Secure them with a small dab of gem gel, then perform a final full cure.
Tip: Seal the edges around the base of each rhinestone with top coat to prevent them from catching on hair or clothing.