Summer Rainy Mist Lily Nail Art — Step-by-Step Gel Tutorial
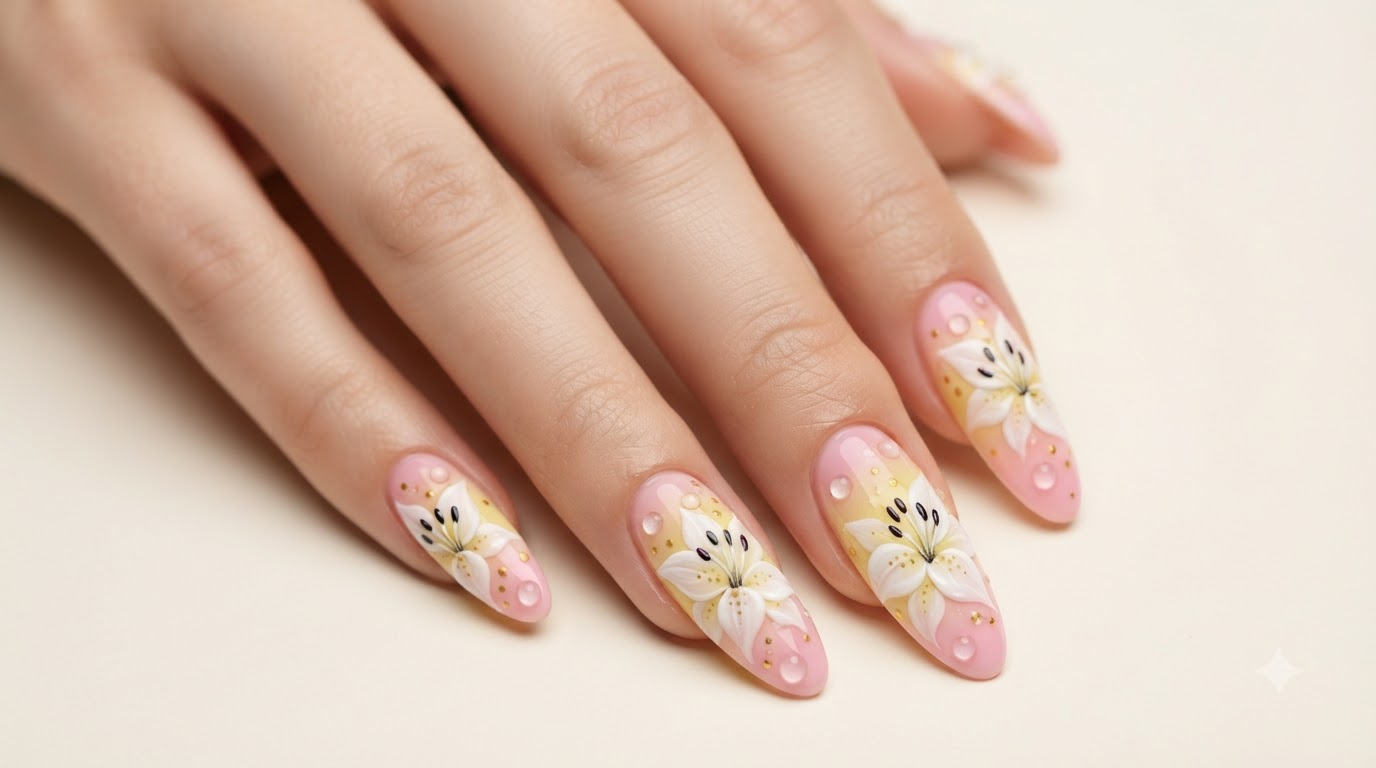
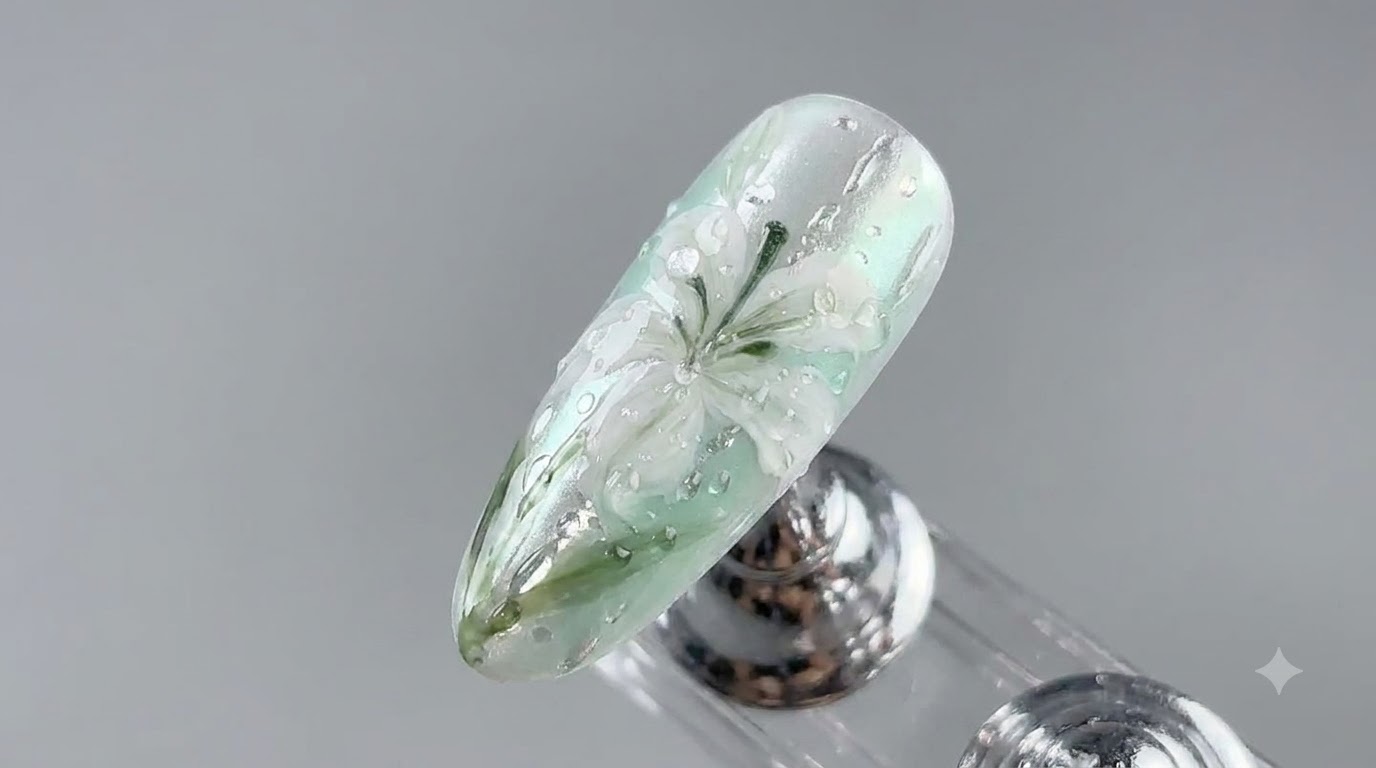
Create an ethereal rainy mist lily nail design featuring a translucent milky-green base, silver chrome mirror finish, hand-painted white petals, and realistic 3D gel water droplets.
Capturing the serene beauty of a misty summer rain, this nail art look combines a delicate translucent green base with shimmering chrome and fine botanical hand-painting. Complete with glossy 3D water droplets, it offers a sophisticated, high-end atmosphere that elevates any manicure. Whether you are building your botanical nail skills or looking for a stunning seasonal design, this step-by-step guide will walk you through achieving salon-quality results at home.
Steps
- 1Apply magic powder
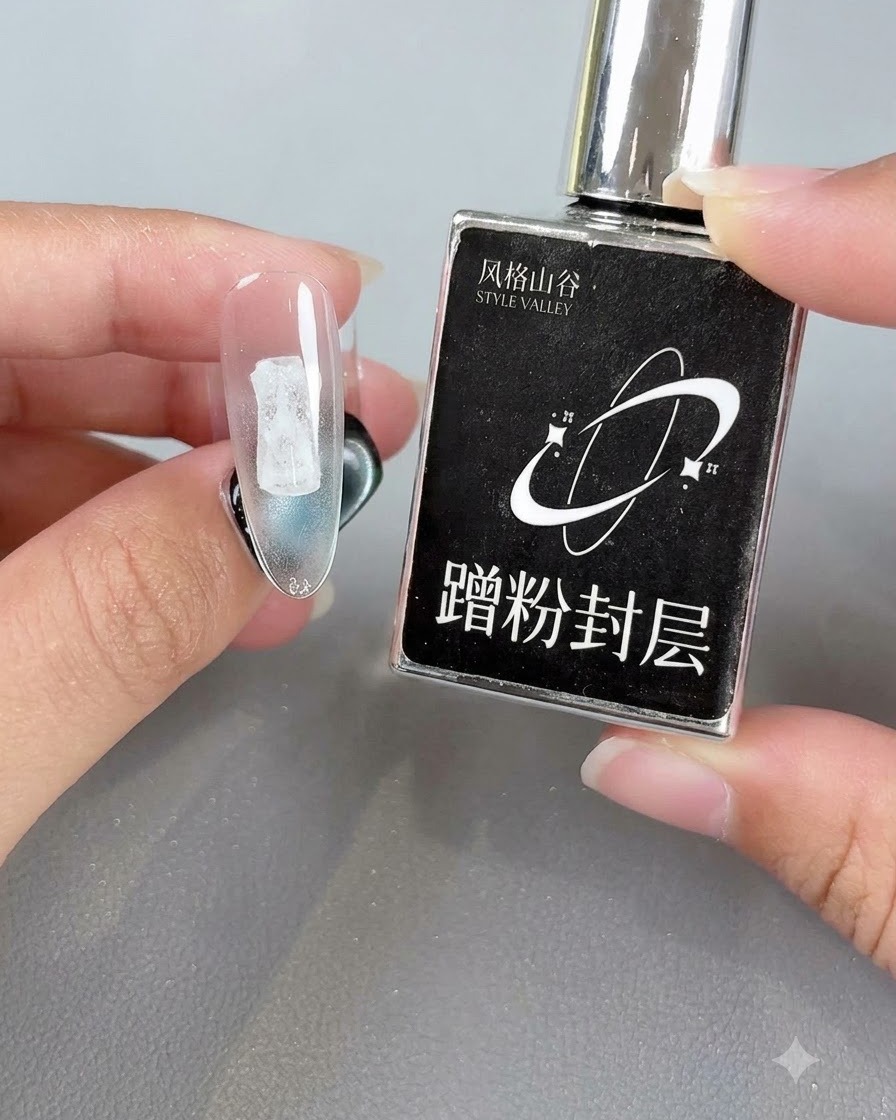
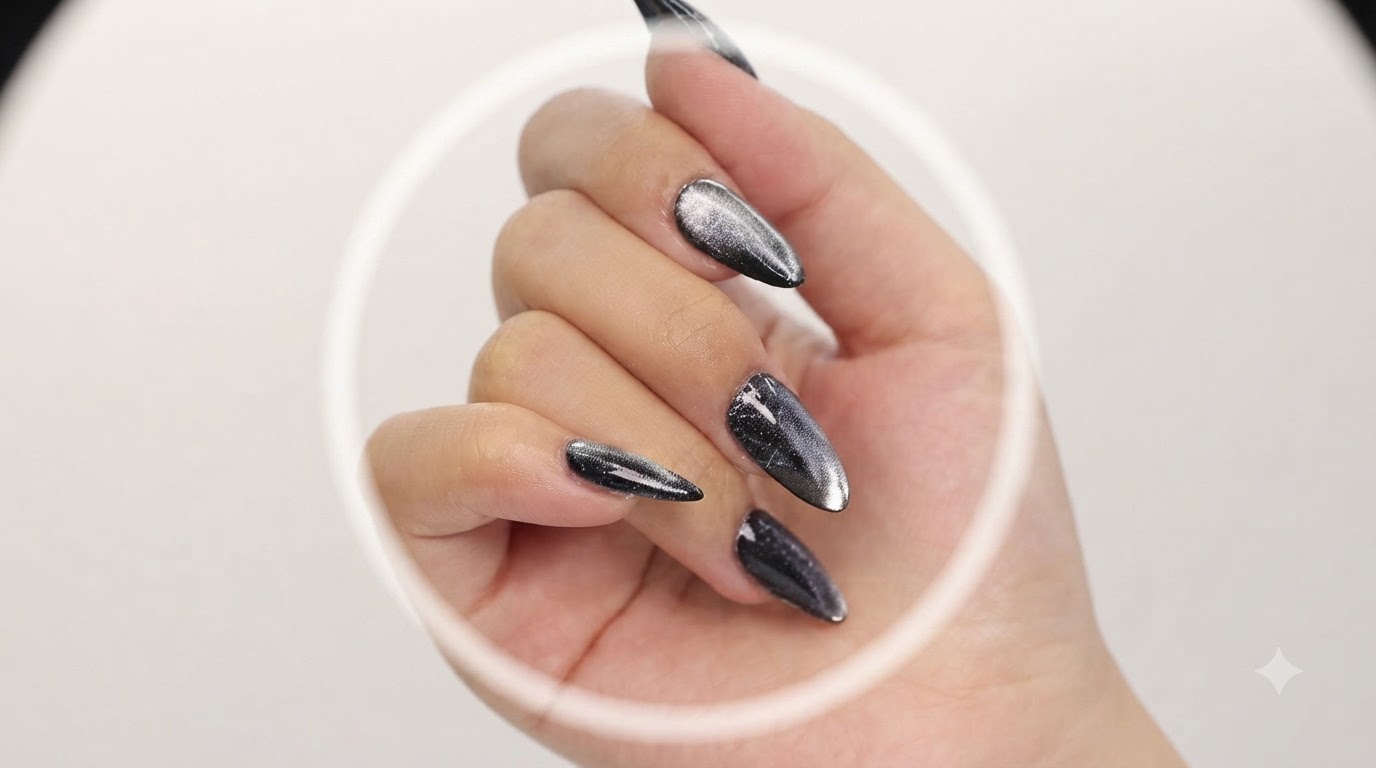
Take the sky realm magic powder and gently rub it onto the cured sealing coat layer using a silicone sponge applicator to achieve a smooth, reflective surface.
Tip: Ensure the sealing coat is fully cured and cooled before applying the powder for optimal mirror adhesion. - 2Dust off excess powder
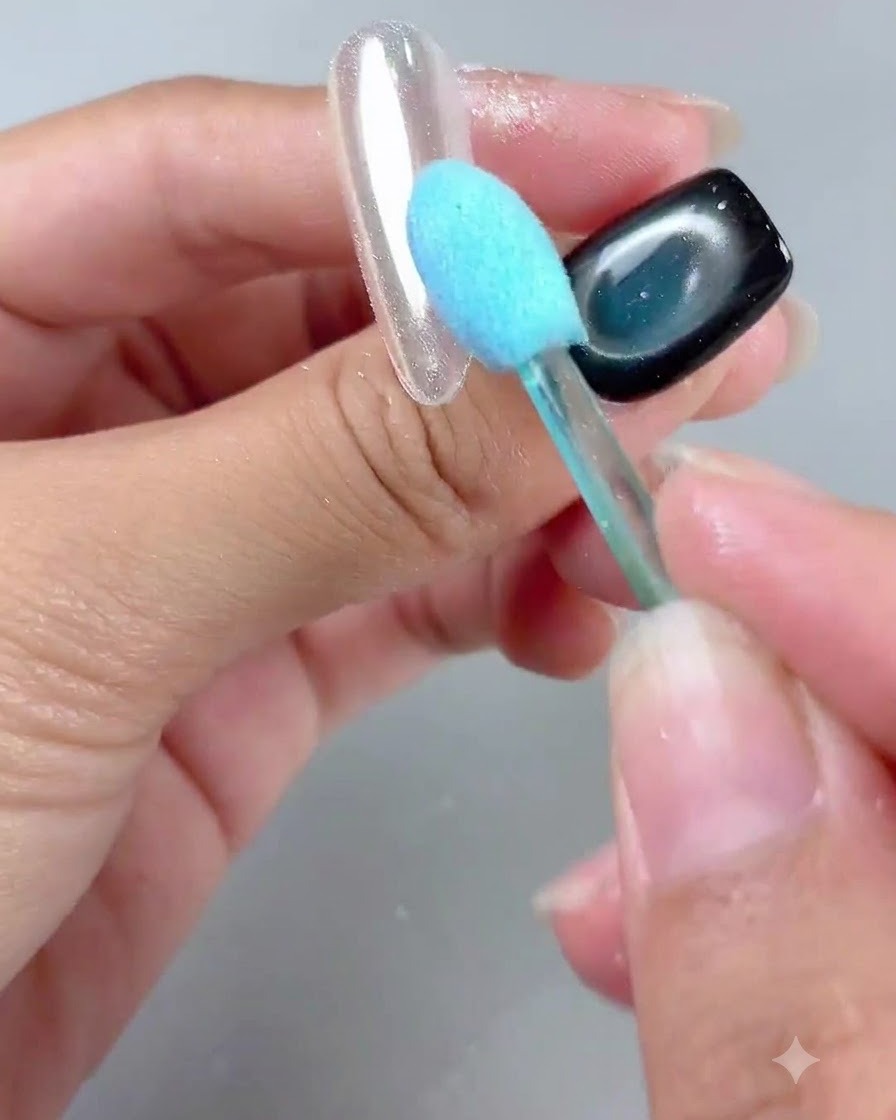
Use a fluffy makeup brush to gently dust away any excess floating powder from the nail surface, revealing a clean, silvery-white finish with a mirror-like high gloss.
Tip: Light sweeps prevent scratching the delicate mirror layer while effectively removing loose particles. - 3Seal mirror powder layer
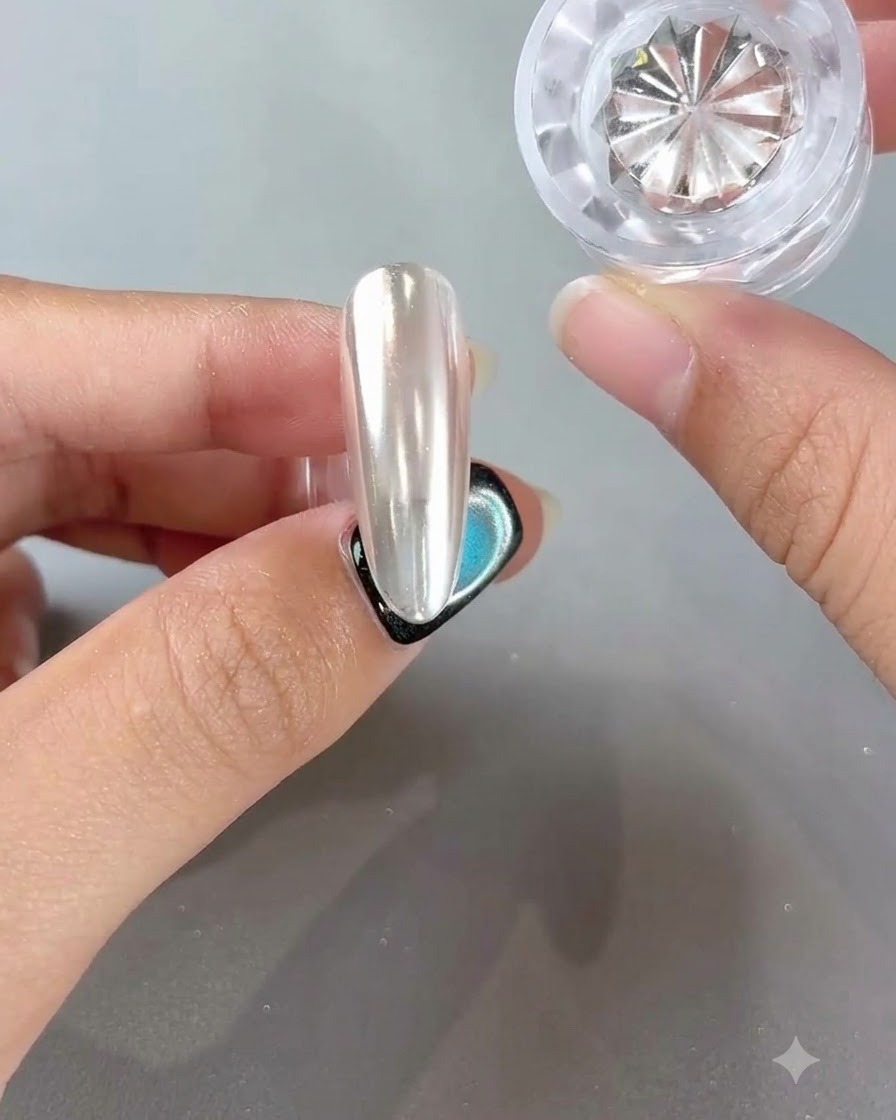
Continue using the style valley powder-free sealing coat to carefully seal the edges and surface over the mirror powder layer, encapsulating it securely.
Tip: Sealing the edges thoroughly prevents the mirror powder from chipping or peeling off at the tips. - 4Apply amber gel color blocks
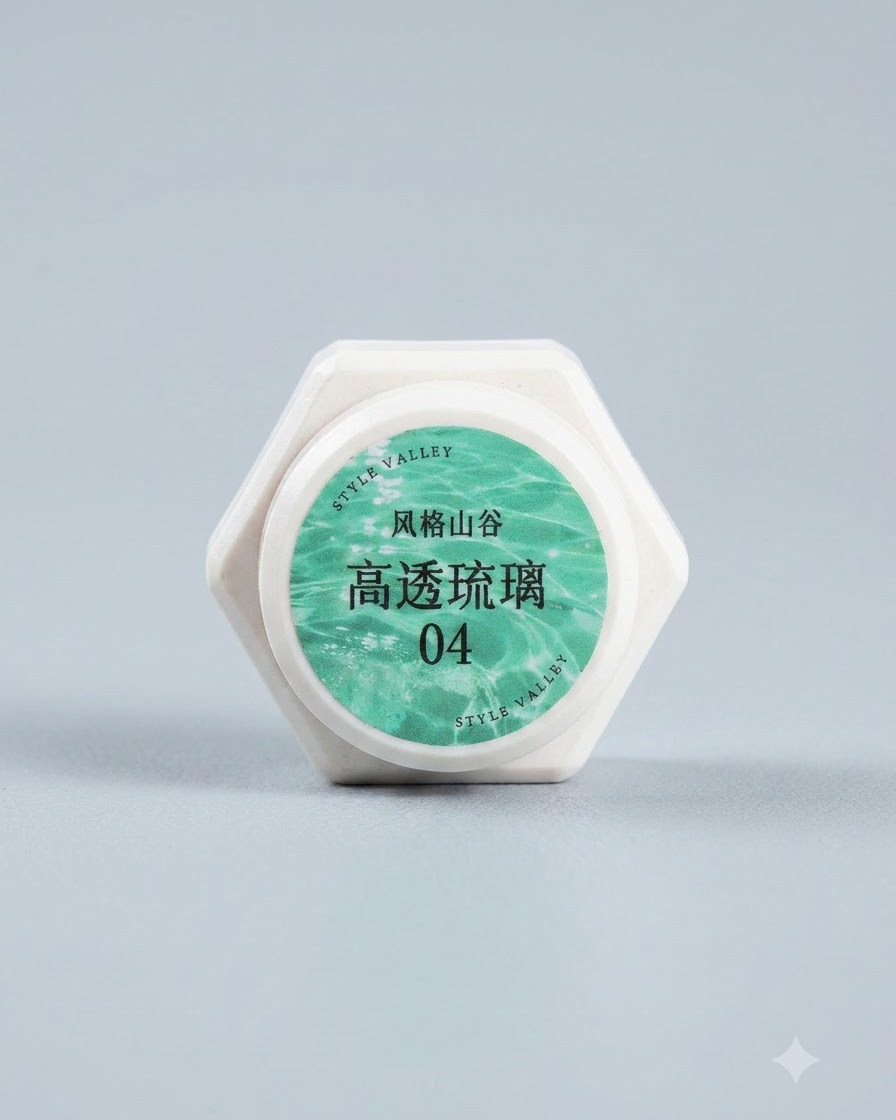
Take high-transparent amber gel number 04 and brush some color blocks onto the nail surface to set the foundation for the background tone.
Tip: Keep the gel layer thin and controlled to maintain transparency and ease of blending. - 5Blend color blocks
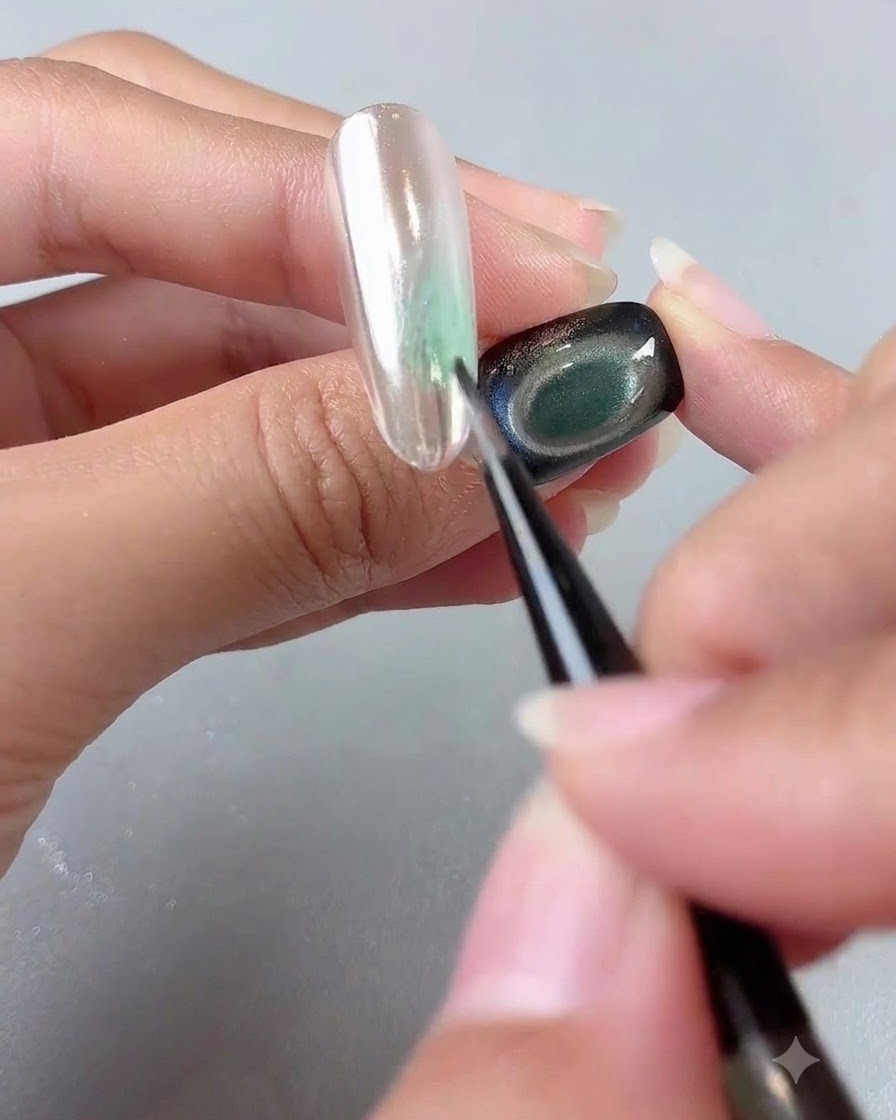
Use a fine detail brush to gently blend the green color blocks across the nail surface, making the color transition look soft and natural.
Tip: Work with light, feathery strokes to avoid harsh lines in the translucent gel layer. - 6Draw lily petals with white gel
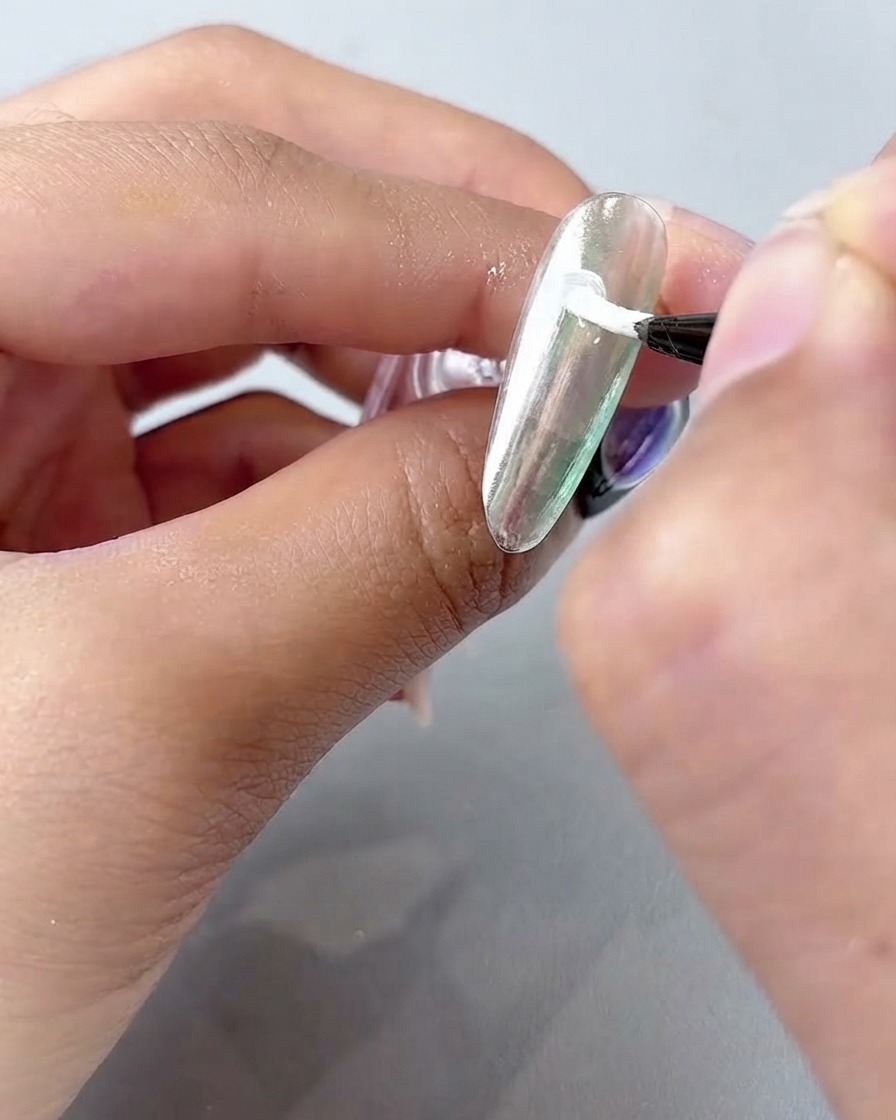
Using a large detail brush and white painting gel, carefully draw the petals of the lily flower on the nail surface with gentle, curved strokes to create a blooming 3D effect.
Tip: Slightly bend your brush strokes to give the petals natural dimension and depth. - 7Draw additional petal and stem
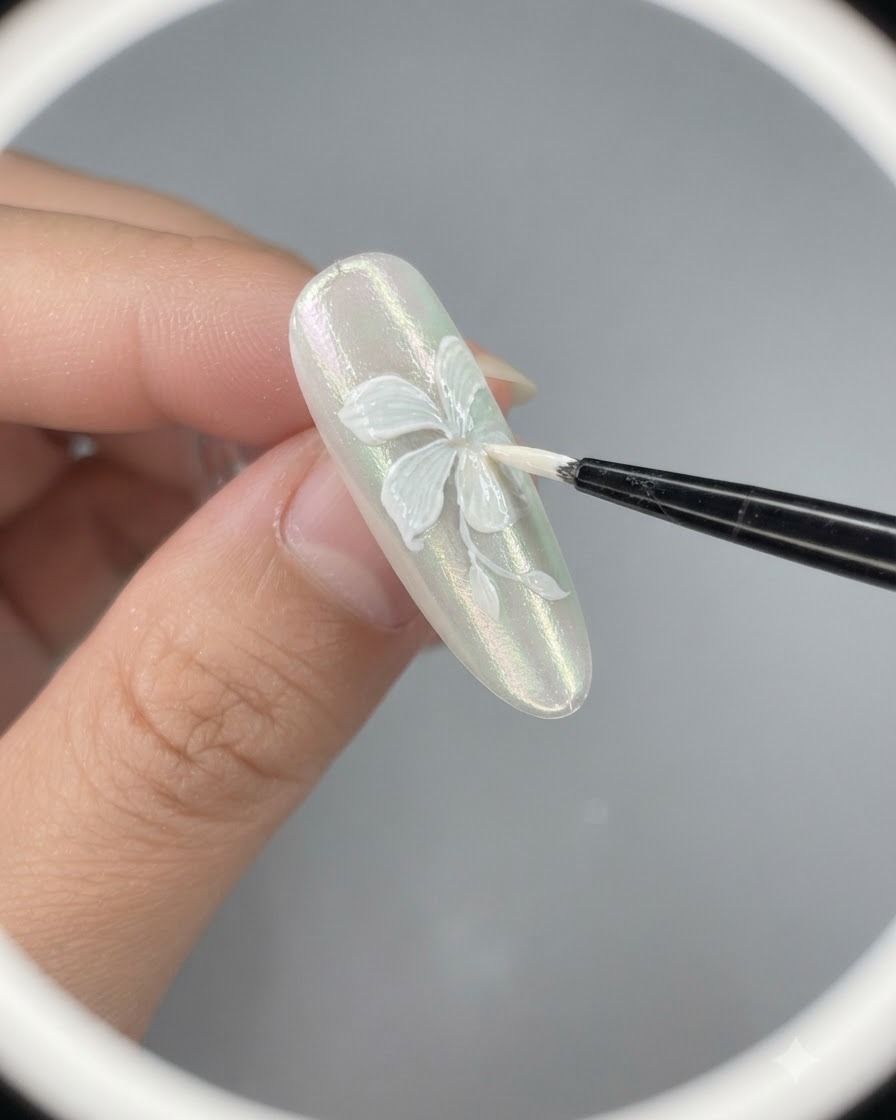
Using the white painting gel, draw an additional half petal in the upper corner to frame the flower layout. Continue by painting the delicate lily stem extending downward from the flower base to create structural balance on the nail.
Tip: Keep the pressure light on your brush so the lines remain clean and refined. - 8Apply high-transparent amber gel
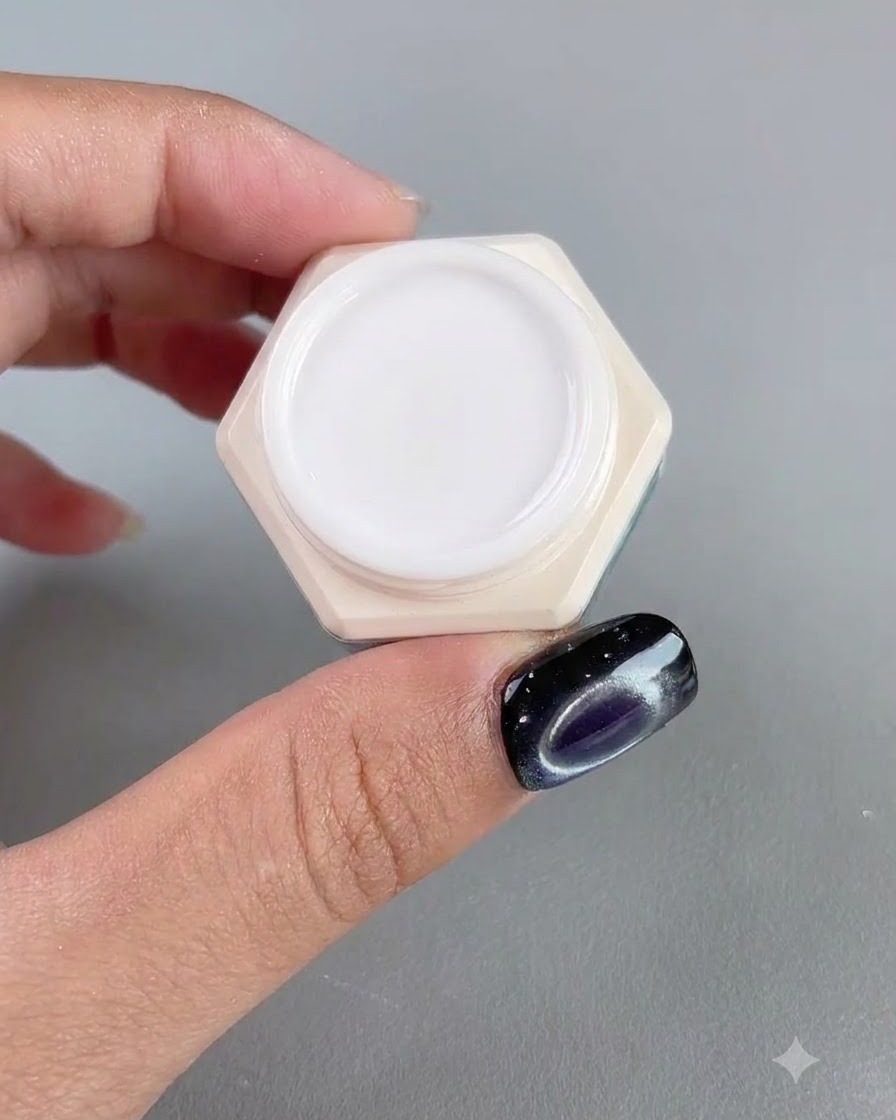
Take high-transparent amber gel number 03 and apply it over the painted areas to create texture effects, enhancing the depth and realistic look of the petals.
Tip: Keep layers thin to maintain transparency and control the shading effect. - 9Blend amber gel and shade stems
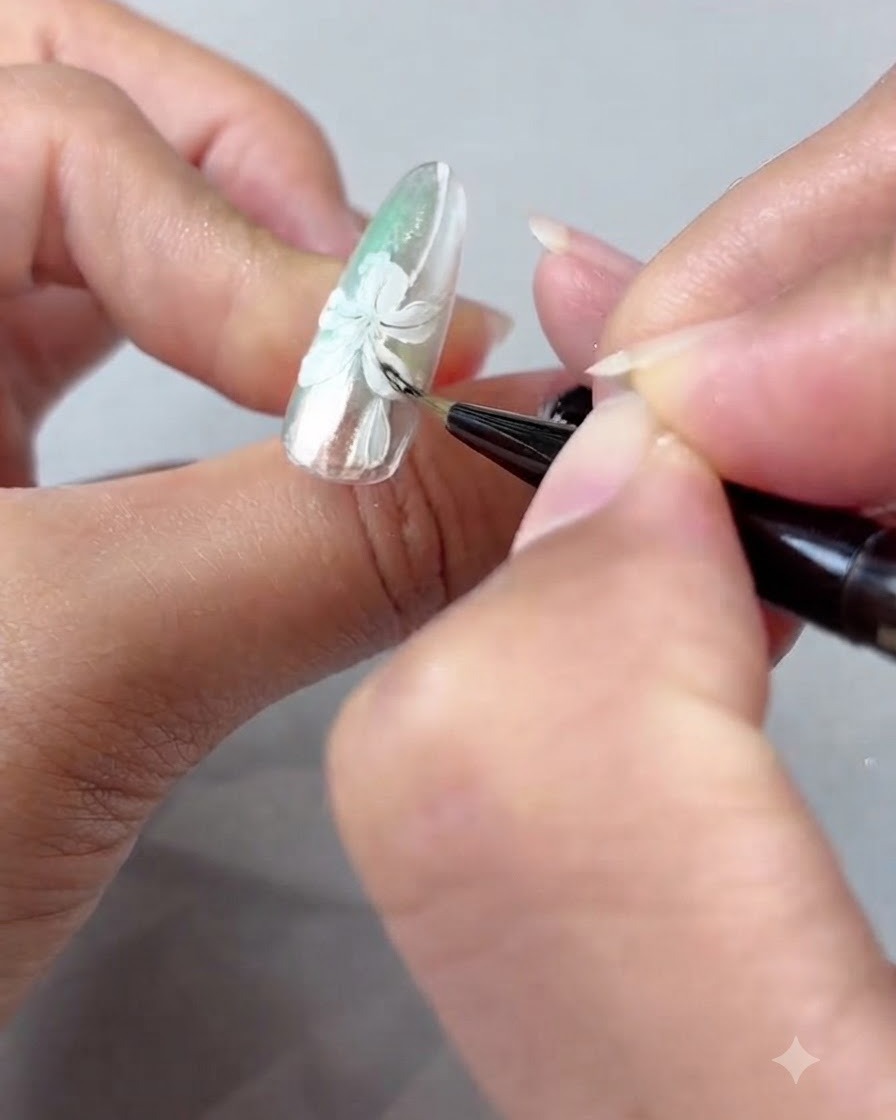
Gently blend the applied amber texture gel over the petals and use it to shade the flower stems and branches for a seamless and natural transition.
Tip: Softly feather the edges of the amber gel to avoid harsh lines. - 10Paint surrounding green leaves
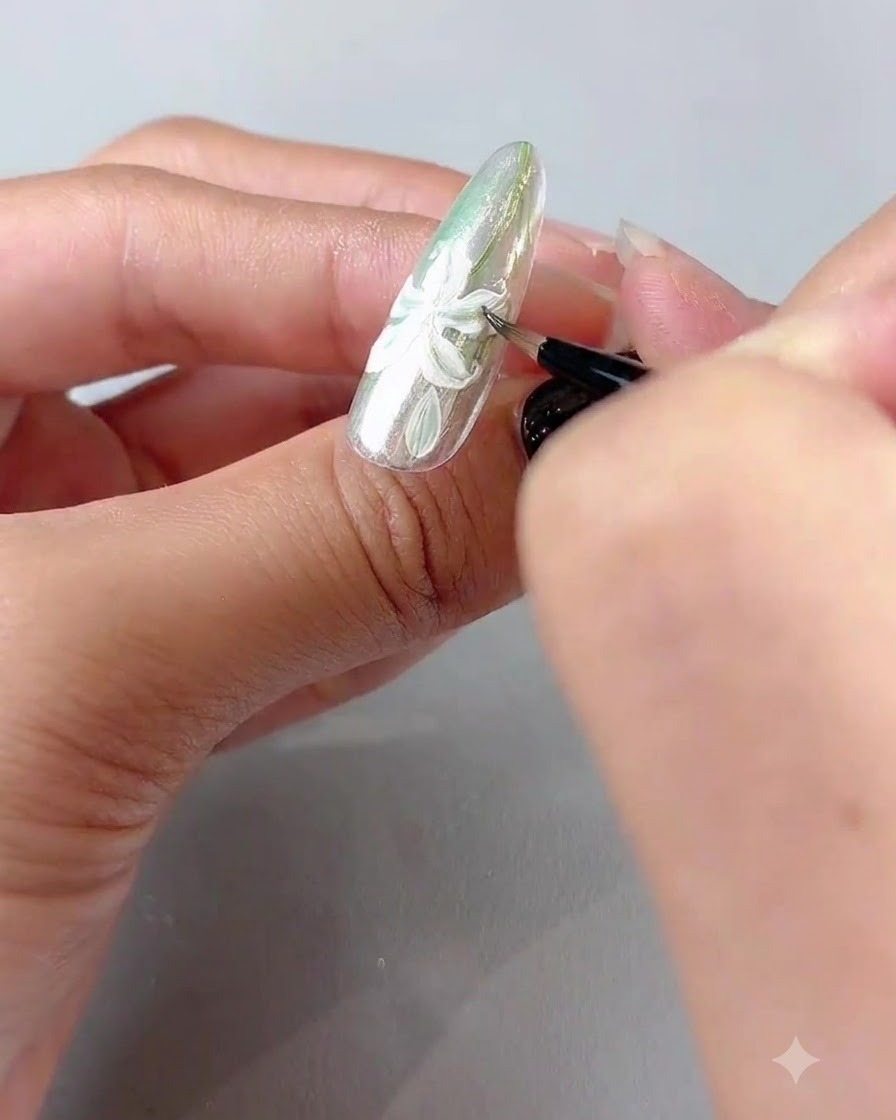
Using a fine brush, paint delicate green leaves and foliage surrounding the lily flower to complete the natural composition.
Tip: Use light pressure on the brush tip for sharp, elegant leaf outlines. - 11Paint flower stamens
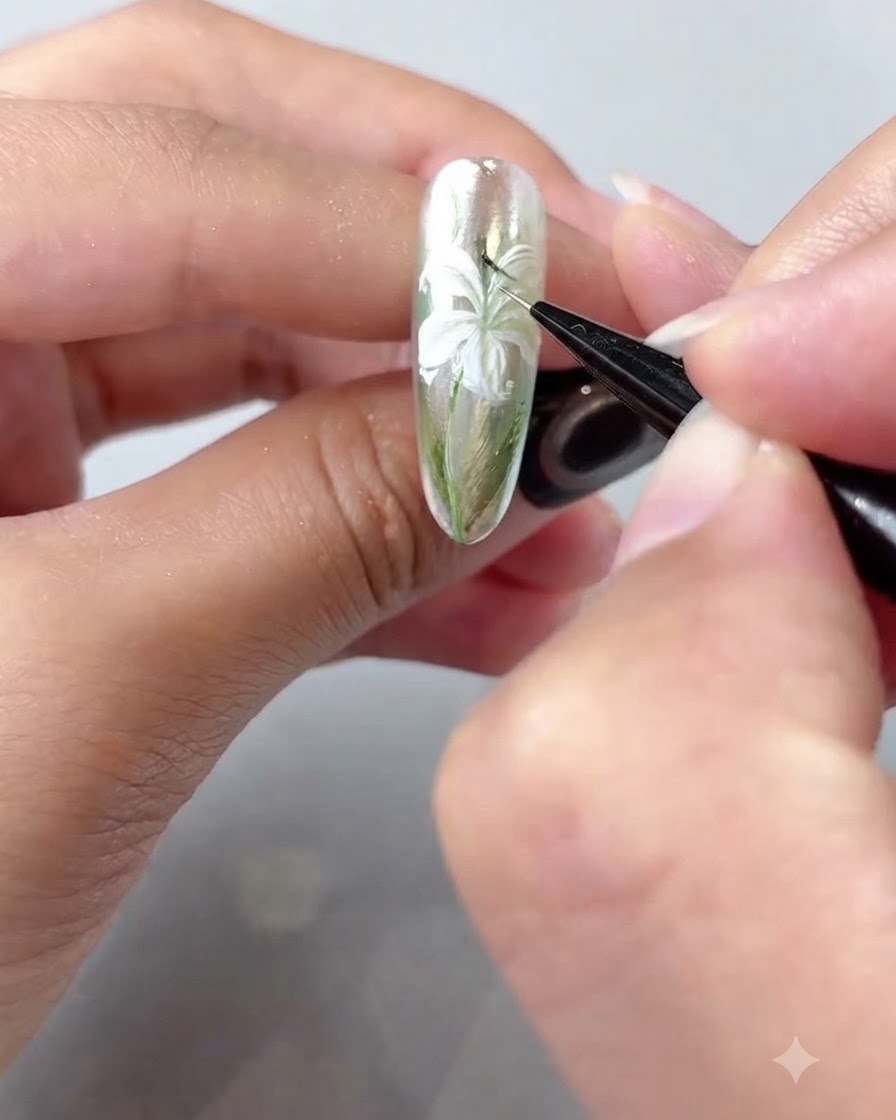
Gently paint fine dark stamens in the center of the lily flower, ensuring the color is slightly deeper to create realistic contrast.
Tip: Use a very fine detail liner brush for precise stamen lines. - 12Apply velvet sealing coat
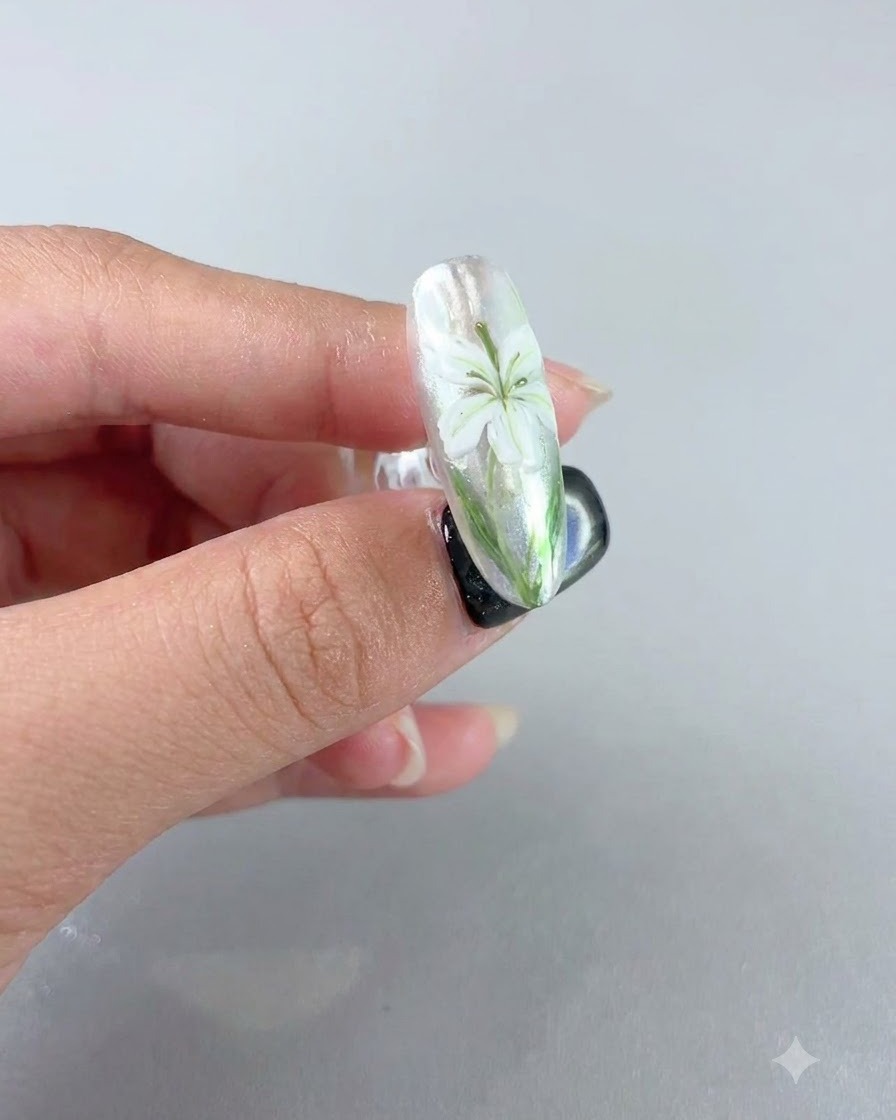
Apply a velvet sealing coat over the entire nail surface to lock in the design, then cure under the lamp to finish the look.
Tip: Ensure complete coverage with the sealing coat to protect the intricate painted details. - 13Create 3D water droplet effects
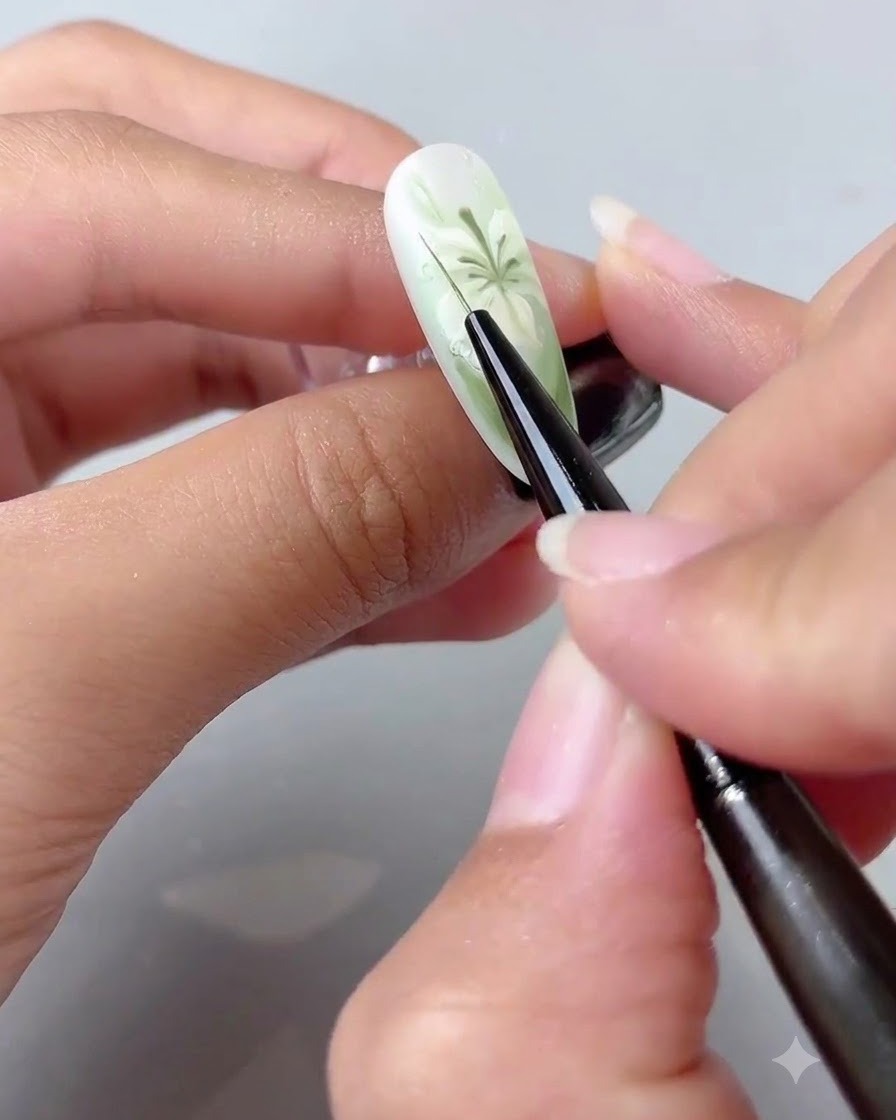
Apply plump shaping gel in small dots across the nail surface to create 3D water droplet effects, then cure under the lamp to finish.
Tip: Place the dots strategically where light would naturally catch the dew for a more realistic finish.