Japanese Style Cute Bear
Chain Nail Art — Step-by-Step Tutorial
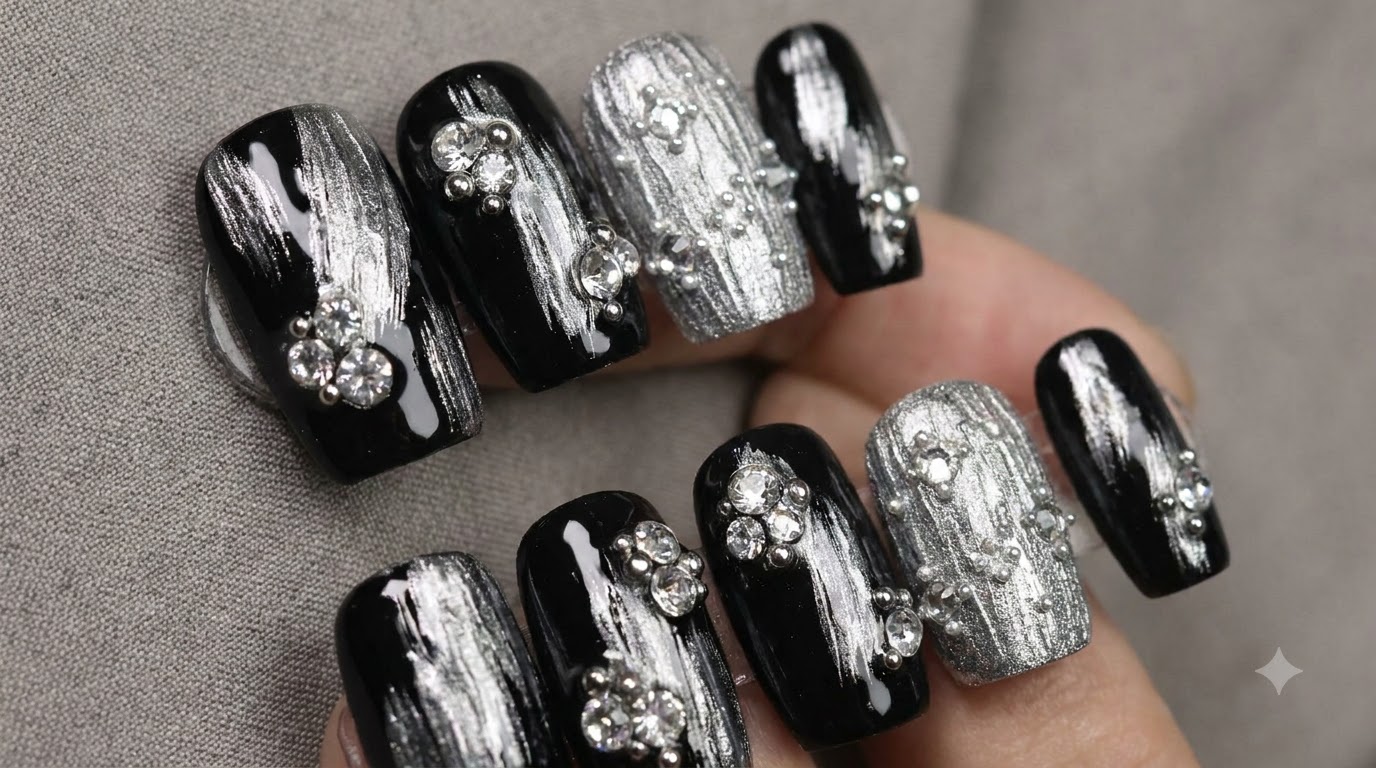
Create trendy Japanese style press-on nails featuring a vibrant orange gradient, shimmering silver foil, and luxurious 3D bear rhinestone charms.
Japanese nail art is renowned for its intricate textures, dimensional charms, and mixed-media designs that stand out. This tutorial guides you through combining custom color blending, transfer foils, and internet-famous 3D bear accessories to achieve an eye-catching salon-quality finish at home.
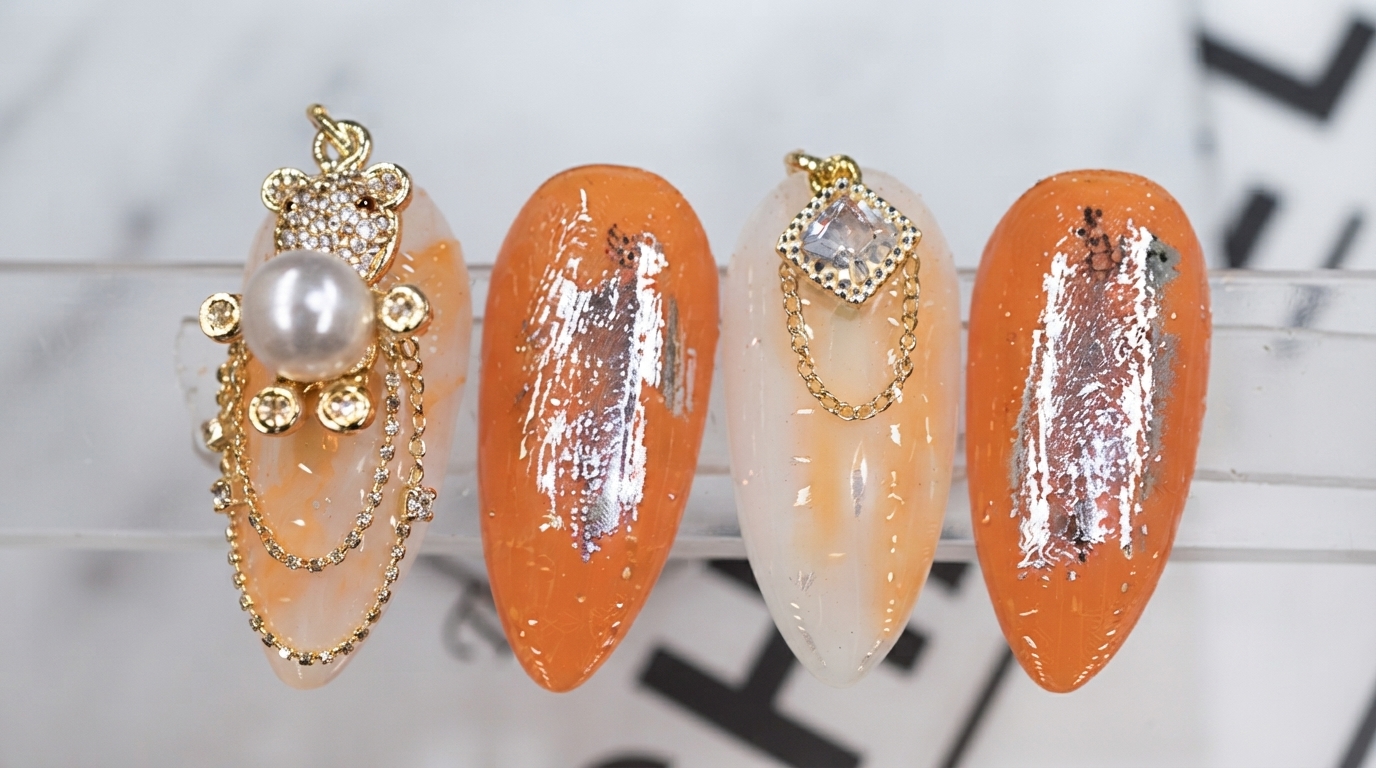
Steps
- 1Apply mixed color base
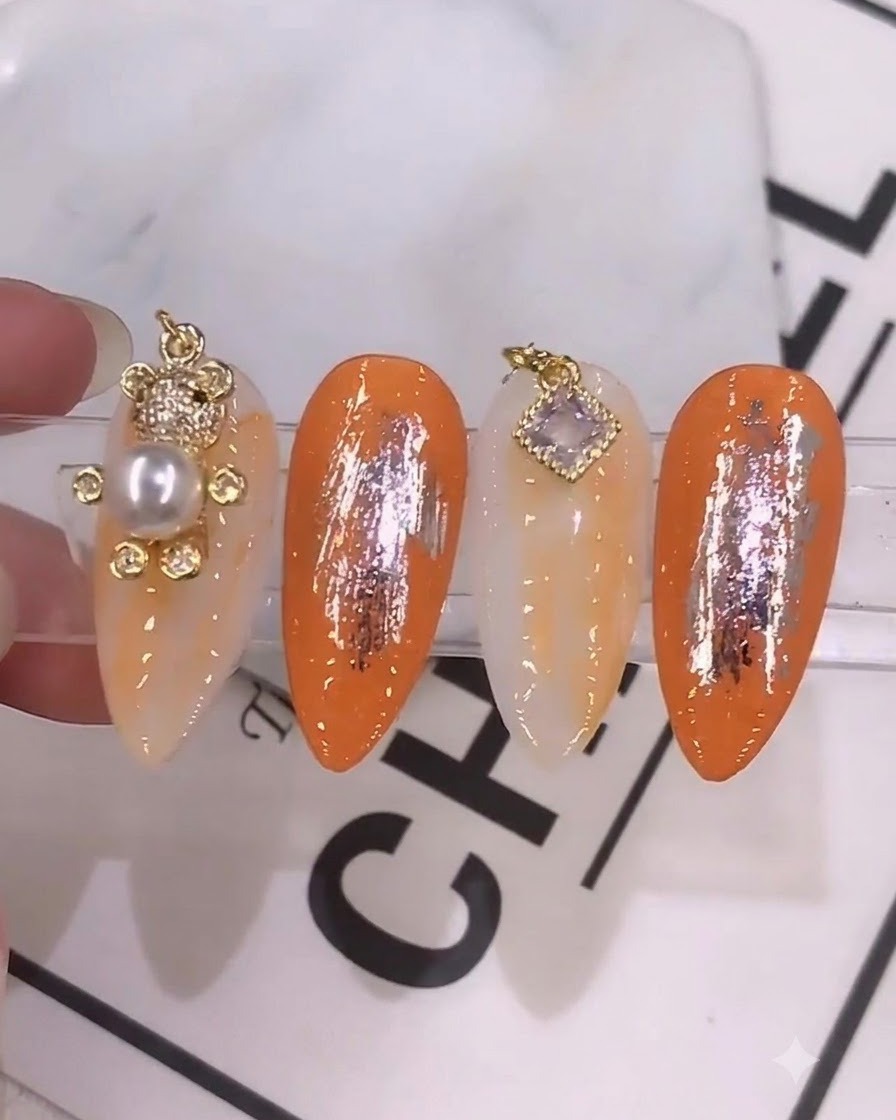
Using a fine nail brush, take the pre-mixed colors of E068 and E027 and gently apply them onto the nail base. Ensure the application covers the desired areas evenly while preparing the surface for subsequent decorative layers.
Tip: Mix the two gel colors thoroughly on a palette before application to achieve a consistent shade. - 2Apply starry sky glue
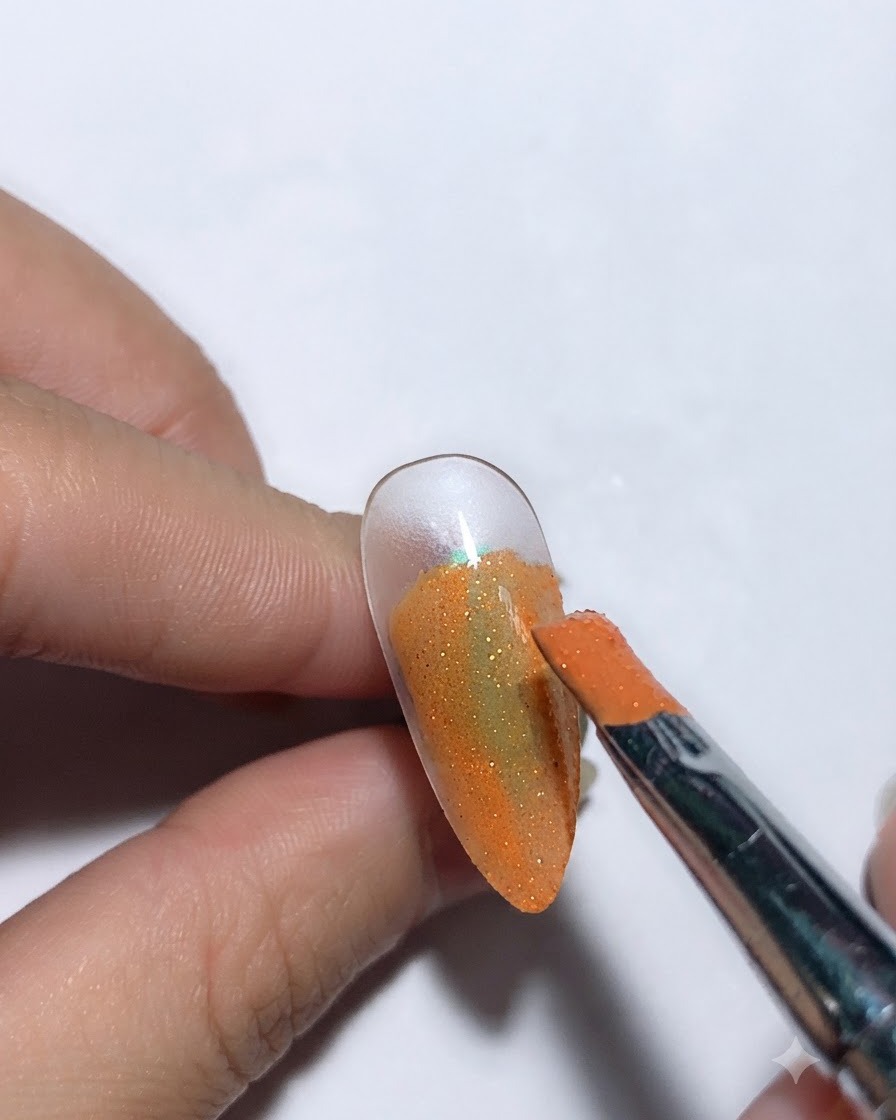
Apply a layer of starry sky glue evenly over the colored nail base to create a tacky surface that will securely hold the transfer foil.
Tip: Ensure the glue layer is smooth and covers the desired areas completely for an even foil transfer. - 3Press silver transfer foil
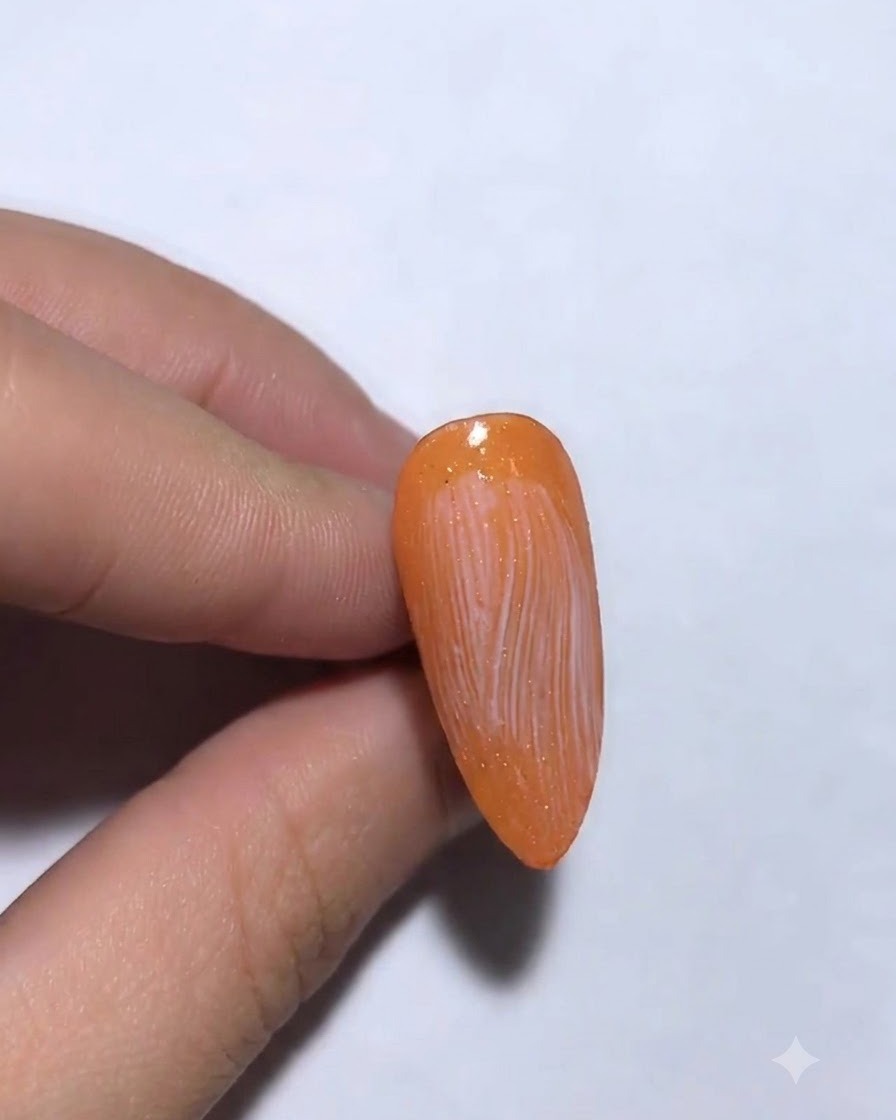
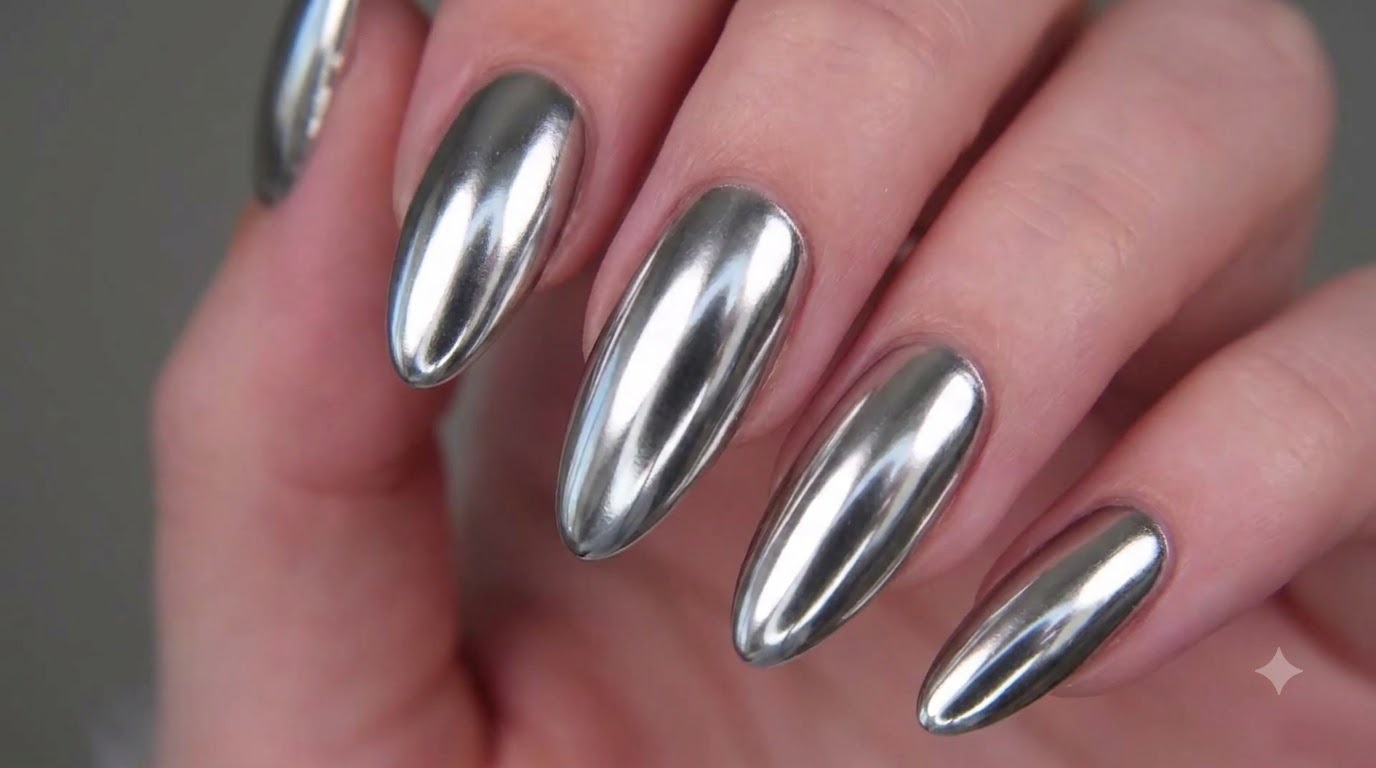
Firmly press the silver transfer foil onto the tacky layer of the nail, then peel it back to leave behind shiny metallic foil patterns.
Tip: Press firmly across the entire nail surface to ensure the foil transfers evenly. - 4Lift transfer foil
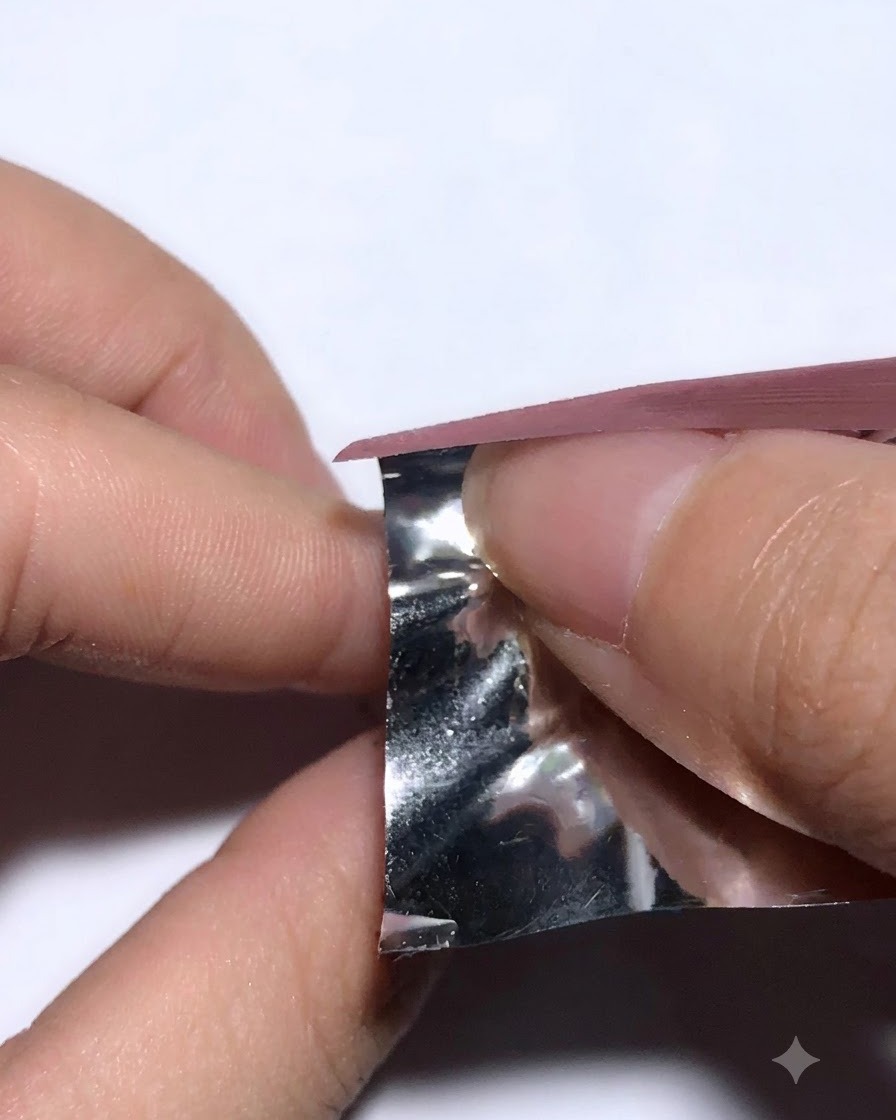
Gently lift the transfer foil sheet away from the nail to reveal the textured silver foil pattern left behind on the surface.
Tip: Lift smoothly and quickly to get a clean transfer without smudging. - 5Apply protein gel base
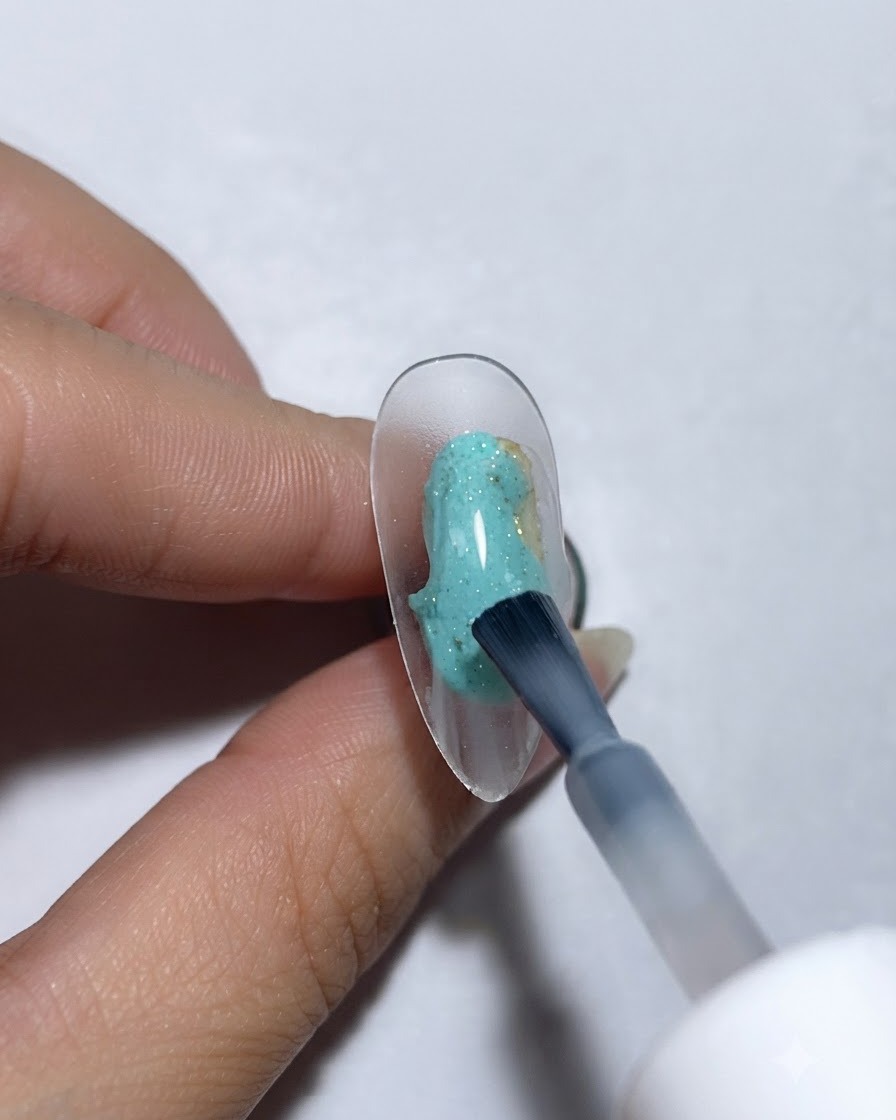
Apply a layer of protein gel base onto a clear display nail stand to prepare the surface for the next color application.
Tip: Brush evenly to maintain a smooth foundation for subsequent gel layers. - 6Paint greenish-blue details
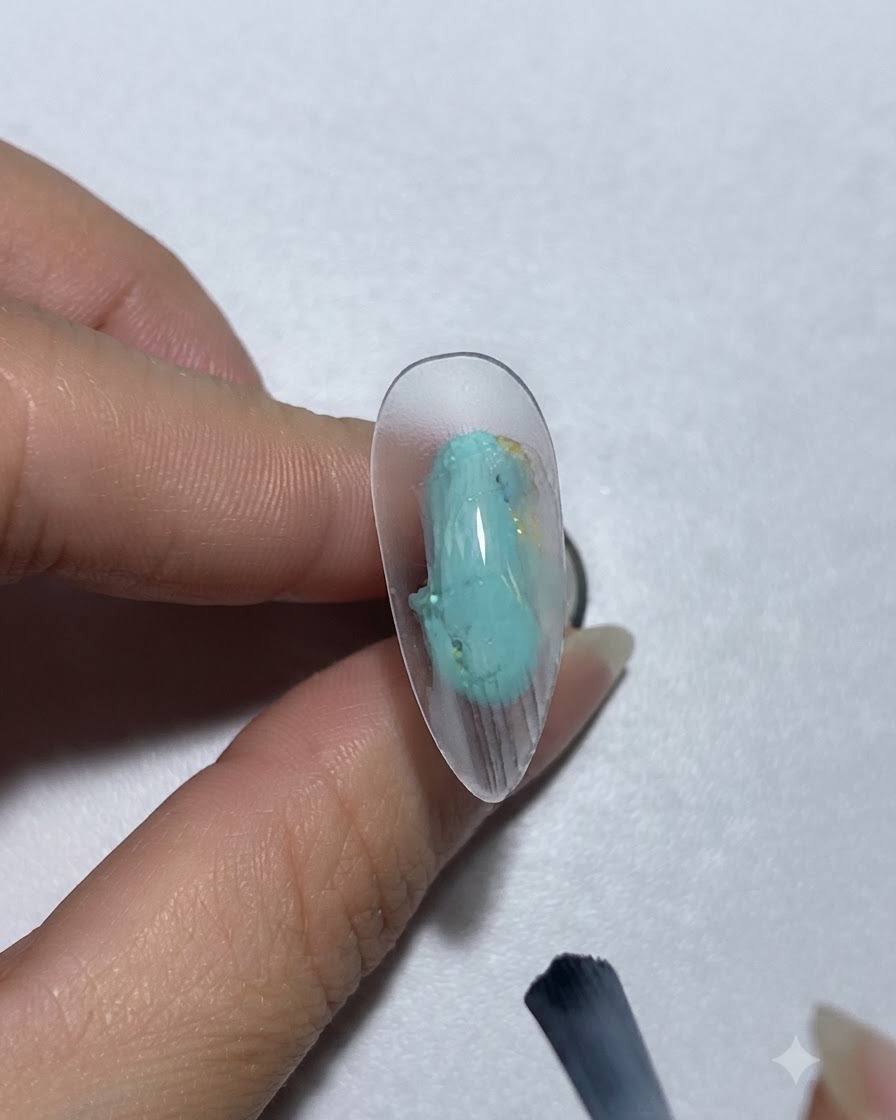
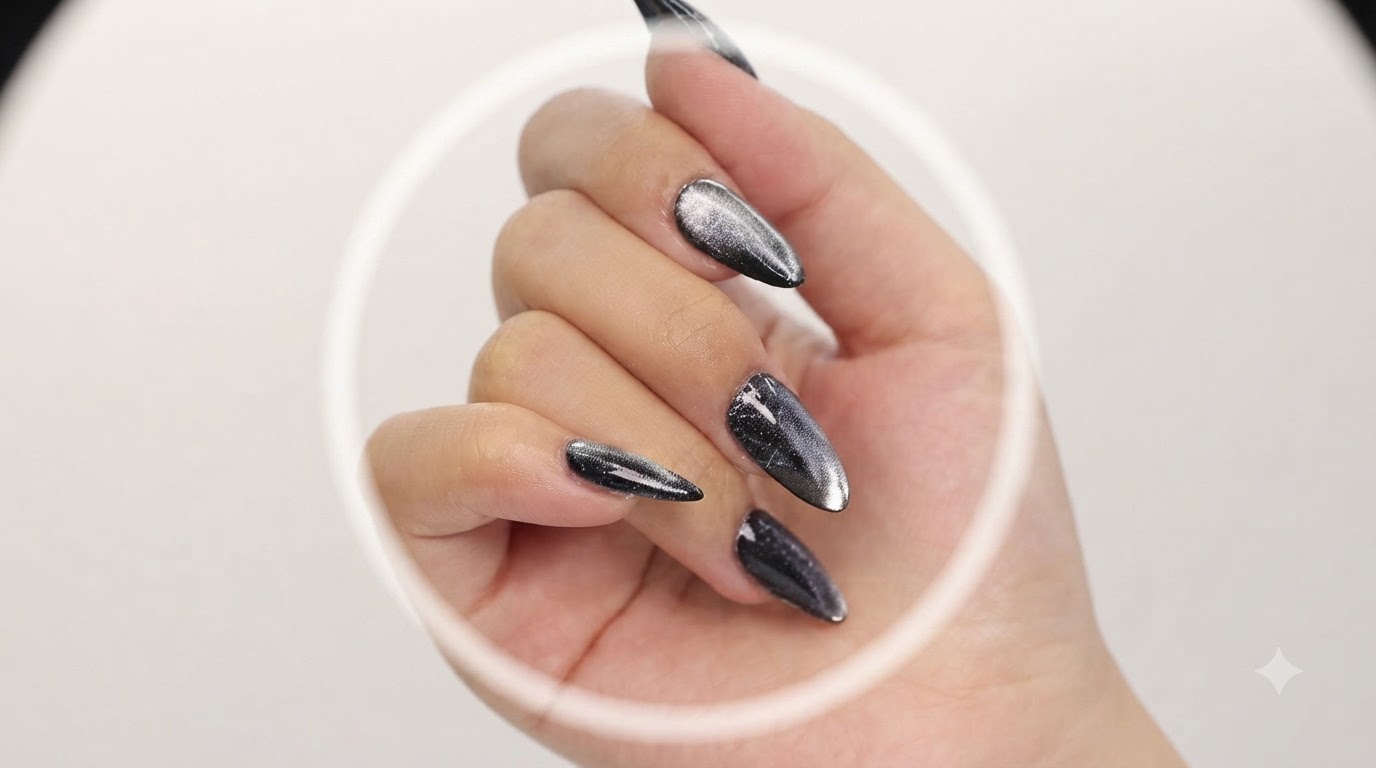
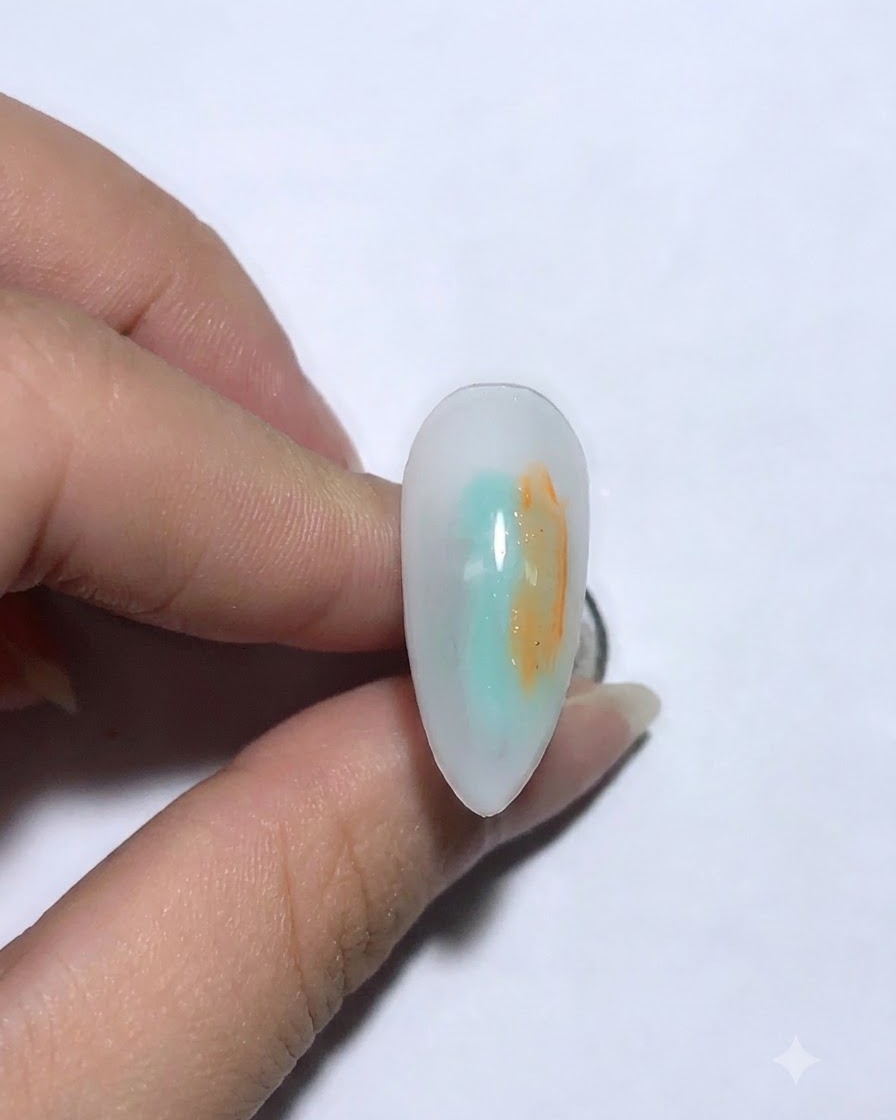
Pick up the mixed E068 and E027 colors and randomly paint paint gel in a greenish-blue hue onto the nail to create unique abstract details.
Tip: Use light, random strokes for a natural artistic look. - 7Cure the gel under UV/LED lamp
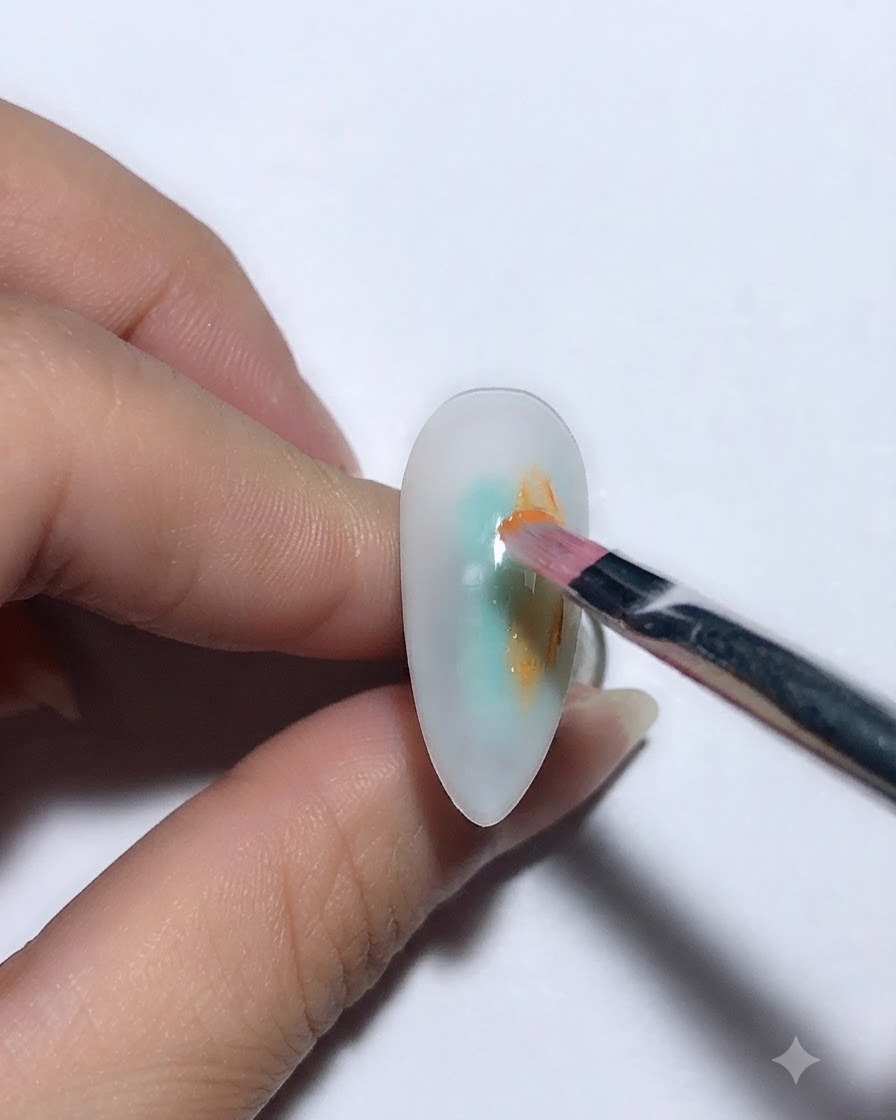
Place the nail under the UV/LED lamp to cure the painted gel layer securely. Ensure the light covers all areas evenly so the product sets properly before moving on to the next design element.
Tip: Keep your hand steady inside the lamp to prevent the wet gel from shifting during the initial cure. - 8Attach bear rhinestone and chain accessories
Attach the cute internet-famous bear rhinestone and chain accessories onto the completed nail design using gem gel or builder gel. Press gently to secure them in place before final curing.
Tip: Use a wax picker tool to easily pick up and position small rhinestones and delicate chains with precision.