French Glitter Tip
Blue Accent Nails — Step-by-Step Tutorial
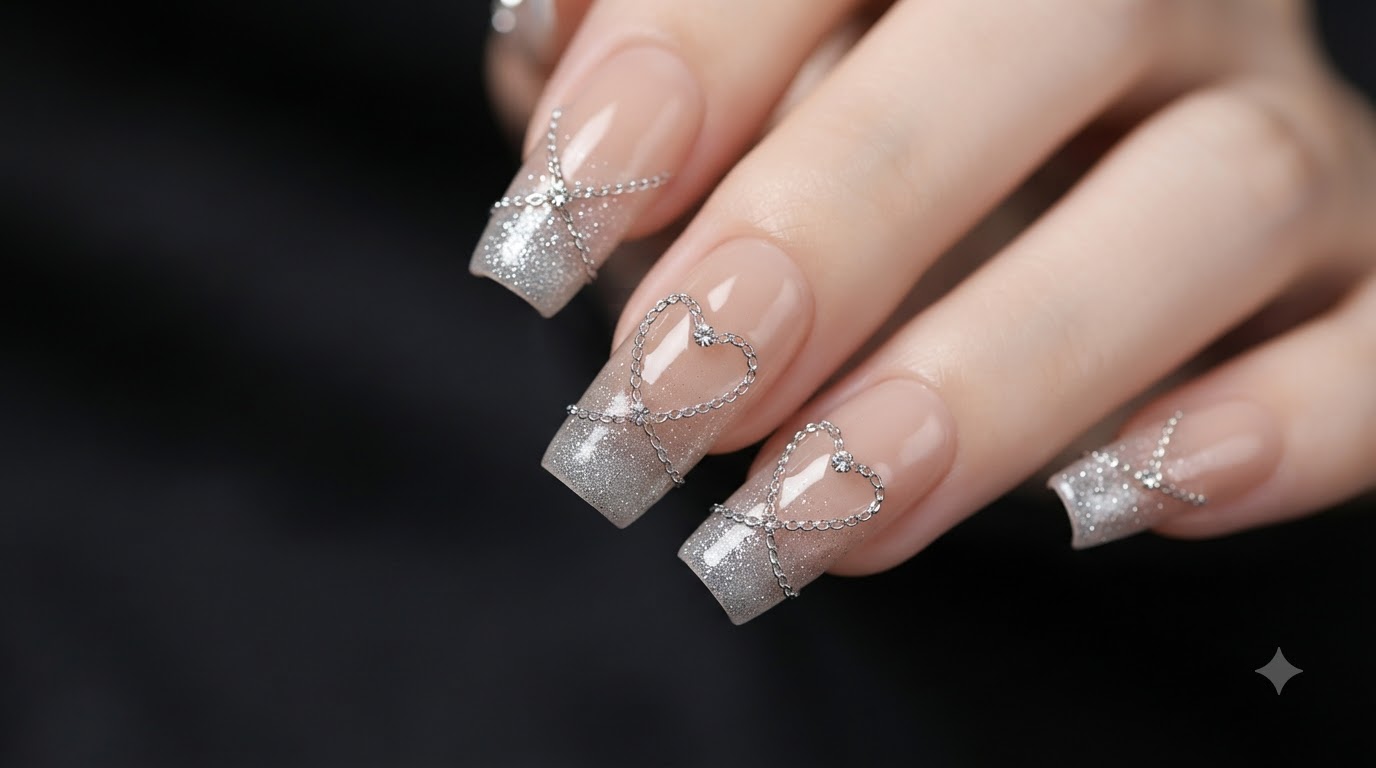
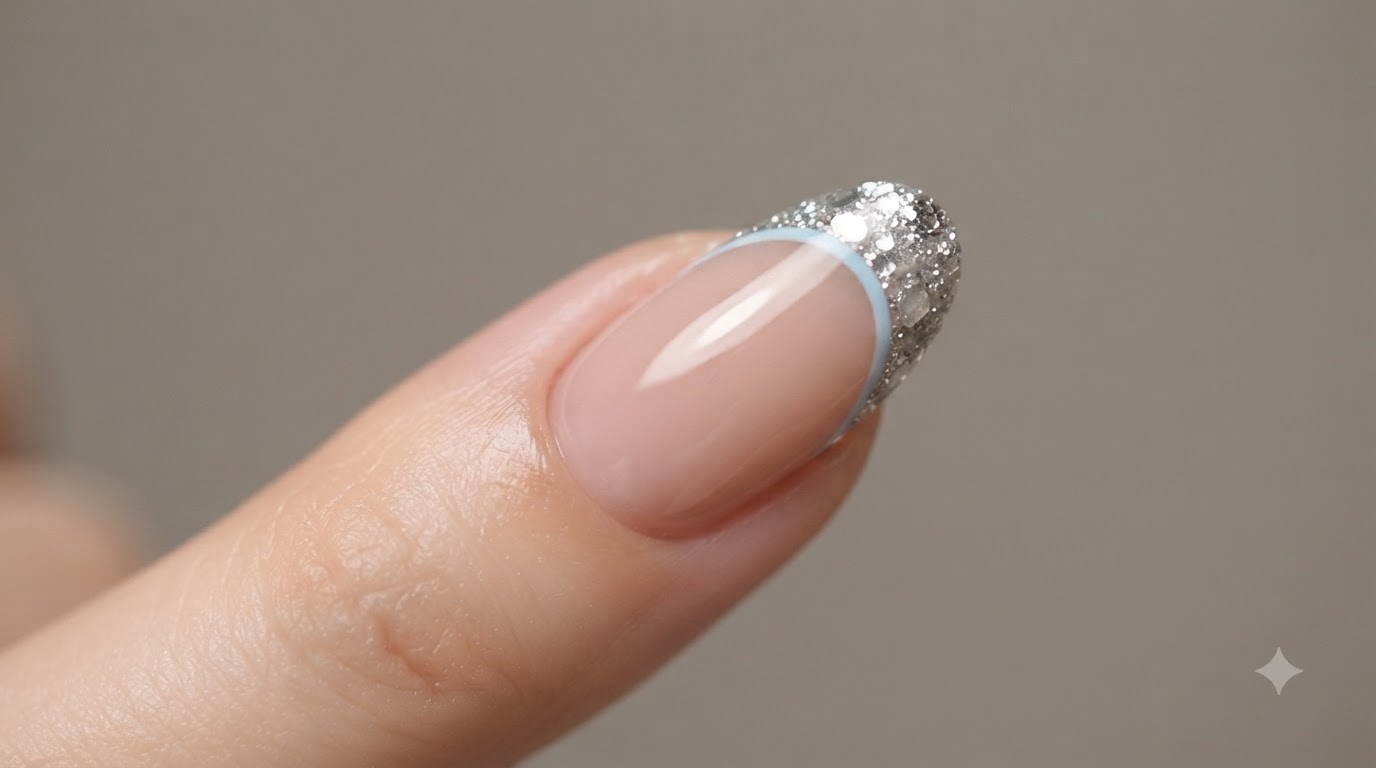
Elevate your classic French manicure with sparkling silver glitter tips and a delicate pastel blue border on chic almond-shaped nails.
Putting a modern twist on the timeless French manicure always catches the eye. This look combines the sophisticated look of an ivory gradient base with a dazzling, high-texture chunky silver glitter tip. To tie the entire design together and add a subtle pop of color, a ultra-thin light blue accent line frames the smile line perfectly.
Steps
- 1Apply base coat
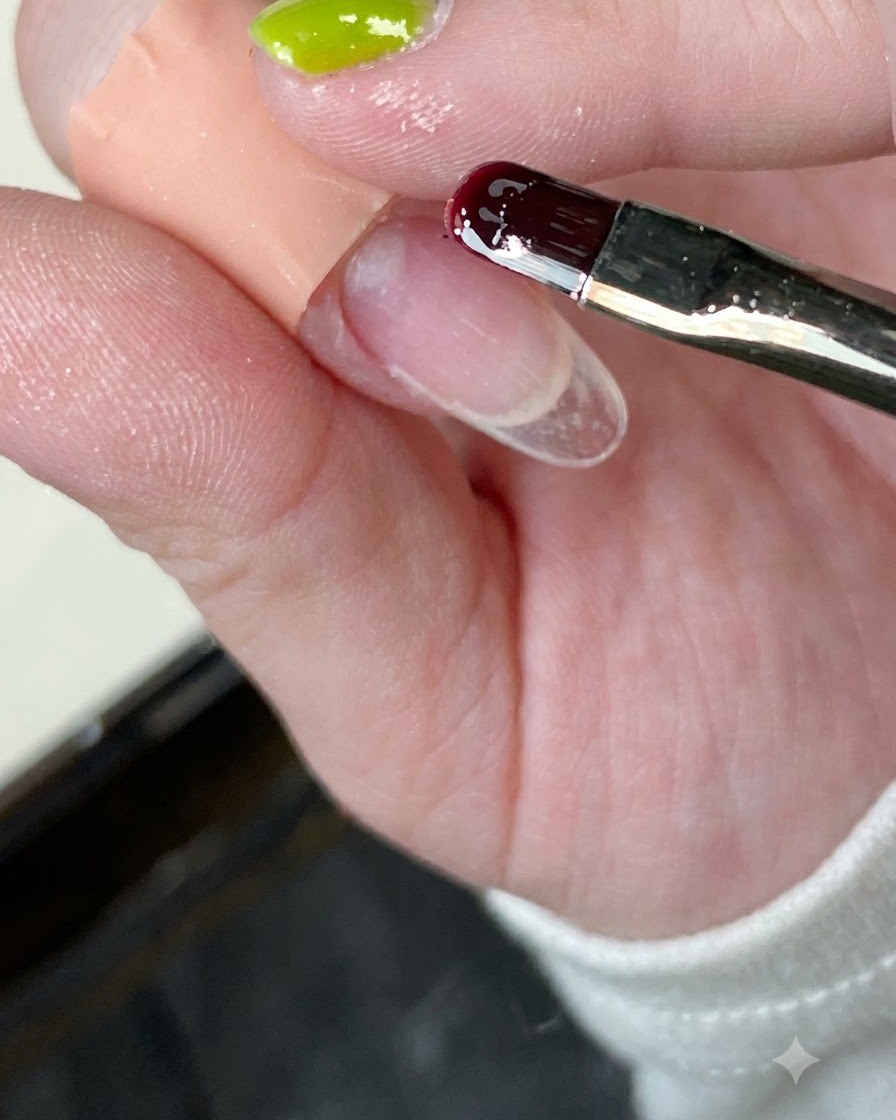
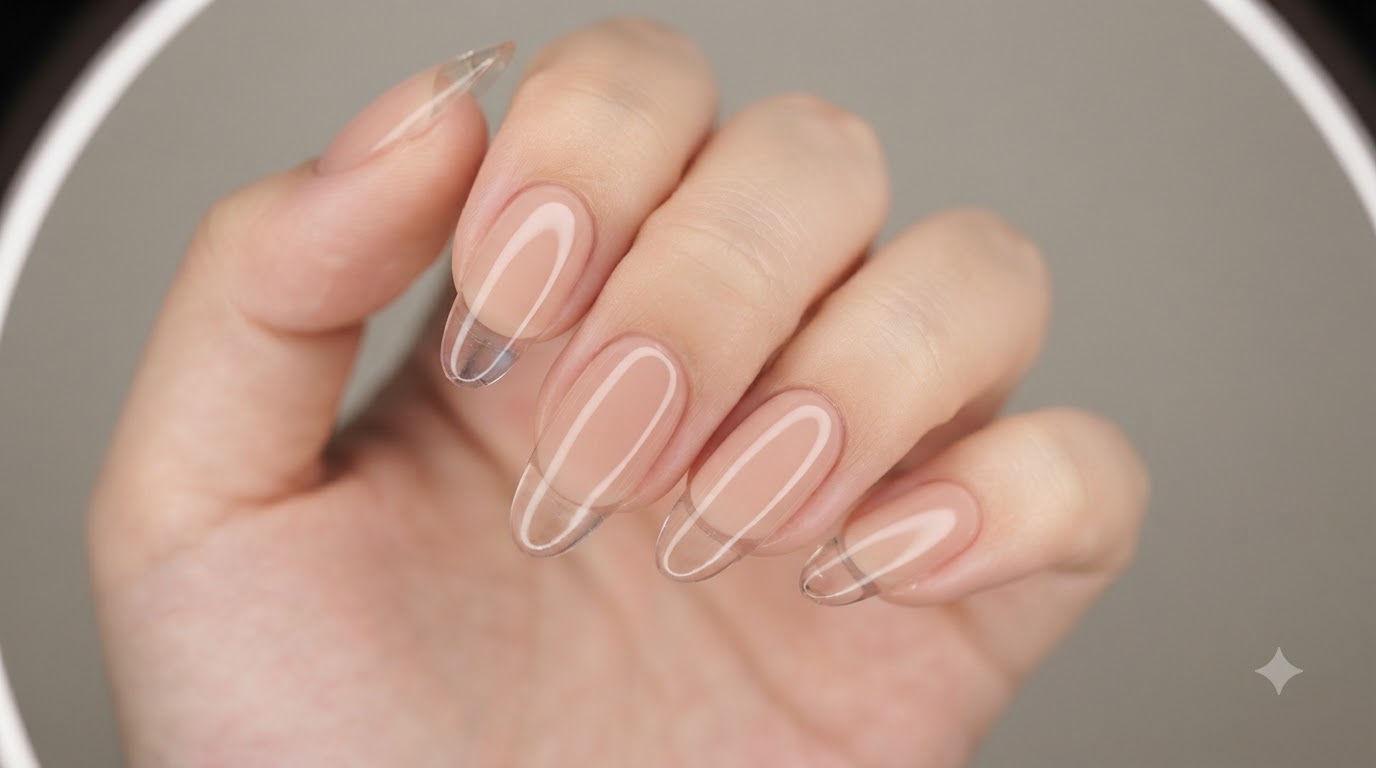
Apply a thin layer of base coat directly onto the clear nail tip. Ensure the product covers the surface evenly from the cuticle area down to the free edge to create a solid foundation for the upcoming gel layers.
Tip: Keep the base coat layer thin to prevent pooling around the edges and ensure proper curing. - 2Cure the base coat
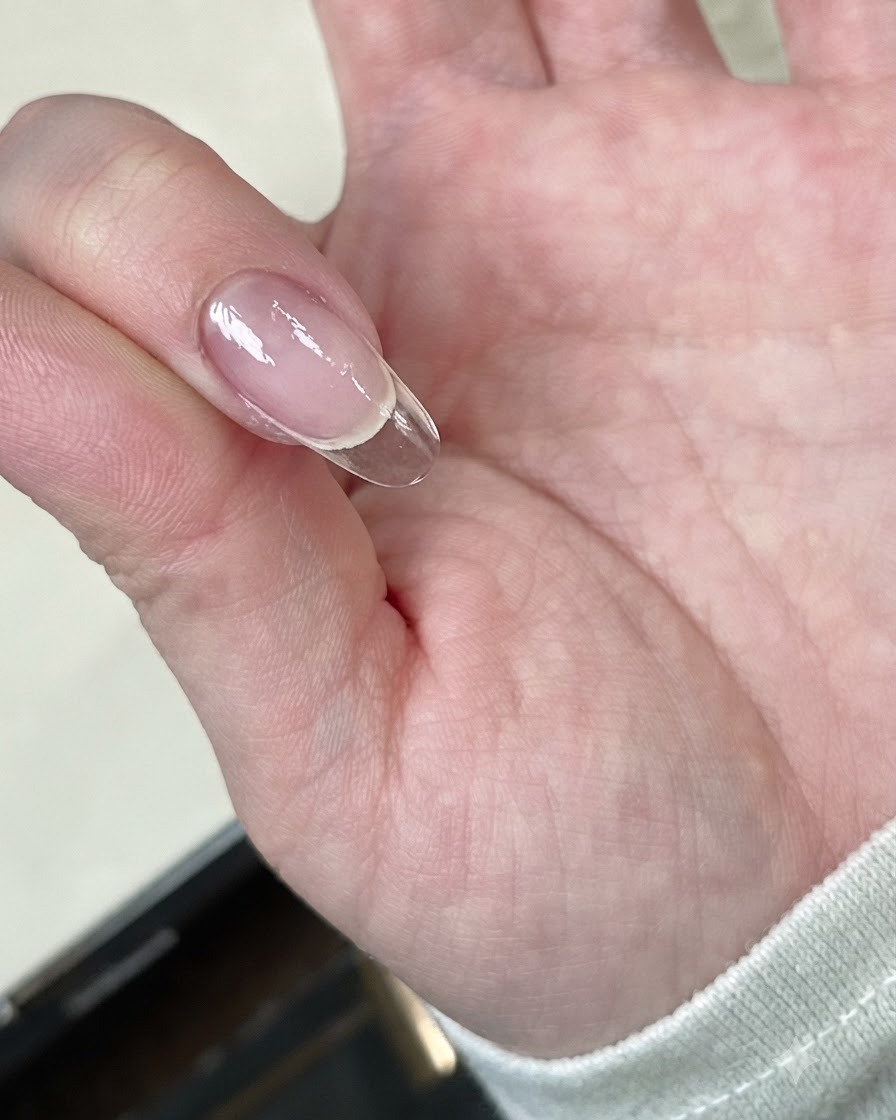
Place the nail under a mini UV or LED lamp to cure the freshly applied base coat. Hold the lamp steady to ensure the gel hardens completely across the entire surface of the nail tip.
Tip: Make sure your hand is positioned directly under the light source for an even cure. - 3Wipe the inhibition layer
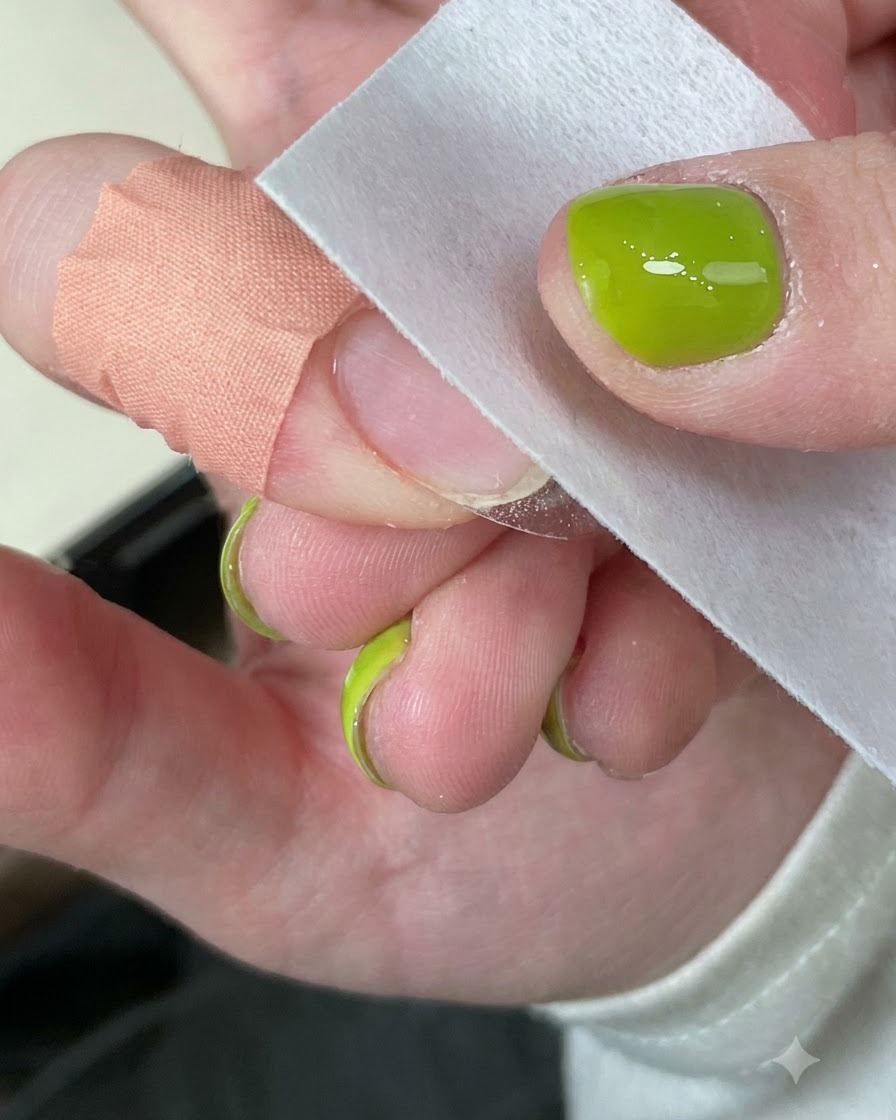
Take a cleansing pad moistened with alcohol or cleanser and gently wipe the surface of the cured nail. This removes the sticky inhibition layer left behind after curing, preparing a clean surface for the next step.
Tip: Use a lint-free wipe to avoid leaving tiny fibers stuck on the tacky gel surface. - 4Dab ivory gel near smile line
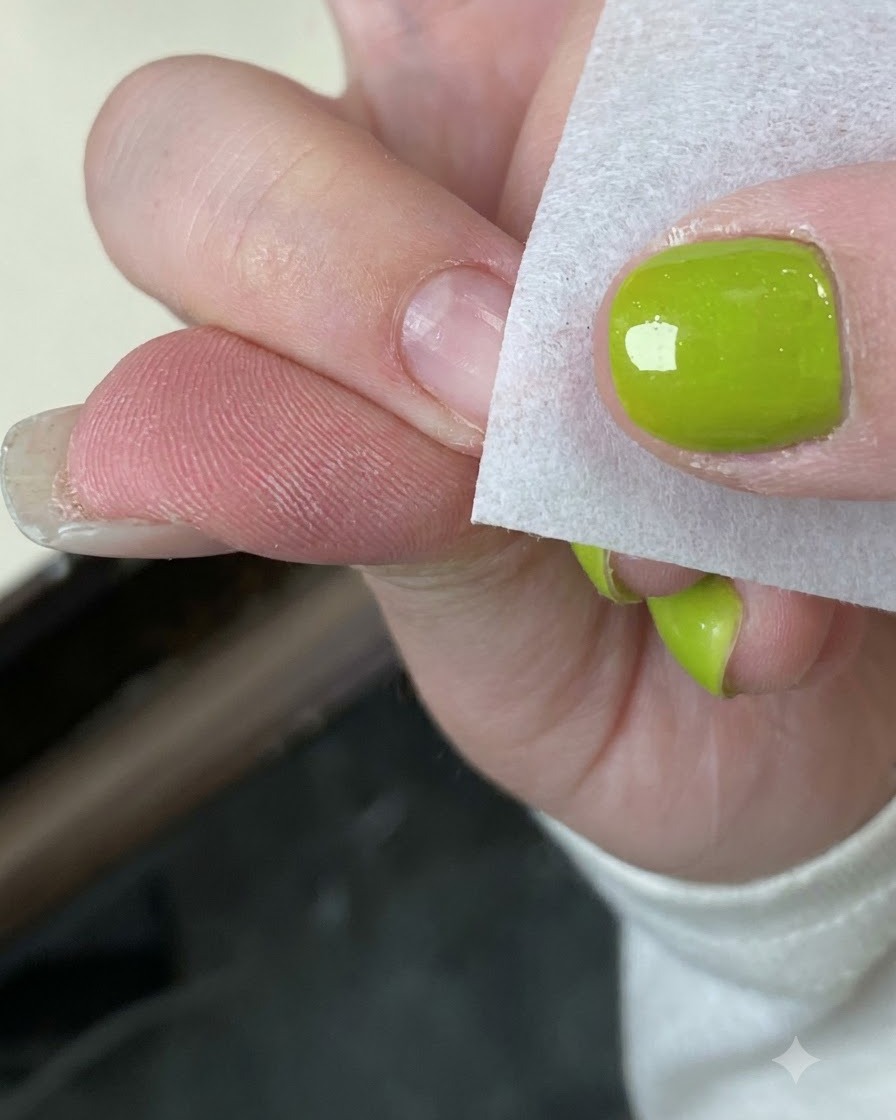
Using a small sponge or application tool, dab ivory gel near the smile line to build the gradient effect for the French manicure. Make sure the application is even and concentrated around the tip area to prepare for blending.
Tip: Apply in gentle dabbing motions to avoid heavy streaks and ensure a smooth transition. - 5Blend ivory gel with a small sponge
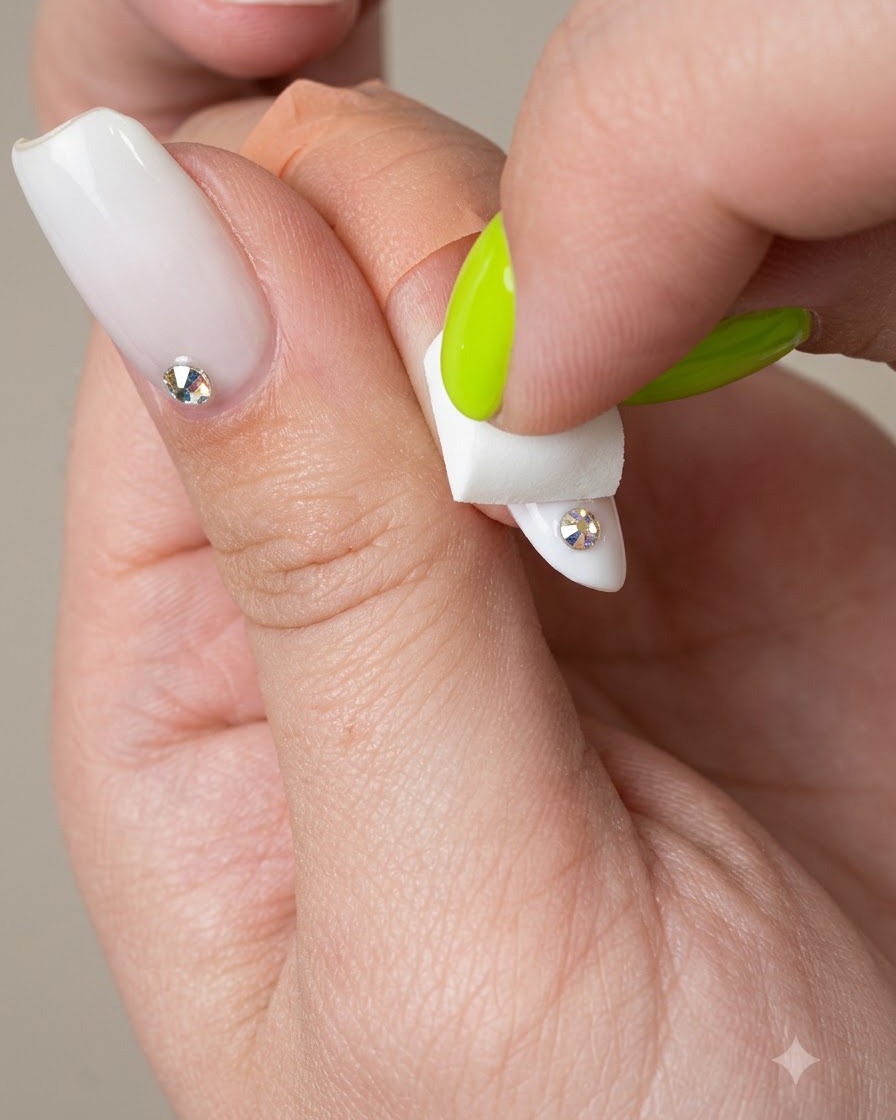
Gently press and blend the ivory gel using a small sponge to create a seamless gradient look towards the nail bed. Soften any harsh edges for a natural-looking French fade finish.
Tip: Light tapping motions work best to blend the gel without removing too much product. - 6Cure the blended gel
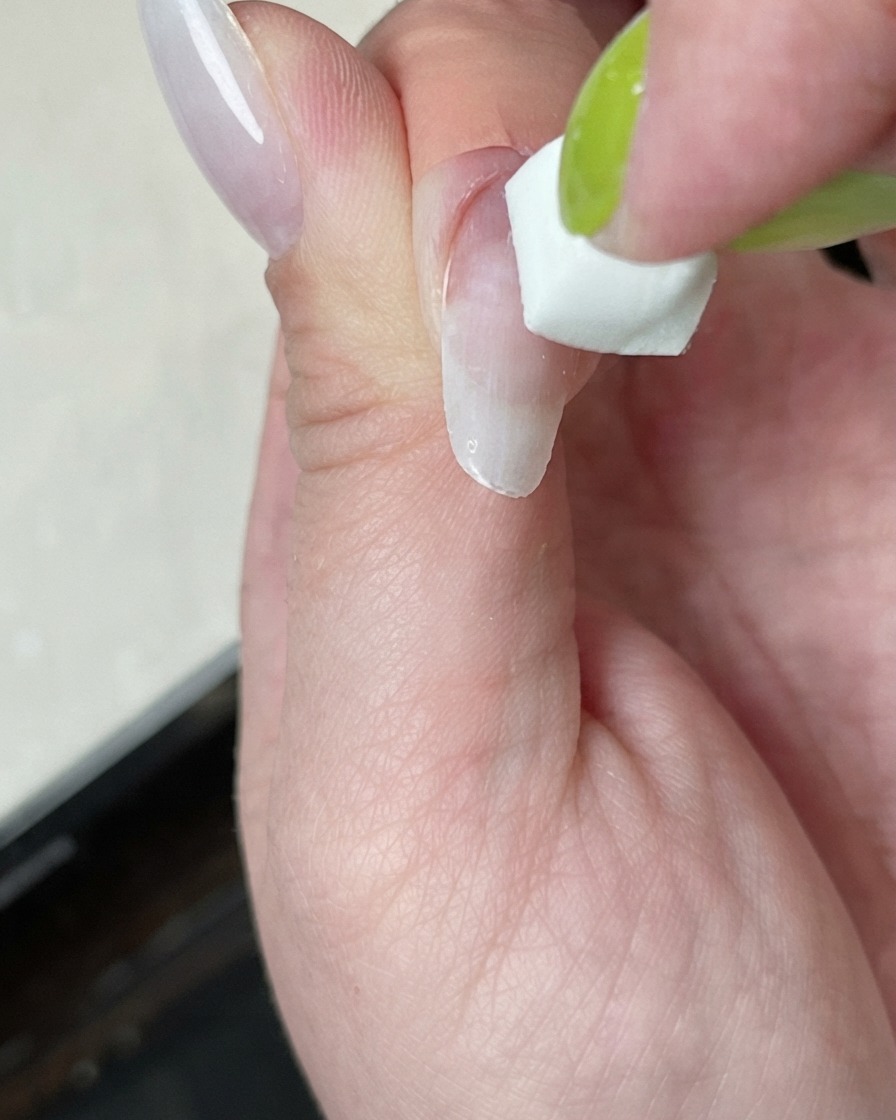
Place the nail back under the lamp to cure the blended gel layer. Ensure the product sets fully so the gradient effect remains locked in place before moving on to the next design phase.
Tip: Double-check that the gradient is fully opaque and set before proceeding. - 7Apply nude pink gel over the nail bed
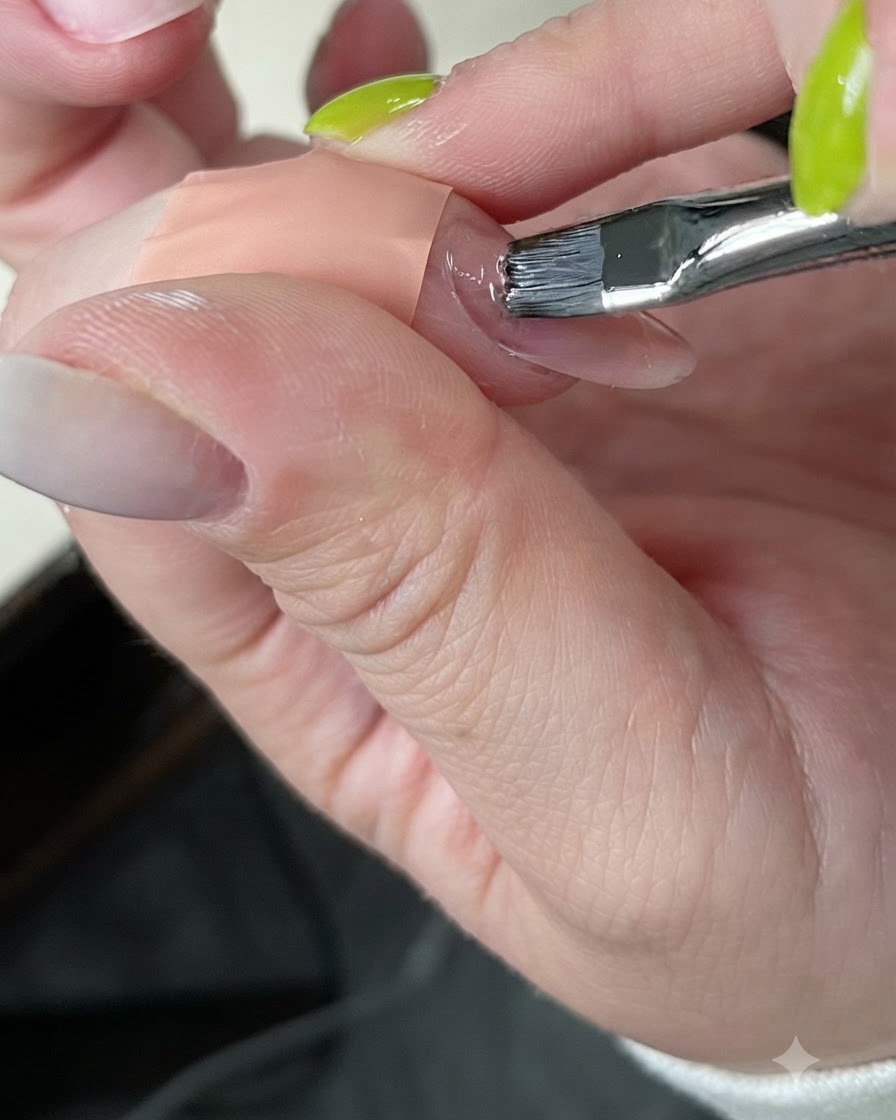
Using a flat gel brush, apply a smooth layer of nude pink gel over the entire nail bed area. Ensure the color covers evenly right up to the gradient transition without flooding the cuticles.
Tip: Keep the layer thin and even to maintain a natural translucent look before curing. - 8Cure nude pink gel
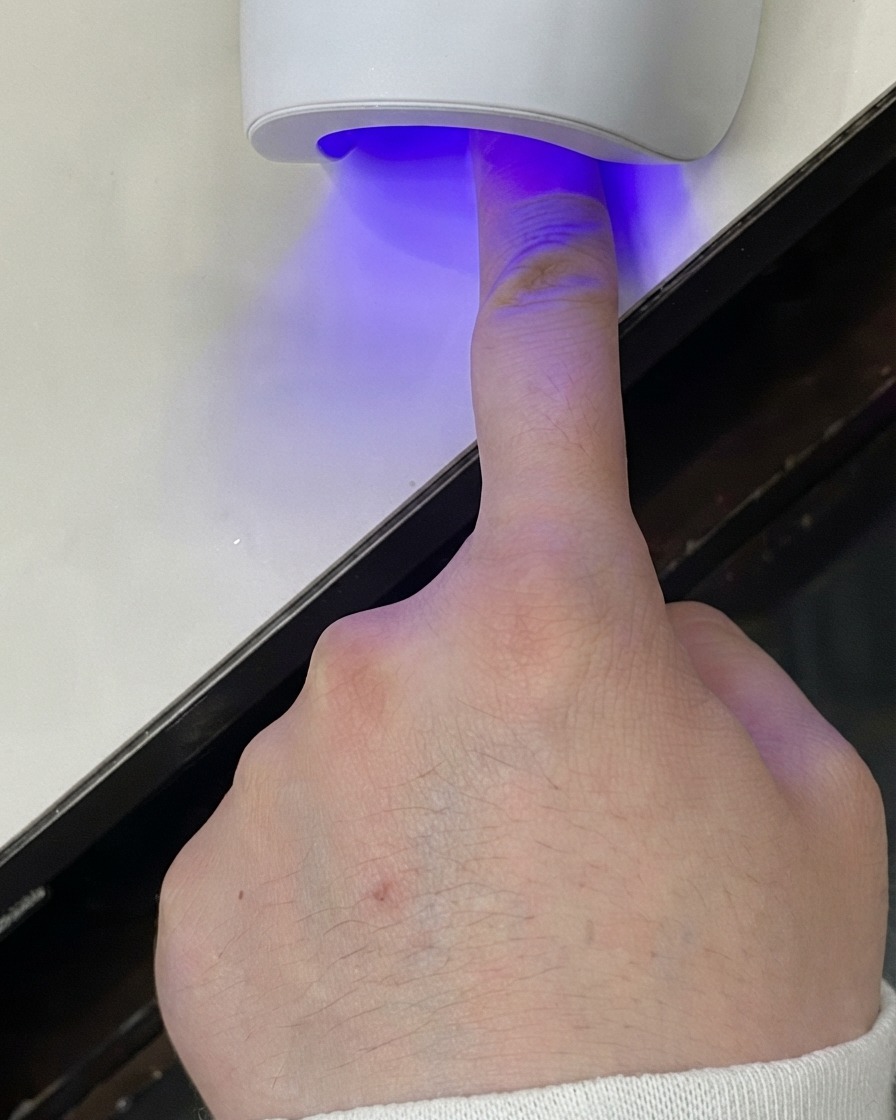
Place the finger under the UV or LED lamp to cure the nude pink gel layer thoroughly. Follow your lamps specifications to ensure proper hardening before moving on to the next design steps.
Tip: Make sure the finger is positioned directly under the light source for an even cure. - 9Outline French tip with silver gel
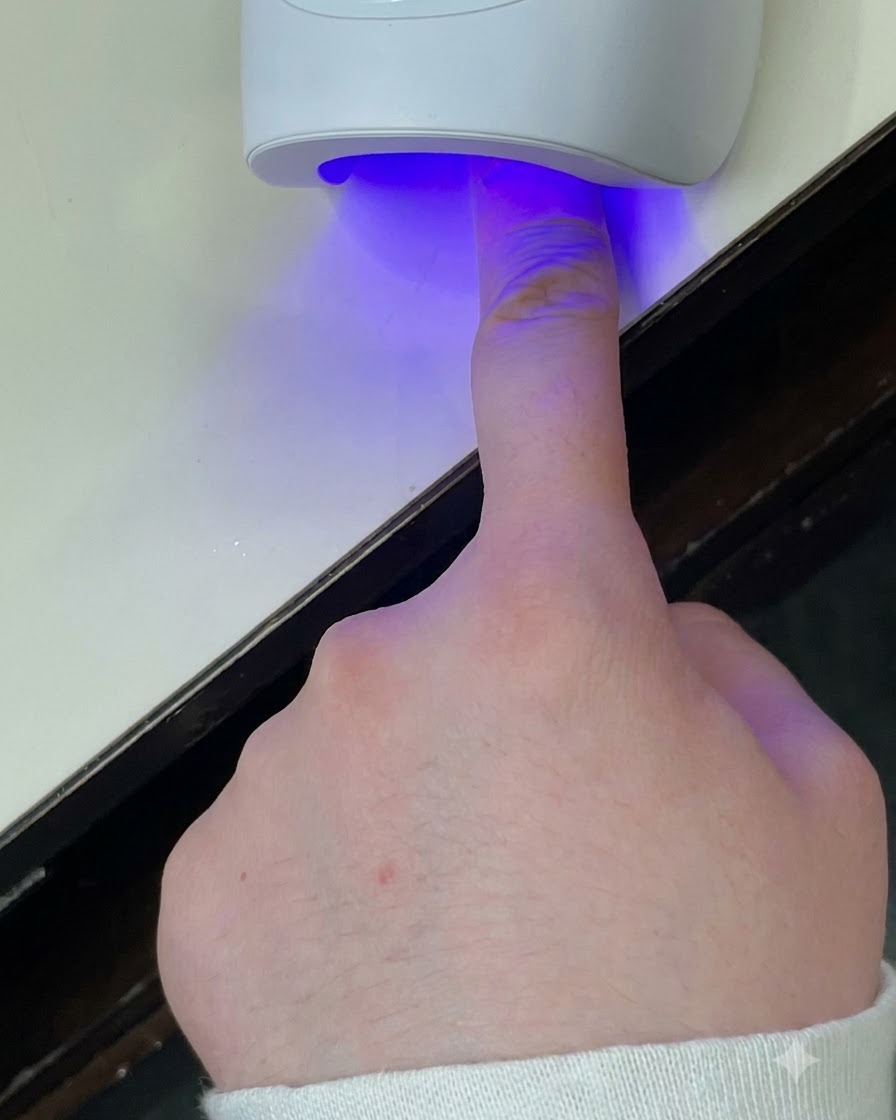
Using a fine liner brush and silver gel, carefully outline the curve of the French tip along the smile line. Keep your hand steady to create a crisp, clean border that defines the tip shape.
Tip: Rest your hand on a stable surface to maintain precision while drawing fine lines. - 10Fill in French tip with silver gel
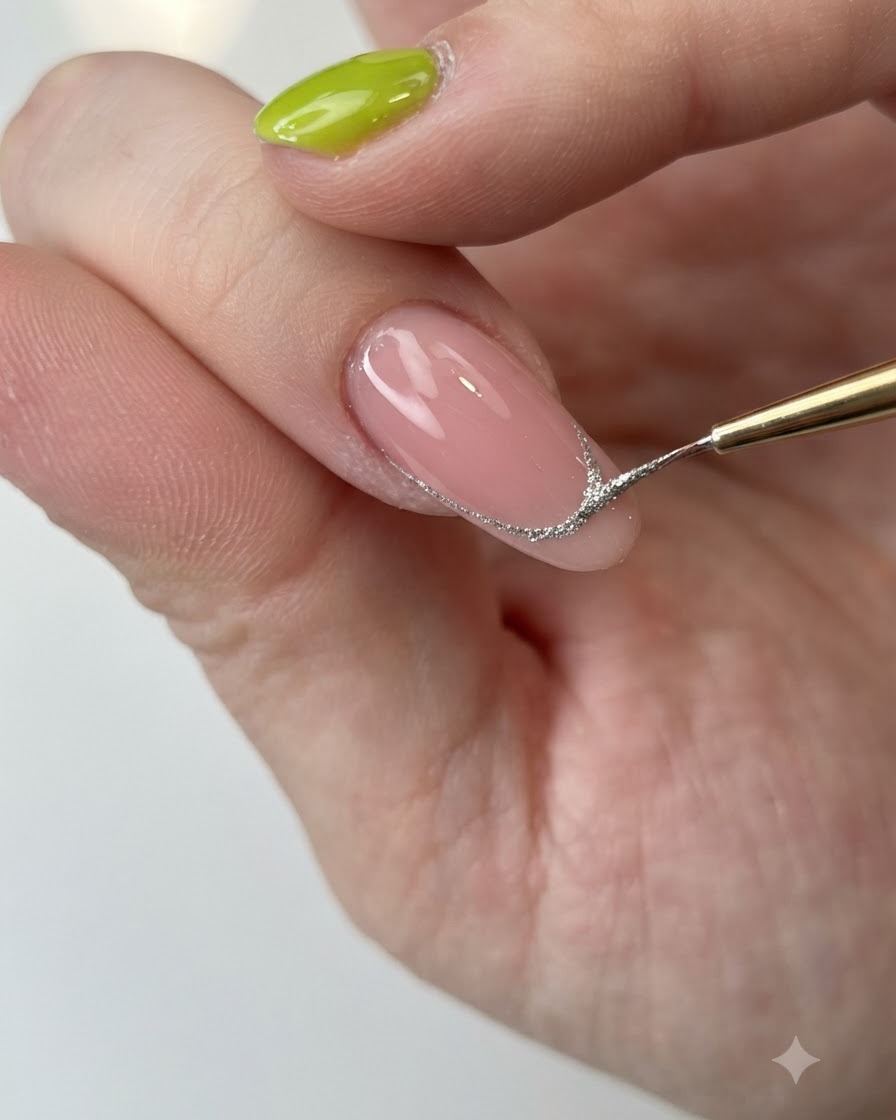
Fill in the rest of the French tip area using the silver gel, ensuring full coverage within the previously drawn outline. Smooth out any gaps to make the metallic finish solid and uniform.
Tip: Use the tip of the brush to push the gel smoothly into the corners of the smile line. - 11Cure the silver gel tip
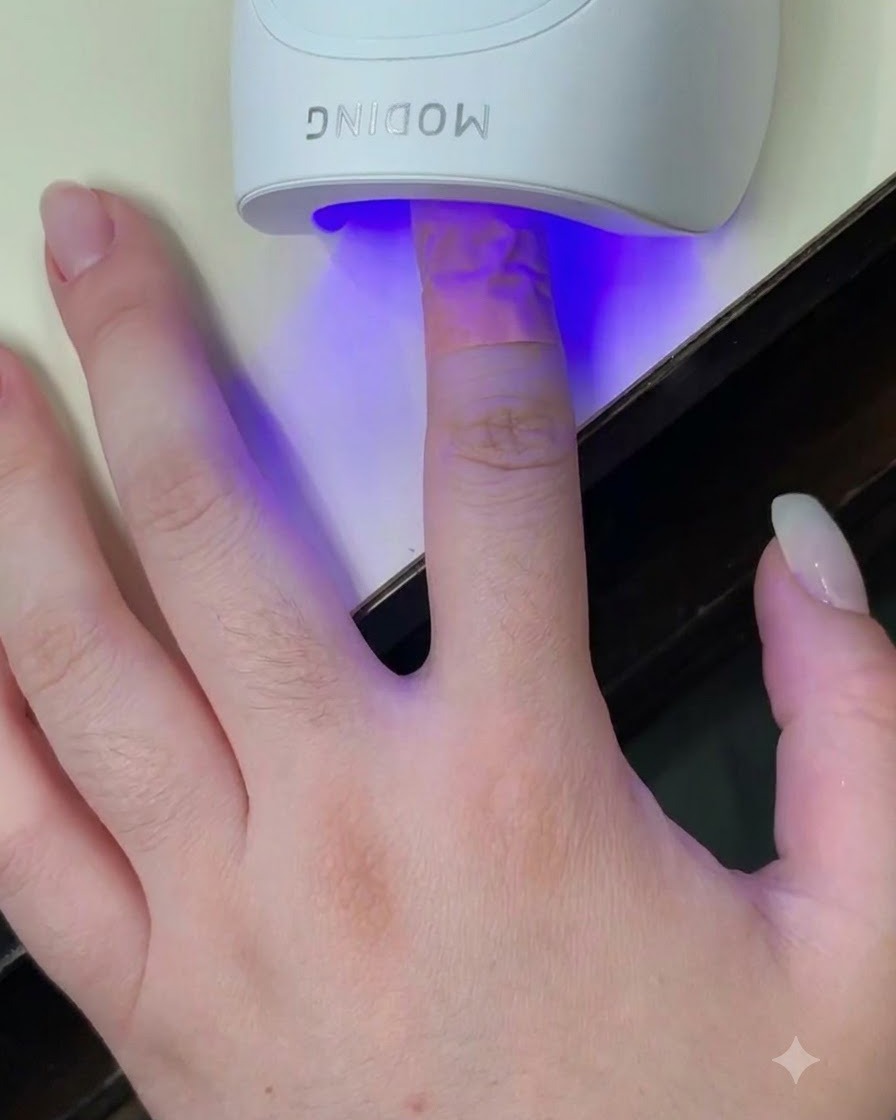
Place the finger into the UV or LED lamp to cure the silver gel outline and fill completely. Ensure the hand is positioned properly so the light fully reaches the tip design, setting the gel before the next application step.
Tip: Keep your finger steady inside the lamp to avoid shifting the gel before it cures. - 12Scoop chunky silver glitter
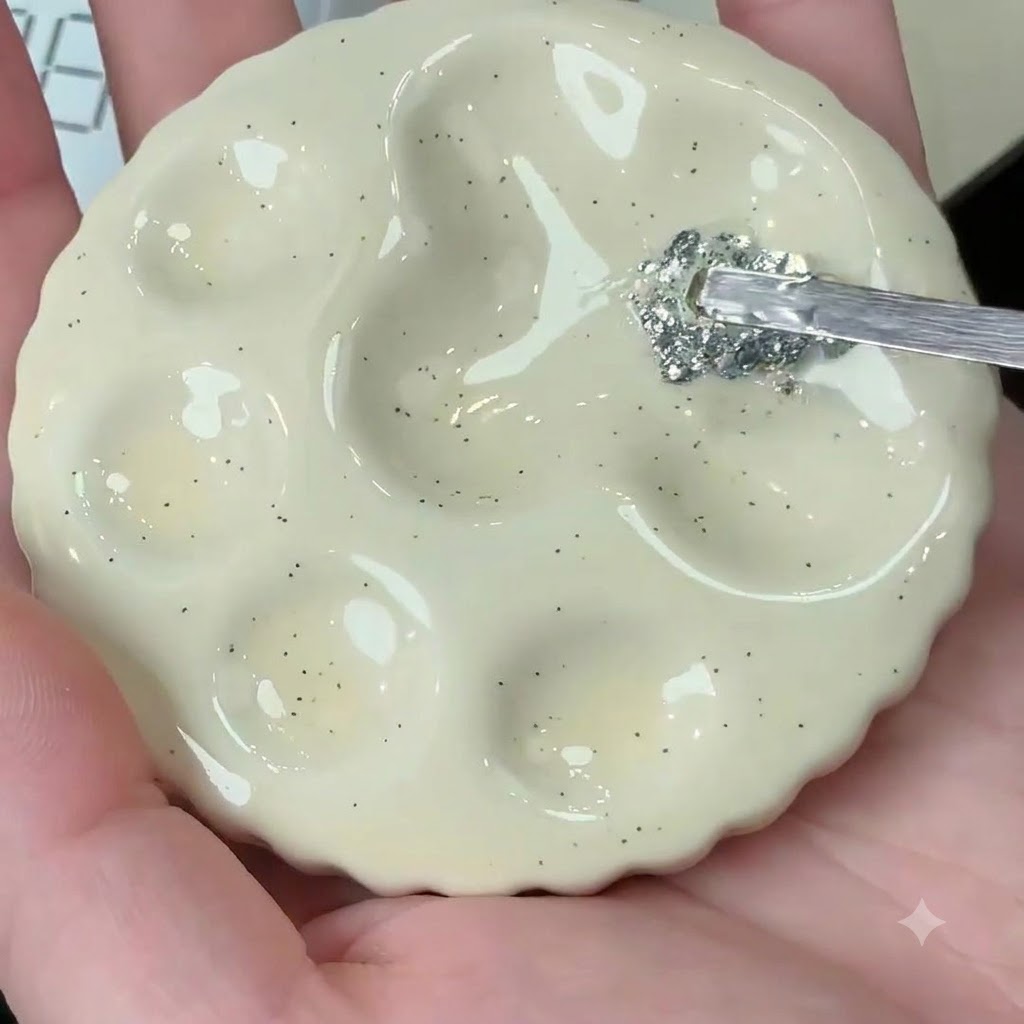
Using a metal tool, carefully scoop a small amount of chunky silver glitter from the palette to prepare it for application onto the nail tip. Ensure you pick up a balanced mix of glitter flakes to achieve a dense, sparkling effect.
Tip: Keep your tools clean between steps to avoid contaminating your mixed products. - 13Apply chunky silver glitter
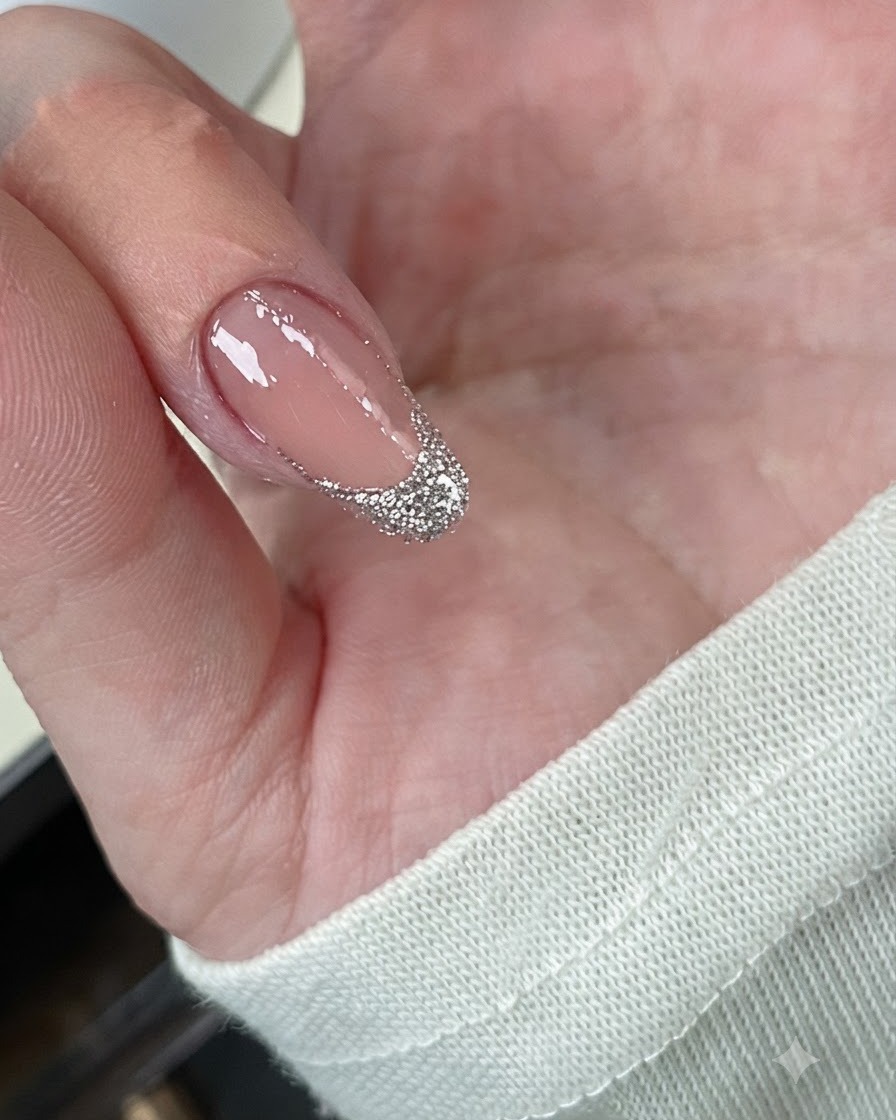
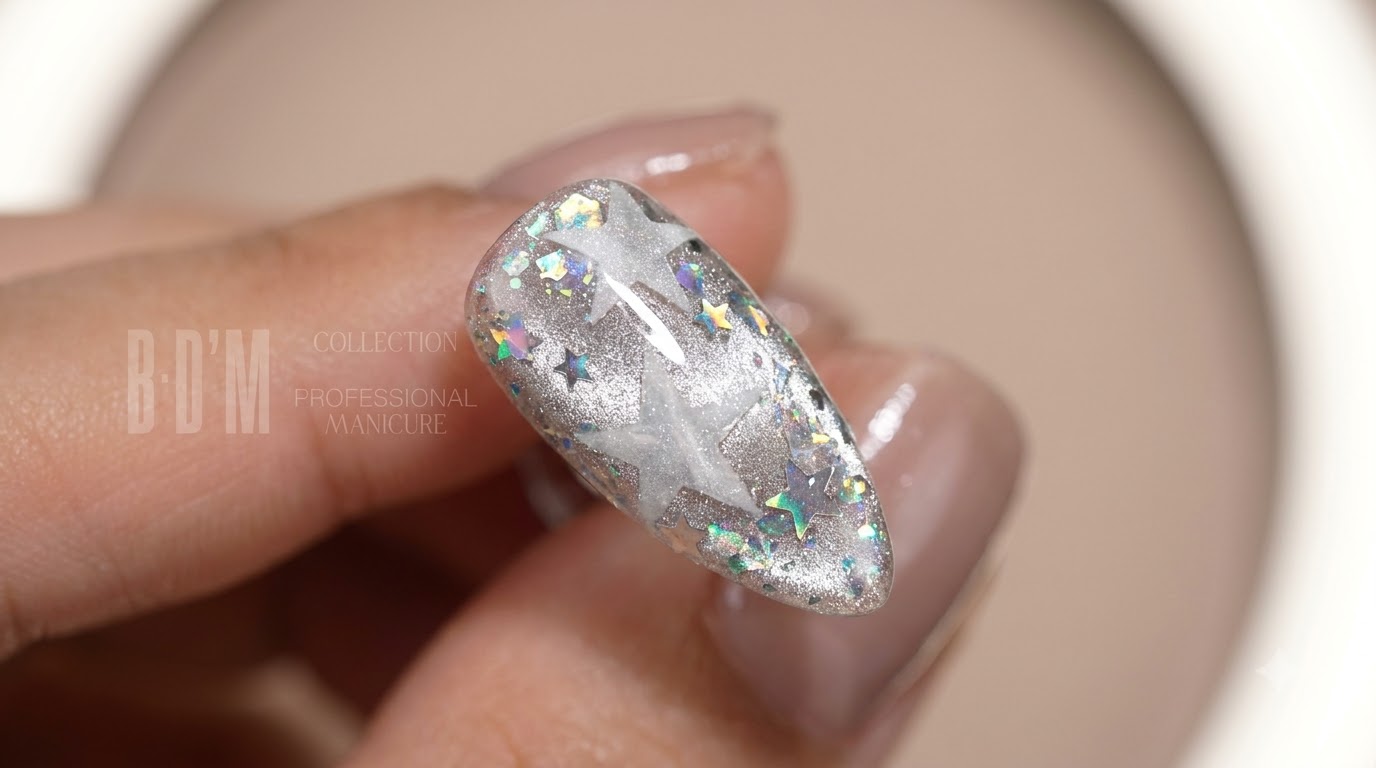
Apply chunky silver glitter directly over the silver tip area while the previous gel layer is still tacky or using a clear base to secure the pieces. Distribute the glitter evenly to build texture and density at the tip, creating a sparkling multidimensional effect.
Tip: Press larger glitter flakes flat against the nail surface with a brush so they dont stick up and catch on clothing. - 14Apply chunky silver glitter
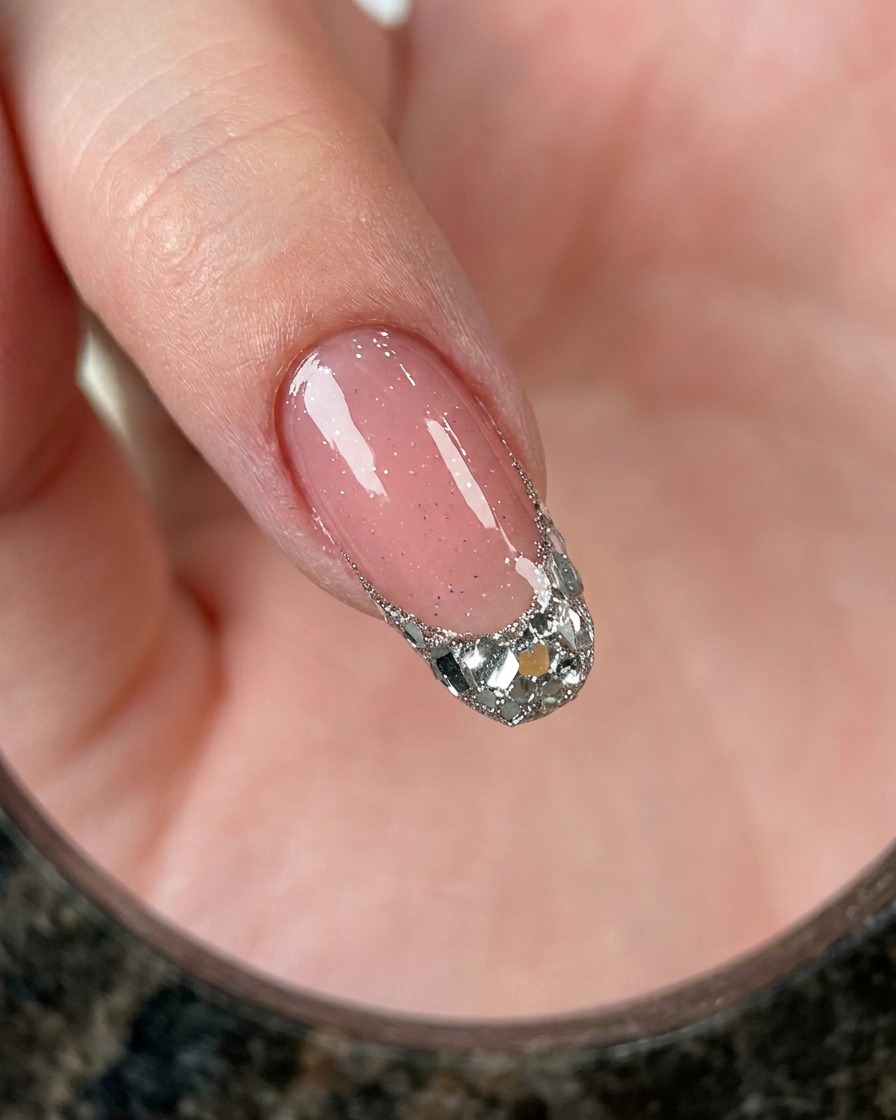
Pick up chunky silver glitter pieces and apply them densely over the cured silver gel tip to create a textured, shimmering finish. Layer the flakes carefully to cover the tip evenly while maintaining the clean smile line curve.
Tip: Press larger glitter pieces flat into the gel layer so they do not stick up or catch on objects later. - 15Cure the glitter layer
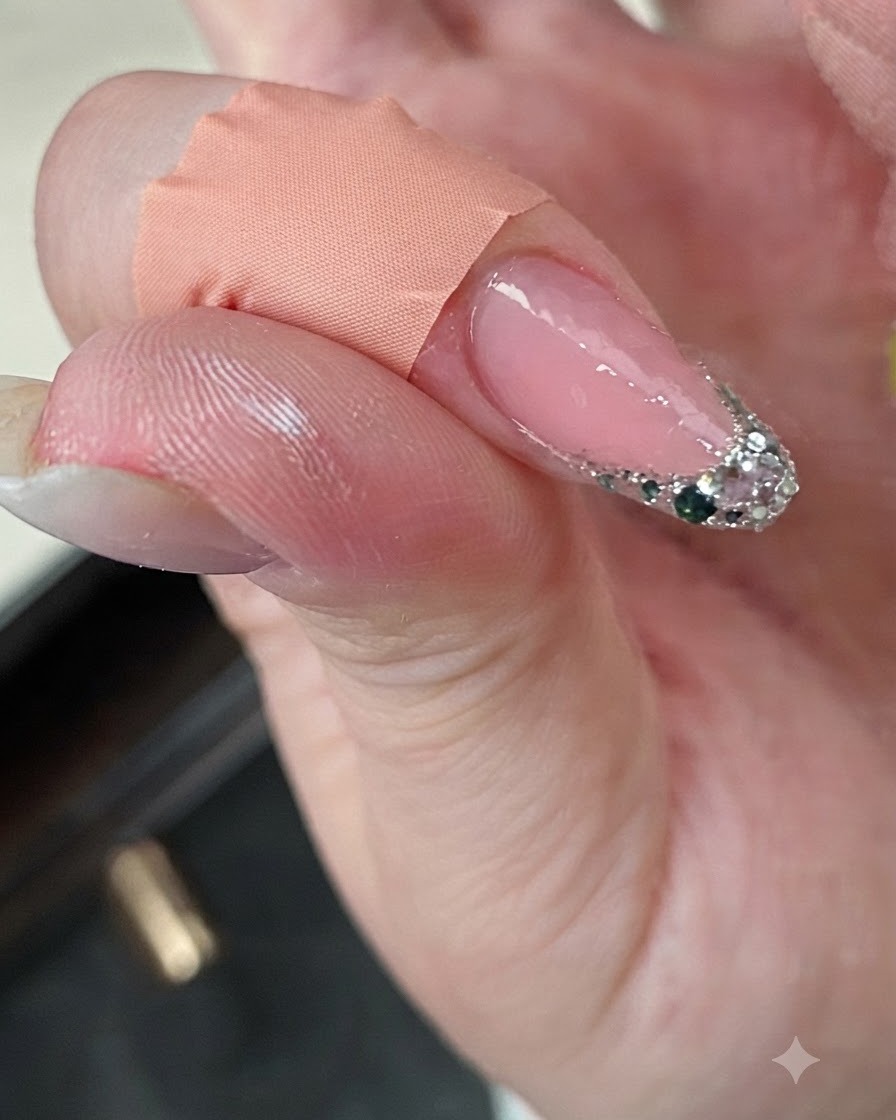
Cure the applied chunky silver glitter layer under the UV or LED lamp. This locks the glitter flakes securely in place, preventing them from moving or shifting during the upcoming encapsulation and sealing steps.
Tip: Make sure the cure time is fully completed to ensure all layers of glitter are securely bonded. - 16Wipe the nail surface
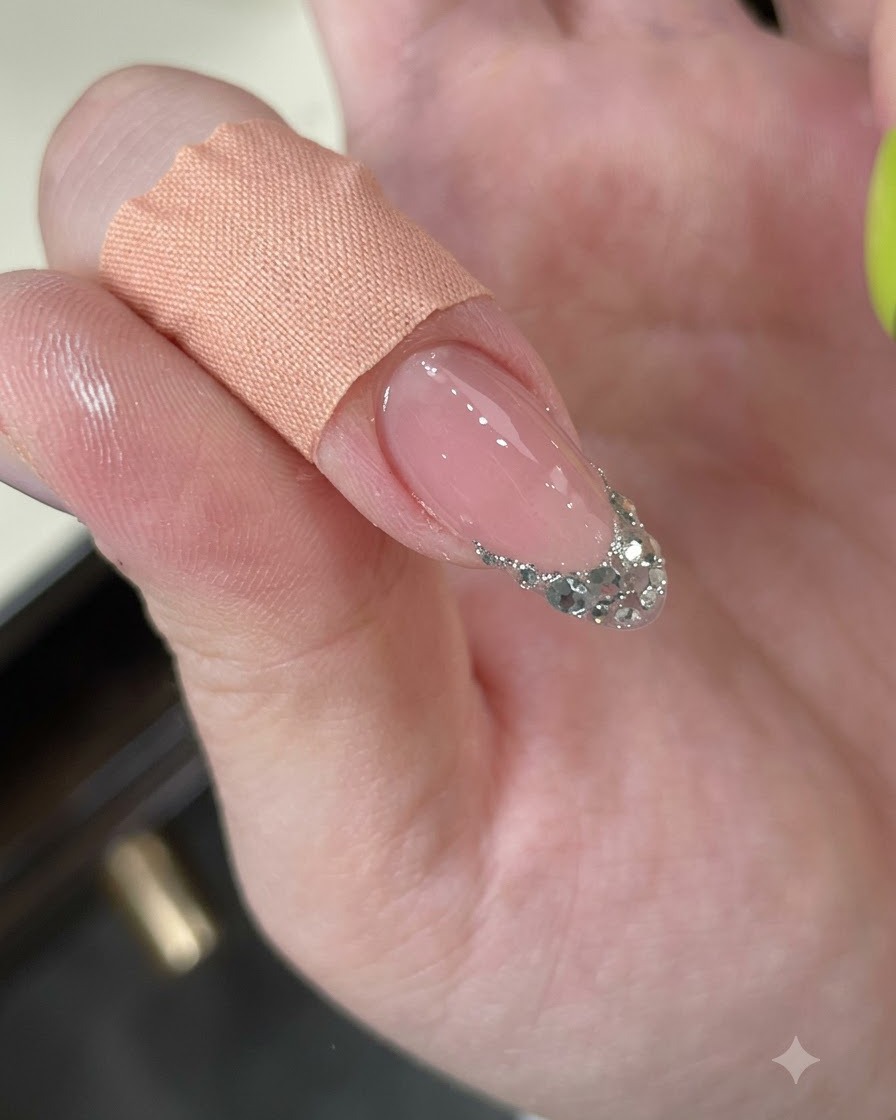
Wipe the nail thoroughly with a cleansing pad to remove any sticky inhibition layer left behind after curing the glitter. This creates a clean, smooth surface ready for the builder gel encapsulation step.
Tip: Use a lint-free wipe to avoid leaving fibers stuck to the tacky surface of the nail. - 17Adjust builder gel with liner brush
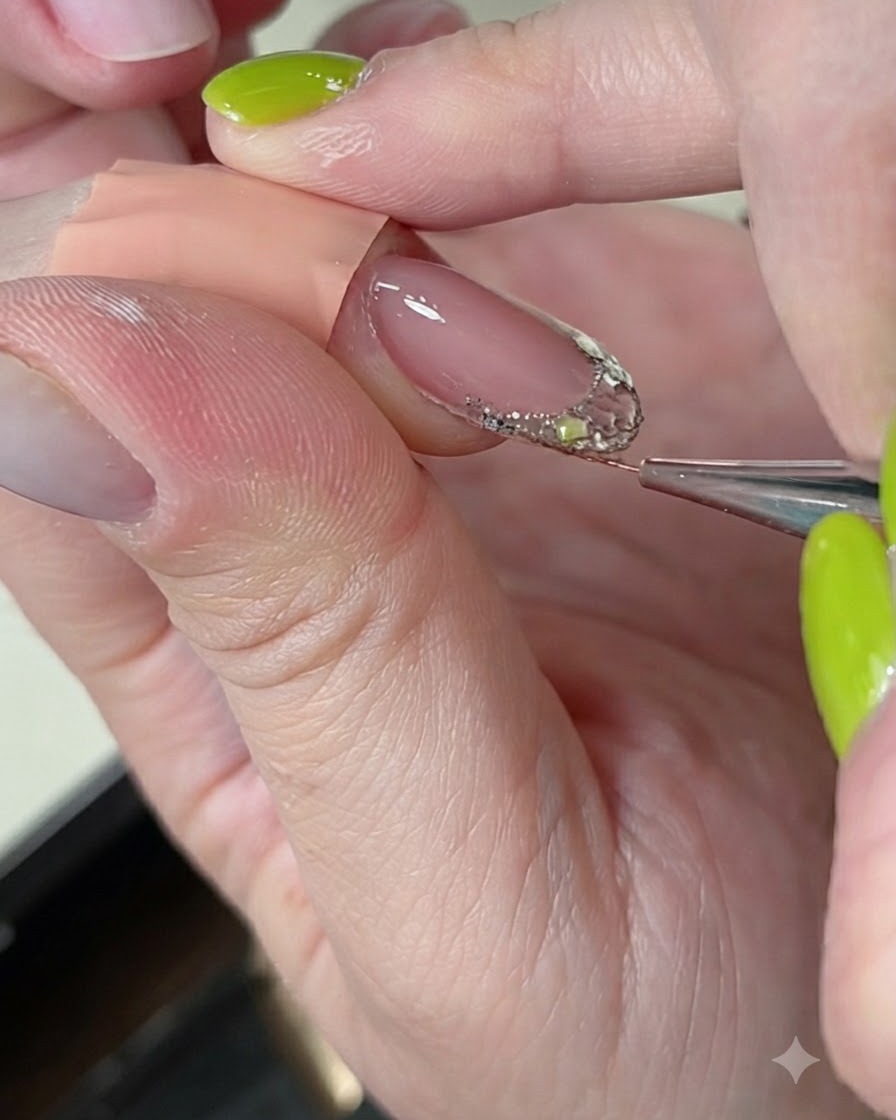
Use a fine liner brush to smooth and adjust the builder gel over the nail and glitter area. This ensures a clean, even structure and precise placement before curing.
Tip: Work lightly with the tip of the brush to refine the shape without moving the glitter out of position. - 18Flip finger to self-level the gel
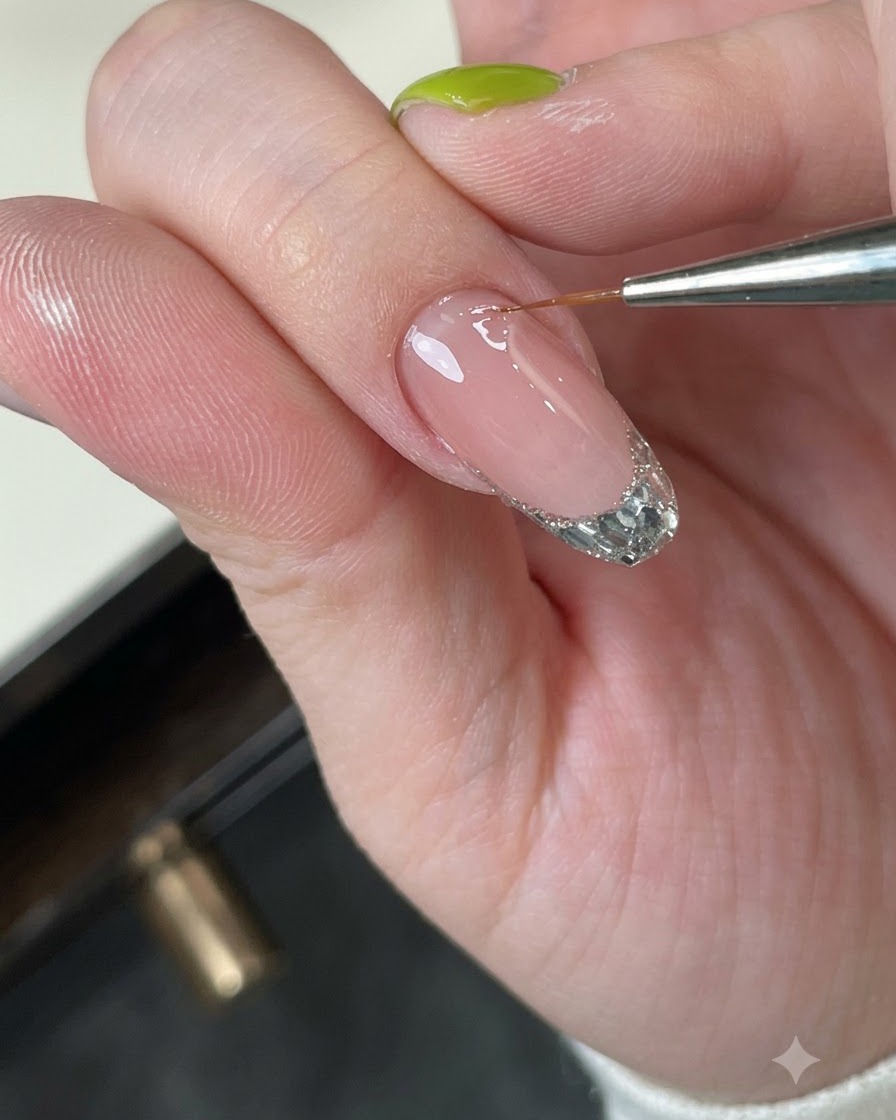
Flip the finger upside down for a few seconds to allow gravity to pull the builder gel toward the center, creating a balanced, self-leveled apex. Check the reflection on the gel surface to ensure a smooth, distortion-free curve before curing.
Tip: Flipping the finger for just 5 to 10 seconds helps build a natural-looking structure without hand fatigue. - 19Cure gel with hand-held lamp
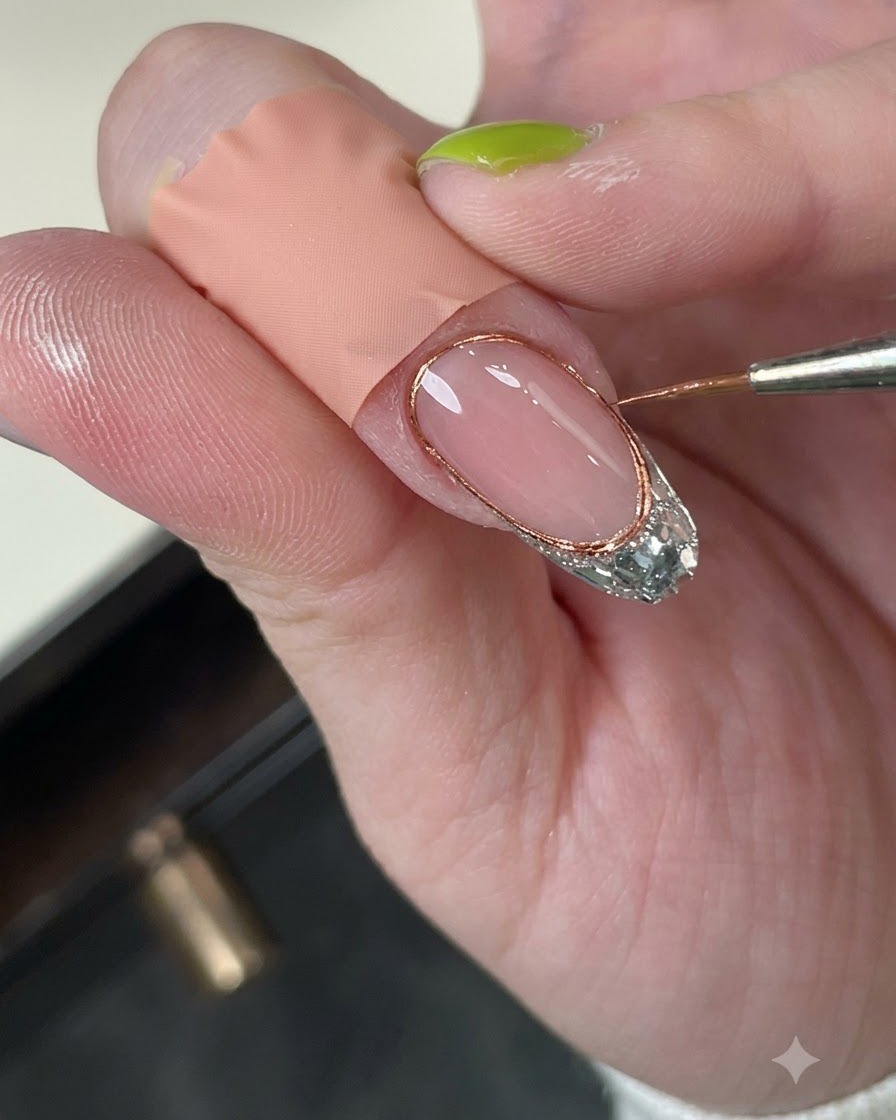
Hold the hand-held UV/LED lamp closely over the nail to cure the gel application securely. This quick flash cure locks the design in place before final curing.
Tip: Hold the lamp steady to prevent the uncured gel from shifting during the flash cure. - 20Pinch the nail while curing
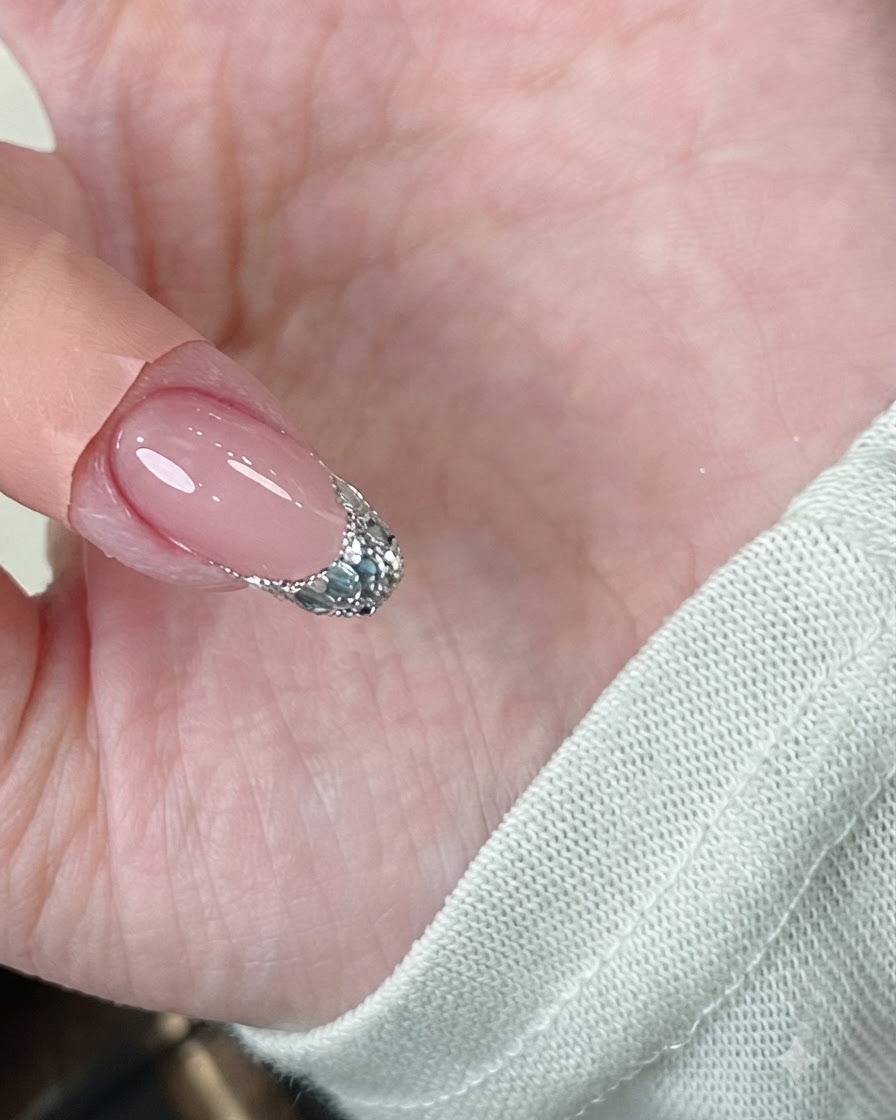
Place tweezers or a pinching tool around the sides of the nail partway through the curing process to set a narrower, more defined C-curve. Hold gently and finish curing under the lamp to lock in the slender shape.
Tip: Only pinch the nail when using a soak-off builder gel or polygel specifically formulated to hold a pinched shape during curing. - 21File nail edges for shape
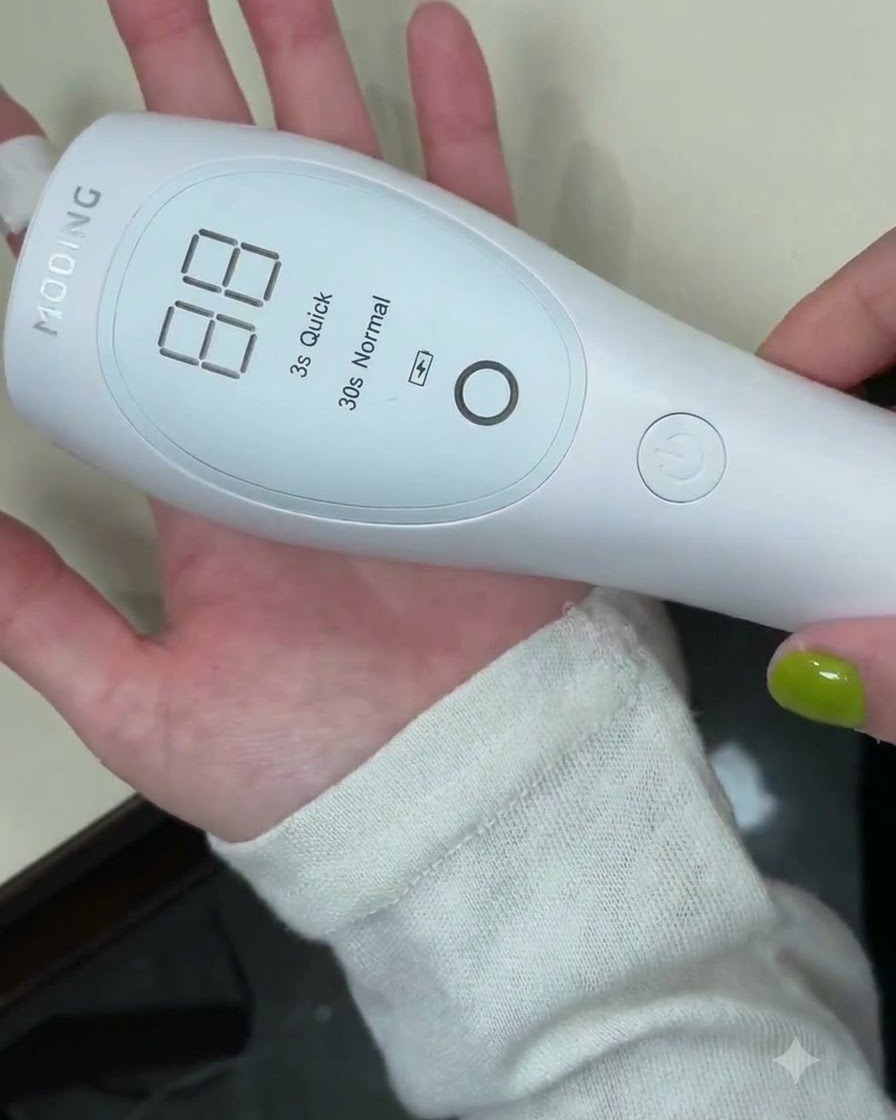
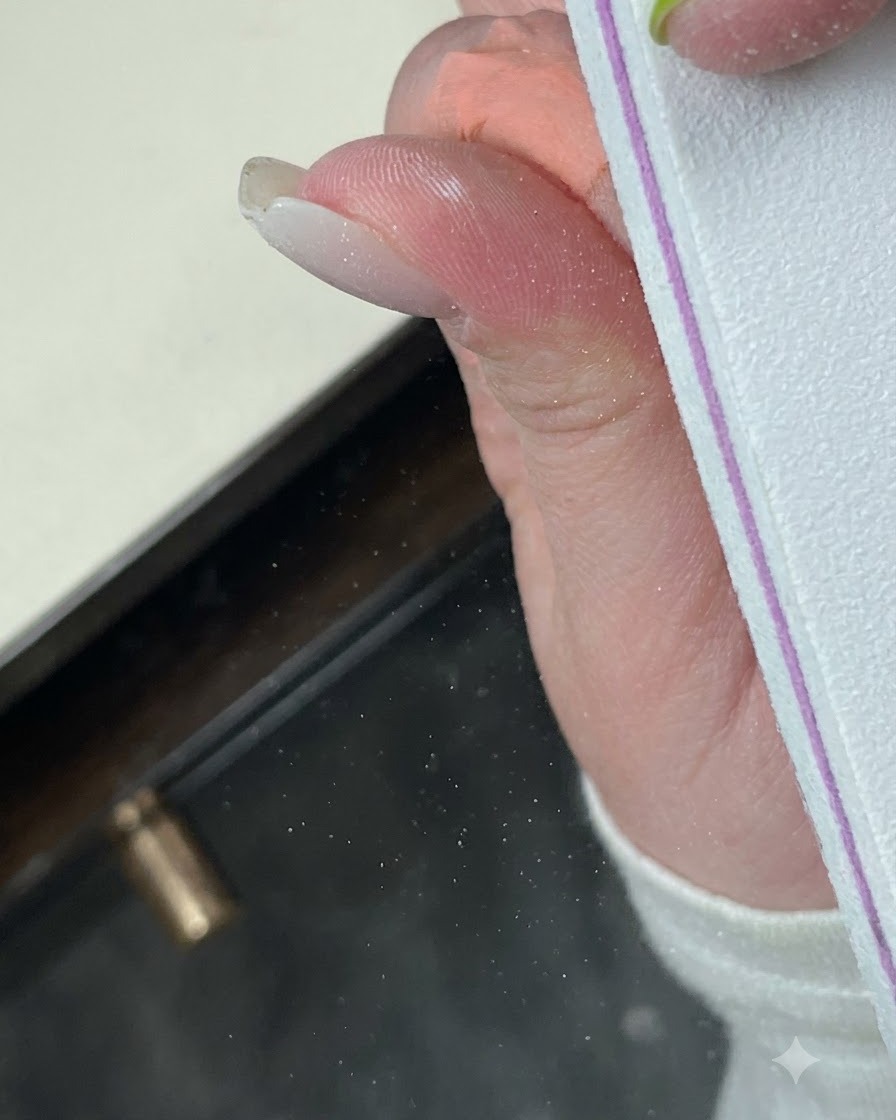
File the edges and free edge of the nail to refine its shape and remove any rough spots or over-cure thickness. This step ensures clean lines and a professional finish.
Tip: Keep the file parallel to the nail edge to maintain a crisp, uniform contour. - 22Buff nail surface smoothly
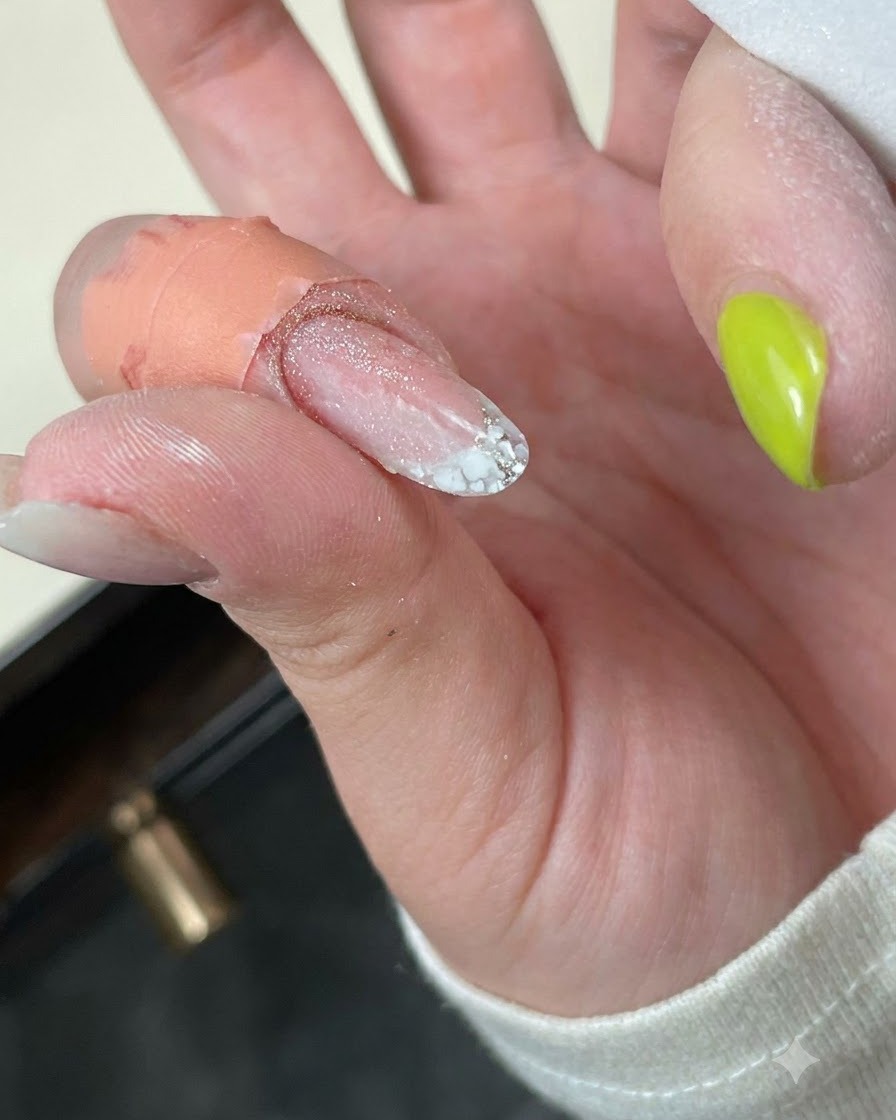
Gently buff the surface of the nail to smooth out any minor imperfections, bumps, or ridges. A smooth surface is essential for ensuring the top coat adheres evenly and shines brightly.
Tip: Buff with light pressure to avoid thinning out the gel layers underneath. - 23Paint thin light blue border line
Using a fine detail brush and light blue gel polish, paint a thin border line directly above the silver glitter French tip. This adds a delicate, colorful accent line to frame the design.
Tip: Anchor your pinky finger for stability to draw a smooth, steady line without shaking. - 24Cure the blue border
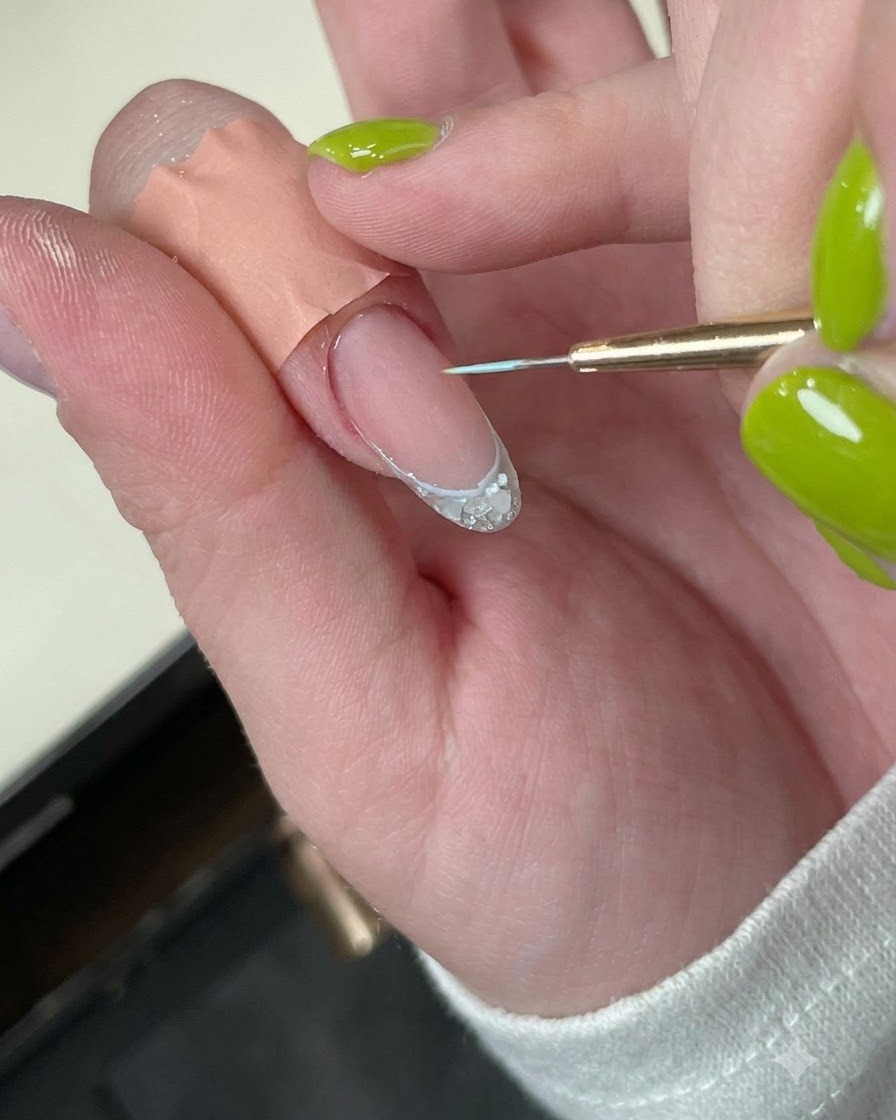
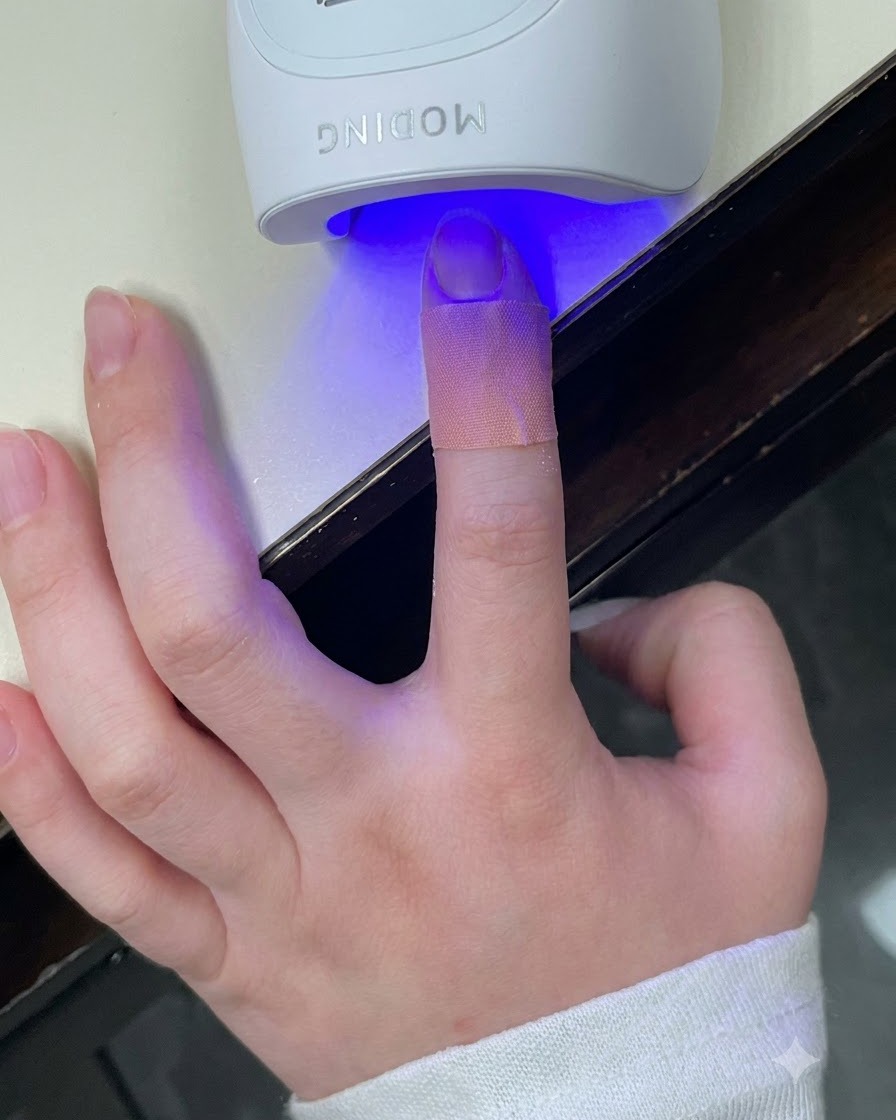
Place the finger under the UV or LED lamp to cure the freshly drawn blue border line. Curing locks the thin line in place so it will not smudge or smear during the subsequent top coat application.
Tip: Make sure your hand is positioned directly under the light source for an even cure. - 25Apply top coat
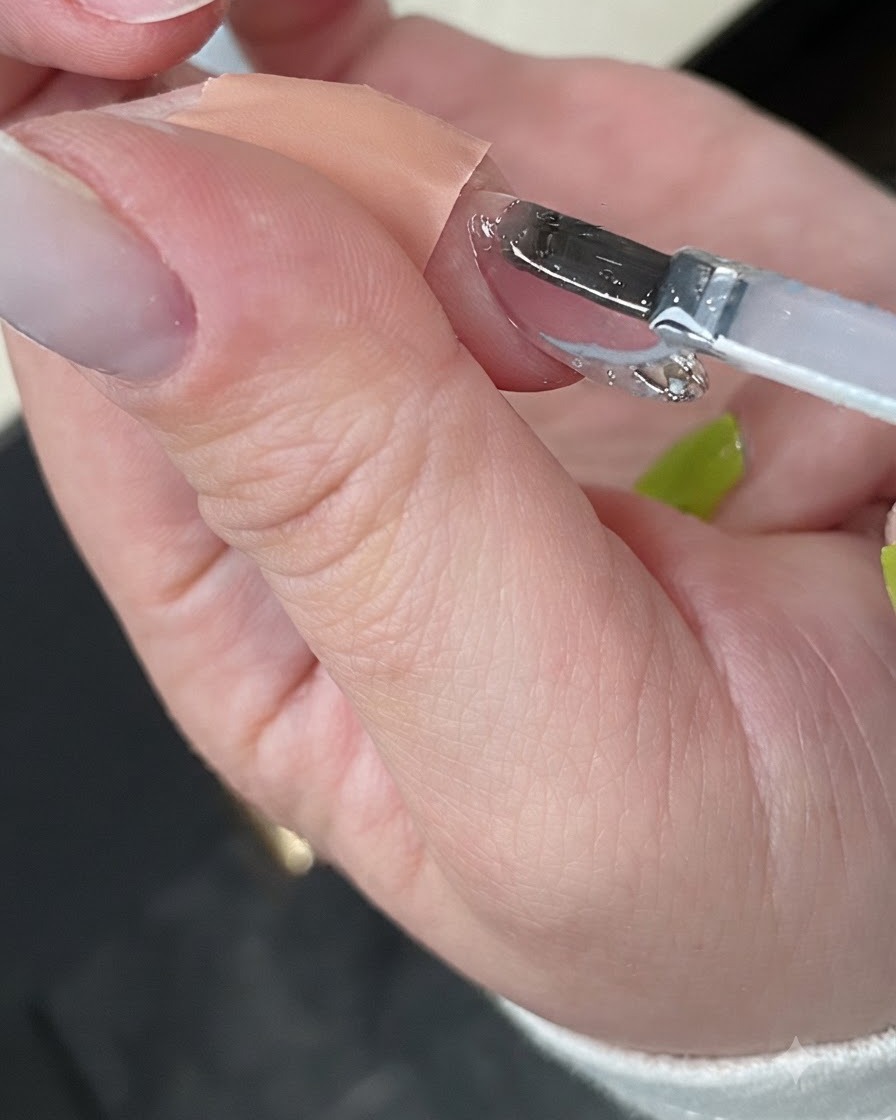
Apply a generous yet even layer of glossy top coat over the entire nail surface, ensuring you cap the free edge completely. This seals in the nail art, protects the blue border, and gives the manicure a brilliant, mirror-like shine.
Tip: Capping the free edge is essential to prevent chipping and lifting at the tip. - 26Final cure under the lamp
Place the hand back into the UV or LED lamp for a final, complete cure of the top coat. This hardens the protective layer fully, ensuring maximum durability and a long-lasting finish for your glitter French manicure.
Tip: Do not remove your hand early to ensure the top coat cures completely without a tacky residue.